Door-Painting Tips That Will Guarantee A Professional Result
Painting a door is a small yet extremely impactful project that can completely change the feel of a home, but it’s easy to mess up. The difference between a rushed paint job and a clean, professional finish often comes down to technique, care, and attention to detail, but there are some extra things you can do that’ll help. Here are six smart, effective door-painting tips that will ensure fantastic results.
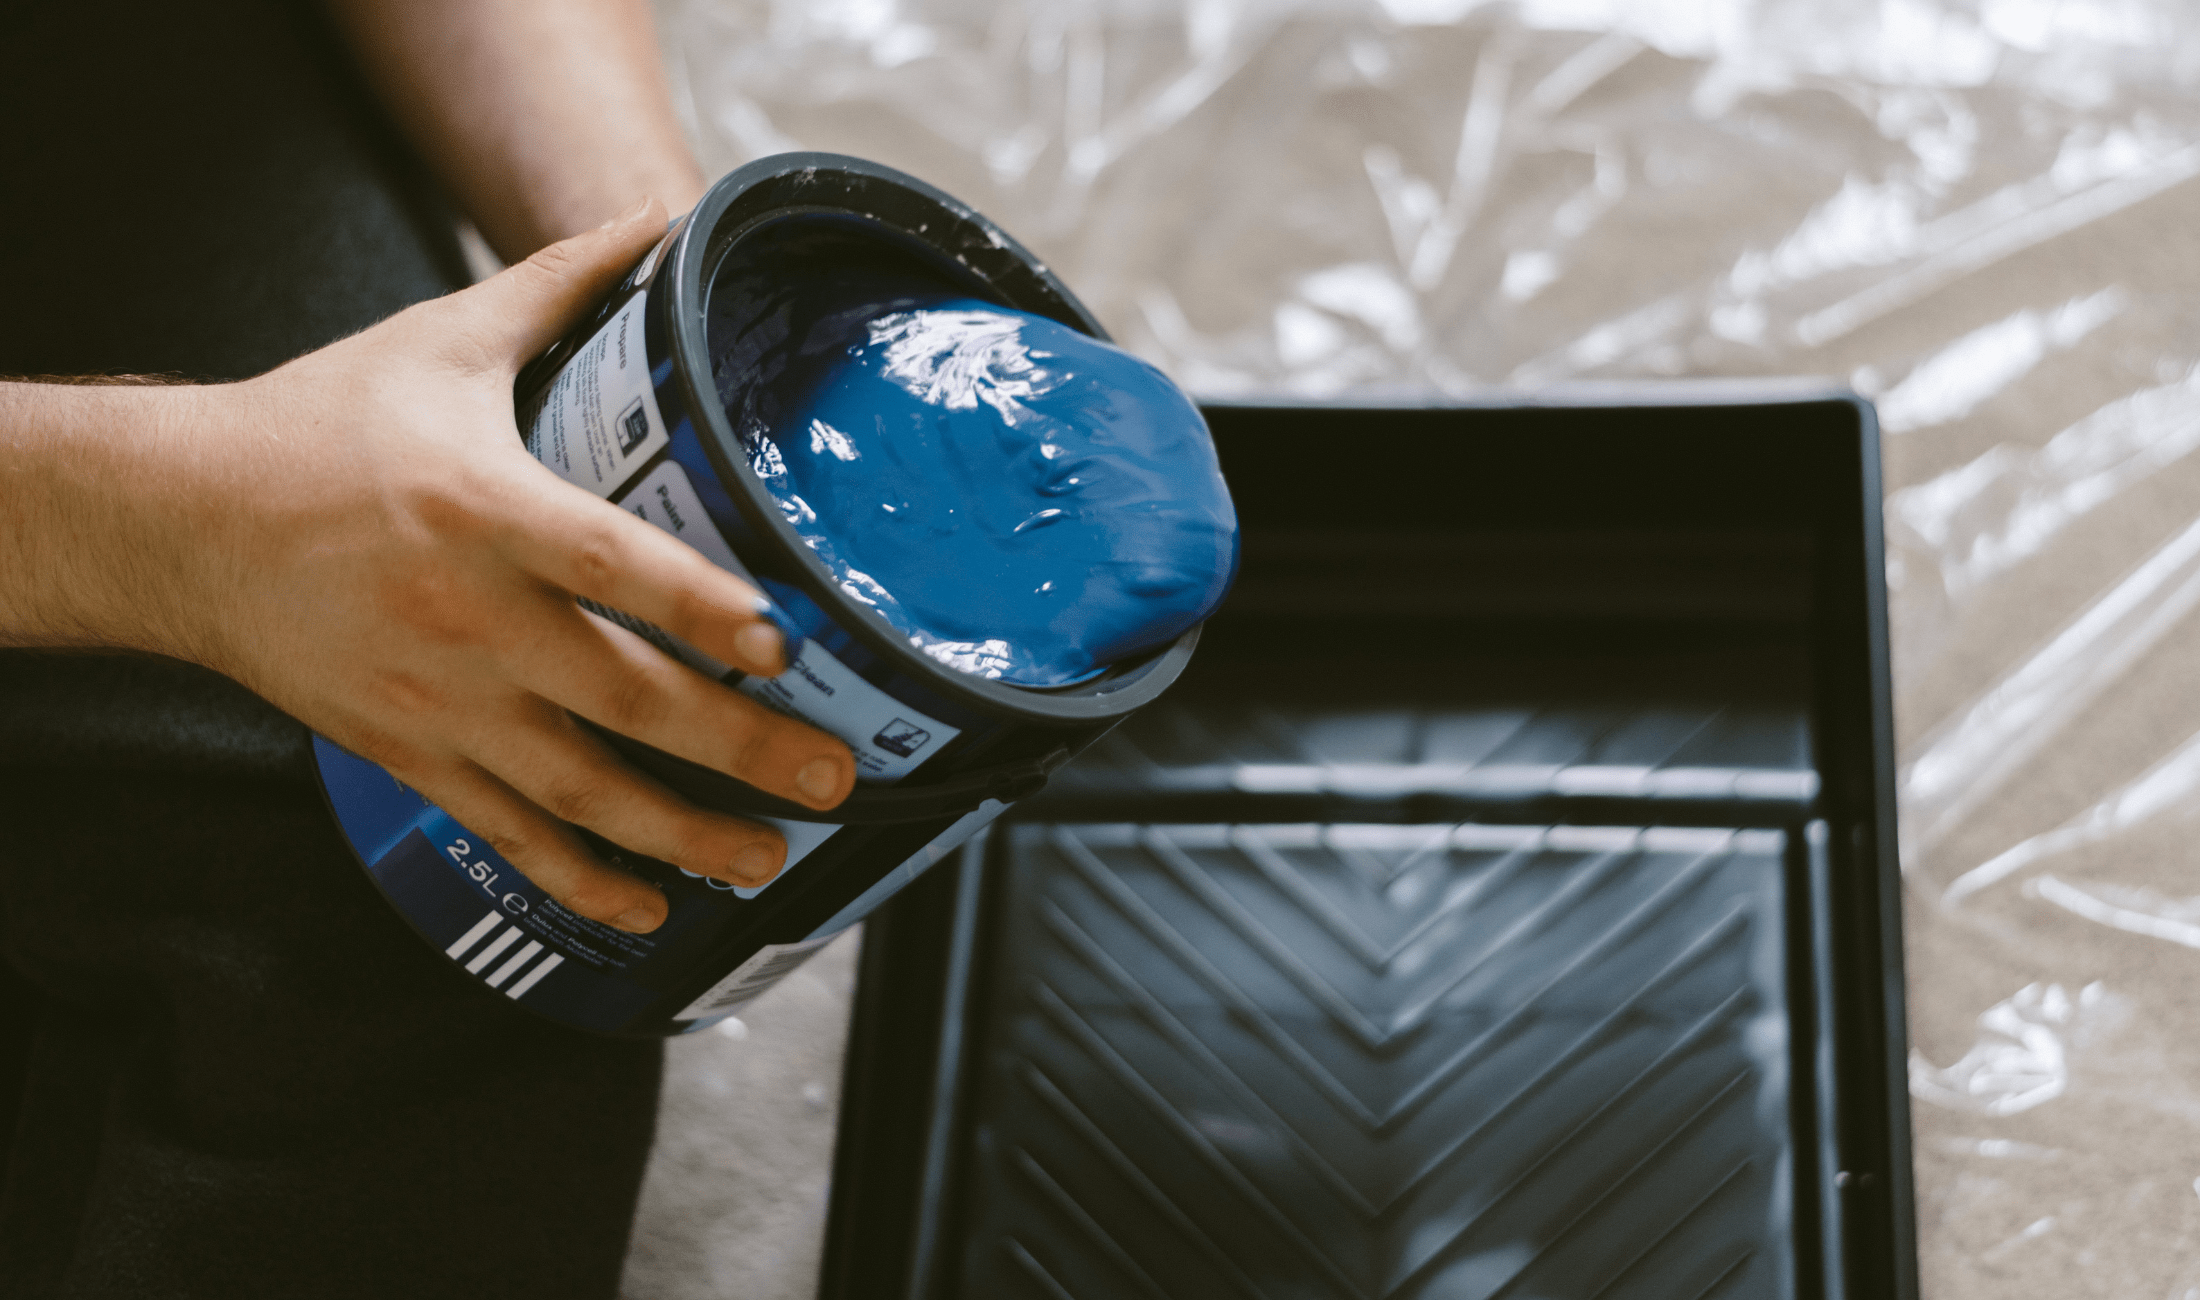
Use a Tinted Primer
Primers usually come in white, but if you’re painting your door a darker or richer color, consider having your primer tinted to match. This helps the final color cover better in fewer coats, and makes the finish look deeper and more even. It’s especially useful when covering an old dark door with a bold new color. Most paint stores will tint primer for free, and it can save a ton of time in the long run.
Avoid the Brush Marks With This Technique
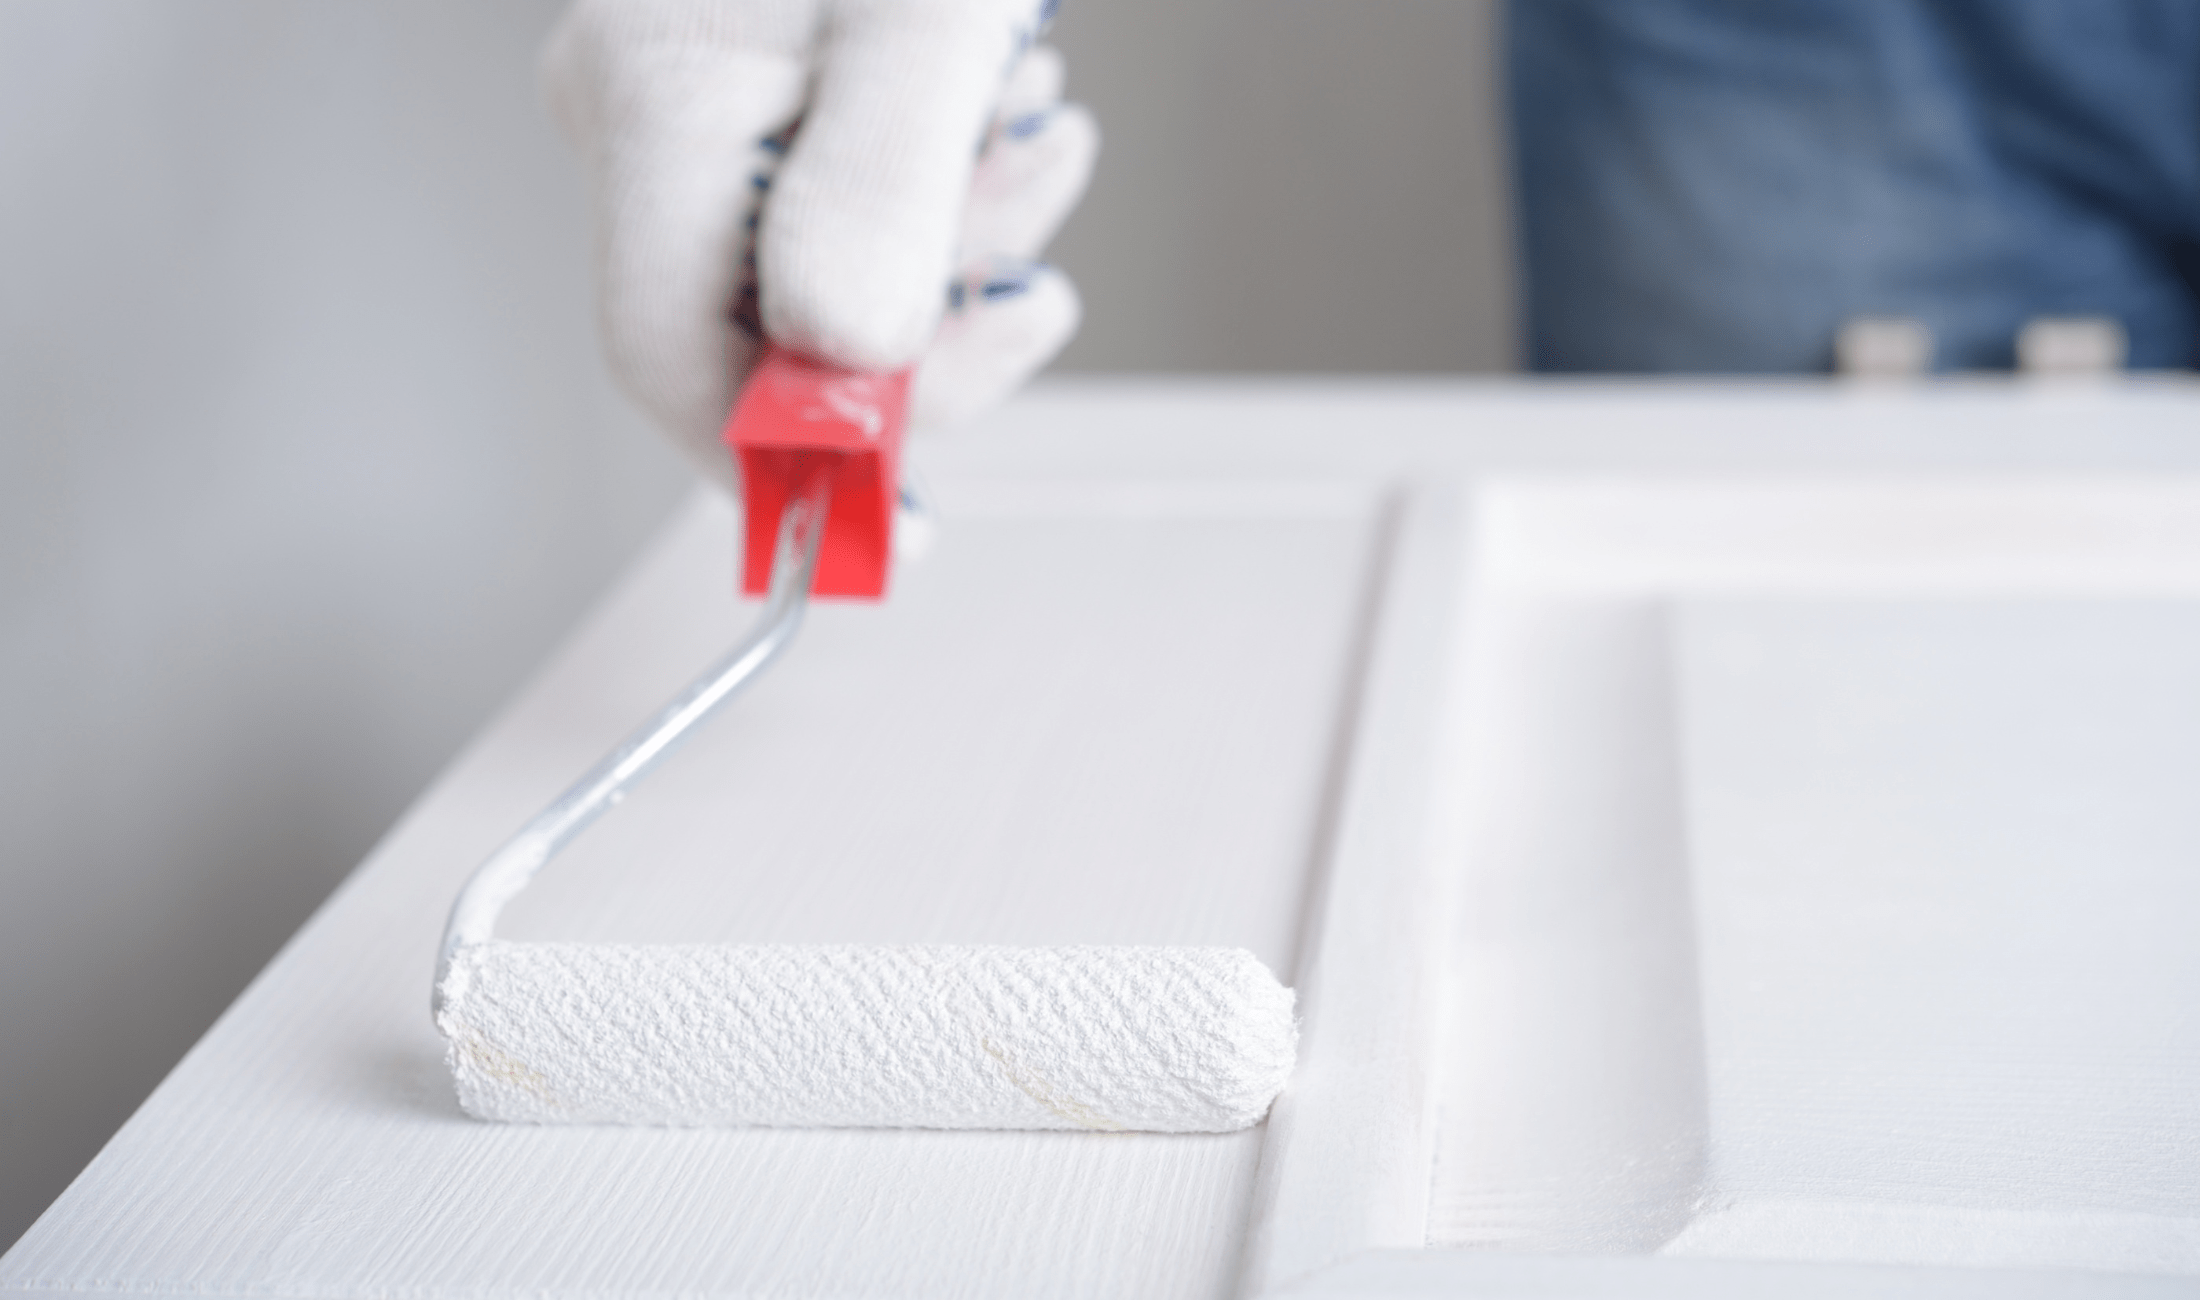
If you’re using both a brush and a roller, always work in sections and finish each one with a single, light stroke in the direction of the wood grain or the length of the door. This “tipping off” technique smooths out ridges left by the roller or brush. Letting the paint level itself without going back over it helps prevent brush marks, which often come from overworking the paint as it dries.
Paint the Panels First
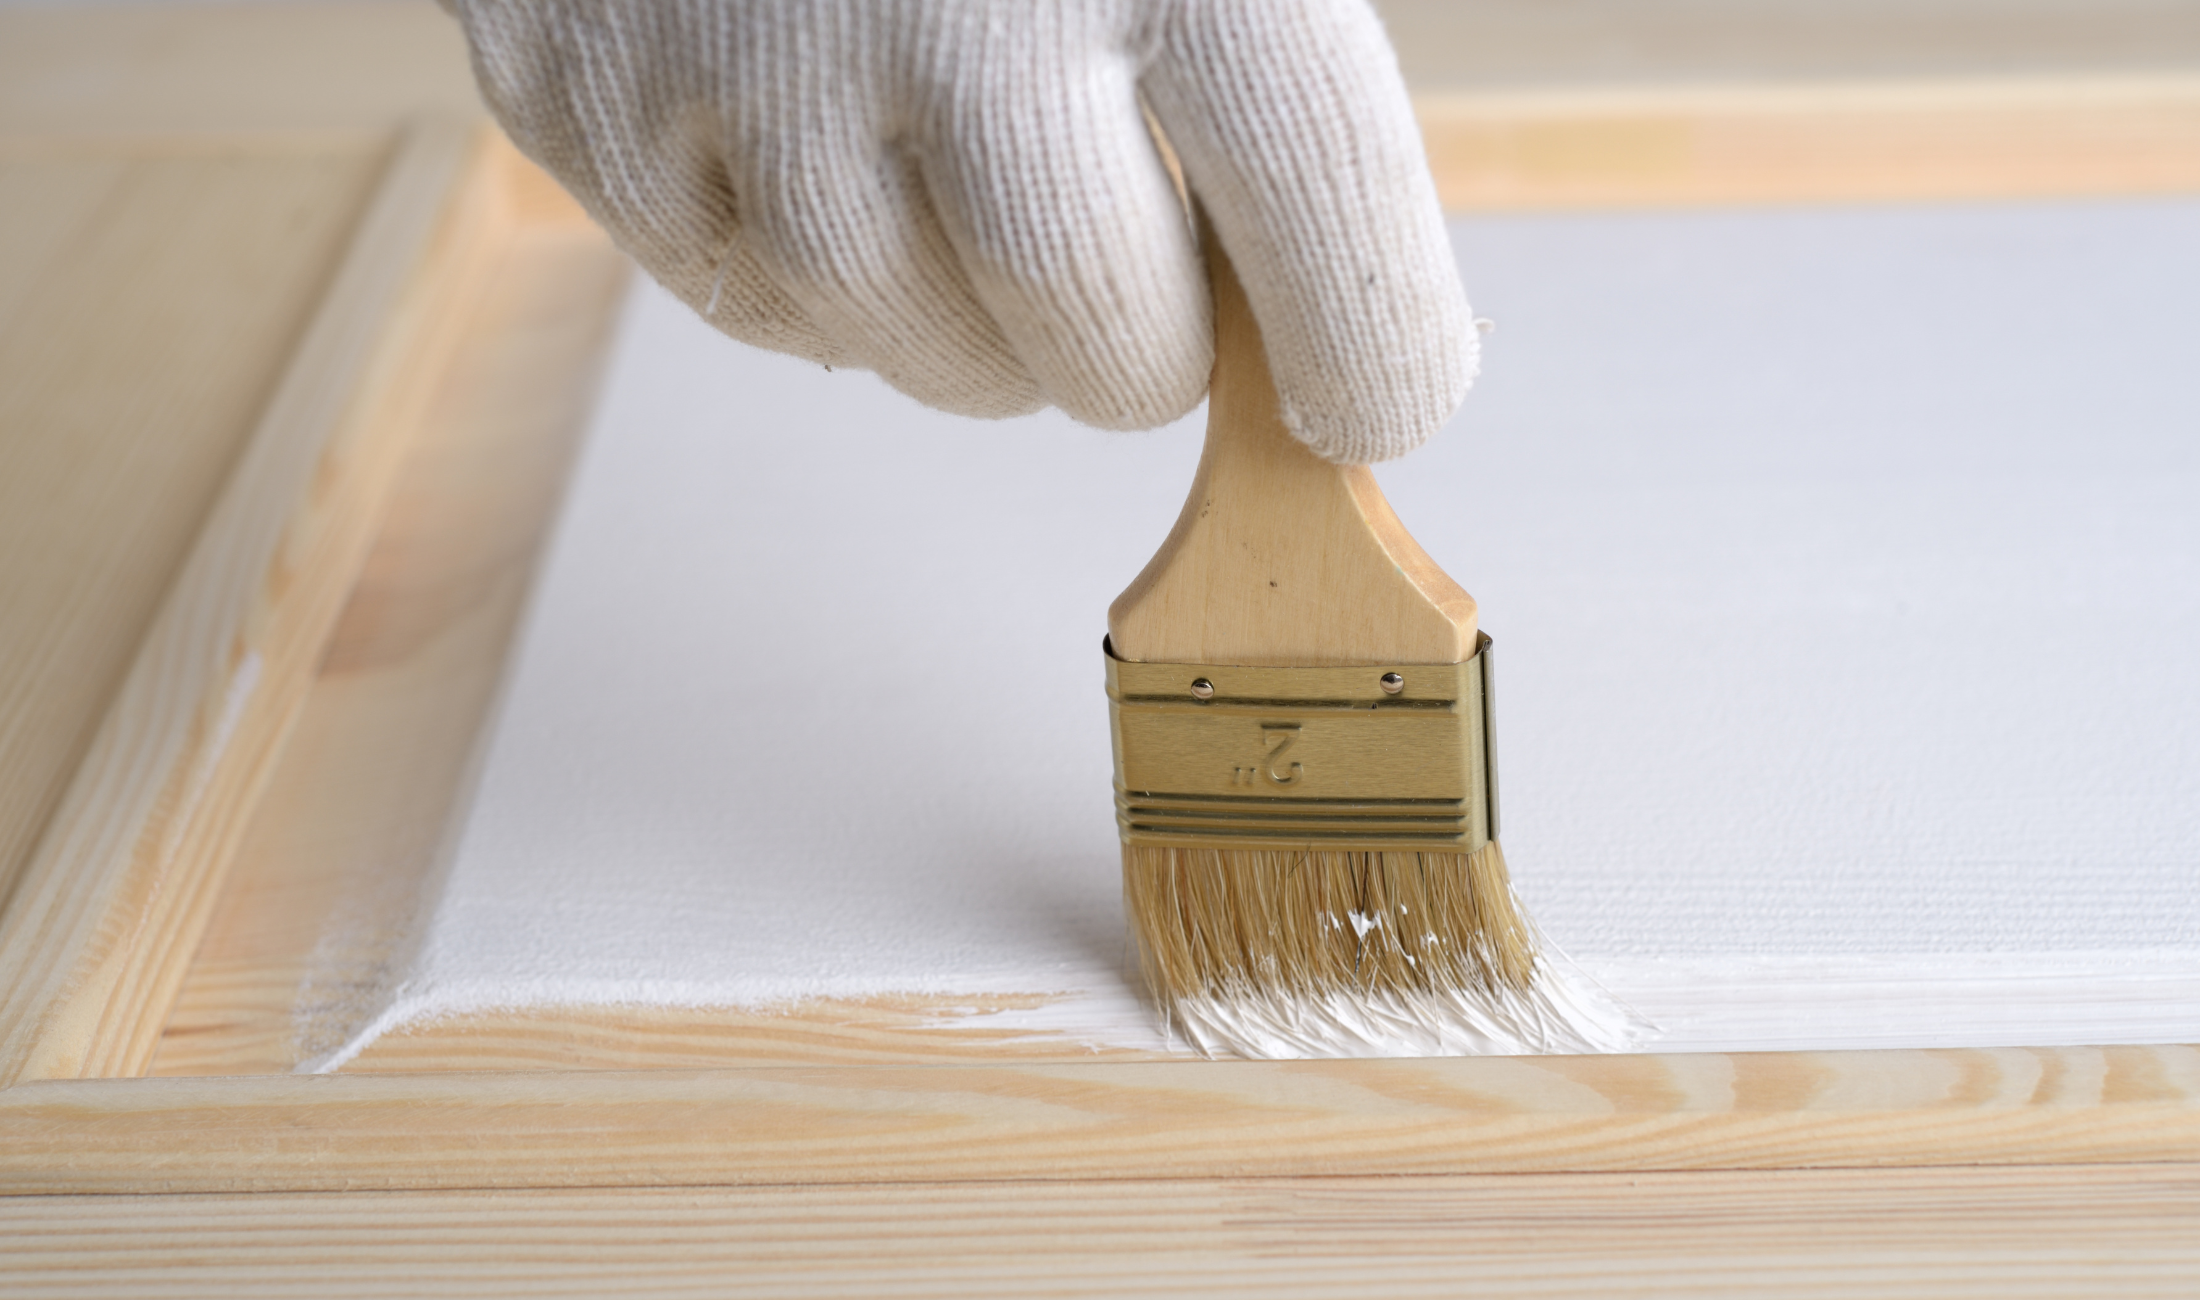
Many doors have raised or recessed panels, and these should always be painted before the surrounding flat areas. Starting with the panels allows you to brush out any overlaps or edges while the paint is still wet, avoiding obvious lines. Once the panels are dry, move to the horizontal and vertical sections around them. Working in this order keeps the finish looking intentional and clean instead of patchy or streaked.
Mind the Edges
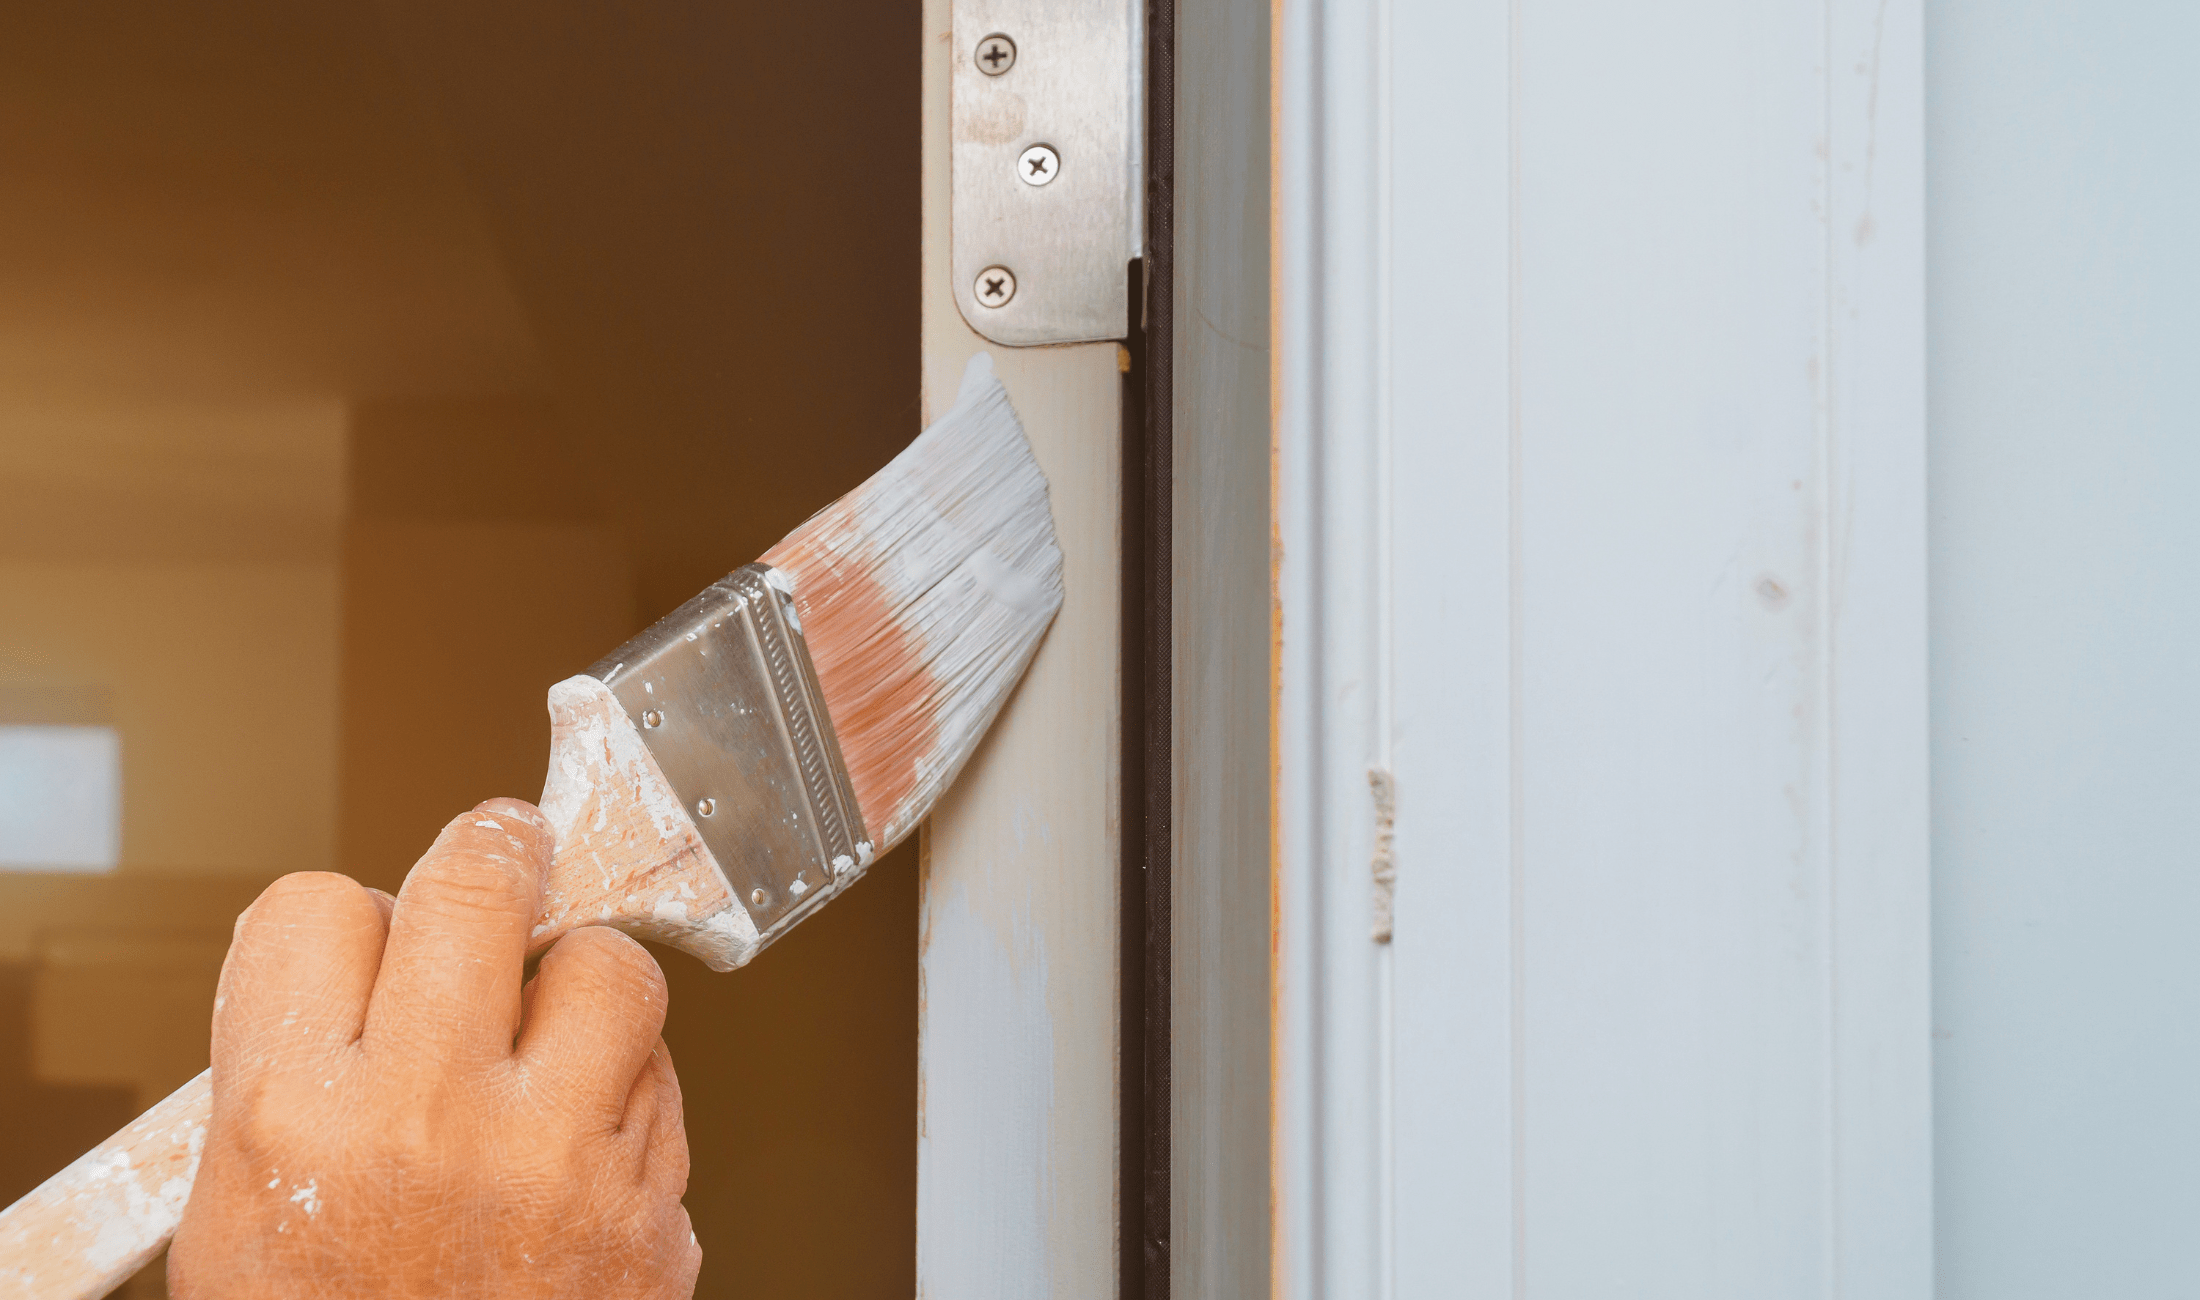
Most people focus only on the front and back of the door, but the edges matter too. If the door swings inward, paint the latch edge the same color as the side that faces into the room, while the hinge edge should match the opposite side, a detail that helps the door blend better when it’s open. It’s a small trick that professional painters use often, and it gives the whole job a sharper finish.
Choose the Right Finish
A flat or matte finish on your paint may hide surface flaws, but it won’t stand up well to fingerprints or scuffs, especially on high-traffic doors. Semi-gloss or satin are often the better choice as they’re durable, easy to clean, and give that smooth, polished look you see in professionally painted doors.
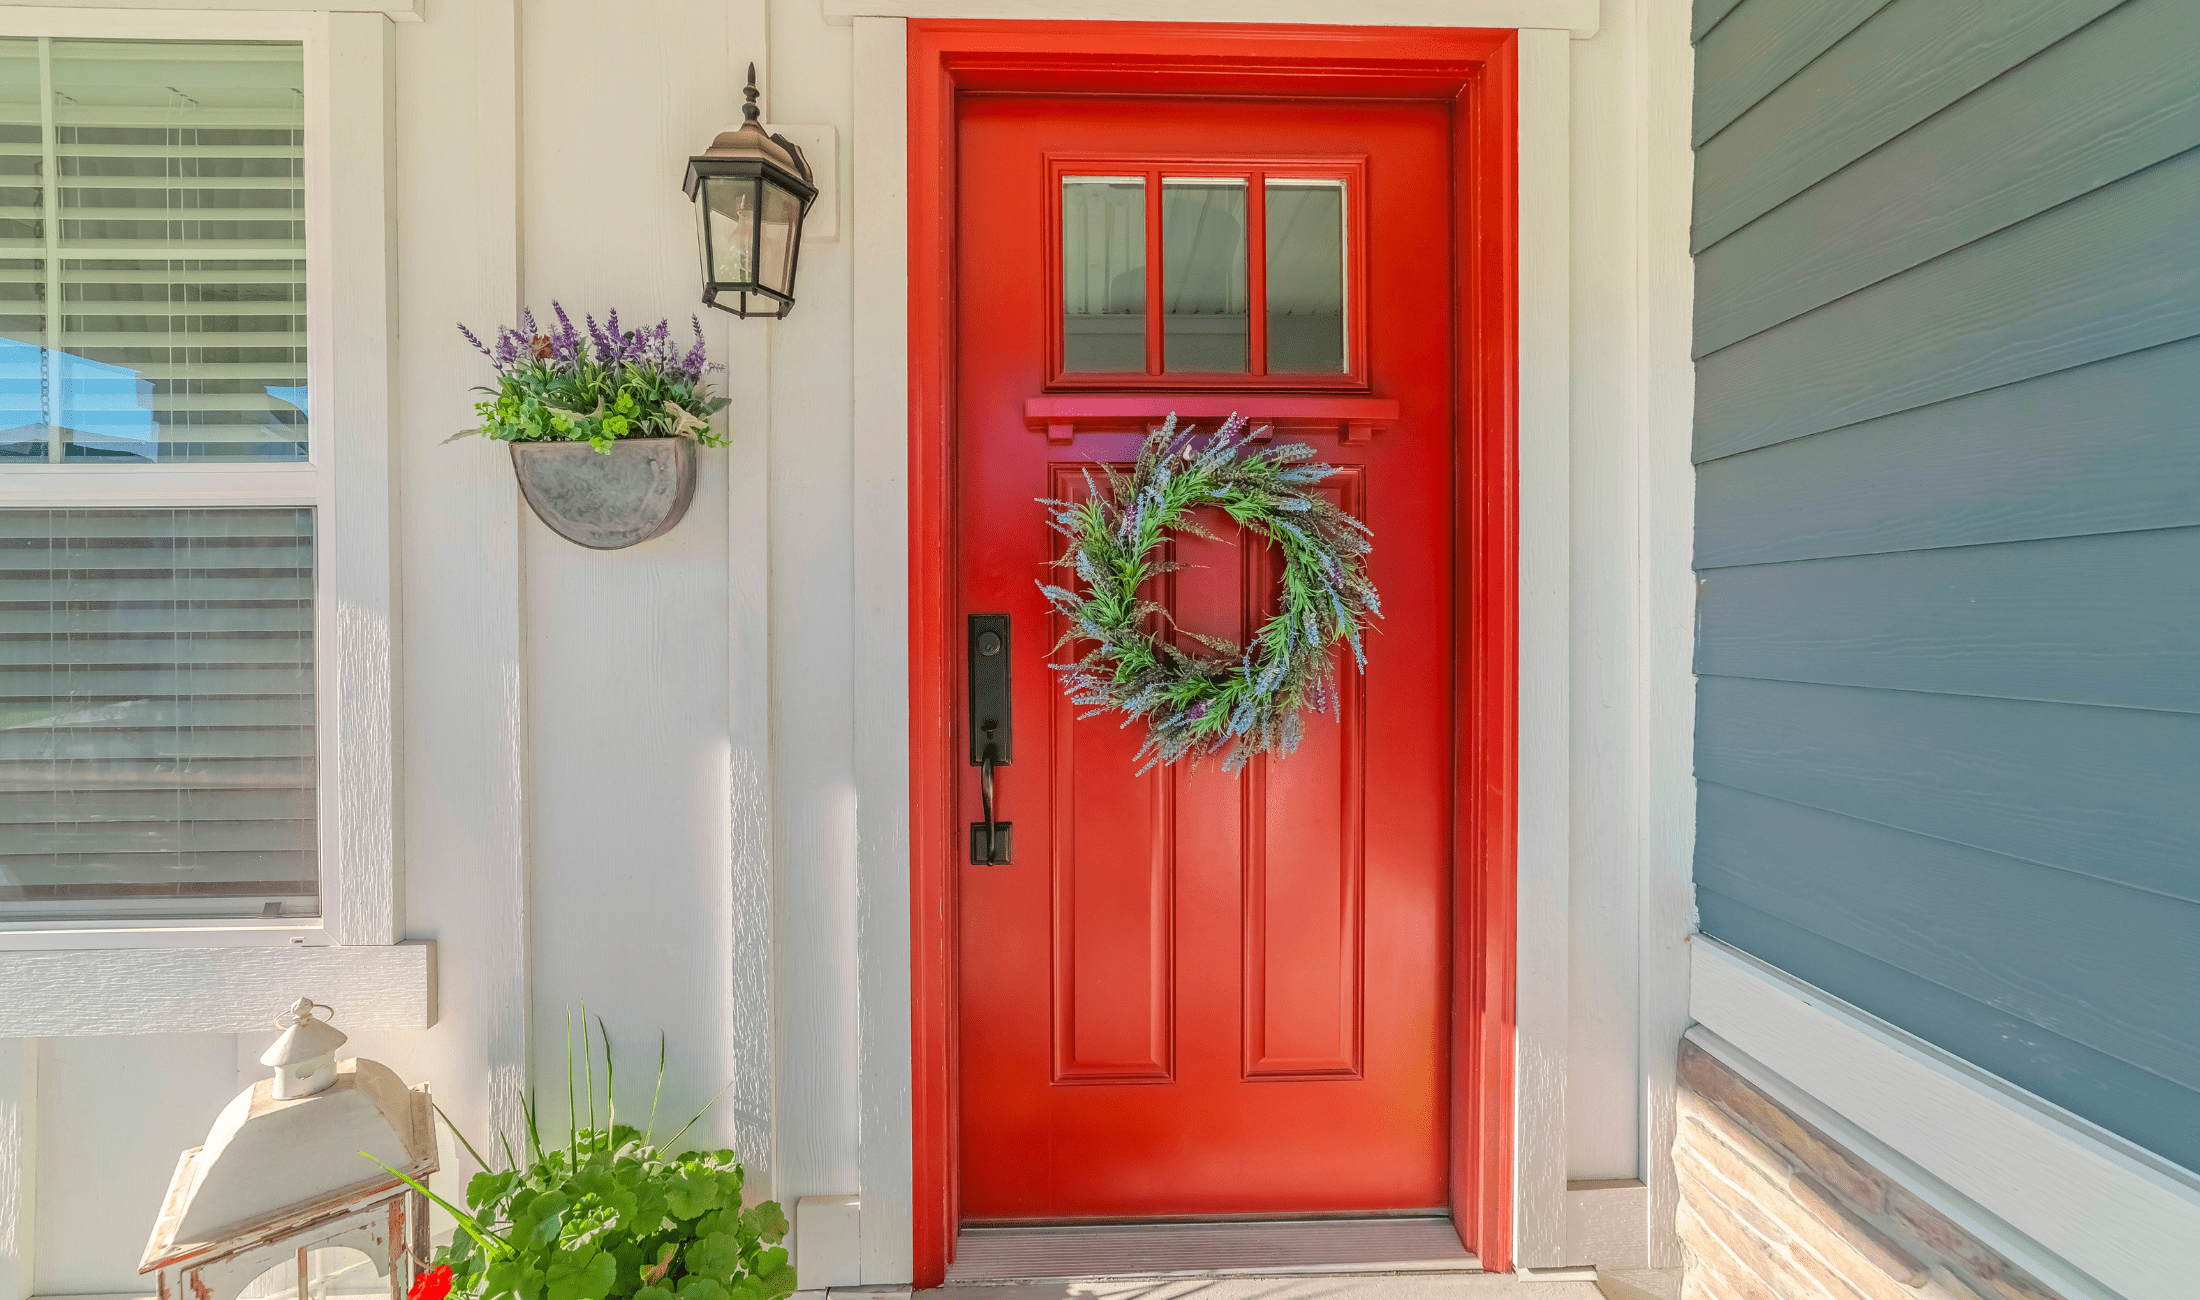
Let the Paint Cure Fully
It’s tempting to put everything back together as soon as it feels dry, but even when paint is dry to the touch, it hasn’t fully cured. Rushing this step can lead to smudges, scratches, or paint sticking to hinges and knobs. Overall, a sloppier look. Give it a full day or two, and if you can, wait even longer for oil-based paints. Being patient here means your hard work stays looking clean.
Related Articles
- How to Replace Exterior Door Weather Stripping (and Why You Should)
- Simple Tricks For Making Your Home Paint Job Look Professional
- How to Paint Your Front Door Without Removing It
A freshly painted door has the power to brighten a hallway, boost curb appeal, or simply make your space feel more yours. By planning things fully and keeping these details in mind, you can avoid the usual mistakes and get a result that looks sharp and lasts longer. A bit of care upfront leads to a finish you’ll love for years to come.


