Craft Your Own Workshop Essential – DIY Router Table Build Guide for Craftsmen
The concept of building your own router table might seem daunting at first. Yet, it’s an endeavor that not only saves you money but also allows customization to fit your specific needs and space. Throughout this guide, we aim to walk you through the DIY build process, offering tips, insights, and encouragement. Whether you’re a seasoned woodworker or a curious novice, the journey to constructing your DIY router table is about to begin, marking a significant step in your woodworking journey.
Choosing the Right Materials and Tools for Your DIY Router Table
The foundation of any successful DIY project lies in the selection of appropriate materials and tools. For a router table, this choice becomes even more crucial. Quality plywood or MDF (Medium-Density Fibreboard) emerges as a popular choice for the tabletop, providing a flat, stable surface for precision work. The base, on the other hand, can vary from hardwood for its durability to metal frames for those desiring more industrial strength.

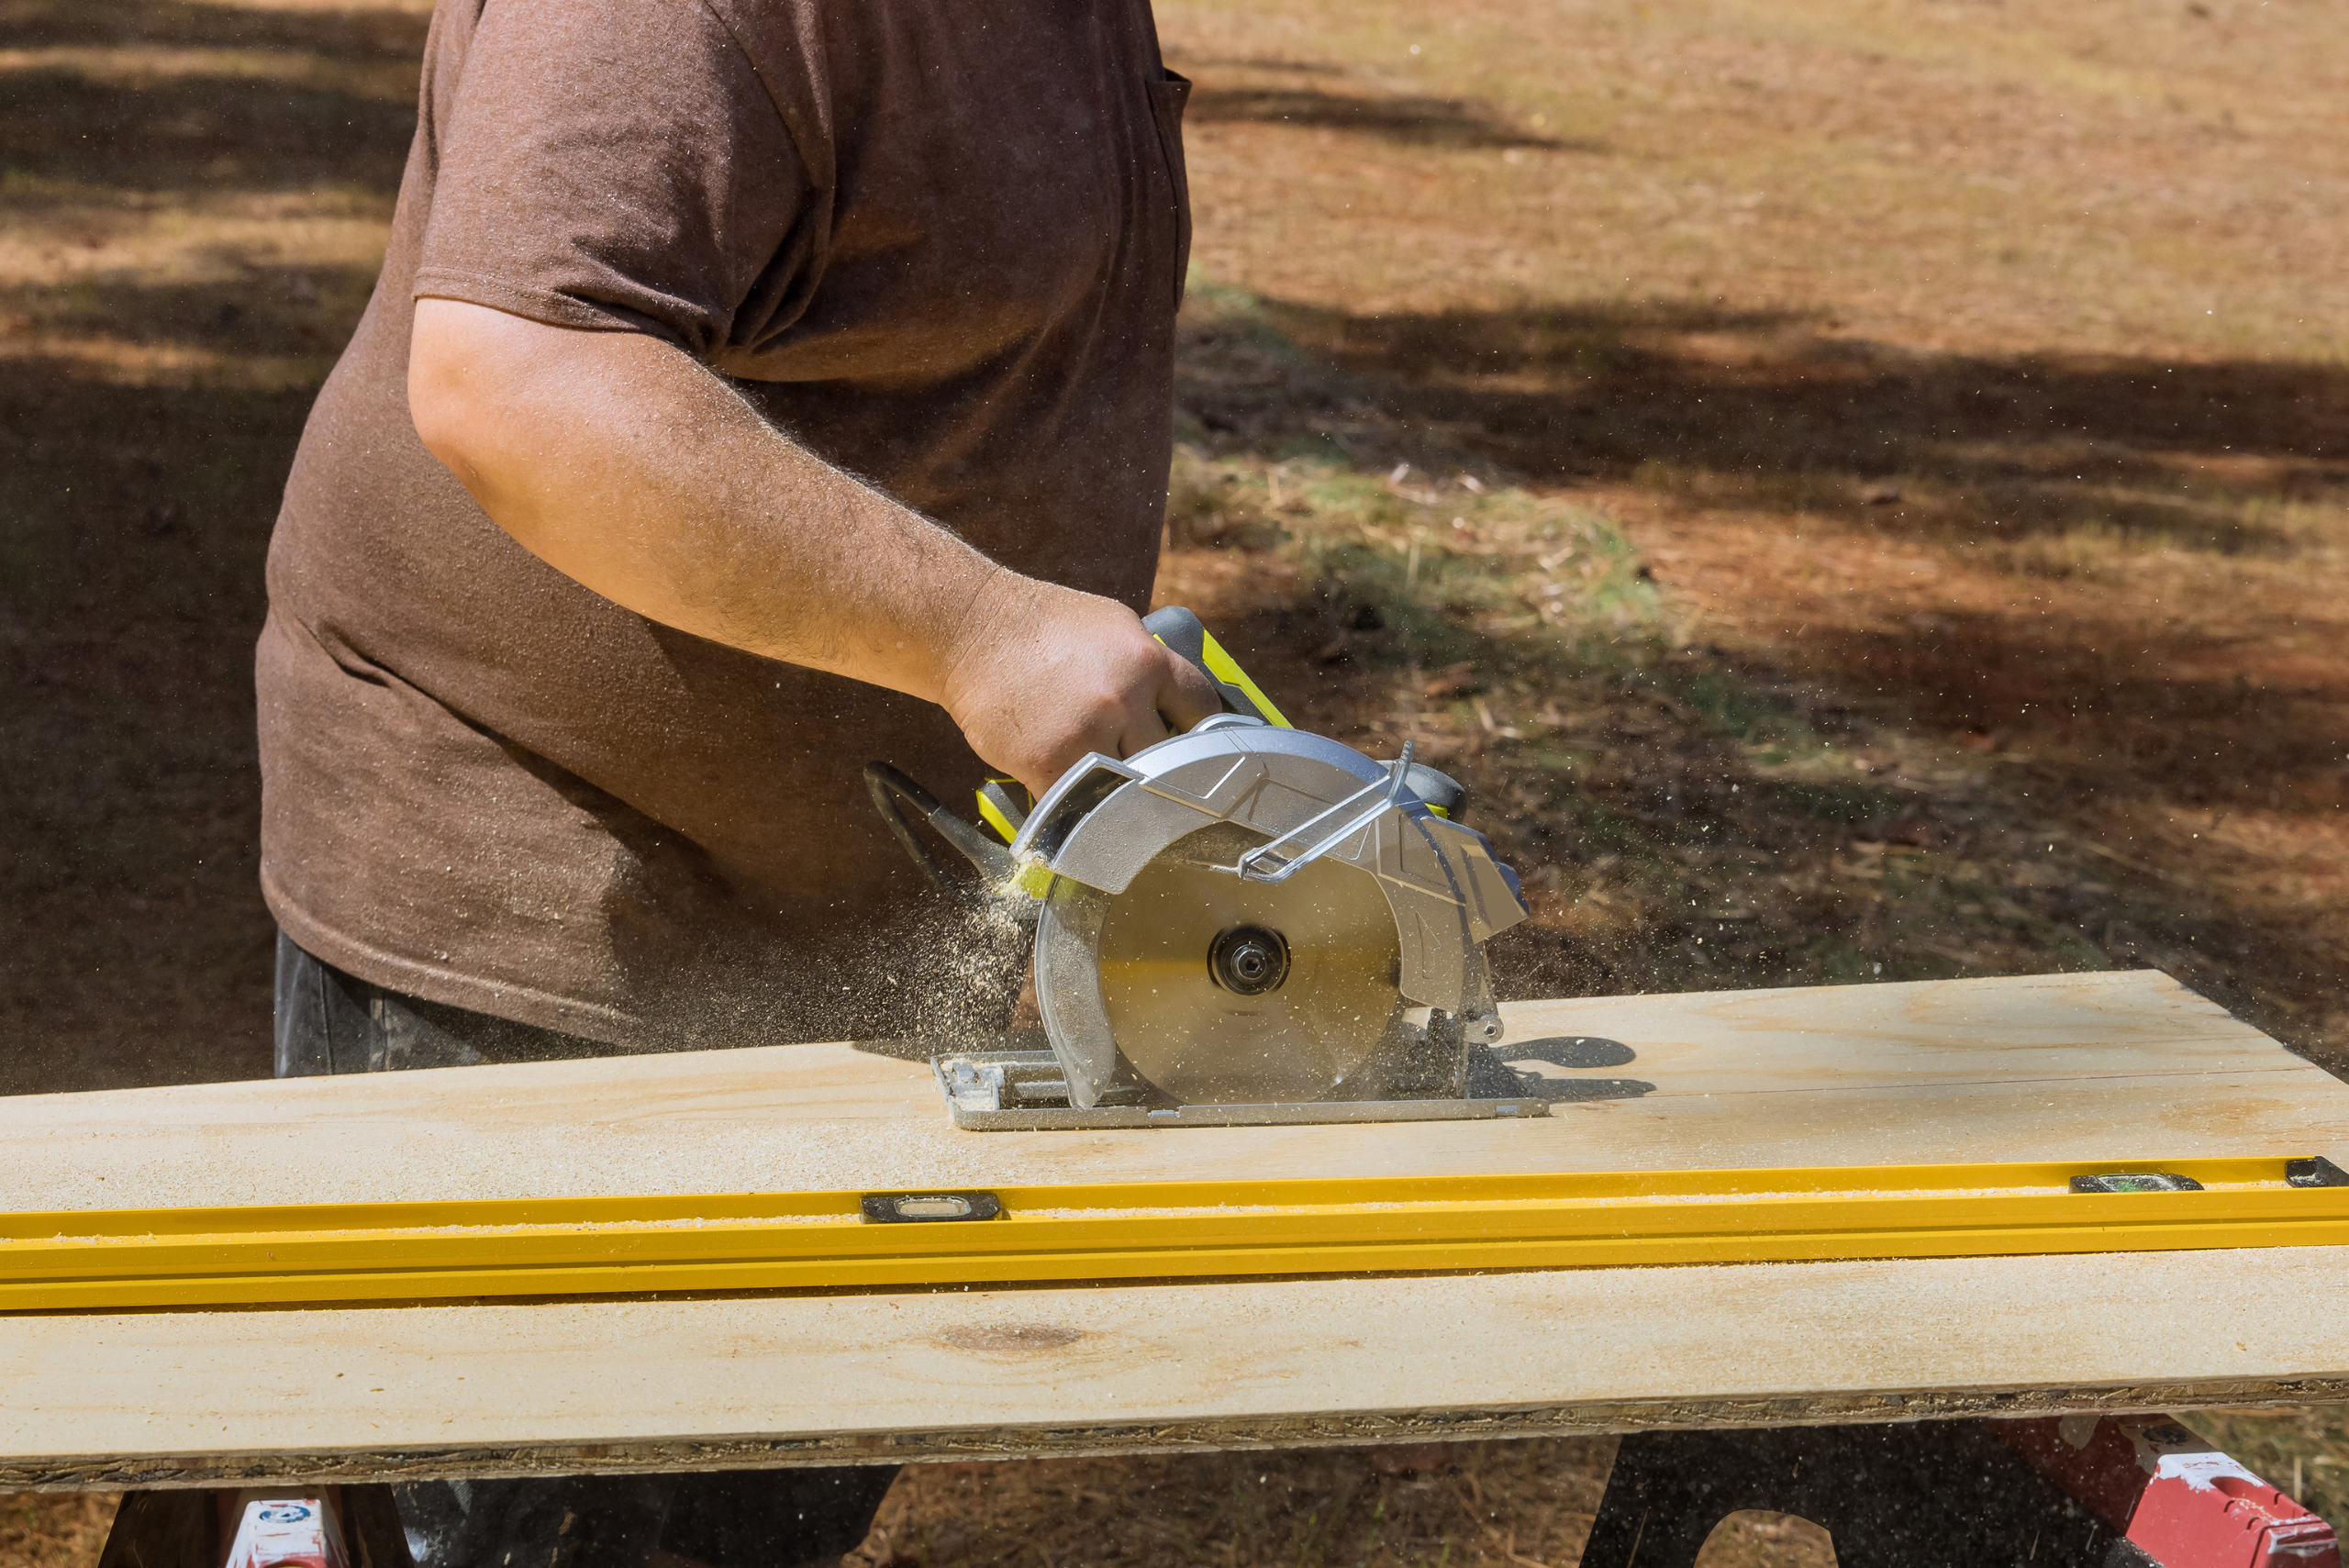
Equally important is the selection of tools. A reliable circular saw, drill, and jigsaw form the trifecta of power tools essential for this project. Precision tools such as a router (of course), clamps, and a straight-edge guide are indispensable for ensuring accurate cuts and drill holes. Remember, the quality of your tools reflects your work’s quality. Therefore, investing in good-quality tools not only aids in the construction of your DIY router table but also enhances your overall woodworking toolkit.
Designing Your DIY Router Table To Have A Blend of Functionality and Creativity
Designing your DIY router table is where your creativity and woodworking desires merge. The key is to balance functionality with the specific needs of your workshop. Start by deciding on the size of the table. Consider the space available in your workshop and the size of the projects you plan to undertake. A larger table offers more support for bigger projects, while a compact table might suffice for smaller workshops or less ambitious tasks.

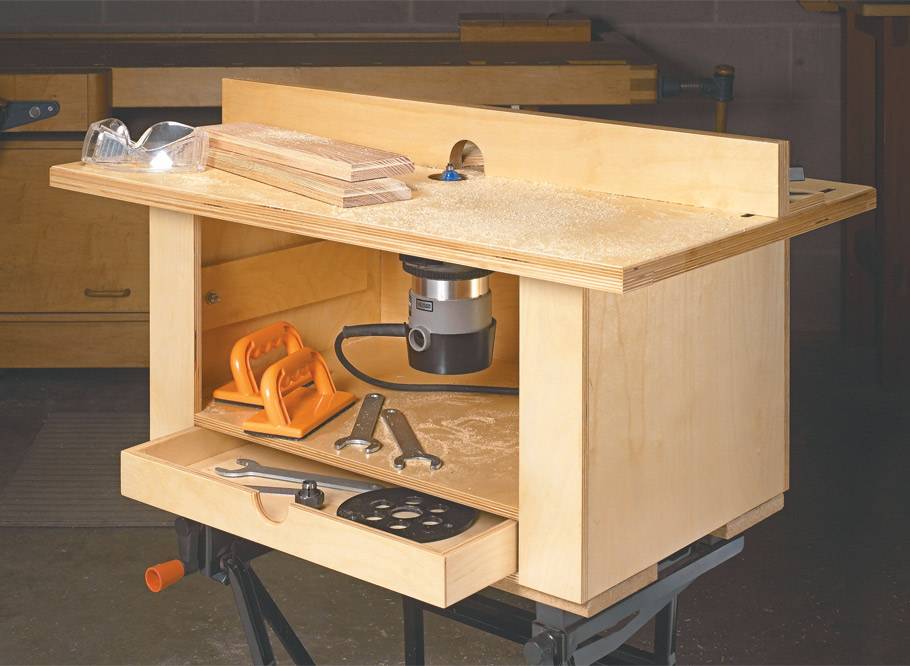
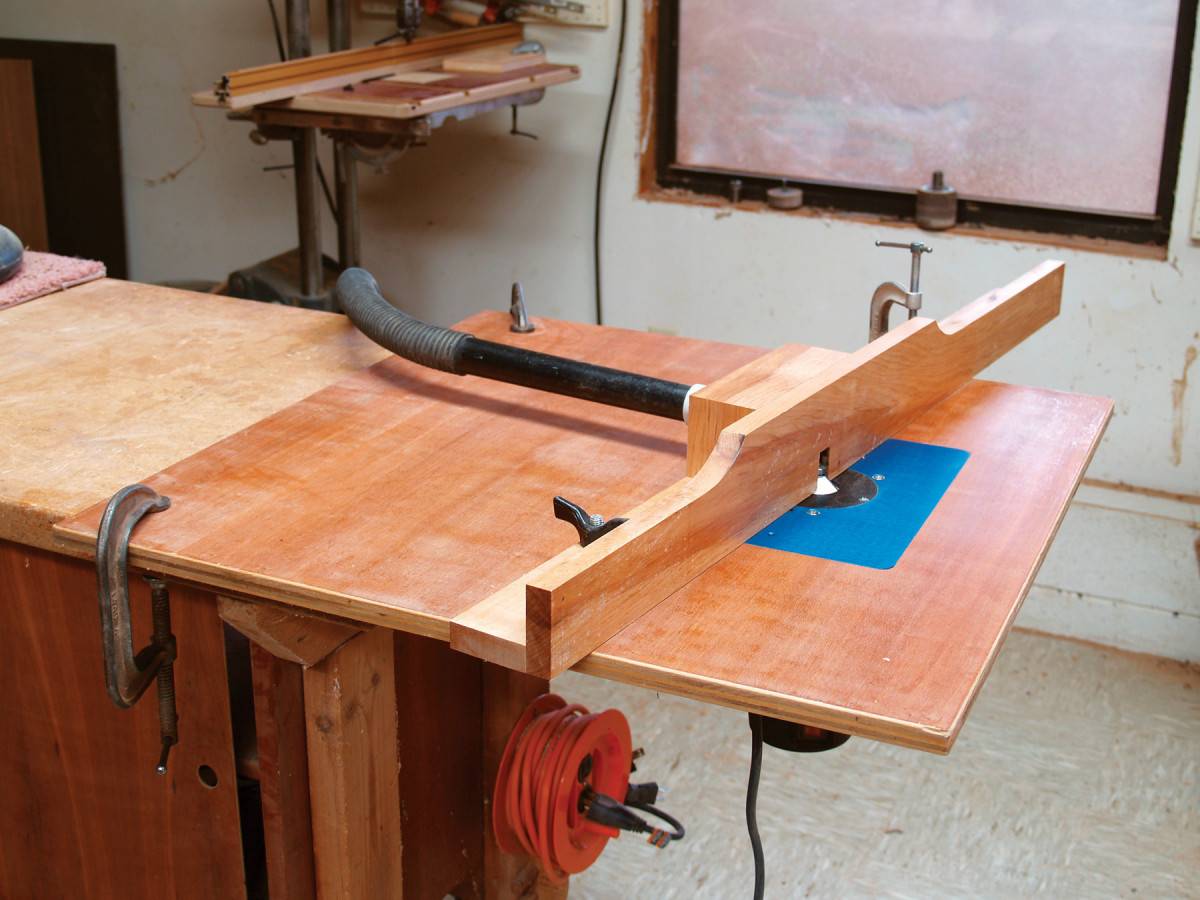
Next, consider the features that would make your woodworking projects easier. A fence that is easy to adjust and reliably square to the table can significantly improve precision. Dust collection ports are not just a convenience but a necessity for maintaining a clean and safe workspace. Additionally, storage solutions such as drawers or shelves under the table can maximize your space, keeping tools and accessories within arm’s reach. Your design should reflect your specific needs, making your router table a unique and personal addition to your workshop.
Step-by-Step Guide to Constructing Your DIY Router Table
With a design in hand and materials and tools at the ready, it’s time to embark on the actual construction of your DIY router table.

- Begin by cutting the table top and base to your specified dimensions. Precision here is key, as an uneven table can affect the quality of your work.
- Once cut, smooth the edges with sandpaper to prevent splinters and ensure a clean, professional finish.
- Assembling the table follows, starting with the base and working up to attaching the tabletop. This step often requires patience and precision, ensuring that every piece fits snugly and securely.
- Installing the router plate comes next, a critical step that demands precision to ensure that the router sits flush with the table surface.
- Once assembled, adding the fence and any additional features like dust collection systems or storage solutions brings your DIY router table to life, ready for its inaugural project.
Tips and Tricks for Maximizing the Use of Your DIY Router Table
Having built your DIY router table, the journey doesn’t end; it merely shifts towards maximizing its potential. Familiarizing yourself with the router table, understanding its capabilities, and practicing with different bits and techniques can substantially enhance your woodworking projects. Start with simple projects to gain confidence and gradually move to more complex tasks.

Maintenance is also key to longevity. Regularly check and adjust the fence for squareness, clean the dust collection systems to maintain efficiency, and inspect the router and table for any wear or damage. These practices ensure that your DIY router table remains a reliable and valuable tool in your woodworking endeavors for years to come.
Related Articles:
- Makita vs Milwaukee – The Ultimate Brand Showdown for Power Tools
- Ways to Prevent Router Tearout During Woodworking Projects
- Tips and Techniques for How to Use a Circular Saw
The journey to creating your own DIY router table is not merely about building a piece of equipment; it’s about expanding your woodworking capabilities, customizing tools to fit your needs, and taking pride in the craftsmanship of your build. This project blends functionality, creativity, and the satisfaction of DIY projects, resulting in a tool that enhances your woodworking projects and workshop.
Remember, the journey doesn’t end with the last screw tightened or the final piece polished. It continues with each project you undertake, each piece of wood you transform, and each skill you master. Your DIY router table is more than just a tool; it’s a testament to your dedication to woodworking, a companion in your creative journey. Happy woodworking!
Ready to start your next project? Join our DIY community to receive tool tips, how-to guides, and exclusive creative insights. Subscribe to the ManMadeDIY newsletter now! Click here to unlock a world of hands-on inspiration.


