Craft Your Own Stylish DIY Plant Stand
In recent years, the trend of DIY plant stands has been steadily growing in popularity, and for good reason. Not only do DIY plant stands add a touch of natural beauty to any space, but they also provide an opportunity for creativity and self-expression. In this guide, we will explore the various aspects of DIY plant stands, from understanding the trend to step-by-step instructions for creating your own unique designs.
Understanding the DIY Plant Stand Trend
The rise of DIY plant stands in home decor can be attributed to the desire for a personalized and natural touch in living spaces. With the increasing awareness of the benefits of indoor plants, DIY plant stands offer a creative way to display greenery while adding visual interest to a room. Additionally, the satisfaction of crafting something with your own hands and the cost-effectiveness of DIY projects contribute to the appeal of creating plant stands at home.
Choosing the Right Materials for Your DIY Plant Stand
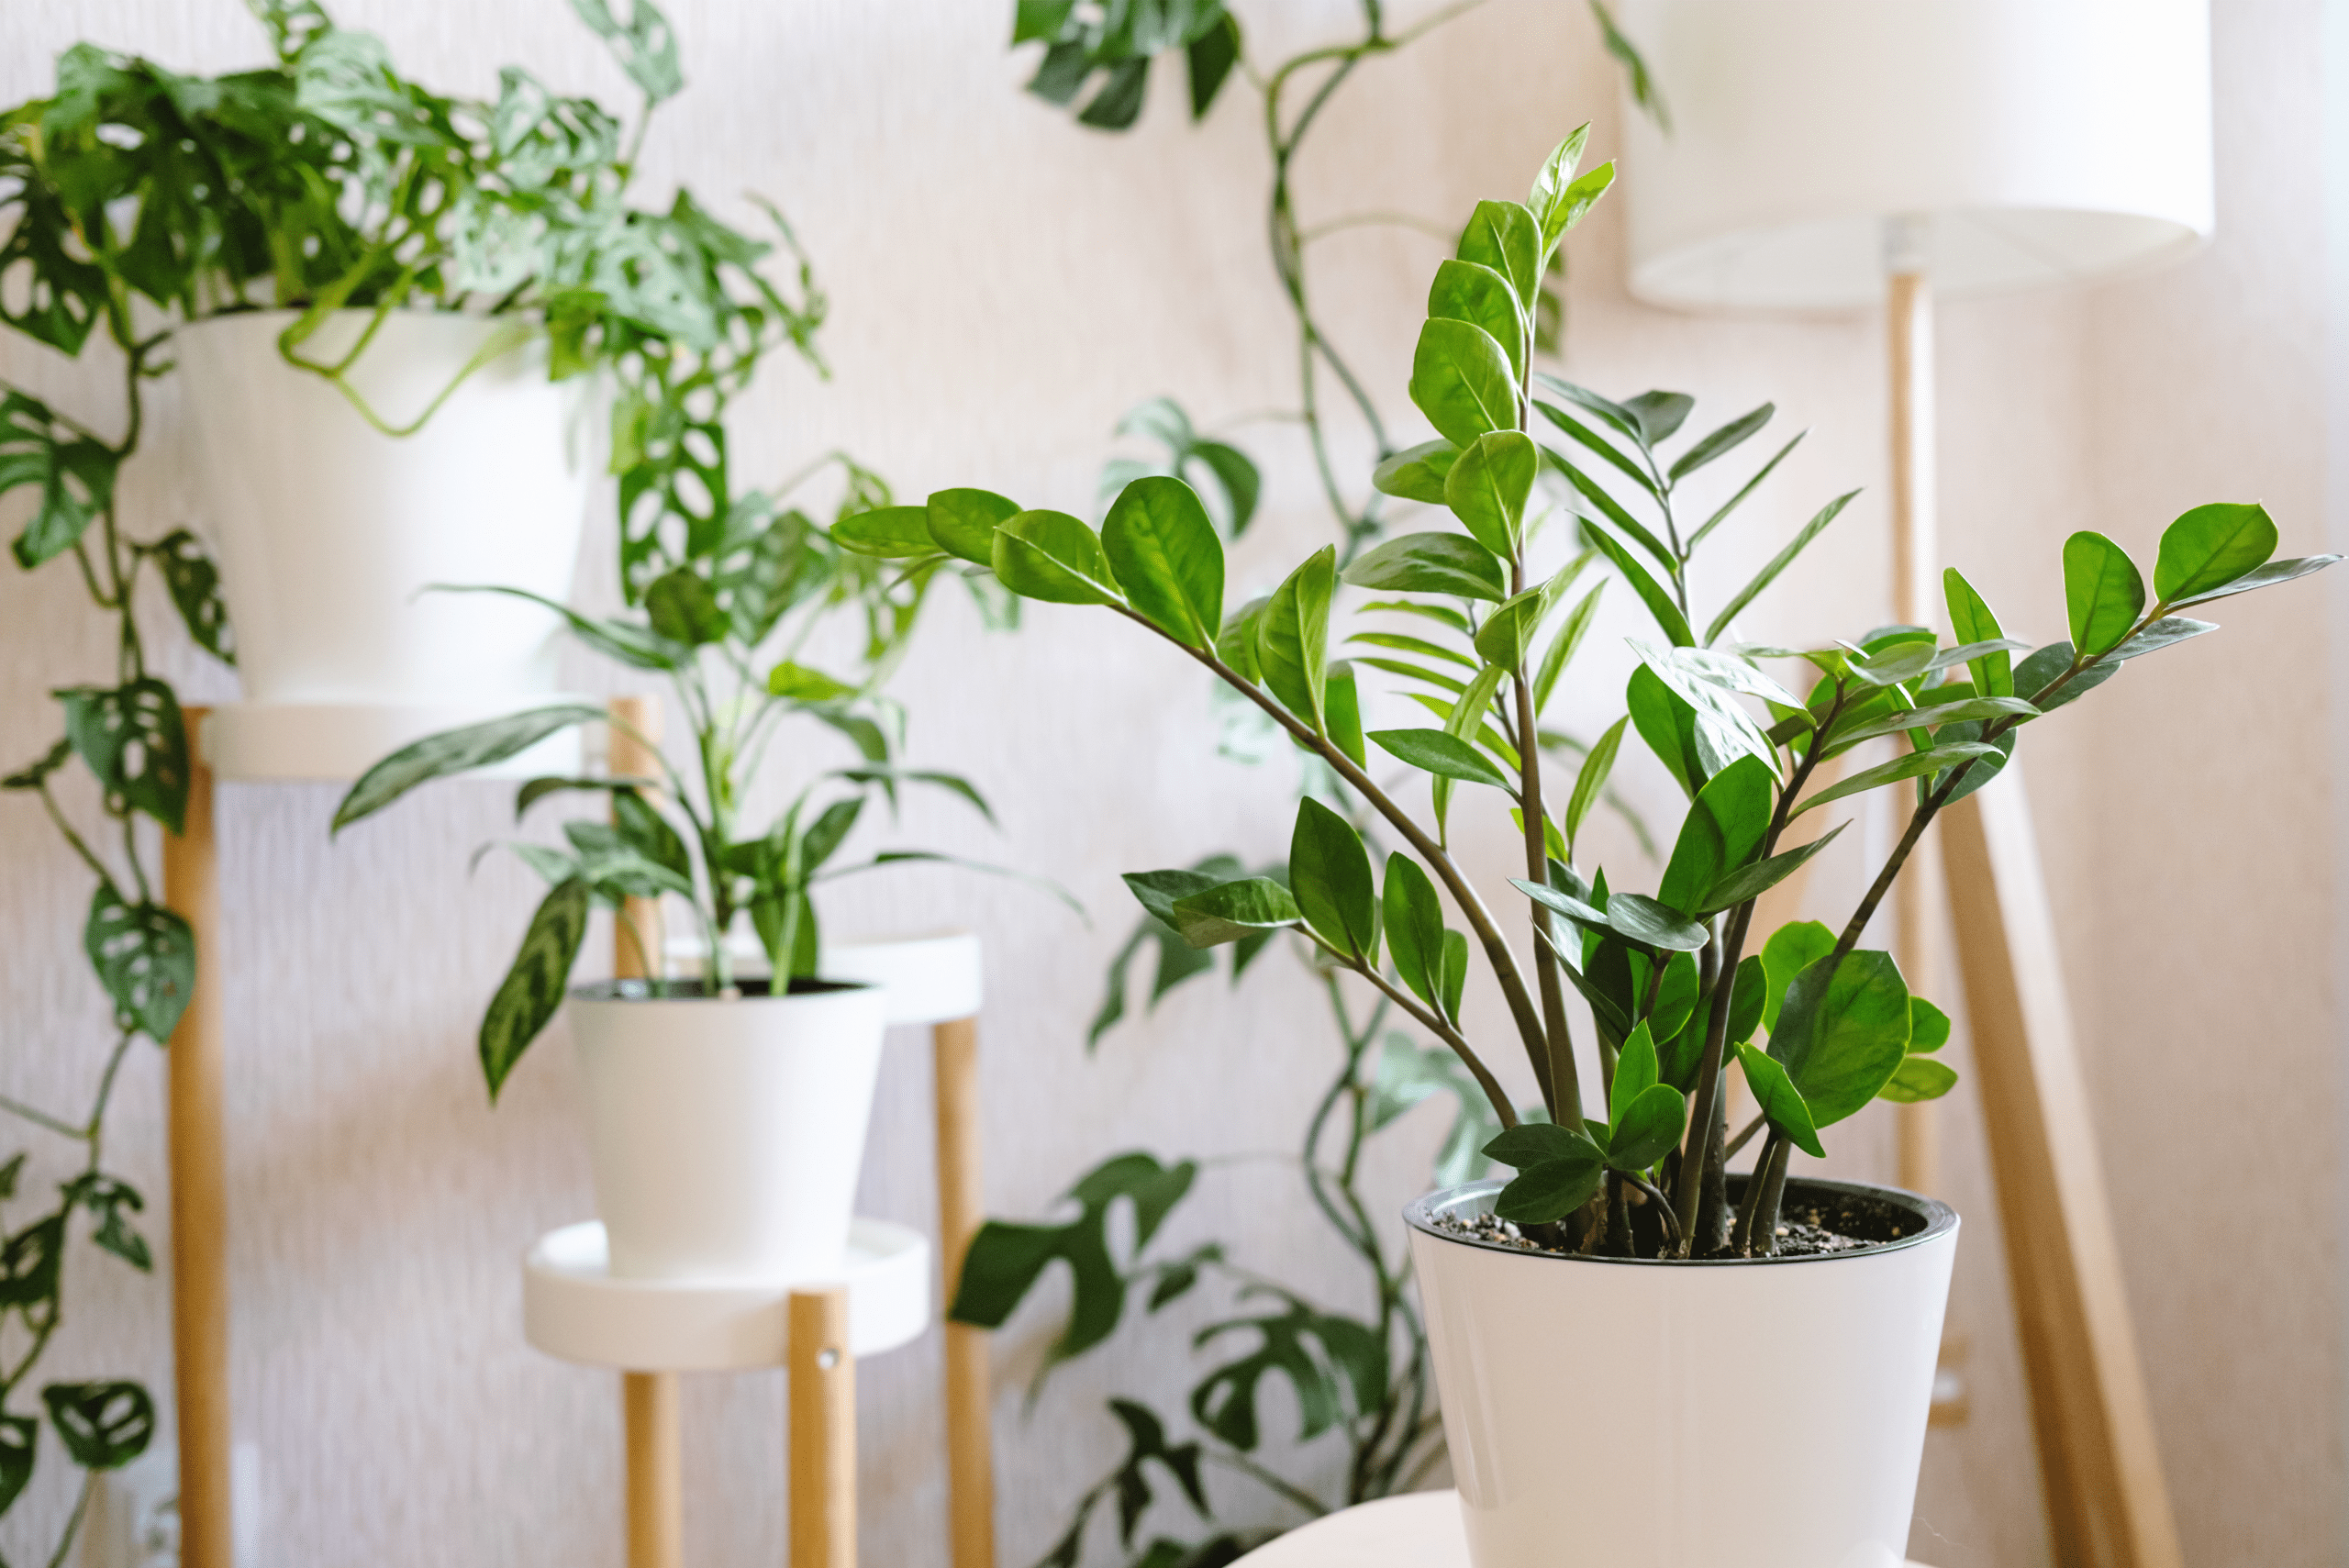
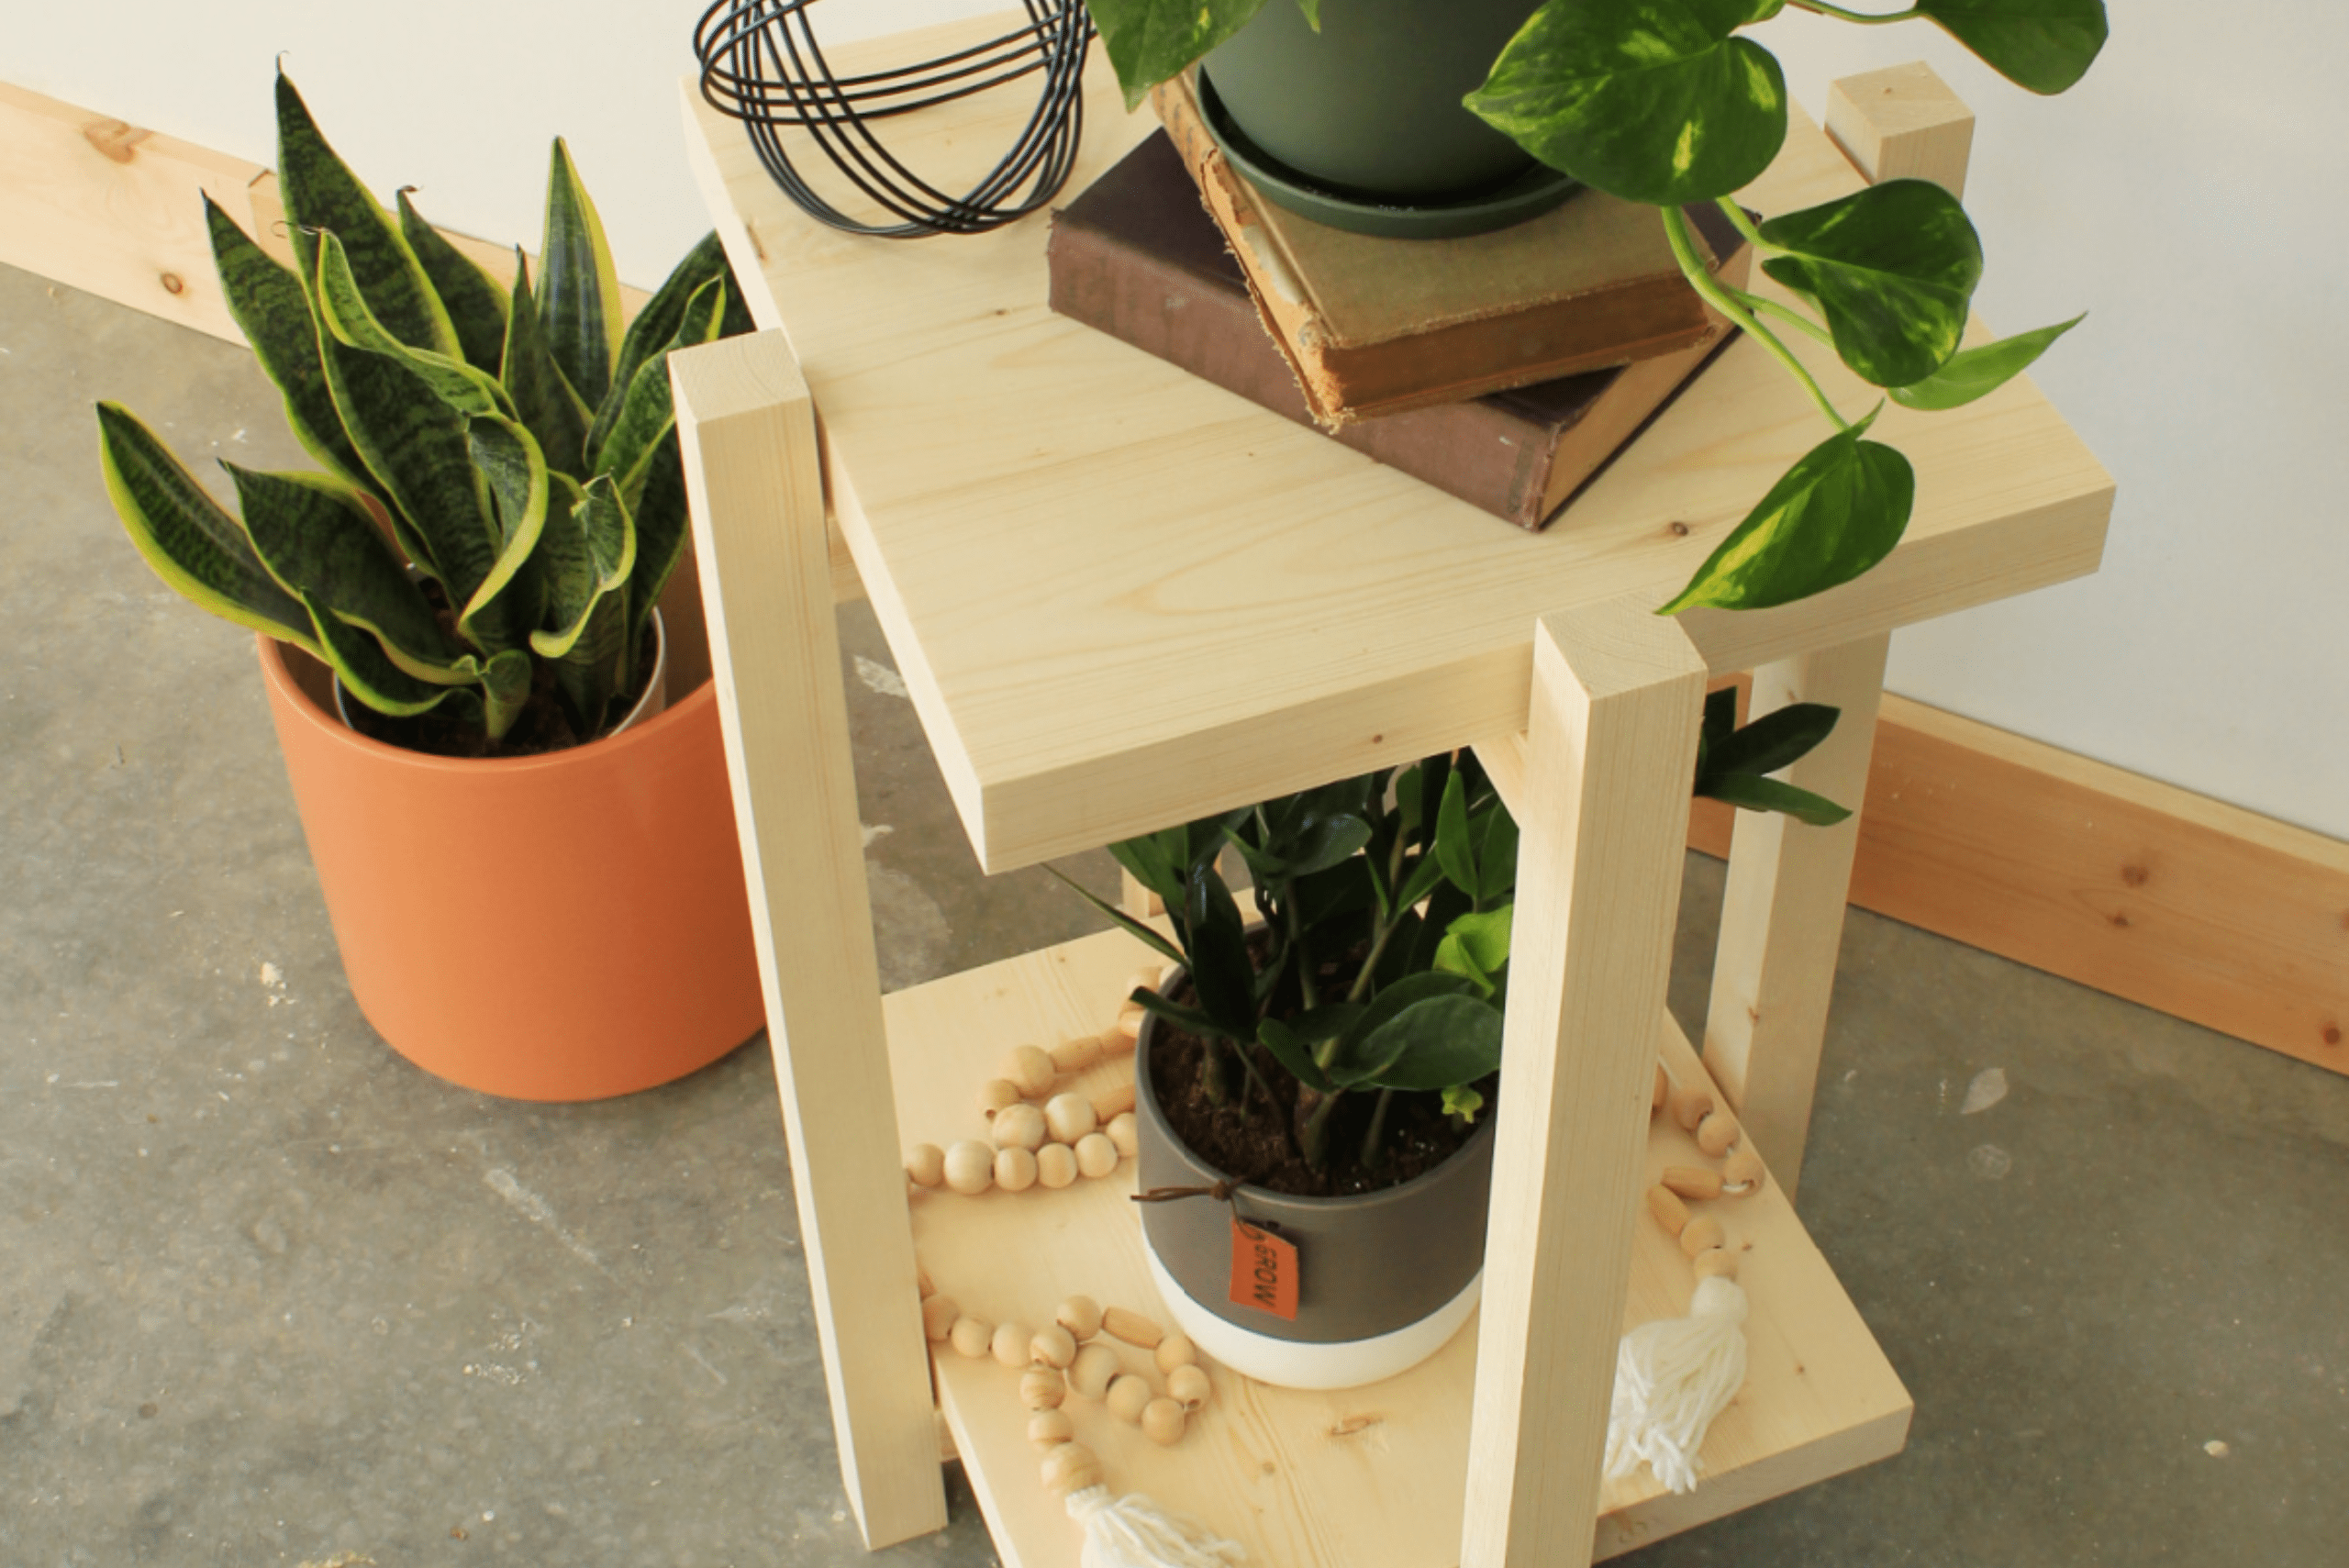
When embarking on a DIY plant stand project, it’s essential to consider the materials carefully. Wood, metal, and even repurposed items such as crates or old furniture can be used to create unique and sturdy plant stands. Factors such as the weight of the plants, the intended location of the stand, and the overall aesthetic of the space should all be taken into account when selecting materials.
Creative DIY Plant Stand Ideas for Every Space
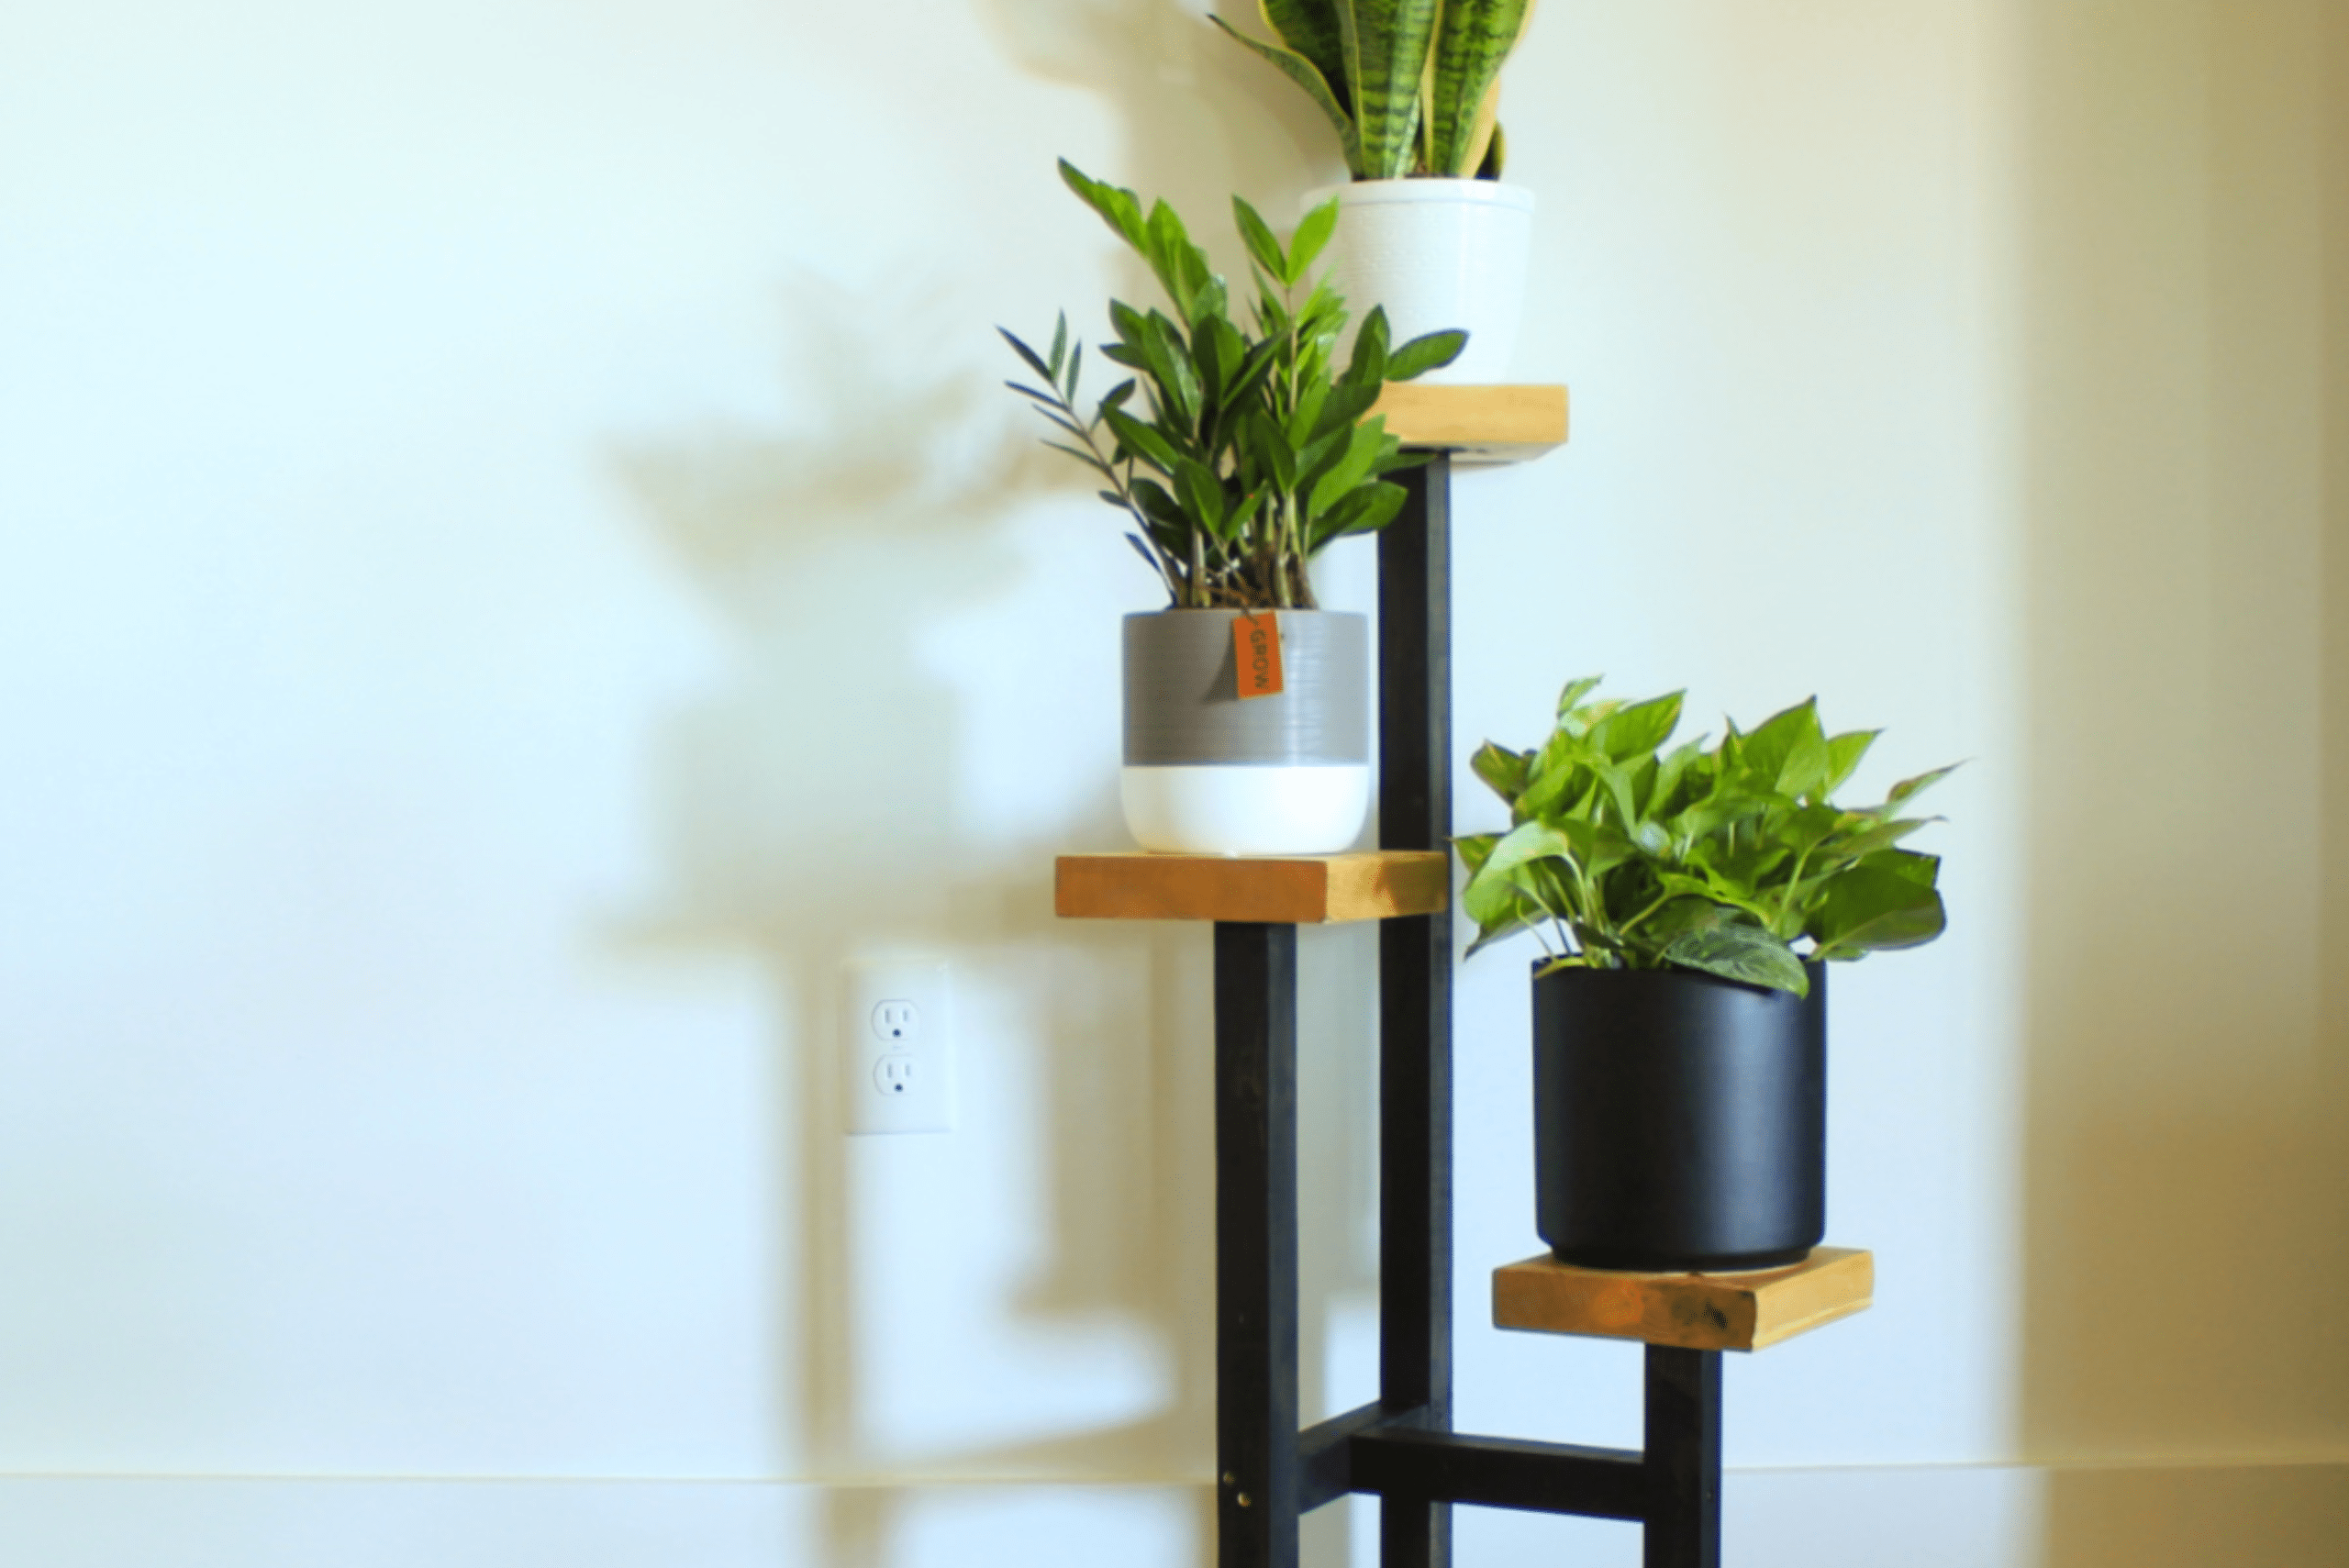
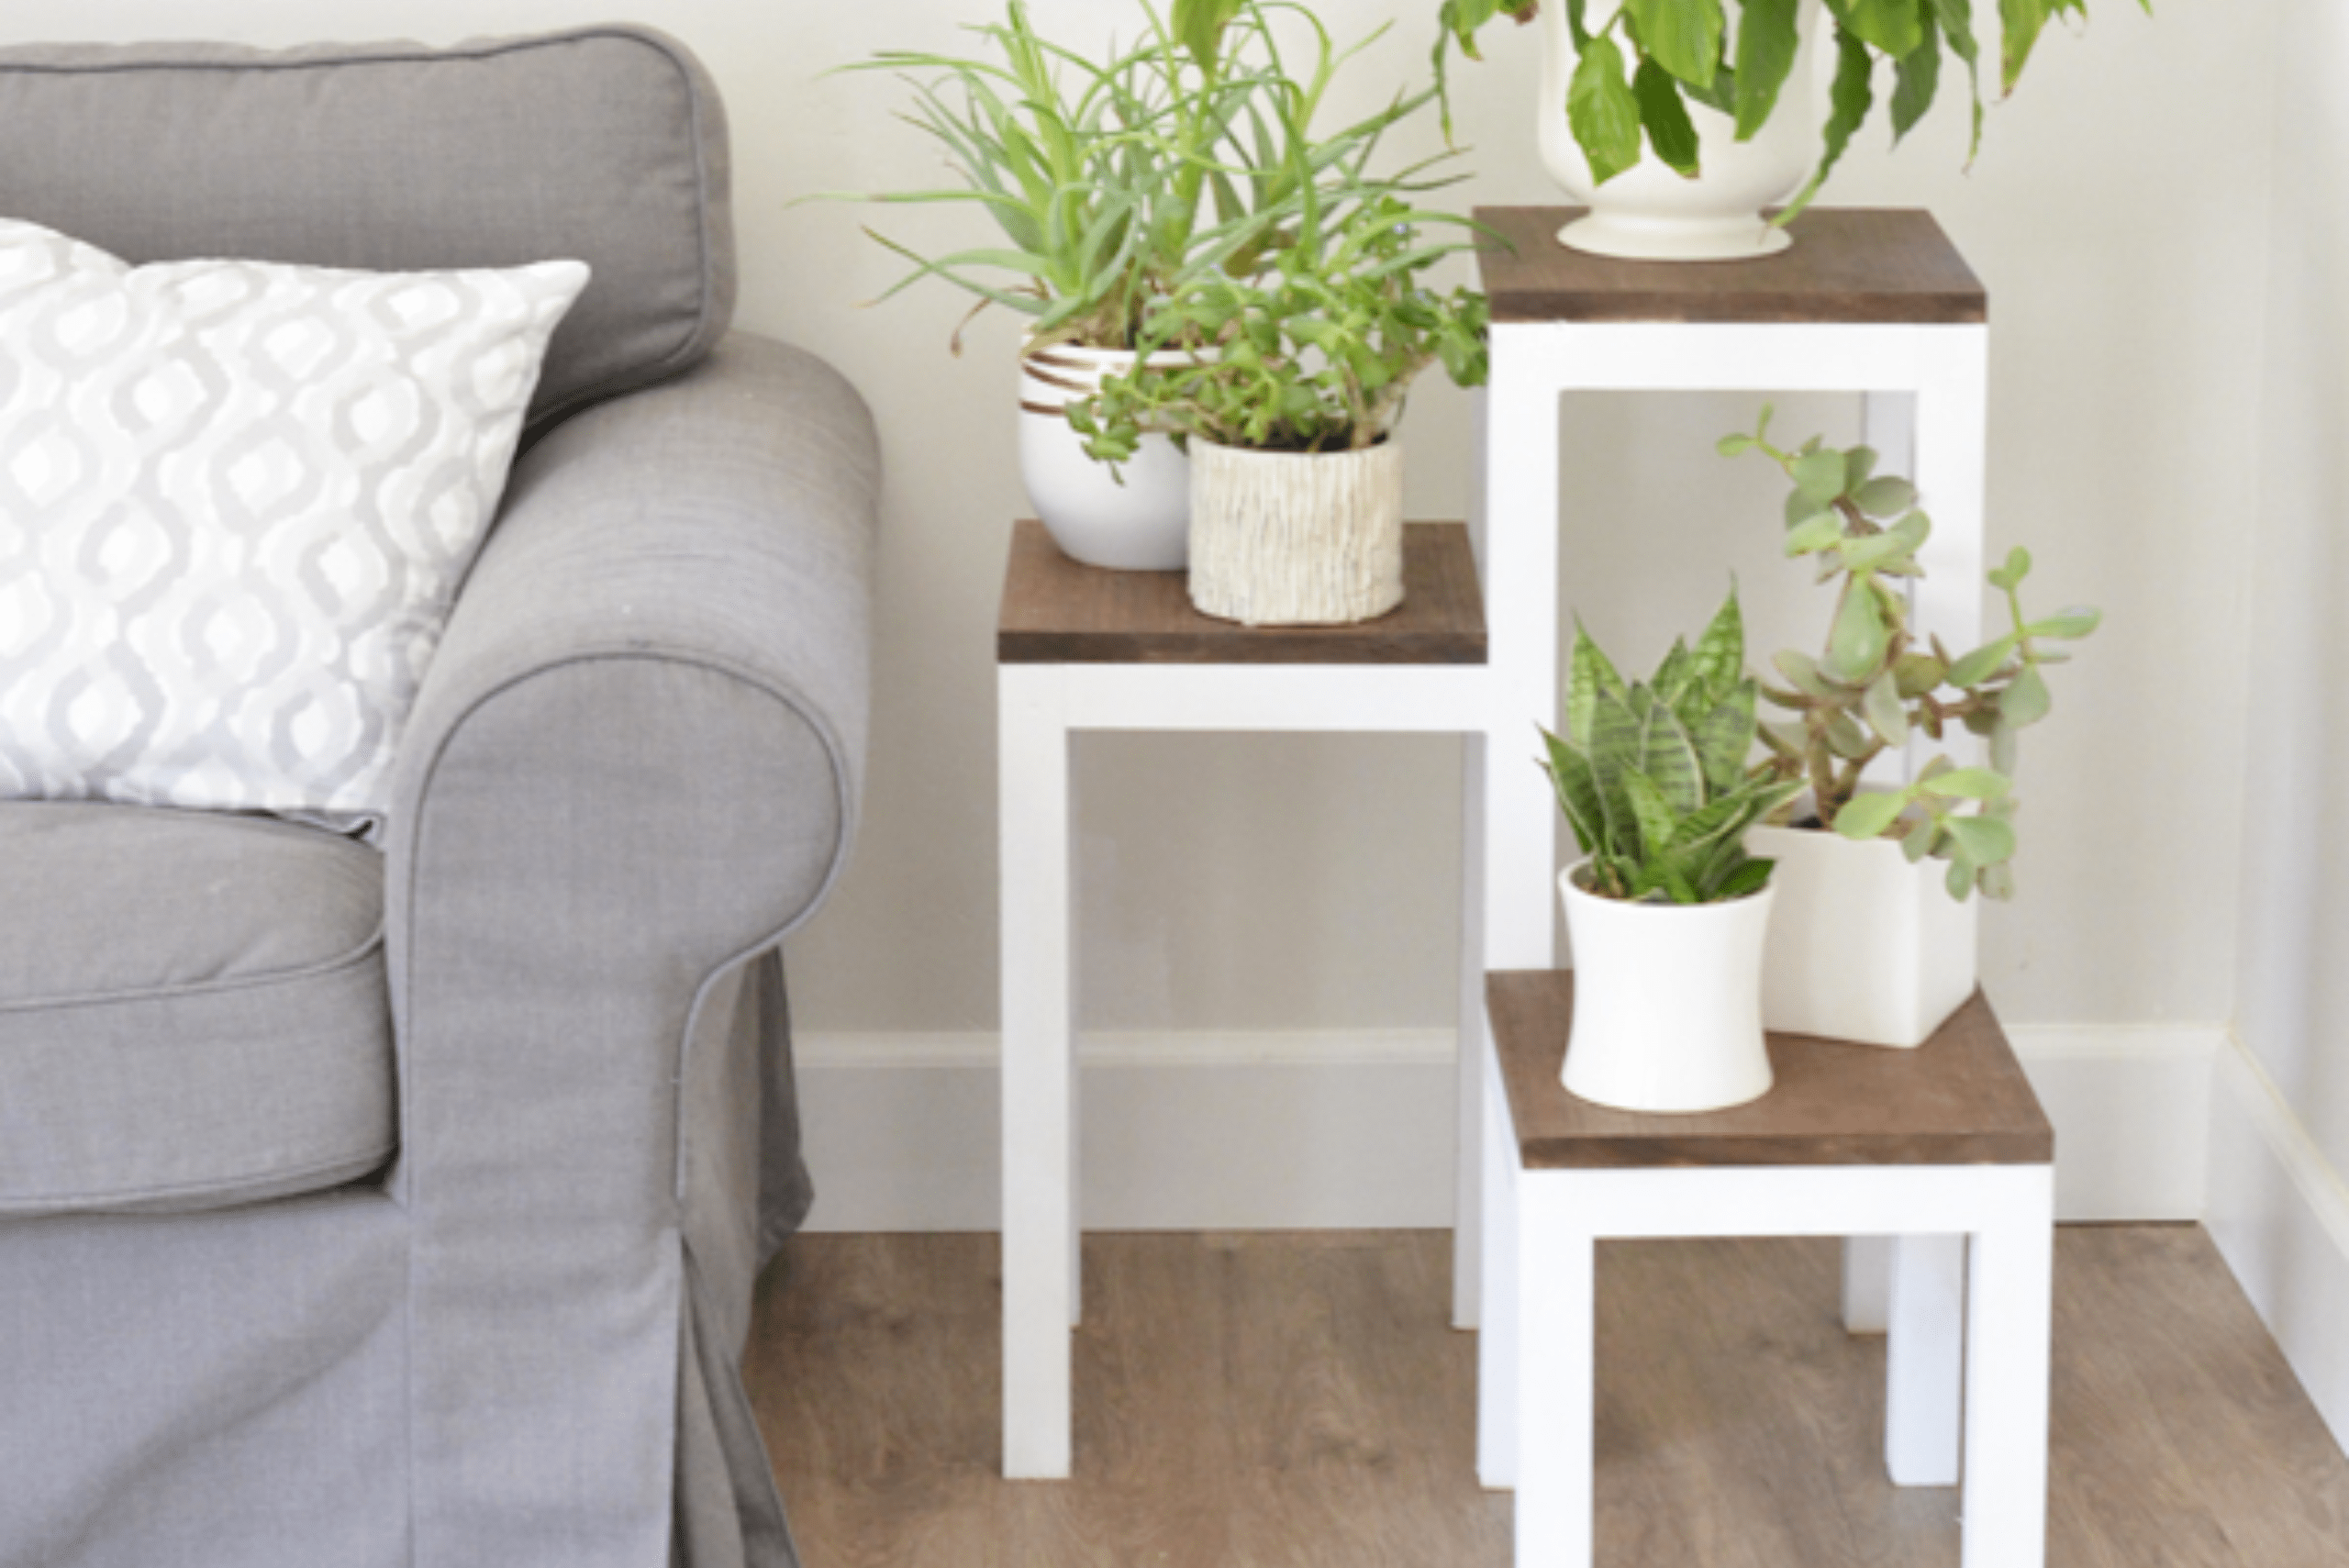
From sleek, modern designs to rustic and bohemian styles, there are countless creative DIY plant stand ideas to suit every space. For small areas, vertical or hanging plant stands can maximize space while adding a touch of greenery. Outdoor spaces can benefit from weather-resistant materials and designs that complement the natural surroundings. Upcycled and repurposed materials can also be used to create one-of-a-kind plant stands with character and charm.
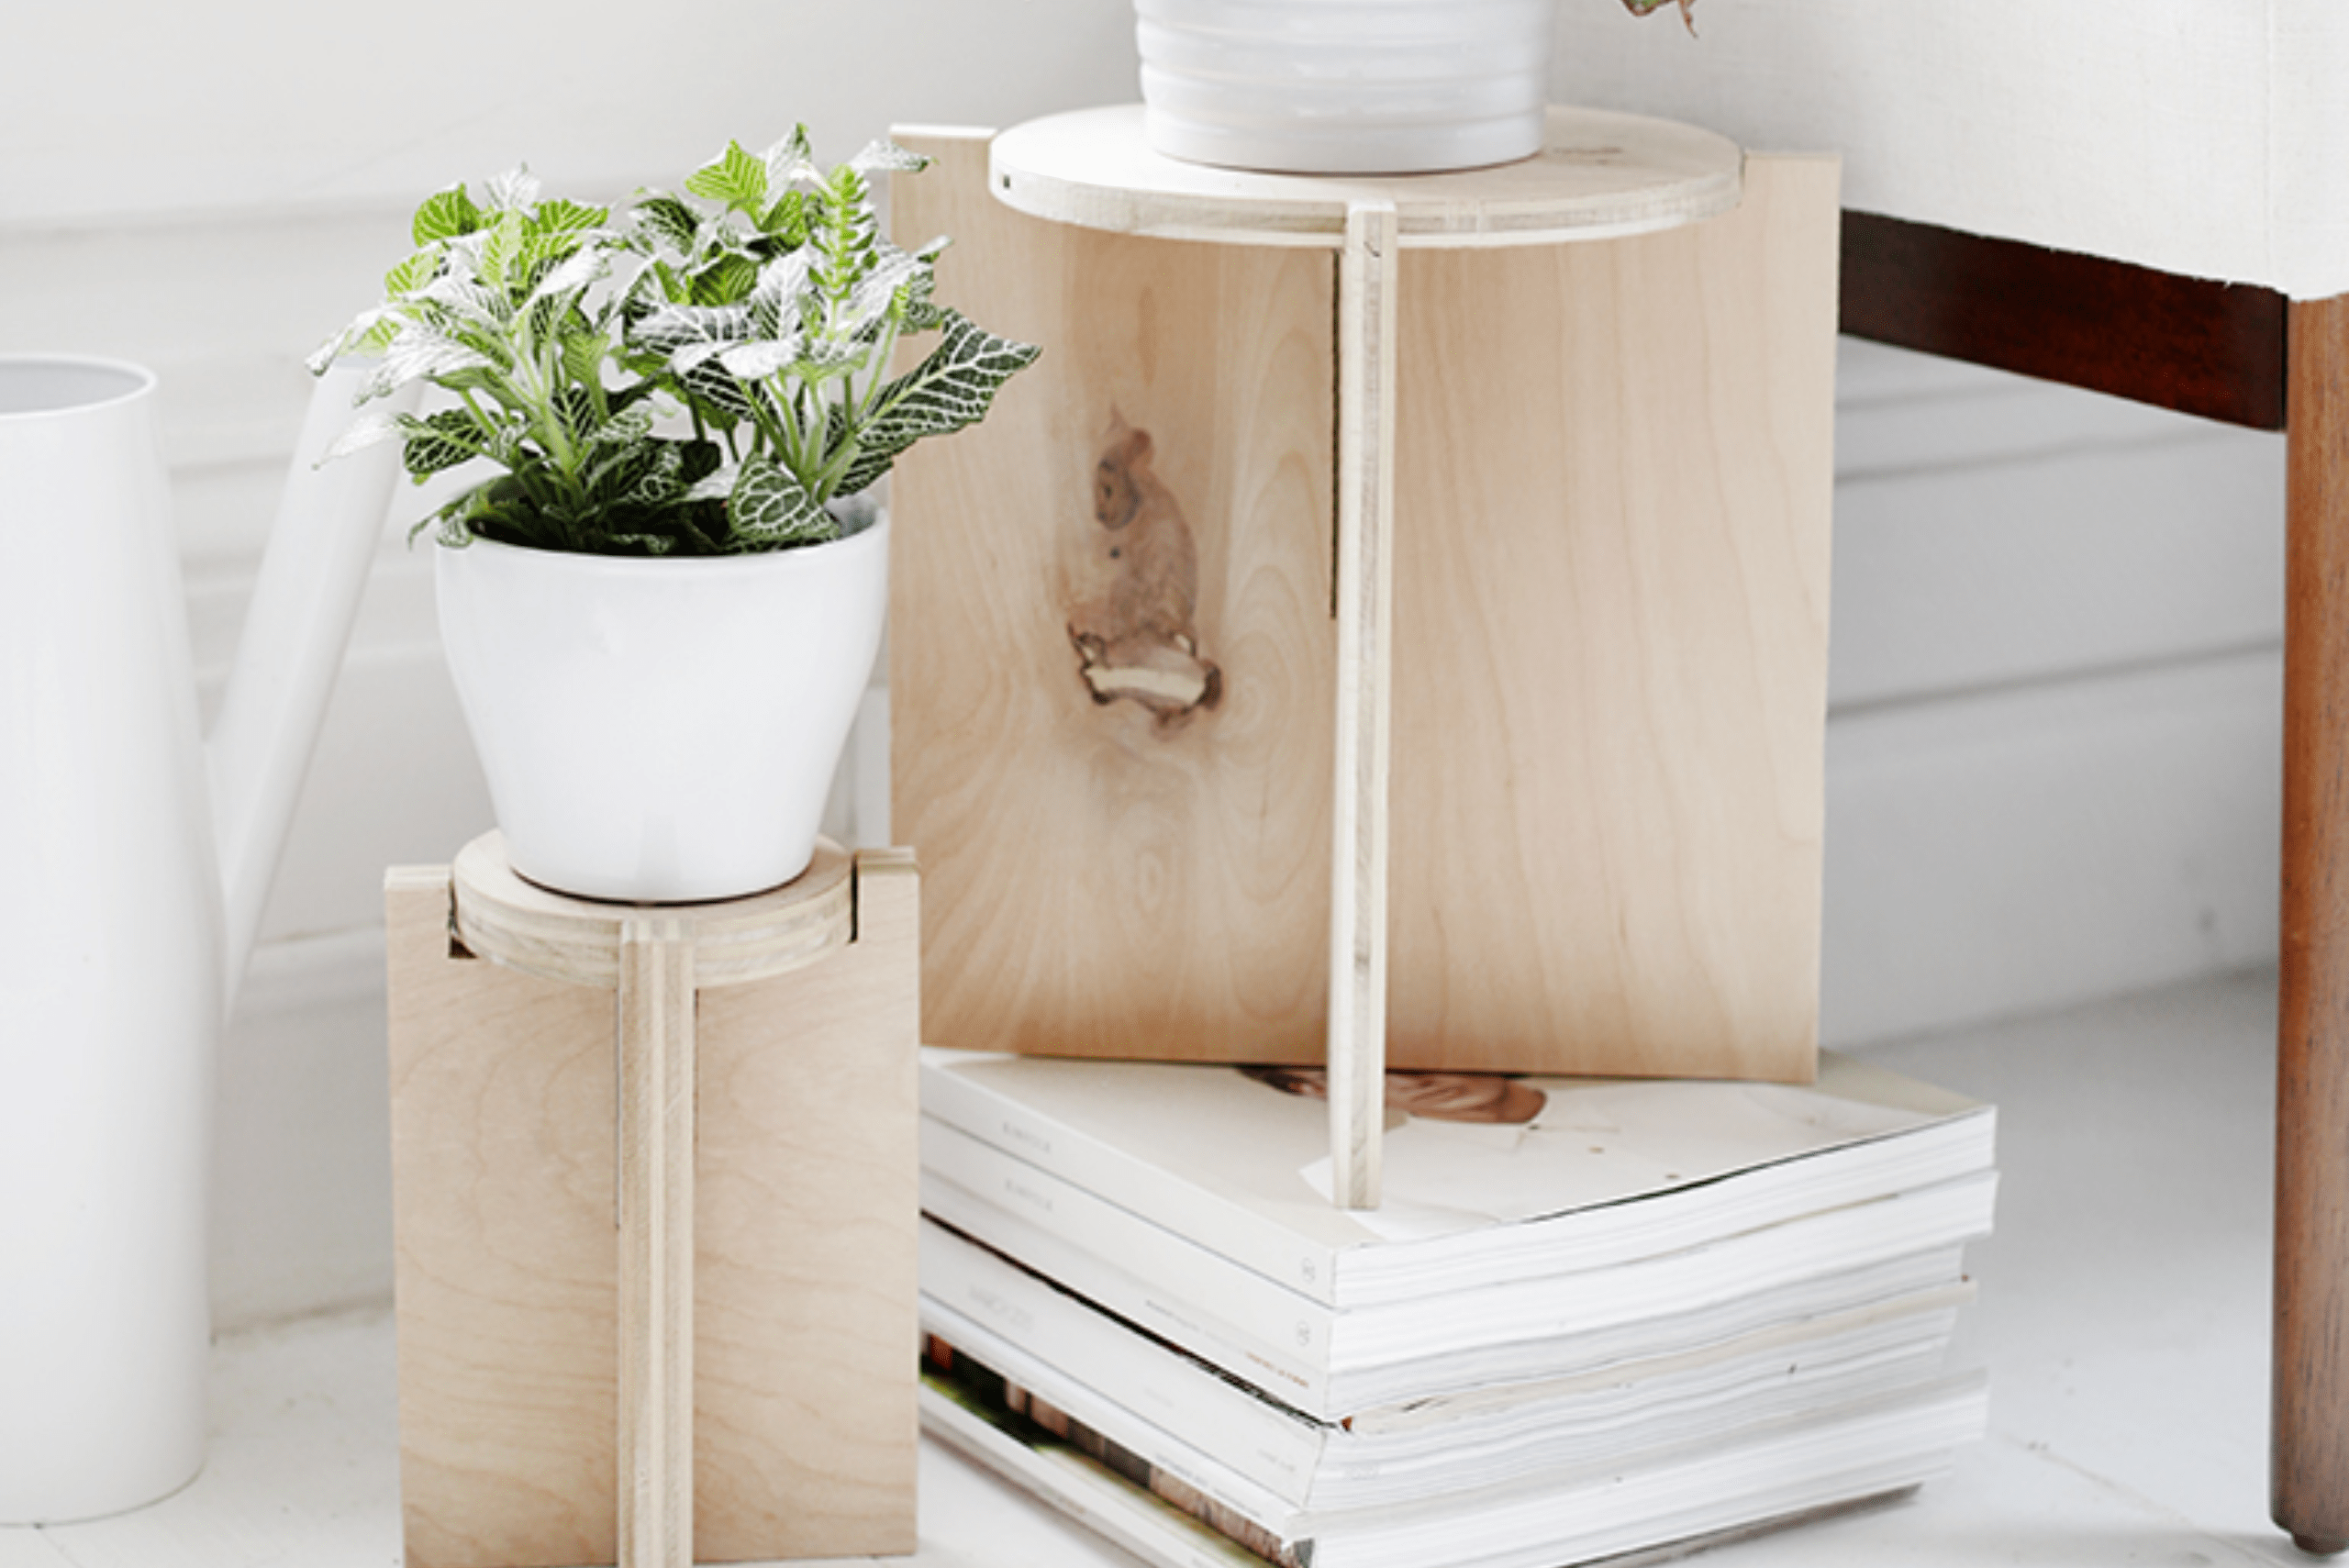
Step-by-Step Instructions for Building Your DIY Plant Stand
Building a DIY plant stand requires careful planning and precise execution. Before starting the construction process, it’s important to measure the available space and consider the size and weight of the plants. Once the planning phase is complete, gathering the necessary tools and materials is essential.

Tools:
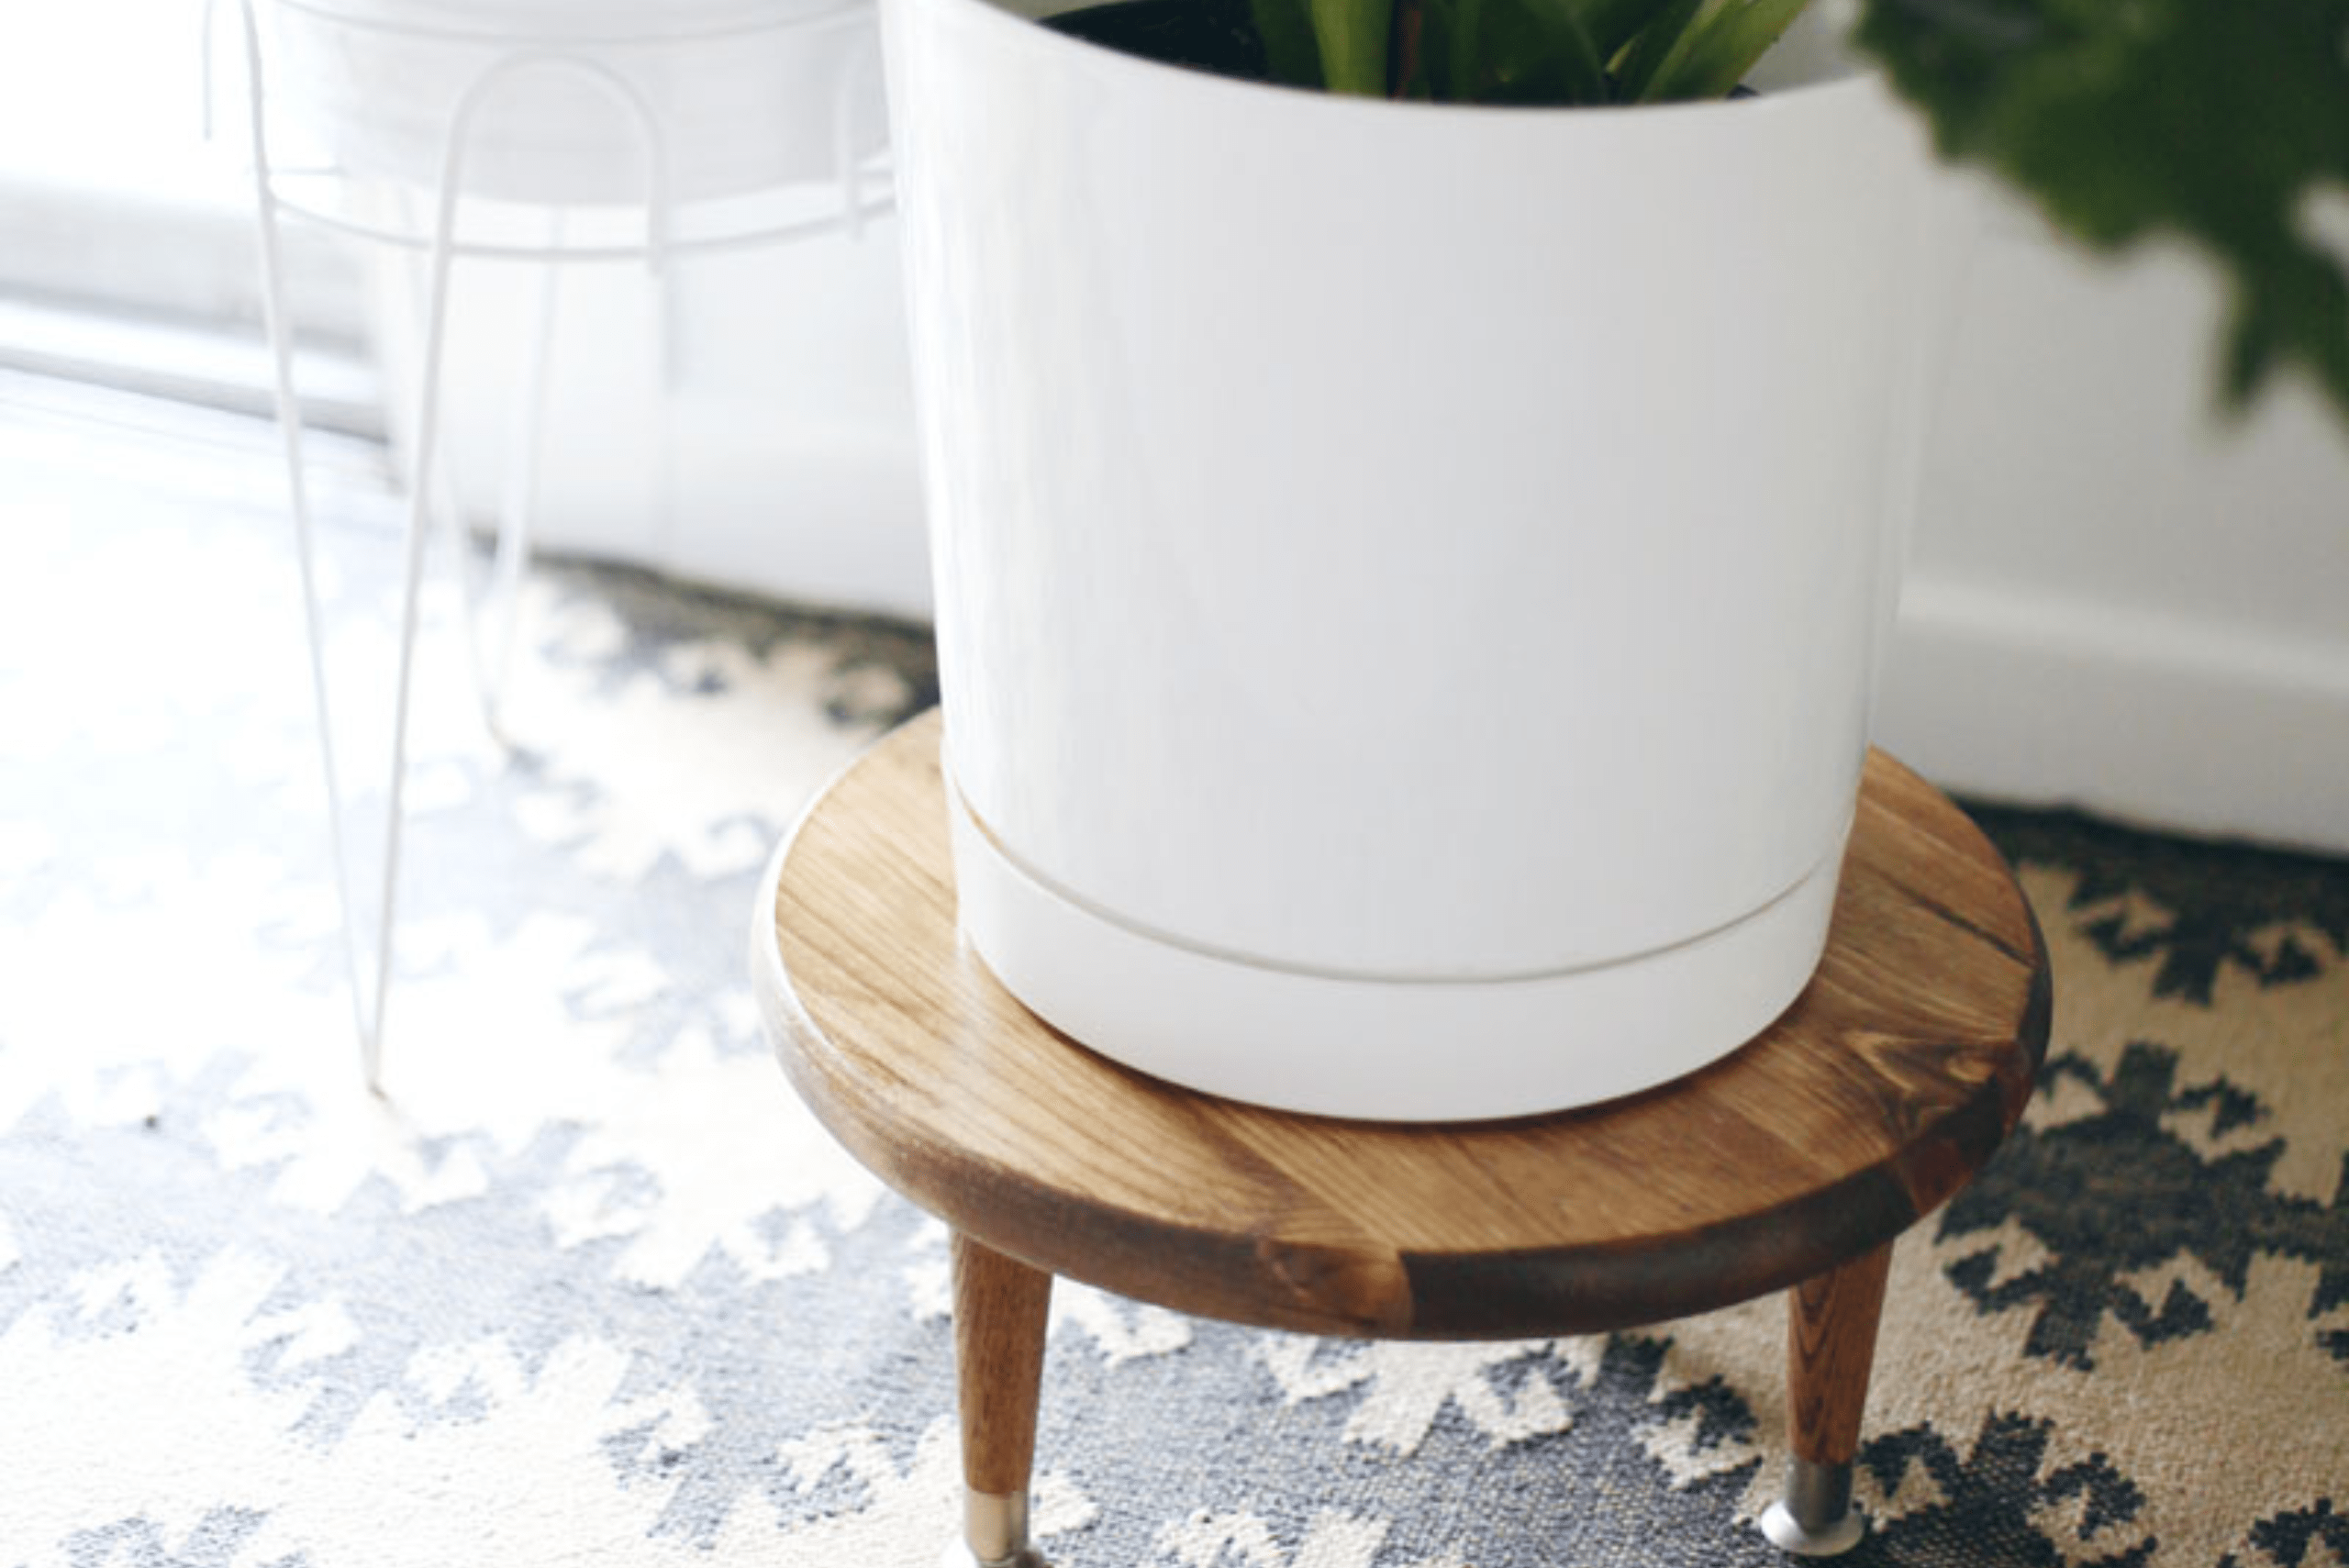
- Measuring Tape: Measure and mark the lengths of the wooden legs and the diameter of the round board. The measuring tape ensures accuracy in cutting and assembling the various components of your plant stand.
- Pencil: Mark the positions on the round board where you’ll attach the wooden legs. The pencil is essential for creating guidelines that help you align and secure the legs accurately during assembly.
- Saw (Miter Saw or Handsaw): Cut the wooden legs and the round board to the desired lengths. A miter saw is a power tool that allows for precise angle cuts, while a handsaw can be used for more straightforward cuts. Ensure that your cuts are clean and straight for a professional-looking plant stand.
- Screwdriver or Drill: Attach the wooden legs to the round board using screws. A screwdriver can be used, but a drill is often more efficient, especially when working with hardwood. Pre-drilling holes for the screws can prevent the wood from splitting and make assembly smoother.

Materials:
- Wooden Legs: You can purchase pre-made wooden legs from a hardware store or cut them from a larger piece of wood. The length will depend on how tall you want your plant stand.
- Wooden Round Board: This will serve as the top surface of your plant stand. The diameter will depend on your design preferences and the number of plants you want to display.
- Wood Screws: Choose screws that are appropriate for the thickness of the wood you’re using. Make sure they are long enough to securely attach the legs to the round board.
- Wood Glue: A strong wood glue to reinforce the joints between the legs and the round board.
- Sandpaper: Various grits for sanding the wood surfaces and achieving a smooth finish.
- Stain or Paint (Optional): If you want to add color or a decorative finish to your plant stand.
- Clear Varnish or Sealant (Optional): For protecting the wood and adding a final finish.
With the tools and materials gathered, here are detailed step-by-step instructions to get you started, ensuring that your DIY plant stand is not only visually appealing but also sturdy and functional:
Step 1: Gather Your Materials – Collect all the materials mentioned above. Make sure your wooden legs and round board are of the desired length and diameter.
Step 2: Sand the Wood – Smooth the surfaces of the wooden legs and round board using sandpaper. This step ensures a polished and even finish.
Step 3: Stain or Paint (Optional) – If you want to add color to your plant stand, now is the time to stain or paint the wooden pieces. Allow them to dry completely before moving on to the next step.
Step 4: Mark the Placement of Legs – Place the round board upside down and mark the positions where you want to attach the legs. For a three-legged stand, space the markings evenly around the circumference.
Step 5: Attach the Legs – Apply wood glue to the top of each leg and firmly attach them to the marked positions on the round board. Once in place, secure the legs by screwing them into the board. Make sure they are evenly distributed to provide stability.
Step 6: Reinforce the Joints – For added stability, you can reinforce the joints with additional screws. This step is especially important if you plan to place heavy plants on the stand.
Step 7: Let it Dry – Allow the plant stand to dry completely. Follow the drying time specified for your wood glue and paint/stain.
Step 8: Finishing Touches (Optional) – Add any finishing touches, such as a clear coat of varnish or a sealant, to protect the wood and enhance its appearance.
Step 9: Arrange Your Plants – Once the DIY plant stand is completely dry and finished, arrange your plants on the top surface. Enjoy your new plant display!
Incorporating Greenery and Plant Variety into Your DIY Plant Stand
Choosing the right plants for your DIY plant stand is a crucial step in creating a harmonious display. Consider factors such as light requirements, water needs, and the overall aesthetic of the space when selecting plants. Additionally, ensuring proper drainage and plant care will contribute to the long-term health and vitality of your greenery.
Enhancing Your DIY Plant Stand with Decorative Elements
Adding decorative elements to your DIY plant stand can elevate its visual appeal and complement the surrounding decor. Personal touches such as painted designs, decorative hardware, or integrated lighting can infuse your plant stand with individuality and style. Consider the overall theme of the space and how the plant stand can seamlessly integrate with the existing decor.
Maintaining and Caring for Your DIY Plant Stand
Once your DIY plant stand is complete, it’s important to establish a maintenance routine to ensure its longevity. Seasonal maintenance, regular watering, and monitoring for signs of stress in the plant stand are all essential aspects of caring for your greenery. Additionally, being aware of common issues such as pests or overwatering can help you troubleshoot and address any concerns promptly.
The beauty and versatility of DIY plant stands make them a delightful addition to any space, offering an opportunity for creativity and self-expression. Whether you’re a seasoned DIY enthusiast or a newcomer to the world of creative projects, the rewards of creating DIY plant stands are abundant, and the possibilities for exploration and creativity are endless.

