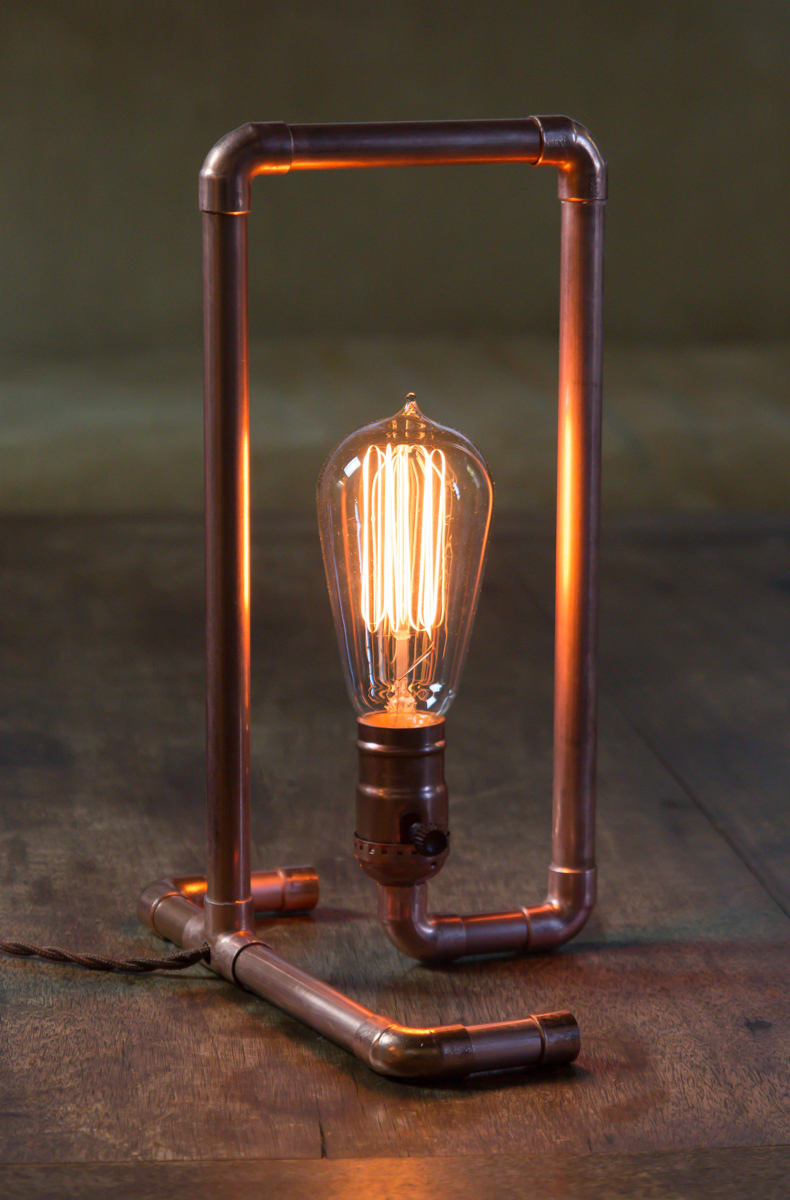
How to Make a Custom Copper Pipe Lamp
I love using the internet to find inspiration, design ideas, and cool materials for my next big project. But, I still think there's a lot of value in a simple, compact physical volume to invite both new makers and folks looking to step up their game into growing their craftsmanship.
So, I want to recommend to you a new book Handmade: A Hands-On Guide. It's a primer full of beginner and intermediate level projects from all across the makersphere, many of which are provided by some of your favorite bloggers, YouTubers, and online content creators. (Including, full disclosure, yours truly.) It's written by my friend and colleague Asa Christiana, and covers everything from wood to concrete to leather to electronics hacking and Arduino programming.
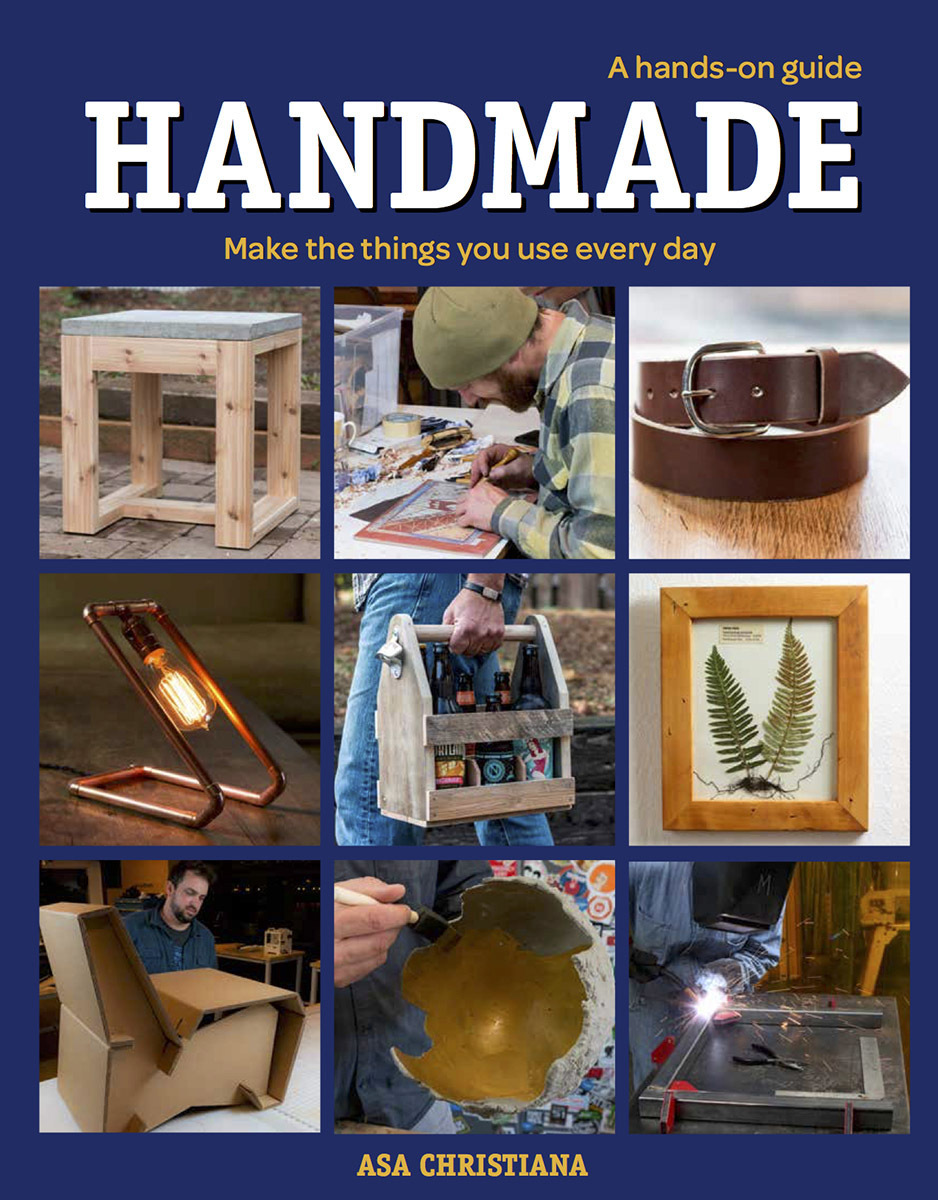
The book is a diverse collection of how-tos and stories, and would make a great gift for someone who's looking to get into the handcrafted life. The book invites you to expand your creativity, and to build rather than buy.
To show our support for Handmade: A Hands-On Guide, we're offering an exclusive sample project from featured contributor Jeddin White, a tinkerer who builds lamps from … well, everything. Here's a note from Asa, and the full how-to below.
A note from the author, Asa Christiana:
In 2015 I left Fine Woodworking magazine and headed west to Oregon, to hang up my shingle as a freelance journalist. It was scary but exciting, a chance for me to move outside the narrow world of fine furniture and start building without boundaries—like makers do, like I did when I was a kid.
In truth, I’ve never seen a division between remodeling my house or making the stuff that goes in it, between taking an afternoon to build a funky desk with plywood and plumbing hardware or laboring for two months to craft a chair with fine hardwoods and traditional joinery.
I had a blast working at Fine Woodworking, and learned most of what I know about woodworking in those 15 years, but focusing on nothing other than fine furniture sometimes felt like a pair of handcuffs. I’ve always been particularly interested in introducing new people to the hands-on life.
The first step was getting out of my own shop, and getting beyond woodworking as well. Today’s makers are playing by a different set of rules, and younger people aren’t always so focused on staying in one lane, or making everything into an heirloom. The maker movement is way more about creativity than perfection, and it deserves a book that captures that spirit of fearless creativity, from makers across the country, not just me.
With “Handmade: A Hands-On Guide,” I’m all in on this quest to convert the masses. Personally, the book has been an amazing opportunity to learn about all sorts of new materials and modes—concrete, leather, digital tools, Arduino, welding, casting, printing—and meet some amazing people along the way. I hope it’s the same for you.
I worked hard to vet the projects for that same mix of style and simplicity I went for in my first book. There are millions of DIYs online, but not all are as do-able as their creators claim, and others just don’t work or look that great when you’re done.
Out in Oregon we love our ales and lagers, and I see this book as a beer flight—a rack of little glasses that let you try all sorts of flavors in short order. I’m sure you’ll find something you’ll love.
–Asa
Now…let's make a copper pipe lamp.
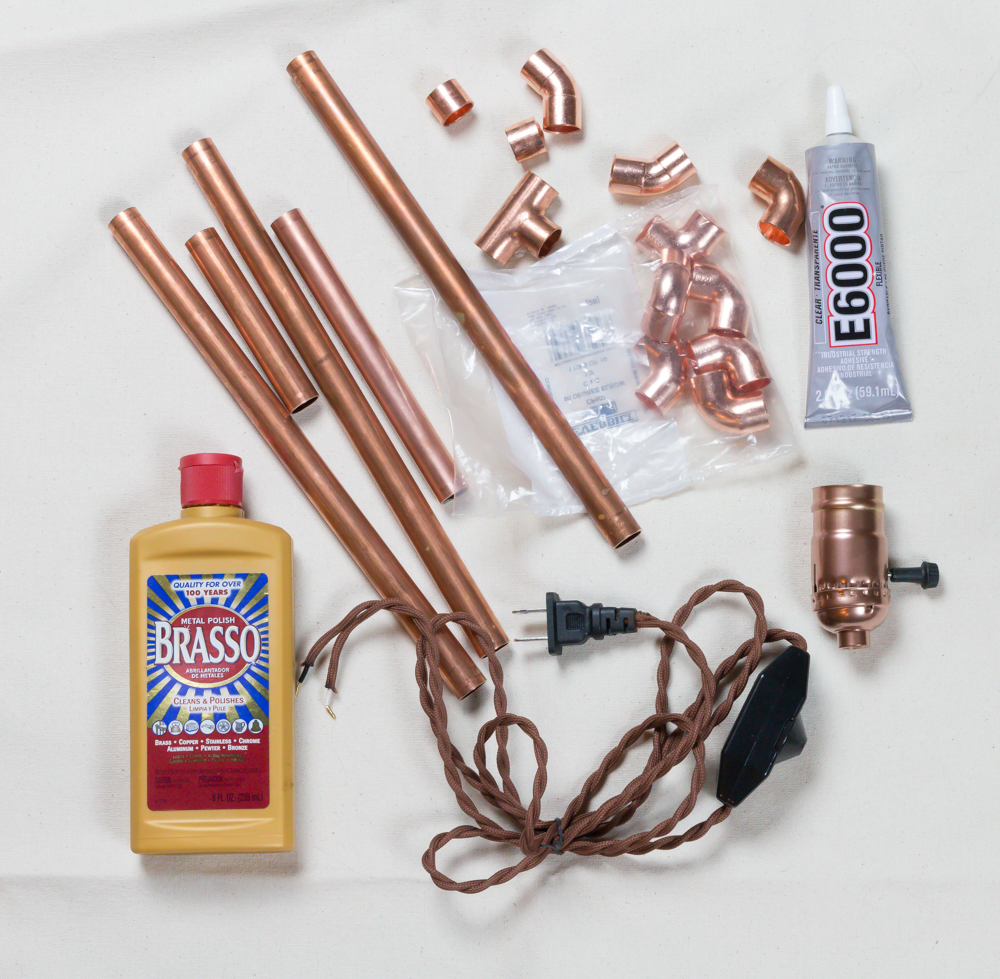
Simple supplies. You’ll need copper plumbing pipe and joints, a bottle of metal polish like Brasso, a wire with a plug and dimmer switch, a lamp socket that fits loosely in the pipe, and some sort of craft cement or epoxy for gluing the socket into place. You’ll also need a few simple tools, seen in the how-to photos that follow.
Cut and drill the parts
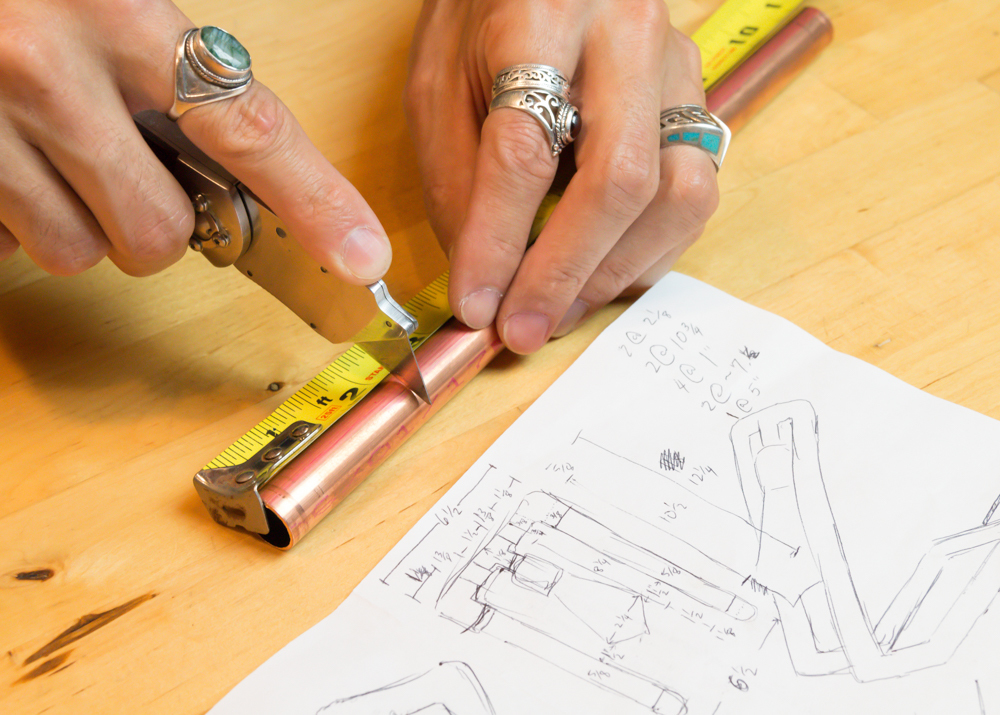
Mark the lengths. Working from your drawing, use a tape measure and knife to mark the pipe for cutting.

Pipe cutter is cheap and effective. This Tarvol-brand pipe cutter is $10 on Amazon.com, and handles pipe between 1/8 and 7/8 in. dia. Clamp it onto the pipe and twist it to start making a groove. Just keep tightening the cutter and twisting it until the pipe is cut.

Drill the base pipe. The cord will thread down from the lamp socket, through the pipes, and out a hole in the base. Drill that hole now. The key is starting with a small bit and stepping up gradually to the 5/16-in.-dia hole you’ll need.
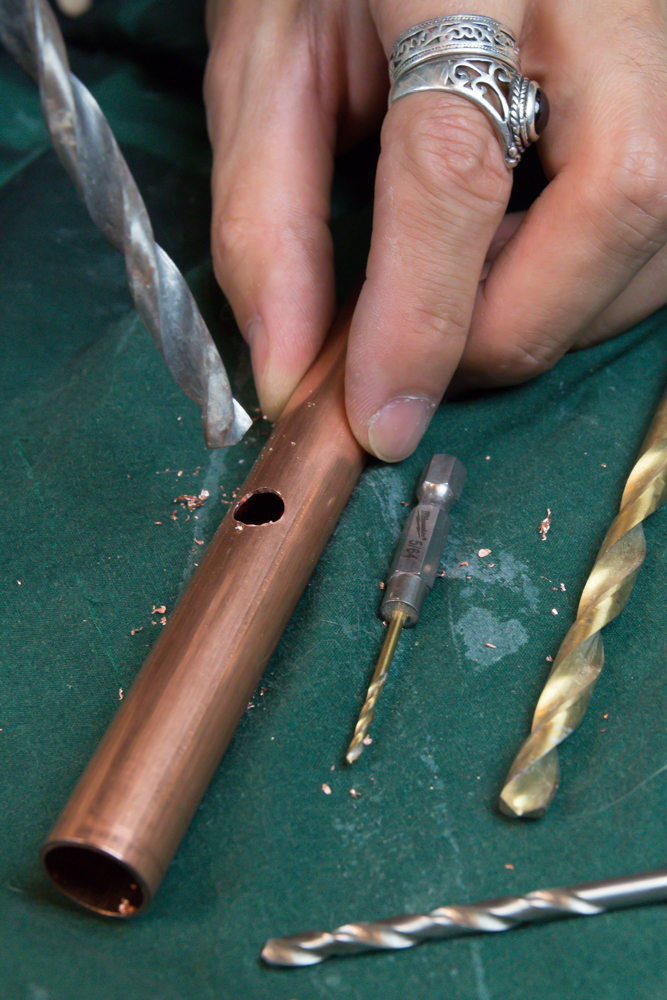
Feel free to hold the pipe in a vise, but be sure to protect it from metal jaws.
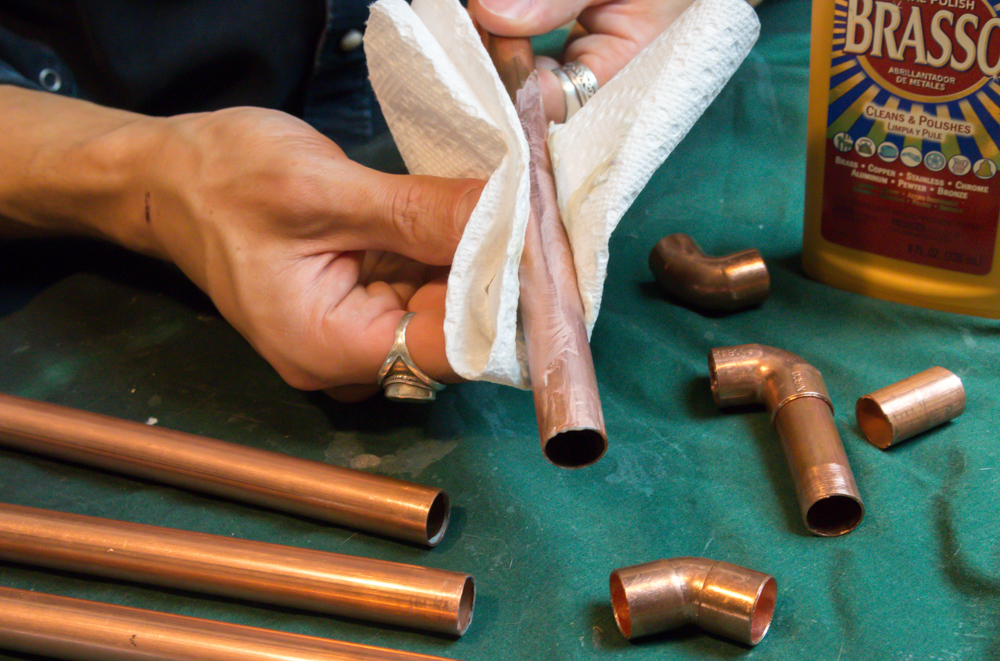
Prep the pipes. Peel the stickers off the pipe, and use “Goo Gone” to remove the adhesive. Then polish with Brasso to get rid of the dirt, marks, and tarnish, leaving the copper bright and shiny.
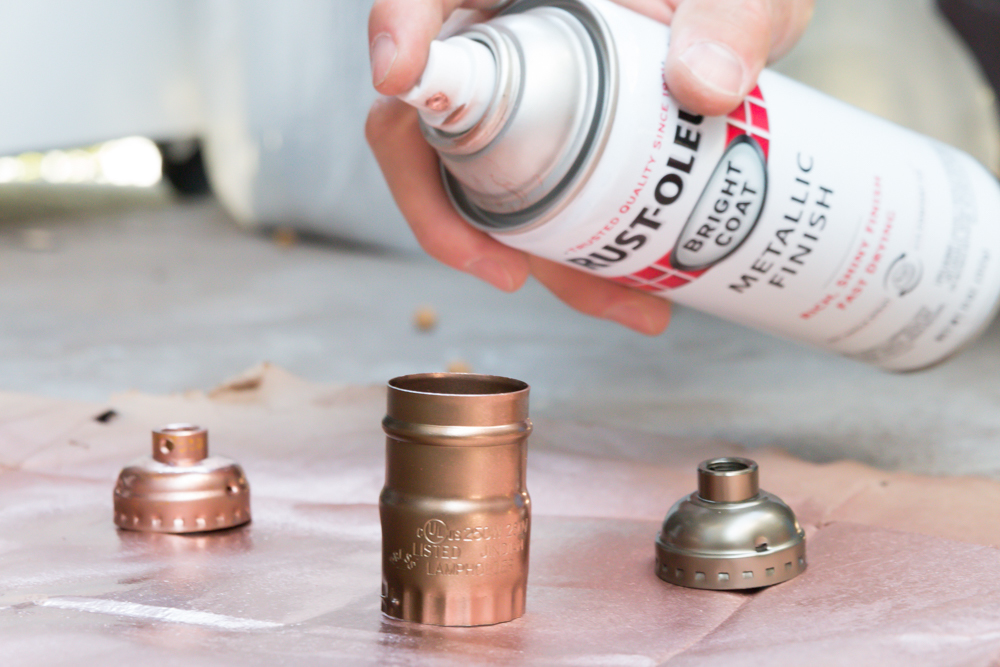
Paint the socket to match. It’s hard to find copper-colored sockets, but a quick spray paint job creates a perfect match with the pipe.
Assemble the copper pipe lamp
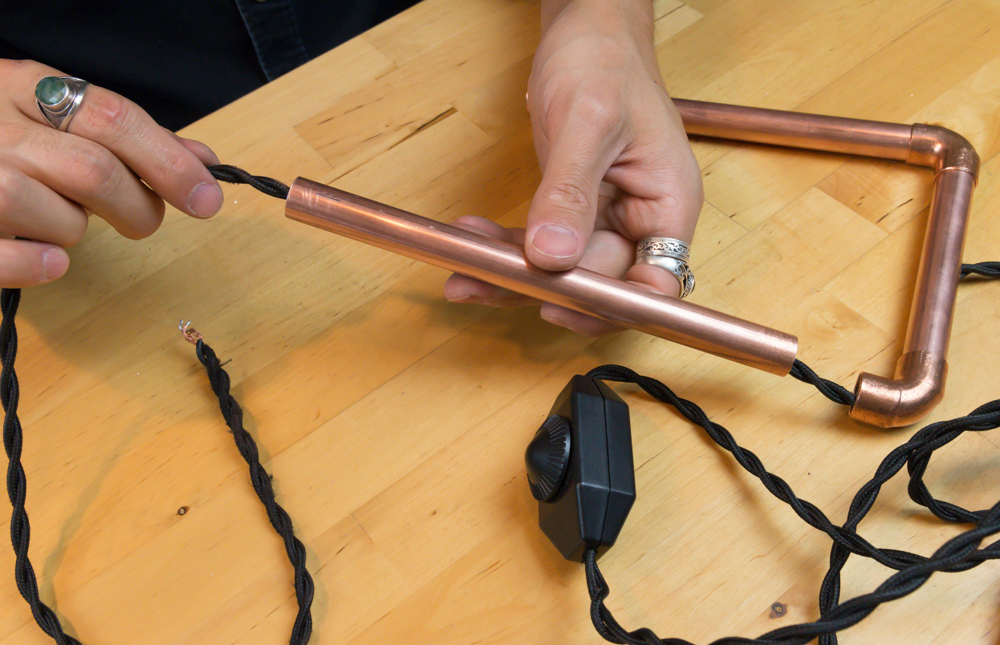
Thread as you go. Insert the wire in the hole you drilled in the base, and then keep threading the wire toward the socket as you add joints and pipe sections.
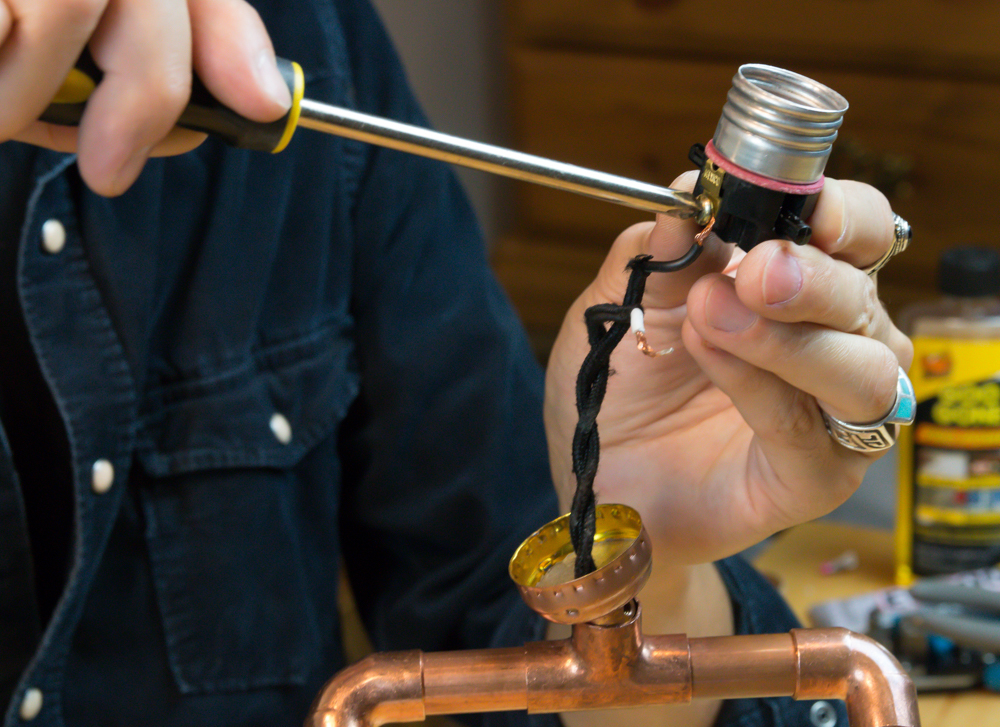
Wire the socket. Once the base is assembled, thread the cord through the base of the socket and attach the wires to the screw terminals. Then attach the upper part of the socket, locking it into the base part.
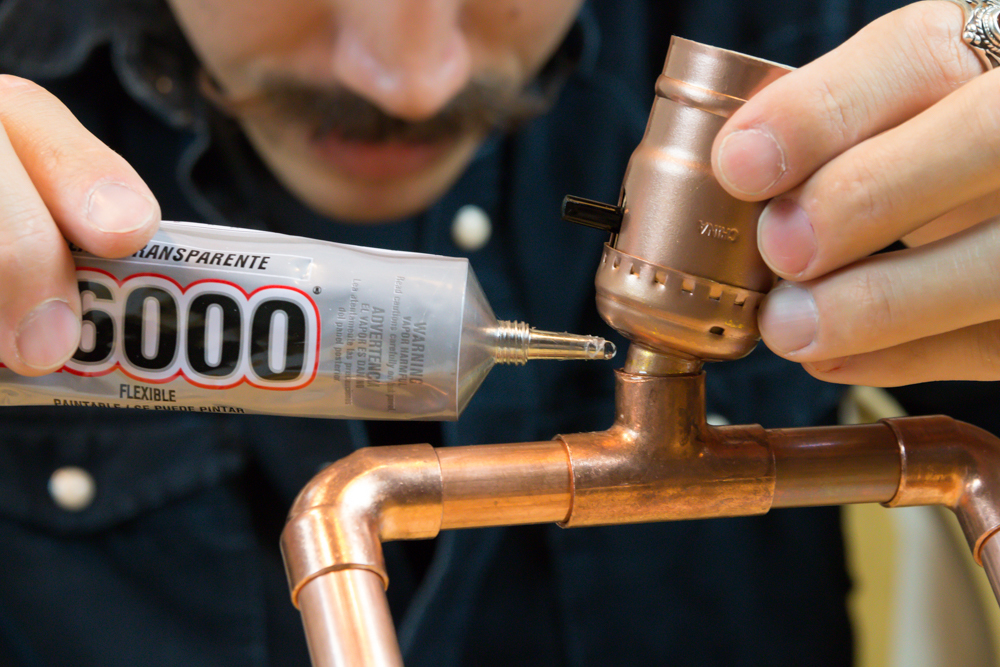
Glue the socket in place. The base of the socket fits loosely in the top of this T joint, but a bead of E6000 craft adhesive will hold it nicely in place. It works well for gluing joints also. Apply the adhesive to the base of the socket , then pull apart one of the nearby joints to draw the wire tight and the socket downward while the glue dries. Leave it overnight for full strength.
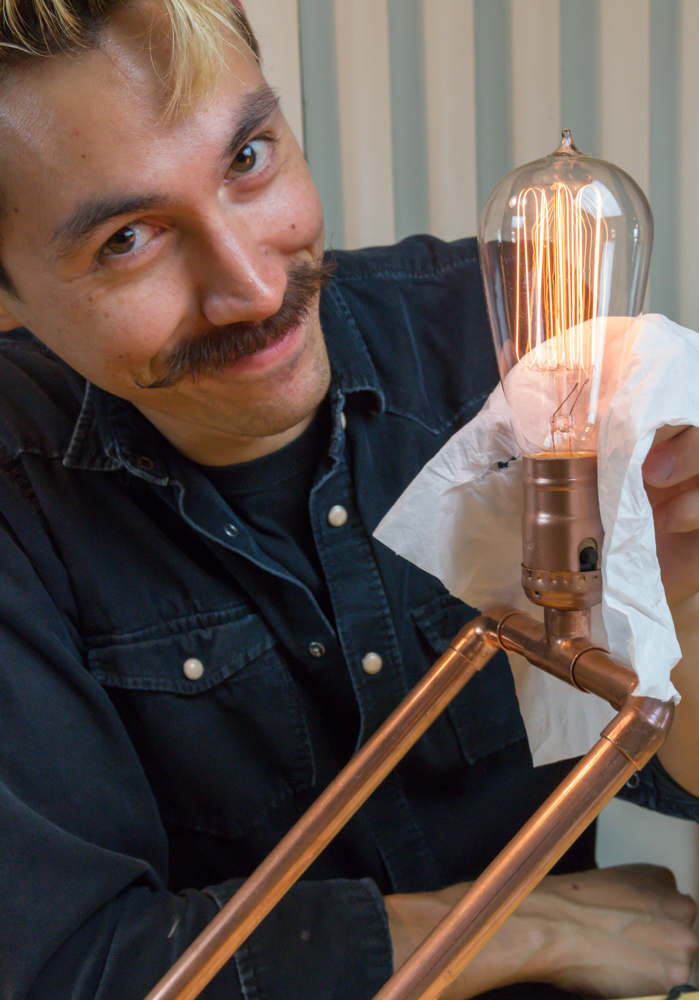
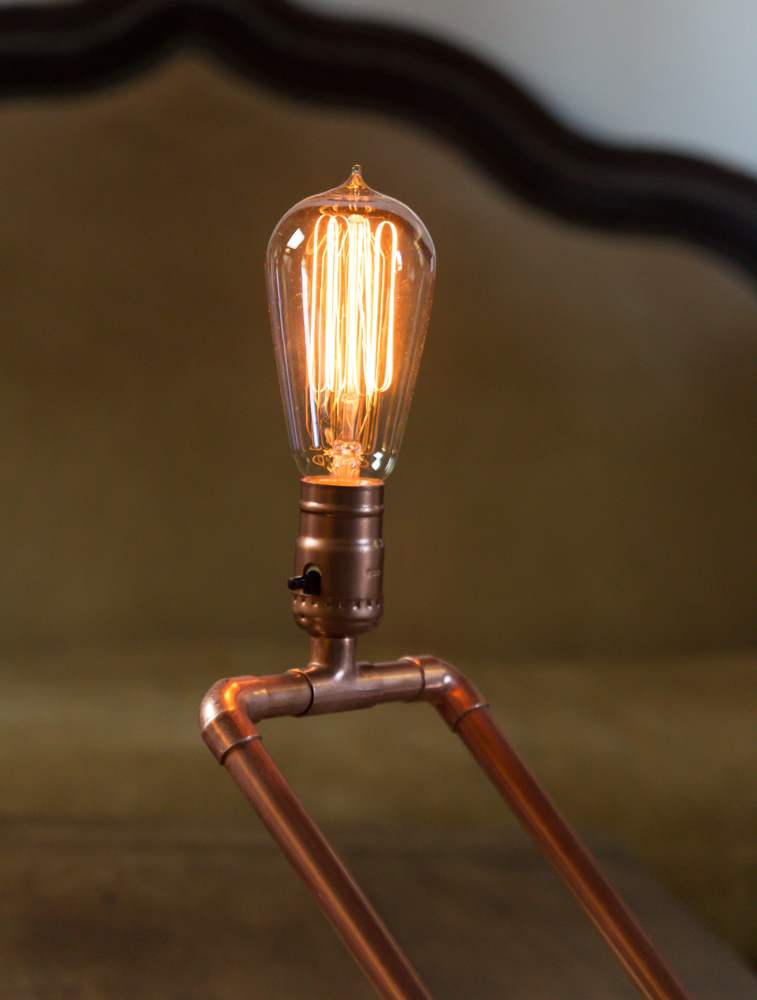
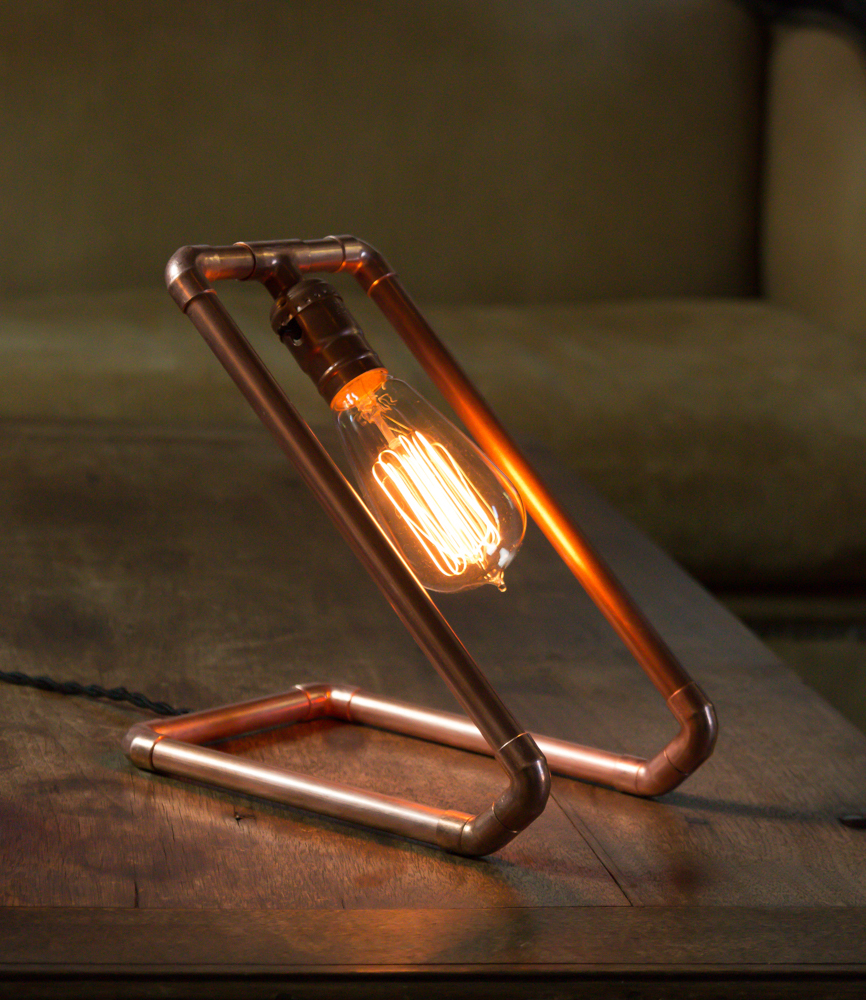
Add the bulb and plug in the lamp! White chose a nice big Edison bulb for this transforming lamp. Fingerprints create hot spots, which can cause the bulb to break. Feel free to give the whole lamp a final polish with Brasso.
Maker story: Jeddin White
After earning a degree in psychology, Jeddin White tried his hand at lab work, running experiments for grad students and analyzing data. After a couple of years, frustrated by months-long studies with inconclusive results, he headed back to his hometown in Iowa to work for a contractor for a while. Around the same time, he inherited a house that needed work. He gained hands-on building skills, and a newfound sense of satisfaction. “I was able to finish what I started,” he says.
The next stop on Jeddin’s maker journey was a job at The Floating Bed, and company that builds custom beds that hang from a single point. That taught him how to work with rope, fabric, steel, and many other materials. About that time, Jeddin went to his first Burning Man event, an annual gathering in the Nevada desert, where artists build an interactive city, dismantling it nine days later and leaving no trace. He met a lot of makers there, along with people from the film industry in Los Angeles.
With an offer of an apartment rental and a job dressing the set of an independent movie, Jeddin headed to LA with his girlfriend and has lived there ever since, heading out to Burning Man every year, where he now runs one of the themed camps that comprise the festival. The movie industry is a challenging one, with 12-hour days and lots of time spent looking for the next gig, so Jeddin looks forward to Burning Man as a chance to live an entirely different life.