Can You Paint Over Stained Wood – Tips and Techniques for the Cleanest Results
When getting into the world of DIY and home improvement projects, a question that frequently pops up is – can you paint over stained wood? This query might seem straightforward, but the answer involves a bit more than a simple yes or no. Painting over stained wood can breathe new life into an old piece of furniture or refresh the look of your wood trim, but it requires some know-how to achieve a smooth, lasting finish. Let’s dive into this topic and uncover the steps and tips that will help you successfully paint over stained wood, transforming your space with a fresh splash of color.
Understanding the Basics of Painting Over Stained Wood – A Starting Point
Before you decide to paint over stained wood, it’s crucial to understand what you’re dealing with. Stained wood has been treated with a colorant that permeates the wood fibers, altering the wood’s natural color while showcasing its grain. Painting over it isn’t as straightforward as slapping a coat of paint over an untreated piece of wood.
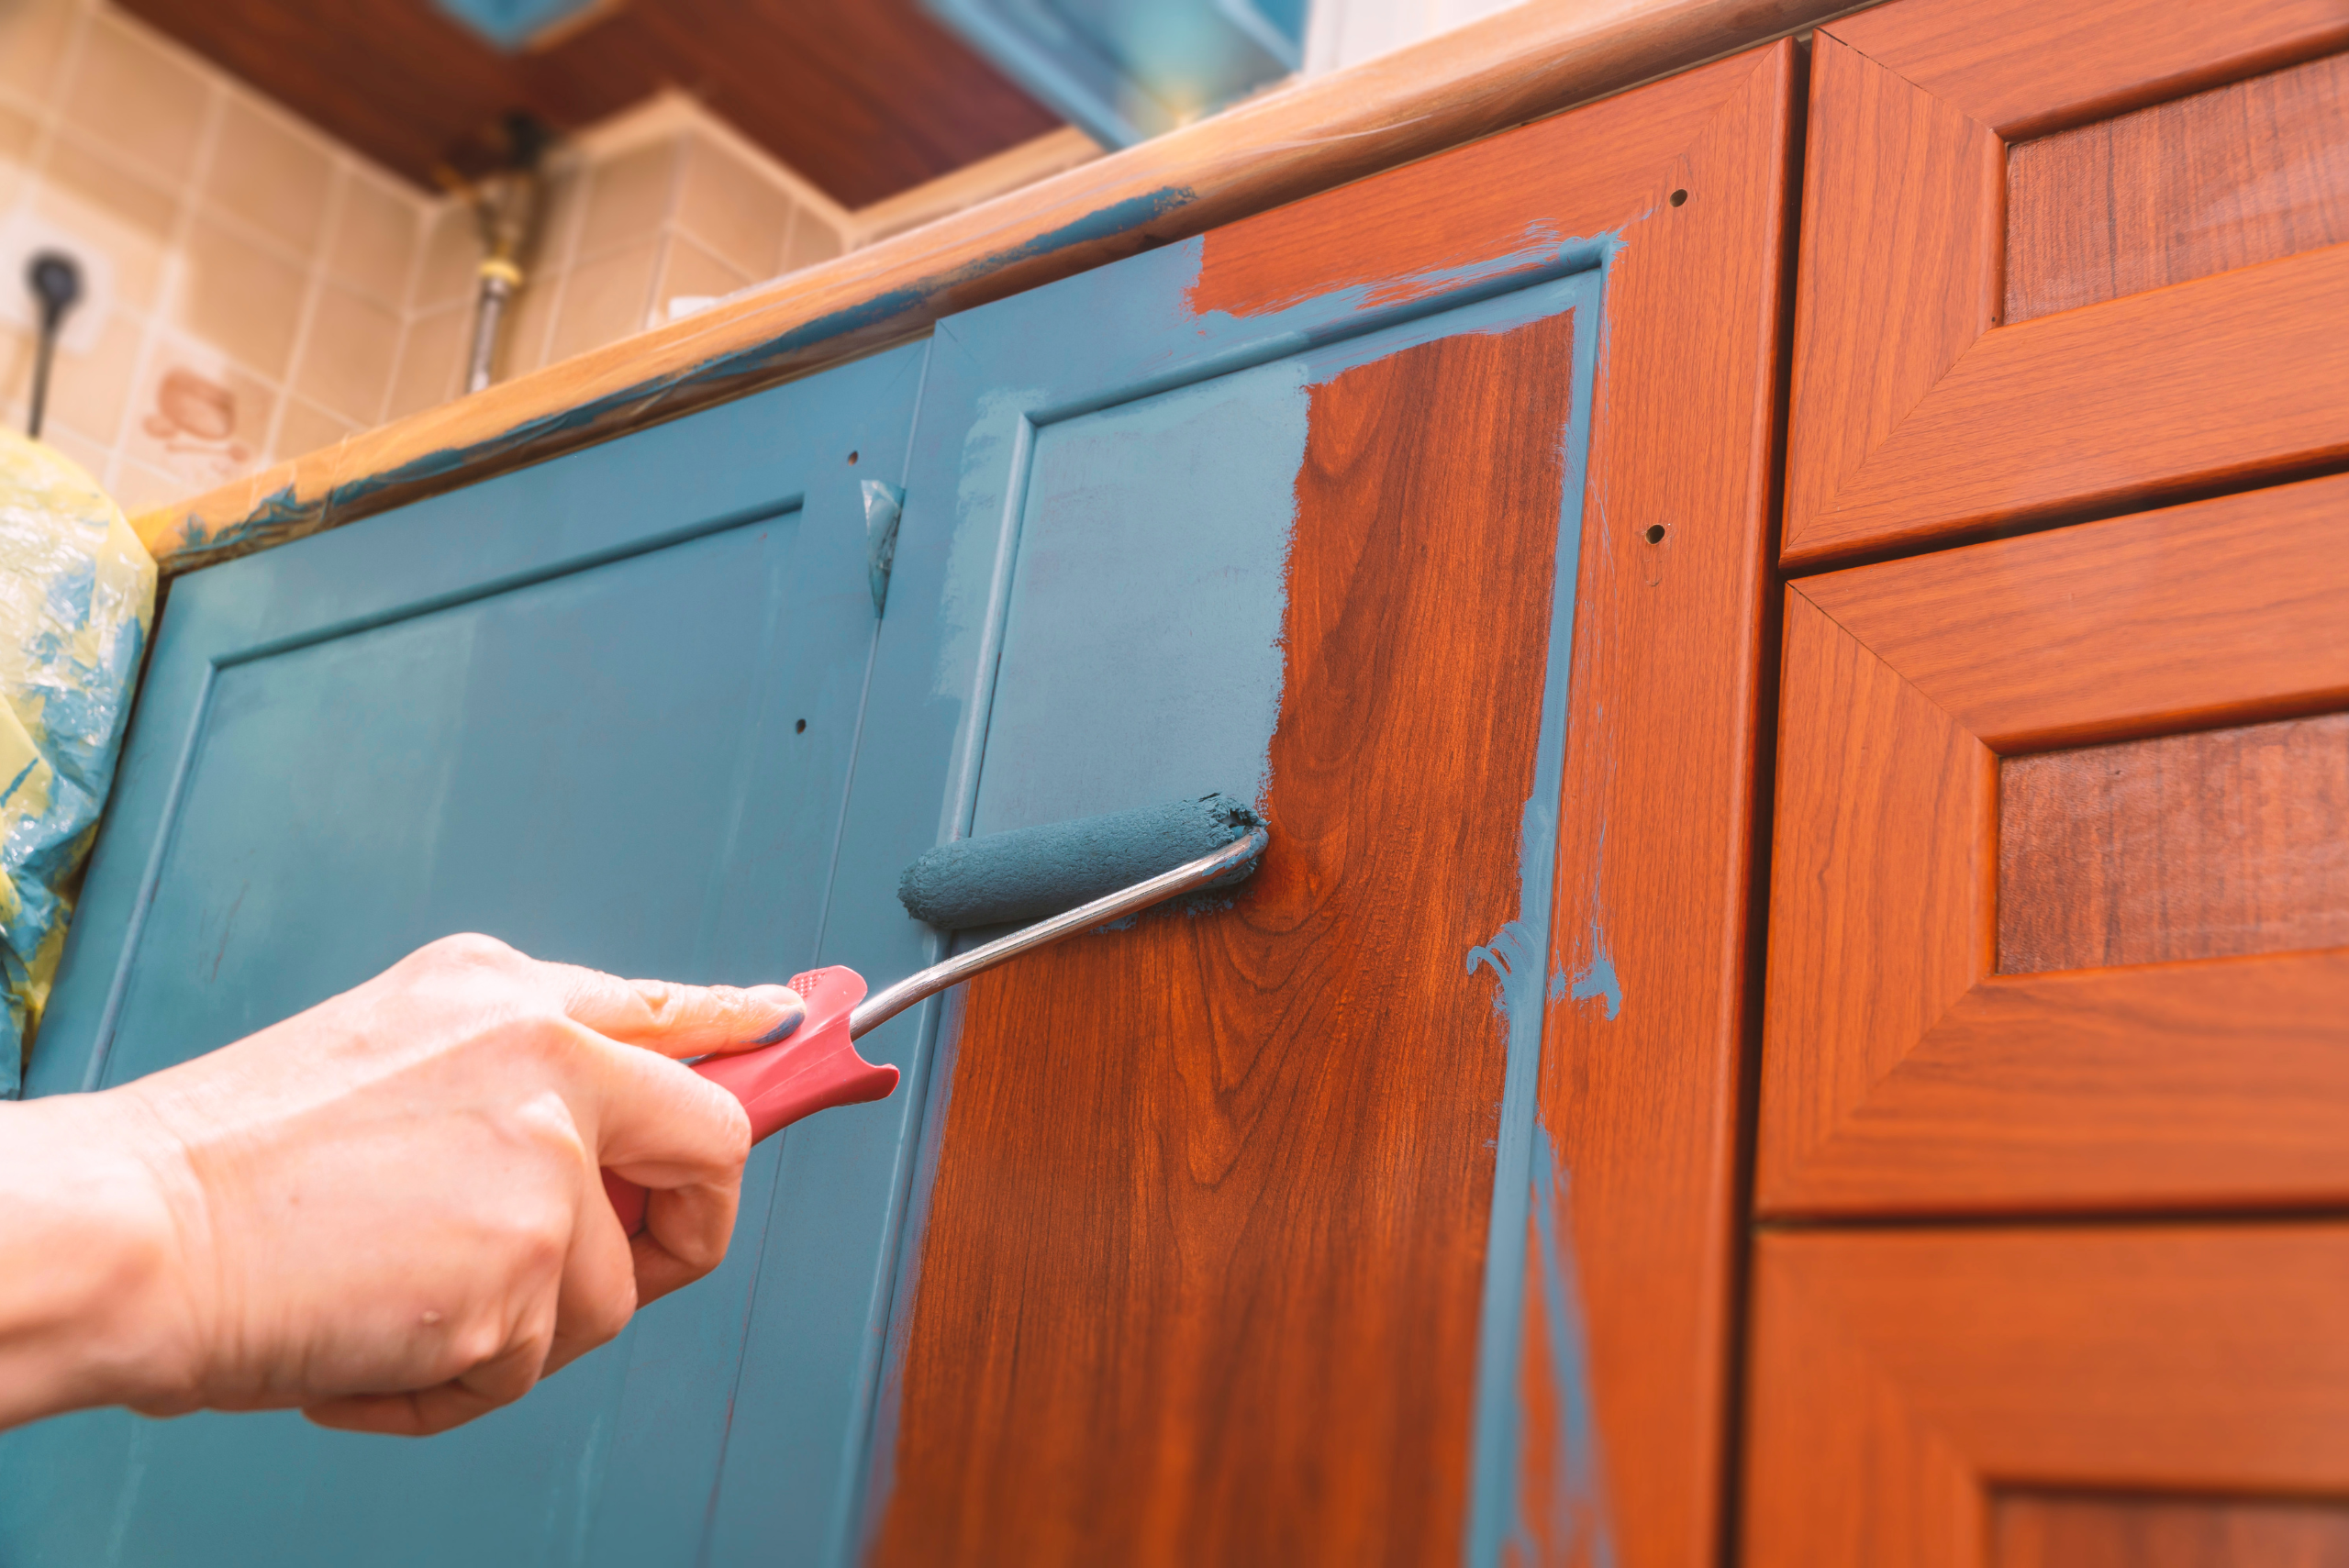
The stained surface presents a slick, sealed surface that can repel paint if not correctly prepared. The key to a successful painting project lies in thorough preparation and understanding the type of stain and wood you’re working with. This will determine the specific preparation steps and the type of primer and paint that will adhere best to your stained wood surface.
The Essential Steps for Preparing Stained Wood for Painting
The preparation stage is where the magic happens, or rather, where the groundwork for your painting project is laid. This stage cannot be skipped or rushed if you aim for a professional-looking finish. Start by cleaning the wood surface thoroughly with a degreaser or a mild detergent to remove any dirt, grease, or grime.
Next, sanding the surface is crucial; this step is about creating a texture that the primer can adhere to, not removing all the stain. Use medium-grit sandpaper and sand the wood evenly.
After sanding, wipe down the surface with a tack cloth to remove all dust.
Applying a high-quality primer designed for stained surfaces is the next step. The primer acts as a bridge between the stained wood and the paint, ensuring better adhesion and a smoother finish.
Choosing the Right Paint and Tools for the Job
Once your stained wood is primed and ready, selecting the right paint and tools is your next critical decision. For most interior wood surfaces, water-based acrylic latex paint offers a durable finish, easy cleanup, and a shorter drying time. However, for furniture or surfaces that will endure heavy use, consider an oil-based paint for its durability and smoother finish.
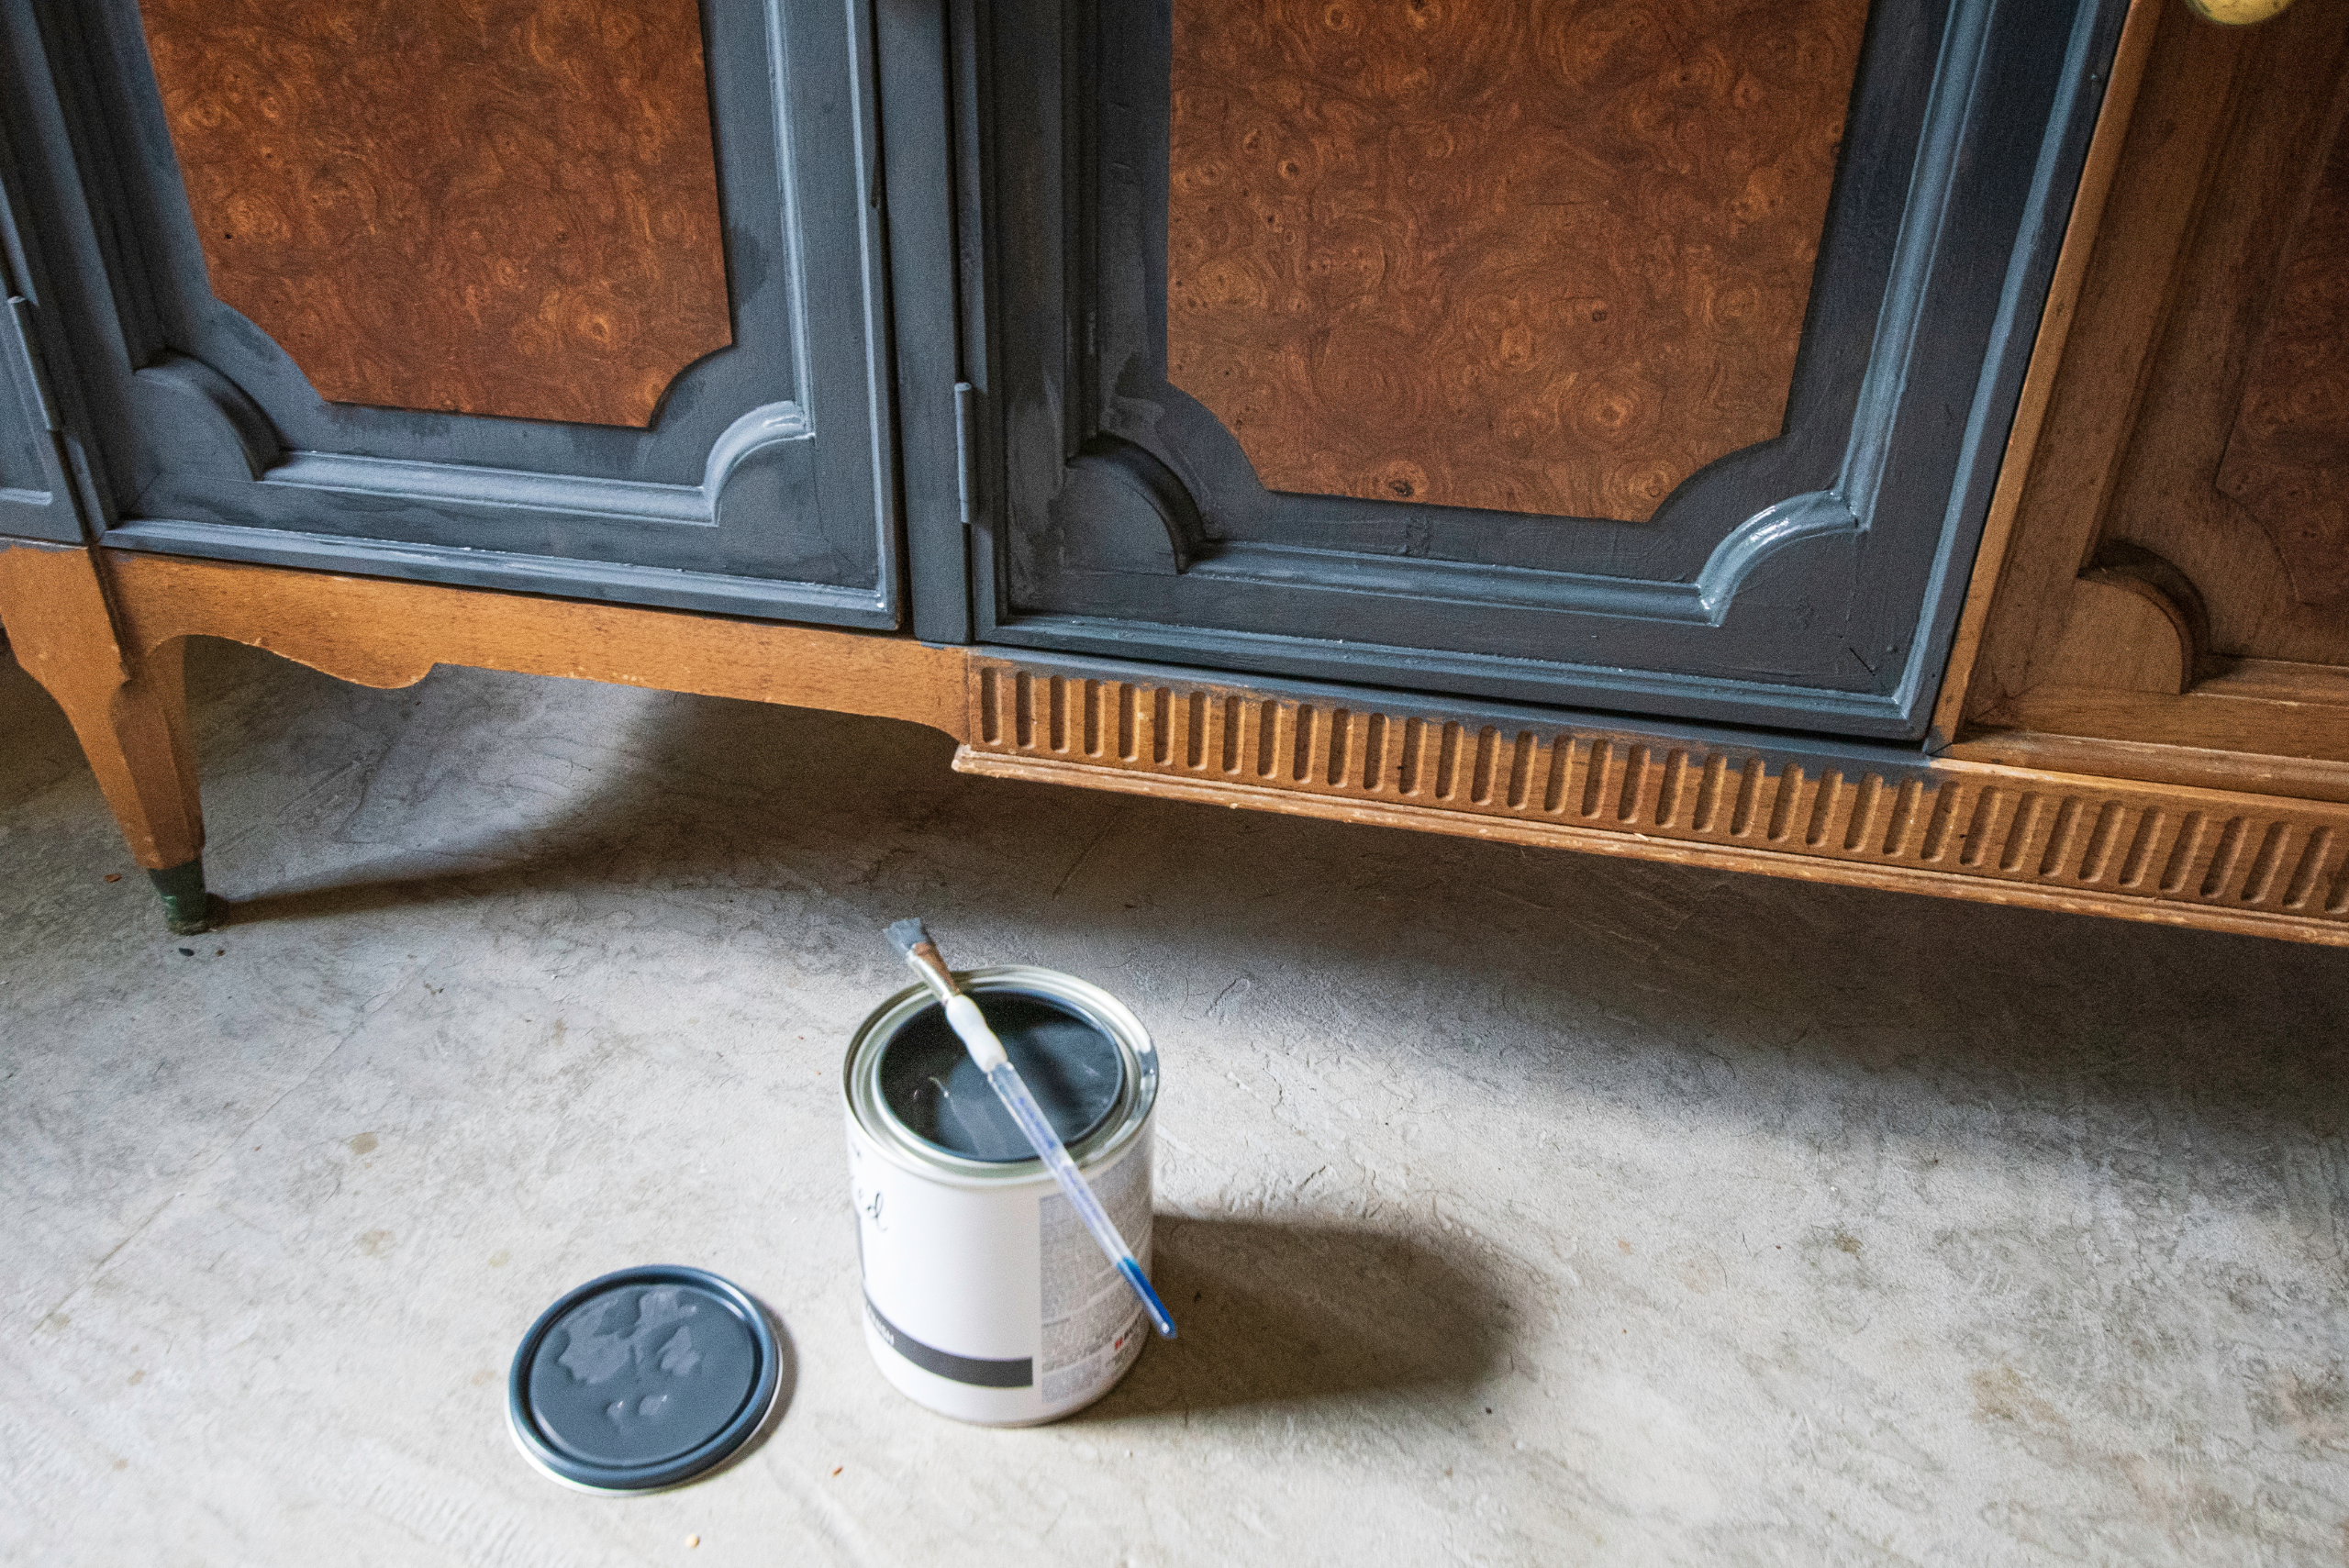
When it comes to tools, invest in high-quality brushes or rollers suitable for the type of paint you’re using. A good brush can make a significant difference in the finish of your project, helping to avoid streaks and brush marks.
Executing Your Painting Project – Tips for a Smooth, Professional Finish
With all the preparation complete and the right tools in hand, it’s time to start painting. Begin with a light coat of paint, allowing it to dry completely before applying a second coat. This method helps prevent drips and ensures even coverage. Be patient; a rushed job can lead to unsatisfactory results. Between coats, gently sand the surface with fine-grit sandpaper to eliminate any imperfections, and wipe clean with a tack cloth.
This extra step will contribute significantly to achieving a smooth, professional finish. Remember, the quality of your finish depends not only on the preparation and painting but also on allowing adequate drying time between coats.
Related Articles:
- How to Calculate How Much Paint You Need
- How to Fix Paint Drips Like A Pro
- How to Properly Paint Over Wallpaper
Once your painting project is complete and the final coat of paint has dried, take a step back and admire your work. Painting over stained wood can truly transform a piece of furniture or space, bringing a fresh and updated look to your home. This project not only adds aesthetic value but can also be a gratifying experience, showcasing your DIY skills and the power of a fresh coat of paint.
As you reflect on this journey, remember that the success of painting over stained wood lies in patience, preparation, and the willingness to follow each step meticulously. Your newly painted surface is a testament to the fact that with the right approach, you can indeed paint over stained wood, achieving beautiful and lasting results.
Ready to start your next project? Join our DIY community to receive tool tips, how-to guides, and exclusive creative insights. Subscribe to the ManMadeDIY newsletter now! Click here to unlock a world of hands-on inspiration.


