8 DIY Ways to Revive Your Worn-Out Fence
A sturdy fence is more than just a boundary; it’s a statement of pride in your property. But even the most well-built fences can succumb to the ravages of time, weather, and wear. Fear not, fellow DIY enthusiasts! We’ve compiled a comprehensive guide to help you tackle fence repairs with confidence. Whether you’re dealing with a wobbly post or a broken board, these 8 fixes will have your fence standing tall in no time.
1. Assess the Damage to Identify and Prioritize Fence Repair Needs
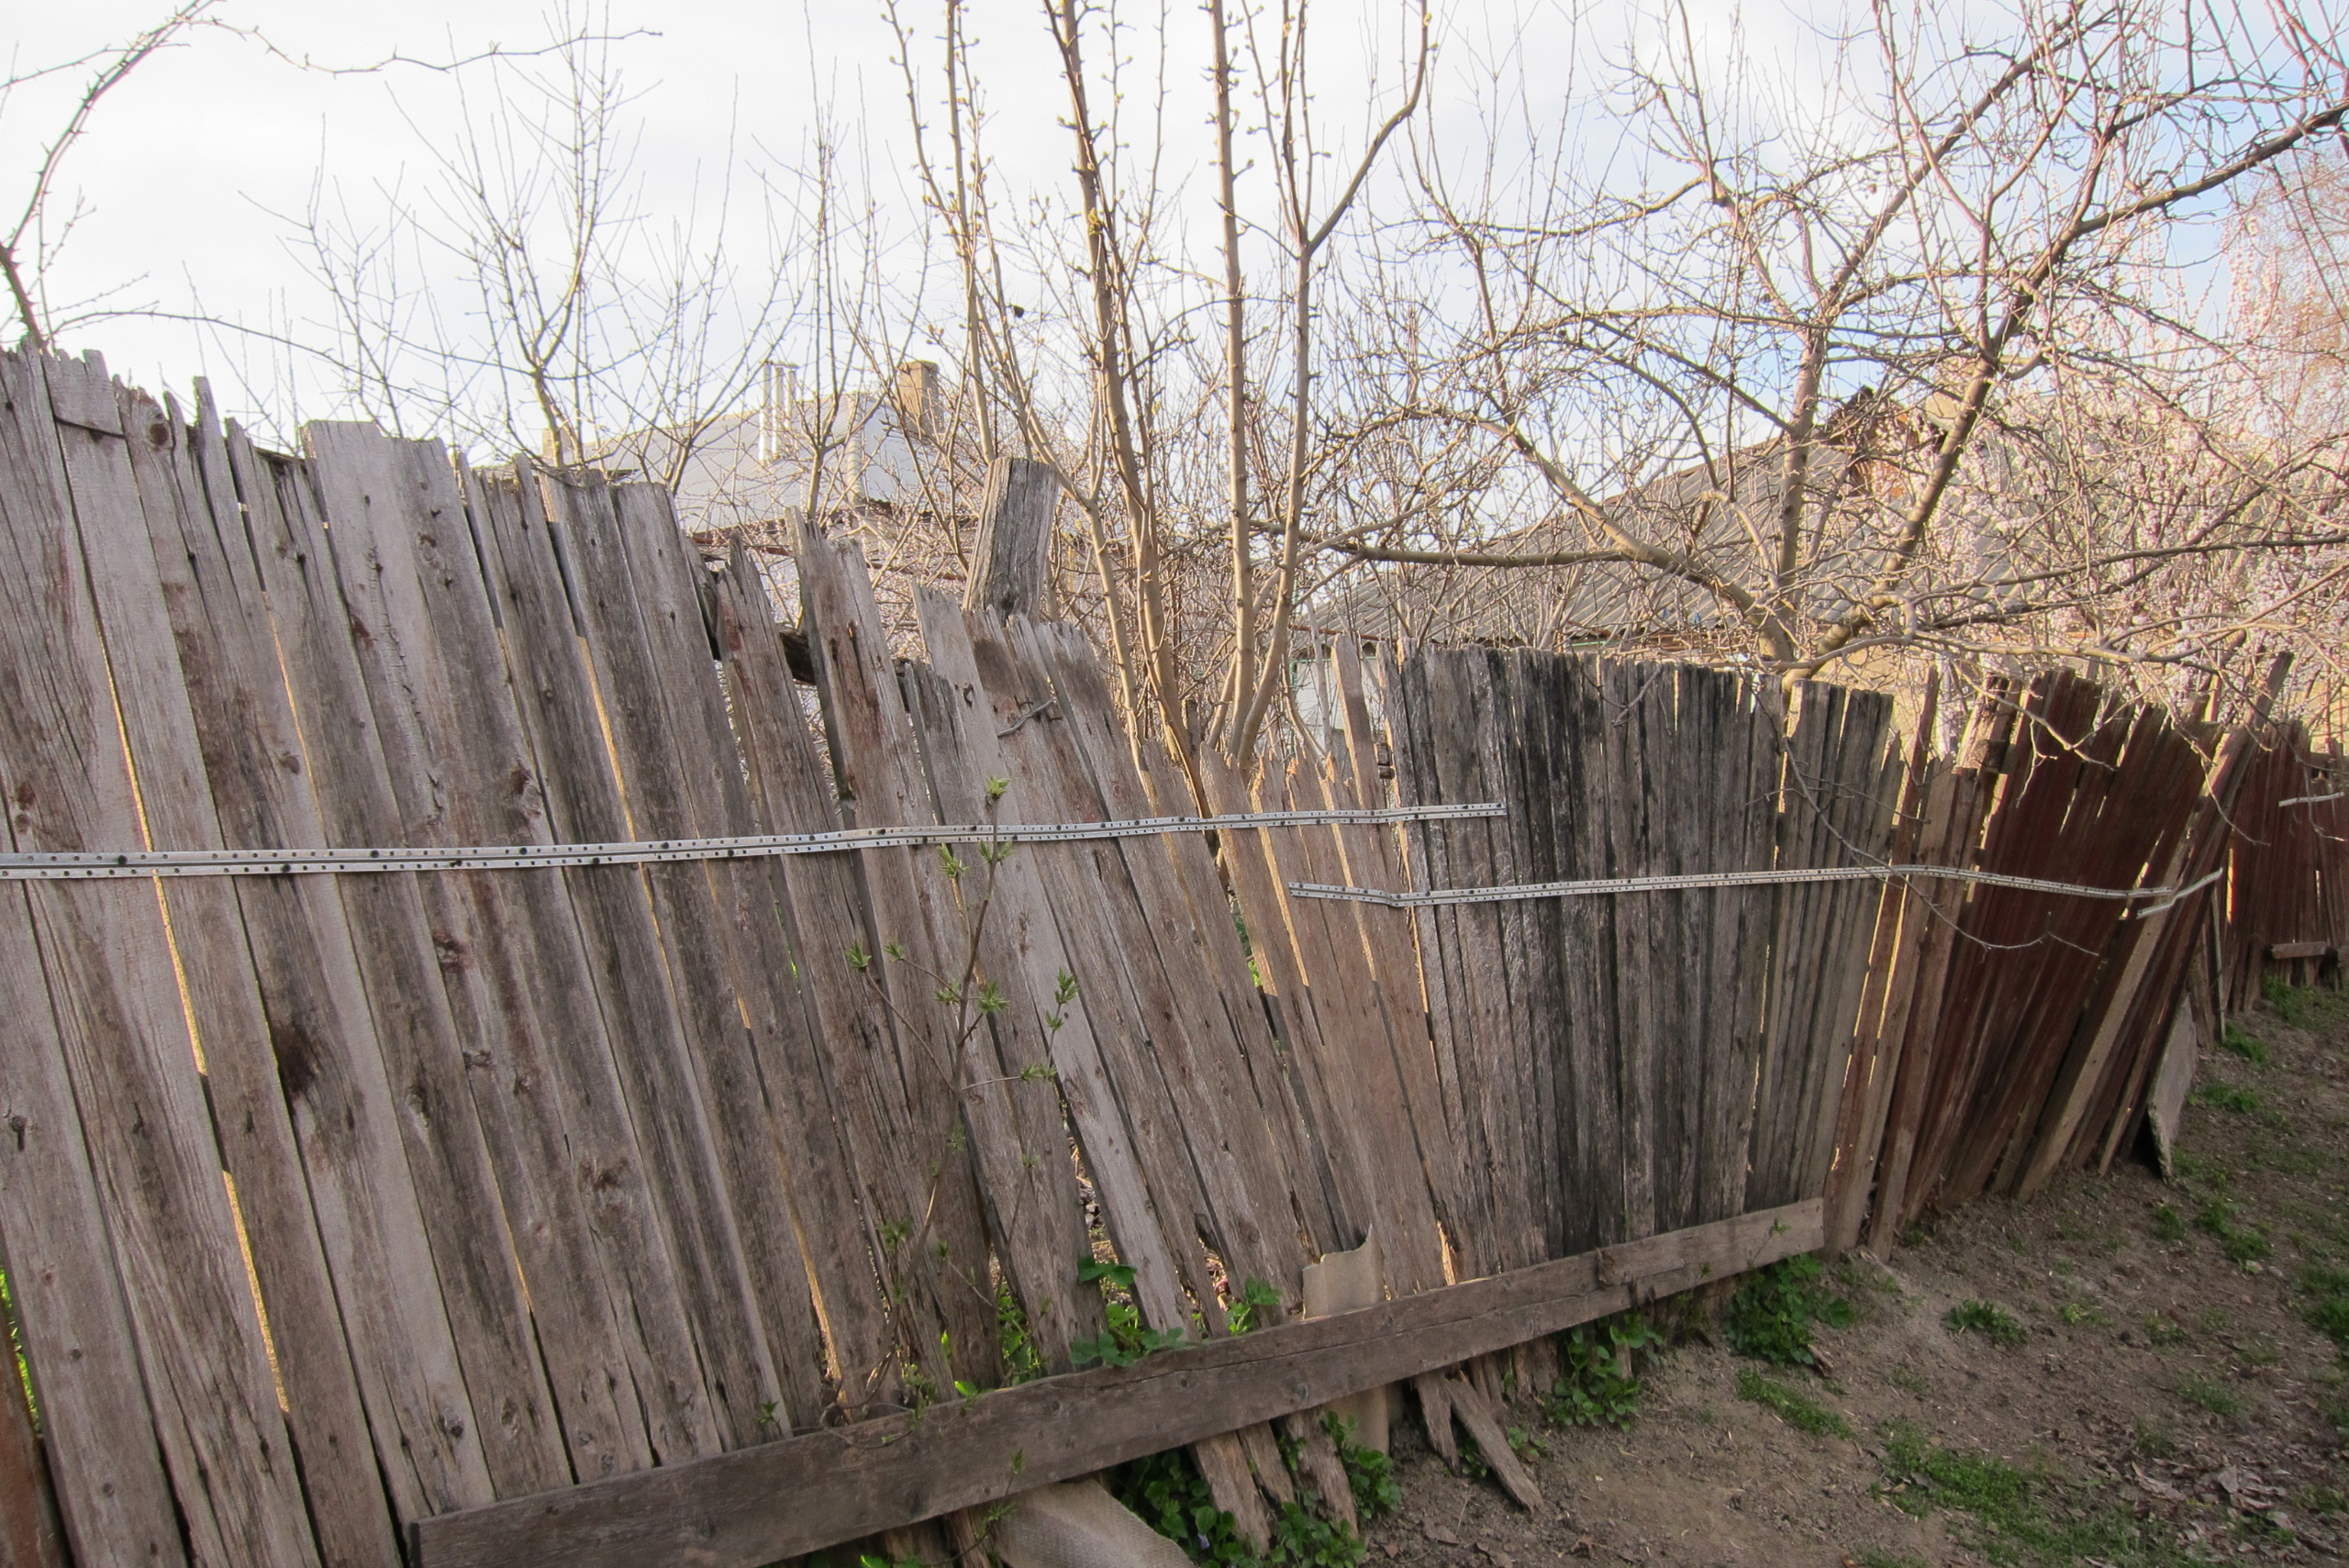
Before diving into repairs, it’s crucial to assess the extent of the damage to your fence. Take a walk along its entire length, noting any issues you encounter. Look for loose or missing boards, leaning posts, rotting wood, or rusted metal components. Pay special attention to areas where the fence meets the ground, as these are often prone to moisture damage and decay.
Once you’ve identified all the problem areas, prioritize your repairs based on severity and urgency. Start with structural issues that compromise the fence’s stability, such as loose posts or large holes. Then, move on to cosmetic repairs like replacing individual boards or touching up paint. By tackling the most critical problems first, you’ll ensure your fence remains functional while you work through the rest of the repairs.
2. Straighten Leaning Posts for Restoring Stability to Your Fence
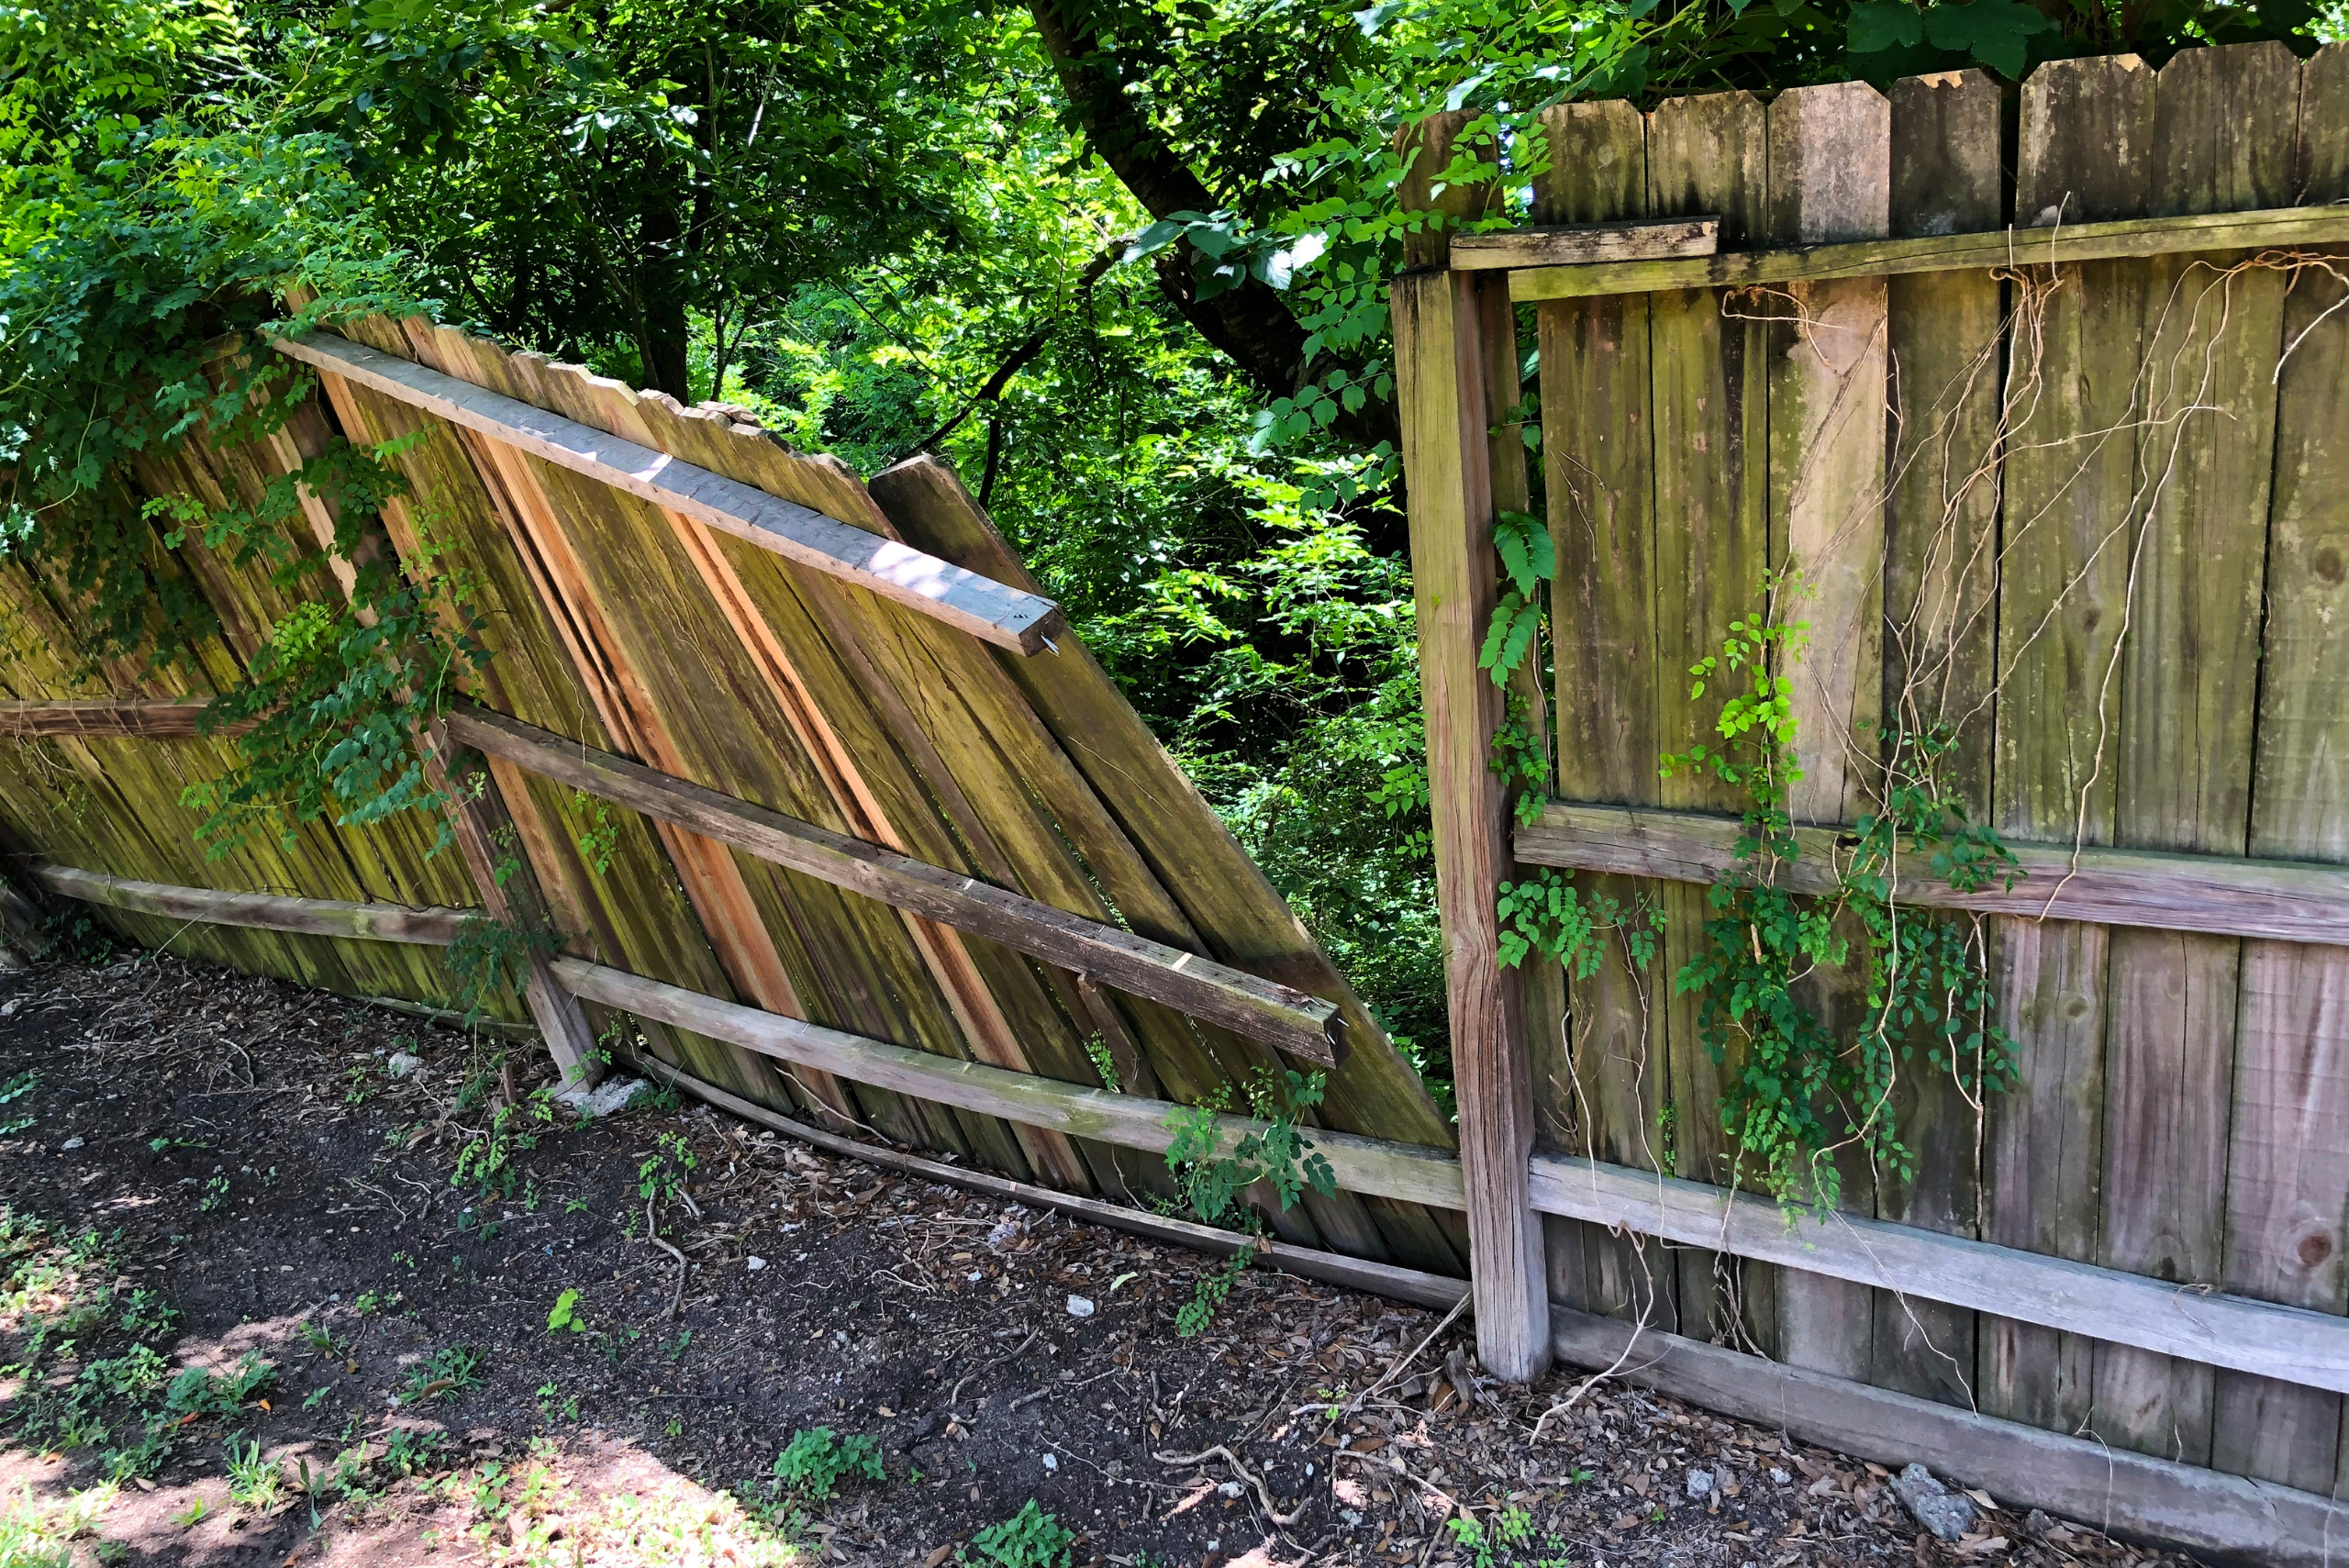
Leaning posts can compromise the entire structure of your fence, making this repair a top priority. Begin by digging around the base of the post to expose the concrete footing. If the footing is intact, you may be able to straighten the post by pushing it back into position and tamping the soil around it. For a more permanent solution, consider using a post level and braces to hold the post in place while you fill the area with concrete.
If the footing is damaged or the post is rotted at the base, you’ll need to replace it entirely. Remove the old post and dig out the footing. Install a new post, ensuring it’s level and plumb, then fill the hole with quick-setting concrete. Allow the concrete to cure fully before reattaching any fence panels or rails. Remember to treat the bottom of wooden posts with a water-resistant sealant to prevent future rot.
3. Replace Broken Boards to Restore the Look of Your Fence
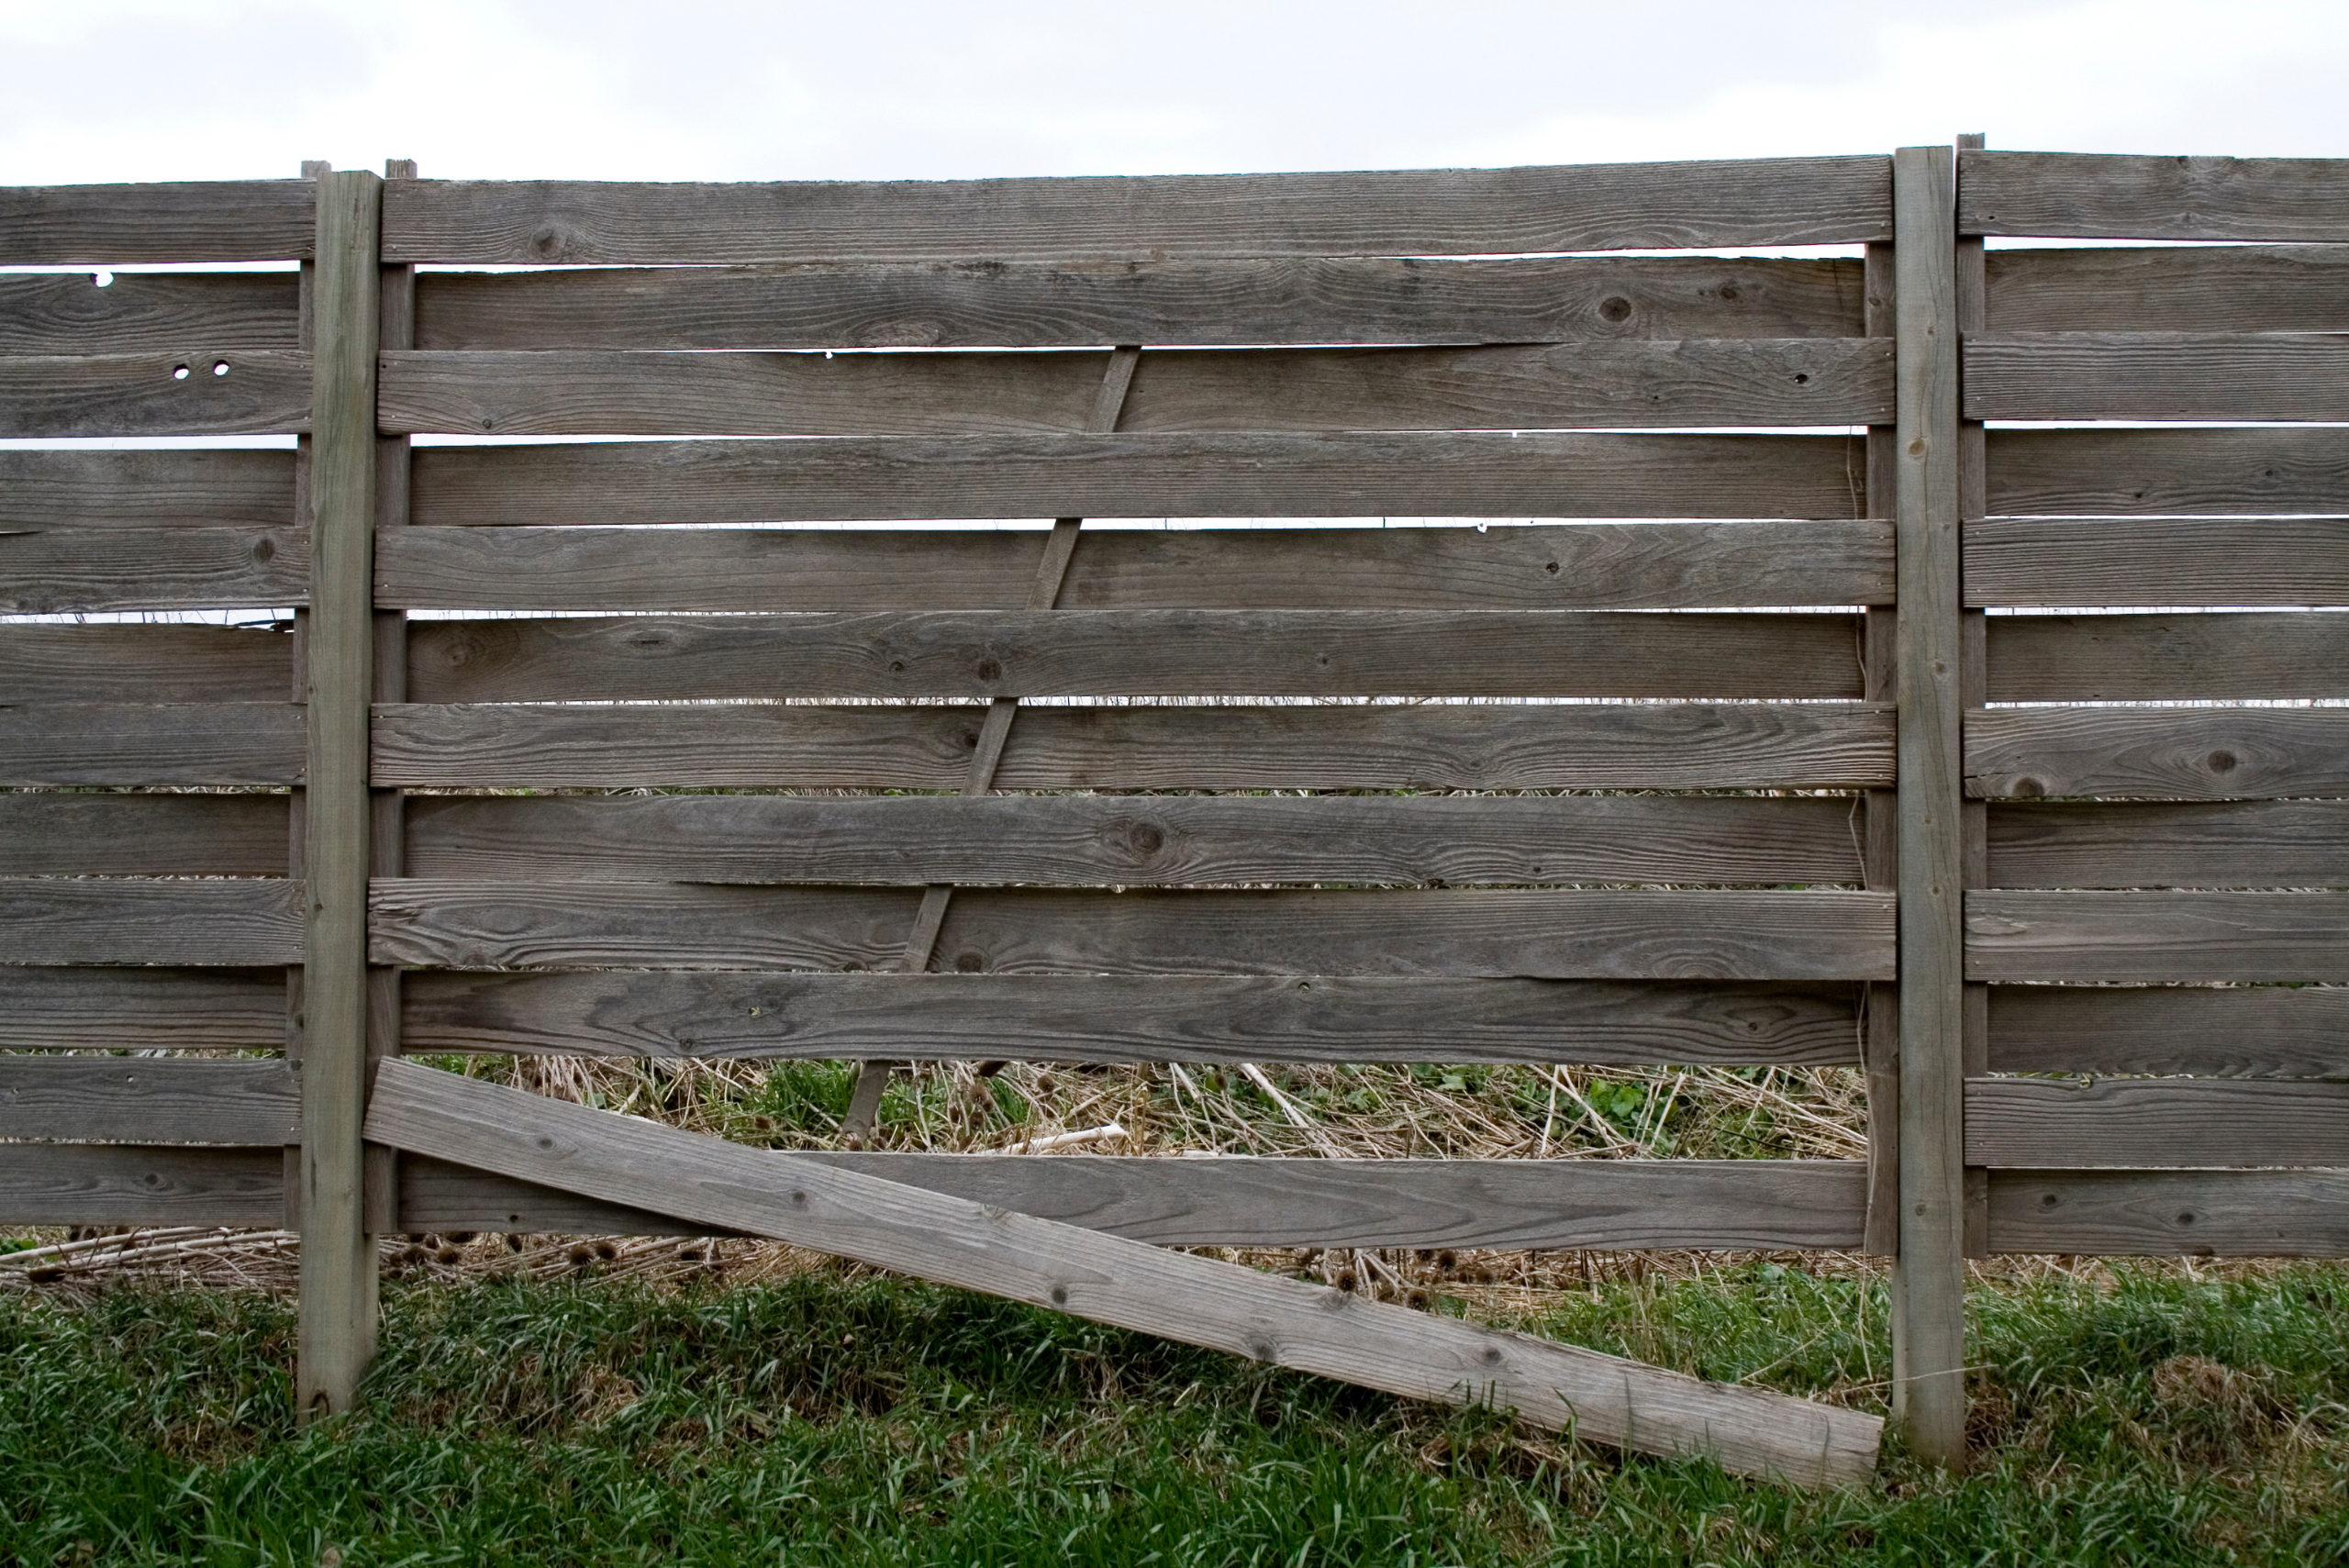
Broken or damaged boards not only detract from your fence’s appearance but can also compromise its functionality. To replace a board, start by removing any nails or screws holding it in place. Carefully pry the board away from the fence rails, taking care not to damage surrounding boards. Measure the removed board and cut a new one to match, using the same type of wood or material as the rest of your fence.
Before installing the new board, apply a coat of primer and paint or stain to match the existing fence. This will help protect the wood and ensure a seamless look. Position the new board in place, ensuring it’s level and properly aligned with adjacent boards. Secure it to the rails using galvanized nails or screws, which resist rust and corrosion. For an extra touch, consider using a wood filler to cover any visible fasteners, then touch it up with paint or stain.
4. Tighten and Replace Fasteners as Needed
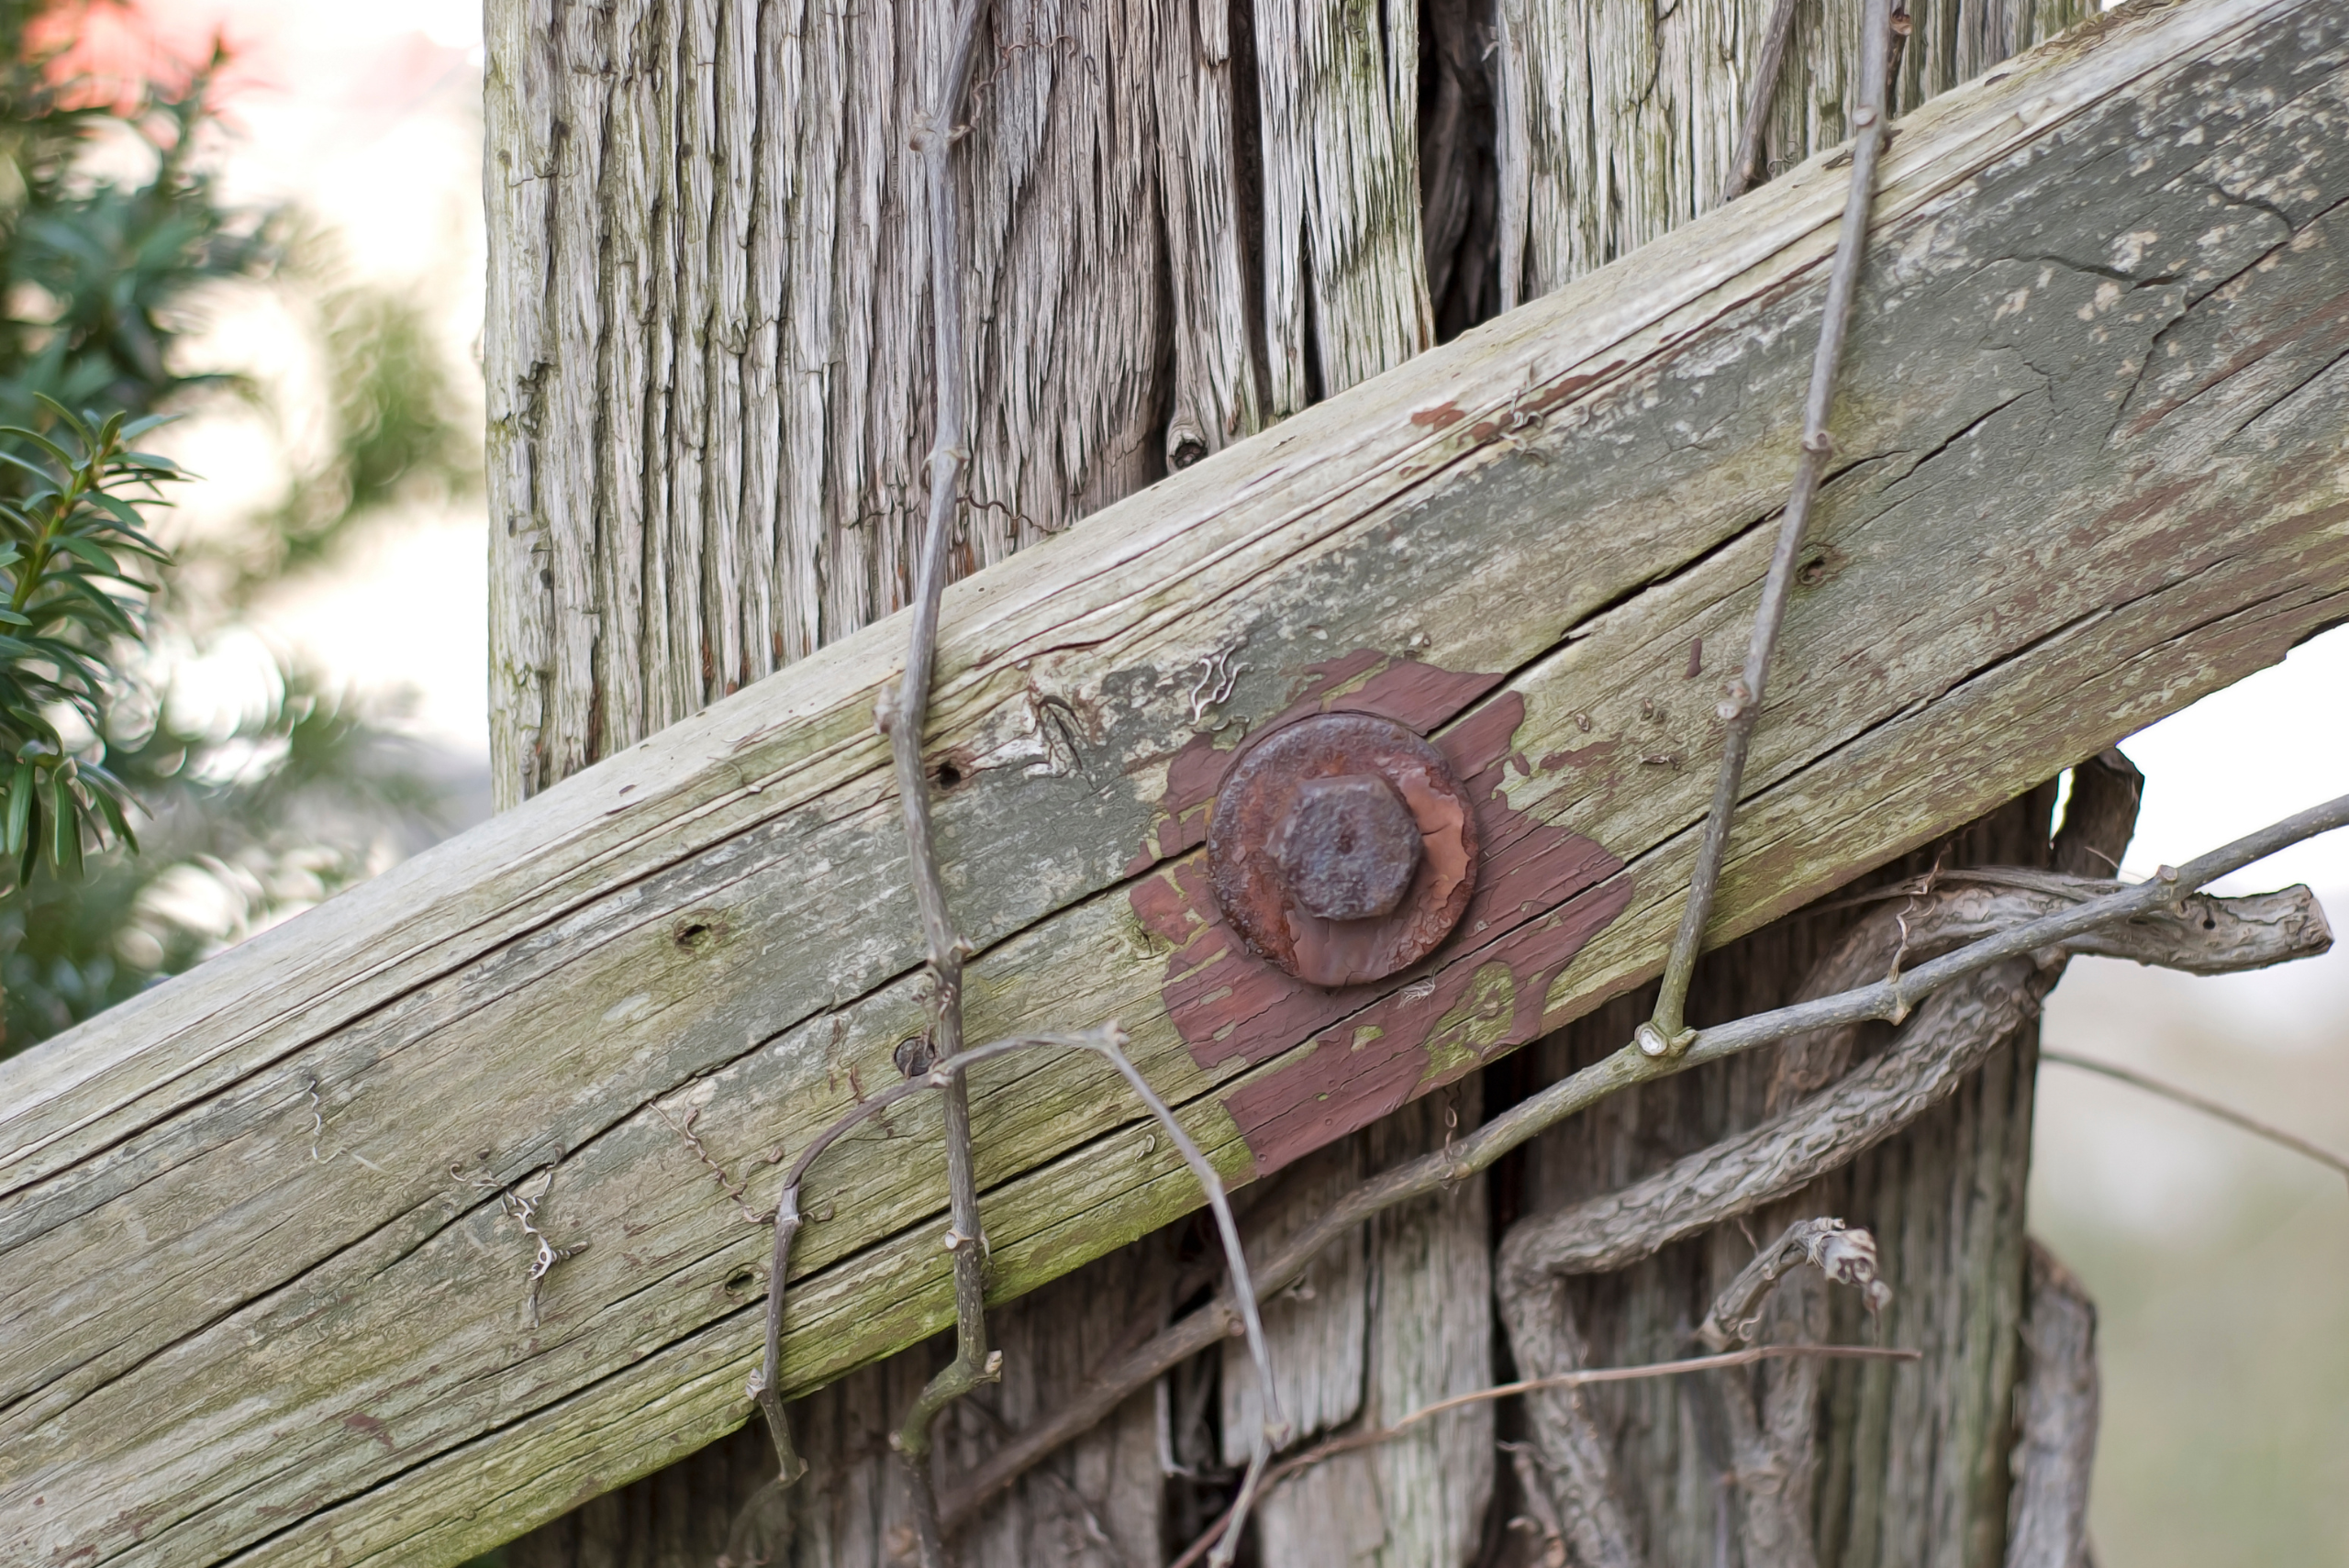
Over time, the hardware holding your fence together can loosen or corrode, leading to instability and potential safety hazards. Inspect all visible fasteners, including nails, screws, bolts, and hinges. Tighten any loose screws or bolts using the appropriate tools. If you encounter stripped screw holes, fill them with wood filler or toothpicks and wood glue before reinserting the screw.
For severely corroded or damaged hardware, replacement is the best option. Remove the old fasteners and replace them with new, corrosion-resistant alternatives such as galvanized or stainless steel. When replacing hinges on gates, ensure they’re properly aligned and lubricated for smooth operation. Don’t forget to check and adjust gate latches to ensure they close securely. Regular maintenance of your fence’s hardware will go a long way in preventing more significant issues down the line.
5. Patch Holes and Cracks for Enhanced Privacy
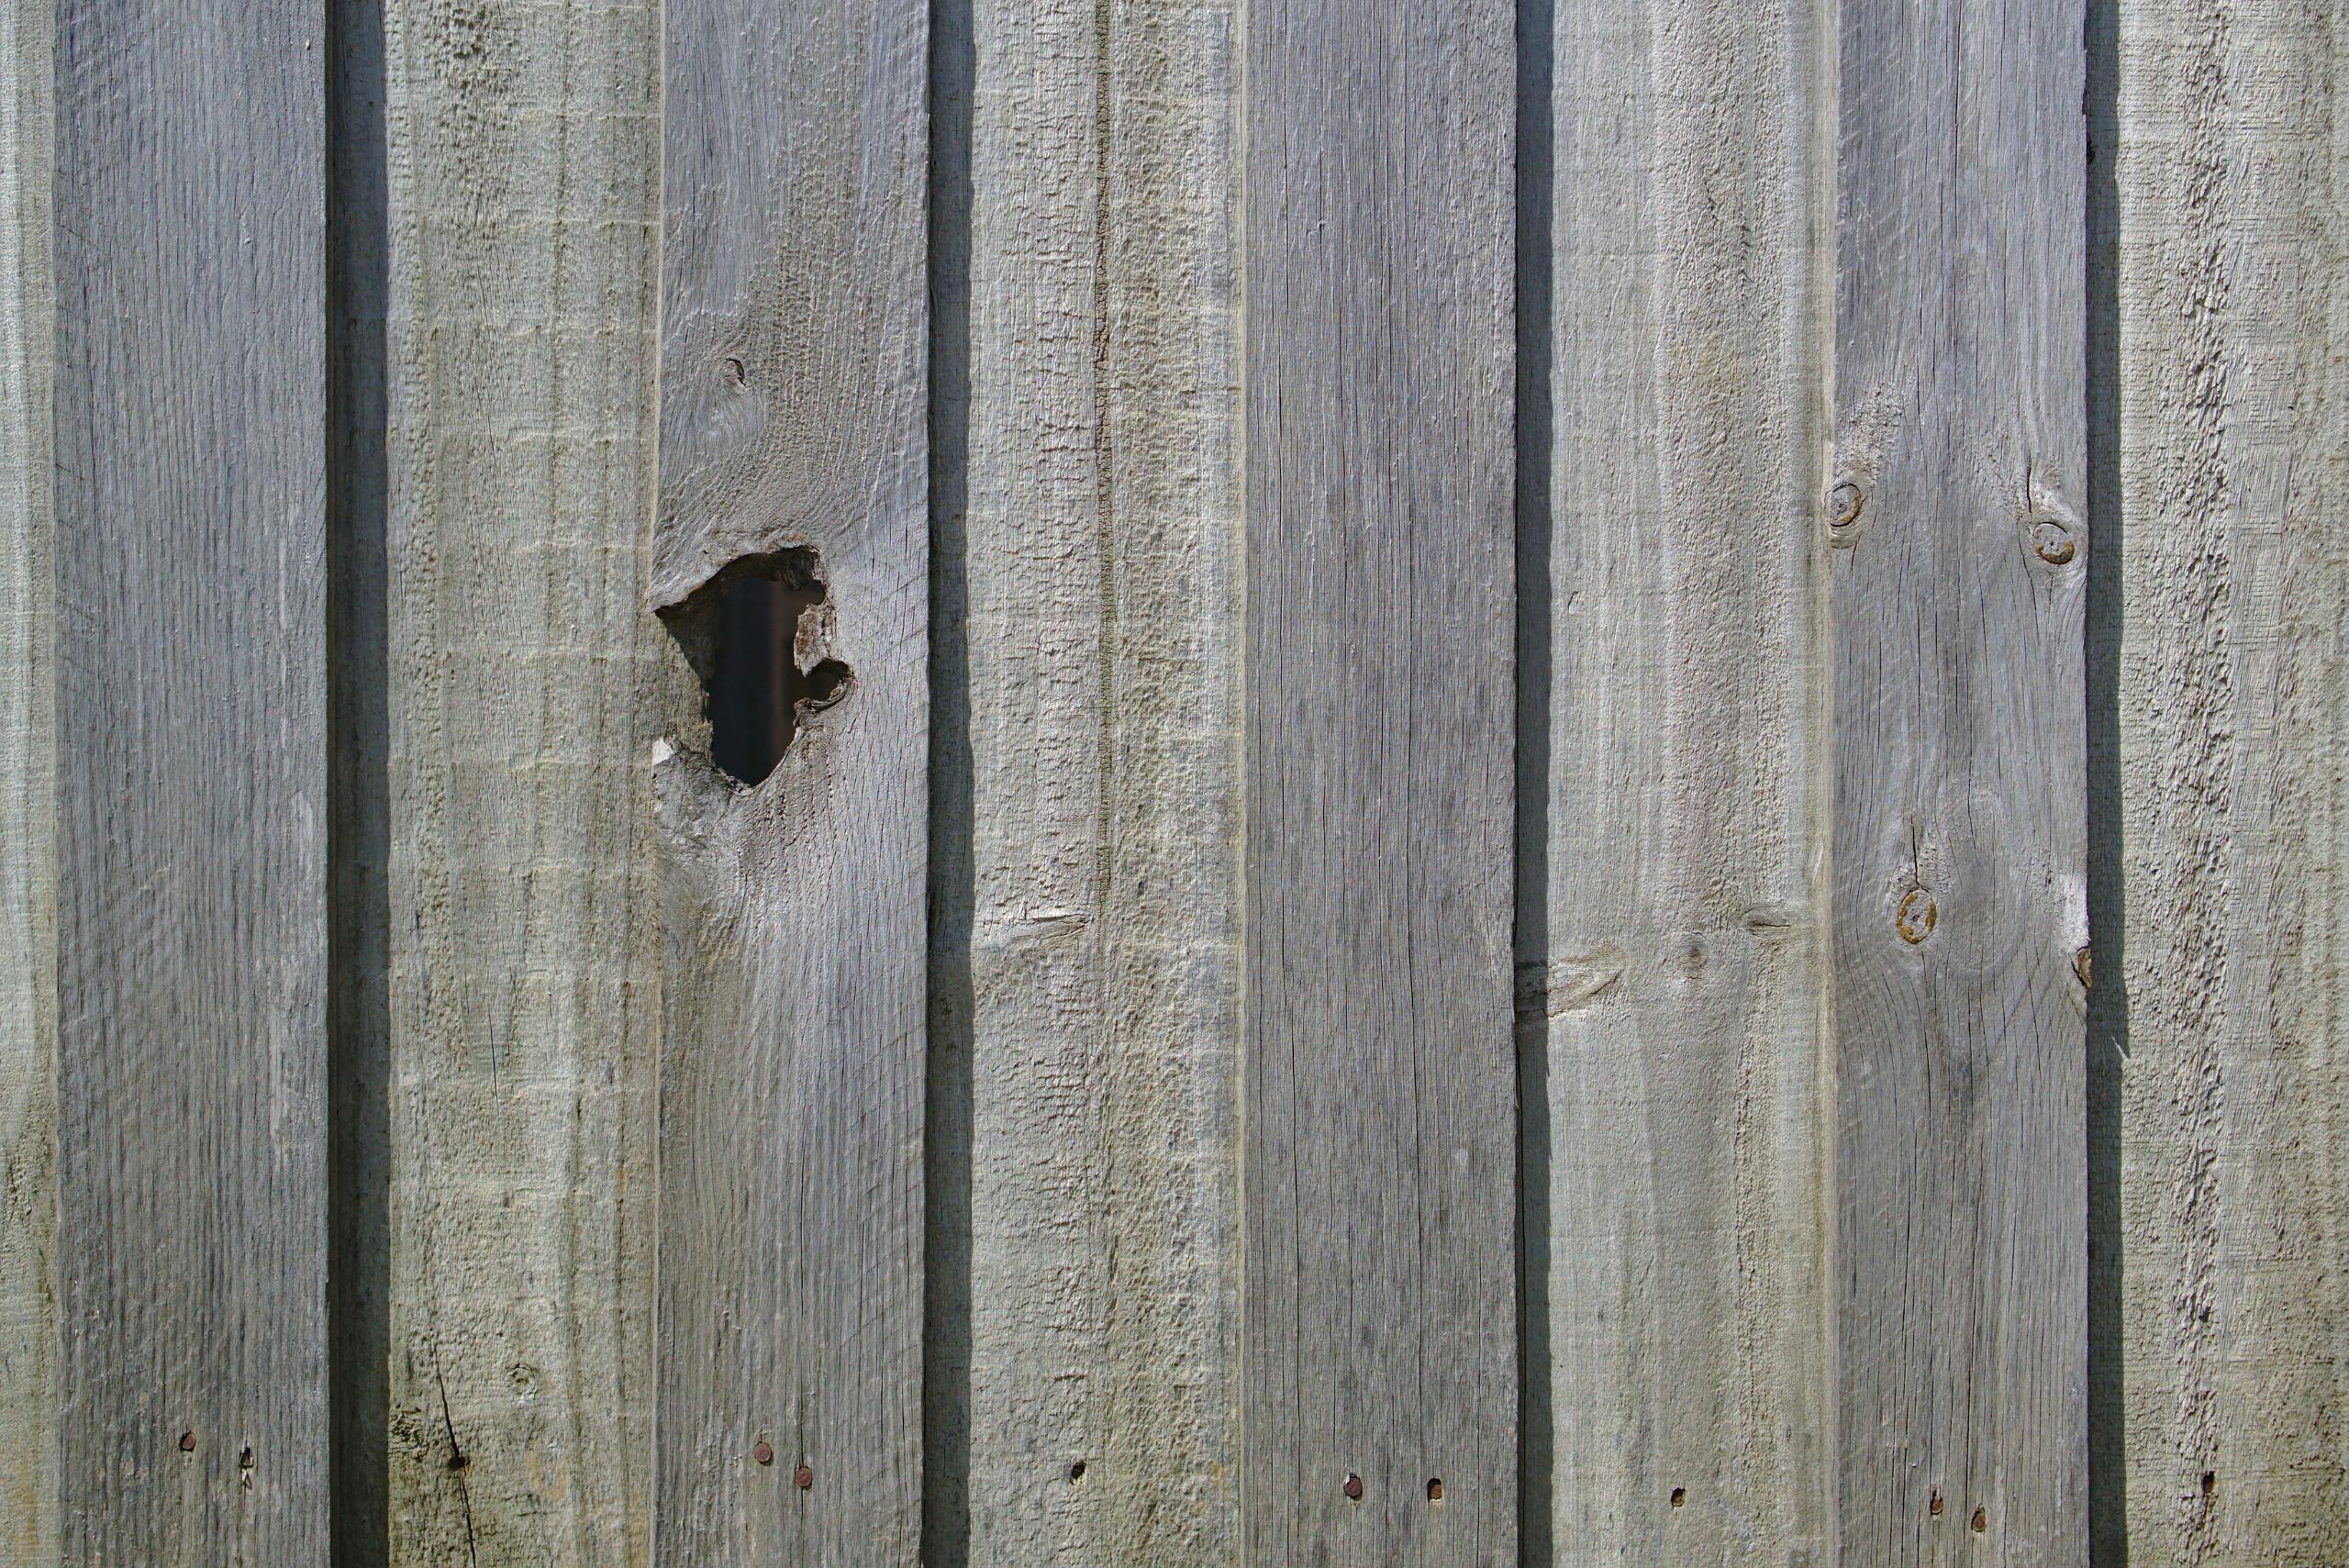
Small holes and cracks in your fence can compromise its appearance and functionality. For wooden fences, start by cleaning the damaged area and removing any loose or rotted wood. Fill small holes and cracks with exterior-grade wood filler, shaping it to match the surrounding surface. Once dry, sand the area smooth and apply a coat of primer and paint or stain to match the rest of the fence.
For larger holes or severely damaged sections, you may need to patch with a piece of matching wood. Cut out the damaged area in a clean, rectangular shape. Cut a patch slightly larger than the hole and secure it in place with wood glue and screws or nails. Fill any gaps around the edges with wood filler, then sand, prime, and paint as needed. For vinyl or metal fences, consult the manufacturer’s recommendations for appropriate patching materials and techniques.
6. Reinforce Weak Sections by Adding Support to Vulnerable Areas
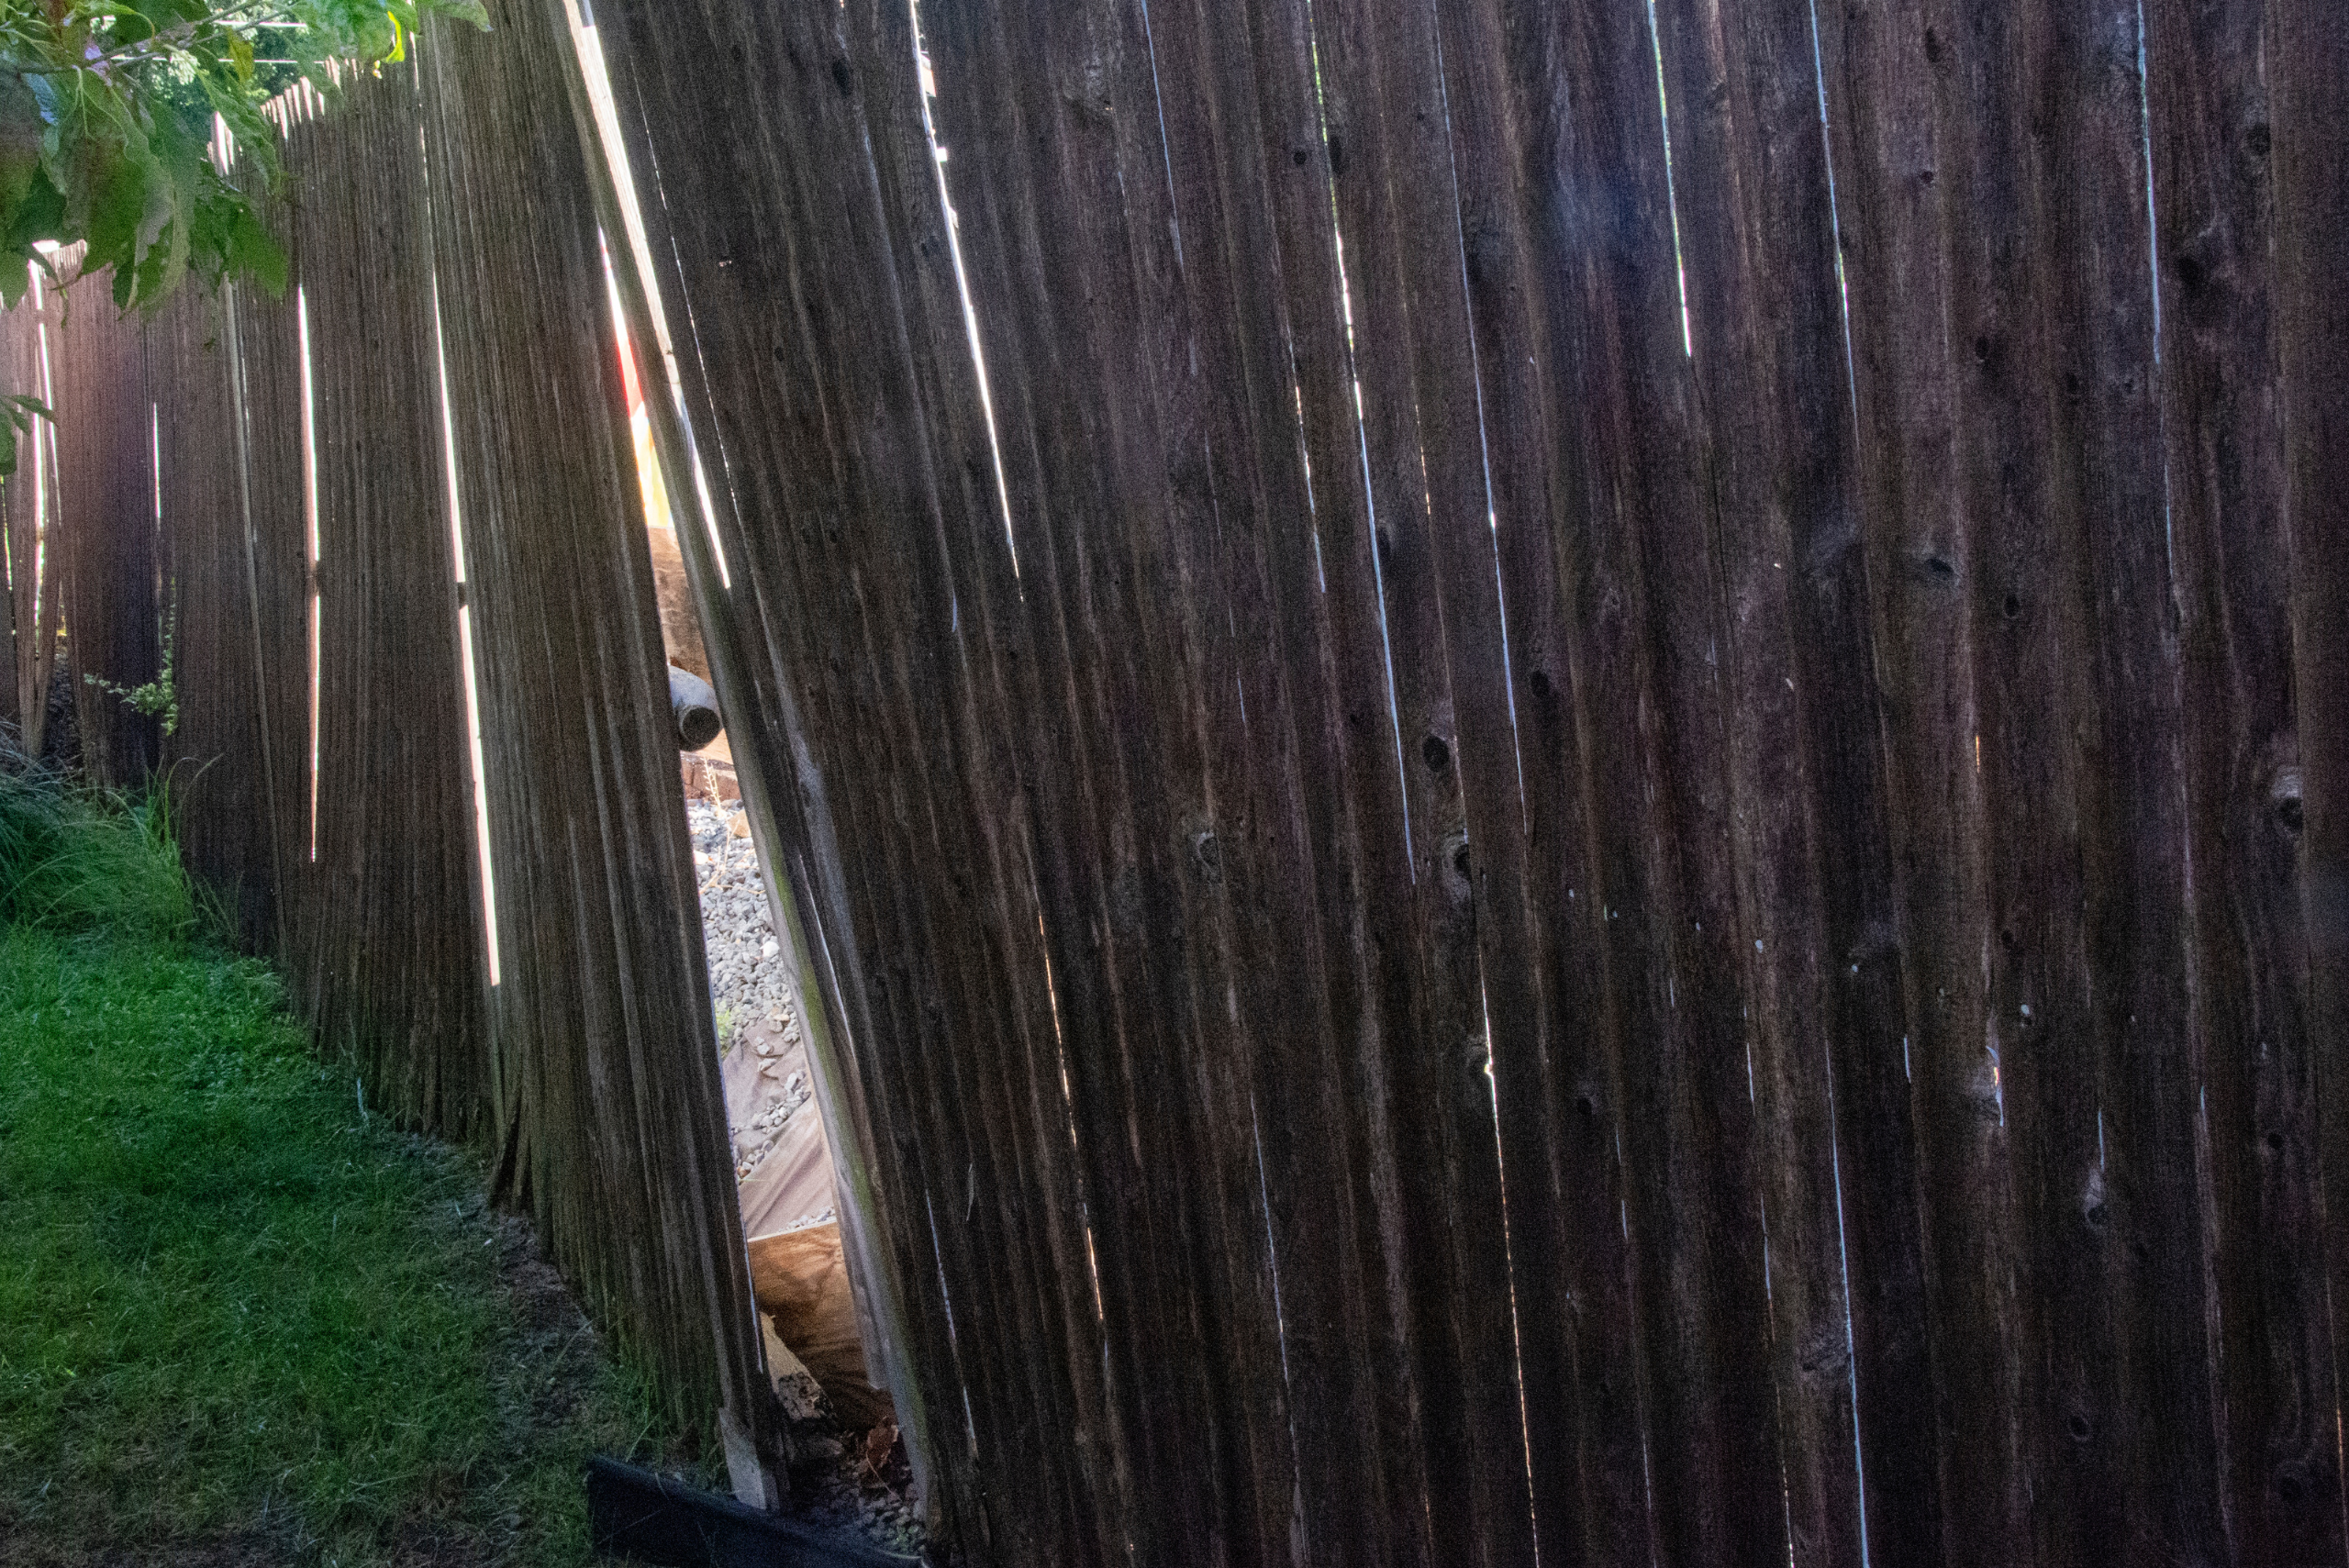
Identify areas of your fence that may be prone to weakness, such as long spans between posts or sections exposed to high winds. To reinforce these areas, consider adding diagonal braces or additional rails. For wooden fences, cut 2×4 boards to fit diagonally between posts, securing them with screws or bolts. This triangular support can significantly increase the fence’s stability.
Another option is to install additional horizontal rails between existing ones. This not only adds structural support but can also enhance the fence’s appearance. For chain-link fences, consider adding tension bars or top rails to prevent sagging. In areas with severe weather conditions, you might want to install concrete footings for corner and end posts to provide extra stability. Remember to check local building codes before making significant structural changes to your fence.
7. Protect Your Fence from Moisture to Avoid Wood Rot
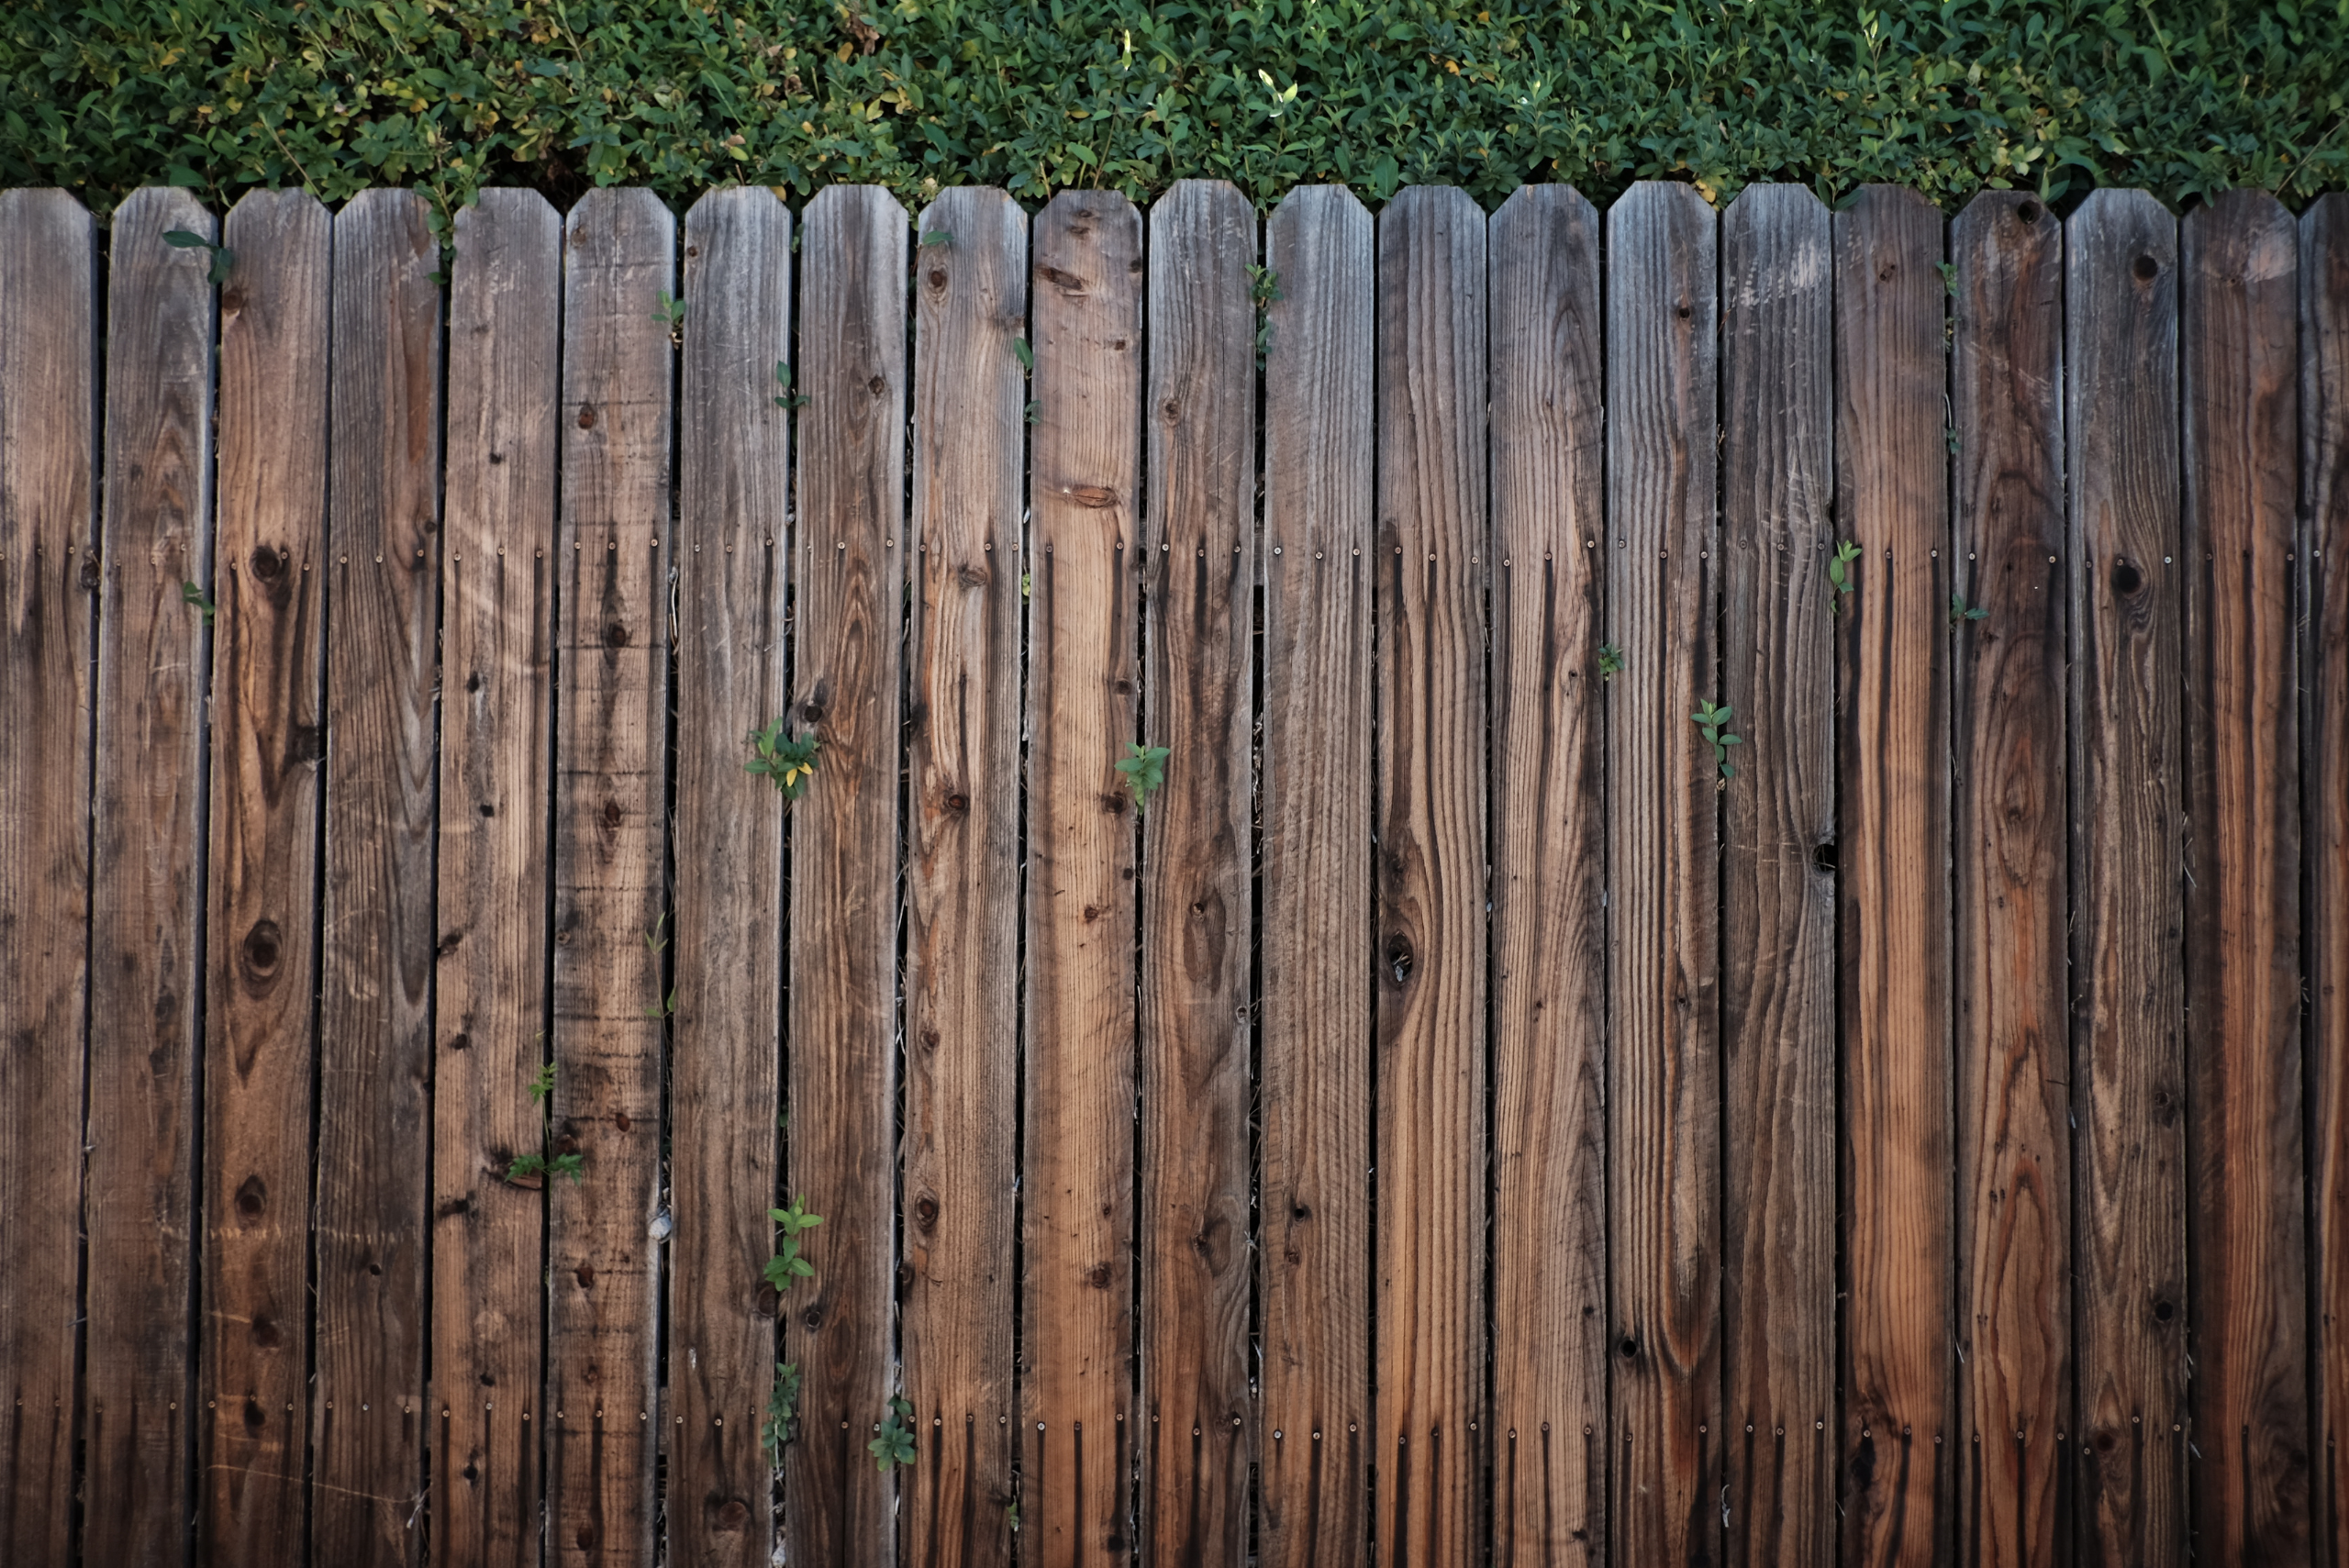
Moisture is the enemy of wooden fences, leading to rot and decay over time. Inspect your fence regularly for signs of rot, such as soft or discolored wood. For small areas of rot, remove the affected wood with a chisel or screwdriver, then treat the area with a wood hardener. Once dry, fill the void with an exterior-grade wood filler and sand smooth. For larger areas of rot, you may need to replace entire boards or sections.
To prevent future rot, ensure your fence has proper drainage and doesn’t come into direct contact with the ground. Consider installing concrete footings or gravel beds beneath posts. Apply a water-resistant sealant or stain to all wooden components, paying extra attention to end grain and areas prone to water accumulation. Regularly clean your fence to remove debris and moisture-trapping organic matter. By taking these preventative measures, you can significantly extend the life of your wooden fence.
8. Paint and Stain Your Fence for a Fresh New Look
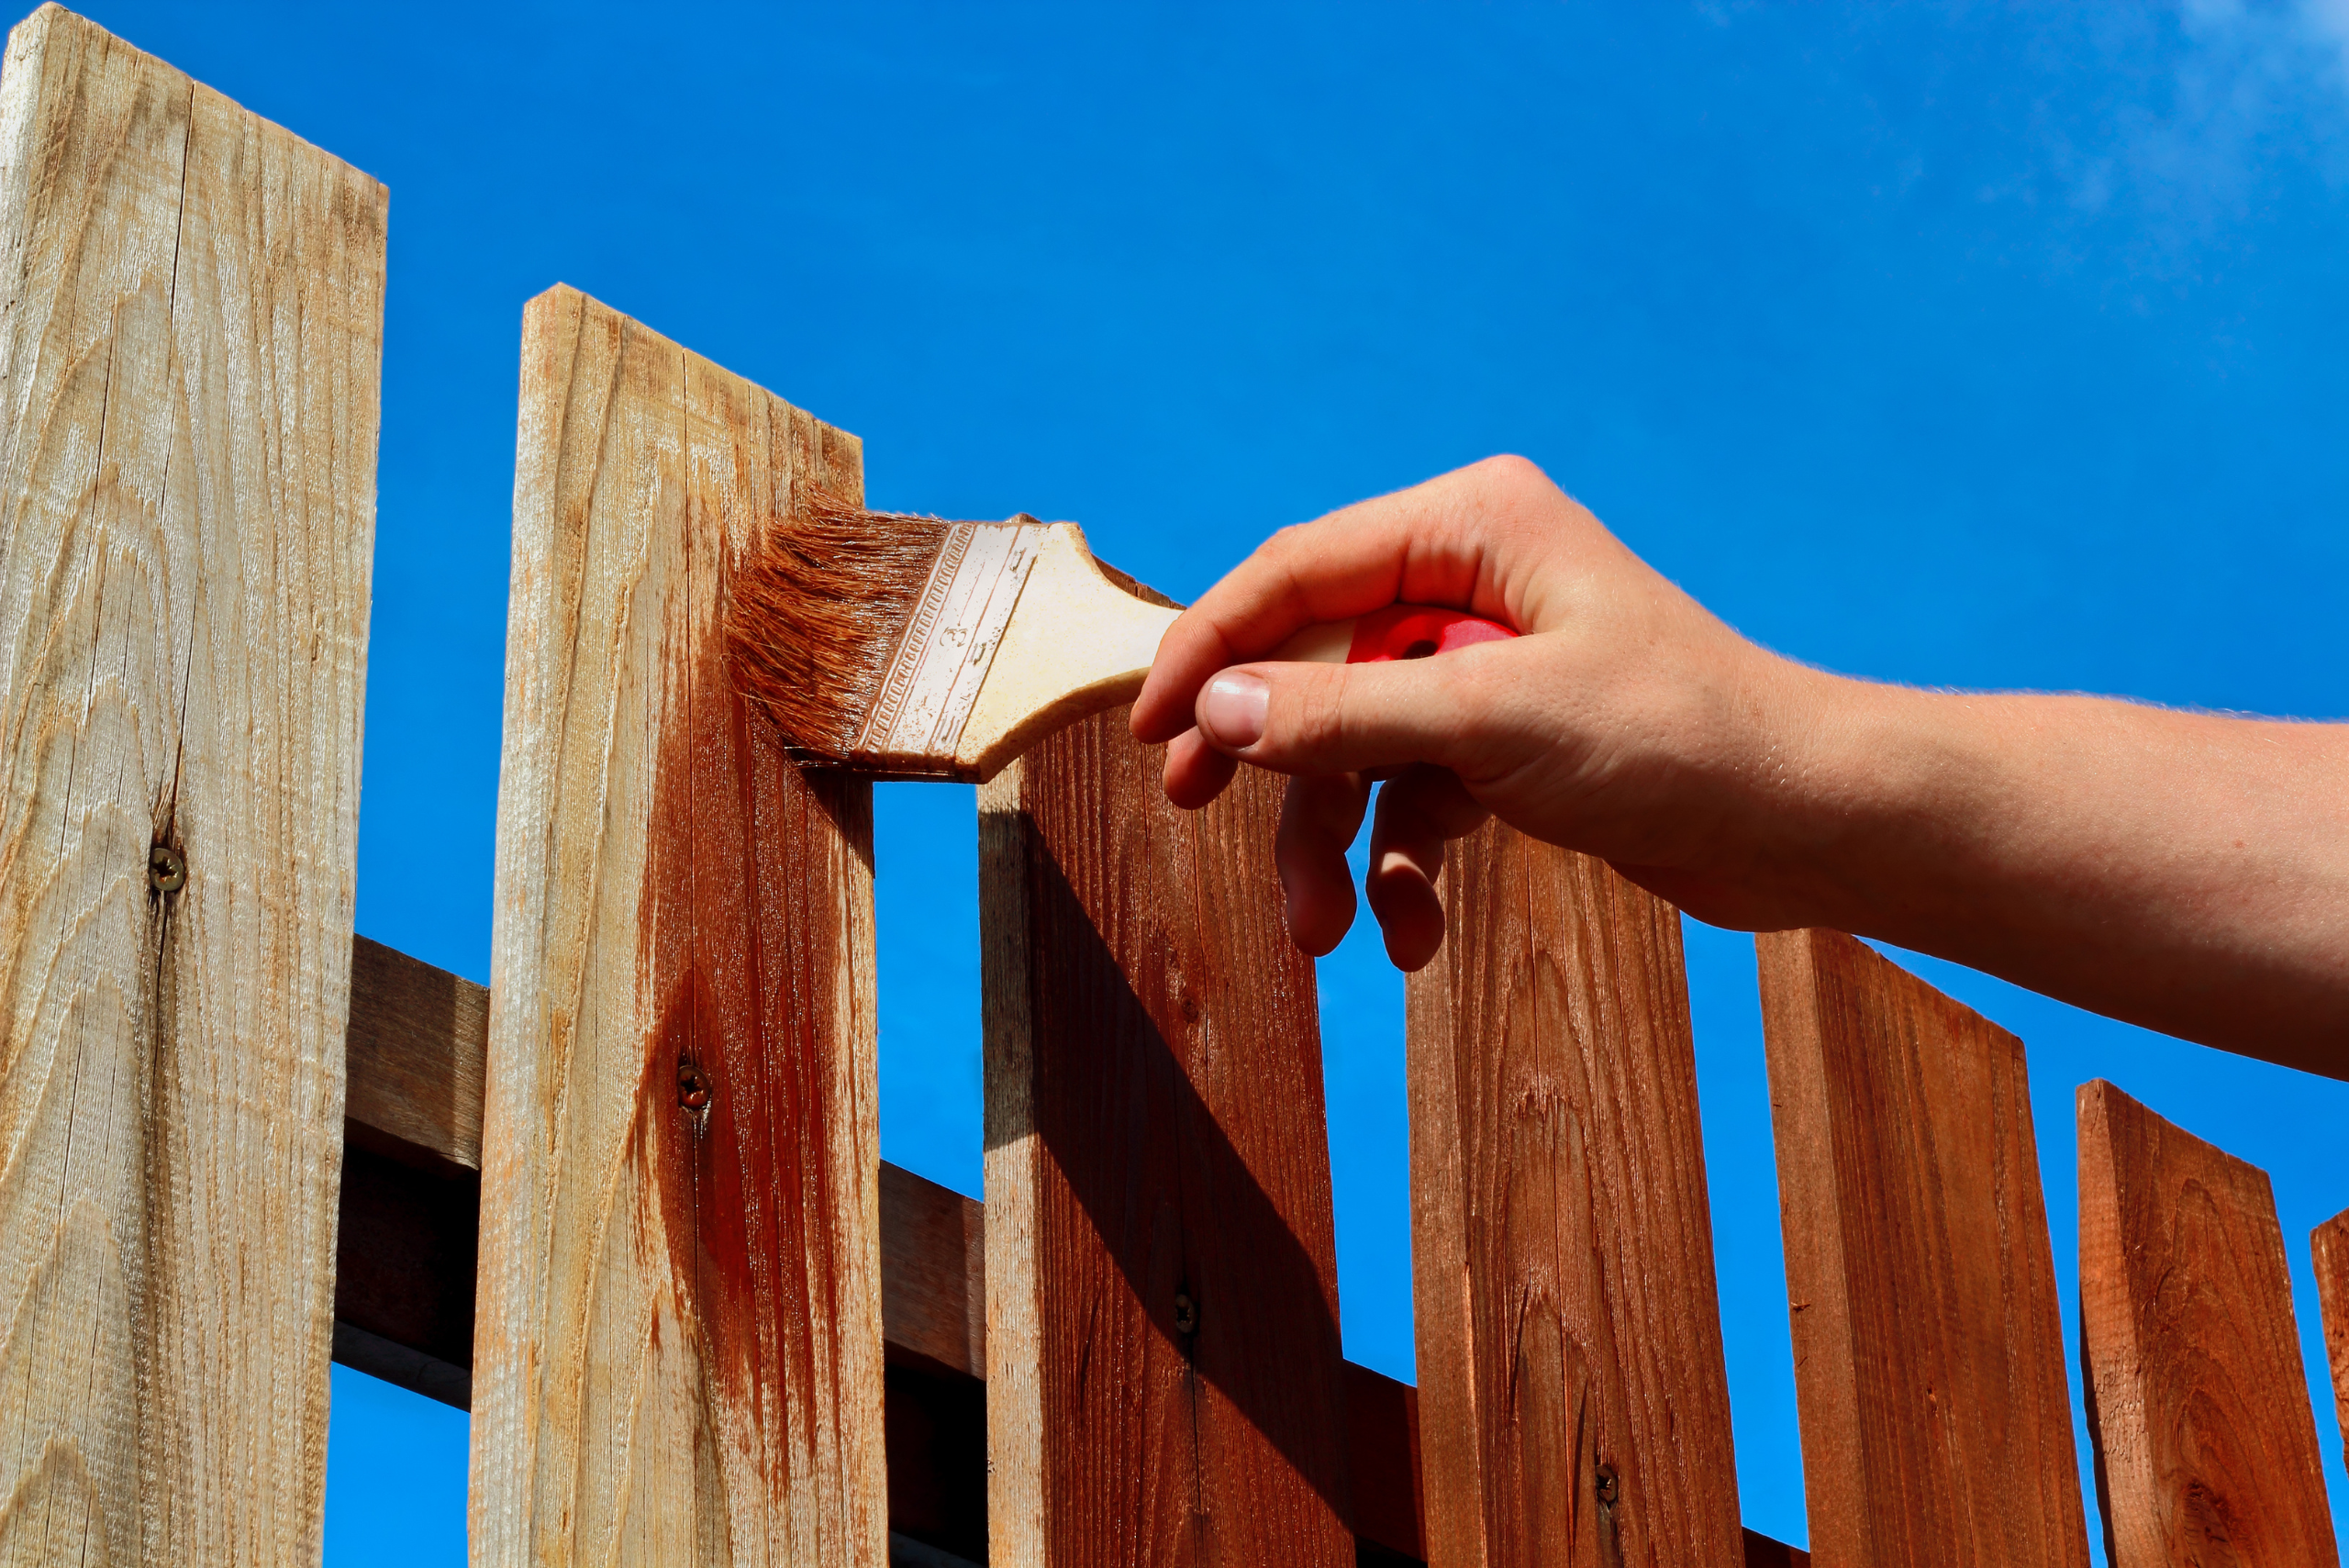
A fresh coat of paint or stain can improve your fence’s appearance and protection. Before starting, thoroughly clean the fence surface with a pressure washer or stiff brush and detergent. Allow the fence to dry completely before proceeding. For painted fences, scrape off any loose or peeling paint and sand rough areas, then apply a coat of primer before painting. Choose an exterior-grade paint designed for your fence material.
If staining, select a product appropriate for your wood type and desired finish. Apply the stain evenly using a brush, roller, or sprayer, working in the direction of the wood grain. For best results, apply multiple thin coats rather than one thick coat. Don’t forget to protect nearby plants and structures with drop cloths or plastic sheeting. Regular painting or staining not only enhances your fence’s appearance but also provides an additional layer of protection against the elements.
Related Articles
- DIY Guide for How to Build a Privacy Fence
- Cheap Fence Ideas for Your Backyard: Inexpensive Privacy Fence Ideas on a Budget
- Pour Concrete Right with These 11 Essential Tips for Success
Armed with these ten repair techniques, you’re now ready to tackle any fence issue that comes your way. Remember, regular maintenance is key to preventing major problems and extending the life of your fence. By addressing small issues promptly and performing routine inspections, you’ll keep your fence looking great and functioning properly for years to come. So roll up your sleeves, grab your tools, and get ready to transform your fence from rickety to rock-solid!
Ready to start your next project? Join our DIY community to receive tool tips, how-to guides, and exclusive creative insights. Subscribe to the ManMadeDIY newsletter now! Click here to unlock a world of hands-on inspiration.


