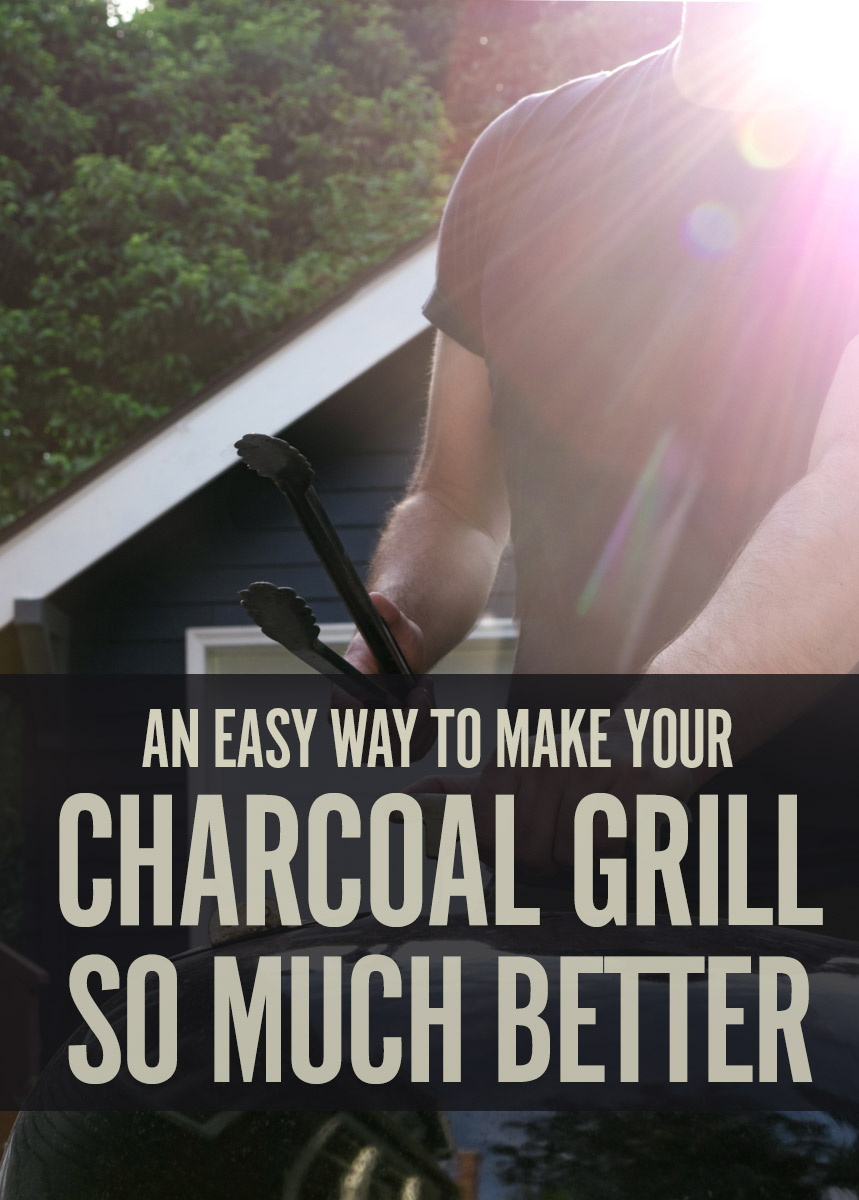
How to Significantly Improve Your Charcoal Grill
It’s impossible not to love the grill, especially in summertime. And at ManMade, there’s enough of that love for grills of all kinds: gas grills, kamado cookers, offset cookers, vertical smokers, hibachis, and whatever else helps bring your food that flame kissed flavor.
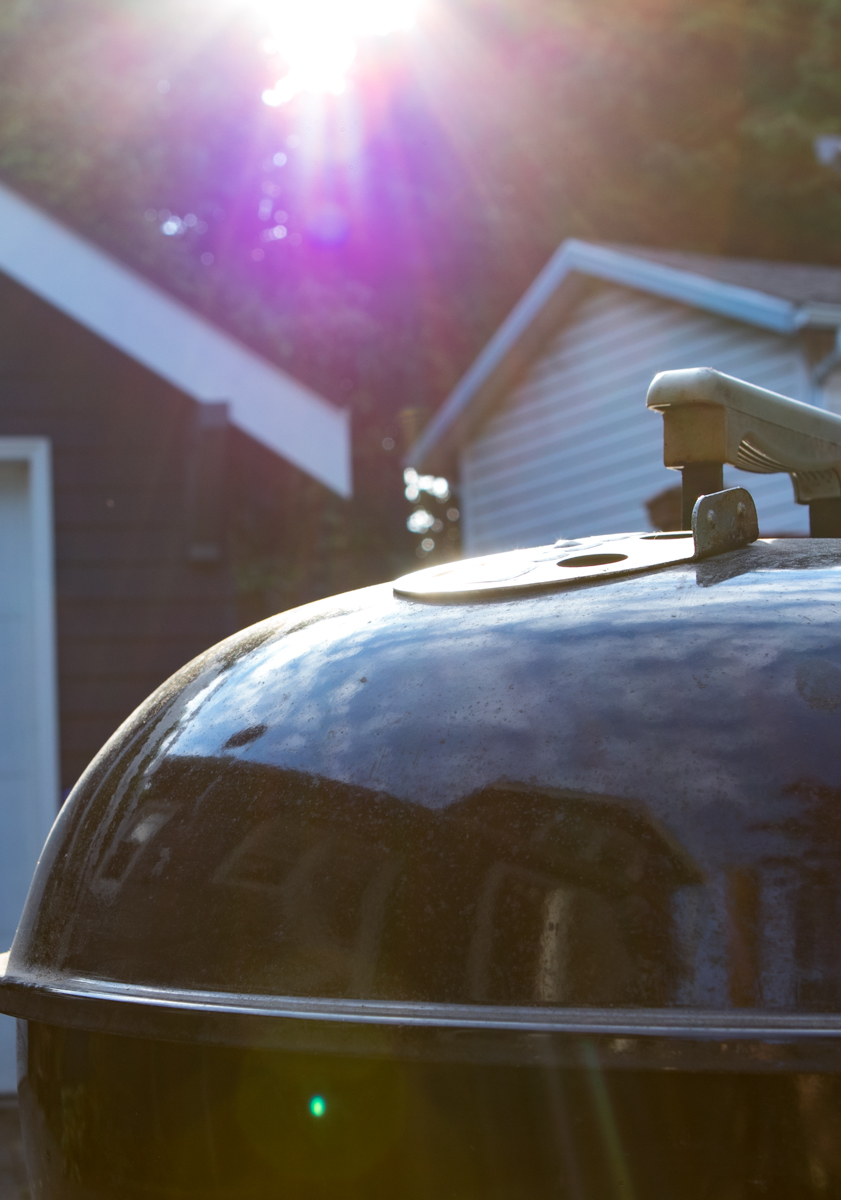
But for all-around versatility, our vote goes to the charcoal kettle grill. This design has remained basically unchanged for nearly seventy years, and it has stood the test of time as an affordable, adaptable, and portable way to make dinnertime that much more enjoyable. Kettle grills such as the ubiquitous Weber are, as much as a pair of Ray-Ban Wayfarers or the Eames Lounge, a classic.
But it’s not perfect. Specifically, the thin metal walls of the grill lose a lot of heat, making them inefficient for cooking methods other than searing over high heat. You can (and should) bank your coals to one side for a two-zone fire, but even then, you’ll only get about 30-45 minutes of medium-high heat before you need to add more charcoal.
But, there is a DIY fix that can greatly improve your grills heat retention, and cut your charcoal use almost in half. The answer is, simply: add some insulation, in the form of…
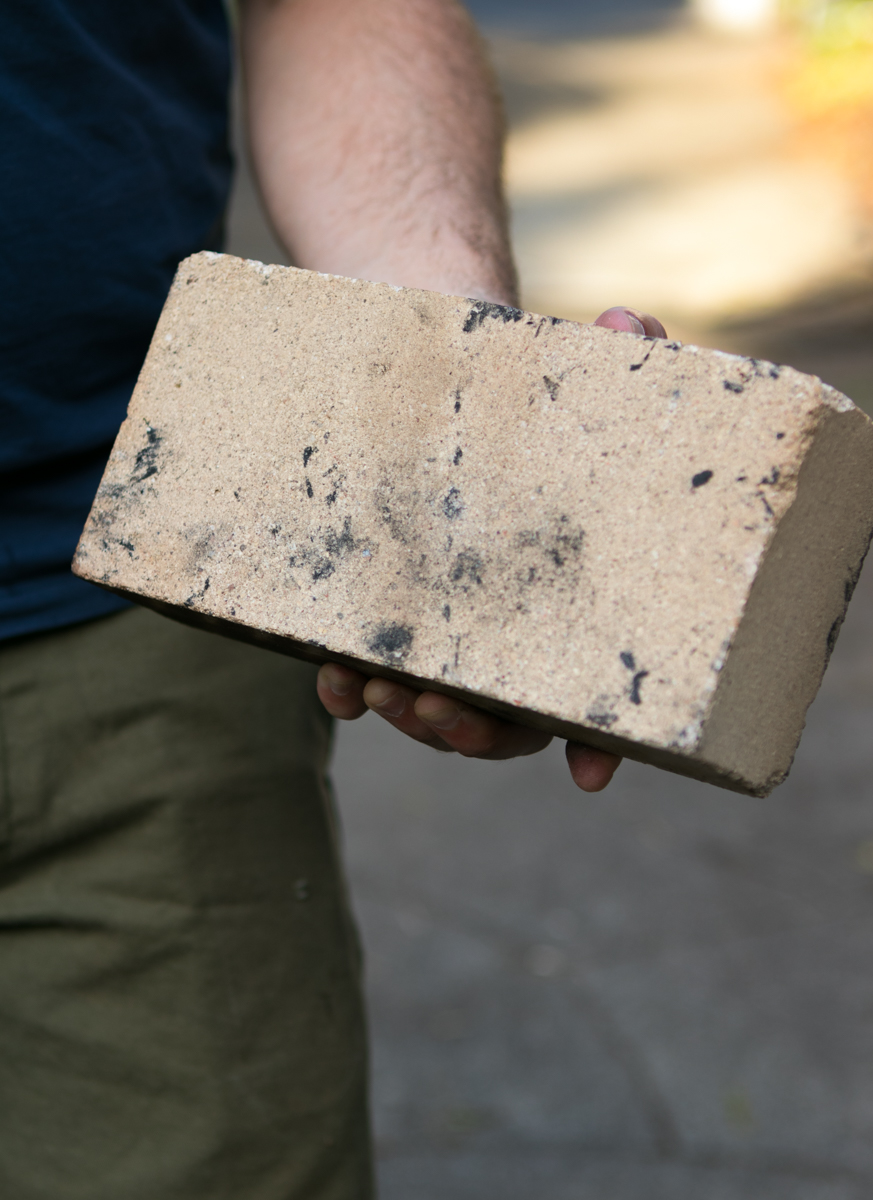
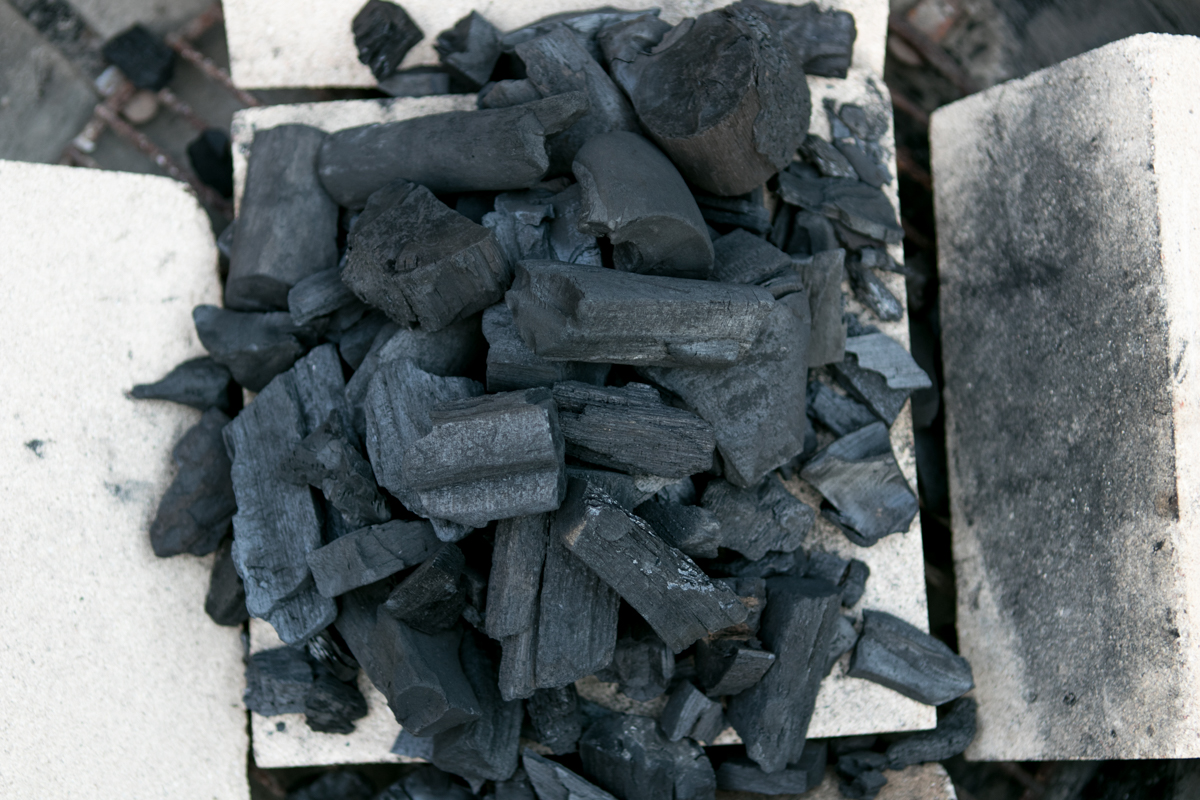
Fire bricks!
These are specialty refractory ceramic bricks designed for use in fireplaces, furnaces, stoves, pizza ovens, etc. They are designed to withstand temperatures from 1500-3000° F and can be used in grills and outdoor fire pits without any fear of exploding.
A set of six or eight will add lots of versatility to your cooking. (Check out some additional applications in the ManMade guide here.) You can buy them online at places like Amazon or Home Depot.
Here’s how to use fire bricks in your charcoal grill:
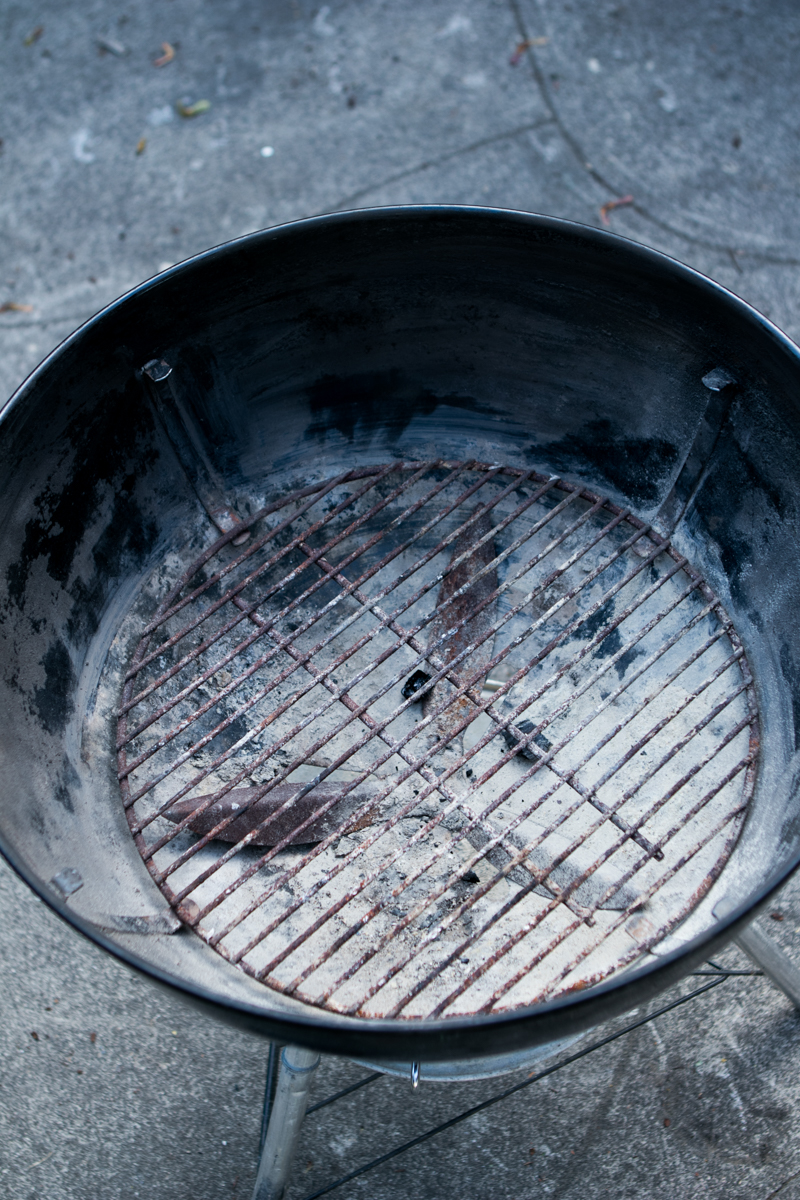
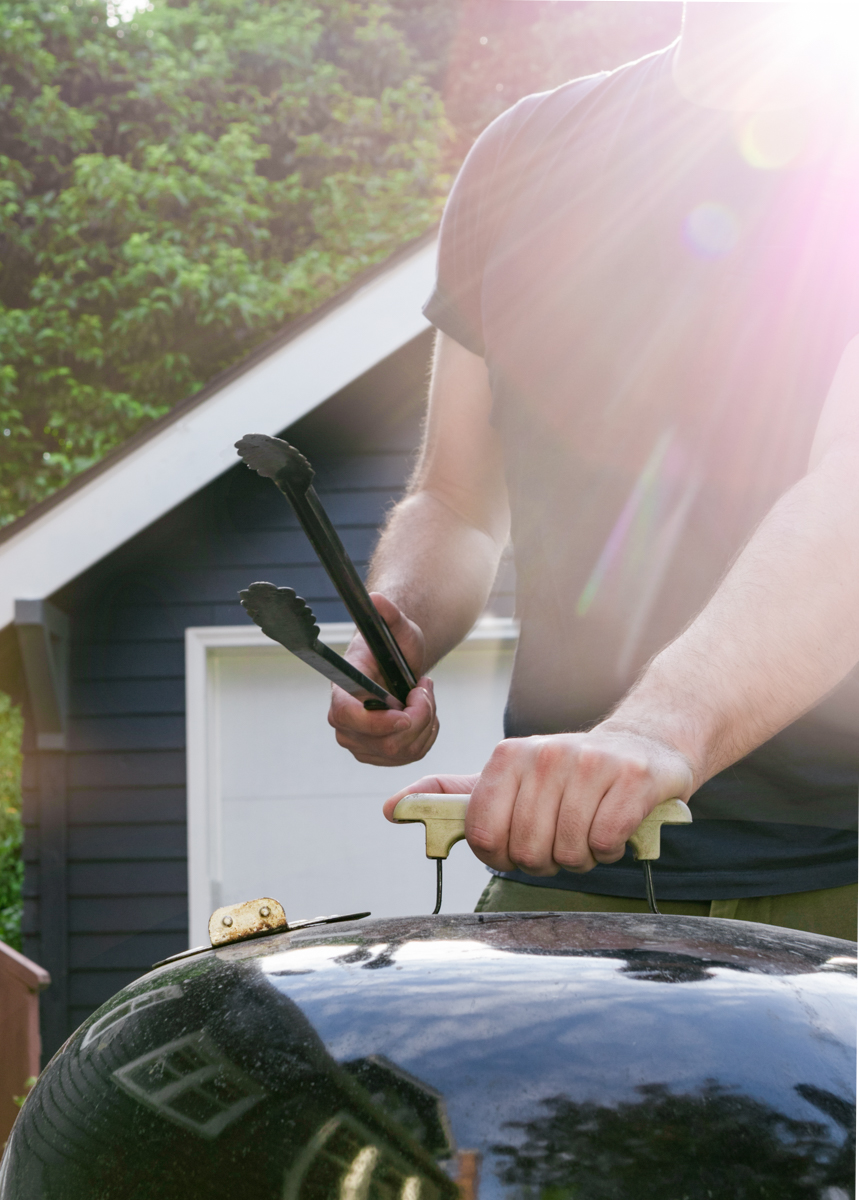
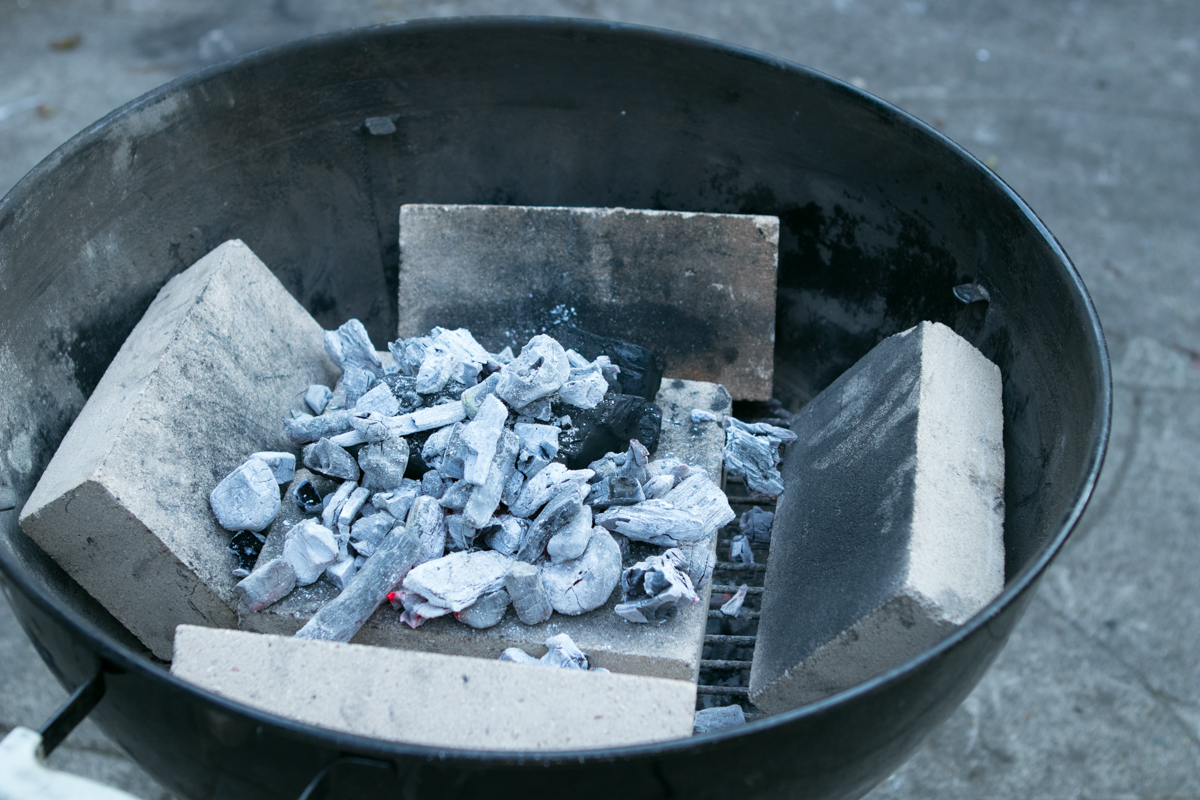
Remove as much ash as you can, and put the charcoal grate in place.
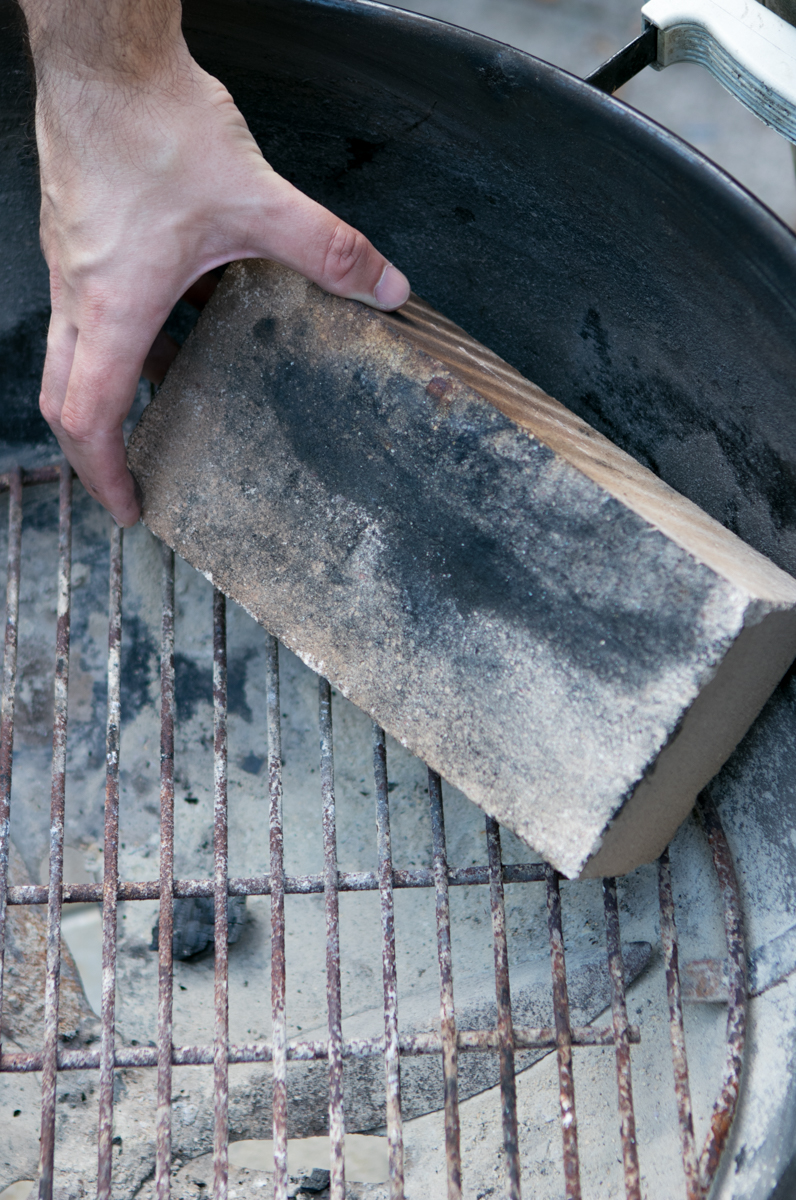
Lean a few firebricks at angle to match the slope of the kettle shape.
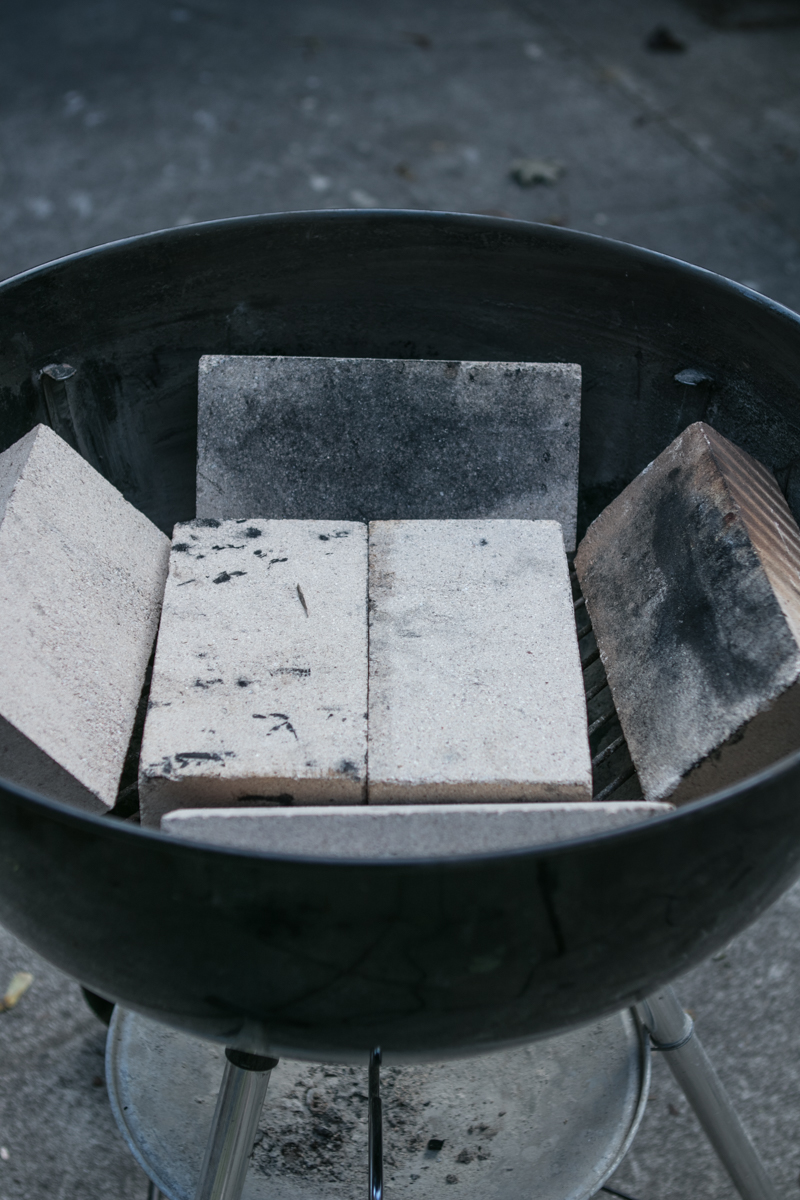
Continue placing grills around the perimeter, and if there’s space, add a few in the middle. Make sure there’s still enough room for airflow.
Then, place your charcoal in the middle. Check to make sure your grilling grate will fit in place, and adjust items as needed.

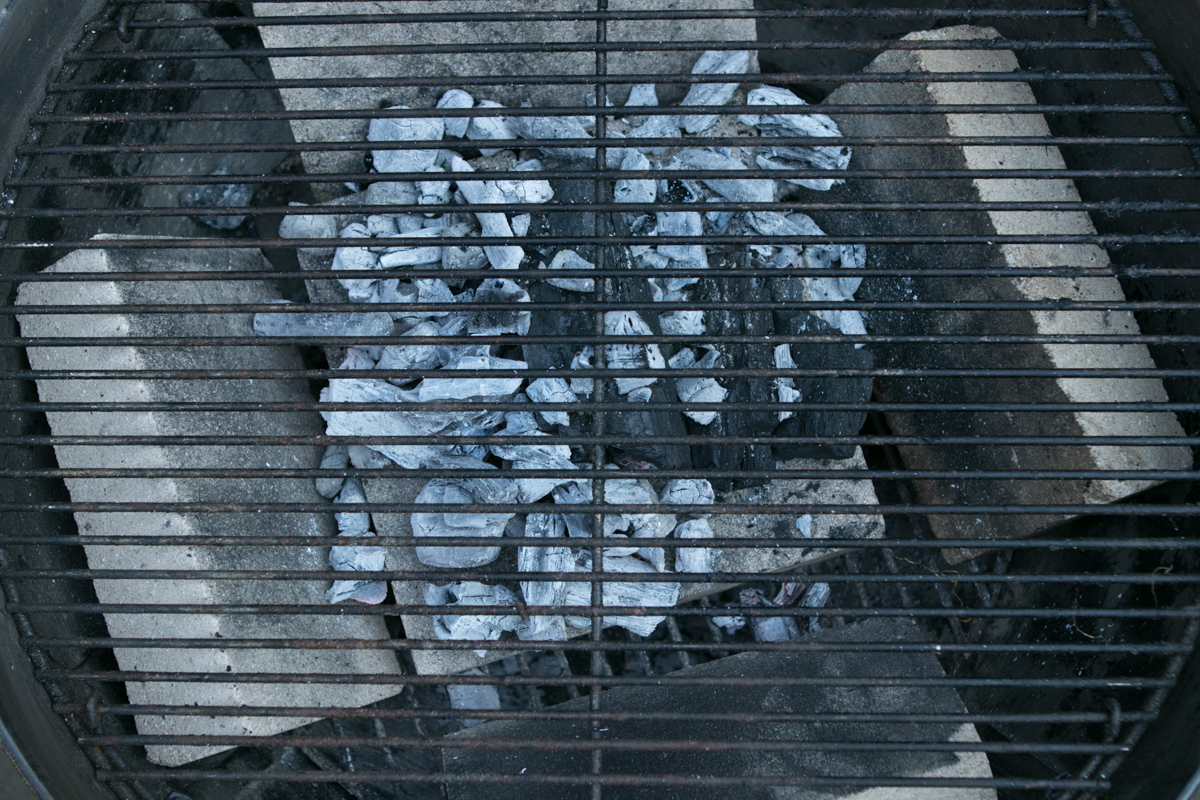
This technique still works if you, like all grillmasters in the know, use a chimney starter. Just fire it up as usual, and pour the coals inside/on top of the bricks:
This is from a chimney about halfway full, and I was able to create a solid two hours of solid heat for a nice marathon grilling session.
That’s right. Let’s do the math:
No fire bricks:
- 1 whole chimney of charcoal
- 45 minutes of medium-high heat
With fire bricks:
- 1/2 chimney full of charcoal
- 90 minutes medium-high heat, plus another 1.5 hours of medium to medium-low heat
Much better use of charcoal, yes? Most importantly, it opens up your cooking options. You could turn your kettle grill into a smoker to make low and slow barbecue at home, or into an oven at Thanksgiving for a better place to cook your turkey. By placing the coals in the middle, you have a two-zone fire where you can sear things in the center, then move them to the outside to let them finish over radiant heat.
The best part is: this is not a permanent change. You can employ them when you need them, and take them out when you don’t. They’ll last for years, make your grill oven-level efficient with much less fuel. All for less than $20.
Happy grilling.