How to: Make a Chisel Holder Rack in Under an Hour
Chisels are probably the simplest of all woodworking tools, yet versatile enough that you'll likely use them on every project. To maintain the best cutting edge, they should be cared for and sharpened regularly: ground, honed, and polished until there's a razor fine edge that cleanly slices through the wood fibers.
So, why have mine been just sitting in a box for the last year and a half? I actually don't have an excuse. I mean, lack of proper storage is the answer, but why I haven't done anything about it since I finished my workshop build in late 2016… I really can't justify it.
So, over the weekend, I decided to do something about it, and built a simple chisel holder and hand tool rack to keep things organized, within reach, and to protect those finely honed edges. The design is adaptable enough that you can make one of any size, and put the whole thing together in under an hour.
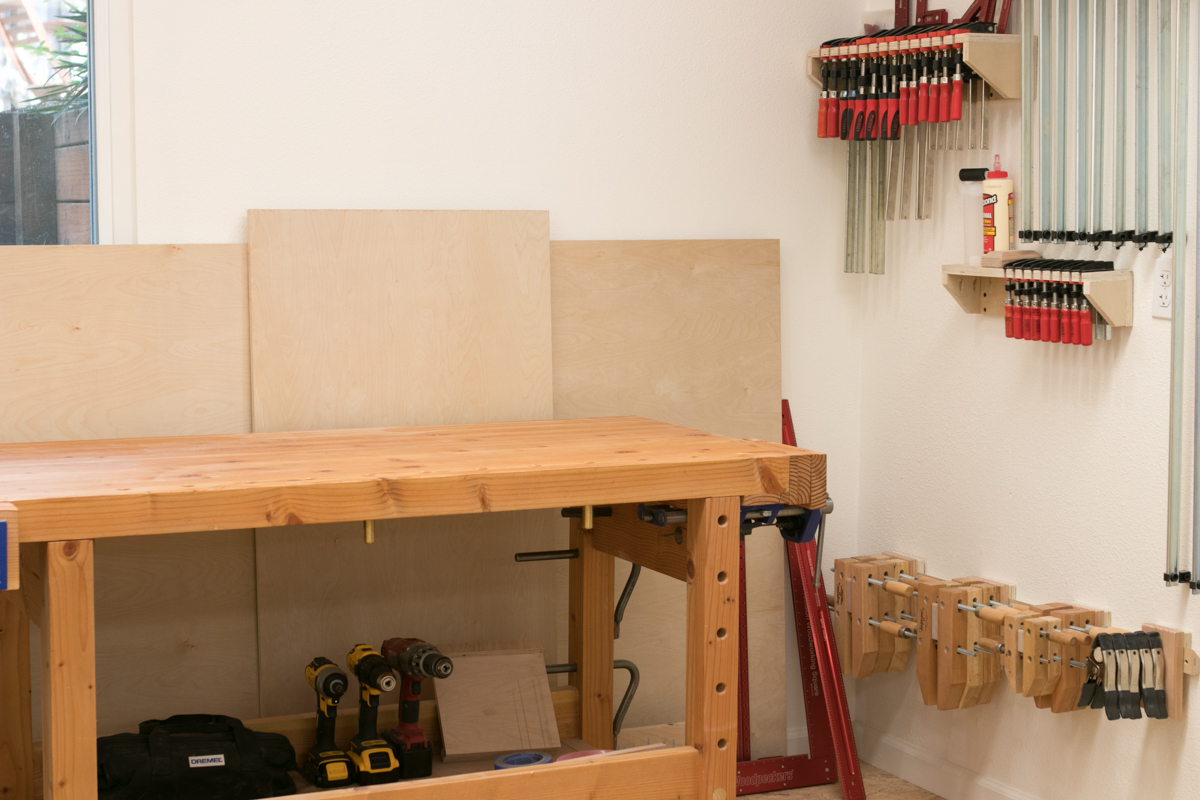
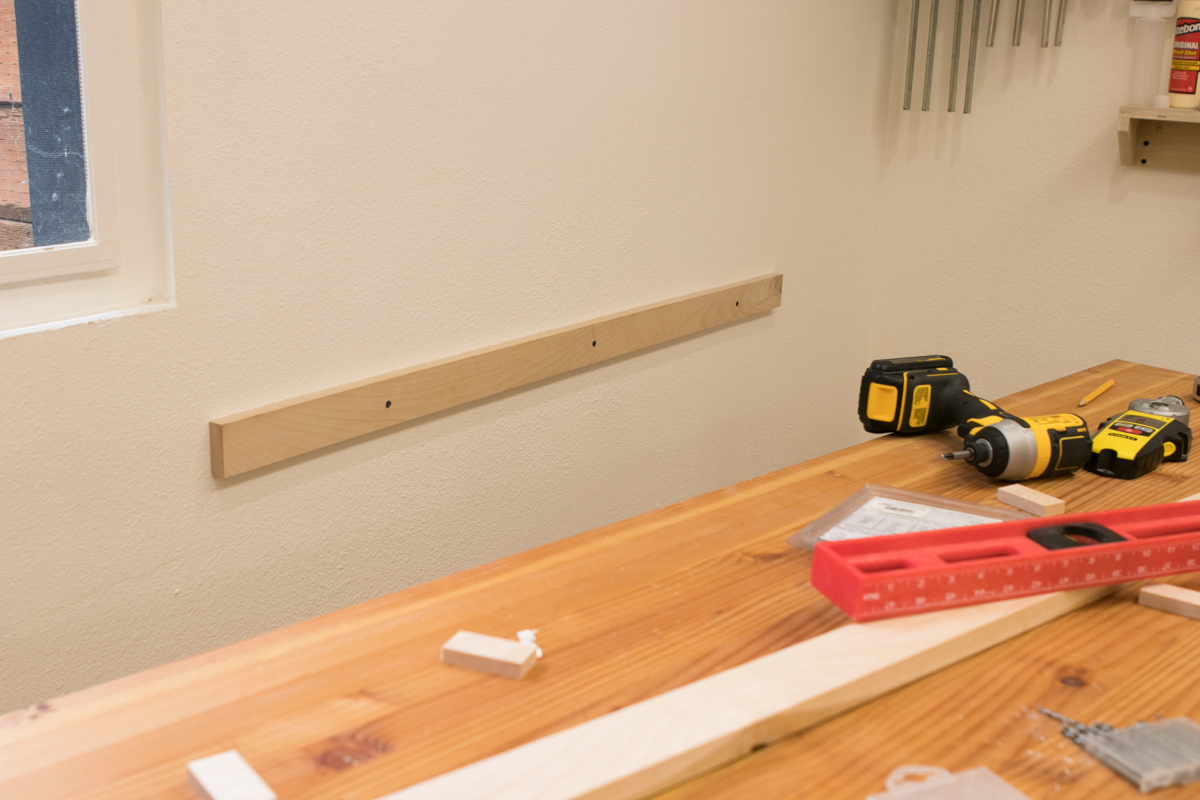
This is the space in its “before” stage. The long wall behind my workbench is currently the only spot that I can store a full sheet of plywood. Perhaps that's the reason I haven't built any proper tool storage yet? (No, it's not.) But with the rack in place, I will need to figure out another solution for sheet goods. Maybe hang it from the ceiling?
Quick and Easy Chisel Holder
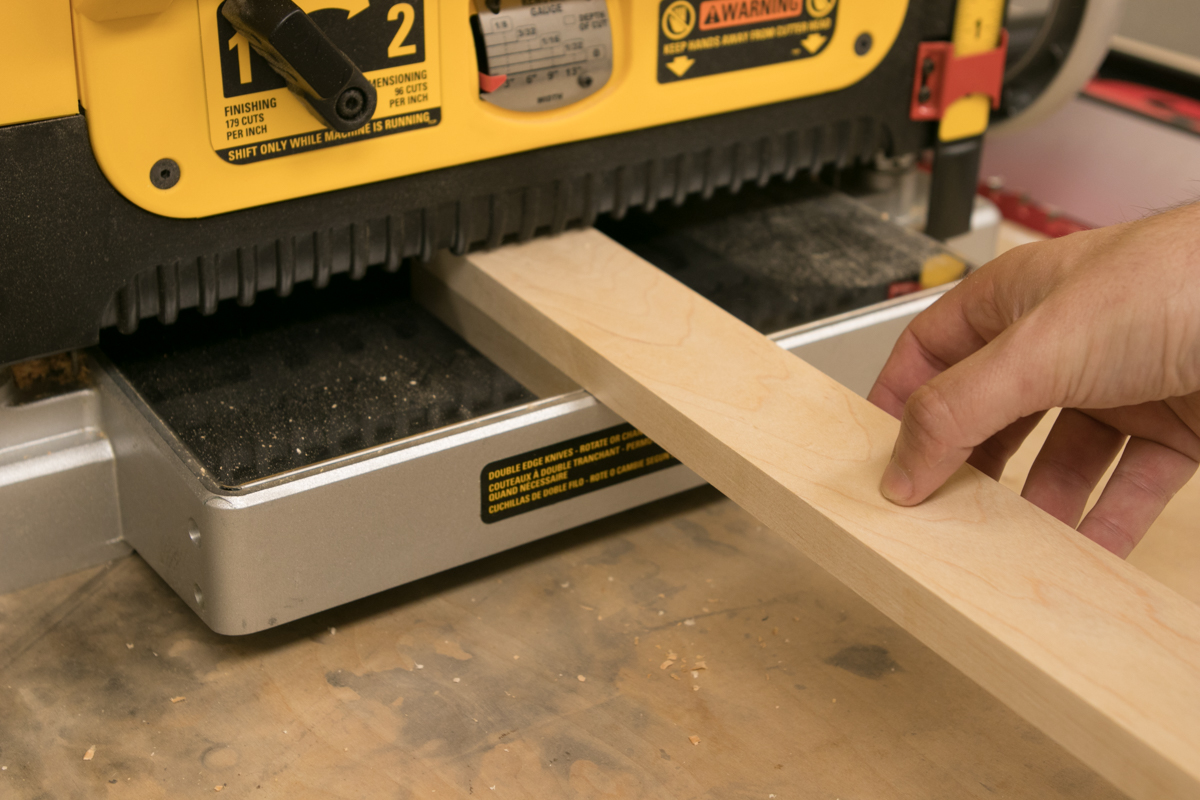
The chisel holder is made from two long strips of wood, about 3/4″ thick, and 2 3/8″ tall. I used some birch I already had in the shop, but you could use literally any type of wood for this. A pine 1×3, half of a 2×4, plywood, MDF, even leftover baseboard material. Raid your scrap bin, or make yours from inexpensive construction lumber.
Next, I determine my overall length. Give the space I had to work with and my available materials, I opted for a total length of 44″. Cut two indentical pieces: one for the front and one for the back.

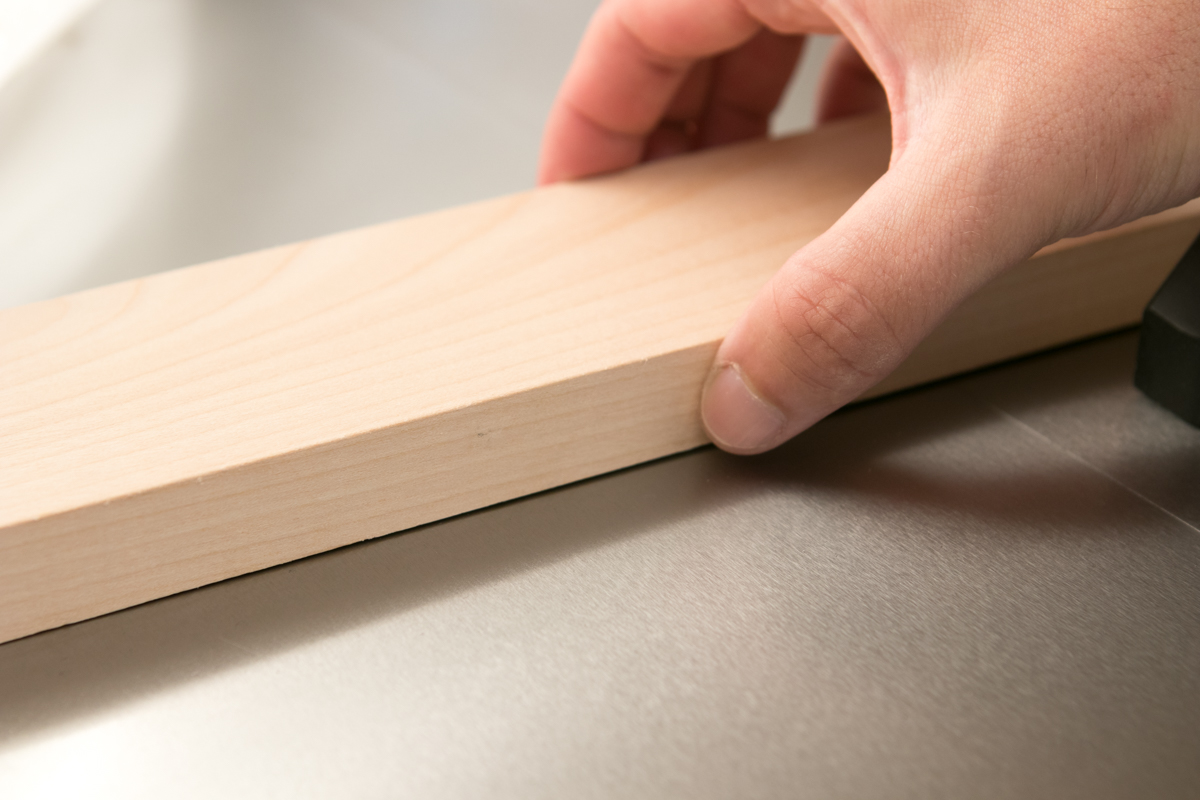
Next, I cleaned up the edges with a hand plane. Since there's no joinery involved, things don't need to be perfectly flat or square.
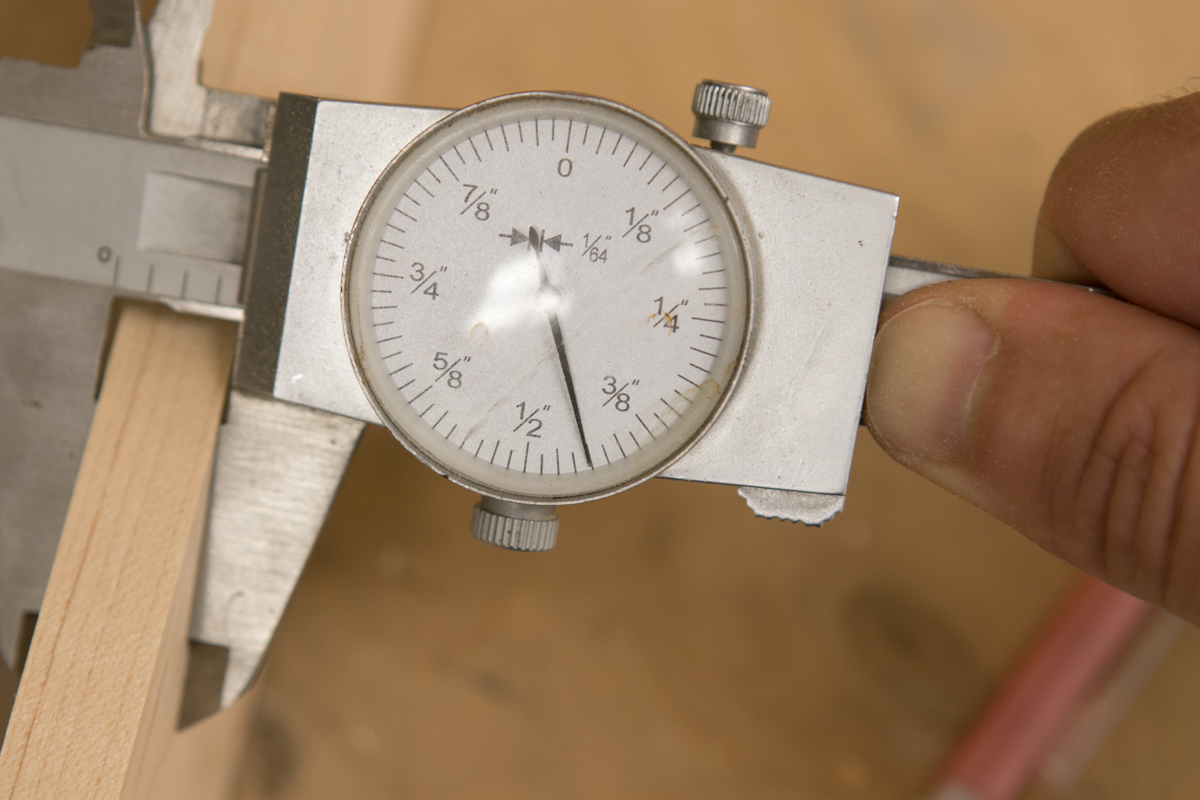
The chisel holder design separates the front and the back with a slot, into which you place all of your tools. You'll want to measure yours to figure out the best size, but a 1/2″ slot is a good starting point. I didn't have any tools over 3/8″ thick, so I decided to go for a 7/16″ thick spacer.
If you don't have a thickness planer, just use some 1/2″ plywood. It will work great. Cut the spacer material to the same width as your front and back piece. Be sure you have at least 12-18″ of this, as you'll chop it up into a variety of sizes as you assemble the chisel holder.
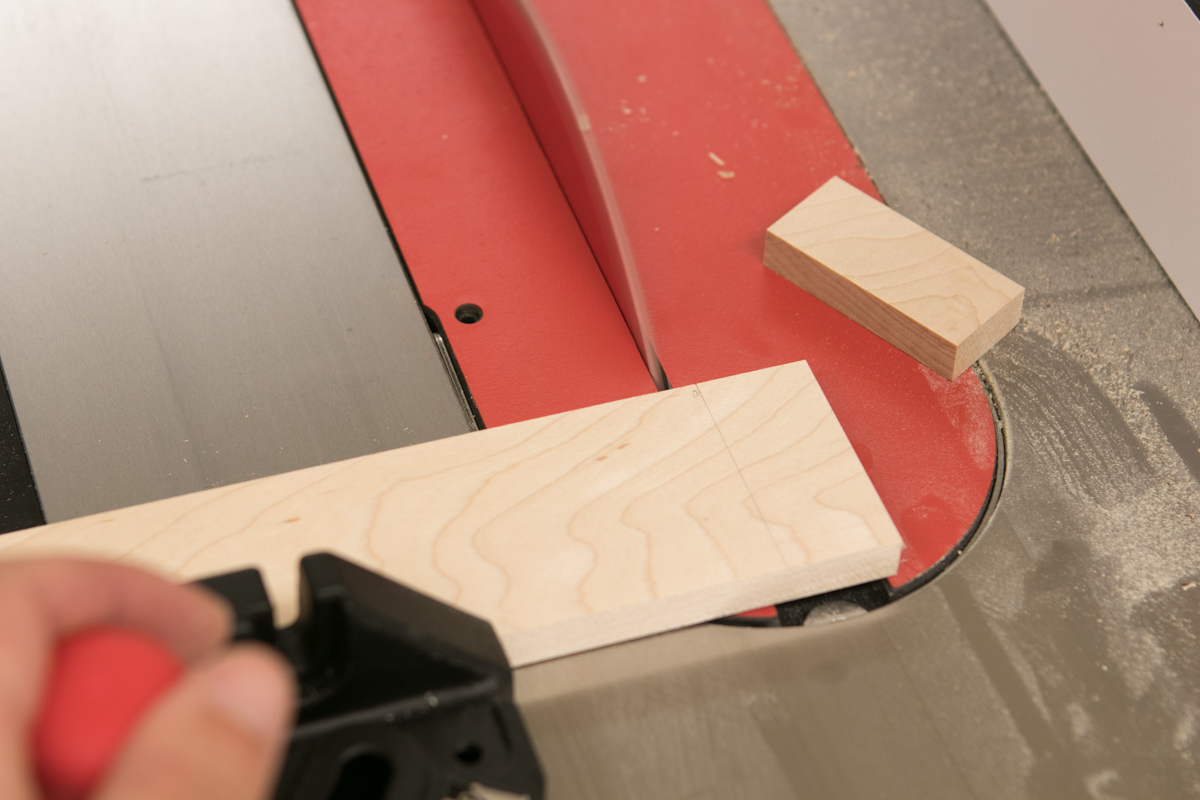
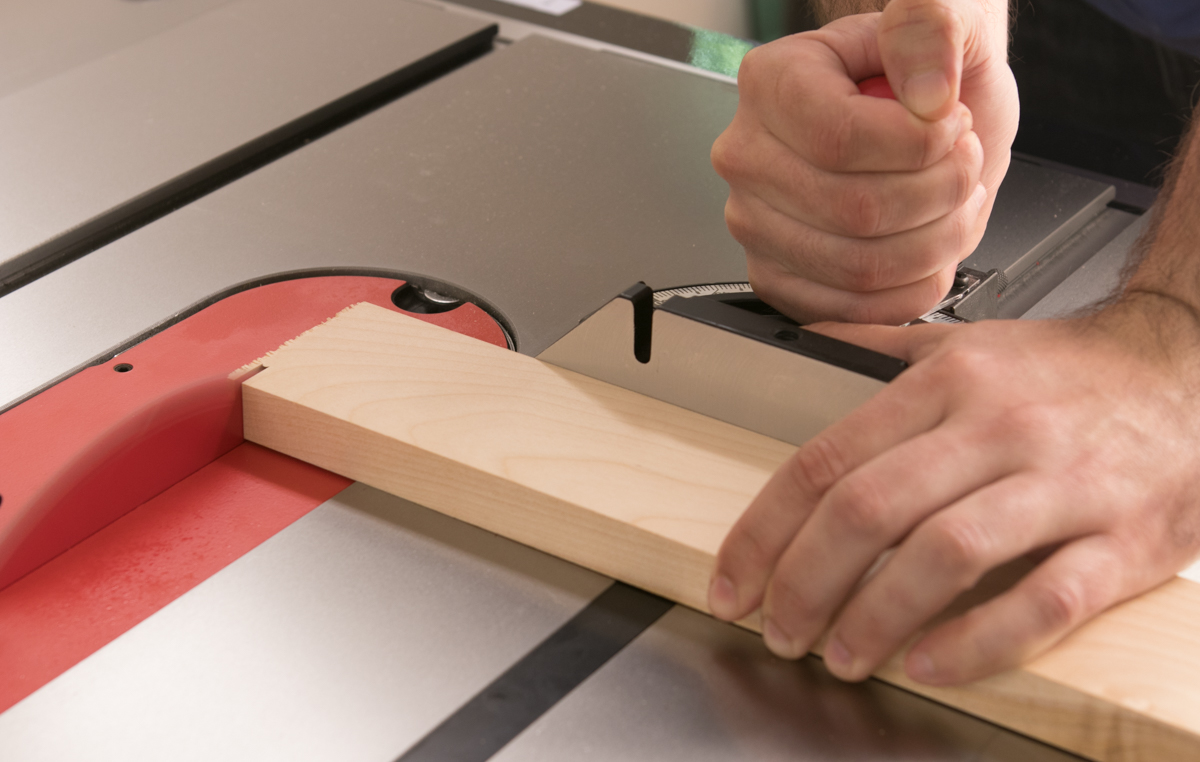
Next, I sliced this up into a couple 1″ long spacers. This doesn't need to be a super precise measurement. As long as it can hold a screw without cracking, you're good to go. (Hint: put a piece of blue tape on your saw so you don't have to keep marking your lines. I realized this after the photo was taken.)

You'll want at least as many spacers as you have feet of length, plus two for either end. I used five total for the construction of my 44″ long rack. (But these come in handy elsewhere…read on.)
This whole project is assembled with screws, and, intentionally, without nails or glue. This allows you to easily remove the face and switch things around as your tool collection grows and changes.
Begin by laying out your screw holes on the front piece: space them about 1/2″ from each end, and then drill and countersink a clearance hole every 12″ or so.
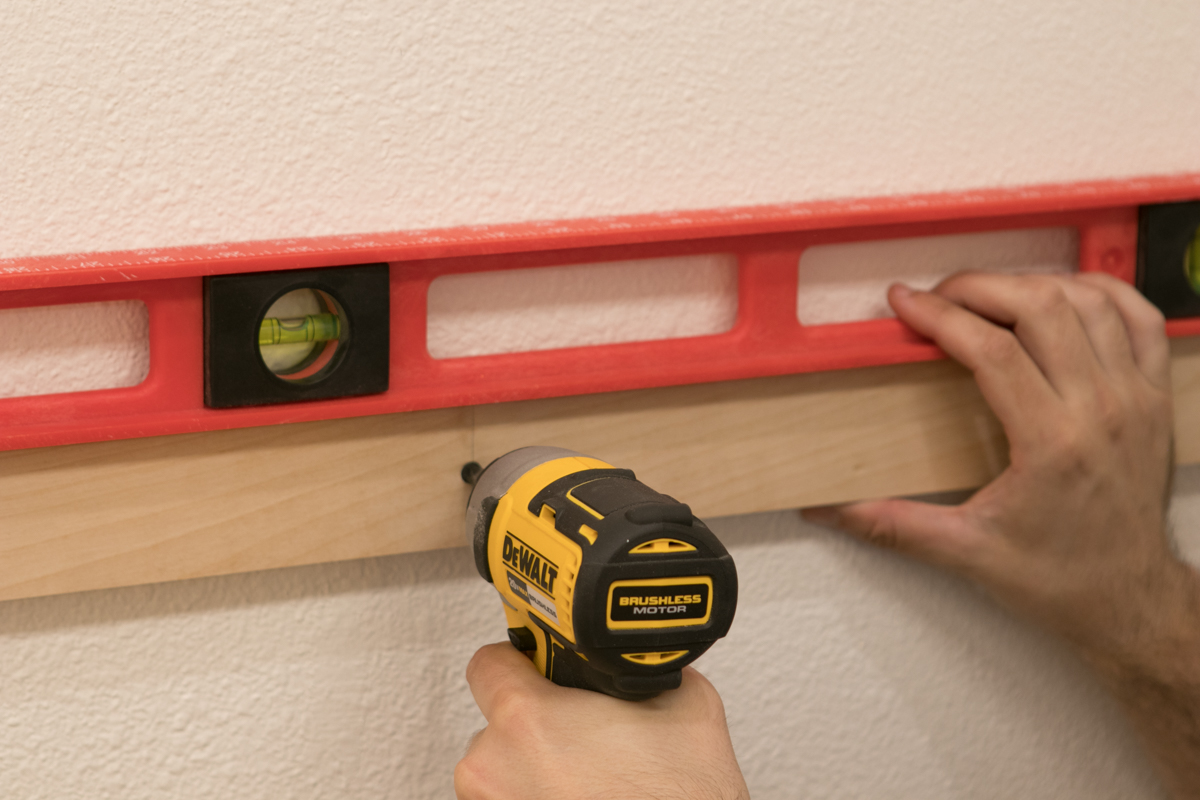
Then, take the back piece (currently without pilot holes or countersinks), and attach it to the wall. My spanned over three studs, and that was more than enough to support this amount of weight.
If you're worried about it, you can put two screws in each stud. (I probably would have done this if I'd thought about it…but it's not a problem. It's plenty strong for a couple of hand tools.) Heavy duty anchors would work just fine as well.

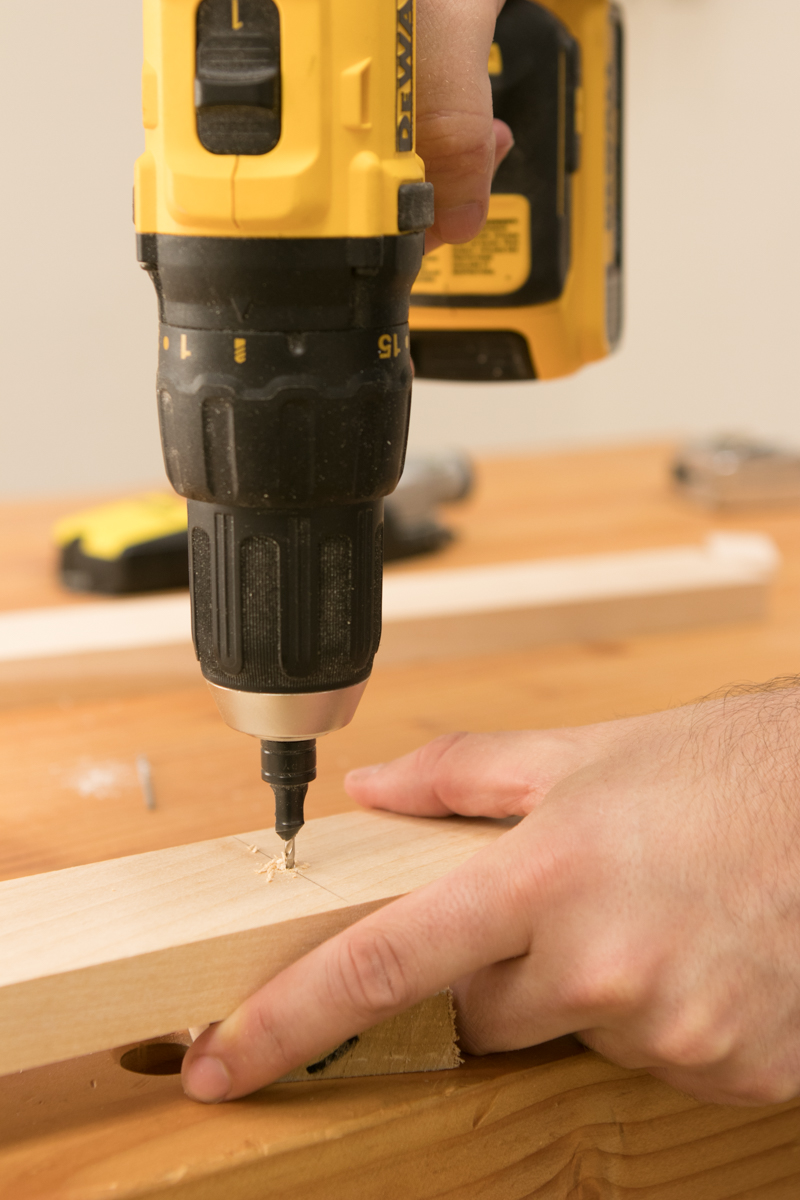
Then, take one of your spacers, and place it behind a clearance hole. Drill a pilot hole via the front clearance hole and through the spacer and just into the back piece. Then, sink a screw through all three pieces to secure it. Remember, no glue here. The screws are more than enough, and removeable.

Screw into the other end to hold things in place, then fill out the rest.
Now…start to lay out your tools.
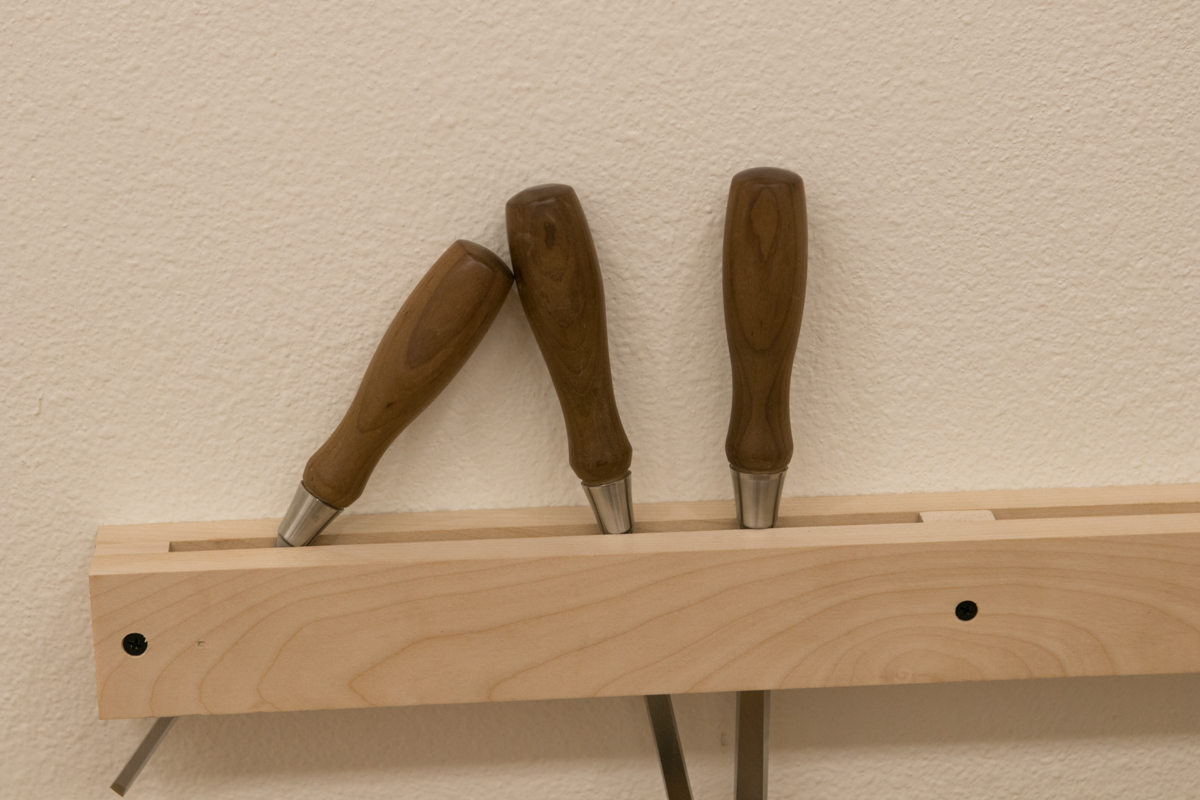
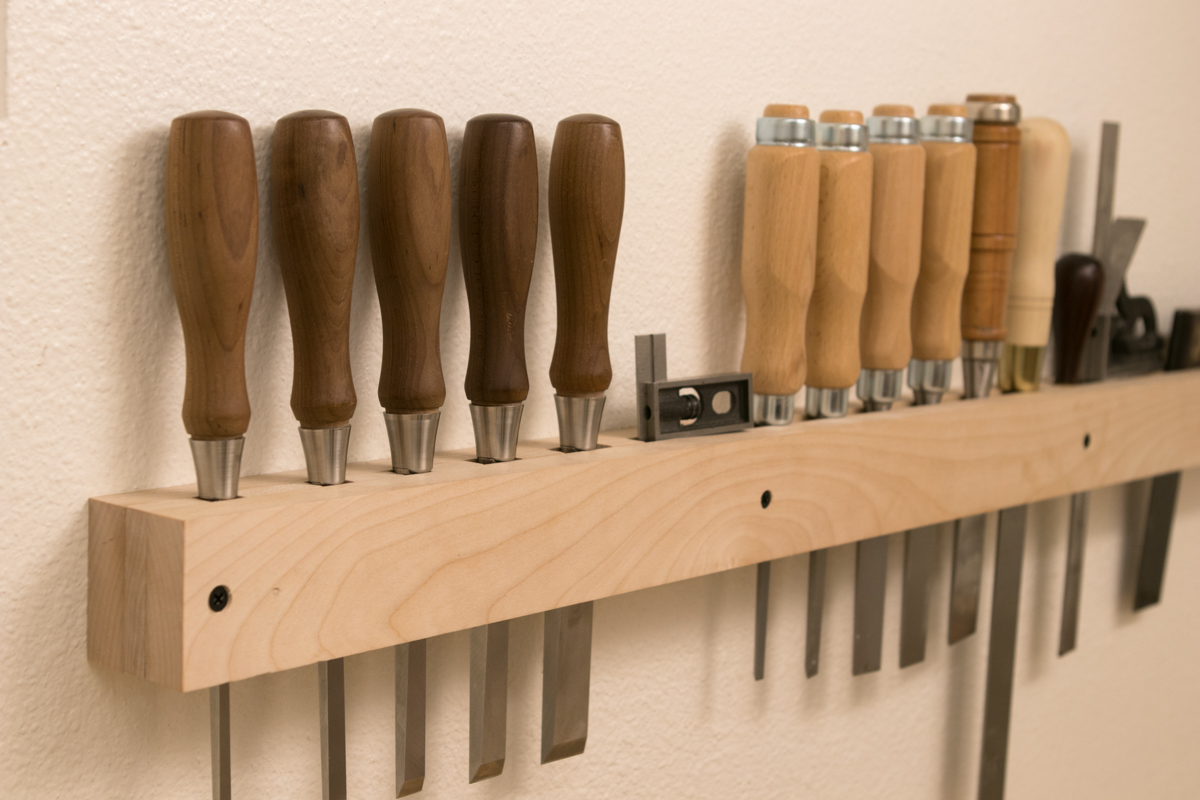
All of my tools fit great, with the exception of the very things I built this for: my favorite Veritas PM-V11 bench chisels. The smaller chisels didn't have enough weight at the bottom, and they became top heavy and rolled over on the rounded ferrules.

So, I simply sliced up a few more bits of my spacer stock, and gave them their own custom slot. This was maybe ten minutes total to implement.
The rest of the slots I left blank until I dial in my storage system. I only intend to use this for handled things like chisels, gouges, and rasps. Later this summer, I'll be building a tool panel or cabinet for my saws, squares, and layout tools.
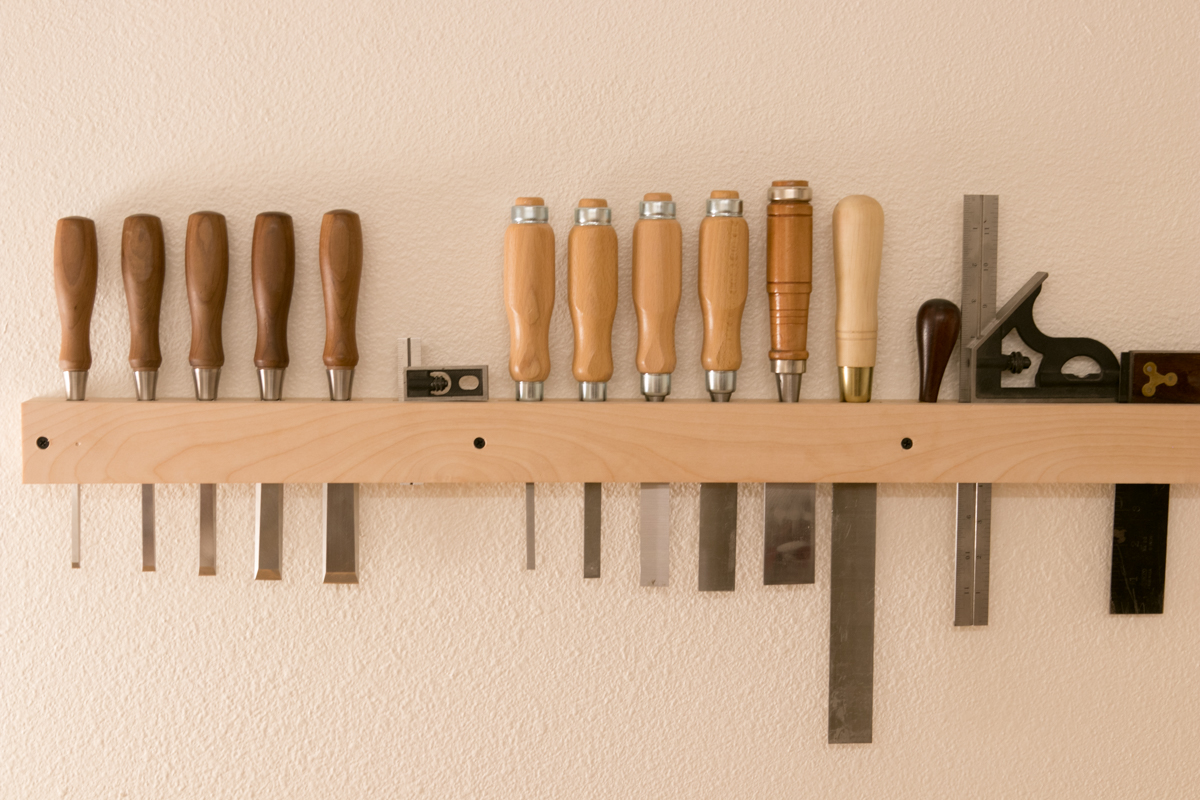
Here's the completed chisel holder and tool rack on the wall…
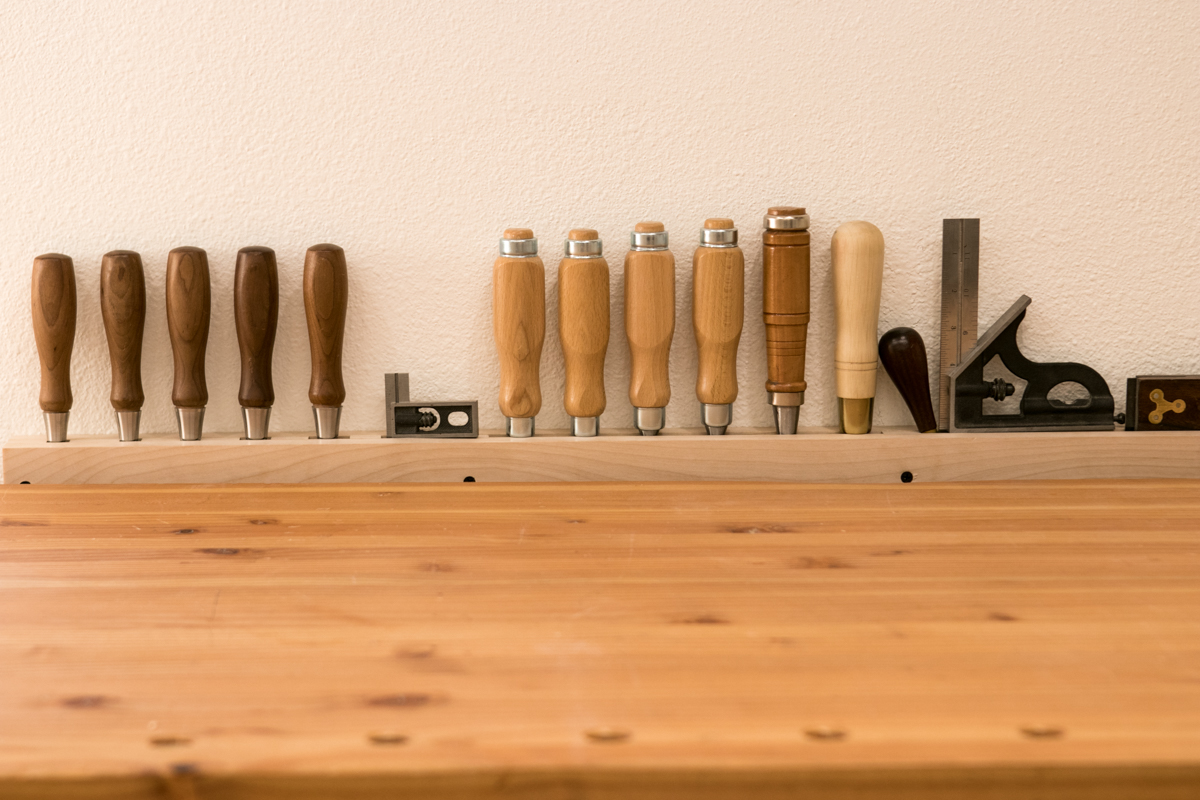 …and when I put the workbench back in place, all the sharp edges are now hidden, protecting both the tools and any humans who happen to be in the space.

Admittedly, I'm the type who'd normally overthink a project like this. I'd be busting out the calipers, and creating little custom slots for every single thing, worrying about even spacing and perfectly vertical handles, lined up like little soldiers. But the simplicity of this project is also its greatest feature: it's infinitely adaptable. You could make two or three layers of these, and store handsaws, screwdrivers, and all your layout tools inside. You could add some nails or hooks to the front to hang a mallet or hammer, and a little shelf or notched blocks for pencils, scrapers, and a tape measure.
The best part: as your tool collection grows and changes, they'll still be space to include them.


