11 Tools to Take Your Woodworking Projects from Hammer & Nails to Fit & Finished

Most of us get into woodworking from a practical point of view: we need to work on something around the house, so we head to the home center and get tools to break down dimensional lumber and bang it back together. So you upgrade from a circular saw to a compound miter saw, and maybe even get yourself a pocket hole jig so you can hide your hardware from sight.
And then, as it inevitably happens, something changes in your point of view. You’re no longer just doing “home improvement” or “building things”… you’re now: a woodworker.
Here’s the good news: when that moment hits, you don’t have to buy a whole new set of tools, nor a dedicated shop full of large stationary machines. You can keep using your contractor-style power tools, and add a new set of quieter hand tools and specialty items that will take your projects from “rough and ready” to an heirloom that will last for years.
1. A Starter Set of Bench Chisels
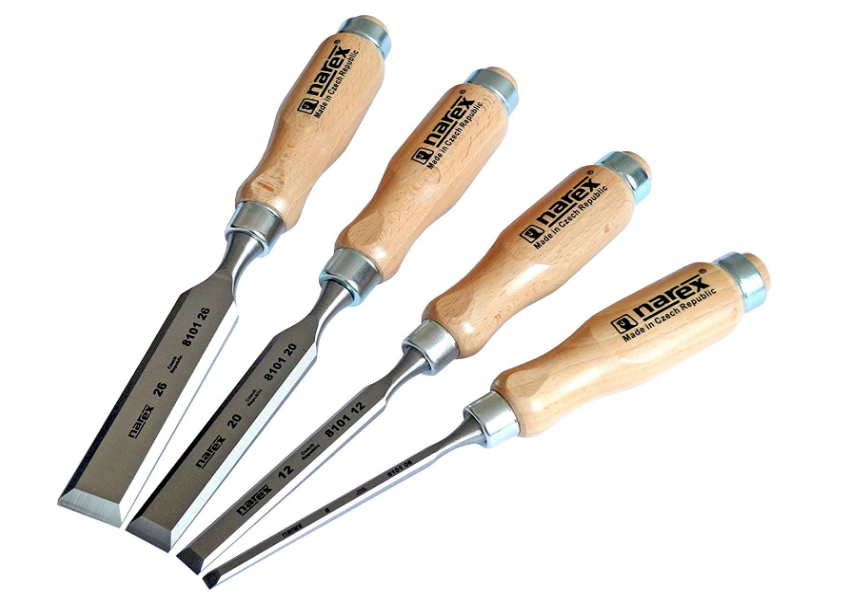
You can spend a lot of money on a whole slew of really nice chisels. Or, you can get just a few essentials, and find out exactly what you need. Here, it pays to step up from the home center-quality steel to something nicer that can hold a fine edge. 1/4″, 1/2″ and 3/4″ are good sizes, and you can add from there depending on what you make. This set from Czech tool makers Narex is an awesome and affordable place to start.
ManMade Recommended: Narex 4-Piece Woodworking Chisel Set
2. Japanese Pull Saw
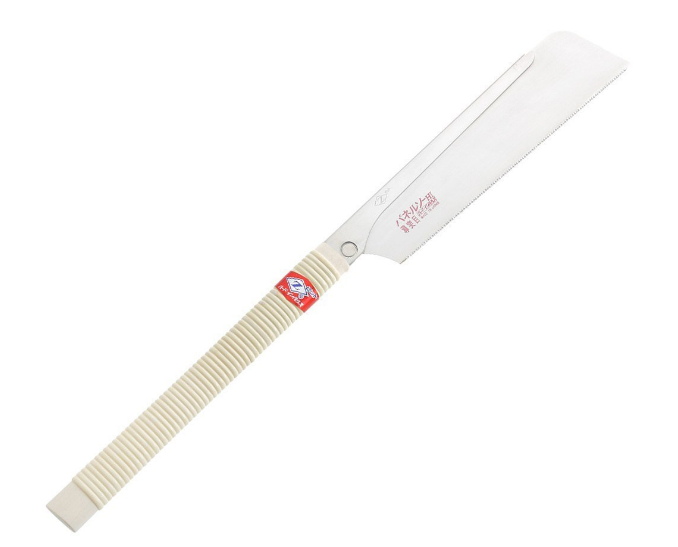
One of the biggest differences between carpentry and woodworking is forgoing screws and nails in favor of joinery – that is, cutting and preparing the places where two pieces meet so they can be attached with glue for strength and a clean look. There are lots of dedicated joinery saws, but for value, you simply can’t beat a Japanese-sytle dozuki. It can perform both rip operations and crosscut operations, so you only need one saw to cut dovetails, mortise and tenons, lap joints, etc.
ManMade Recommended: Dozuki Z-Saw
3. Water Stones for Sharpening
If you’re going to use hand tools with cutting edges, you need a way to keep them sharp. You can do this with sandpaper on a flat reference surface, but that gets expensive fast. There are countless other ways to do it, but I believe it’s best to choose one system, and learn to do it well. My vote is for waterstones, which cut quickly and can be combined to get a razor sharp edge.
You could get a single combination stone that would hone the majority of woodworking tools, or spend a bit more and get a complete sharpening setup (including a flattening stone) that will grind, hone, and polish your tools.
ManMade Recommended: Norton Waterstone, Combination 1000/8000 Grit OR Norton Waterstone Starter Kit: 220/1000 grit stone, 4000/8000 grit stone, SiC flattening stone

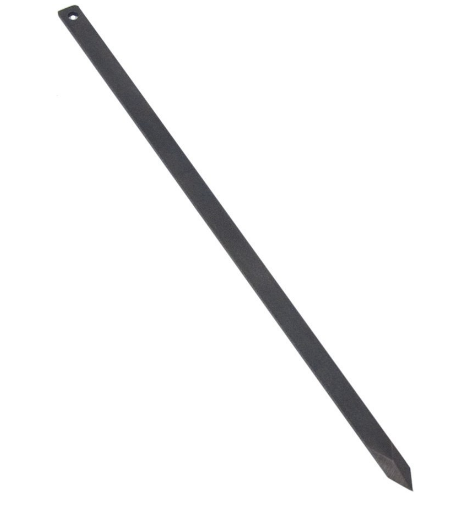
4. Marking Knife
Sometimes, when you get into precision work, even a pencil is too coarse. Not only does a knife help you mark where you need to make a cut, it does so by severing the fibers on the face of the wood. This means you get a nice, crisp cut, and a tear out free surface. Two jobs, one tool!
I like marking knives with a spear tip and the bevels on one side only. These can be used by left or right-handed people, and cut on either side of a reference surface. This one is great if you’re doing a Lee Valley order, or this one is Amazon-available on I like.
ManMade Recommended: Hock 1/4″ Marking Knife OR Veritas® Workshop Striking Knife
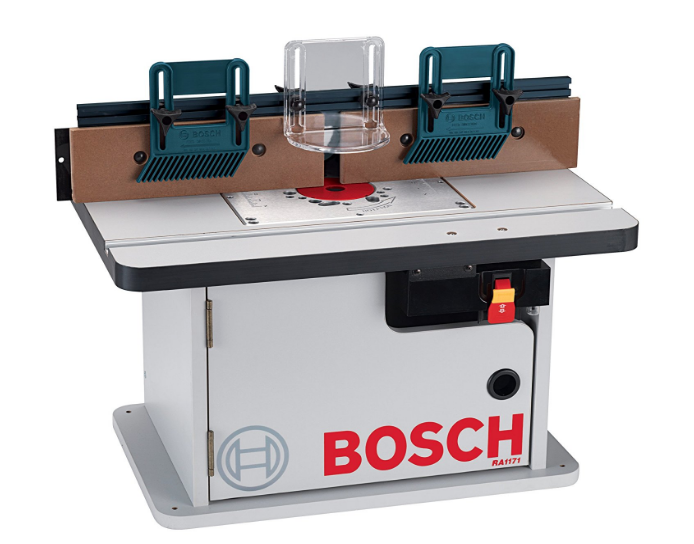
5. Router Table
Likely, you’ve already invested in a router. If not, it’s time to start saving your pennies. There’s no more versatile tool in the shop for adding a finished look to a project. Mounting the router in a table turns it into a profile and joinery making machine. This is a big topic that’s beyond the scope of this article, but if you’re still short a router table, make it one of the first items on your list.
ManMade Recommended: Bosch RA1171 Cabinet Style Router Table
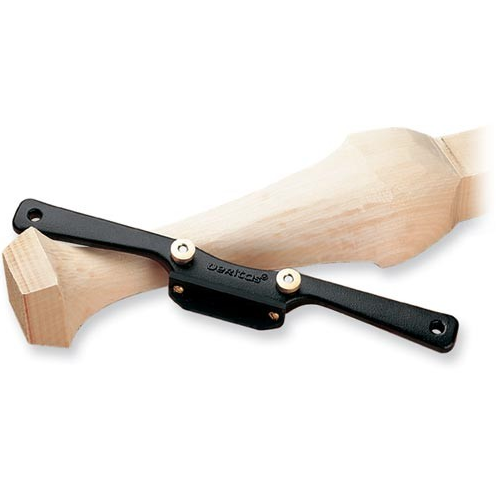
6. Spokeshave
The spokeshave is a tool for shaping and smoothing curves. It’s the ideal tool for refining non-linear cuts from a jigsaw or a bandsaw. It’s great for anything that might come in contact with your hand (like a canoe paddle, or spoon handle), and excels at creating smooth, elegant curves fast, like on a chair or stool part.. You can find old Stanley models at flea markets (such as the No. 151). But if you’re buying new, it pays to spend a little more and get a tool that will last you for life.
ManMade Recommended: Veritas Low Angle Spokeshave
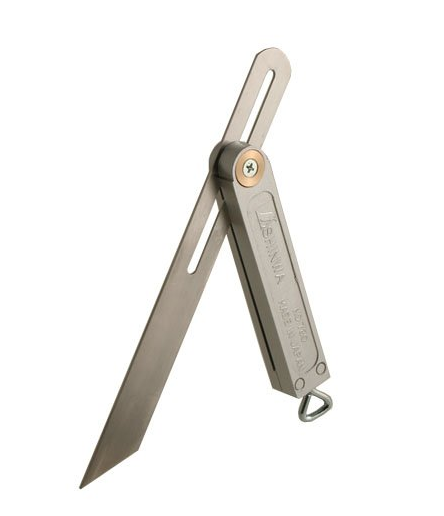
7. Sliding T-Bevel
What’s that exact angle? Who cares. Often there’s no need to bust out the protractor or geometry. A bevel gauge helps to measure and mark angles in the real world, providing an adjustable reference for anything from 0 to 360°.
ManMade Recommended: Shinwa Sliding T-Bevel
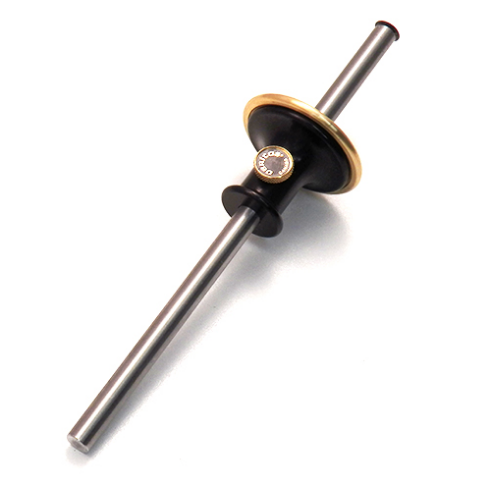
8. Marking Gauge
Similar to the marking knife above, the marking (or cutting) gauge creates a crisp line along a face, such as laying out a rip cut or defining the sides of a mortise. Most importantly, having a marking gauge at a consistent setting allows you to mark all the parts of a project to the exact same measurement. These also leave a cut starting line that works great as a small ledge to register the edge of a chisel.
ManMade Recommended: Veritas Marking Gauge
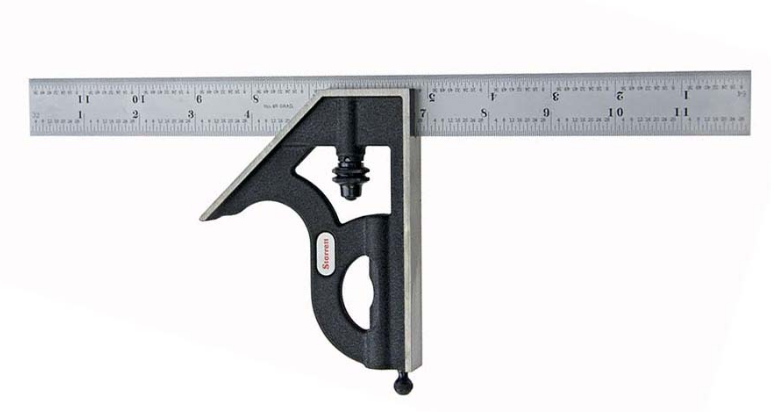
9. A “Nice” 12″ Combination Square
This is my most used tool… ever. As it turns out, a combo square isn’t a woodworking tool at all; it’s for machinists. But in the modern era of hand tools and power tools, there’s no better way to measure, well, almost everything. Buy a good one, take care of it, and it will last you a lifetime.
ManMade Recommended: Starrett 11H-12-4R Combination Square
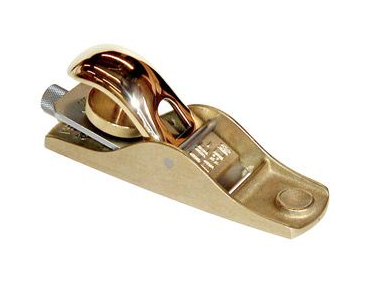
10. Low-Angle Block Plane
With the exception of a combination square, this is my favorite hand tool of all time. Excellent for trimming… everything. This go-to fits in your hand or an apron pocket, and excels at flushing up parts, trimming end grain, and making you feel like a legit woodworking. Definitely the first plane you should buy, and you’ll be amazed how many uses you’ll find for it. Just keep it sharp.
ManMade Recommended: Lie-Nielsen No. 102 Bronze Low-Angle Block Plane
11. Long Straight Edge
A tape measure is a great tool, but its best use is at the lumberyard or room renovation project, not when building furniture. A nice aluminum “yardstick” is an affordable tool for measuring and laying out marks more than 12″. They don’t cost a lot, and feature a flat surface and no-wiggly hook end that will cause gaps and misregistration in your work.
ManMade Recommended: Starrett MS-2 Aluminum Straight Edge Meter Stick