How to Choose and Install Flooring for Your Laundry Room
If the kitchen is the heart of the home, then I nominate the laundry room as the all-important hands and feet. This is the space that keeps things running and moving: a clean clothing command center that helps us process the moving parts that keeps us sane each week.
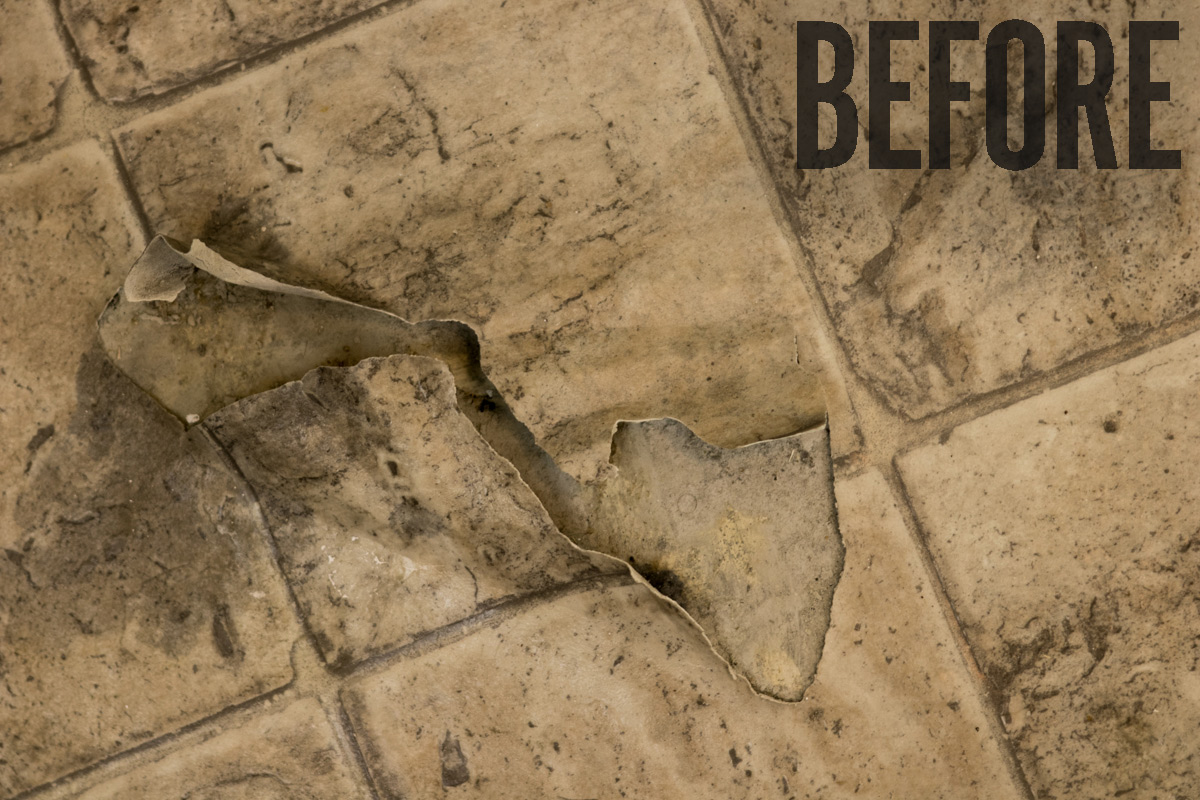
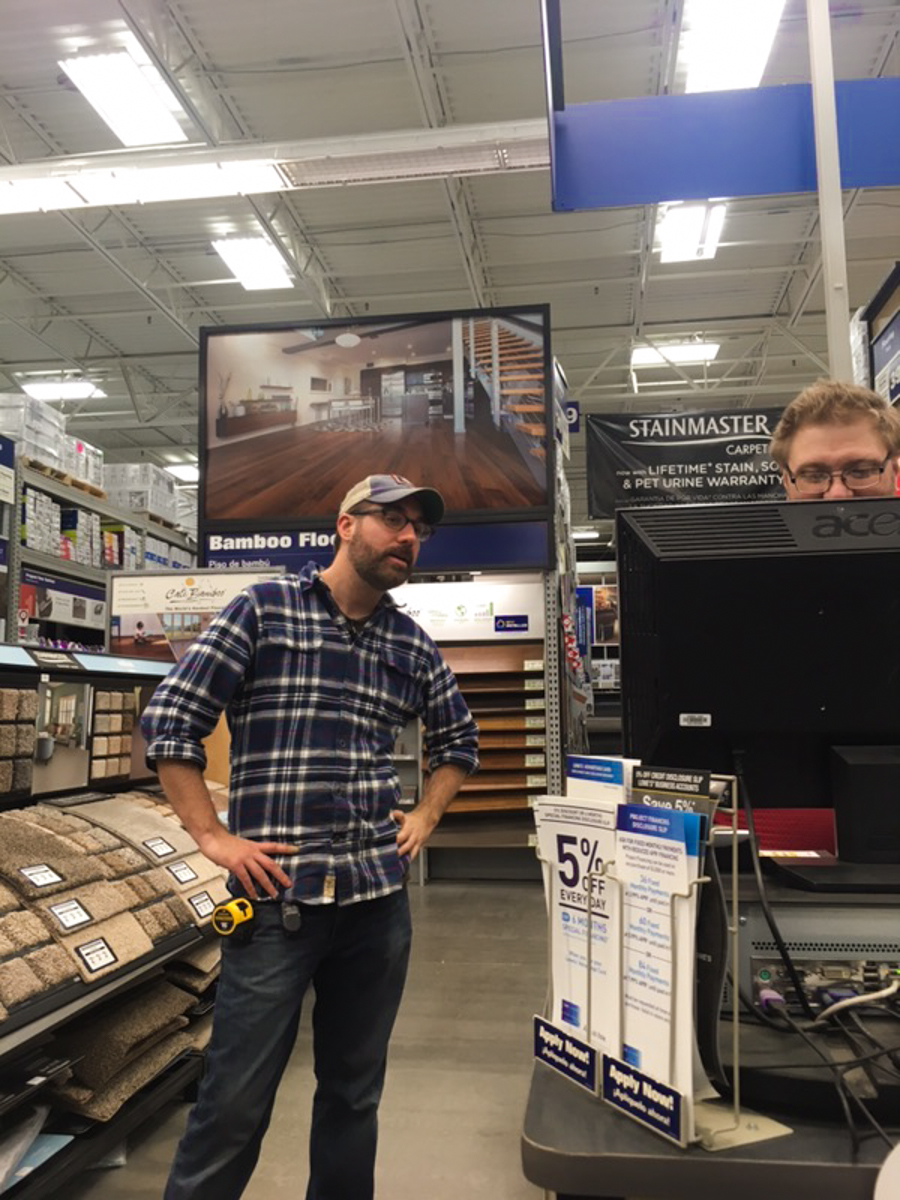
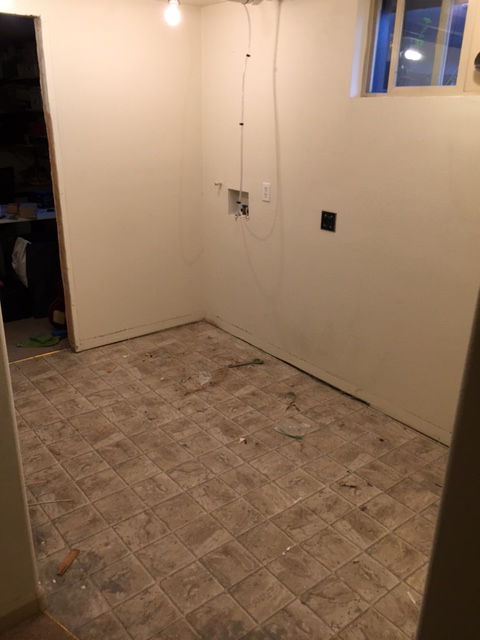
When it came time to redo our laundry room, giving it the proper respect deserved by such an important space, we knew we wanted to do everything we could to de-beige-ify the space. And that certainly meant changing out the lovely, worn out faux-stone sheet floor you see here. But – and I'm being totally honest here – I'd never messed with any sort of flooring in my entire life. Real talk. So, we were happy to team up with the experts at our local Lowe's store to figure out the best approach for our needs, and how to install it with ease.
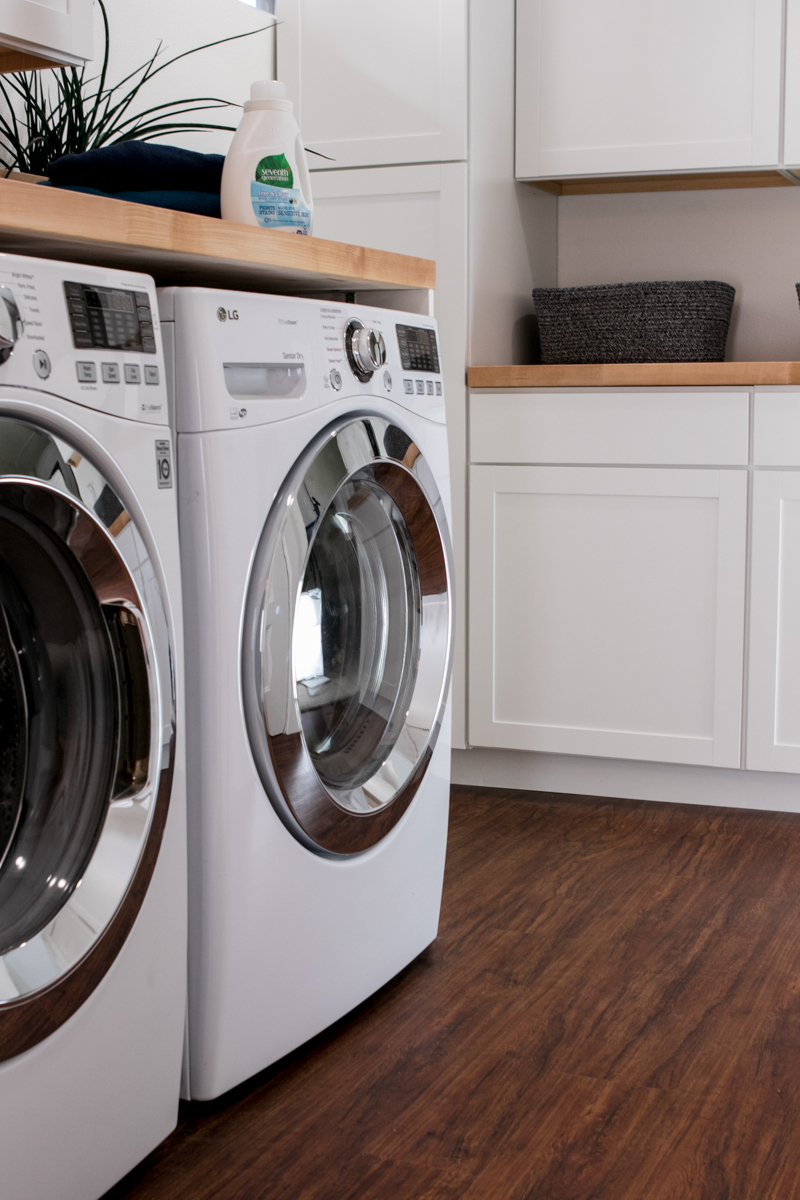
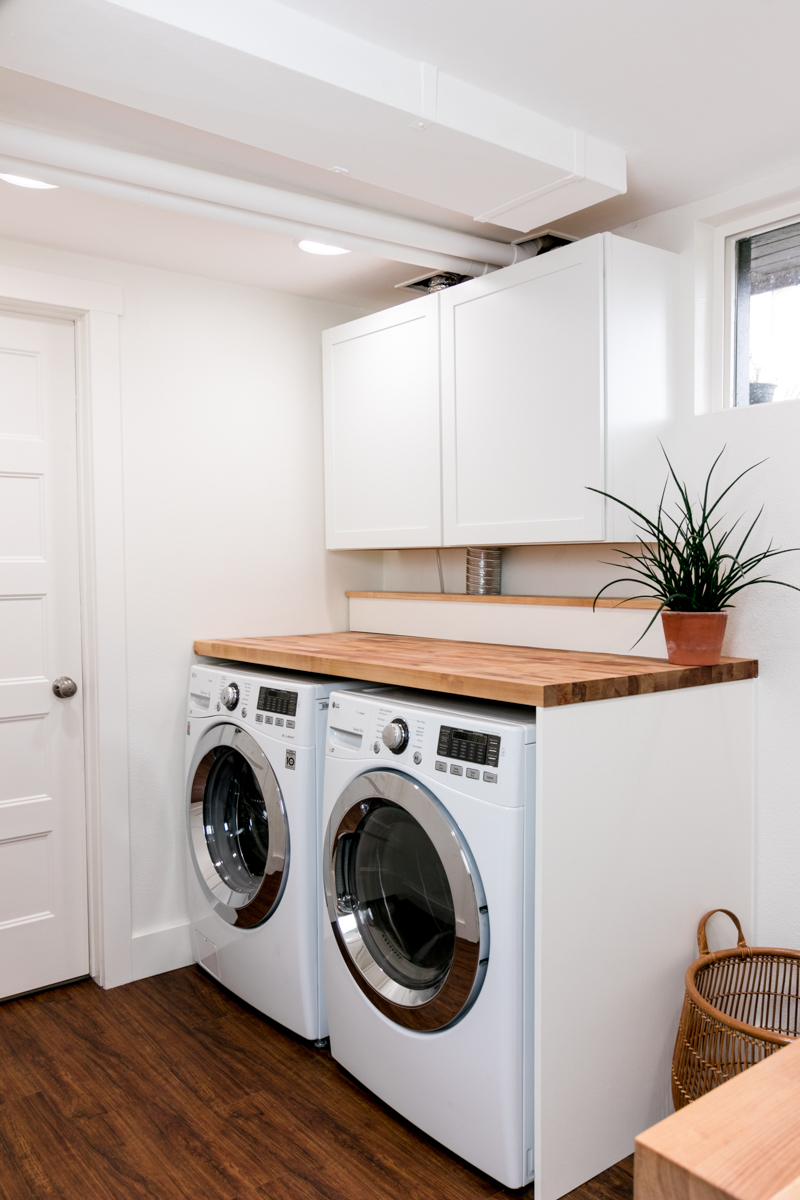
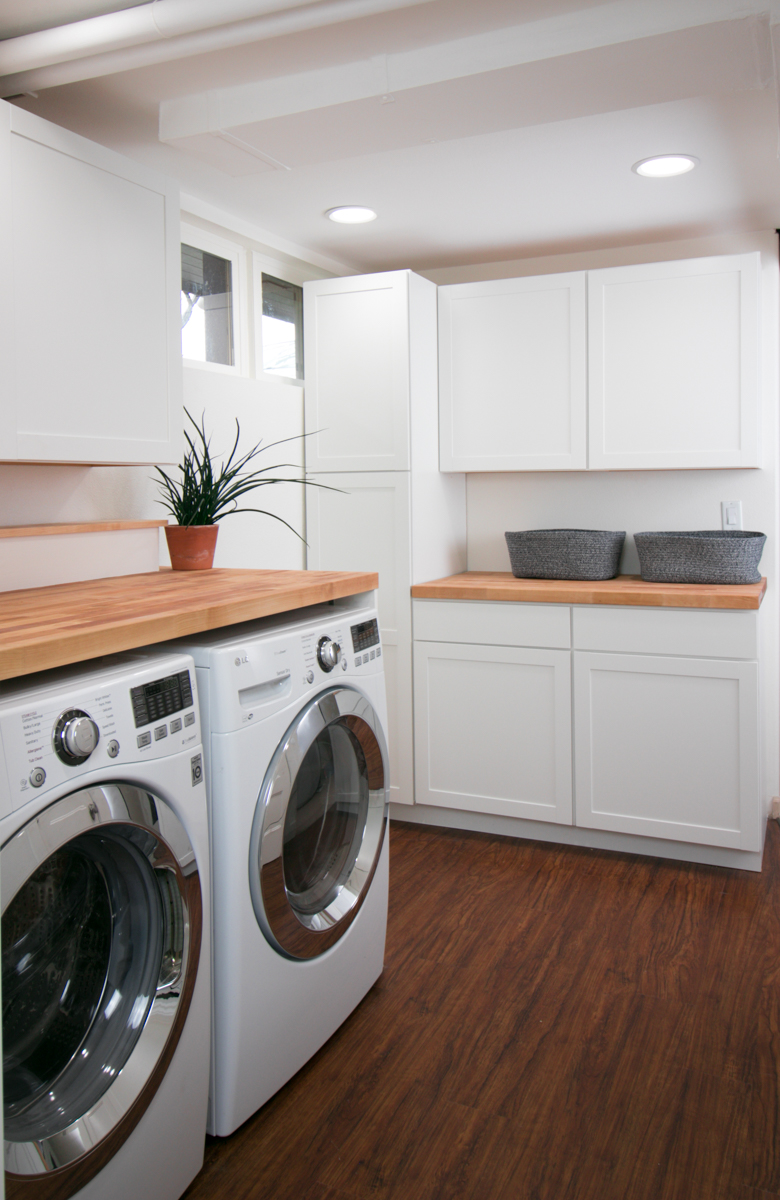
The finished room. (Read the full makeover here.) Here's how we made the new floor happen.
Choosing the Best Flooring Option for Our Laundry Room
Laundry rooms are high-traffic, “wet” spaces. In this way, they're akin to mud rooms, bathrooms, kitchens, utility rooms, and workshops. The flooring needs to resist moisture and staining, and also be able to stand up to the wear of heavy, vibrating appliances (your washer and dryer.)
In our situation, here were the factors that helped us make the best decision:
- The laundry room was in a basement. Because of the moisture issues with the concrete slab, this limits our flooring options to: carpet, laminate engineered wood, tile, or something made from vinyl, i.e. tiles, planks, or sheet vinyl [often called “linoleum”].
- The current flooring was a rather bizzaro sheet vinyl with a fake geometric stone look. It was not fooling anyone. Anything we chose would better than what was in there. And, more importantly, none of the flooring options would decrease the value of our home. We wouldn't be removing a high-end material (such as hardwood or tile) to go with a budget option.
- We wanted to spend our budget on a new washer and dryer, more cabinets, and better countertops. So, both affordability and easy of installation, we wanted something that looked great and was extremely durable, but that could be installed by one person without a ton of flooring experience.
We decided we wanted a “wood look” rather than a “stone look,” and with that, the perfect option emerged: vinyl plank flooring. These are interlocking 6″ planks that can sit directly on floor without a new underlayment, and simply float in between the walls. Here's why the were the perfect choice for us:
- Vinyl plank flooring can be installed over a basement slab, or sit on top of our existing sheet linoleum floor. This saves time and money, because I could simply leave the old floor in place without having to pry up the old adhesive, and I didn't have to find a way to dispose of such a large piece. (Needless to say, it wasn't going to fit in our trash can.)
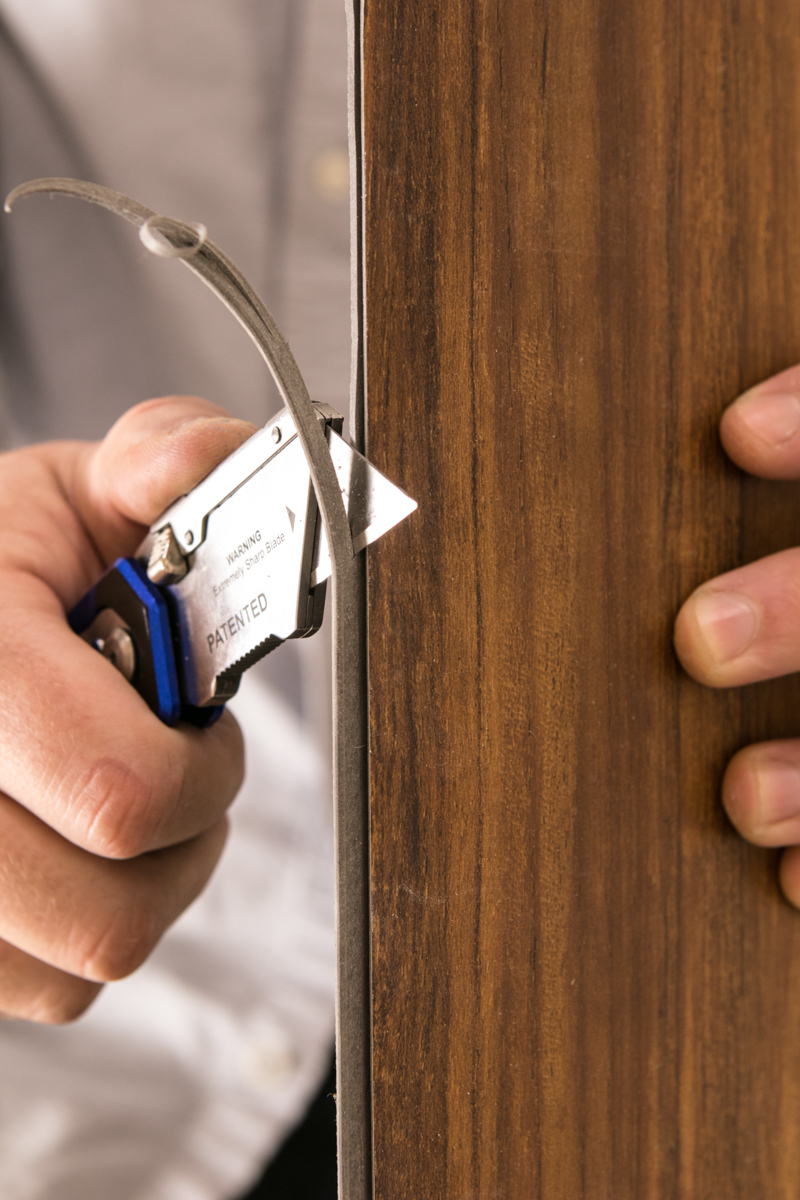
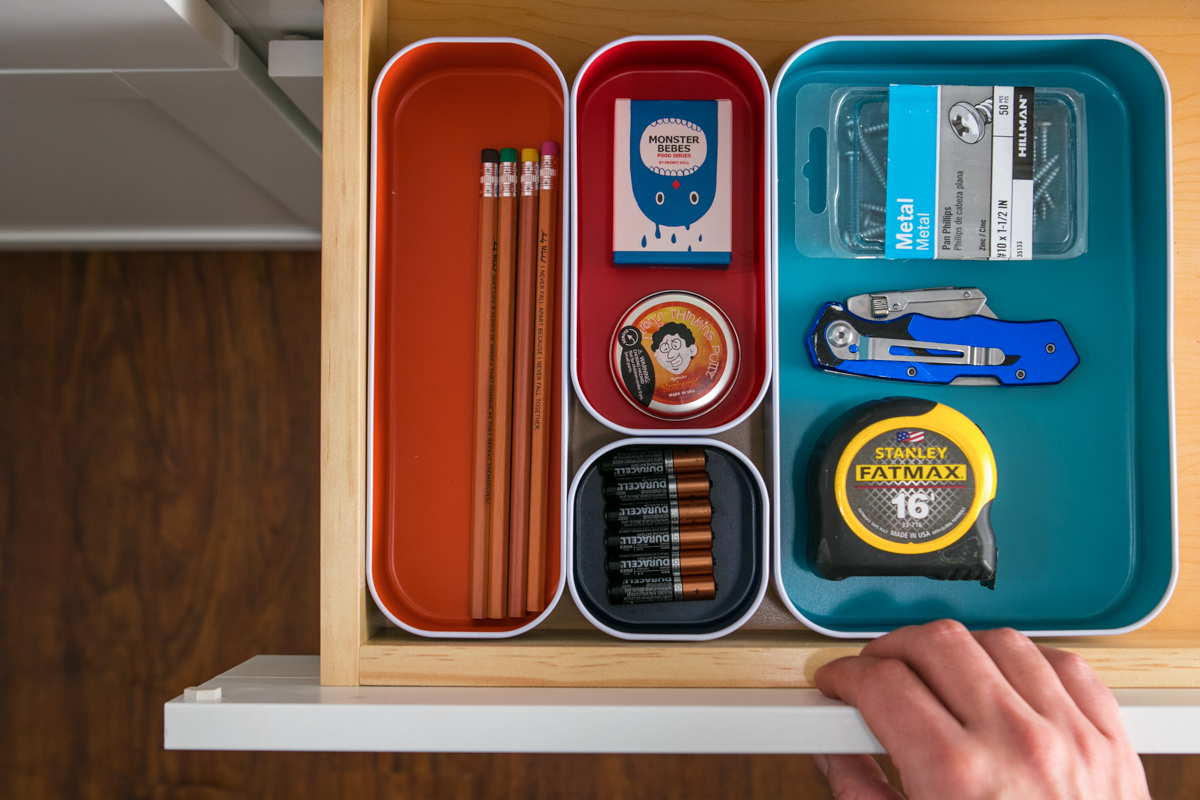
- The planks themselves can be cut with a utility knife. That's literally the only tool you need to get them to size. While I do have the appropriate woodworking tools to make safe and complicated cuts, I see no reason to use them if I don't have to. This cuts down on time, and mess (no sawdust). Plus, there's no transferring of measurements. You can cut the vinyl flooring right there in the space you're working.
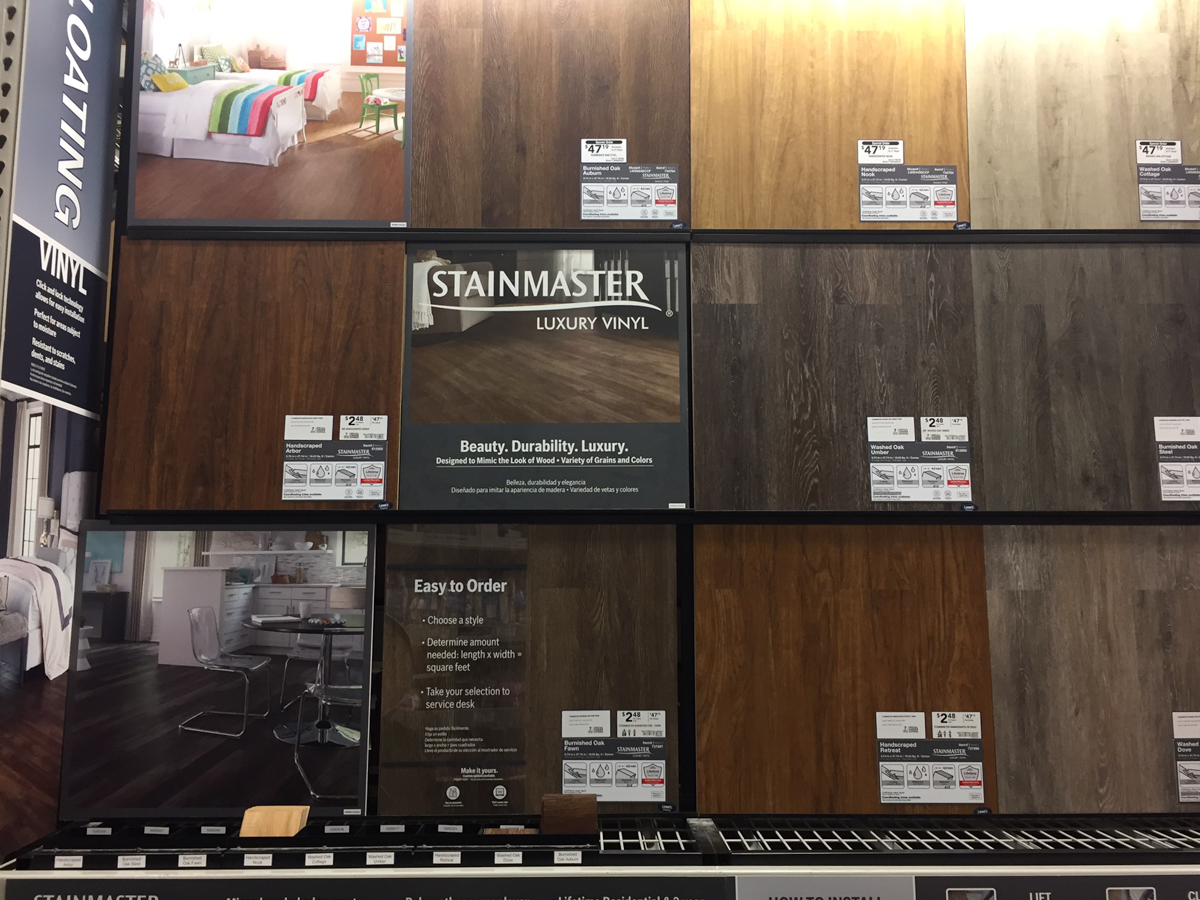
- It's affordable. For our space, whichever finish and brand we chose could be installed for around $1.50 – $2.50 a sq/ft. That brought the cost to anywhere between $160 – $240 for the whole room. Totally reasonable, whichever option we chose.
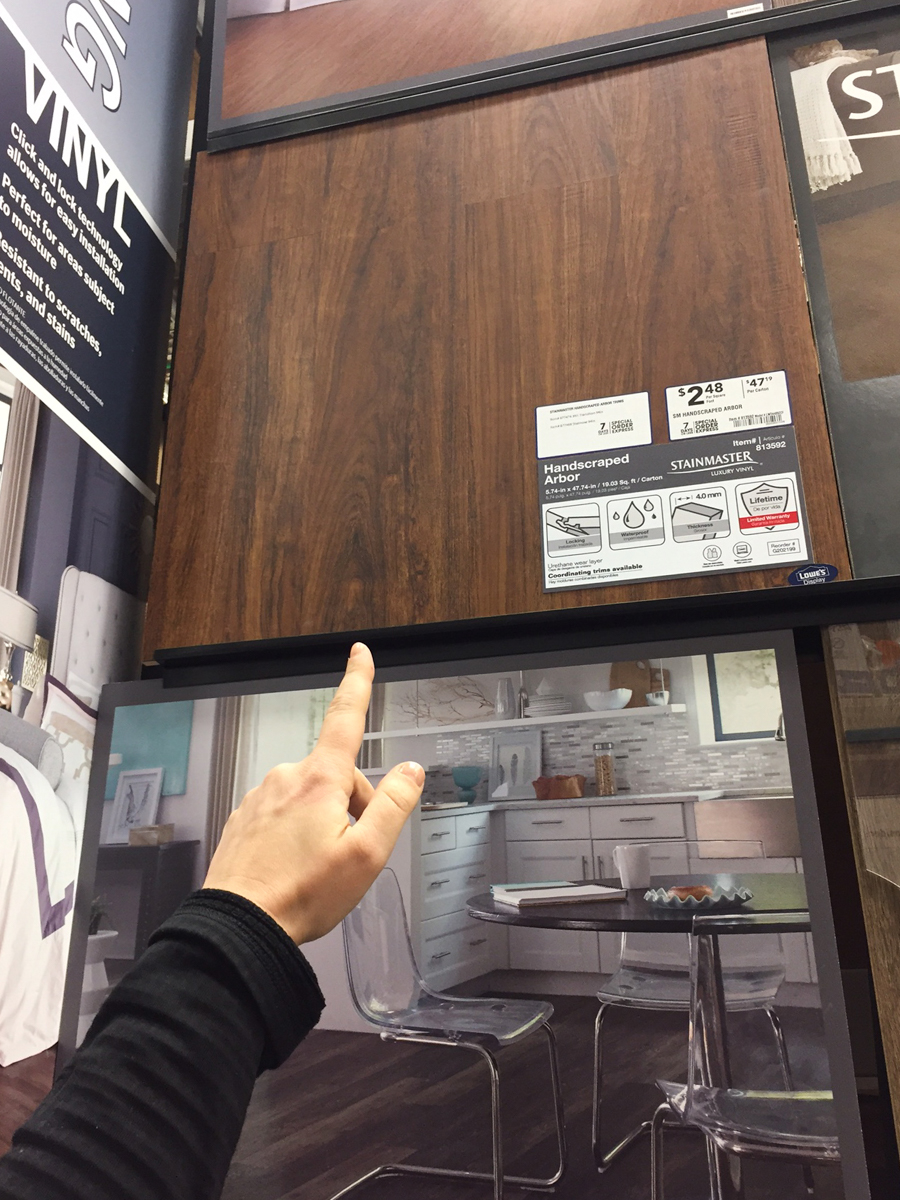
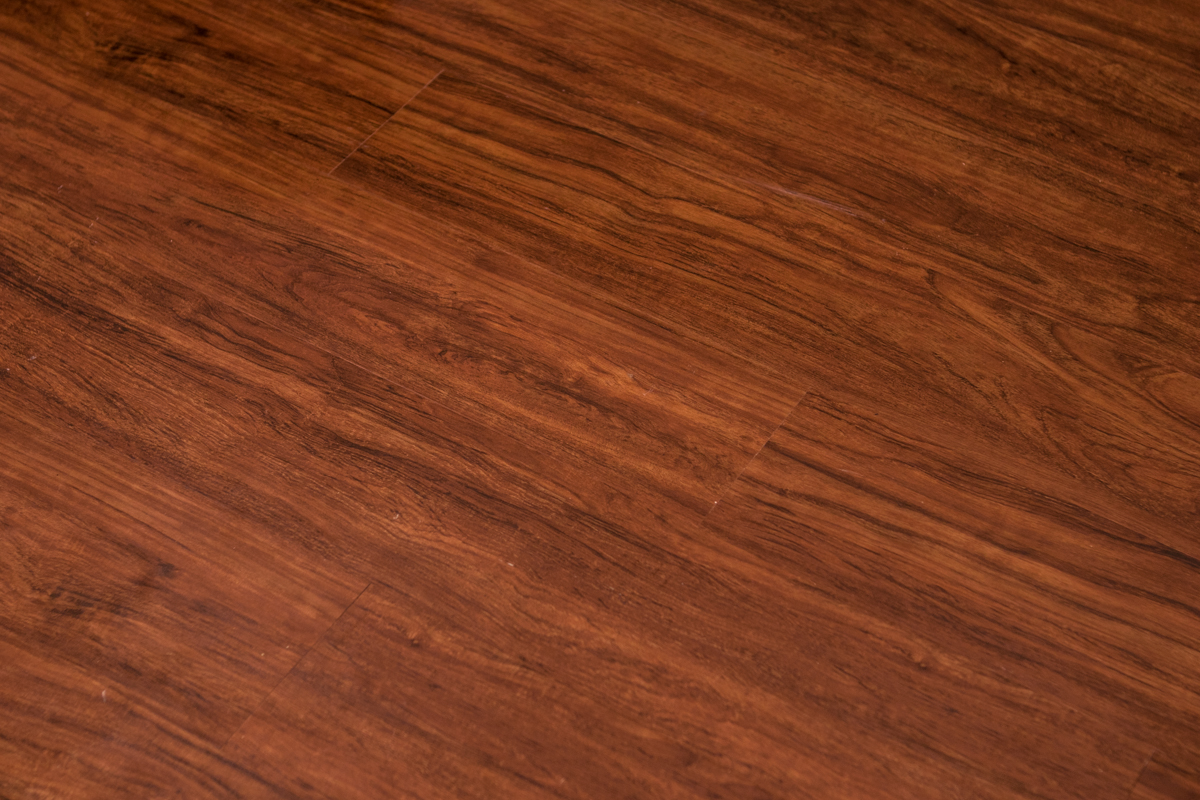
We took some samples home to view under our lighting situation and to match other spaces in the house. In the end, we chose STAINMASTER Locking Luxury Commercial/Residential Vinyl Plank in the Handscraped Arbor finish. We needed four boxes, bringing the total of the floor to only $187. Hard to beat.
How to Install Laundry Room Flooring
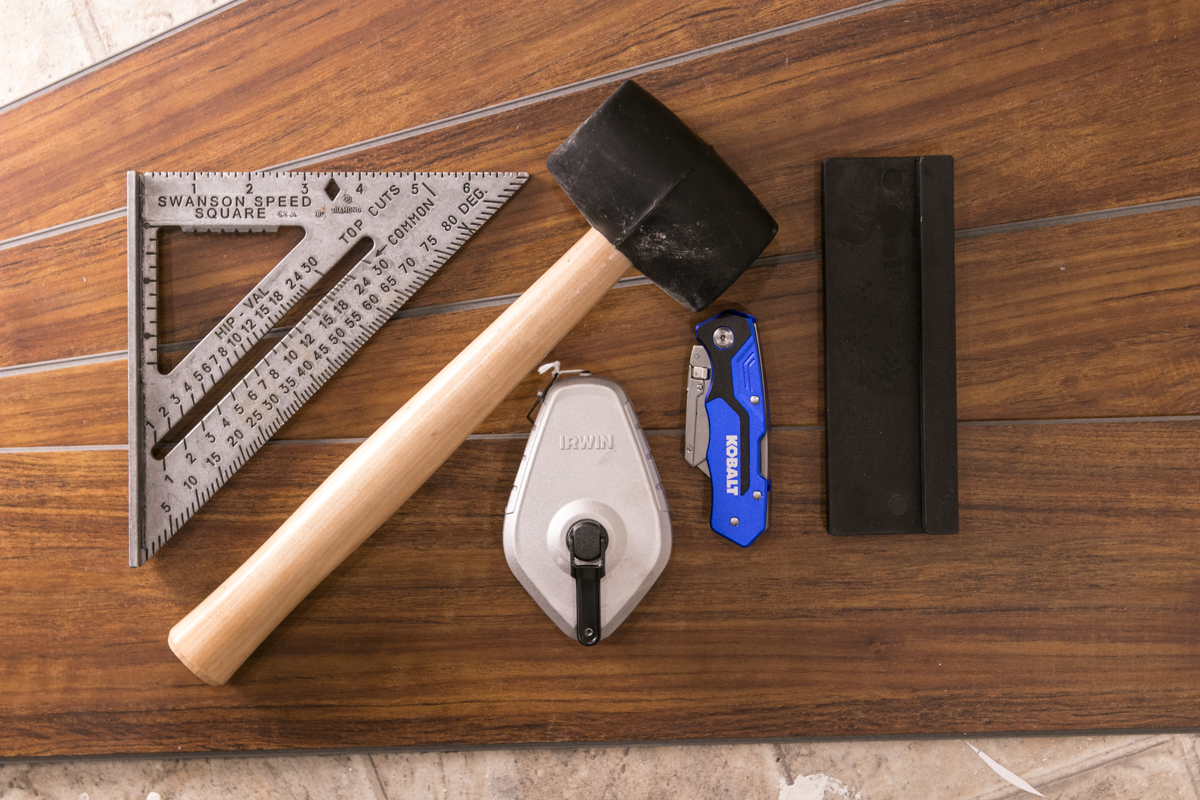
The tools needed here are super simple:
- Vinyl plank flooring
- Rubber mallet
- Speed square (to use as a straight edge guide)
- Utility knife
- Chalk line
- Flooring tap block and pull bar (optional, but helpful. I used these extensively.)
Step One: Remove baseboards, trim, molding, etc, and prep your subfloor. It should be clean, and level. If necessary, use a self-leveling compound to fill any low spots.
Step Two: Mark the center point of each wall. Then snap a chalk line between them to find the center point of the room.
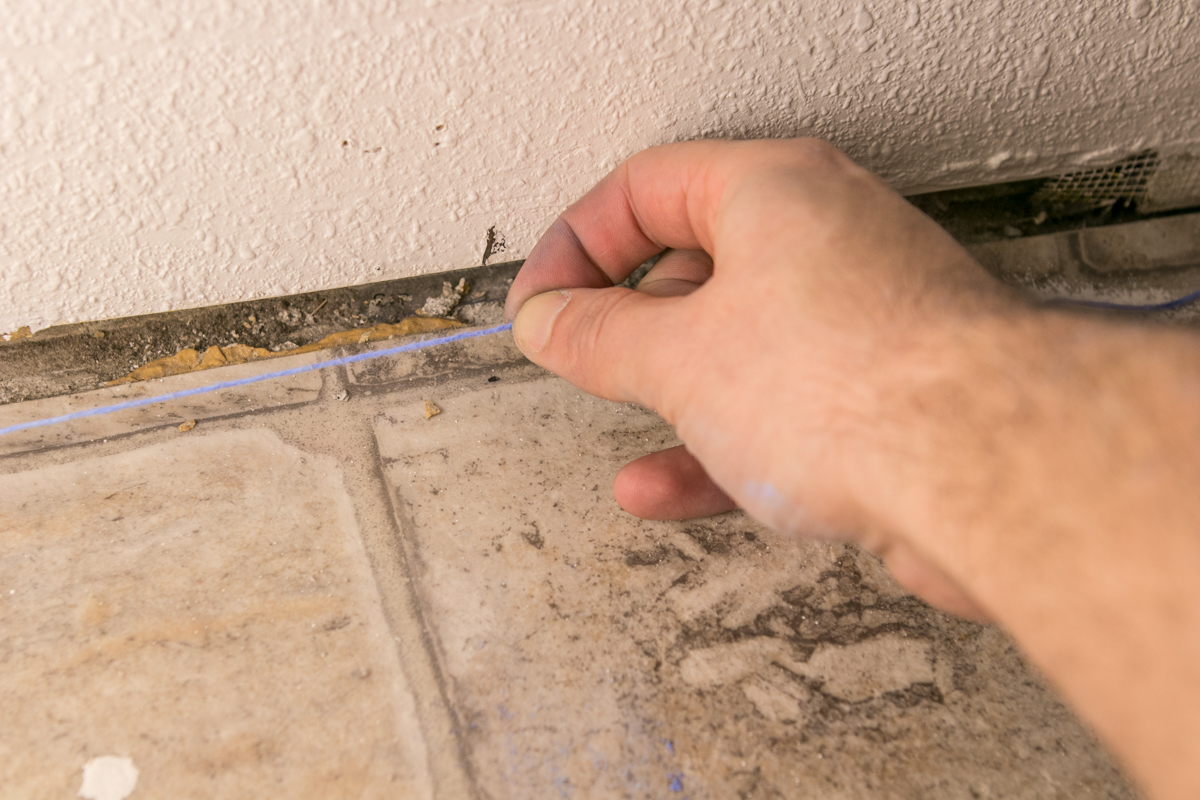
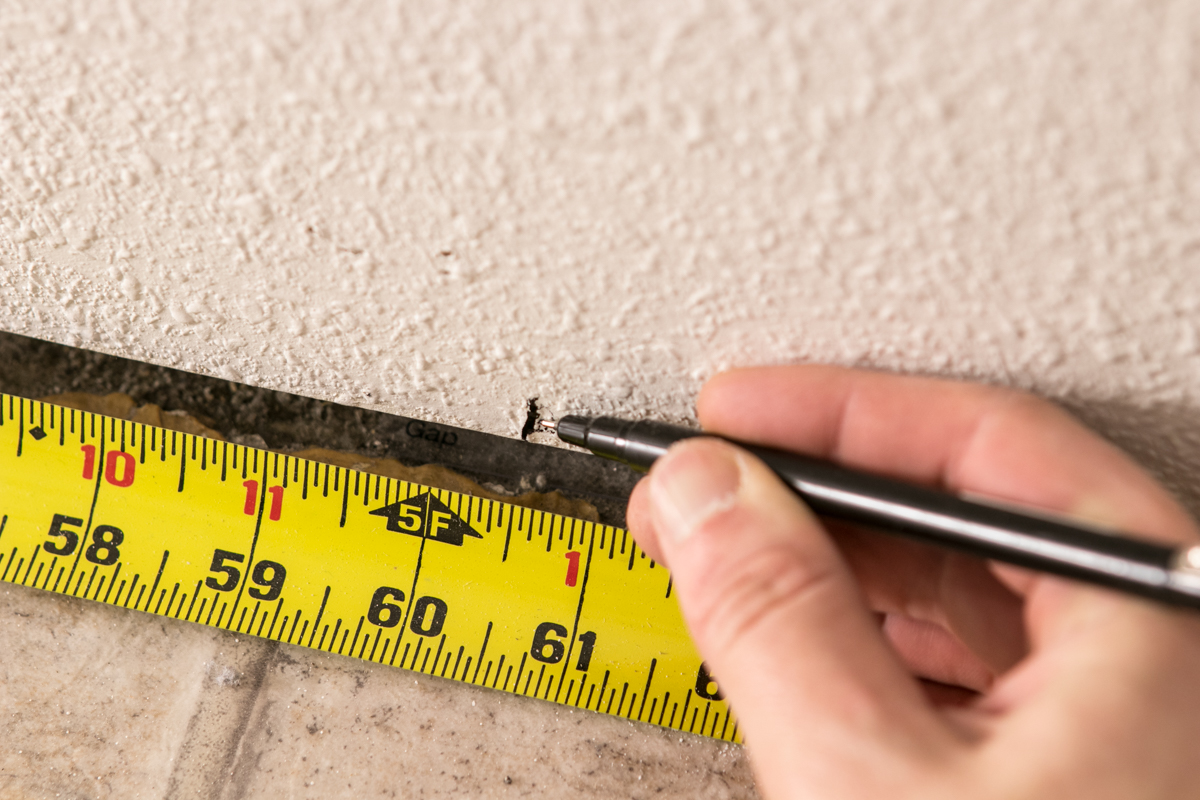
From the center point, measure to your starting wall, and subtract a 5/16″ gap for expansion. Mark this spot on each end wall, and snap a chalk line to create a straight starting line. You'll likely notice how not straight your walls are.
Step Three: Measure your room width, and determine how many planks you'll need. If the last piece will be less than 1/3rd of it's overall length, cut the first piece in the row to split the difference. Cut the protruding tongue off your first set of planks.
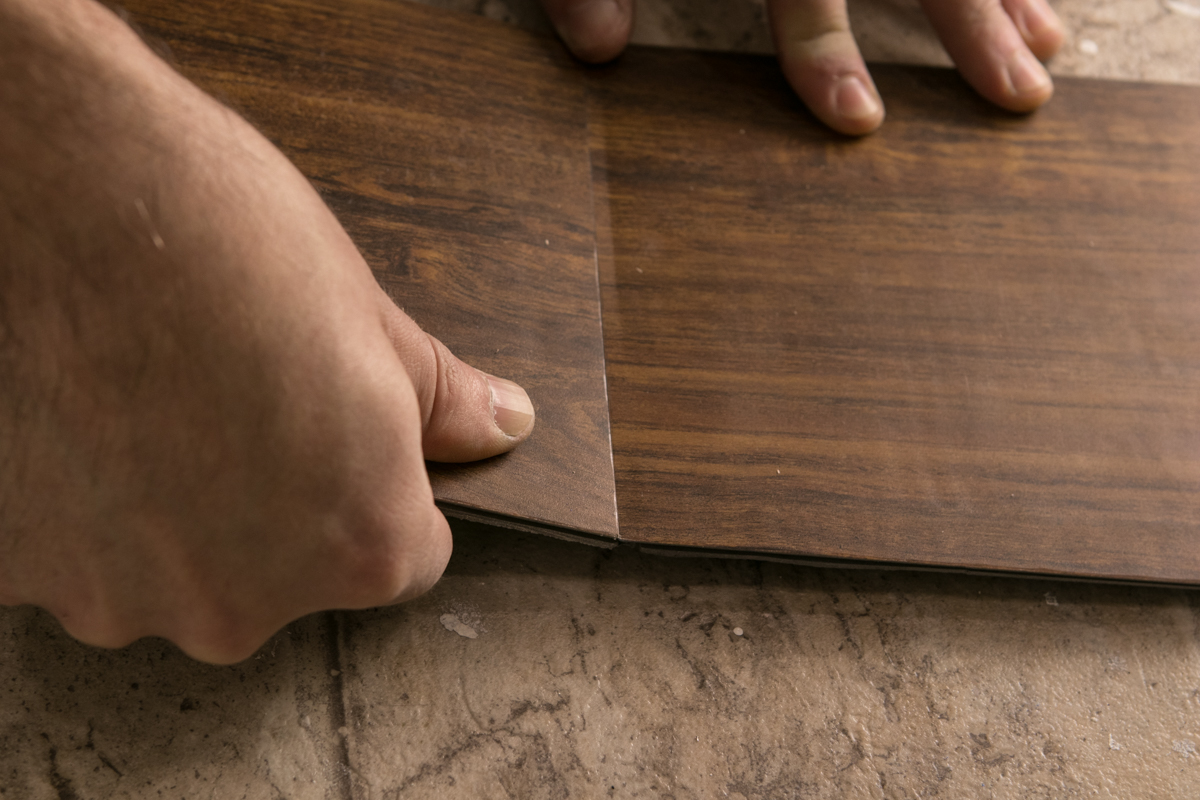
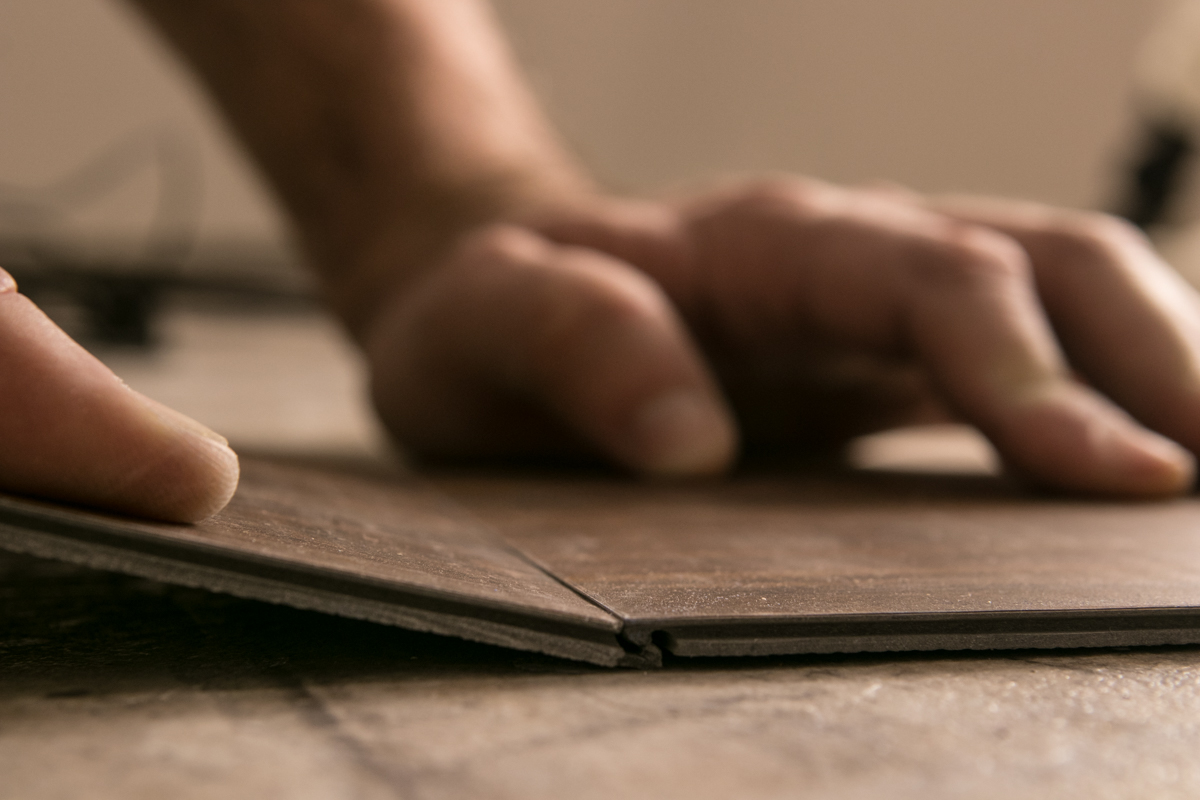
Step Four: Maintaining your expansion gap, place the top left plank. Then, add the next full size plank by inserting it at a slight angle, then lay it down to snap it into place.
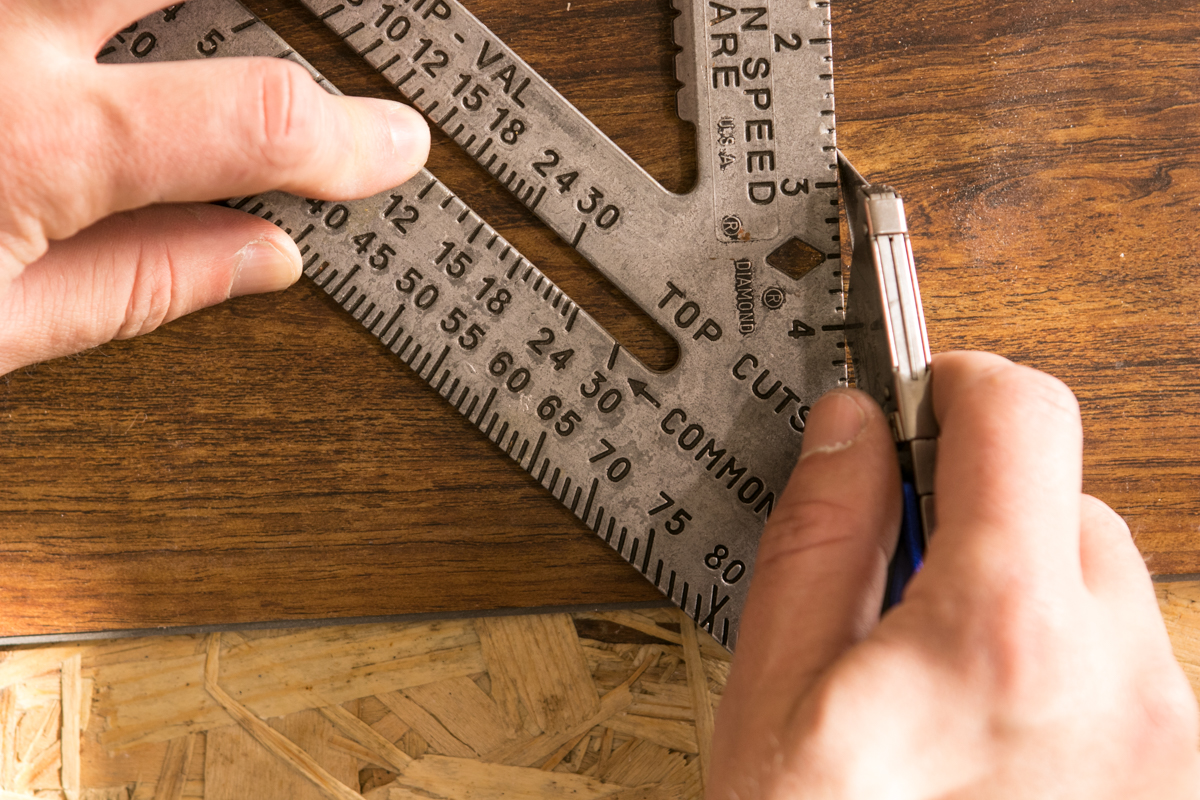
Continue adding full pieces until you get to the end. Making sure the last piece is at least 6″ long, score the top layer with a utility knife and square at the desired length. You need to make a lighter cut than you'd think. Put pressure on either end, and the plank will snap cleanly.
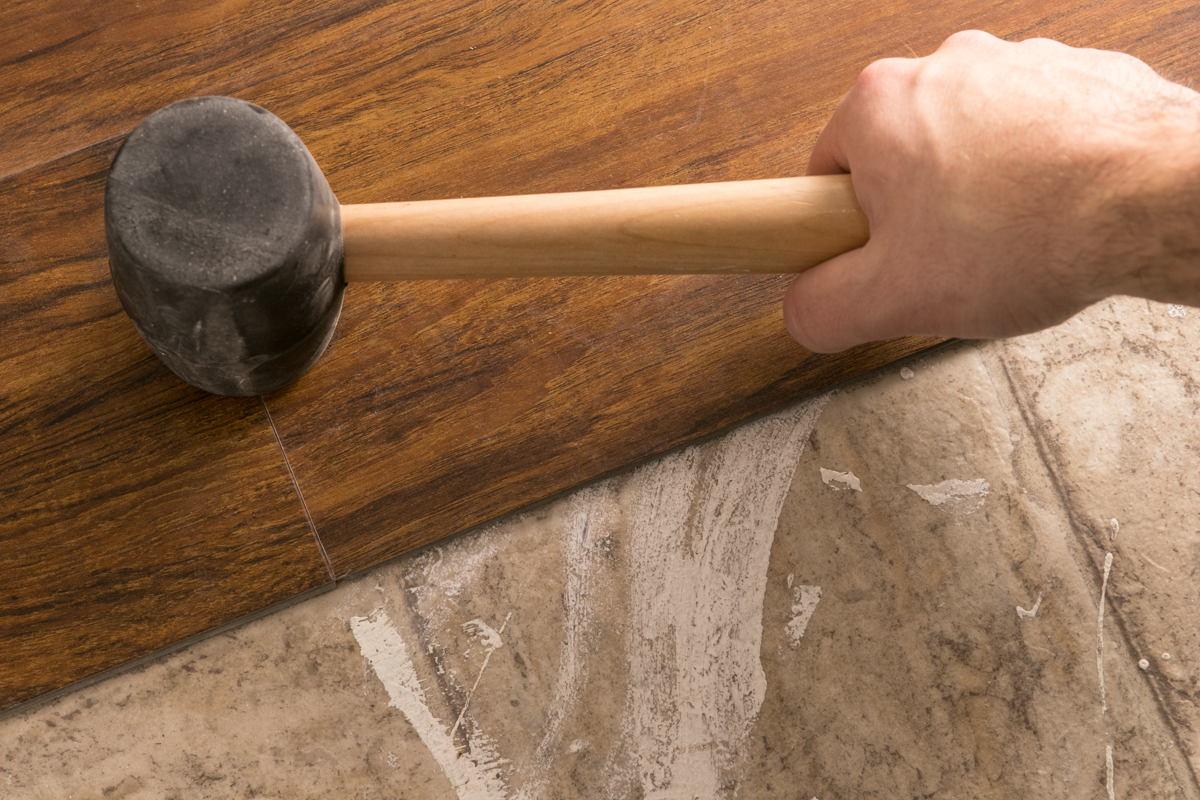
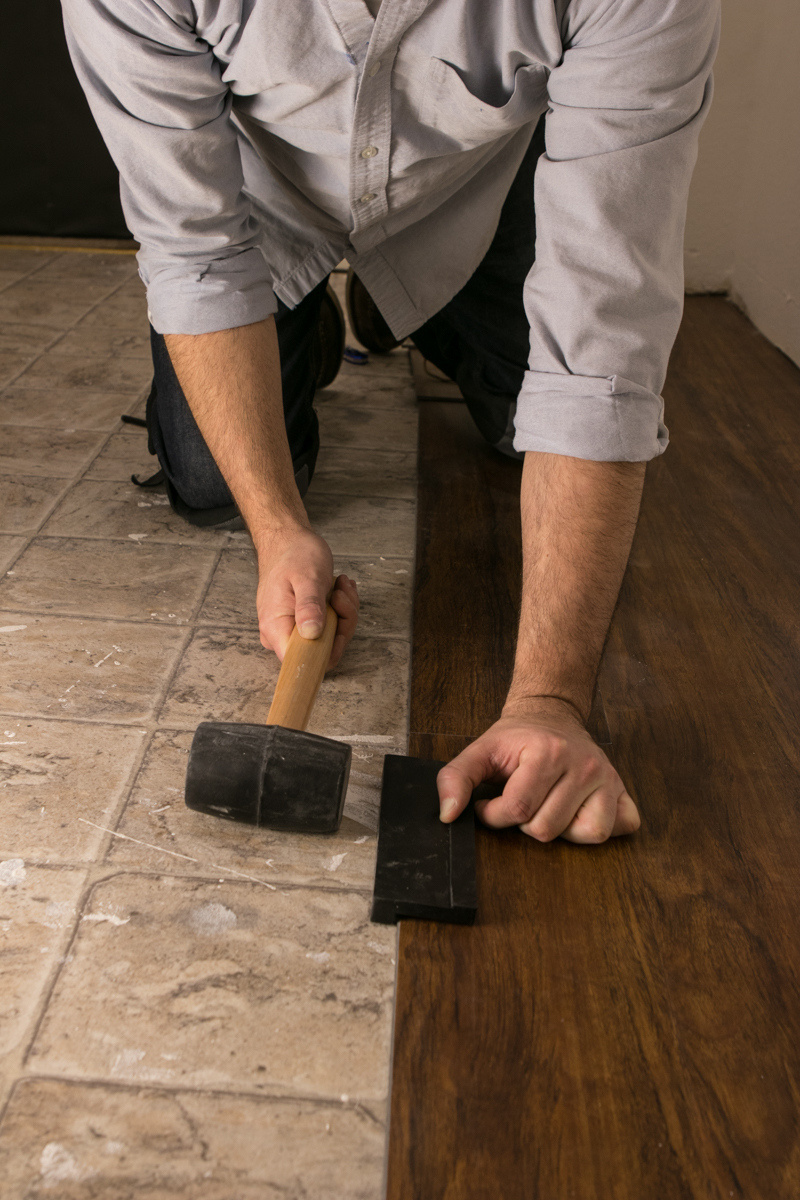
Once you have the first row in place and sized to length, use a rubber mallet to secure the end joints.
Congrats! Your first row is complete.
Step Five: Create the second row. This works just like the first, except you need to guarantee all your joints are at least 6″ away from the existing ones in the first row. Start on the opposite end (top right) and work your way left.
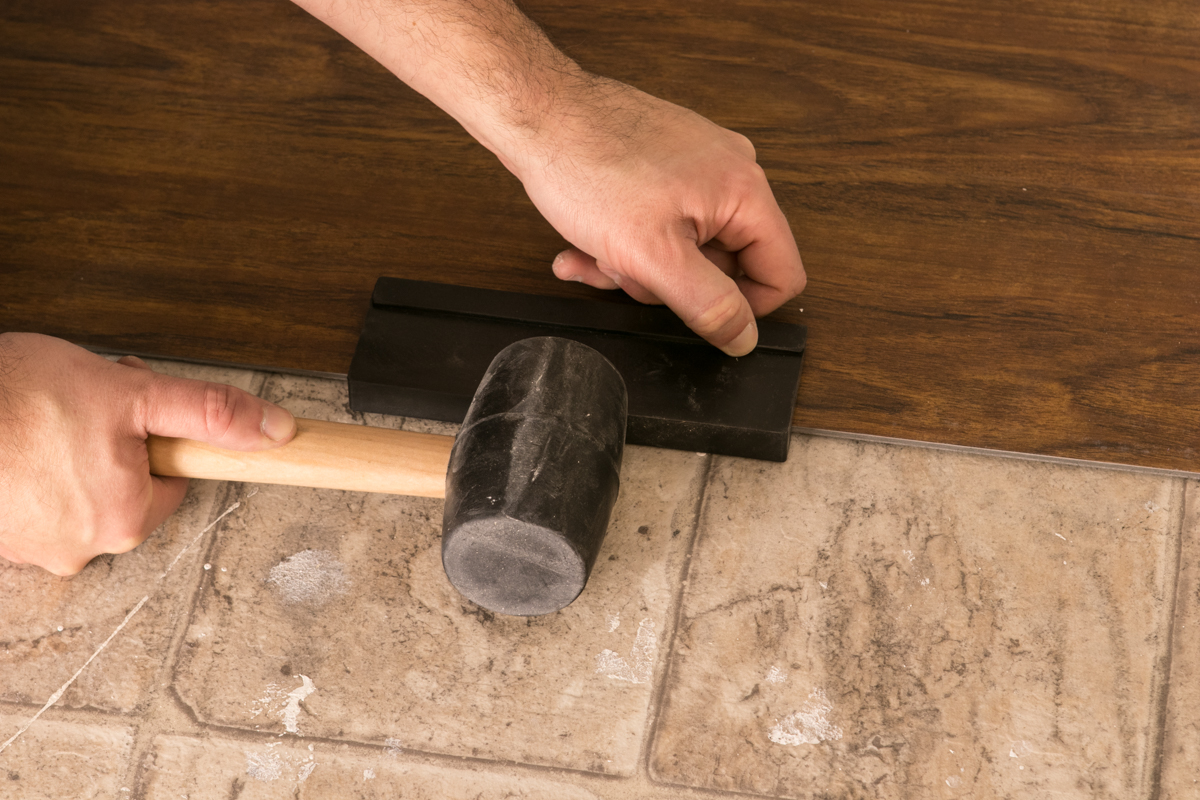
Place the tongue of the second row into the groove of the first, inserting it at a 45° angle then pressing down to lock it in place. Use a soft mallet and optional block to tap things together, eliminating the gap.
Step Six: Congrats! The hard part is over. Once the first two rows are in place, the rest comes together super easily. Just keep working, staggering your joints for a random look.
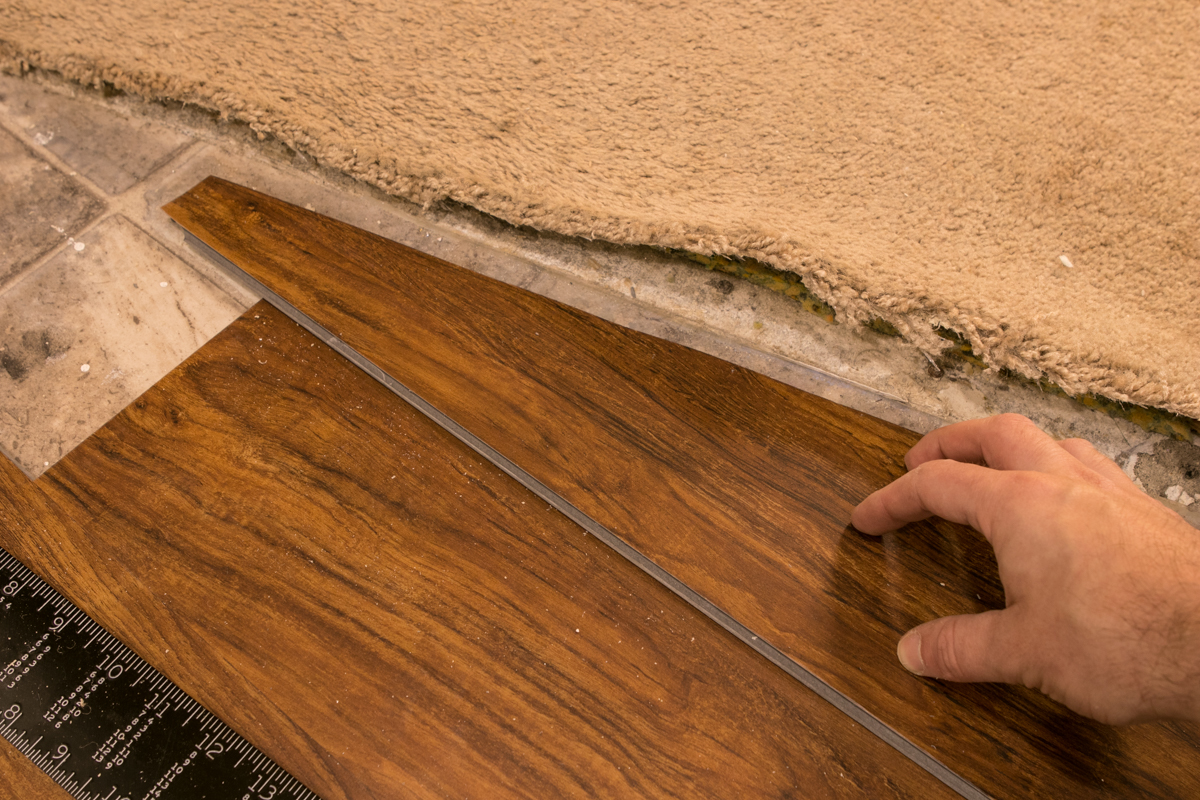 When you get to the edge or any strange transitions, you can cut out any shapes, then bend the plank to get it under door jambs and the like. Ours transitioned to carpet at an angle, so I sliced planks into triangle shapes to follow the line.
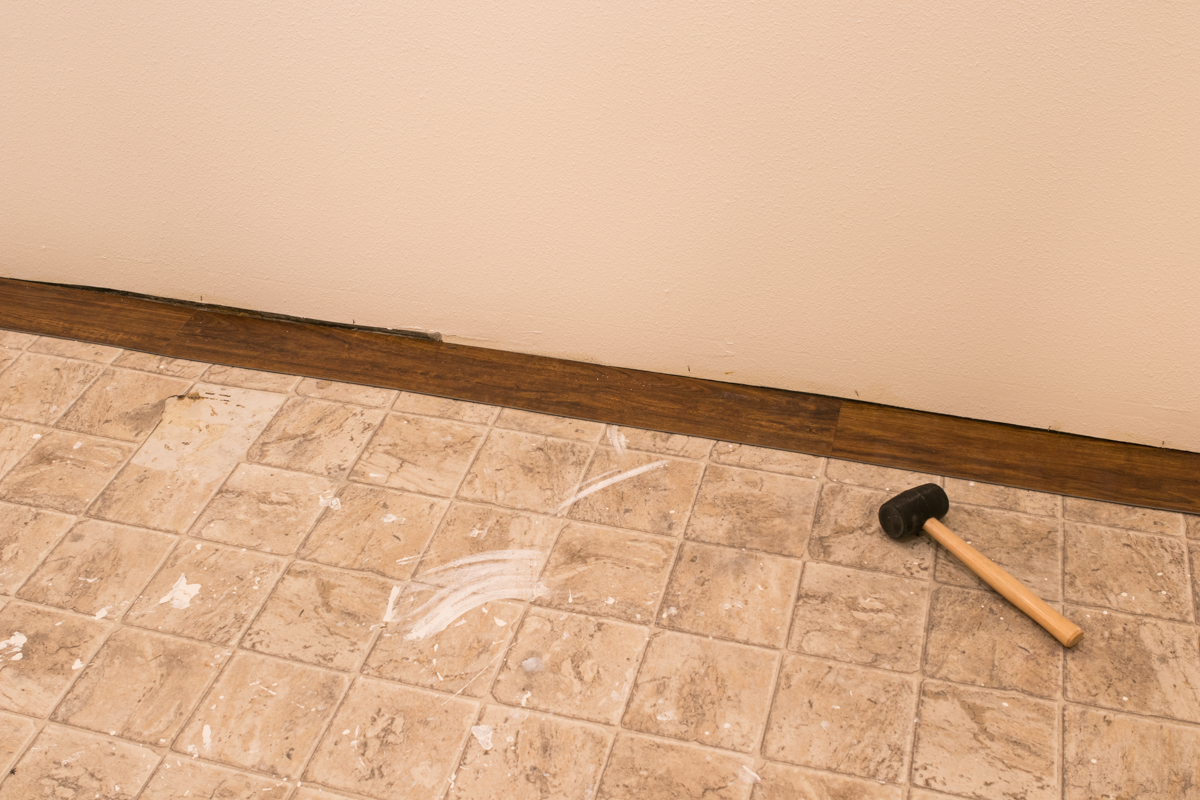
After!
Pretty sharp, right?

This post was sponsored by Lowe's. Thanks for supporting brands like Lowe's, who support makers and DIYers everywhere, and help make all the content on ManMadeDIY possible. All opinion


