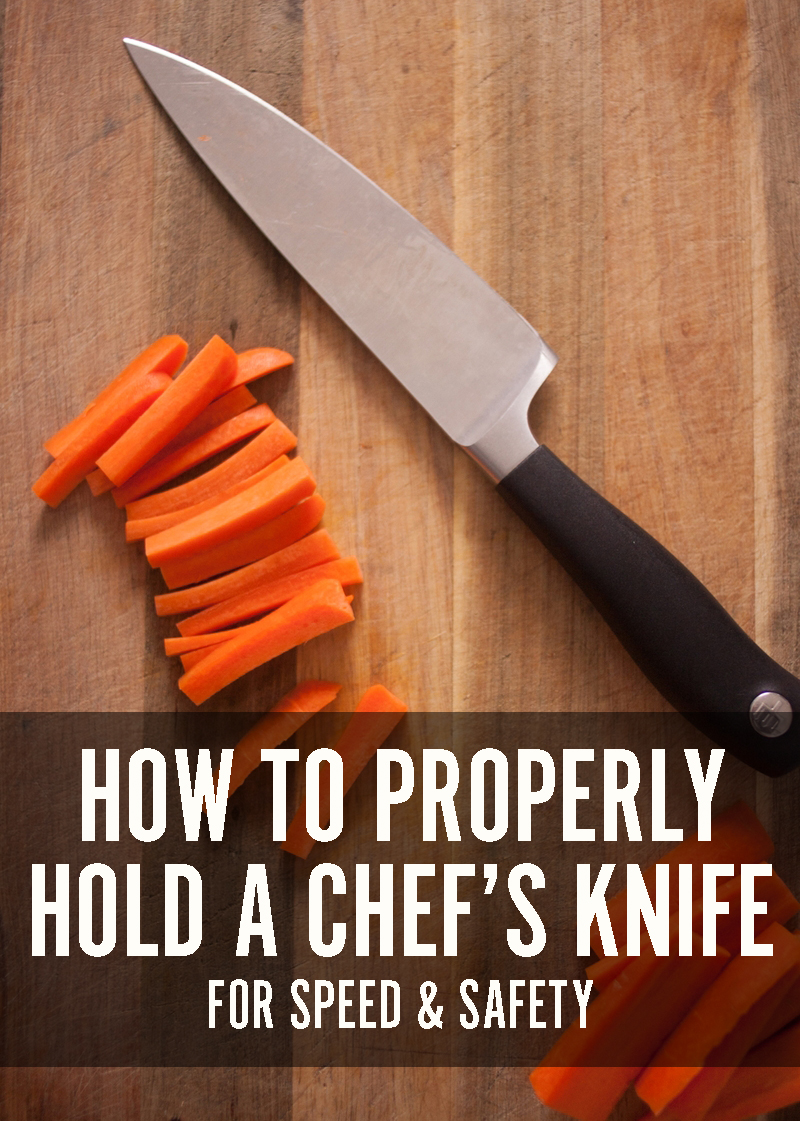
How to: Properly Hold a Chef’s Knife
If you think of the elements of cooking that feel the most like a chore, cutting vegetables can rank pretty high on the list (just under scraping off blackened cheese from a sheet pan.) But when you’re holding your knife correctly, it can be one of the most satisfying parts of the cooking process…second only to eating.
Practically speaking, you’ll significantly reduce your kitchen prep time while making sure that all of your digits stay intact. So, more efficient and safe.
Who doesn’t want to save minutes and fingertips?
Let’s get into it!
(Note: for the purposes of this tutorial, I’m talking about a 6-8″ chef’s knife like the one in these photos. as opposed to the other main knives found in kitchens, the smaller paring knife and the serrated bread knife. While the principles in this tutorial are good for any kitchen knife, you won’t be able to build up the same speed and techniques with anything but the standard chef’s knife.)
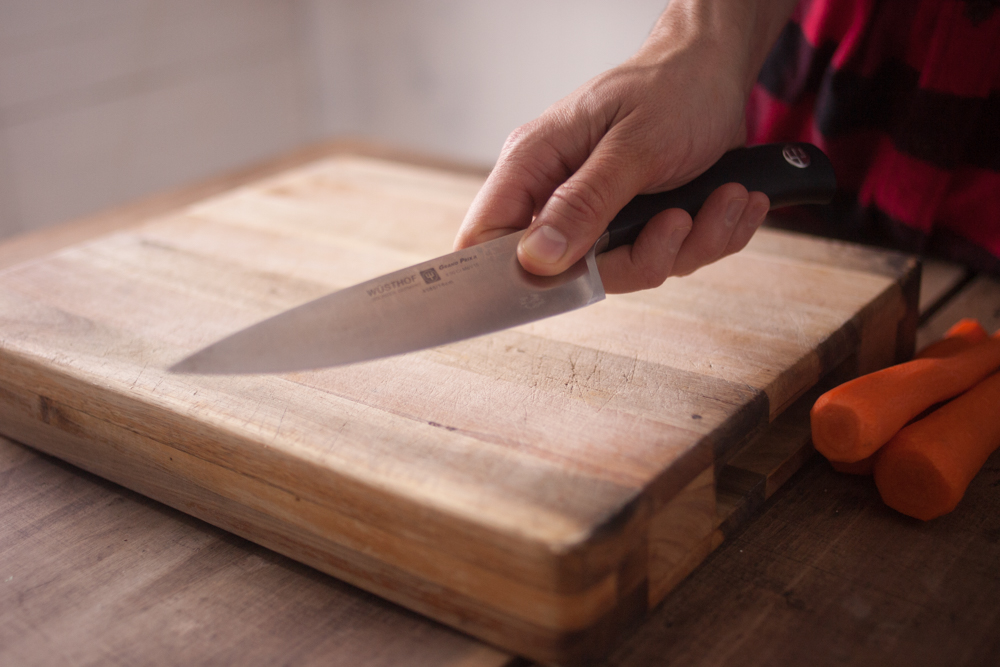
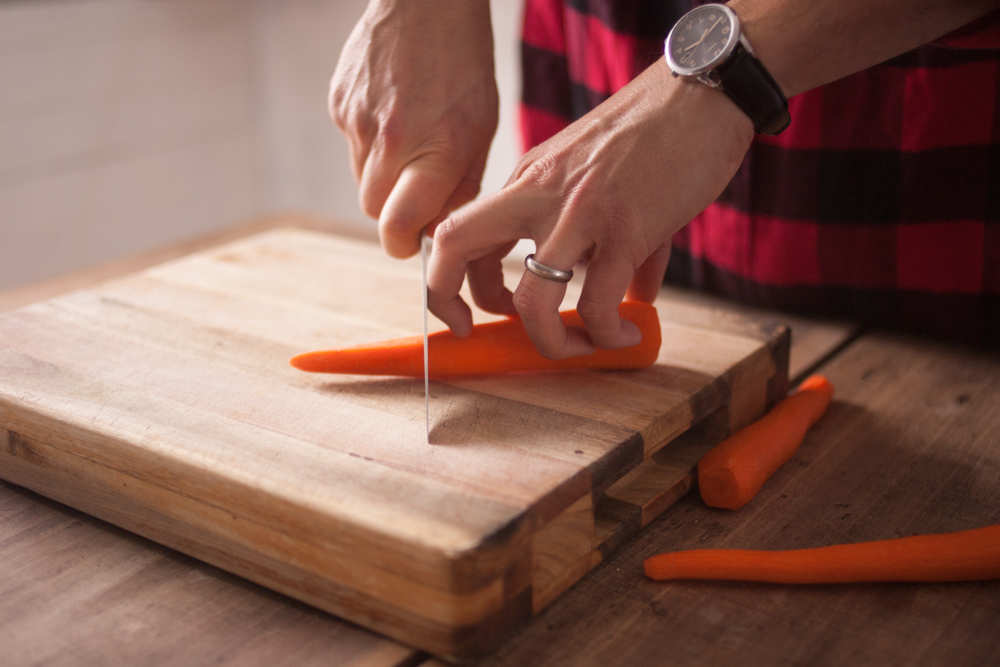
Starting with your cutting hand, you have two grip choices: 1) the handle grip, in which you grasp the handle with your entire hand, and 2) the blade grip (pictured), in which you pinch the blade just in front of the handle with your thumb and index finger knuckle, holding the handle with your remaining fingers. Neither is inherently better, but I’ve found the blade grip feels more comfortable for me.
Even more important than your blade grip is the positioning of your supporting hand. This is the hand that steadies whatever you’re cutting, which means it’s your non-dominant hand that’s in the most danger of getting cut.

The easiest way to describe the proper position is to make a “horse” with the hand: your thumb and pinky, ring, and index fingers are the legs, and your middle finger is the head.
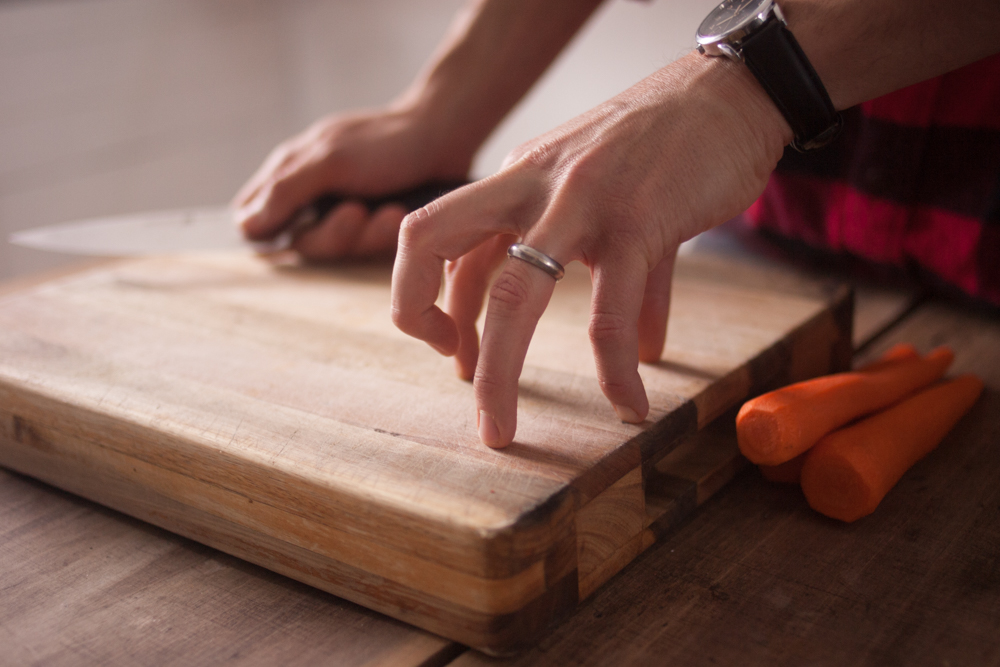
Now bow the horse’s head down.
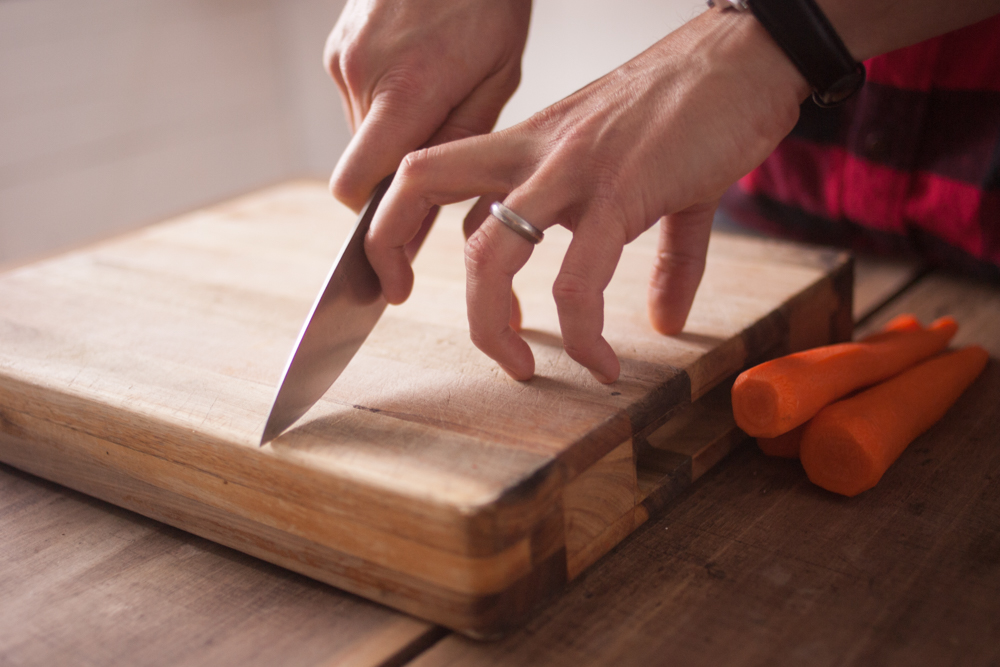
The body of the knife blade rests against the horse’s neck…the first knuckle, with your fingertips tucked in.
1) Don’t ever lift up its head.
2) Don’t ever let its feet travel beyond its head.
Either one of these will earn you a bloody cutting board and stitches in your horse. (I’m a dad. Can you tell?)
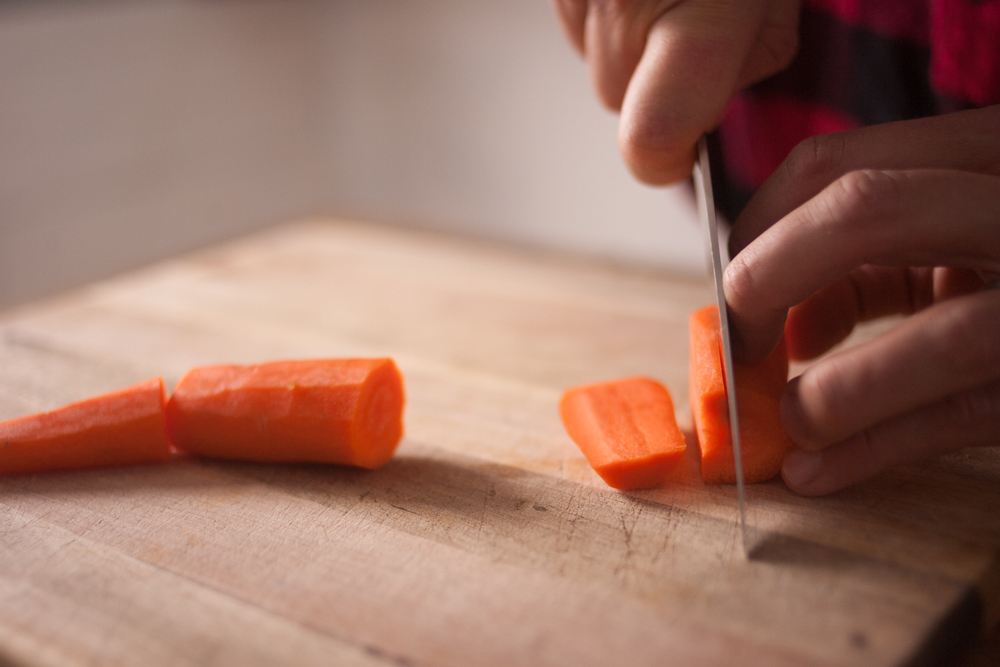
Now you’re ready to cut! Let’s julienne some carrots for a stir-fry.
First step: crosscut the carrots into shorter sections, about the length of your finger. (We’ve peeled our carrots already.)
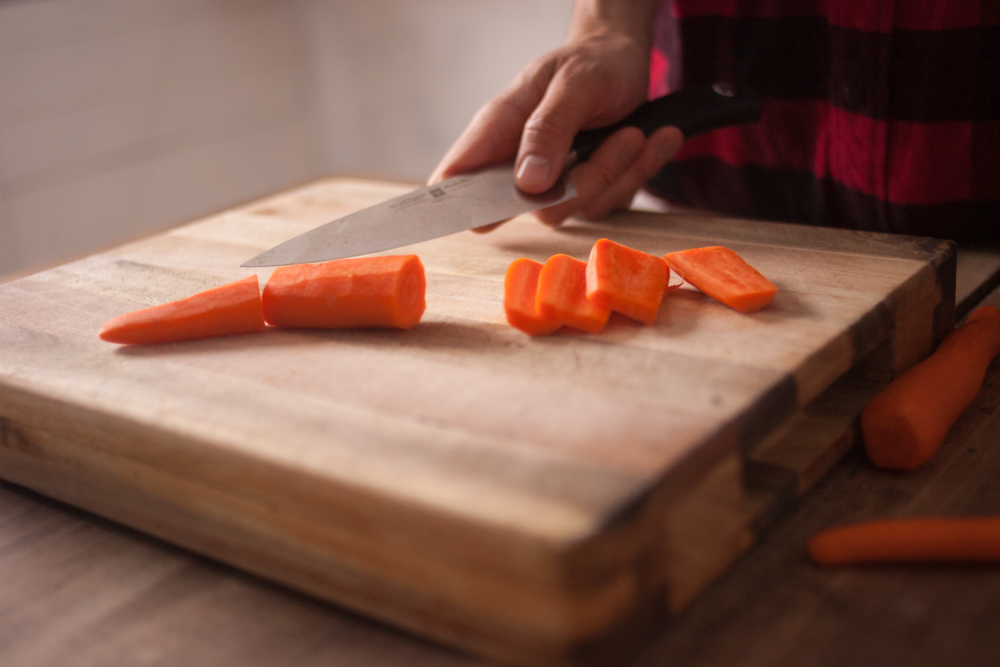
Cut the sections into planks. You should get about 3–5 depending on the width of the carrot.
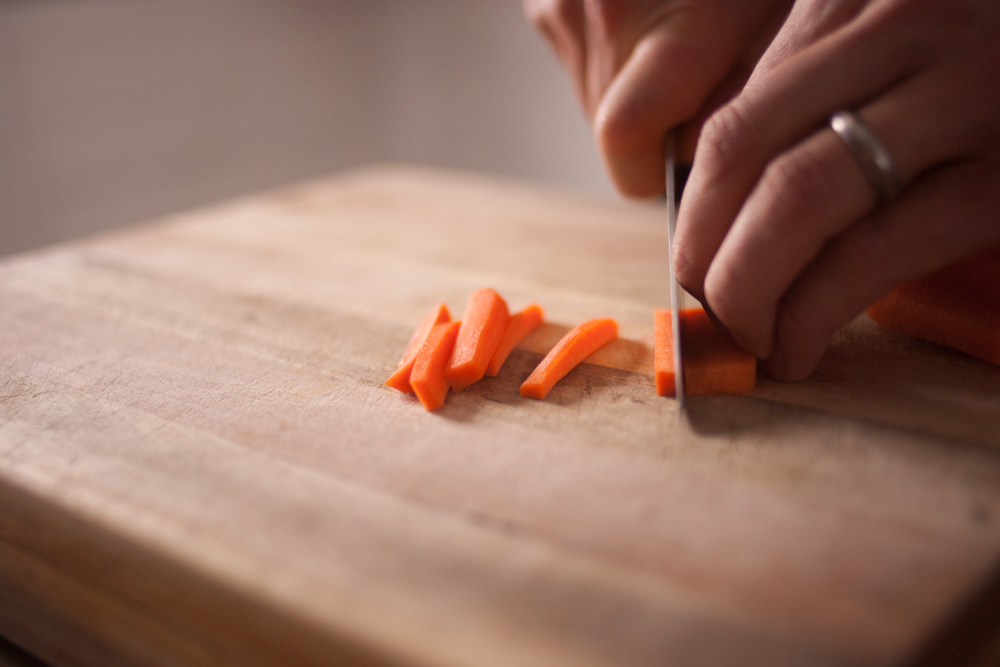
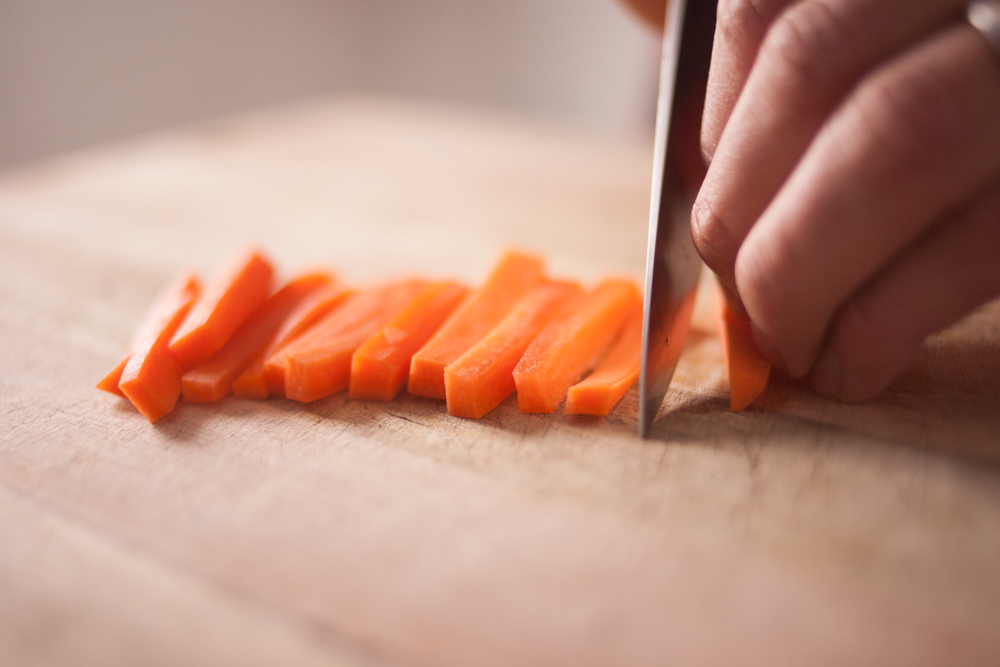
Now let’s rip cut those planks into sections. Boom! Ready for the pan.
Each vegetable, herb, and meat requires a slightly different approach with your knife, but armed with these basics, you’re well on your way! You can never really stop learning—there’s a whole world of cutting techniques to finesse your knife craft out there as you get used to these proper hand positions. (Hint: when in doubt, give YouTube a shout.)
Note: the knife pictured is a 6″ Wüsthof Grand Prix II. It’s also available in 8″ length.