No Vise, No Workbench, No Problem: How to Hold Your Woodworking with a Simple Wooden Batten
 I'm a lucky guy. My family has allowed me to dedicate half our basement into a dedicated shop space, complete with a custom woodworking bench and a growing collection of tools. It's bright, clean (at least right now), and I'm slowly turning it into a functional workspace that will allow me to be as productive as possible.
But it took me a long time to get here. For nearly fifteen years, I worked out of dining rooms and back porches and portions of the garage, lugging my tools around in plastic totes and home center toolboxes, setting up shop on the washing machine, folding tables, and 1/2″ plywood scraps screwed to 2x4s.
And, in the early days, it was that lack of a proper workbench that prevented me from thinking I could could use hand tools. Without a vise and hold downs, how could I safely secure my work for handplaning, chiseling, or sawing?The answer: a batten, which will take you 5 minutes to make and turns any flat surface into a work bench. Let's make one!
Begin by selecting a piece of hardwood (or plywood), about 2-3″ wide, and 18 or so inches long. Ideally it will be at least 3/4 of the depth of your worksurface. I'm using a scrap of western maple, 2 3/8″ wide.
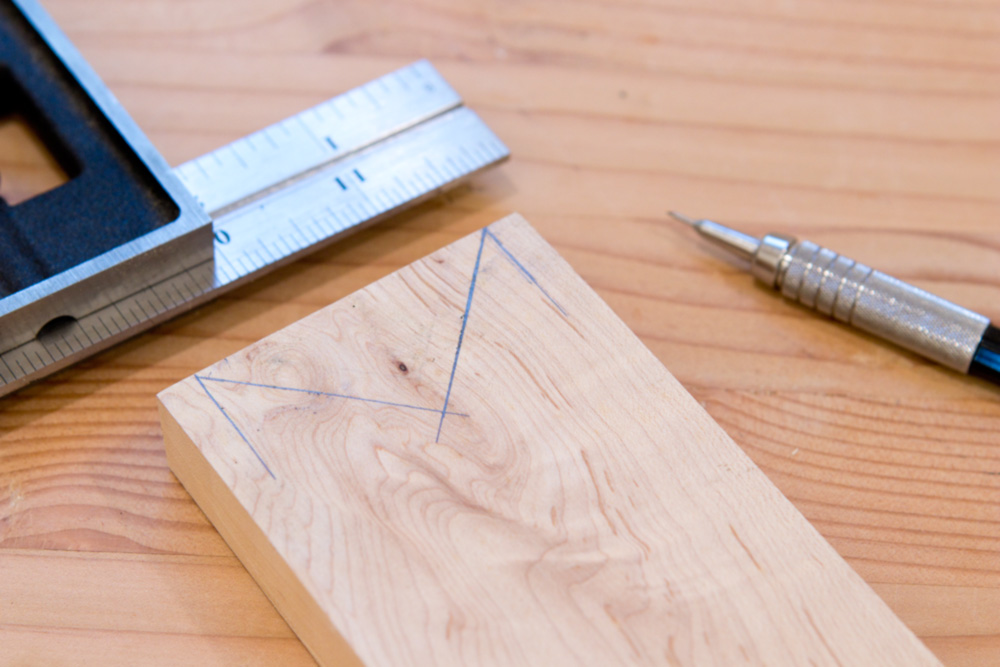
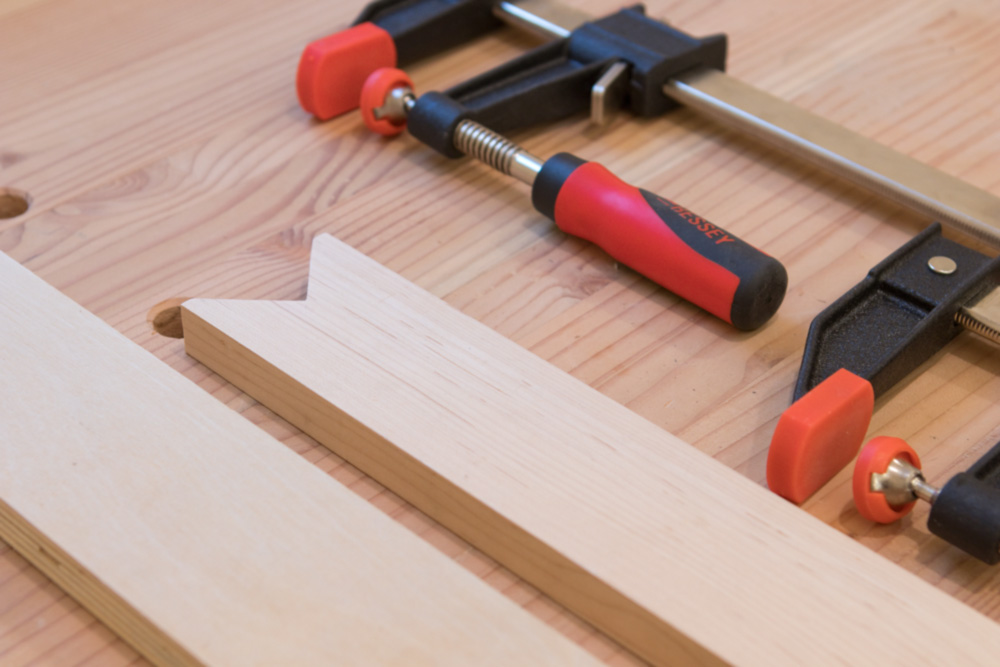
First, make sure the edge is cut at 90°, then draw a small tick mark 1/4″ from each side. Use a combination square or speed square to draw a 45° line in from each tick mark. They'll meet in the center of the board.
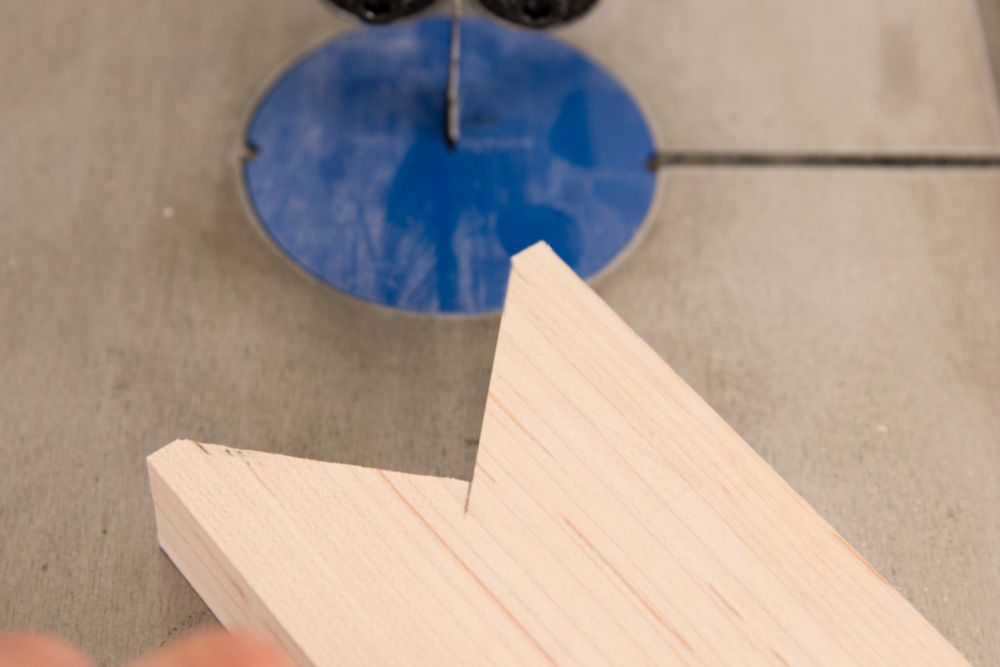
Cut out this bird's mouth shape using whatever you have: a back saw, jig saw, coping saw, band saw.
Then, gather the rest of your materials. You'll need a second long piece of wood (like a plywood scrap) and some clamps (or, if you can, some screws)
Set up the long piece of wood as a stop against the end your worksurface. If you're right handed, that's the left side; if you're a leftie, then the right side. Clamp or screw it in place.
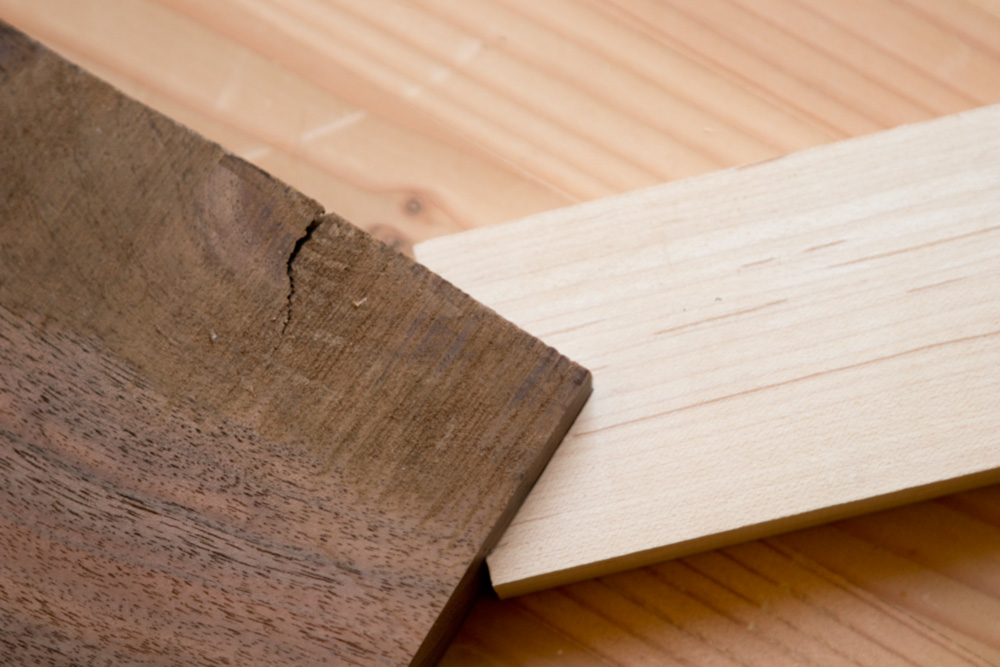
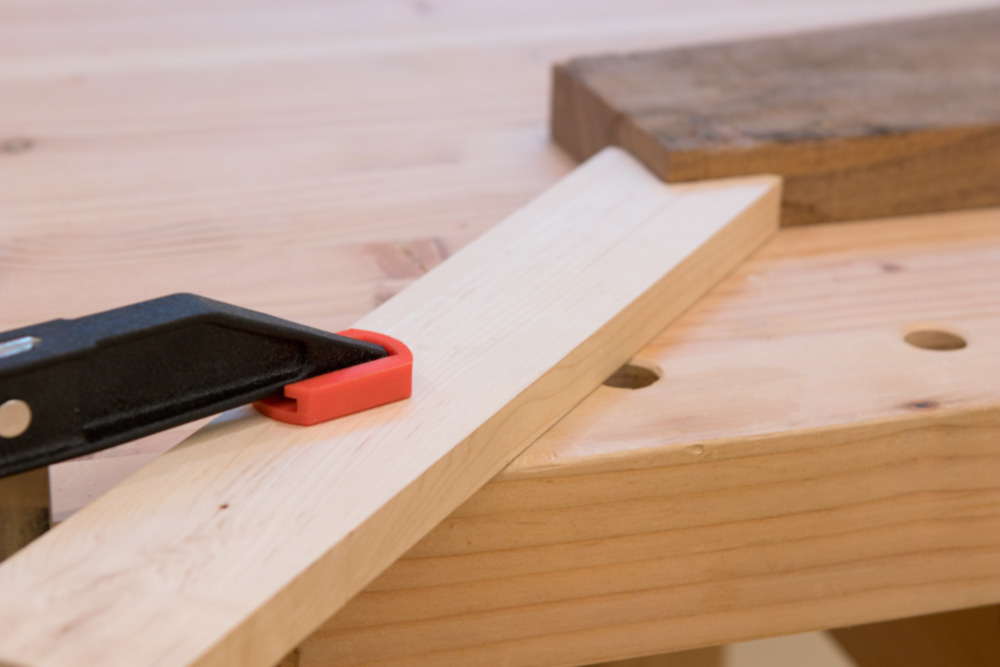 Then, butt your workpiece up to the stop, then press the notch in the batten up to your wood.
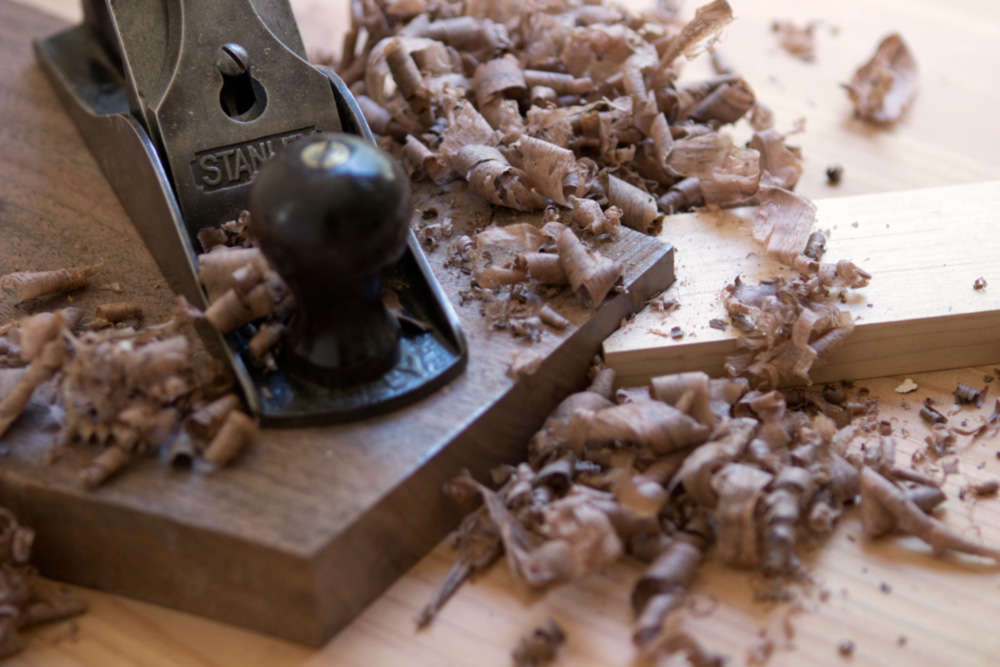
 If you're handplaning, etc, it's best to set the batten against the opposite back corner, so it can absorb the force from pushing back as well as holding it side to side.
Wiggle everything around to make sure it's secure, then double check the clamps. And, voila — your wood is now secure.
 You may have to reposition this a few times depending on how you're working, but this a great way to turn a lightweight garage work table into a place for woodworking. Or, if you can get away with it – your kitchen island or dining room table.
Now, get some woodworking done!