Fact: A $5 Can of Spray Paint is the Best DIY Value Out There. Here’s How to Get it Right.
A few weeks ago, I was looking through my spray paint arsenal, and I took stock of my collection. It occurred to me how much I really use those little rattle-cans in the shop. I picked up a few this weekend, and gave a few things around the house a quick upgrade. Take a look. Paint goes on clean and easy when you use a spray can, but here are a few tips to keep it simple:
First, always think safety – spray in a well vented area and wear a mask and eye protection to keep all those micro particles out of your lungs. This is non-negotiable.
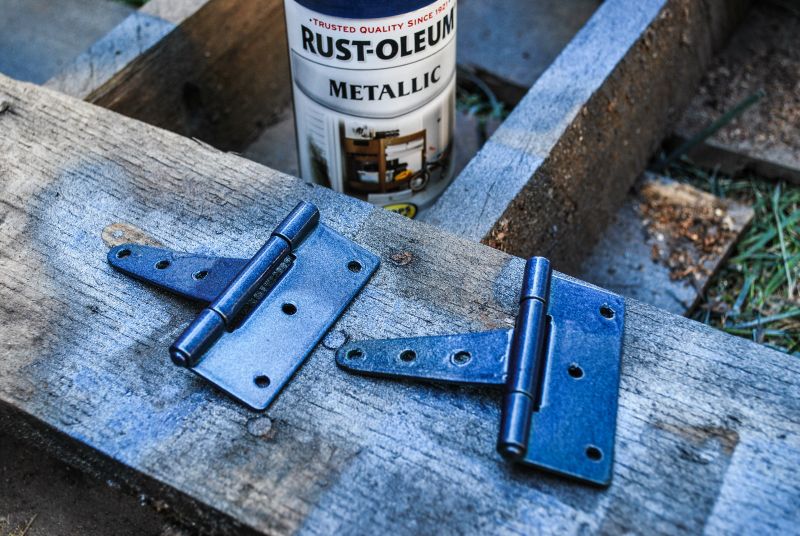
Secondly, Prep on the front end makes it a lot easier once you start laying on paint. Secure small pieces, and lay large pieces on a solid backing. I use a lot of scrap cardboard or a simple pallet to keep the over-spray from making a mess. Set yourself up somewhere where wind won't blow any debris on the wet paint.
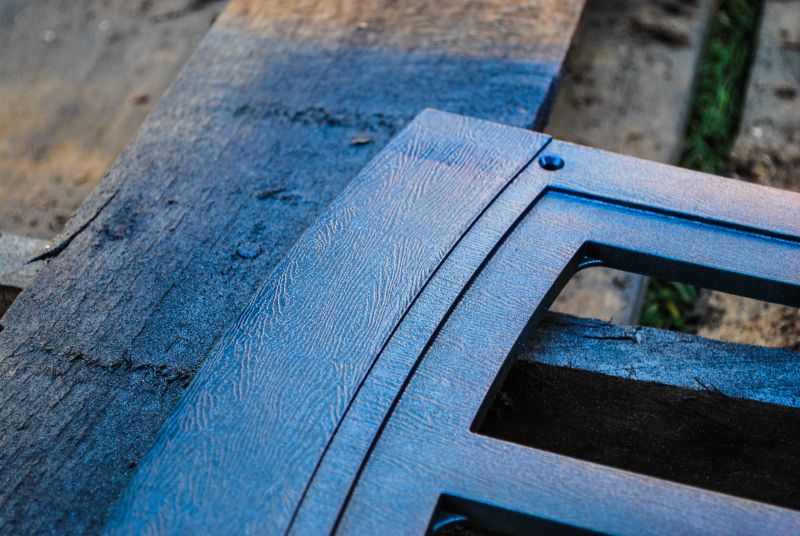
Third – for the best finish, prep the materials – Paint bonds best to a rough surface, so use a bit of sanding (perhaps 100 or 150 grit) on smooth areas. Also, tape off any areas you don't want paint on, because it gets everywhere.

Now, spray it on – The key with spraying paint on smoothly, is with a controlled, back and forth motion. Keep the tip about 6-8″ from the material, and opt for many thin coats with about 15 minutes of drying time between them. You won't want to do this once you see all the color start to show, but it's essential. Go from multiple angles to get even coverage on detailed pieces.
Let it dry – Once you have it fully covered how you like, it's important to let it really dry. The thing about spray paint is that the drying process is actually the chemicals off-gassing, then curing into a hard surface. It's really important to let the curing complete before you really handle it much. If you find a hair or bug on the surface, grab a set of tweezers to pull it off.
Take it from me – don't use those fingers.
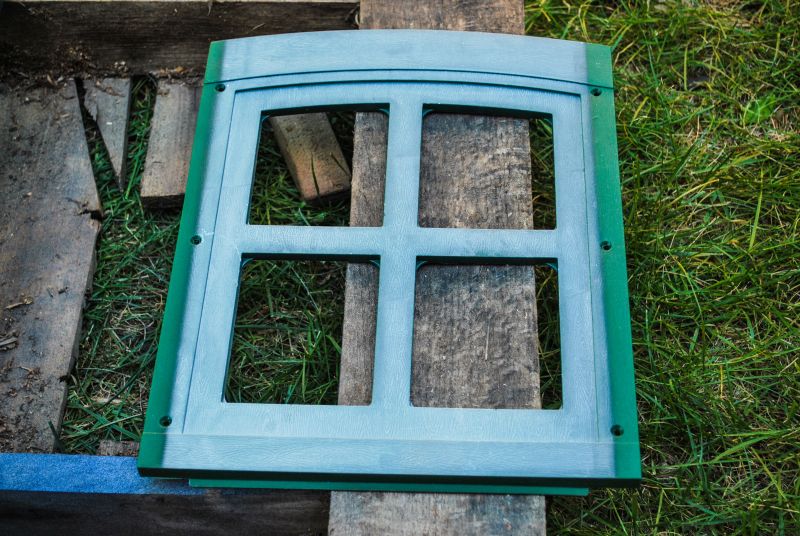
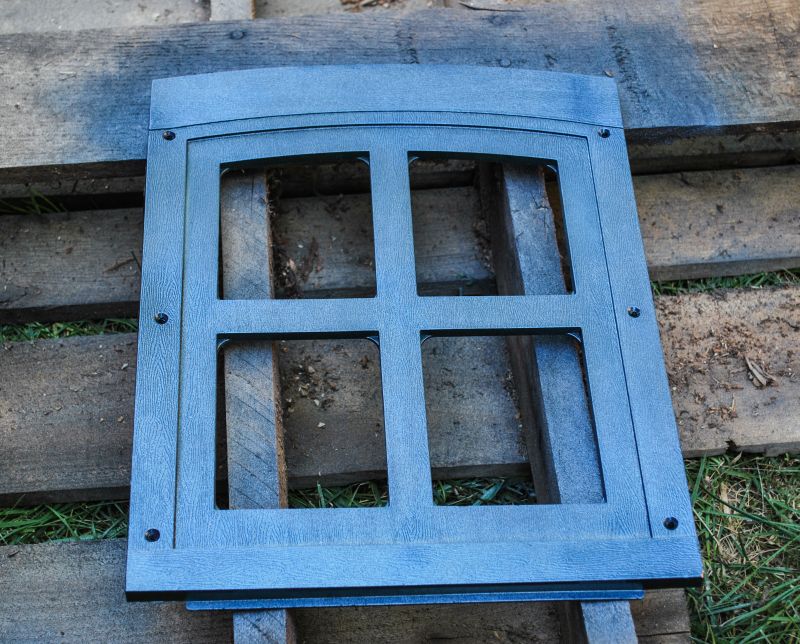
Take a look at how good this small playhouse window went from faded and boring to clean and protected in about 5 minutes:
So, grab a few cans for about $5 each and start upgrading everything you can find. I'm a fan of the hammered texture, sandy texture, and metallic colors from Rustoleum. They hide small blemishes in the material and add a nice bit of character to the pieces.