Make This: Custom DIY Waxed Fabric Tool Roll to Protect + Organize Any Tool Kit
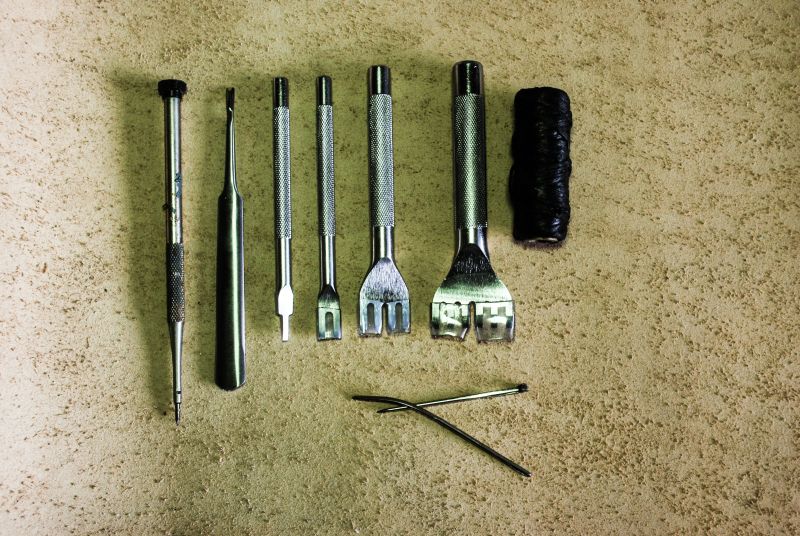
Note to the wise: a box usually isn't enough. Many tools in the shop need a bit more protection. When tools get neglected, edges get dull and things get lost. A tool roll is a simple way to keep those small collections of specialty tools in top shape and exactly where they should to be when you need them. Here's a simple way to make your own. For me, my leather tools have been clinking together in a couple of plastic bags for the past six months and after I found one of my specialty needles sitting on the floor I knew something had to happen. That's where my need for a custom tool roll came in. The benefit of a tool roll is that it can be easily made to fit every tool, and it naturally protects each within the roll.
For this project, I used fabric because it's easy to work with, and I haven't used a sewing machine in quite a while so I figured it was time to dust it off. Here's how I made it:
Tools and Materials:
1. Fabric (about 1/2 yard) – This is personal preference, but since I knew I was going to be waxing my tool roll I used a thinner material.
2. Strap Material – I used leather for the strap, but it could be made from fabric as well. Even string or a nylon strap can work.
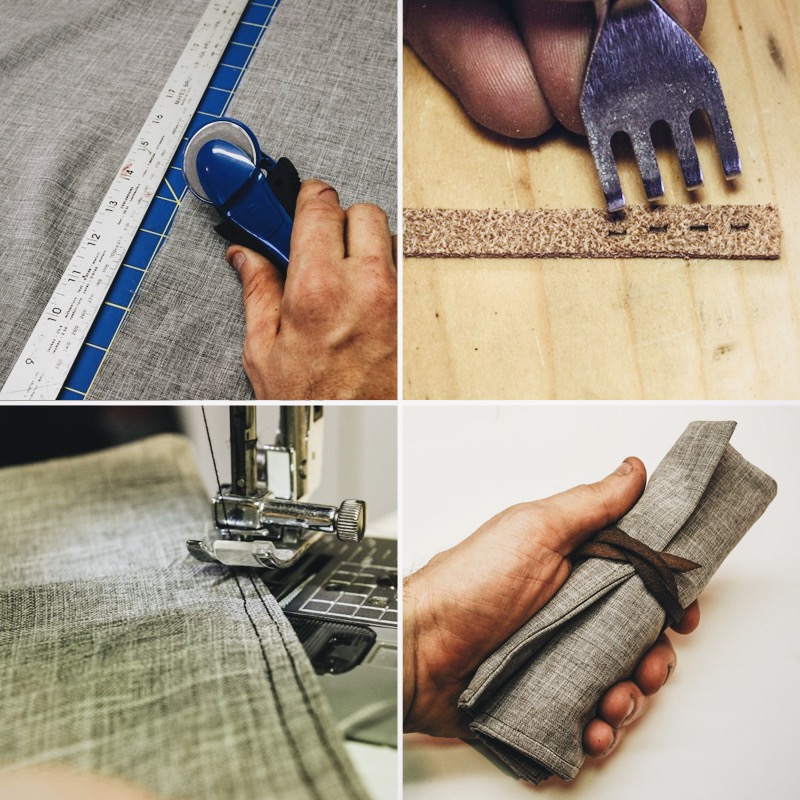
3. Sharp Knife – When cutting material, use a very sharp knife. I use a rotary blade for cloth and leather, it's like a pizza cutter so it doesn't bind up. It also helps to cut on a self healing or forgiving surface that doesn't dull the blade during cuts.
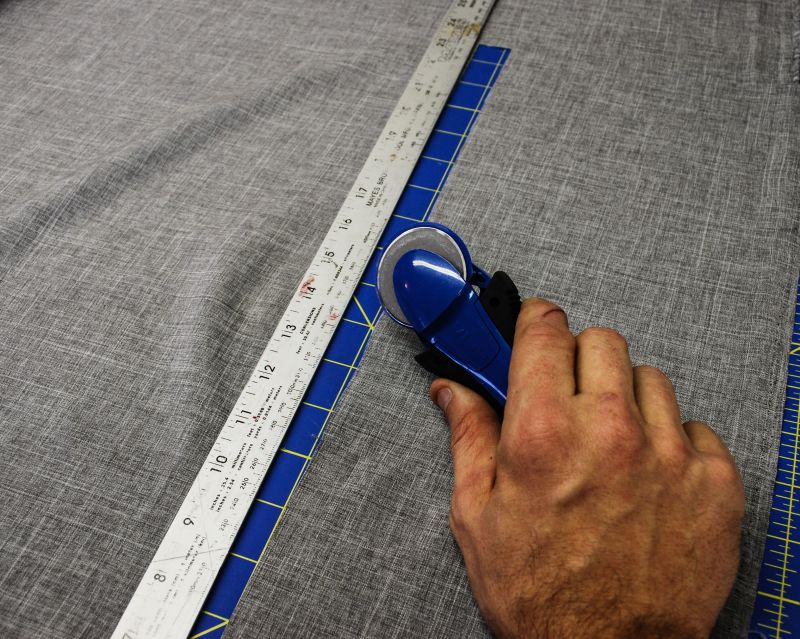
4. Straightedge – Use a straight ruler or yardstick to lay out and cut the materials square.
5. Wax – For a nice finish, I used wax to protect the materials and provide a bit more robust material. Here's a tutorial about how I waxed the materials.
6. Sewing Machine – You can sew this by hand, but using a machine is more accurate and just easier overall.
The Steps:
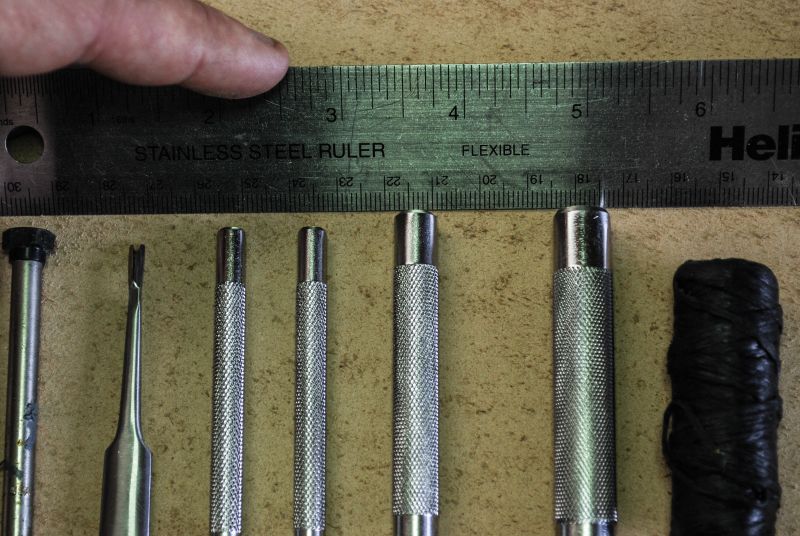
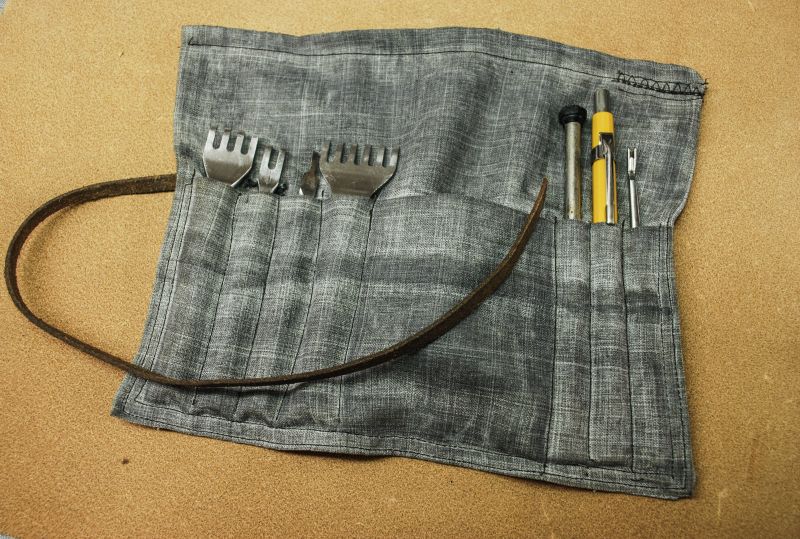
1. Lay out the tools – Take some time to lay out the tools in the right order. Keep in mind how close things can be, and if you want additional pockets. Go for tight groupings, but remember when it all rolls up you should have a bit of play.
2. Measure the fabric – After laying out the tools, measure the length and height and cut the fabric. Be sure to add a bit for a seam along the edges.
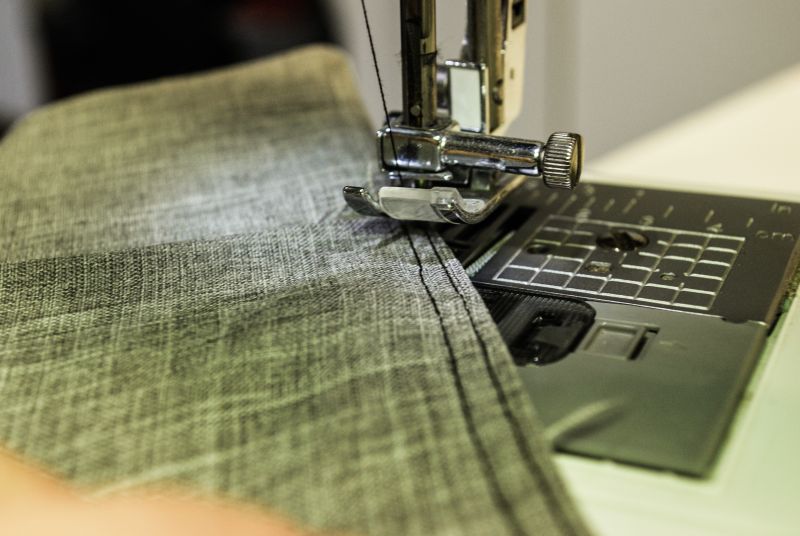
3. Sew the body – Sew a seam around all 4 sides to keep the material from fraying. Then iron it flat and prep for the main pocket.
4. Cut and sew on the pocket – I cut the main pocket about 1/4″ longer than it needed to be so the edges could be folded over then sewn on the main body.
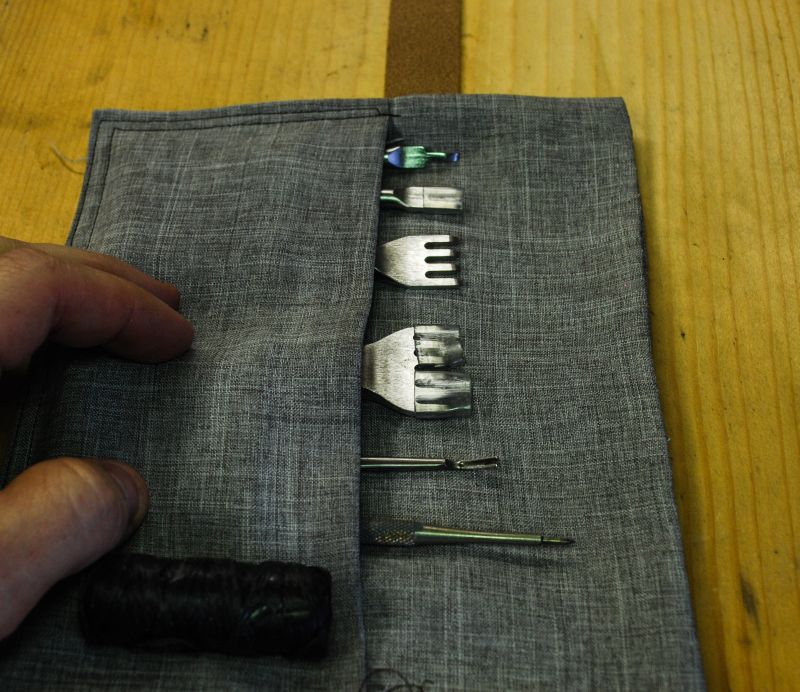
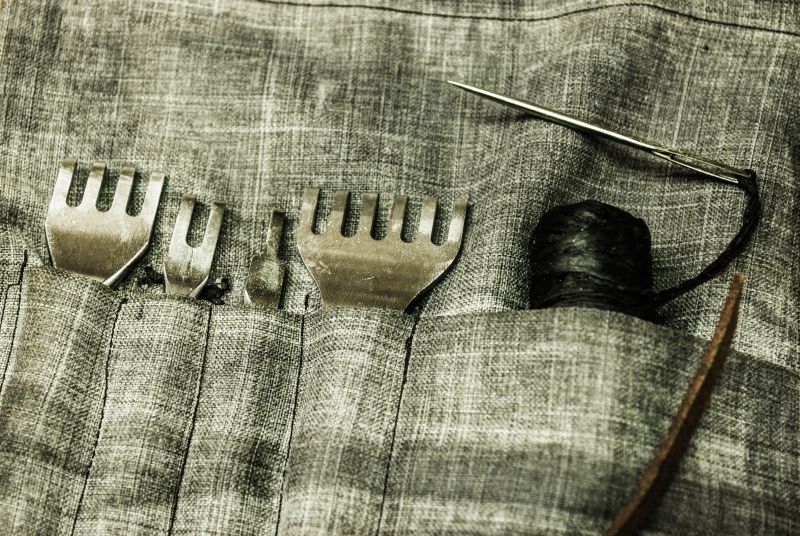
5. Layout and sew tool pockets – Once the main pocket is sewn on, lay out and mark with a pencil where to sew the tool specific slots. I installed them one at a time to keep them tight enough so the tools can easily be removed but still stay in with a bit of friction. I also kept a larger pocket for thread and needles to slip into. I kept it in the center so it would hold it in when rolled shut.
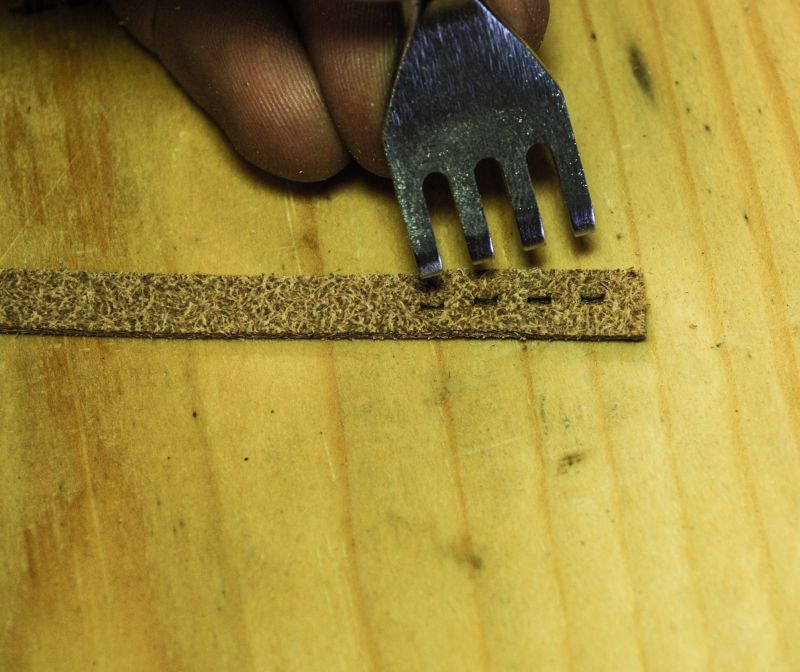
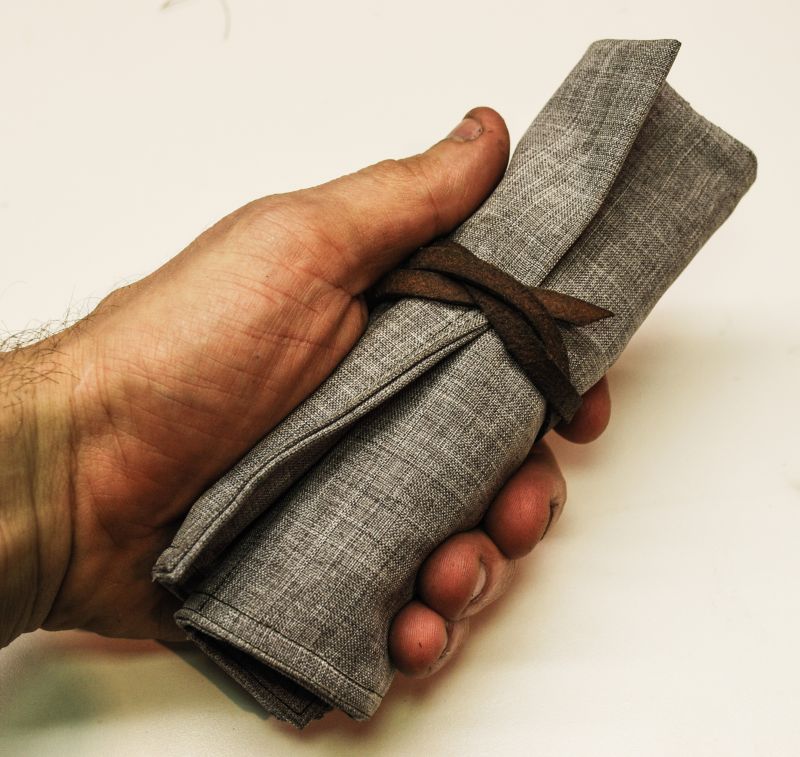
6. Cut and attach strap – The single strap is a strip of leather that I cut then treated with leather preservatives and wax. The roll stays together with a simple twist of the strap.
7. Wax and finish – To finish off the roll, I followed the tutorial we did over here for a waxed finish. It was easy to apply and adds some great durability to the roll.
Each tool roll is different, since the tools inside dictate the design. One option is to add a second pocket opposite the first, so tool can be inserted in from each direction and the holding space can be doubled. The limit is really your imagination, but one thing is certain – once you make the first, everything in the shop will need one.