How to: Drill Picture Perfect Countersinks
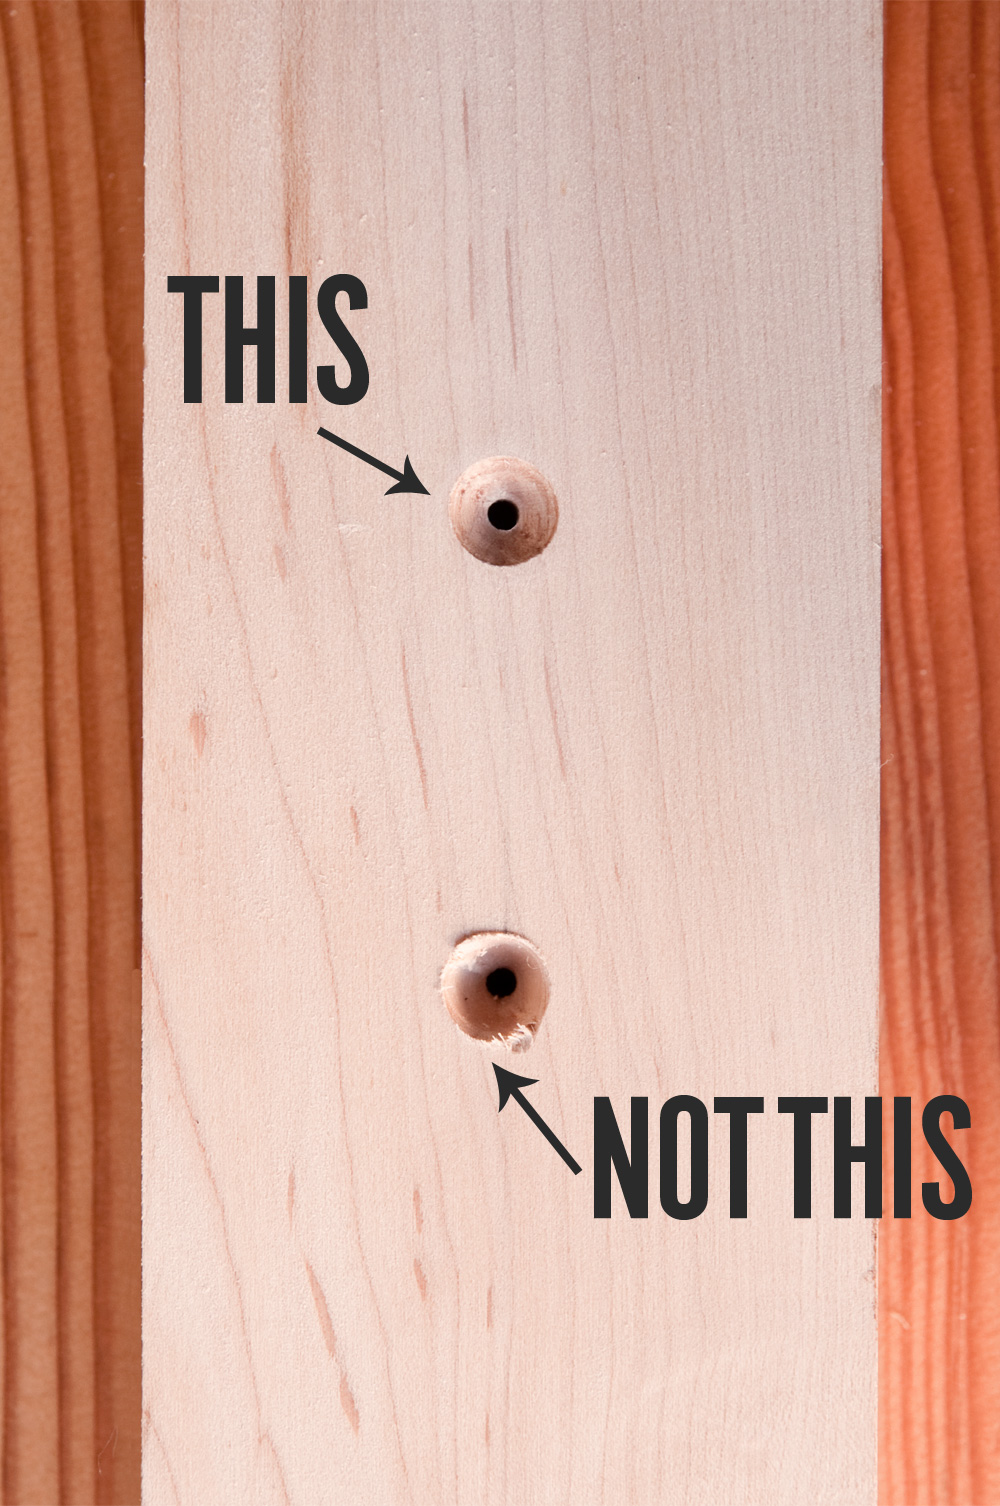
Countersinking hardware, such as screws or flathead bolts, is key to a sleek surface and a quality, finished look. But it doesn't always go smoothly, and the multiple bits can lead to tearout and misshapen holes.
Recently, I was making a jig from some hard maple that required precise countersunk holes for hardware alignment. I needed the hole to be placed exactly for registration, so I first drilled out the hole, and then the countersink. But every. single. hole. gave me fits. Once I finished one side of the jig, I was determined to come up with a better solution.
 Just to see what happened, I tried the countersink first. I was worried that the bit would wander and not allow the precise placement I was after, but I realized the sharp tip of the countersink bit made it perfectly easy to locate my mark and produce the clean look and round hole I needed to fit the bolts
So, here's my technique for how to make a perfect countersunk hole every time.
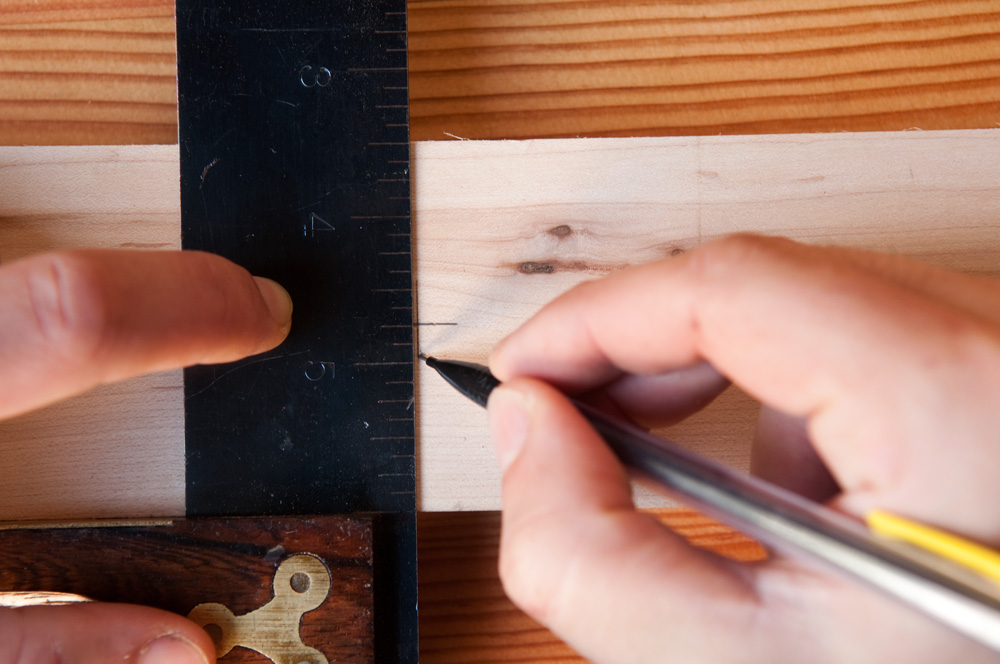 Lay out your mark where the shaft of the hardware will go.You can make a starter dimple with an awl, but I found it wasn't really necessary with a nice sharp tip.
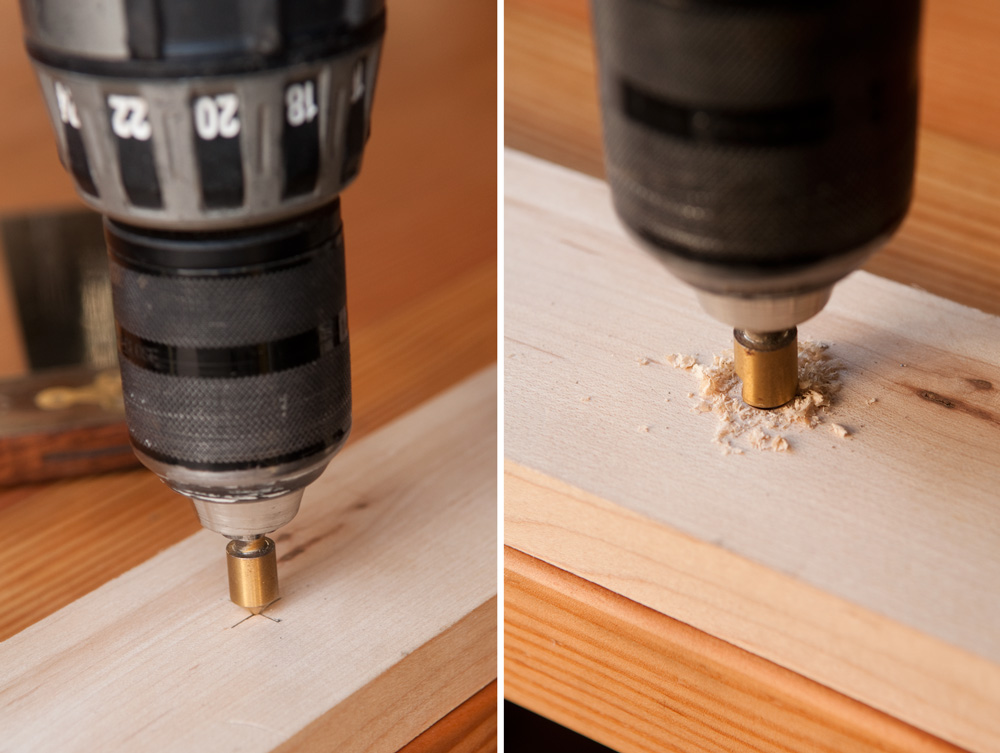
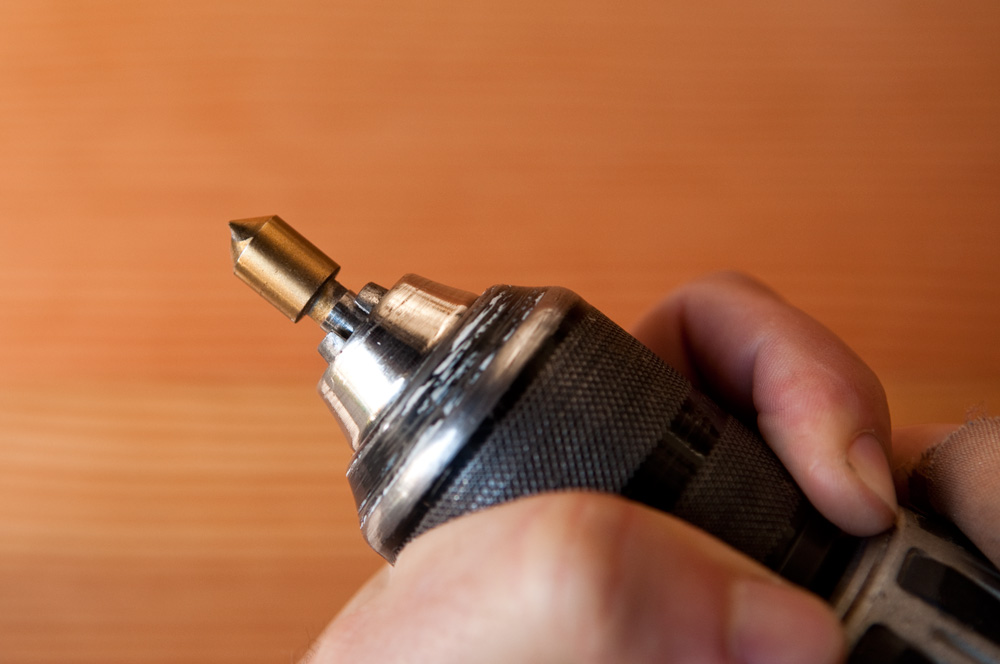
Place the appropriate countersink bit on your mark, and drill just beyond where the chamfer meets the flat surface.
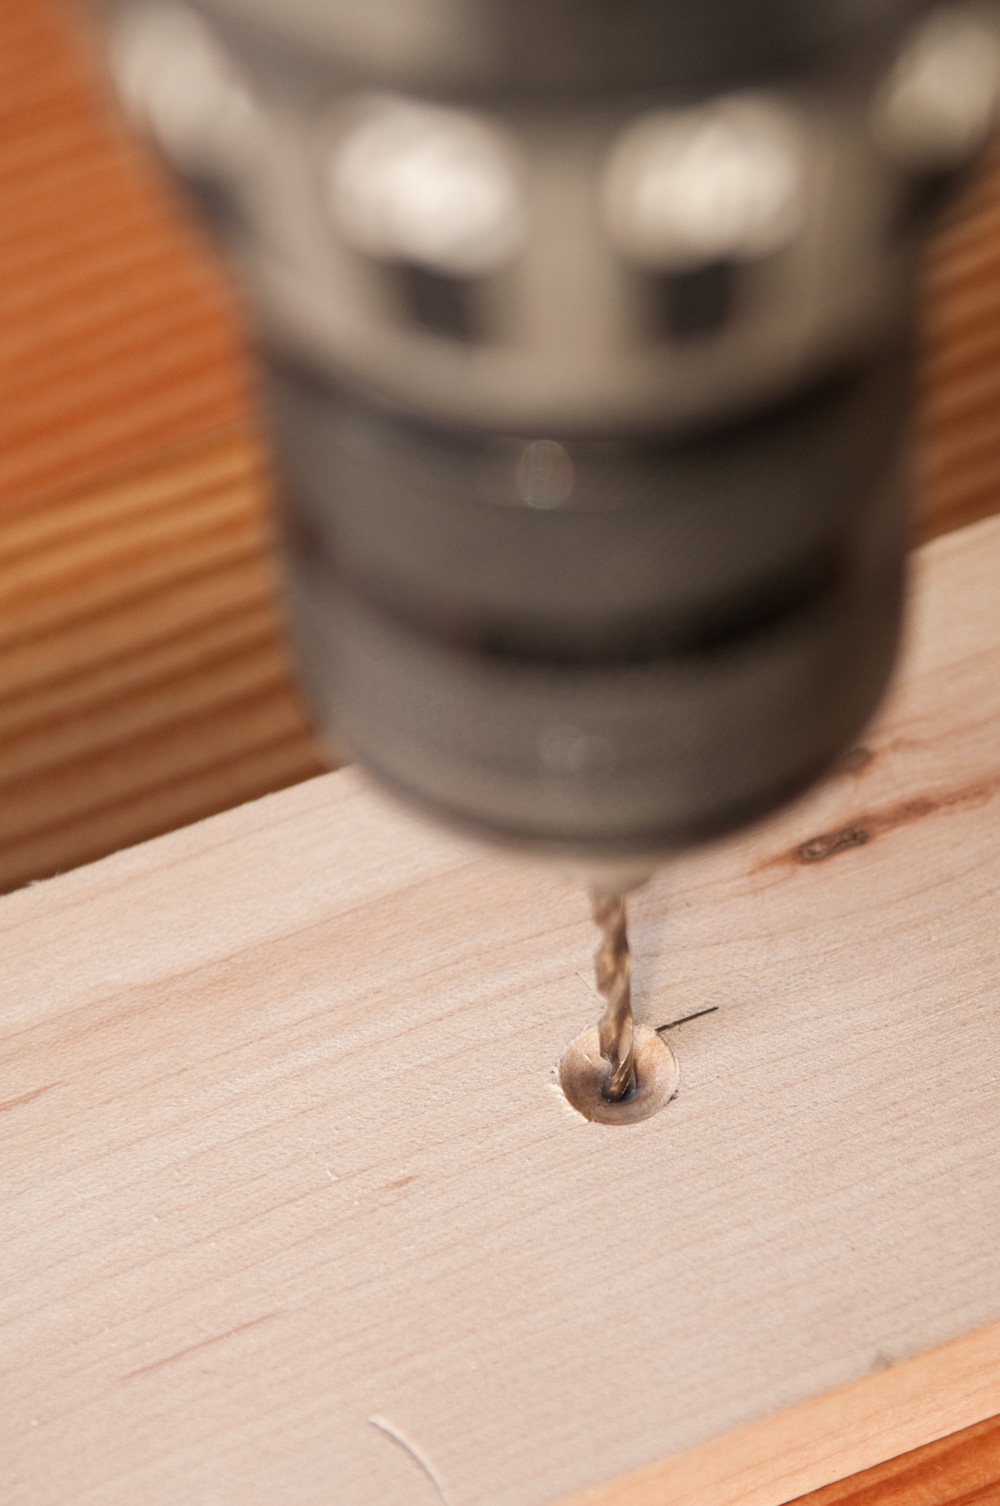
Then, you can finish up with a brad-point drill bit, placed exactly in the center of the conical hole left from the countersink.
Lastly, sand the surface smooth. If you need to remove your pencil layout marks, just follow this technique.
Of course, if you're creating pilot holes for countersunk screws, you can save a lot of time with these combination countersink drill bits, which drill both a pilot hole and countersink at once. But, if you need a full clearance hole for a bolt, or are using an unusual hardware size, choosing the exact countersink size produces the best results.
ManMade Recommended:


