How to: Build Shop Cabinet Doors on the Cheap
 There are plenty of shelves in my shop that need doors to keep out the dust, and to keep the look of the shop more streamlined. These cheap doors are made from 2.5″ pine boards and affordable 1/4″ plywood. They still look great and function well, and they have enough heft to feel strong in your hand.
Keep in mind, cheap wood can be hard to work with thanks to chipping, splitting, and warping, so choose nice straight boards that have been dried long enough to stay stable.
Here are the steps I took to make my affordable shop doors:
 1. Measure them out – the doors should overhang the openings by about 1/2″ on the outside edges and the top and bottom. This means you should measure the door openings, and add 1″ for the top measurement and 1/2″ for the hinge side of the doors.
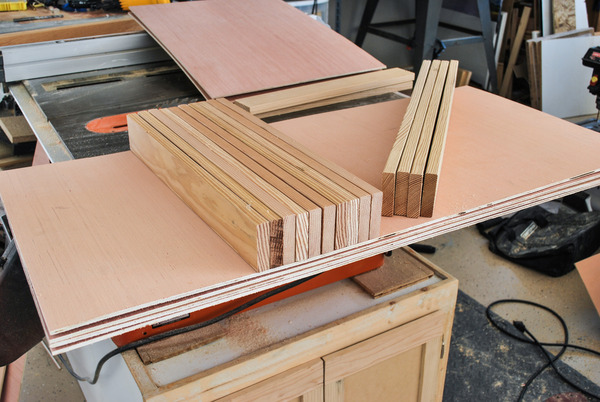
2. Cut the backing board – These doors have a thin 1/4″ backing board, with a frame over the top, and a thin strip on all sides to clean up the final appearance. To start, cut the backing board to size.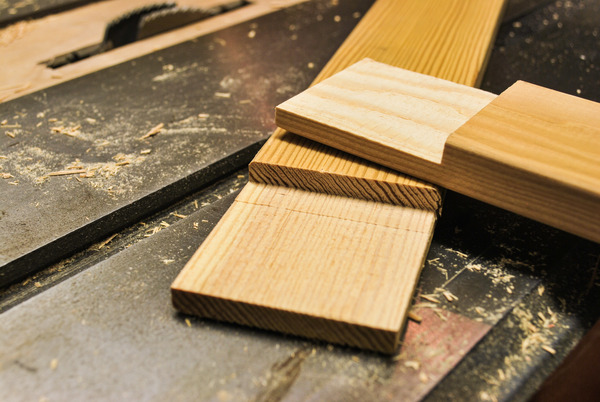
3. Cut the frame – The frame over the top is made from rails and stiles with half lap joints cut on the dado. This joint is strong and adds substantial gluing surface to make sure it stays strong and square.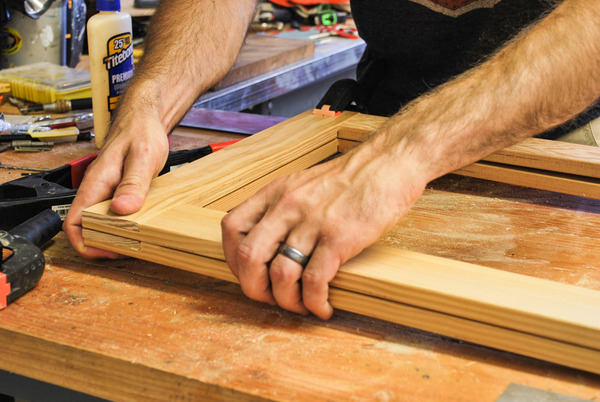
4. Glue and clamp the frames – The frame pieces should match up nicely and should stay squared while clamping. Add glue and clamp overnight.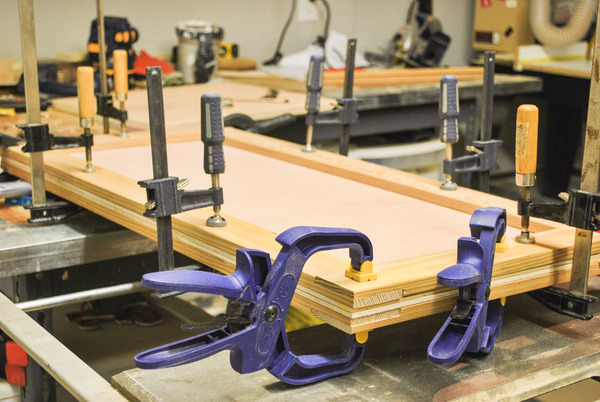
5. Glue the frames to the backing board – Apply a layer of glue around the edge of the frame on the inside and outside of the surface to be glued. Clamp evenly to make sure it is evenly applied. This took 3 clamps per side to make sure it was well glued.
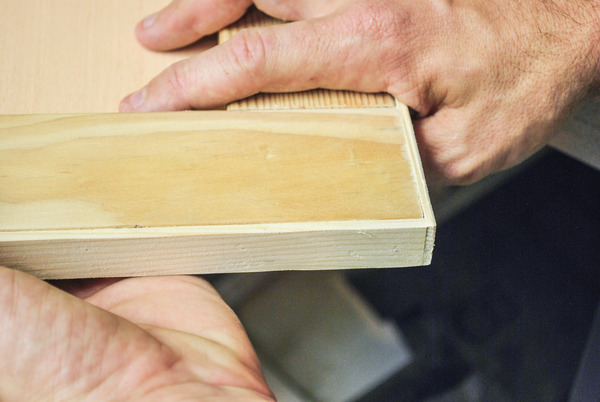
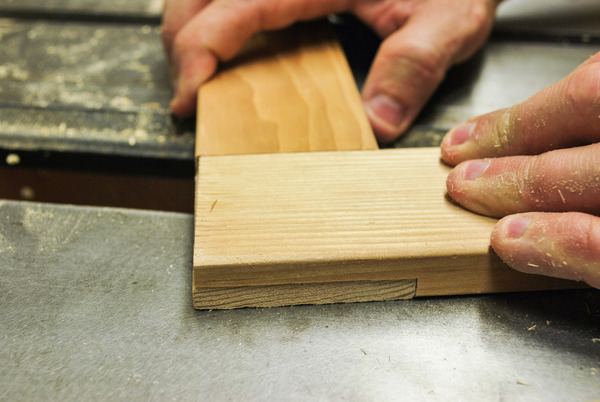
6. Clean it up – Take just a small portion of each side off with the table saw to make sure it is square and smooth for the final thin strips, then apply the thin cover strips – The last step is to apply the thin strips along the outer edge for a clean finished look. this step is not necessary if you are fine with the exposed joinery, but they do add a nice element to the finished doors.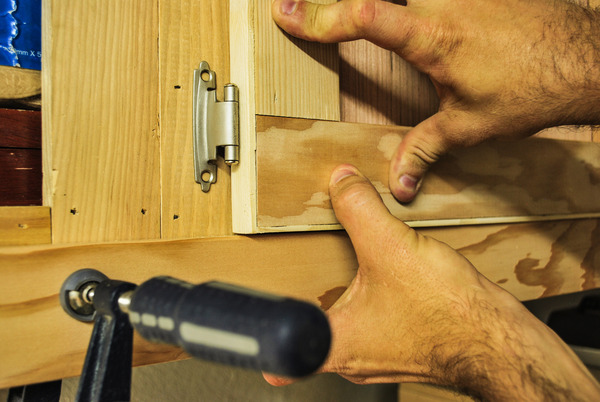
7. Install hinges and hang – Once the doors are complete, finish as you like and install hinges. I like these hinges from Amazon, but there are plenty of choices. 
Since I will be making more of these for the bottom cabinets, I will keep them natural finish for now, but some finish should be applied to keep them from absorbing too much moisture during seasonal changes which will keep the movement of the doors to a minimum. If you plan on installing knobs or pulls, we have a comprehensive guide on how to install cabinet handles.
Now that the doors are getting installed, the next step will be to move onto the rolling tool island that will hold my planer, bandsaw, jigsaw, grinder, and maybe something else. It’s a big build that will take a bit of time to get right, and I may have a vacation week stuck in there somewhere, but stay tuned for that update within the next 3 weeks or so!


