How to Build Affordable Shop Cabinets
 It’s time to actually build something for the shop upgrade. First up, we take a look at how to build wall cabinets from scratch (sheet goods at least).
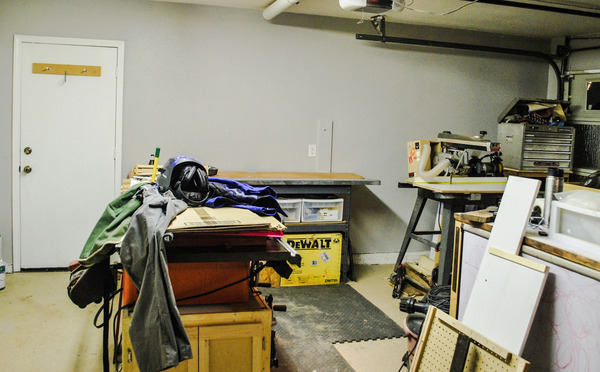
The first phase of the shop upgrade meant clearing off the countertops, removing all shelves, piping, and a thick layer of dust, and then painting the entire wall. Here’s a look at what I ended up with when I cleared it all off (before I stripped all the shelves and other pieces).
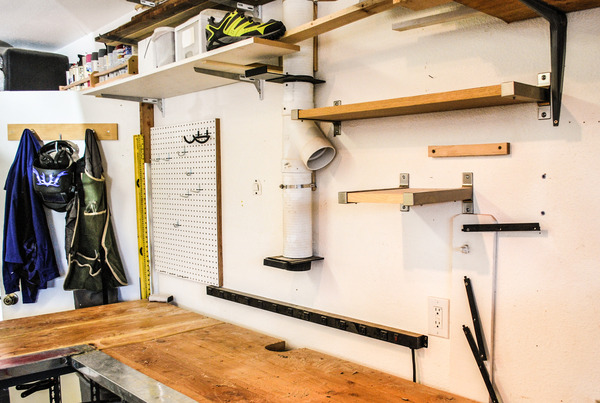
I realized about halfway through the project that I have kept too many small items – pieces of wood, random screws or fittings, and cheap tools I never use. This was the perfect time to purge a huge amount of junk.
 The clean slate of a freshly painted wall was the perfect background to build my three-wall cabinets.
 I built my cabinets in three distinct pieces: The carcass, the face frame, and the doors.
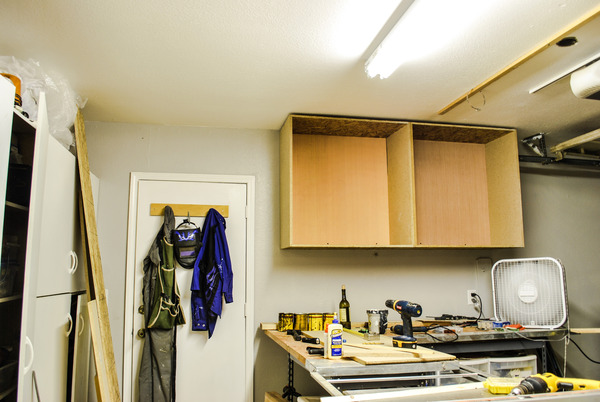
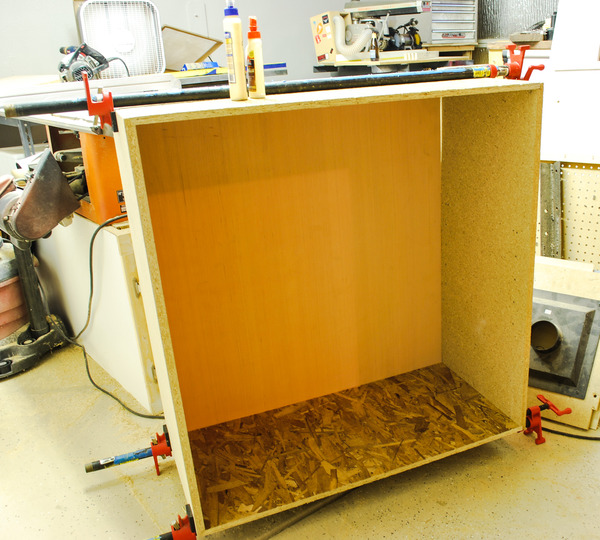
The Carcass:
The carcass of a cabinet is the rough box that is covered by the face frame. I made two identical boxes, with the third shorter but the same width. This meant that the tops and bottoms for all 3 cases were the same dimensions, and the sides and backs were identical for two out of the three which cut down on measurement time. To construct the boxes for the cabinets, I used ½” OSB for the top and bottom, ¾” Particle Board for the sides, and ¼” ply on the back. I would have gone with Plywood for strength, but the cost was a big factor and the materials should be fine with a face frame and back support pieces.
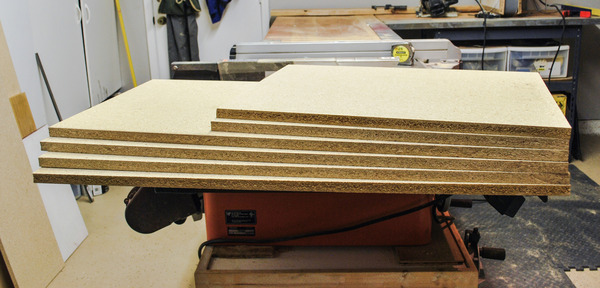
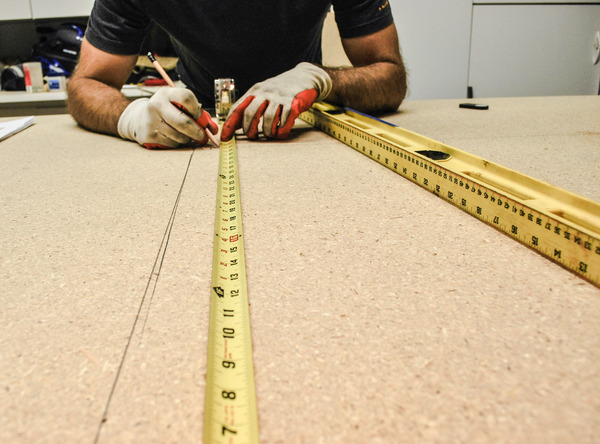
- Break Sheet Materials into Manageable Pieces – The first step in working with sheet goods is to break the pieces down into pieces that can be handled in the shop. I elevated each sheet off my workbench with boards and adjusted my saw depth to keep from digging into the work surface. Cut the pieces to rough dimensions and finalize the pieces on the table saw so they are all squared up and evenly matched.
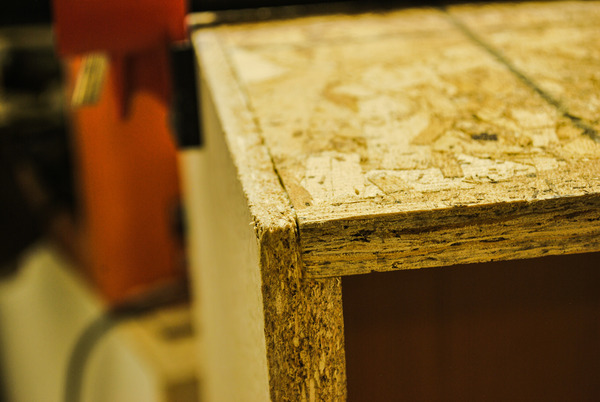
- Cut the Grooves and Joints – The cabinet frame will be much stronger with notches in the joints instead of face gluing. I used a Dado blade to cut ½” rabbets in all 4 corners (top and bottom of each side) about ¼” deep to match the panels.
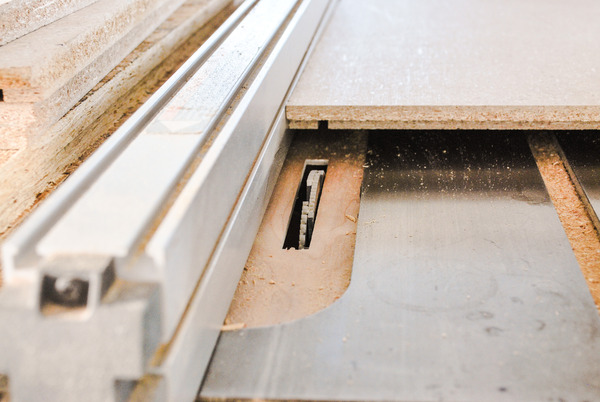 I also cut a 1/4” groove ¾” from the back edge on all pieces to account for the plywood back panel and to give room for the mounting boards to integrate on the top and bottom.
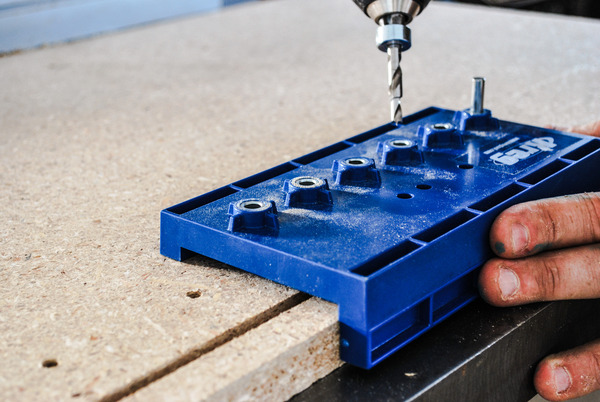
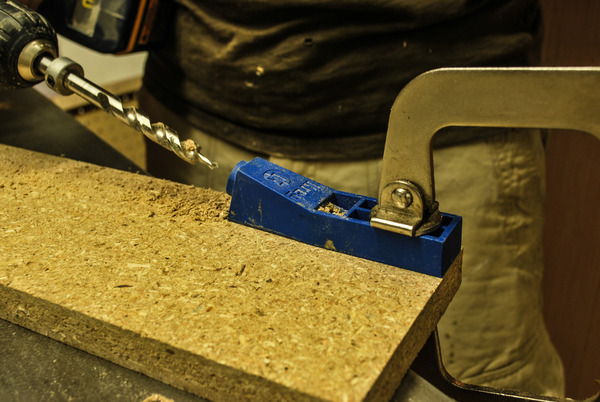
- Add the Shelf Pin Holes – I used my Kreg Cabinet Pin Jig to drill all the holes for the shelves. The best way to do this so they line up is the use an index board so you can position the jig at the same spot relative to the edge on each piece. Be sure to make the top and bottom of each side so the holes are level across the case.
- Glue Up all Pieces – Gluing all pieces up takes a few hands or at least plenty of preparation. I used two large pipe clamps on the bottom and two on the top to make sure the joint was strong.
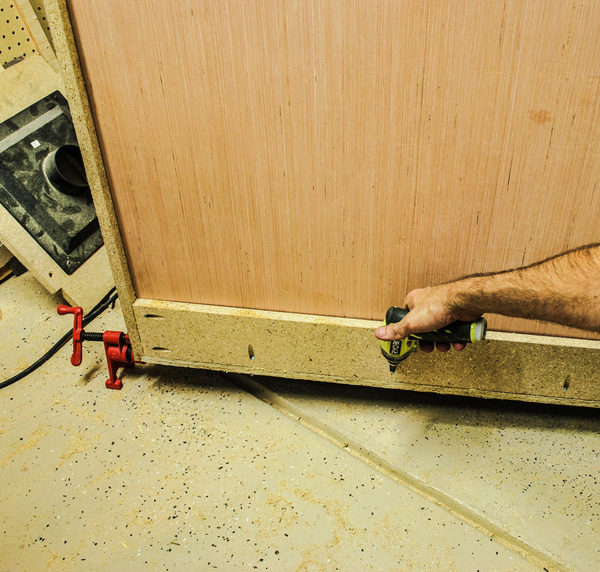
- Add the Mounting Boards – The mounting board gives the cabinet a strong frame to mount it on the wall. It’s important that the board is well secured to the cabinet frame, so I used pocket holes and glue to install it in place. The groove I cut in the back of the frames for the back panel was exactly ¾” from the back edge, creating a small relief where the ¾” mounting boards fit perfectly.
 You can drill mounting screws directly through the back panel into the wall studs, but I prefer to use the French cleat method. This is a great technique for a few reasons: first, it’s much easier to line up the French cleat level and at the right height than it is to get the cabinet in place and drill through the panel into the stud. Second, there is some side-to-side play with a French cleat so you can snug up the cabinets to each other. Lastly, it’s a strong joint that holds well but can be easily removed in the future if things change.
To build the French Cleat: The French cleat is simply two boards with corresponding angles on one edge. I cut mine at 45 degrees each. One piece was cut to width to fit snugly in the cabinet behind the back panel along the top edge. This piece has the angle facing the cabinet. The mating piece was cut about 25% smaller to give some room for adjustment. 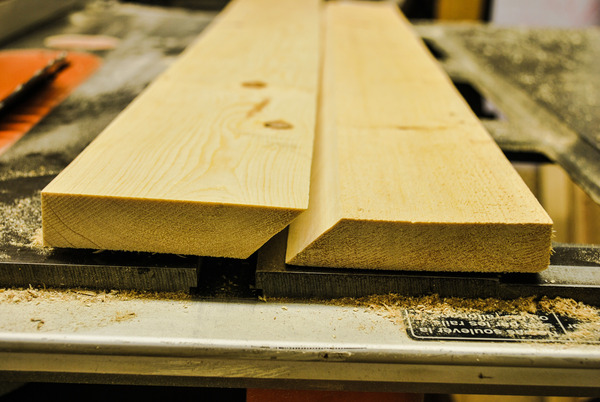 This piece was mounted with the angle facing the wall leveled with 4 long screws through the studs for support. Once it is installed, it’s a simple matter to put the cabinet on the wall and lower it onto the cleat for a sturdy mount. I add two screws through the bottom mounting board along the bottom edge to keep it secured to the wall.
I did this for all three cabinets, mounting them securely to each other and connecting together with a few small counter-sunk screws to hold it all securely on the wall and to each other. Next, I added the face frame.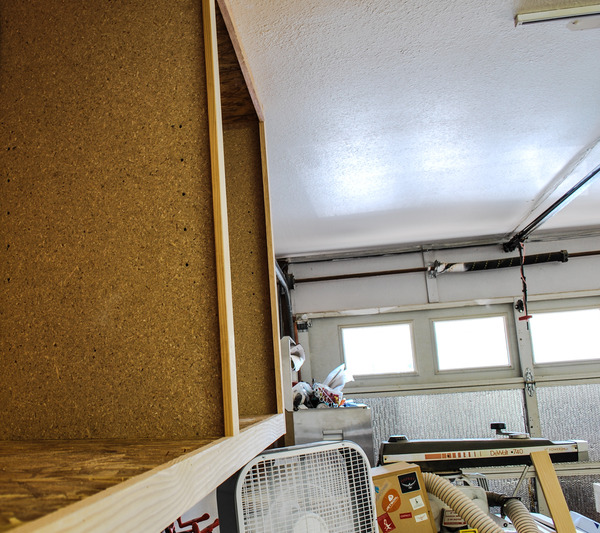
The Face Frame –
The face frame is a simple wood frame along the outside front of the carcass to hide the plywood edges and to give hinges something to securely mount to. It is generally thin wood held together with pocket holes or simply glued and nailed to the front of the cabinets. The side pieces are cut to height, and the horizontal pieces are cut to fit for a seamless look. Be sure to account for door overhand and hinge mounting when deciding how wide to make the frame. I used 2.5” pine boards for my frame.
The Doors – I will be building the doors next week for the cabinets, here’s the plan: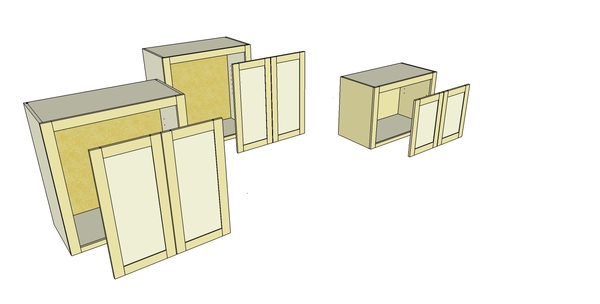
In the interest of cost, I’m building my shop doors out of ¼” plywood, with a decorative pine frame over them for strength and rigidity. These doors won’t win style points but will keep out the dust and clean up the overall look of the shop. If you plan on adding pull hardware, check out our guide on how to install cabinet handles.
- Measure the Openings – The doors should overlay the openings on all sides by about ½” to ¾” if using overlay doors. Measure the opening and add the overlap on all sides to account for a final dimension for the doors (except where there will be double doors, then only add the overlap to the outside dimension).
- Cut the Panels – With the door dimensions calculated, cut the panels to the final dimensions. I’ll add ¼” strips along the sides of the doors to clean up the look, so I deducted this measurement on each side from the panel dimensions.
- Cut the Rails and Stiles – While not traditionally a rail and stile, I’ll cut ½” pine boards to make a frame on top of the panels to add a bit of depth and make the doors a bit stiffer. I used an overlap joint to make them stronger.
- Glue, Pin, Mount – Glue and pin the doors and let dry overnight, then mount them with face frame hinges.
Stay tuned for more updates every other week as the garage upgrades keep going. Next, we’ll talk about door installation, and Phase 2 – the rolling tool island.


