How I Crafted a Custom Civil War Sword Display Stand for a 150-Year-Old Family Heirloom

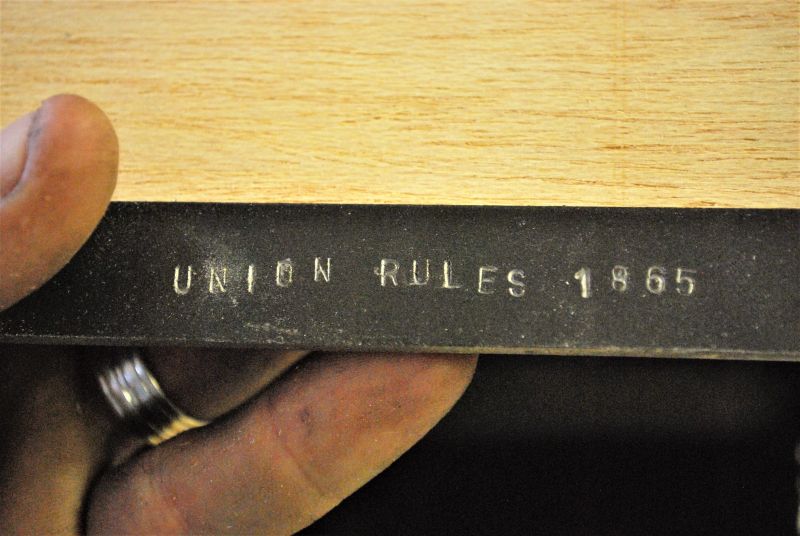
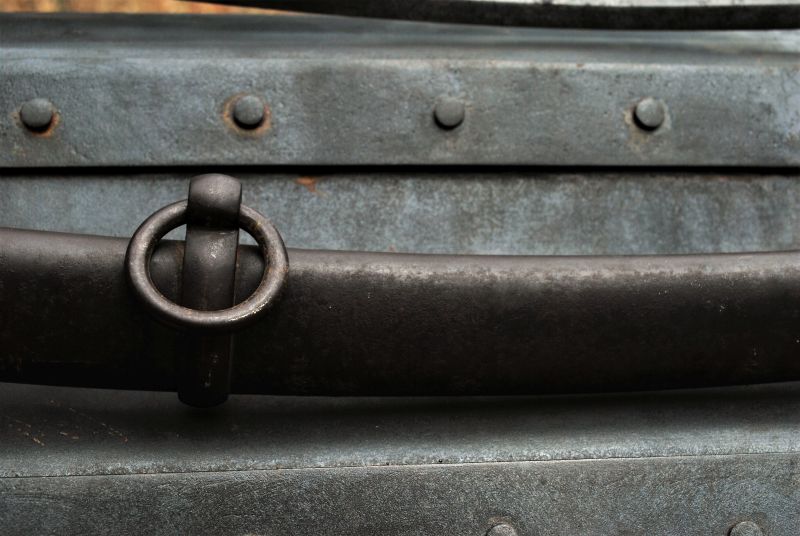
A few weeks ago I got a text from a buddy. He had just moved and was setting up the new house. He told me “I think this time around I want to make sure my sword has a place.” By his sword, he meant his 1865 Union Artillery Saber that had been with him since the 1st grade. (Talk about high expectations when the parents give you a sword at age nine). But the issue was that he didn't have a good way to display it, and the cheaply made, $30 online holders just didn't seem fitting. That's why he called me up, and asked if I could help. I gladly accepted the challenge, and came up with this beast. Here's how I did it. First, let's think about where this saber had been. Stationed somewhere near black powder, iron, and a lot of noise. I wanted a design that would fit that feeling, and maybe look like it could have been there. A quick search gave me this incredible glimpse of history:
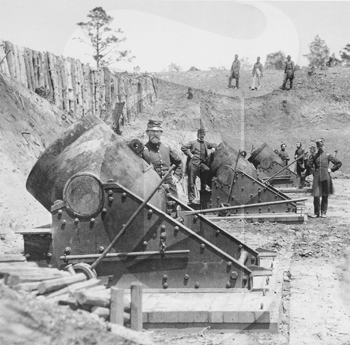
Metal. Metal with rivets, stains and patina, all wrapped up in a solid battlefield style. I wanted this to look like it could have been out there on the battlefield somewhere too. So, I drew up a full-sized plan on butcher paper and started to hash out the details.
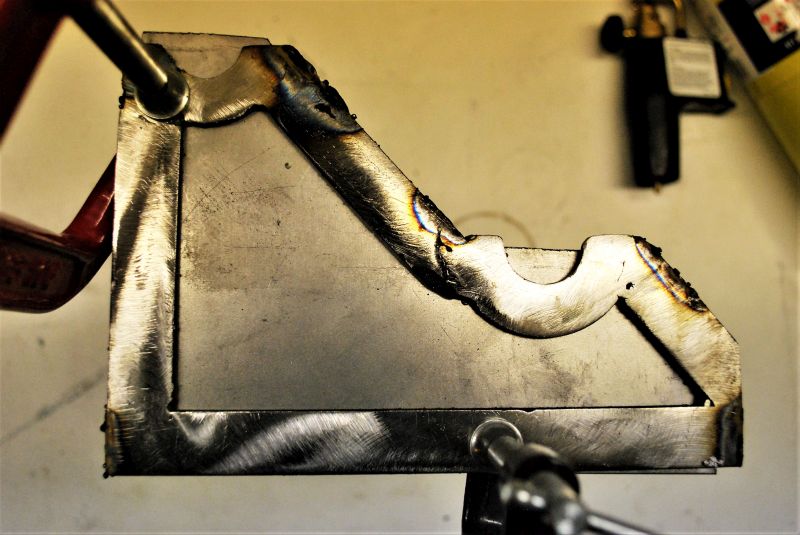
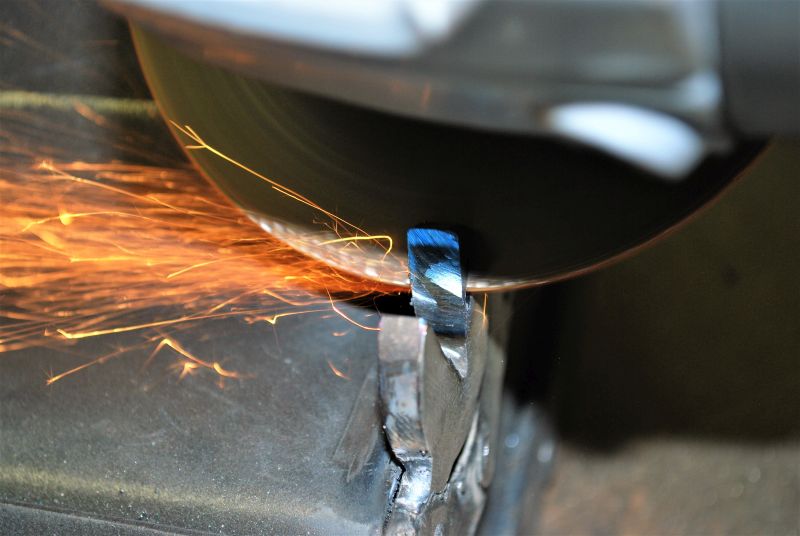
Once the idea was formed, I started with the sides. I began cutting out sheet metal and shaping small pieces of flat bar to fit. The sloppy welds had to be ground down and polished (I know, I'm not a welder yet, still just a grinder), but the shape took form fast. To get the patina I wanted, I heated all the metal pieces up past blue and let cool for a weathered look. It gave a good uniform color, but It didn't turn out as dark as I wanted. So I gave it a further finish and patina at the end.
The frame and sides were easy to shape with a grinder and various wheels, along with a few files for the finer details.
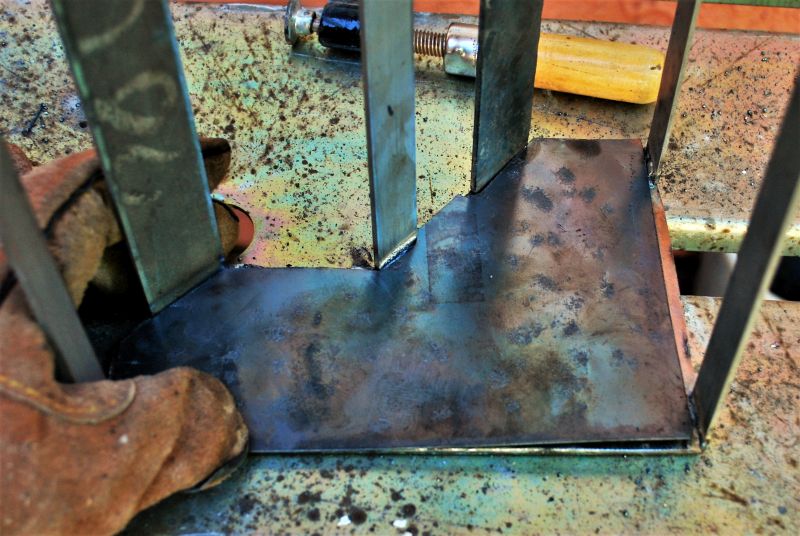
Adding the bulk of the sheet metal for the center needed some work with my new metal break, which made clean creases at all the right folds.
All of the interior sheet metal was inserted in and secured with tack welds. I hammered the metal to give it a bit of an uneven weathered look.
After everything was secured, the drilling began. Holes were drilled through the supports and the sheet metal.
The rivets were 16 penny nails trimmed down and shaped, then inserted in and pounded flush. This resulted in a very secure hold, but also broke a few of my welds in the process. A few sparks and some grinding made them whole again.
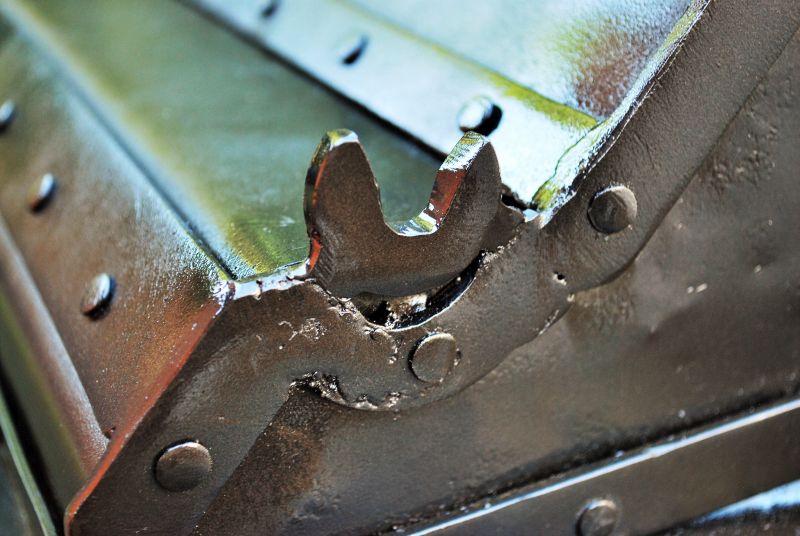
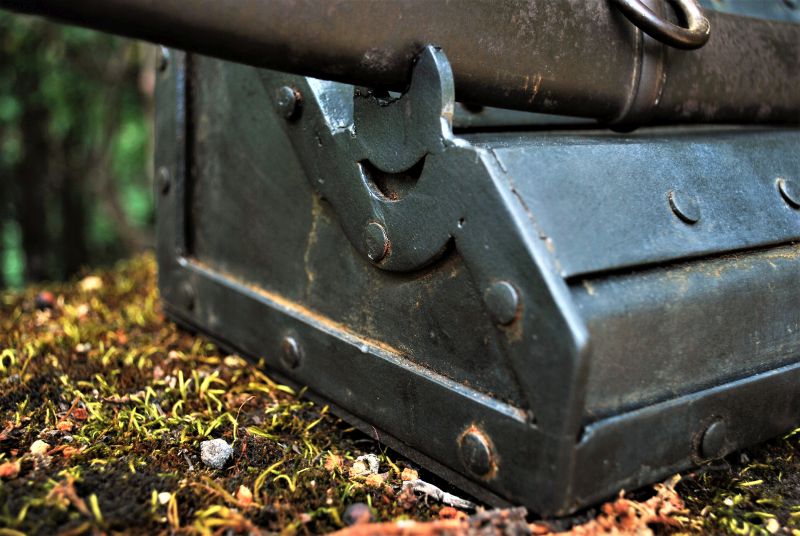
Once the rivets were in place, the sword and scabbard holders were welded on…
…then cut to hold the pieces securely in place. This took some trial and error, but in the end the parts nestled in tightly and held firm.
At this point, I added a layer of hammered paint to make everything consistent, then roughed up with some steel wool.
To protect the metal of the sword and scabbard, I added a spray-on layer of rubber coating where the parts rest. This also helped provide a bit of extra grip.
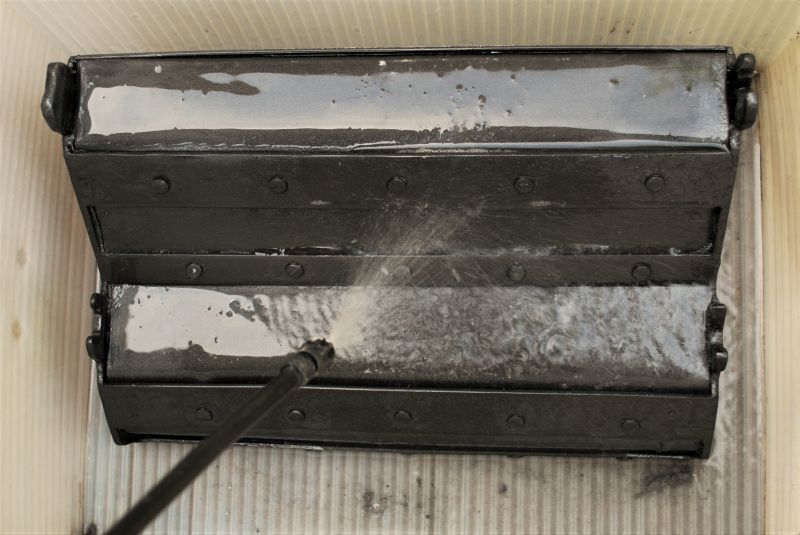
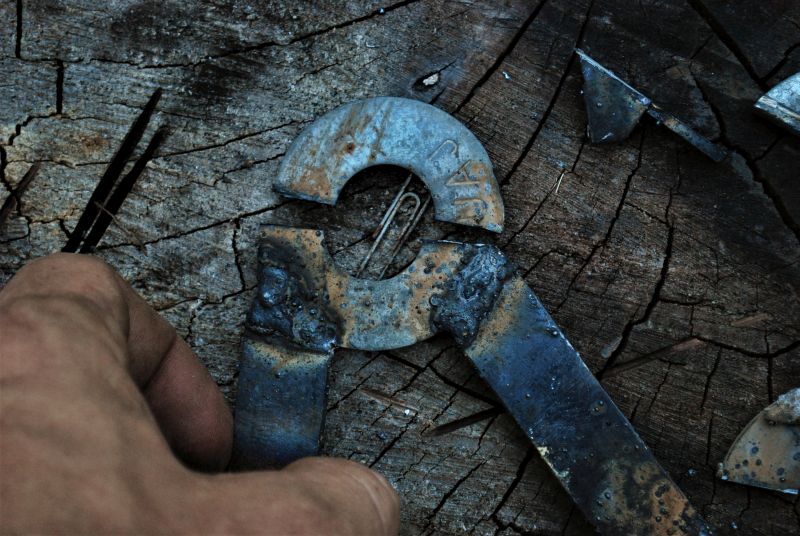
The final finish was completed using a spray of vinegar and salt mix, which sat for 3 hours until it was rinsed with hydrogen peroxide. This accelerated the oxidation of the metal for a really aged look that made it really pop.
The liquid rust focused in the crevices and under the rivets, for an exceptional texture that blended with the 150 year old patina on the scabbard.

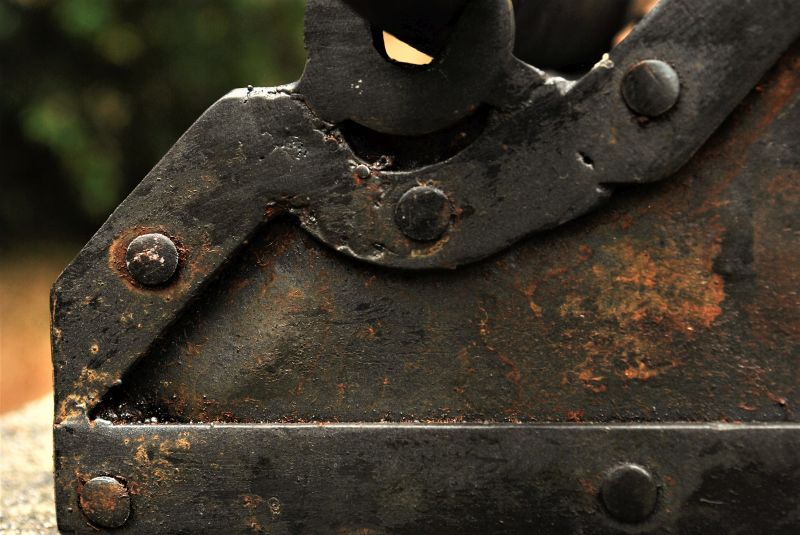
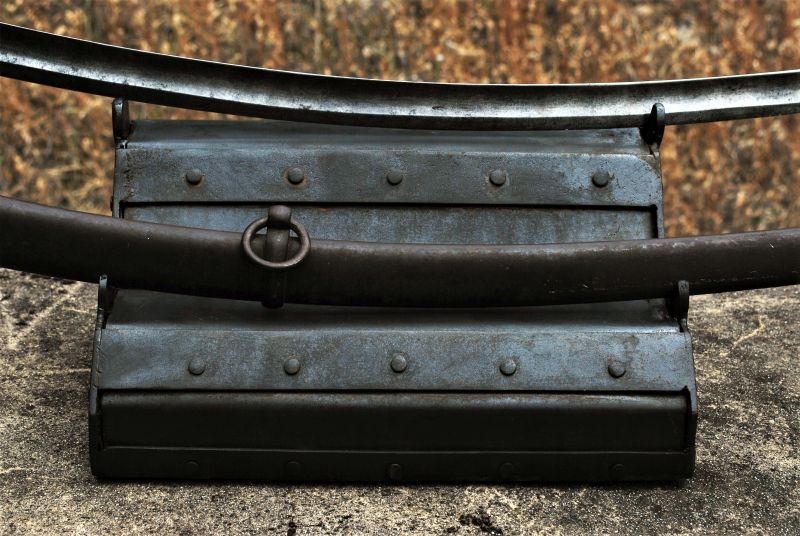
I finished it off with an oak base stained dark, which helped to level it off and give it some heft.
Overall, this is exactly the type of holder a piece of history like this deserves. It's solid, well-worn, and just seems to fit. Now this sword is going to finally have a place in the study.


![How To Find a Good Mechanic [6 Signs To Look Out For]](https://www.manmadediy.com/wp-content/uploads/2026/05/pexels-cottonbro-4489721-25704-scaled-1-23155.jpg?width=300&height=160)

