The Process: My First DIY Screen Print (and What You Should Do So You Don’t Make the Same Mistakes)
A few weeks ago, I decided to try my hand at screen printing. It seemed like a simple, straightforward process: Get the supplies and make it happen. Well, I made it “happen” and ended up learning a bit along the way. Here's my process and the things to watch out for when starting out.
There are a number of simple kits out there with all the supplies you need to get started. While they all seem to be complete, you can get better materials by gathering it all yourself. Here's my list of everything you'll need for $50 – $100.
Make the Screens:
The first step is making your screens. While I used scrap wood in my shop, I wish I would have sprung for cheap but uniform pieces of wood. Go for a consistent size, so you can use a consistent emulsion tray and squeegee for each frame. It's also easier to get the hinges set up for multiple layers this way.
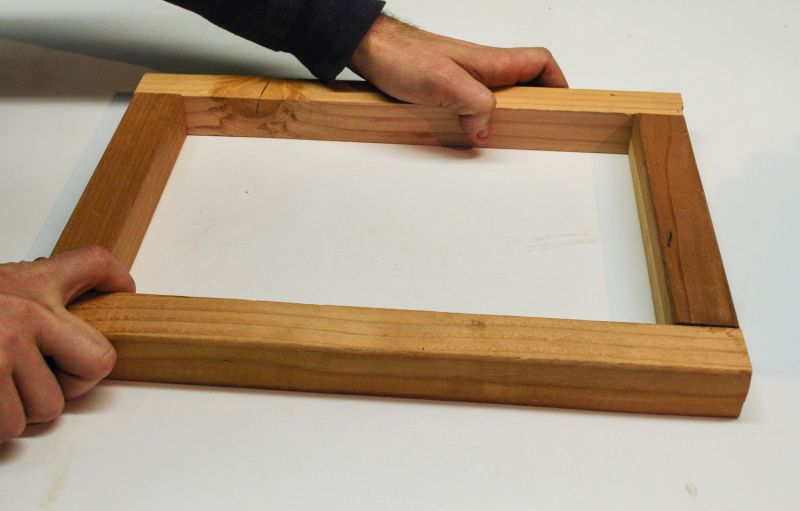
First, I made the frames. These were simple 2×2 lumber screwed and glued while making sure they remained square. It's important to make sure the frame is flat and level on the bottom to make sure the screen has even contact when printing.
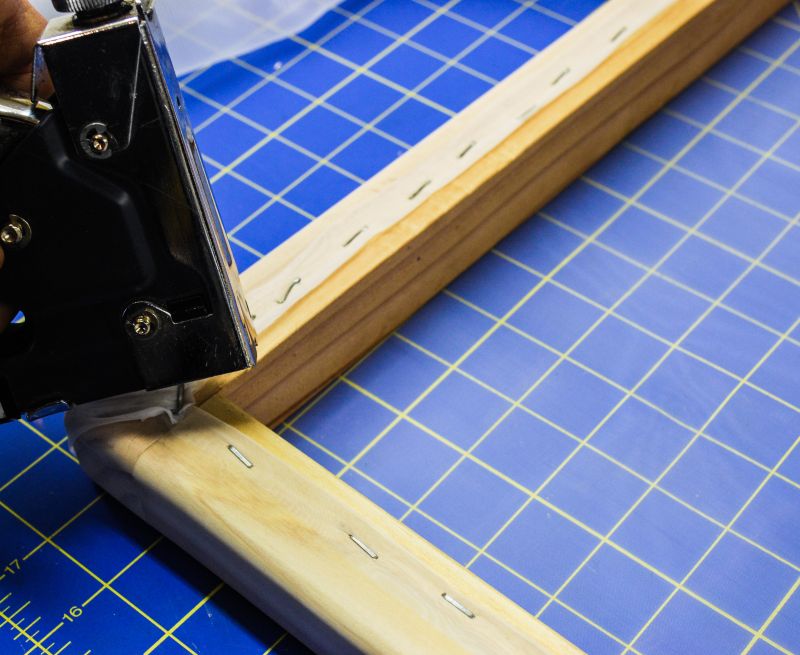
Next, I stapled the fabric tight, pulling it evenly to make sure it was smooth without wrinkles. For some extra durability, I doubled the edges over when stapling.
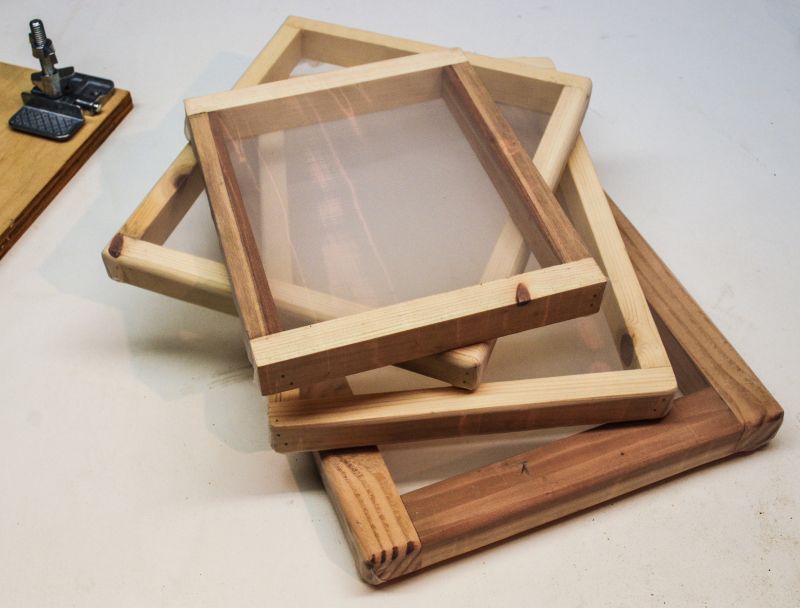
That's it. The frames were fast and easy to make, but if you're not up for it, but the pre-made versions listed in the supplies list.
Develop the Design:
The next step in the process is coating the screens with emulsion. Since light needs to be avoided during this step we skipped the photos. It's use a yellow dark-room light to avoid exposing the emulsion.
1. Coat the screen – Mix the emulsion and diazo. After mixing the two, wait about 2 hours for it to be ready. Once it's ready, coat the screen. The key is to coat both sides of the screen evenly with a thin coat of emulsion. It's best to use an emulsion scoop, but you can brush it on and then evenly draw it flat with a wide putty knife.
2. Let cure – Prop the frames up with tacks or push-pins in the corners to keep the surface from sticking. It's best to let the screens cure in zero light for about 24 hours. Make sure the screens stay flat-side down so any drips will be on the print side, not the ink side. If you want to store the dried screens for up to a few weeks, insert them into a black plastic bag and store in a cool, completely dark place.
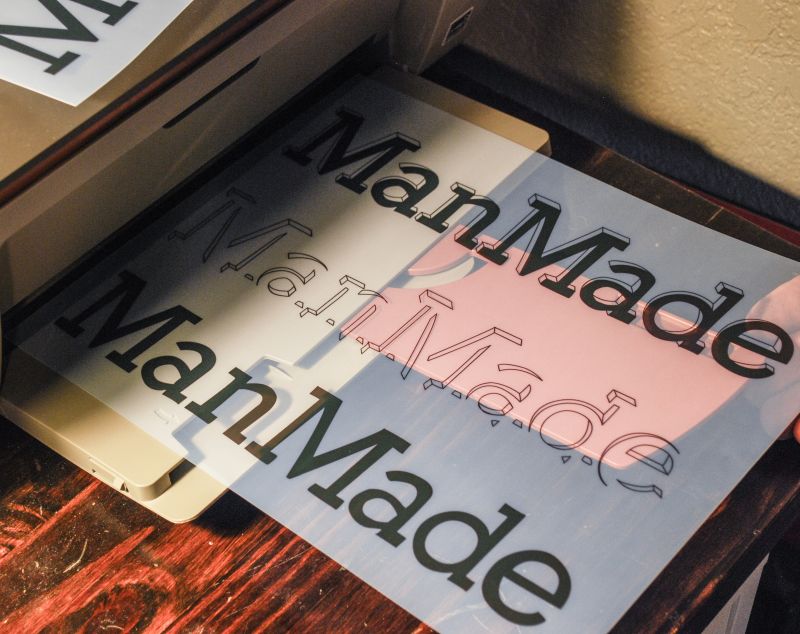
3. Print the design – Using transparency paper, print the design. I wasn't happy with the quantity of ink, so I printed two copies and taped them together for a really black pattern.
4. Set up the light – Hang a light about 12″ above where the screen will be placed, and put a black piece of fabric or paper on the surface. Make sure there are no flammable materials around the area where the high wattage bulb may start a fire.
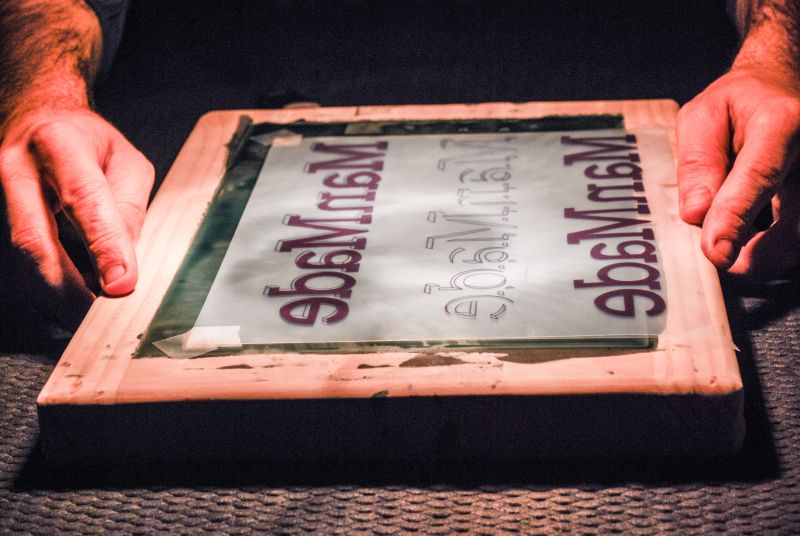
5. Expose the screen – This step should still be done in a light-safe environment. Tape the design onto the screen, reversed. This is so the inverse will come through when it's placed onto the surface to be printed. Make sure it's square and lined up in the center of the screen. At this time, you can expose the screen. Place it directly below the UV or high wattage bulb face up and turn on the light. You can place a sheet of glass onto the screen to hold the design down a bit tighter to the surface. The tighter the design is against the surface, the cleaner the lines will be when it's done. Exposure times differ based on the light, humidity, thickness of the emulsion, and other variables so curing time is something you'll have to figure out. I started out with 45 minutes under a 250 watt light and it came out mostly clean. Note: if you overexpose, the design area won't rinse out, or will be too difficult to be detailed as it will all be hardened from exposure.
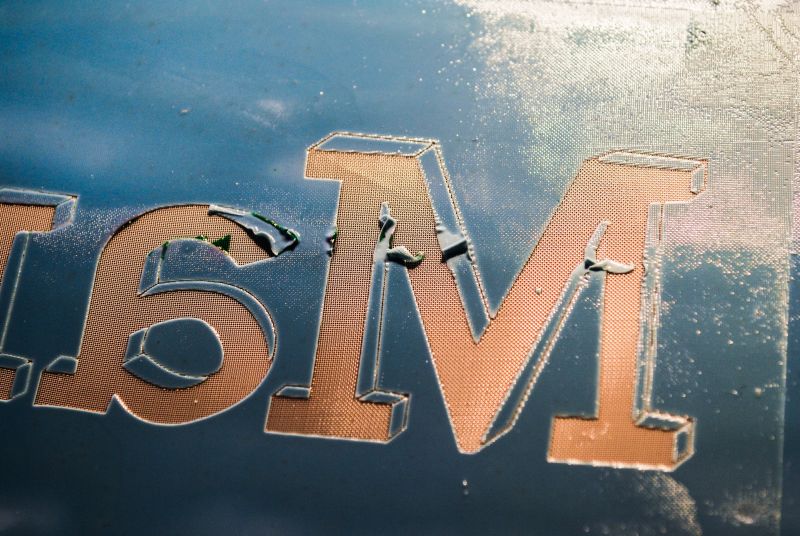
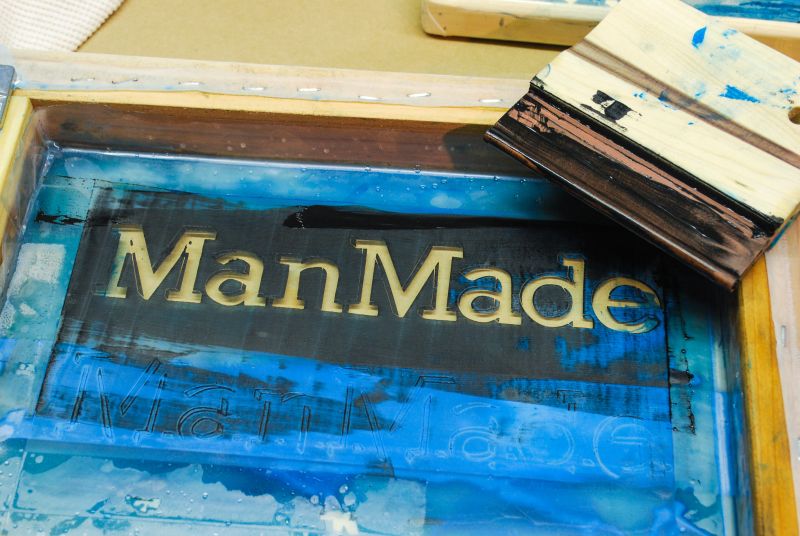
6. Rinse out the design – Get the screen lightly wet under a faucet and let sit for about 4-5 minutes to let the material soften a bit. Then, gently rub with fingers or a toothbrush to loosen the design. start slow to dissolve the materials. After a few minutes, use a high pressure spray nozzle to rinse out the design, working any stubborn areas until it is all rinsed out. Don't get it too wet, as the emulsion is water soluble. You can see in the image above where I let it get a bit too wet and it started to un-bond. Once the design is rinsed out, blow out with air and place back under the light for another 20-30 minutes to further cure the screen.
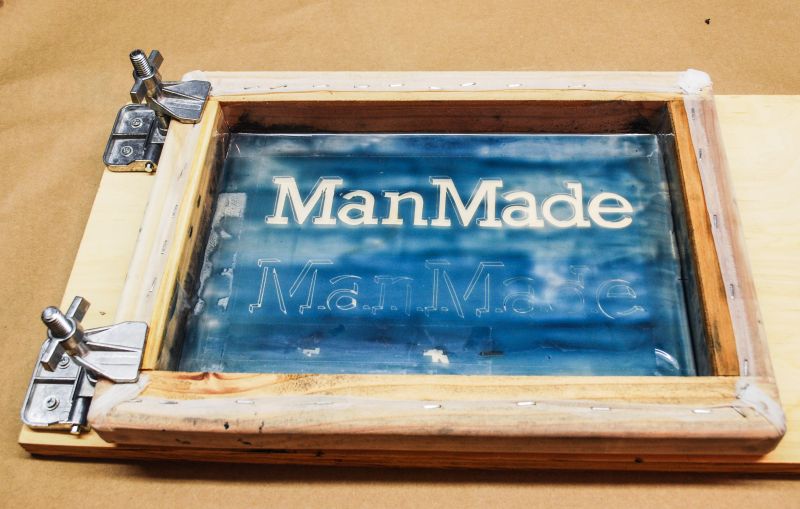
At this time, it's important to let the screen fully dry. wait about an hour or two until it is ready to use.
Use the Screen:
With the developed screen, it's time to get printing. But first, tape the perimeter to keep the ink from escaping under the frame. I used packing tape around the inside, and taped any holes in the screen.
1. Secure the screen – Set the screen in the hinges and make sure it's lined up square. The screen should not sit flush with the surface, it's important that there's about a 1/8″ gap for the “bounce” that holds the fabric back off the surface once it's been drawn across the printed surface. If printing on fabric, be sure to put a cardboard spacer between layers to prevent bleed-through.
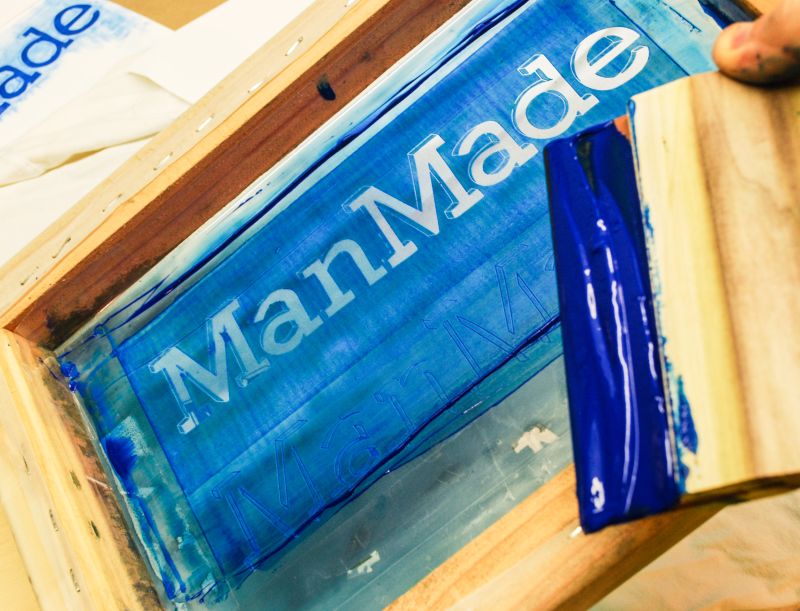
2. Prep the screen – apply a thick bead of ink on one side of the screen, wide enough for the squeegee to pull across the screen in one swipe without any gaps. Any left-over ink can be collected, so don't be stingy on this.
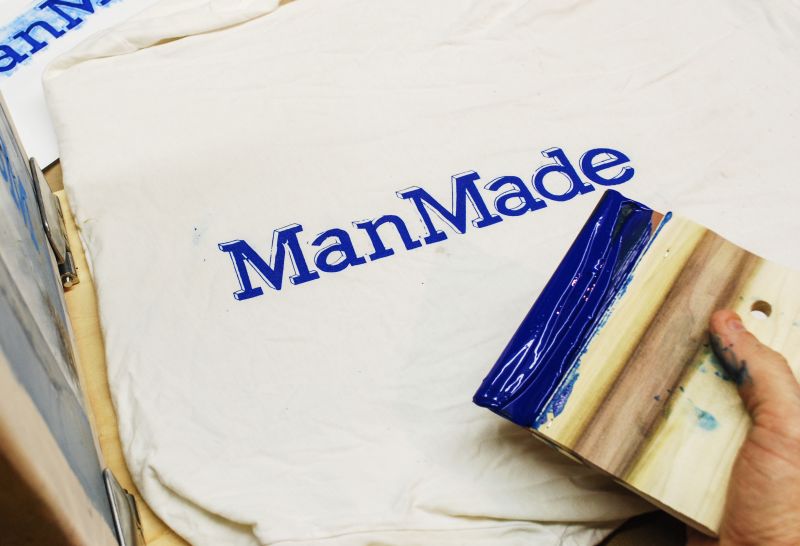
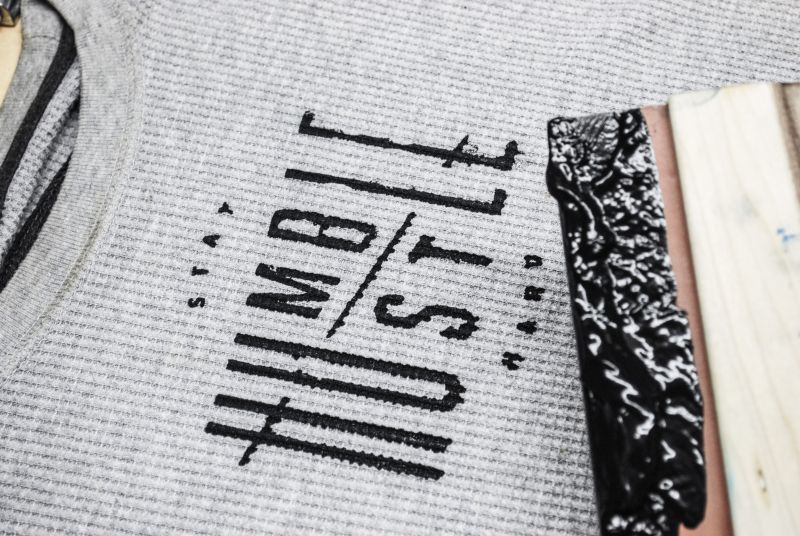
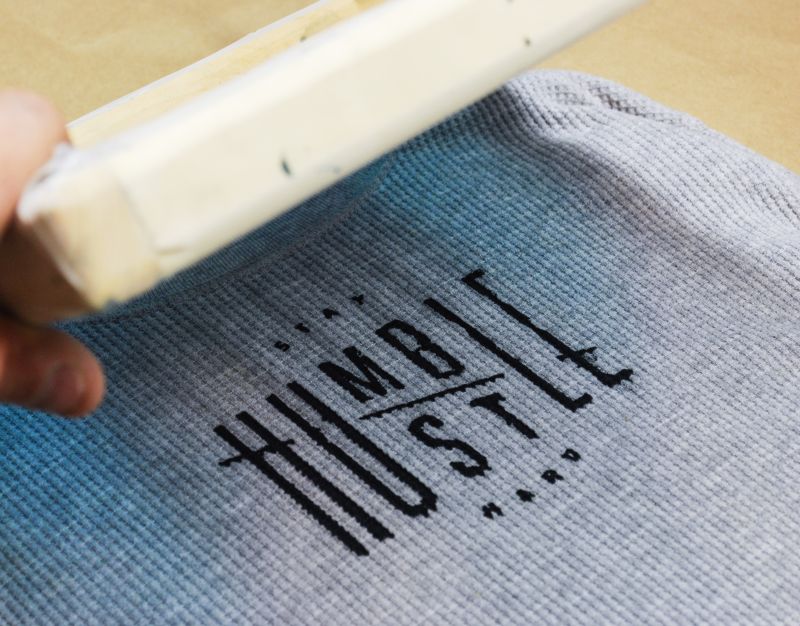
3. Print – Set the screen firmly on the surface and with a single stroke evenly pull the ink across the screen with steady pressure. Watch the screen for any gaps in the ink. Carefully pull the ink over a second time if any gaps occur. Pull the screen up slowly, and you should see the printed design well-transferred. Repeat as desired, cleaning the screen with water as needed to keep the ink from clogging the holes.
4. Heat it – Once the design is finished, be sure to cure the ink by heating it up with an iron over wax paper to set the ink for good.
A few tips:
- Be sure to only put on a thin layer of emulsion. I put it on too thick, and it dried unevenly. It also was a bit thicker on one side, so I was under-exposed in one thicker area.
- Be sure to allow the emulsion to fully dry before exposing. I didn't allow a few of the drips to fully dry and they bubbled when I rinsed the screen.
- Don't skimp on the lighting. Spring for a yellow bulb so you can see what you're doing. It's $5. I didn't get it in time so I did the work in relative darkness and put on the material too thick. Next time, I'll wait for better lighting.
- Keep it simple. Thin lines and complex details make the design hard to expose. Go for simple and you'll have a much easier time of it all.


