How to: Make DIY Wooden Shot Glasses
It’s a new year, and for the next twelve months, I’m committed to trying to make every object in my life something of true value. Call it a Kondo-inspired “sparking joy” if you like , but this year, I want to cut out the garbage and keep only what’s quality. I want everything I touch and use in my life to be beautiful, lasting, and made with integrity. This starts with my morning routine, from the my coffee routine and the mug I drink it in, and goes all day through the book I read during the last few minutes before bed.
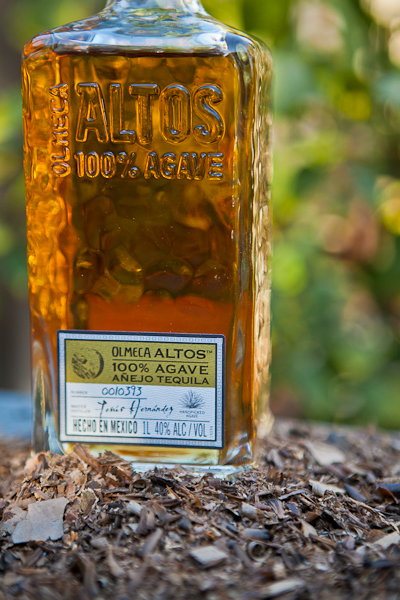
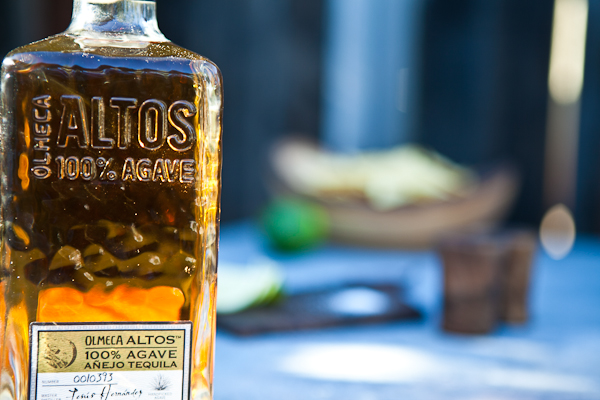
When our friends at Olmeca Altos Tequila invited me to find a way to make the spirit of the New Year last all year long, I knew it was a perfect opportunity to put my new commitment into practice. Altos tequila is already high quality and great-tasting; it’s grown in the heart of Los Altos, the highlands region 7,000 feet above sea level in the western part of Jalisco, Mexico.
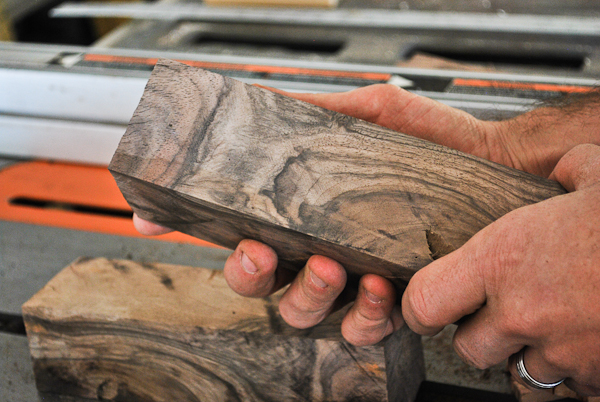
So I figured the only way to improve on it was to “up” the glass in which I enjoy it. Since I’ve had a few blocks of highly-figured walnut seasoning in my garage shop for months, this was the perfect chance to bring them all together for a fun woodworking project: wooden shot glasses.
The Project:
Materials:
- Suitable Wood (Hard, solid wood with no knots or cracking) squared up to rough size
- Table Saw
- Drill Press
- Bandsaw
- Lathe (advanced option)
- Router Table (round-over option)
- 1.5″ Forstner Bit
- Sand paper
- Mineral Oil or Shellac finish
The Steps (Simple Version):
1. Square up your stock- If your lumber didn’t come ready to work, mill the wood to a consistent thickness and give it straight, square edges.
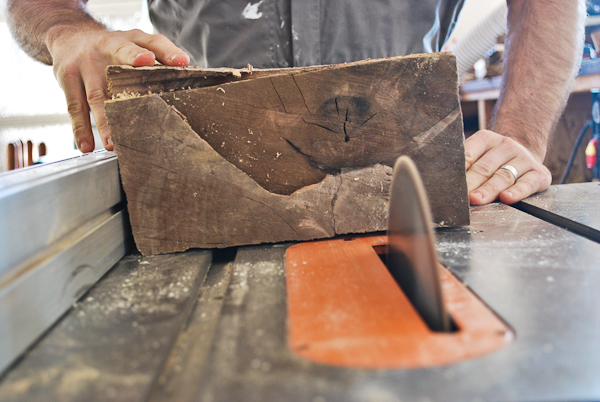
2. Cut to length – I wanted about 3″ tall glasses, so I added a 1/4″ to the size to account for machining and made the cuts.
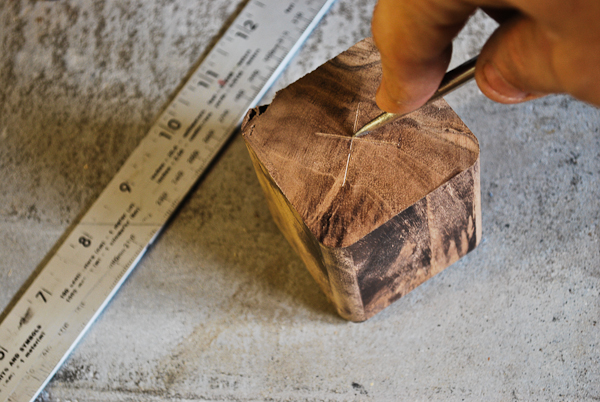
3. Mark the center point – Layout of the pieces is important. Finding the exact center on the squared up piece will ensure the center is drilled out properly.

4. Round over the edges (optional) – I chose to round the edges with a roundover bit and my router. You can just taper with sandpaper or a block plane if you want a more squared-off feel.
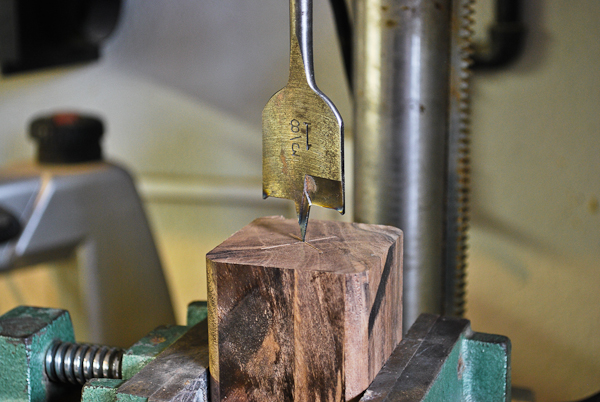
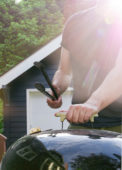
5. Drill out centers – Hold the piece square with a clamp or vise and drill out the center of the cup. Be sure to mark the depth properly to avoid drilling too deep.
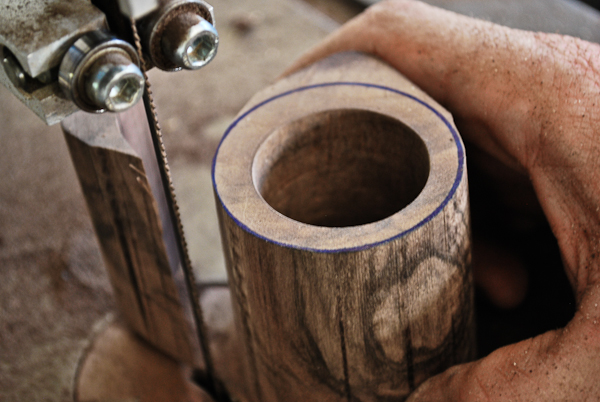
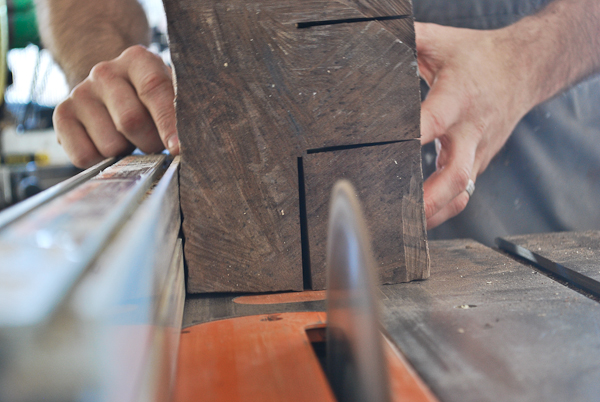
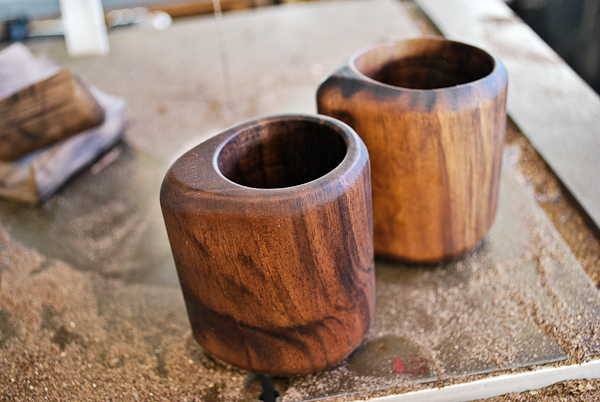
6. Cut to final shape – Once the center hole was drilled, I cut off three of the sides for a clean, easy to hold shape. Feel free to get creative here. As long as your cup is properly drilled, you can make the outer edges look any way you please.
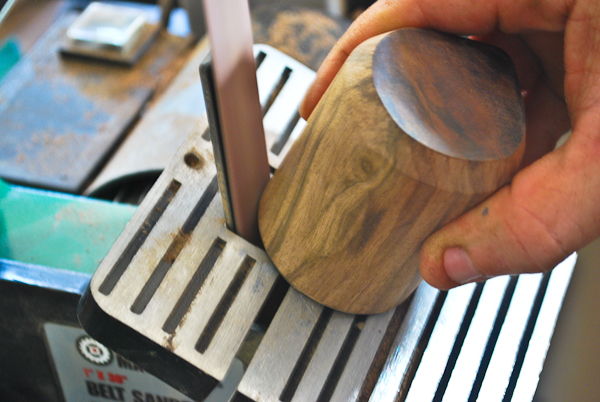
7. Final Clean Up – Now it’s time to sand smooth to your preferred finish. I used a belt sander for the edges then hand sanded the whole thing up to 600 grit, sanding carefully with the grain to make sure the finish is polished up nicely.
8. Finish – Since the cup will be used for drinking, it’s important to choose an easily maintained, food-safe finish like mineral oil, or something that will cure up completely so nothing will leach into your drink.
Boom! Sit back and enjoy. Unless….
The Steps (advanced version):
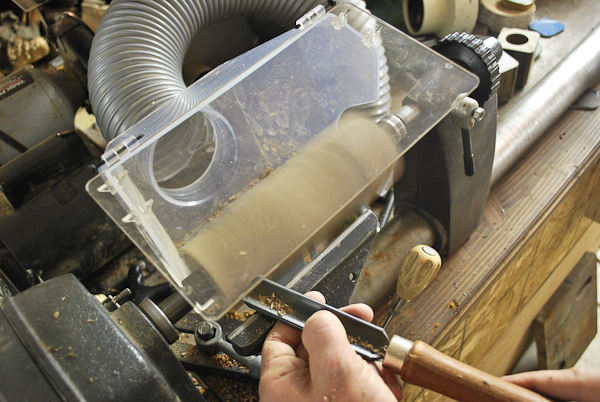
If you happen to have a lathe in your shop, this advanced option is also a great way to go. I squared up the pieces, but kept them long so that the lathe chuck could grip the piece well. This took a bit of rough cutting with my stock center to make the tenon small enough to grip with my chuck.
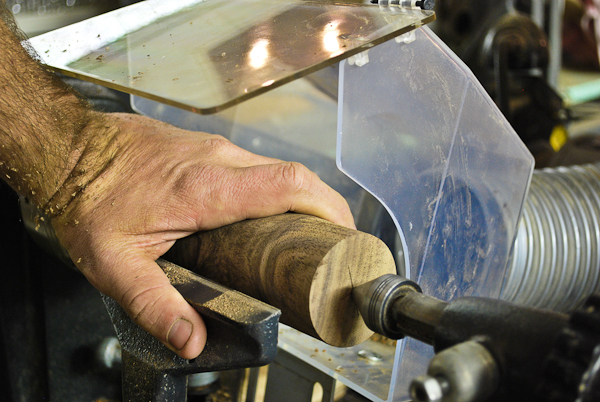
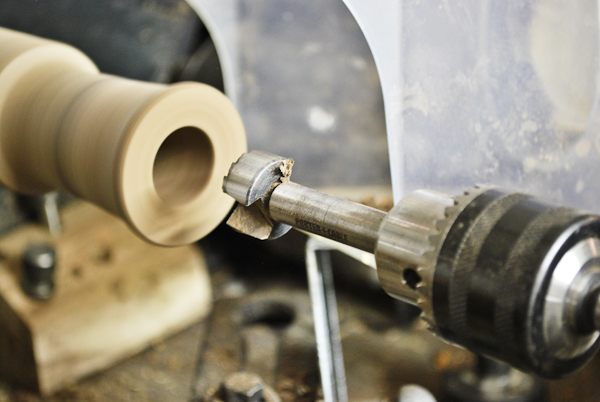
Once mounted, I roughed out the shape and size, then I used a lathe chuck to drill out the center of the pieces.
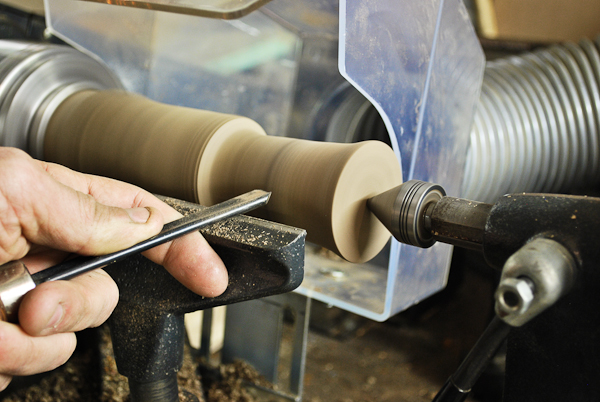
The clean up happened with a bowl gouge.
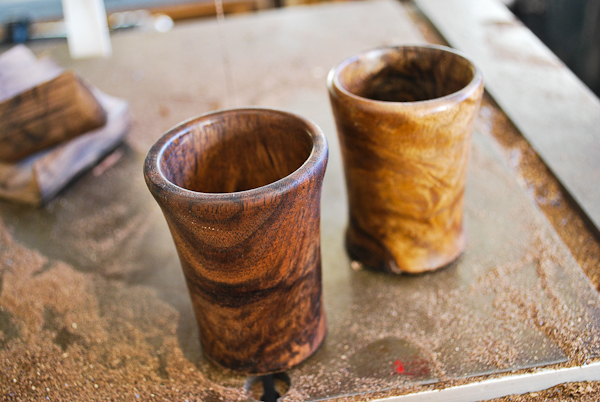
Once the final shape and cutting was complete, I finished it off with sanding up to 1000 grit, then polishing and a final triple coat of mineral oil.
The wood is porous, so be sure to keep the glasses clean and finish often with mineral oil to maintain a good layer of protection.
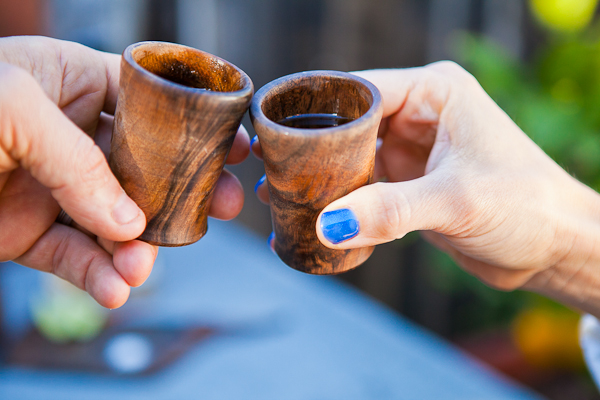
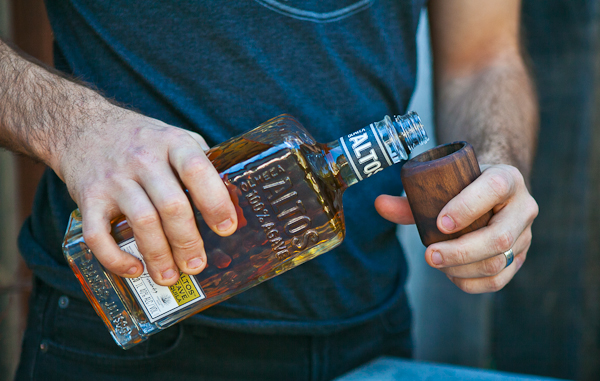
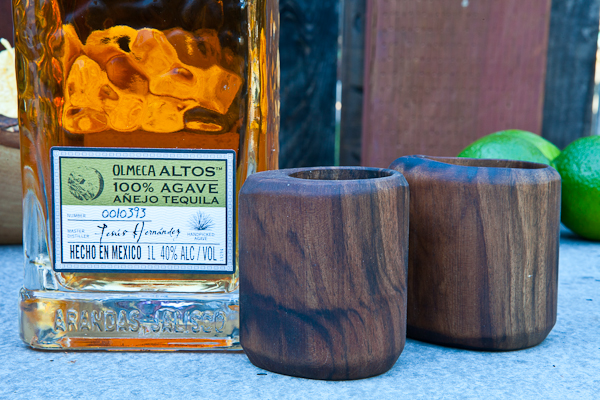
Once the power tools are off, bust out the Altos Añejo for a well-deserved sip.
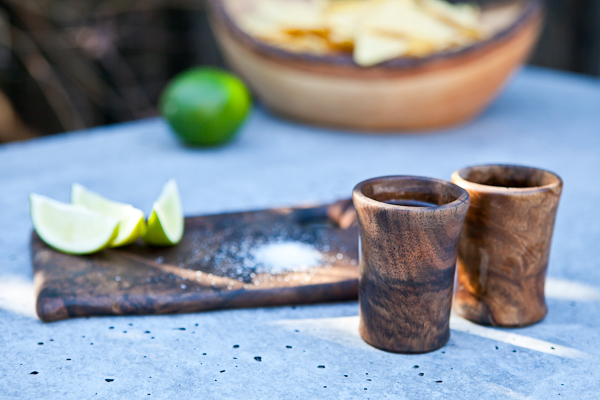
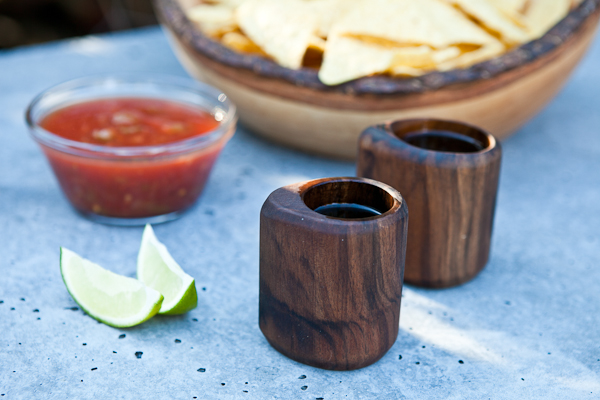
I gotta admit: I really like drinking out of these. They’re lightweight, but thick, and they make for a very satisfying sipping experience. Much better than the coarse bought-off-the-counter-at-the-liquor-store glasses I was using before.
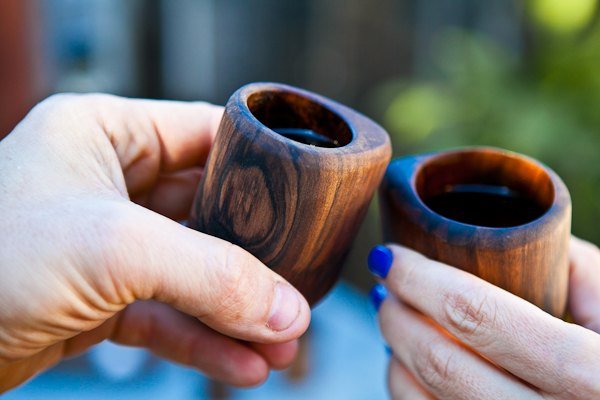
I’m quite happy with both sets of these, and think they’re a mighty fine way to begin the new year. Try making some this week, and snap a pic to share with us in comments below.
This post was sponsored by Olmeca Altos 100% Agave Tequila. Thank you for supporting the brands that support ManMade.