How to Cut a Perfect Circle with a Jigsaw
A quality jigsaw is one of my favorite tools, and a seriously good DIY best buy. Armed with the right blade, you can cut all sorts of materials into nearly any two-dimensional shape you please. And most-importantly, do it safely.
But it's flexibility as a creative tool is also its liability. Like a pencil, it can go in any direction, but in the hands of a human being, those directions will never be without the marks of our innate imperfection. Straight lines can be accomplished with a fence, but a perfect circle. You can't draw one by hand, so don't expect yourself to be able to jigsaw one either.
At least, not without a little help.
Recently, I needed to do this very thing on a project. The circle was an irregular size, so I couldn't use a hole saw, and it was so large I probably couldn't have found one (or afforded it) either. Plus, it was one of those working-late-on-Saturday-night sort of projects, and I definitely didn't want to drive to the store, even if it had been open.
So, I thought to myself: if I used a compass to lay out this circle, why can't I make a compass to saw it too? Here's how to do one for a circle of nearly any size.
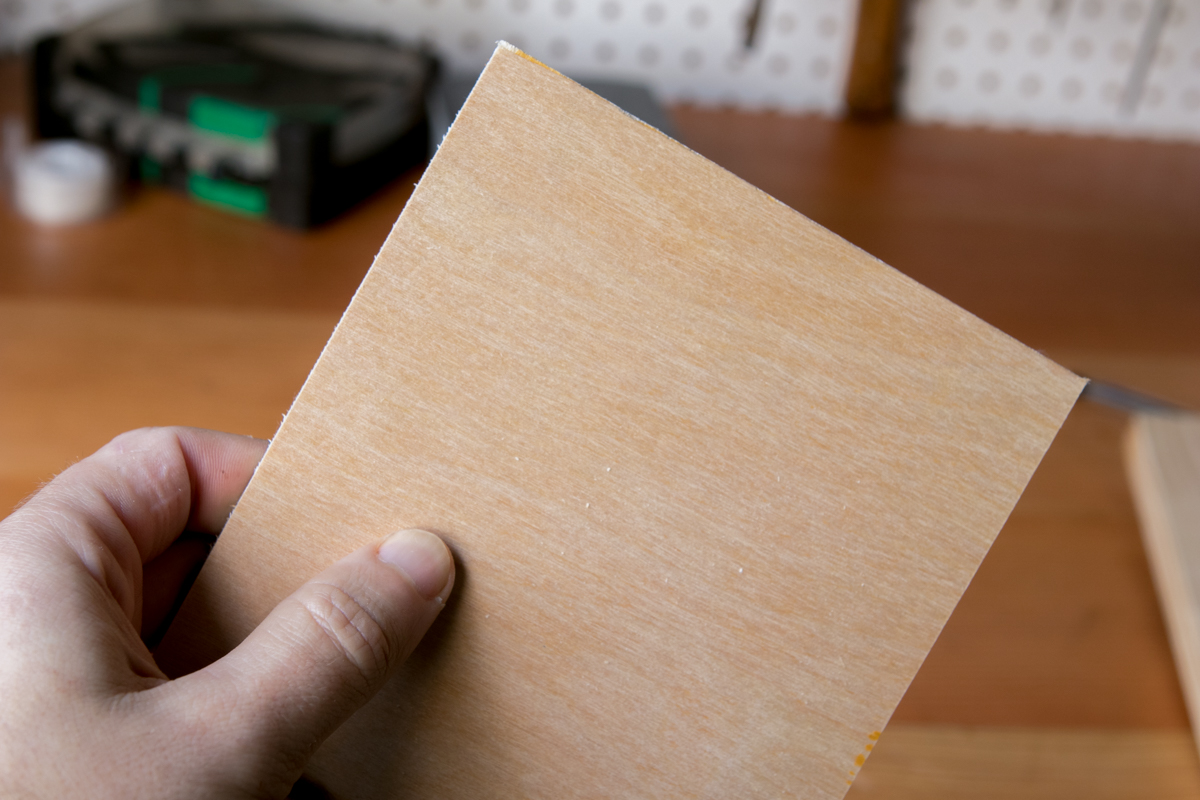
1. First, look through your scrap pile to find a thin piece of plywood, luan, or MDF. It only needs to be as long as the radius of your circle plus 2″ or so. Then, snag a thinnish but strong nail. A “wire nail” works well. You could also use a thin bolt, a rivet, or anything with a head on it.
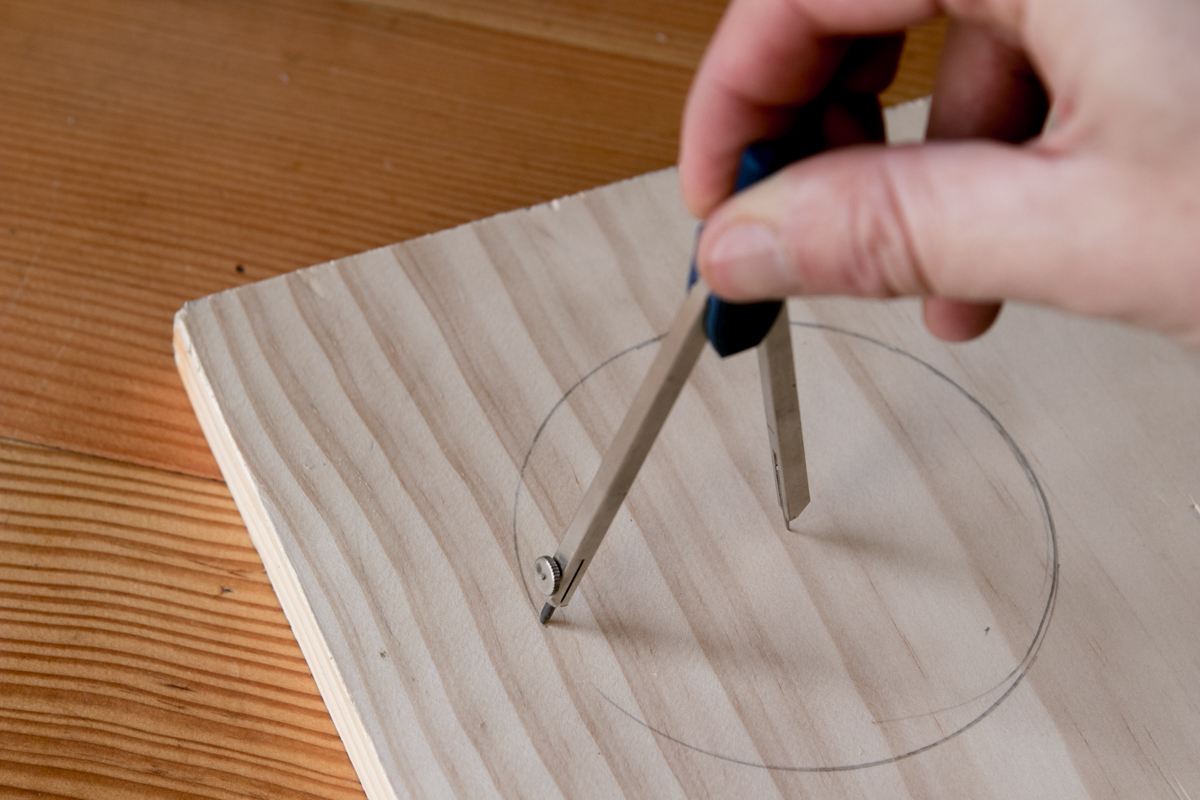
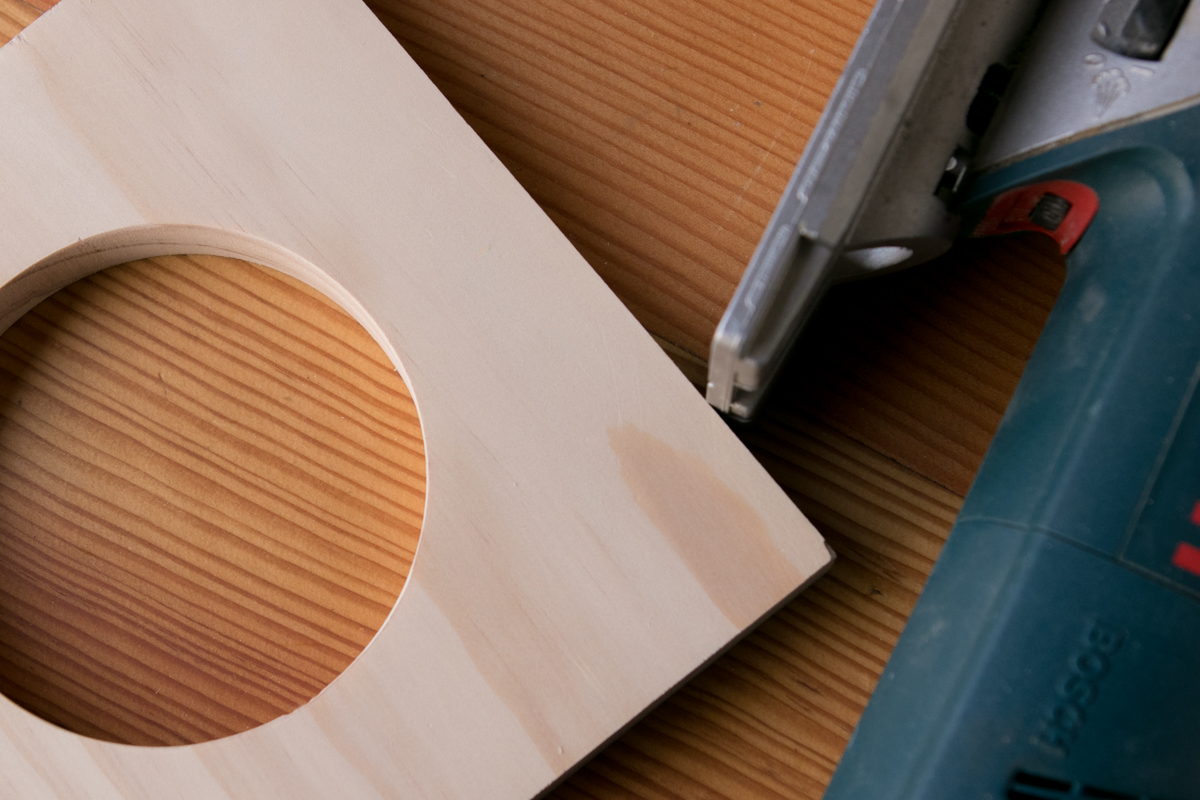
2. Now, draw your circle with a compass or a circle guide.
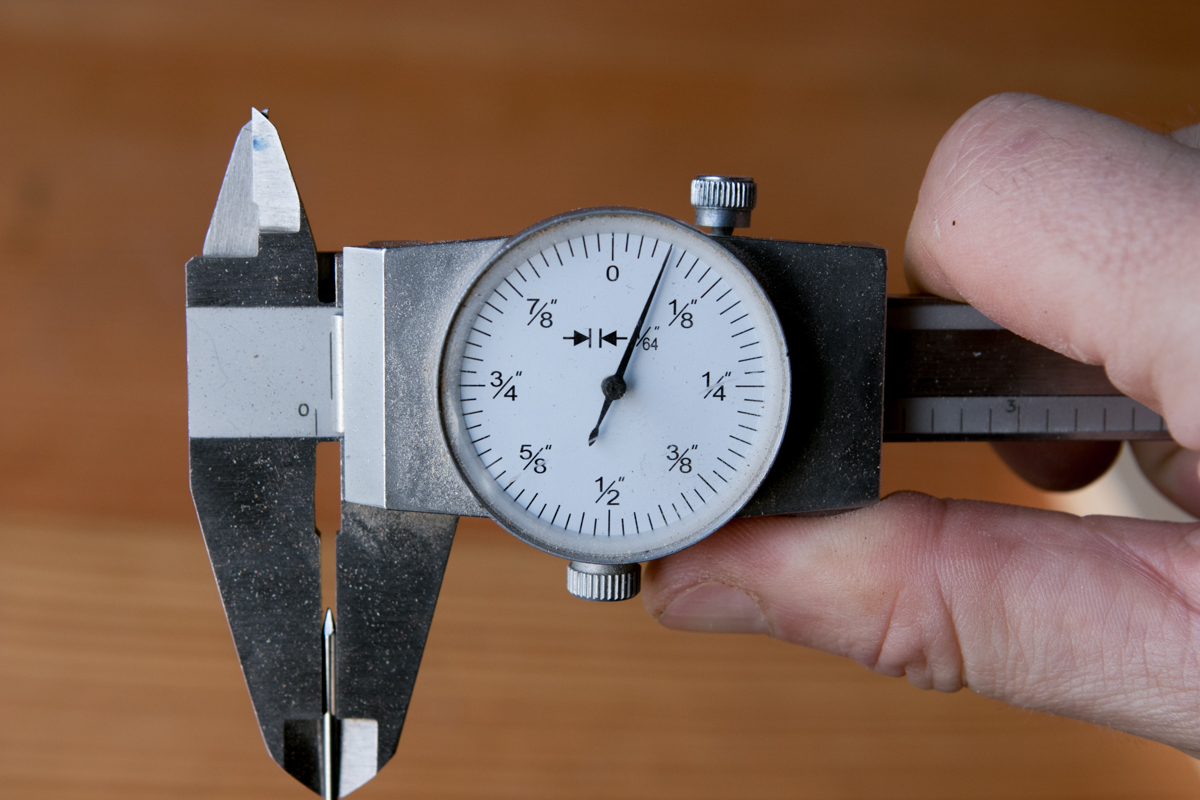
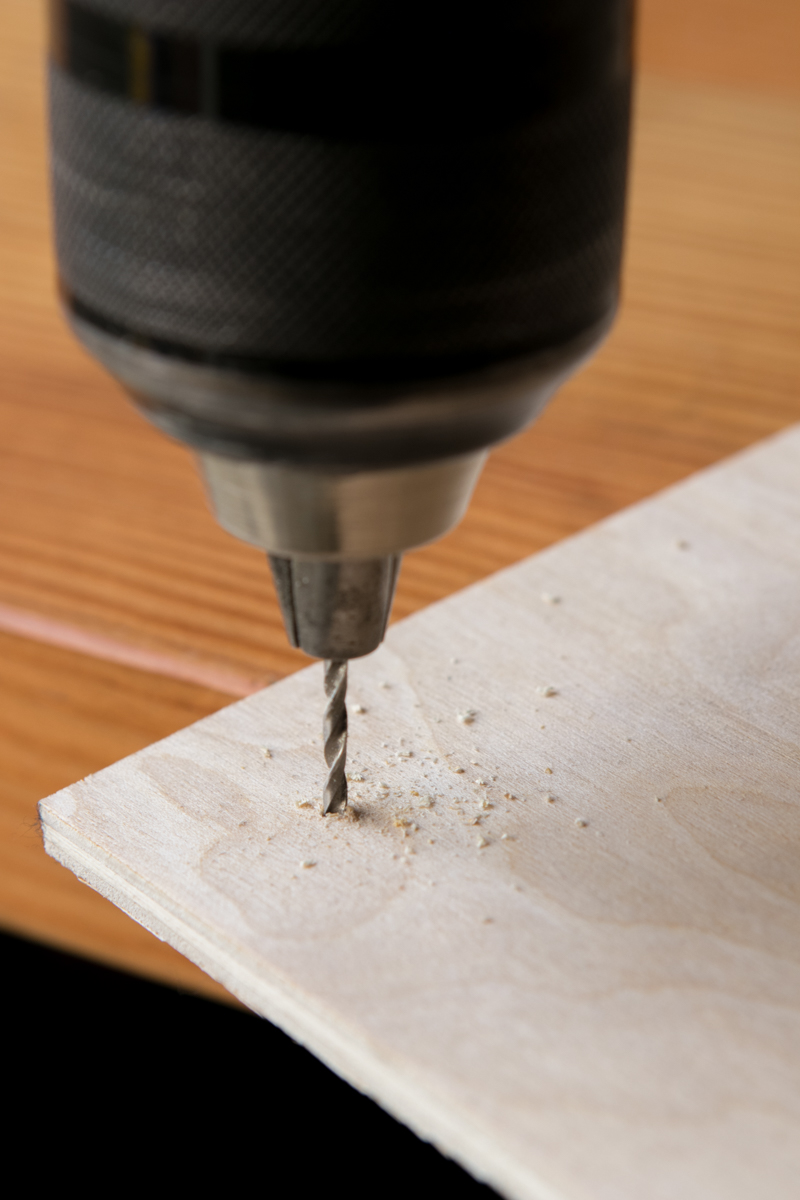
3. Then, determine the thickness of your nail (mine was 1/16th inch), and drill a hole that size in the direct center of your circle. Use the divot left by your compass as a guide.
4. Now, set your workpiece aside, and pick up your thin plywood. Make a large crosshair mark on the top left corner, and drill out the center with the thin drill bit. Make sure your marks remain after you've drill the hole.
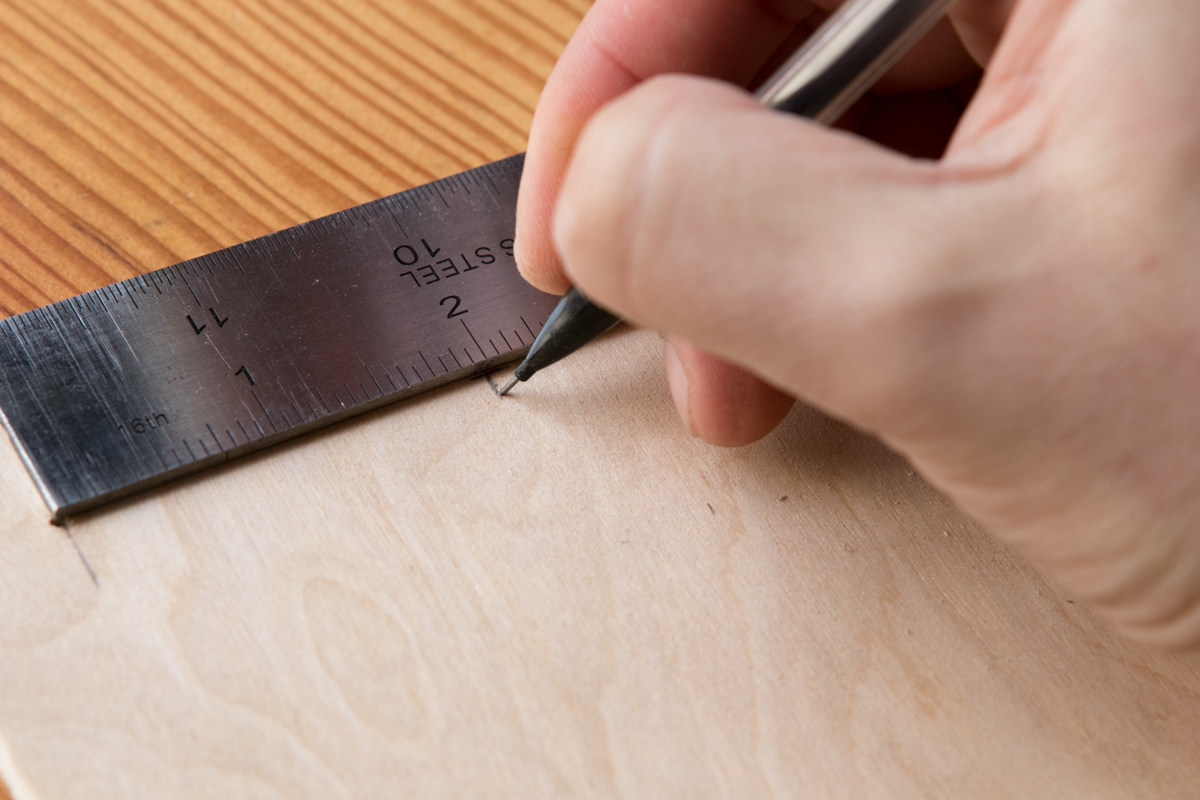
5. Then make a second large crosshair mark on your jig, setting the distance to be the same radius of your circle. Remember, the radius is half the overall diameter of the finished shape, from the center to one side.
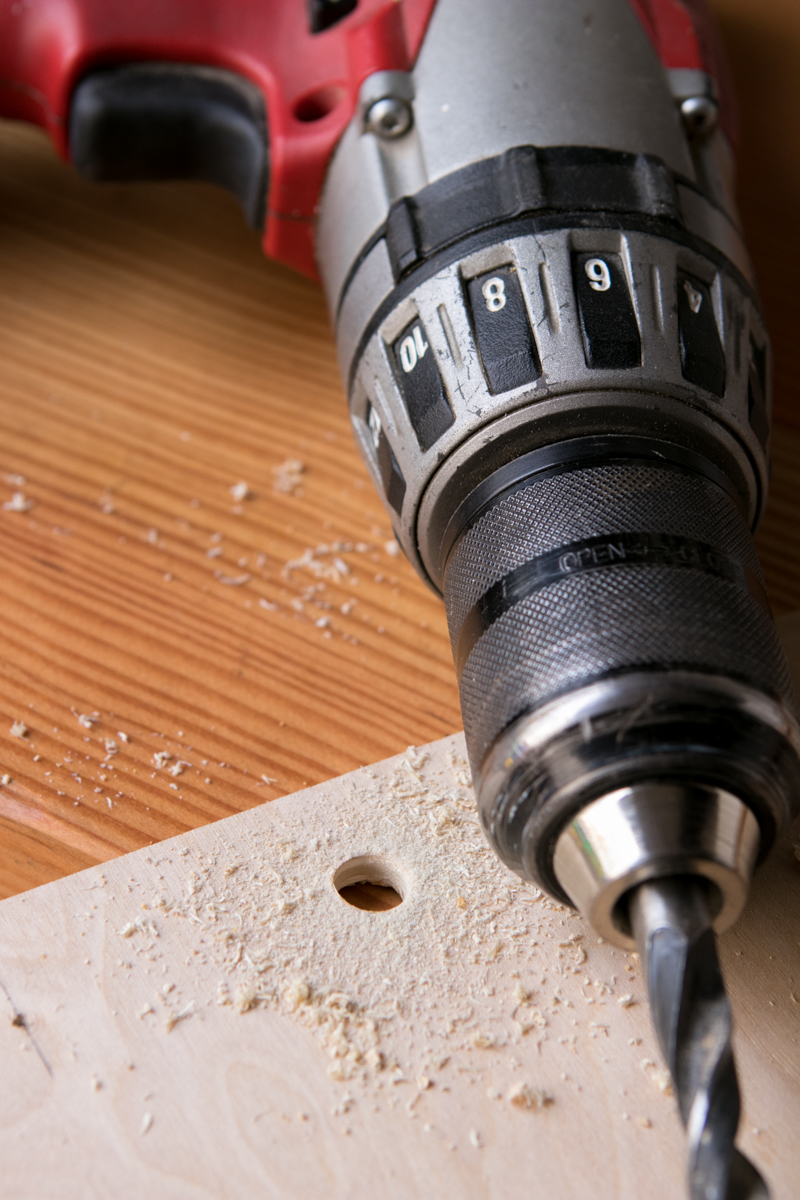
6. Drill out a hole here through which you can insert your jigsaw blade. Somewhere around 7/16-1/2″ should work great.
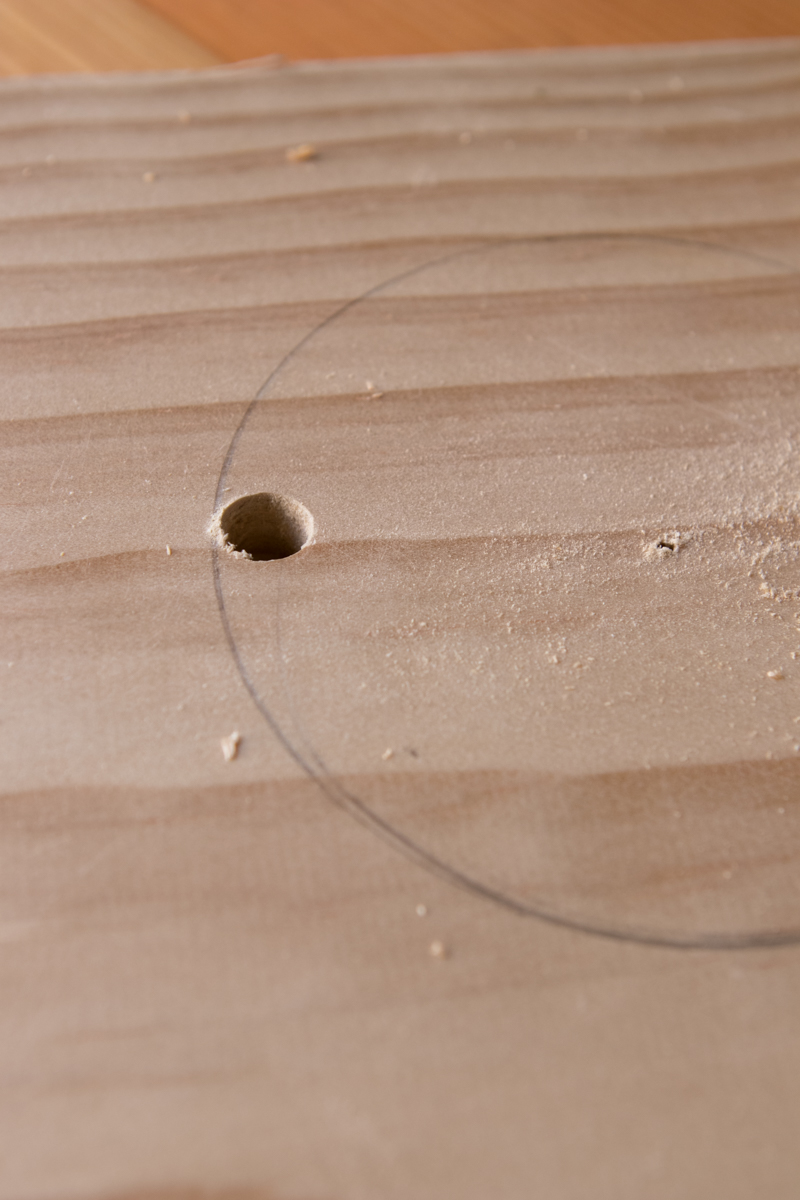
7. Now, drill a starter hole in your project board to insert the circle. Try to line up the outside of circumference of the drill bit to the same arc of your circle to minimize irregularity. You could drill quite close, then nibble away a bit with the jigsaw blade to meet your line.
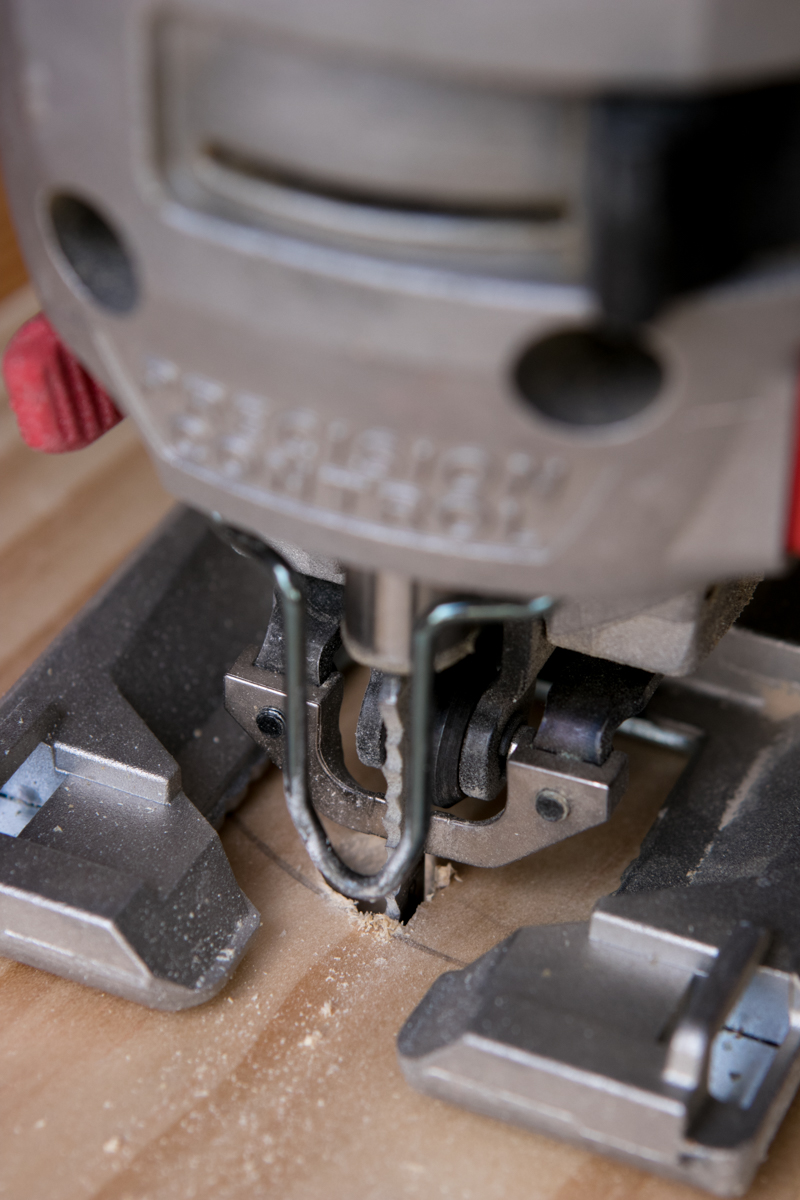
8. Now, assemble the whole thing. Securely clamp your workpiece to a sturdy surface, then place the jig on top. Put the nail through both small holes, and then line up your starter holes. You should be able to see through the jig to the circle outline on the bottom.
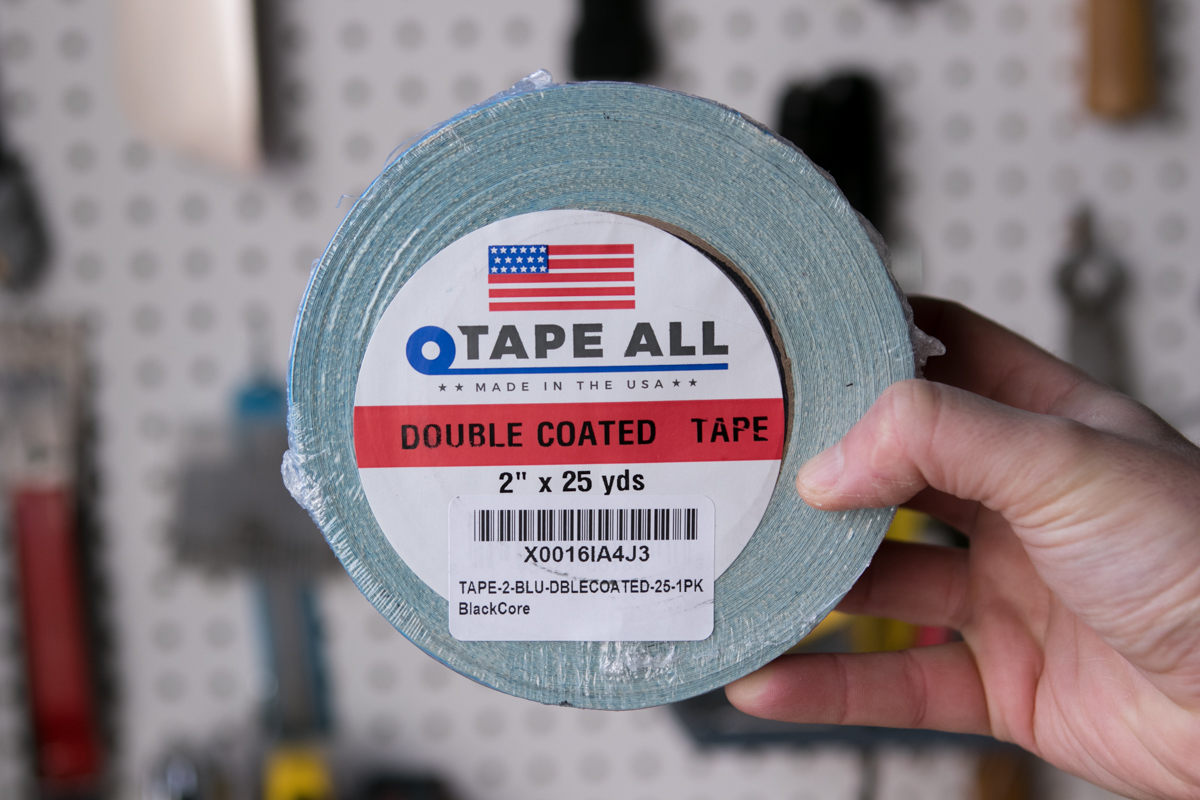
9. Now, we have to attach the saw to the jig so it can guide it through the cut. This is a job for one of my favorite work shop secrets: double stick tape! You can find this in the carpet section of the hardware store.
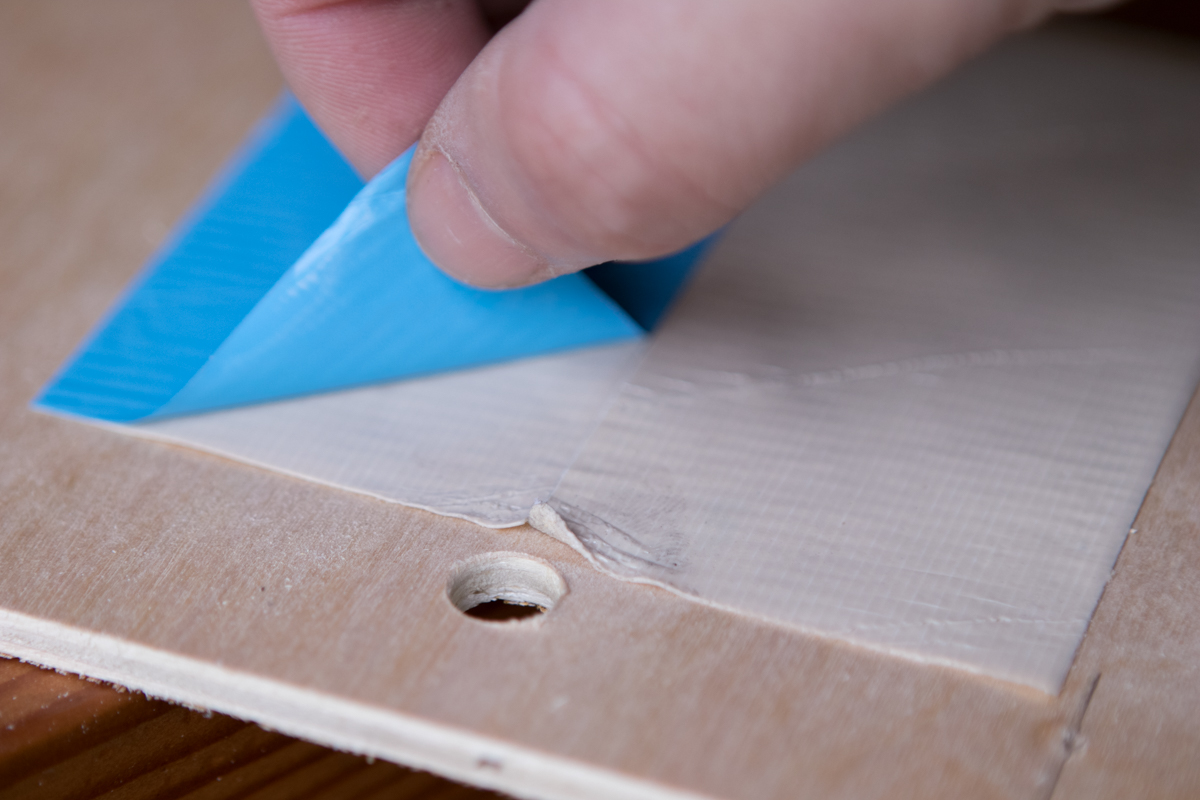
Place the tape on the jig, and insert the blade in the starter hole. Once it's lined up with your circle, press down for several seconds to secure it.
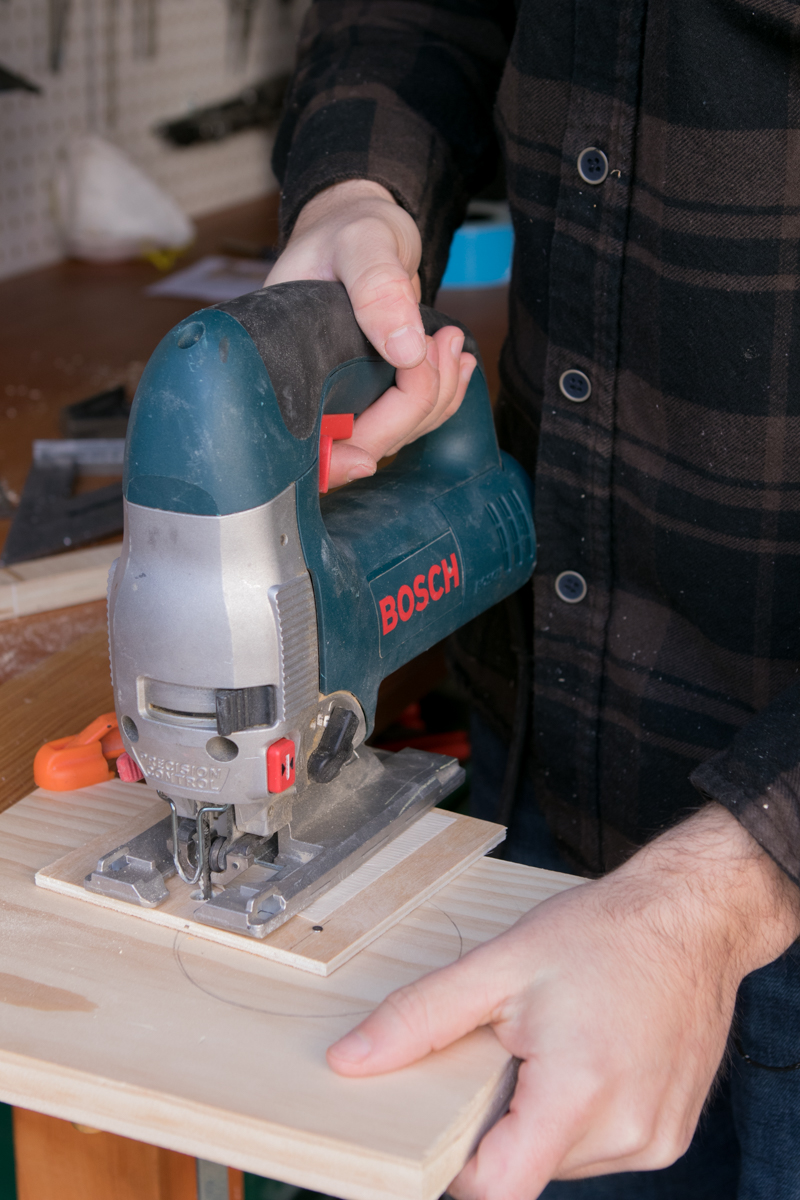
10. Now, it's time to make your cut. Keep the blade at full speed the entire time, and pull outwards and push down with medium pressure. This keeps tension on the jig. If you're worried about pulling the tape off, don't. It. Will. Stick.
11. Once you're done, sand up any tool marks (sandpaper wrapped around a dowel or other cylindrical object will help you with the inside curve.) Use some mineral spirits to remove any adhesive from your jigsaw base.
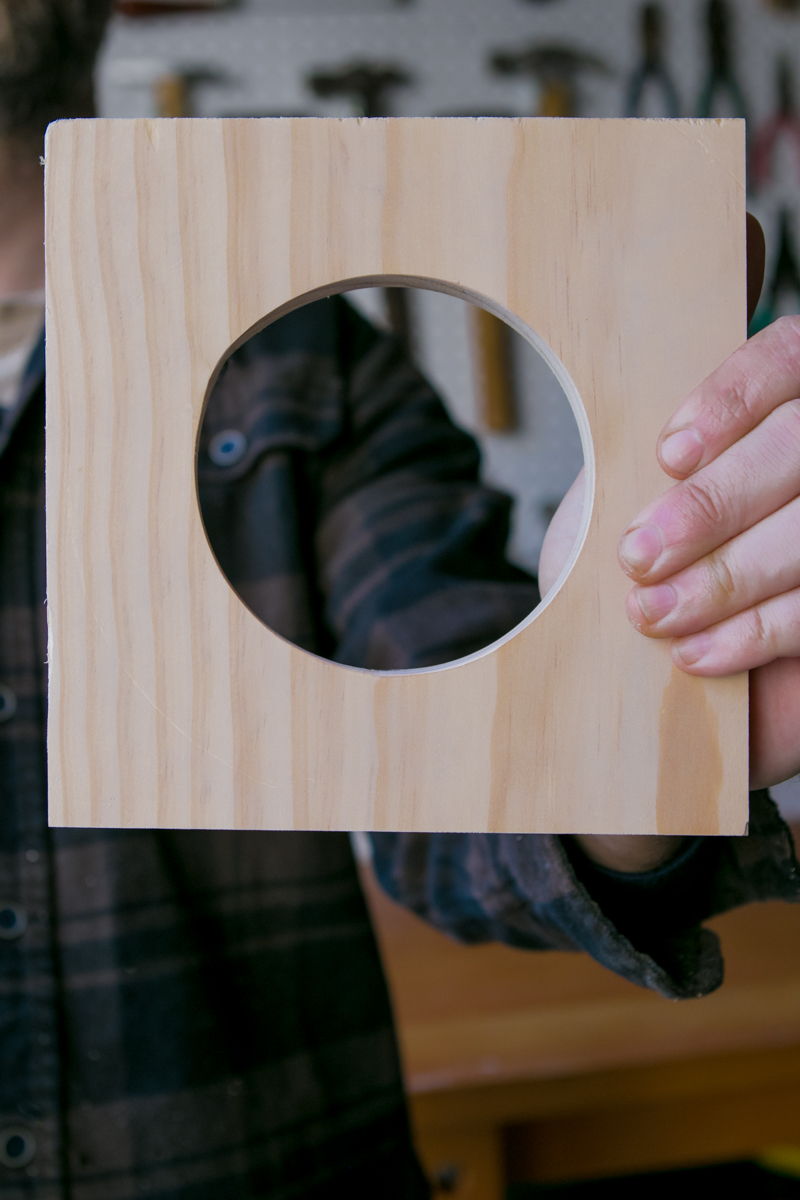
Boom! Perfect circle.
What if you want the inside circle to not have a hole through the middle?
This can be tougher, but it is possible. One way is to not drill all the way through, and then size your nail to stop halfway through the wood. Then, once, your flip over your project, the hole will be hidden. This is similar to a circle cutting jig for your bandsaw.
Or, you can cut out the circle using this method, then use it as a guide for a pattern bit and your router. You'd cut one perfect circle as a guide, then cut out a slightly larger circle from your final material. Double stick tape them together (see?!), and then route the two flush.


