Shop Update: Rehabbing & Fixing Up My New 8″ Delta Jointer
For the last couple of years, I've been mostly set on woodworking tools. I've been collecting my large, stationary machines for nearly ten years now, and although I do plan to upgrade a few of them, I've been able to accomplish most of what I've set out to do with a little creativity and patience.
The one standard machine that's been missing from my shop is: the jointer. I knew I didn't want to buy a tiny benchtop machine, or even a too-small 6″ model. I told myself I'd wait until I was in my “forever” shop, then get the machine I wanted; one I could use for the rest of my life.
Once we bought our house last year, I started a Craigslist alert, and painfully watched every listing from ubiqituous Harbor Freight tools to overpriced secondhand things from people who have no idea that what things are actually worth.
Over the last eighteen months, only a few 8″ models even came up for sale. The woodworking community in my town snatched them up as soon as they were listed, and so I waited. And waited.
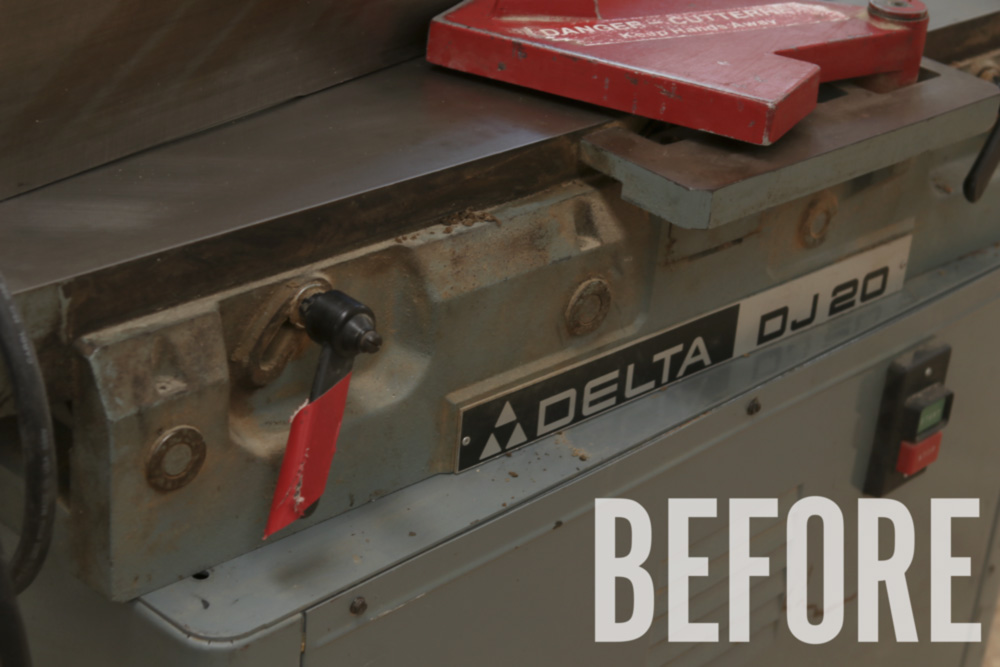
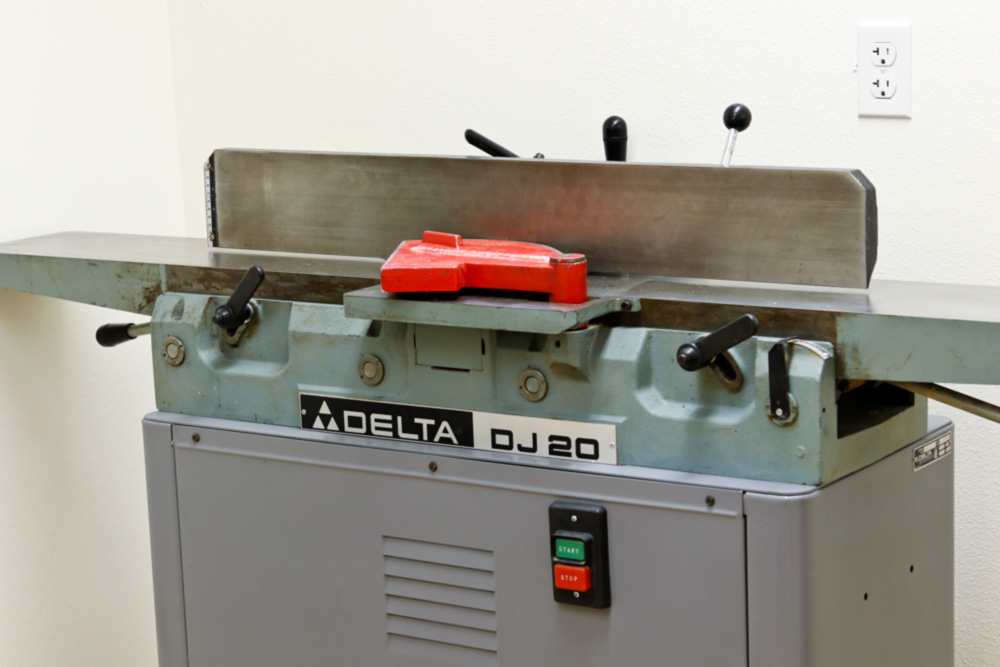
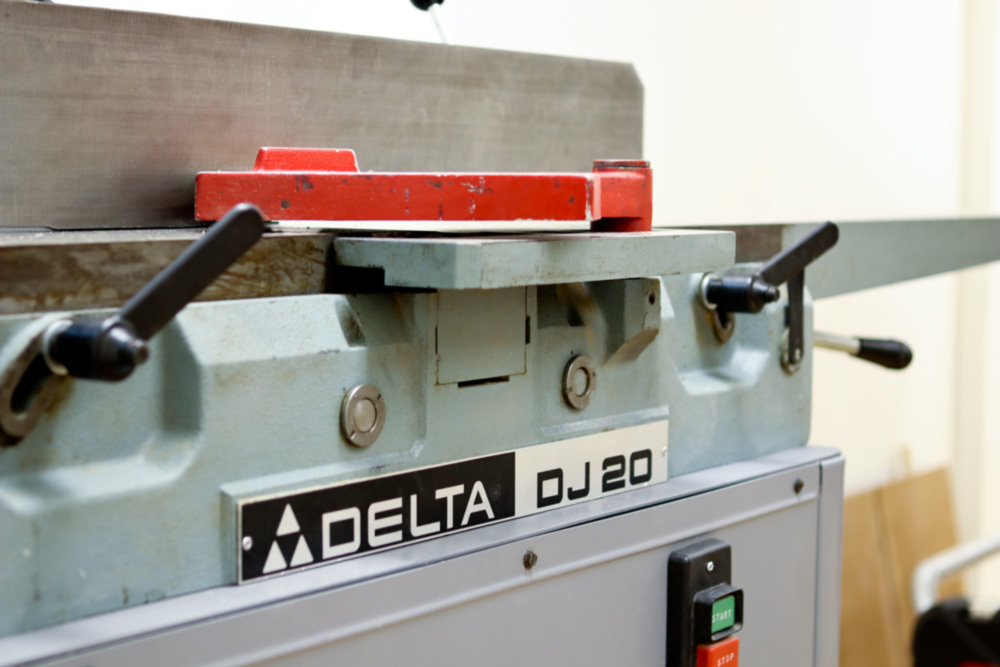
And then – enter this Delta DJ20. Built in the 80s when machines were machines. Complete with parallelogram beds, dead flat and coplaner tables, and an awesome fence, this was being offered at less than the price than the new Grizzly it's based on, plus no shipping, no assembly or degreasing, and it came with a mobile base.
I made my offer, went to check it out, and – boom! – I'm now the owner of a vintage 8″ Delta jointer.
I even managed to get it into my basement with the help of the guy I bought it from, which saved on renting a truck and paying movers to help me get the 400+ lb. tool down the stairs.
So, before I put it into place, I wanted to give the machine a onceover. I knew if I didn't work on it now while it was partially disassembled, I'd never do it. The machine itself was fine, but exhibited thirty years of wear and tear. The base was a little banged up, but nothing a day of work wouldn't fix.
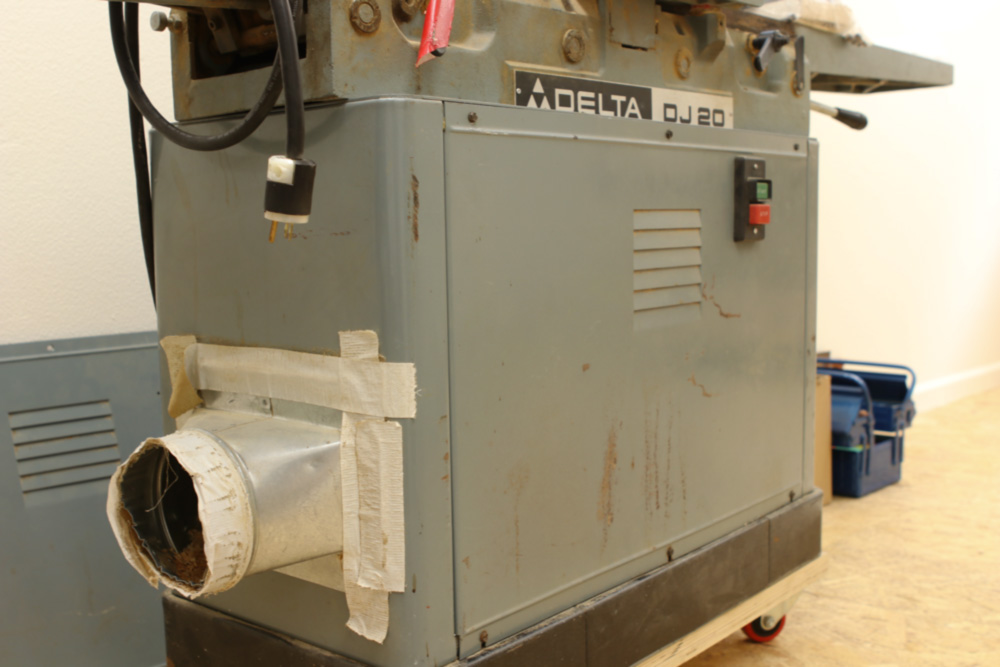
Random Before Pics: Rust, Sawdust, and Cleaning Required
Cleaning Up the Jointer
I managed to get the machine itself onto some heavy-duty sawhorses, and worked on it in the shop. Ideally, I would have painted it if I could have, but there's no way I'm spray painting several coats indoors. So I settled on cleaning up the jointer as best I could, and taking the base outside (which weighs 1/4 of what the top does), and painting it in the open air.
I began with a thorough vacuuming to remove any loose dust and debris.
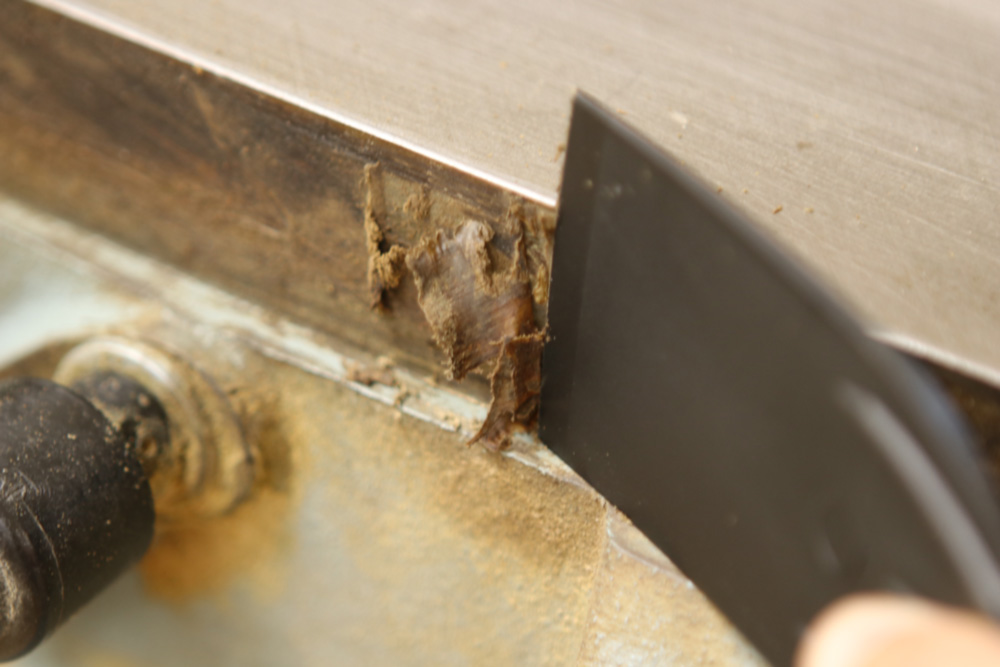 A plastic putty knife proved to be the best tool to remove the caked-on, sawdust impregnated grease and crud. I needed to re-bevel it several times with my belt sander to keep the edge sharp.
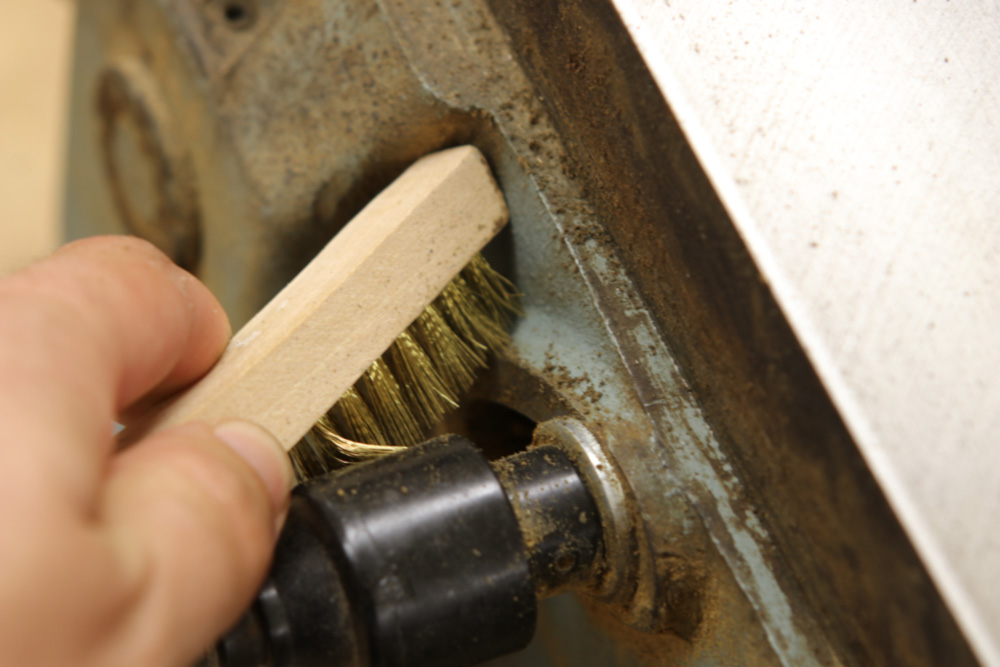
I worked the cast iron body with a brass wire brush, which was firm enough to remove the dirt but not harsh enough to take off the paint.
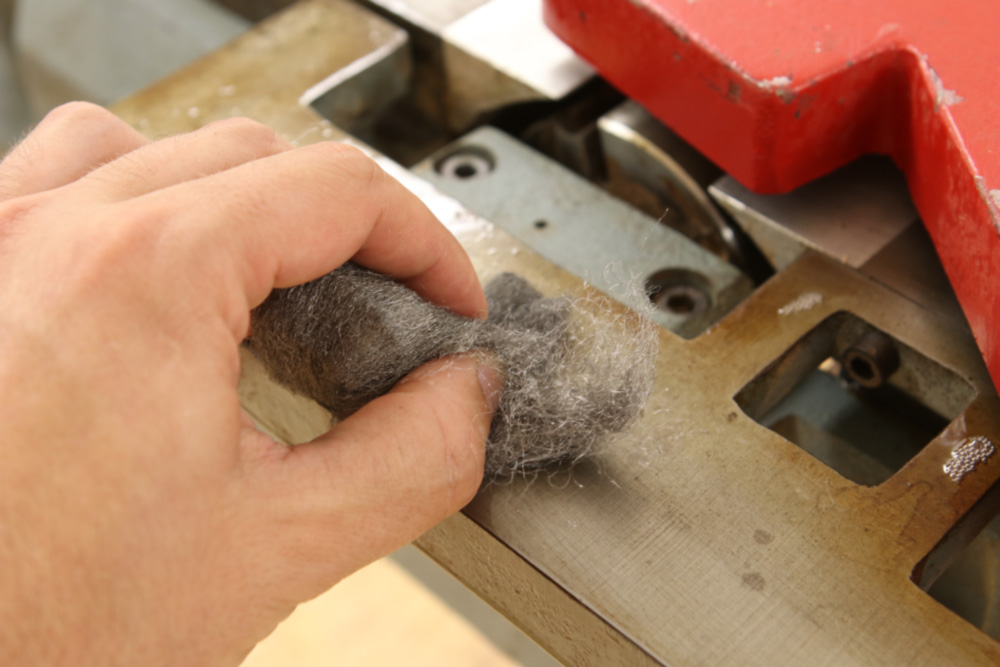
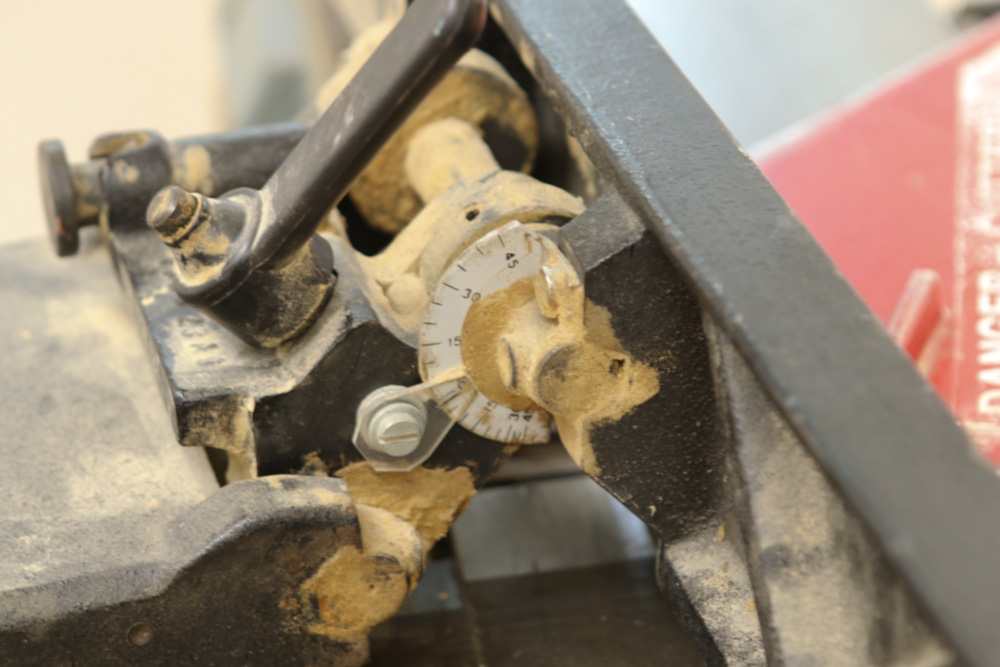
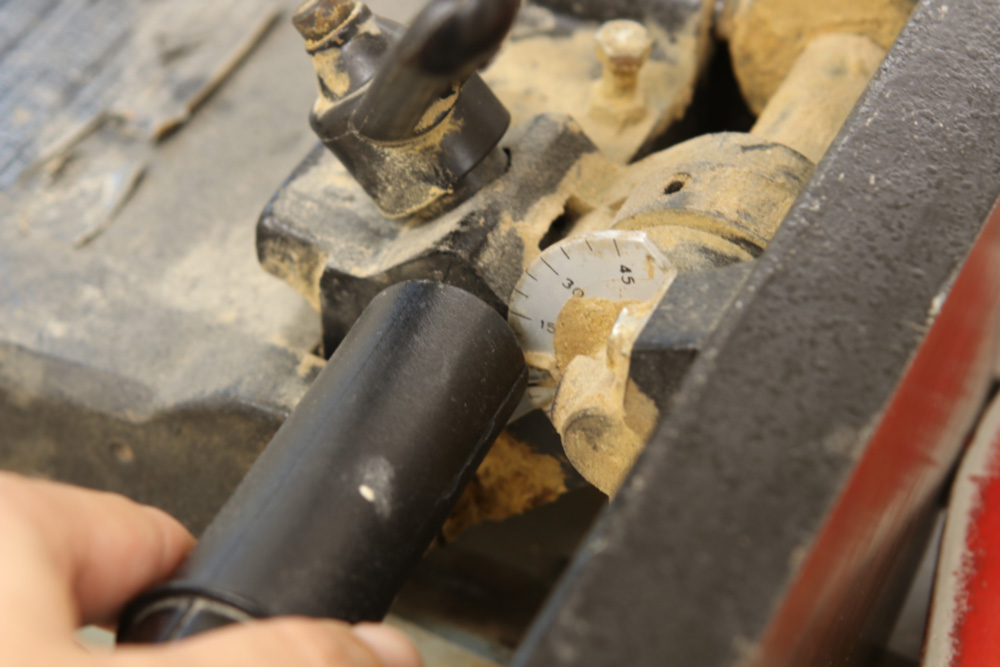
The beds looked great, but the fence and part of the cutterhead assembly had a bit of rust. I used some steel wool and WD40 to work the light stuff…
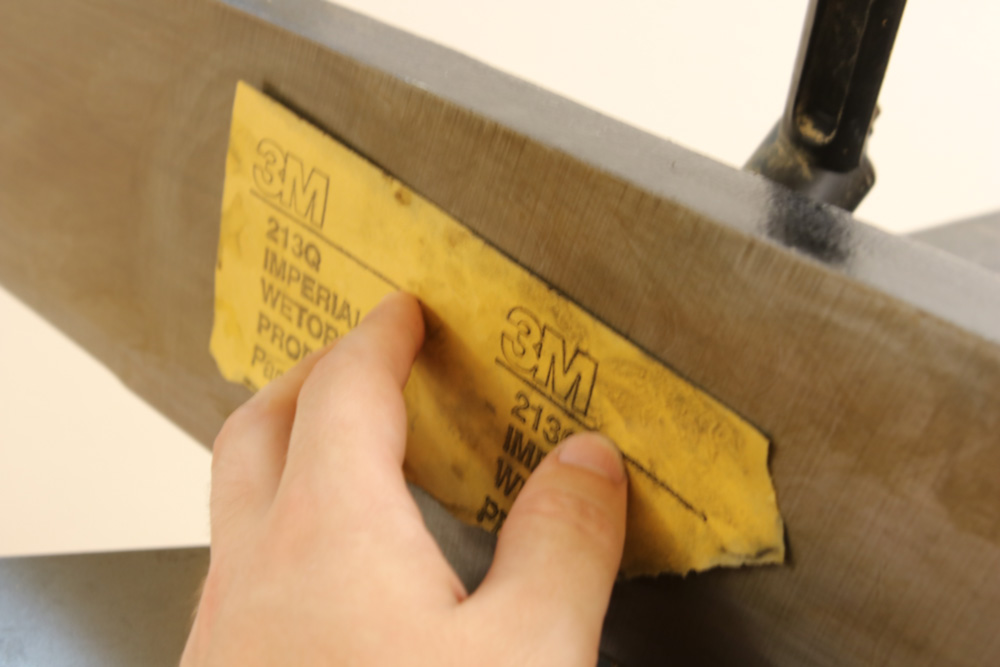 … and some 400 grit wet/dry sandpaper lubricated with oil to take off the heavier oxidation. I regreased and oiled everything and allowed it to penetrate overnight.
Reworking the Base
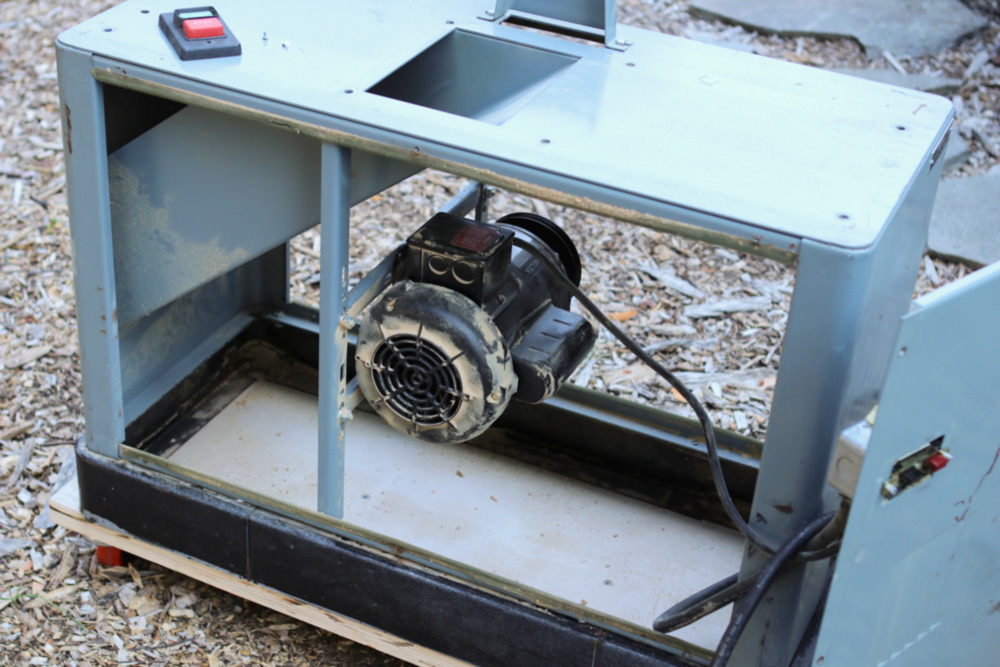
The next morning, I took the base into my side yard and broke it down as far as I could go.
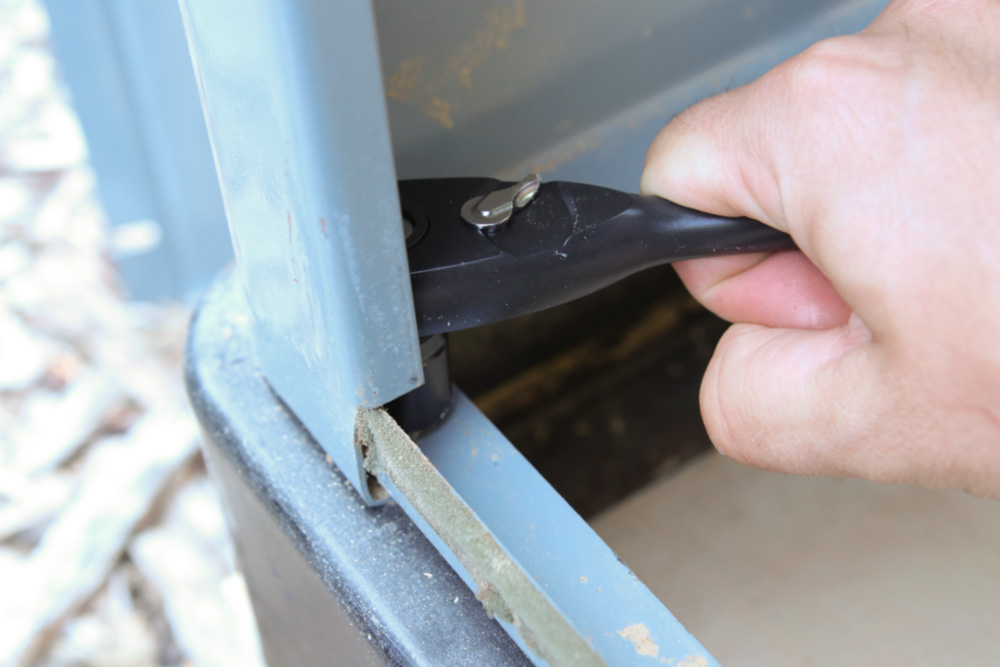
I removed the previous owner's mobile base, and then took off the steel stand (gray) from the jointer's base (black).
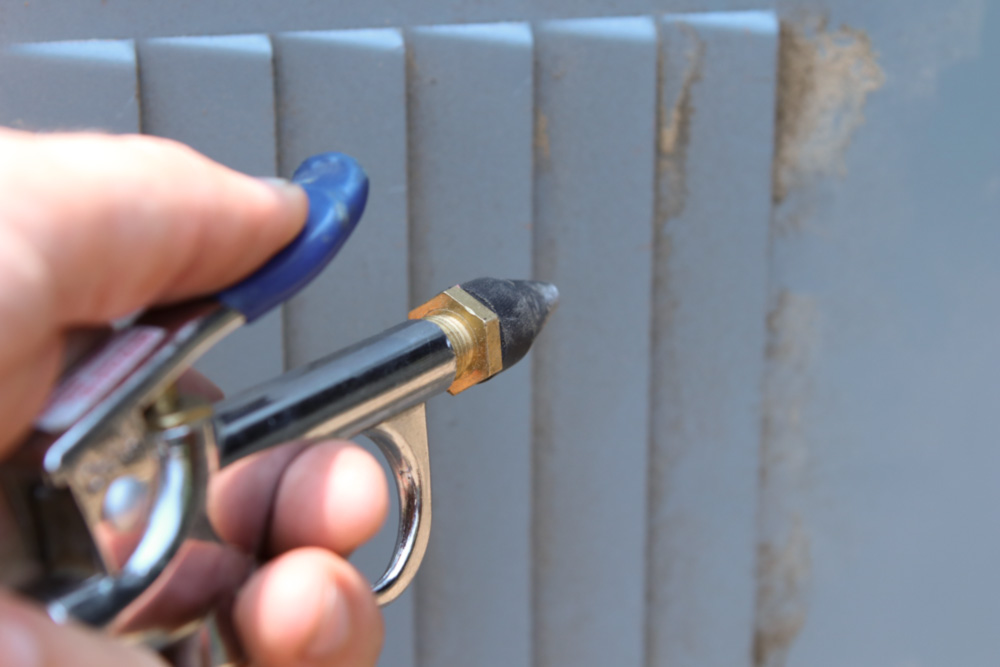
Wearing a respirator and eye protection, I blew off as much dust as possible with compressed air.
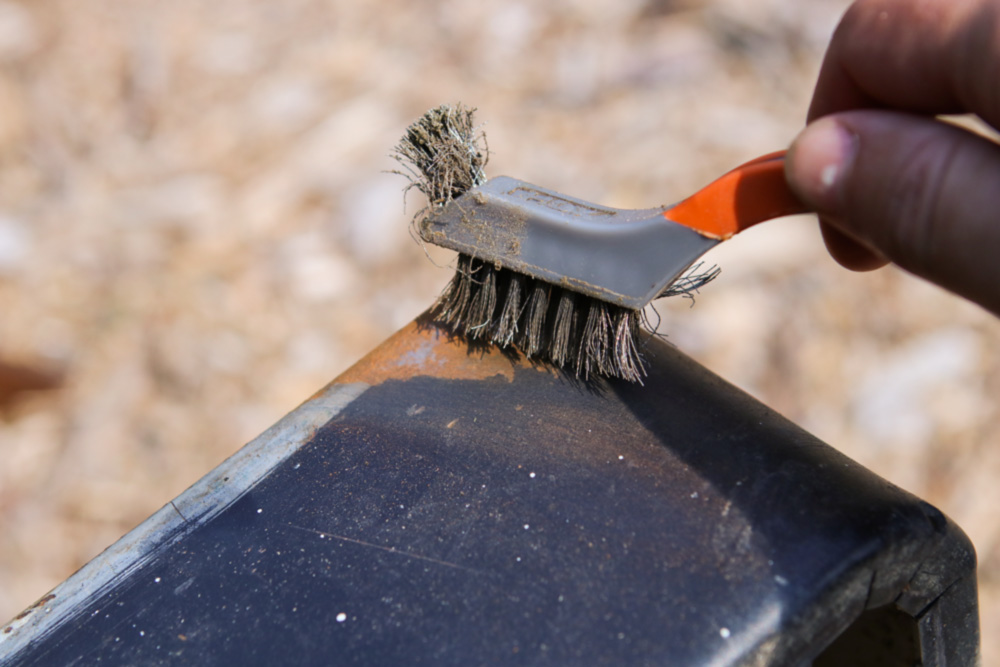
I worked the rust with wire brushes and sandpaper. Where the rust had eaten away at the paint, I feathered in the edges for a smooth transition. I roughed up the surface a bit with 180 grit paper to help the paint to stick.
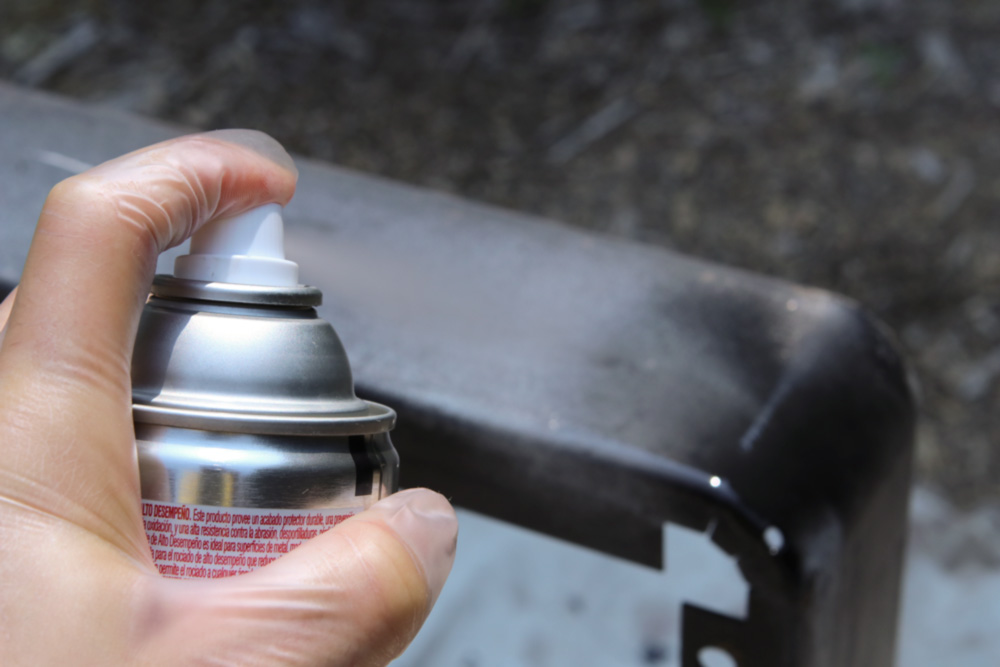 Then, I taped and bagged off the motor and switches, and started painting.
I used a flat black for the base, and Rustoleum's medium machine gray for the stand. I really like the vintage-y blue color of the original tool — it's very high school shop class — but this was the closest match I can make. Delta does sell some replacement paint, but it's expensive, would take a few weeks to ship, and I don't have an HVLP sprayer to apply it. This was the best I could do with rattle cans. It does make the base and the jointer different colors, but they were actually already somewhat different. Either because the base had be repainted already, or the paint aged different on the cast iron vs. the steel sheet metal. Whichever, I don't mind the two-tone look, and I think the overall effort was definitely worth it. Anything I do now makes the tool last longer for the future.
I applied five-six light coats, using about 1 3/4 cans for the whole thing.
After it dried, I took all the pieces back down into the shop.
Putting it All Back Together
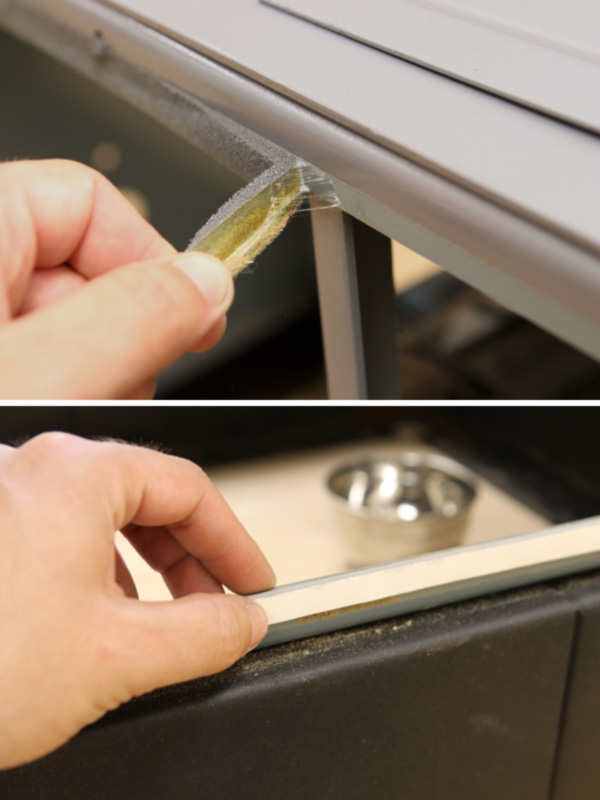
I replaced the foam tape that helps keep the sawdust inside with a bit of weather stripping from the home center. I should have taken this off before I painted, but lessons learned.
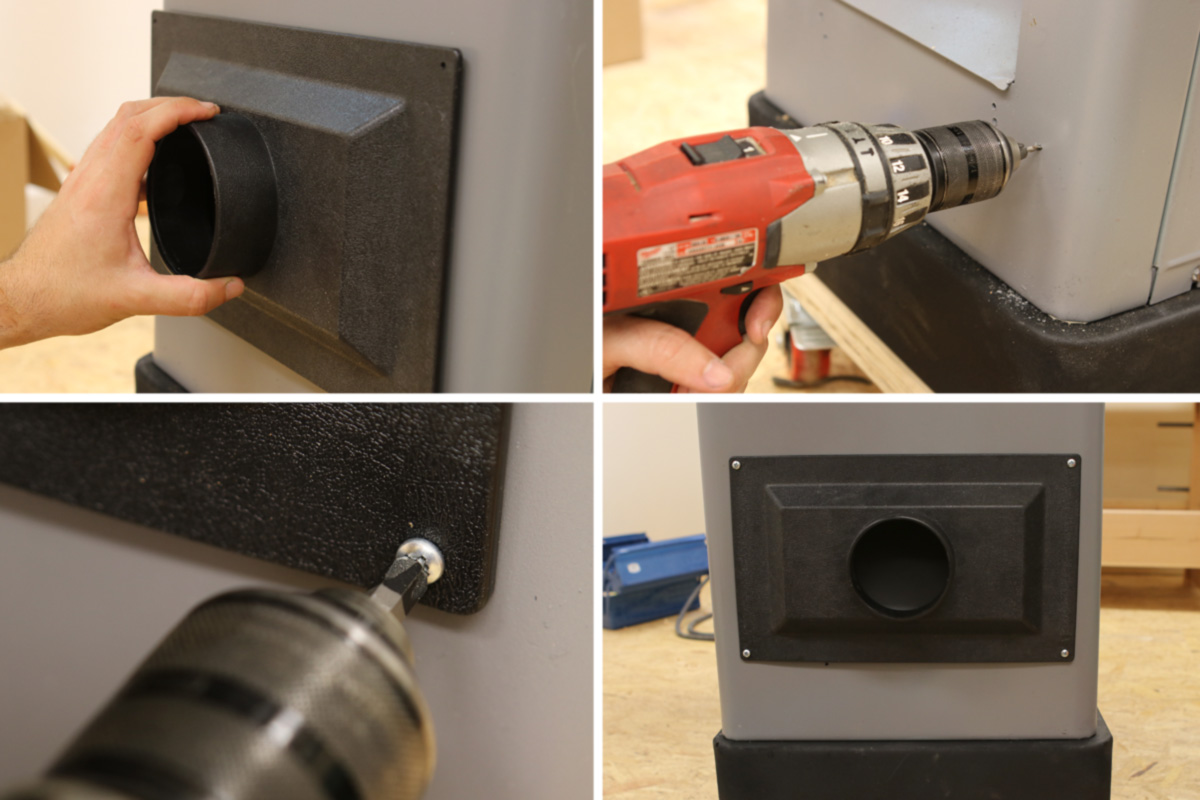
I then attached a new dust collection hood. The old one was pretty banged up, and had a 6″ port. I keep a 4″ port and hose on my collector as my “standard” and then adapt from there. Place, drill, more foam tape, machine screws, attach.
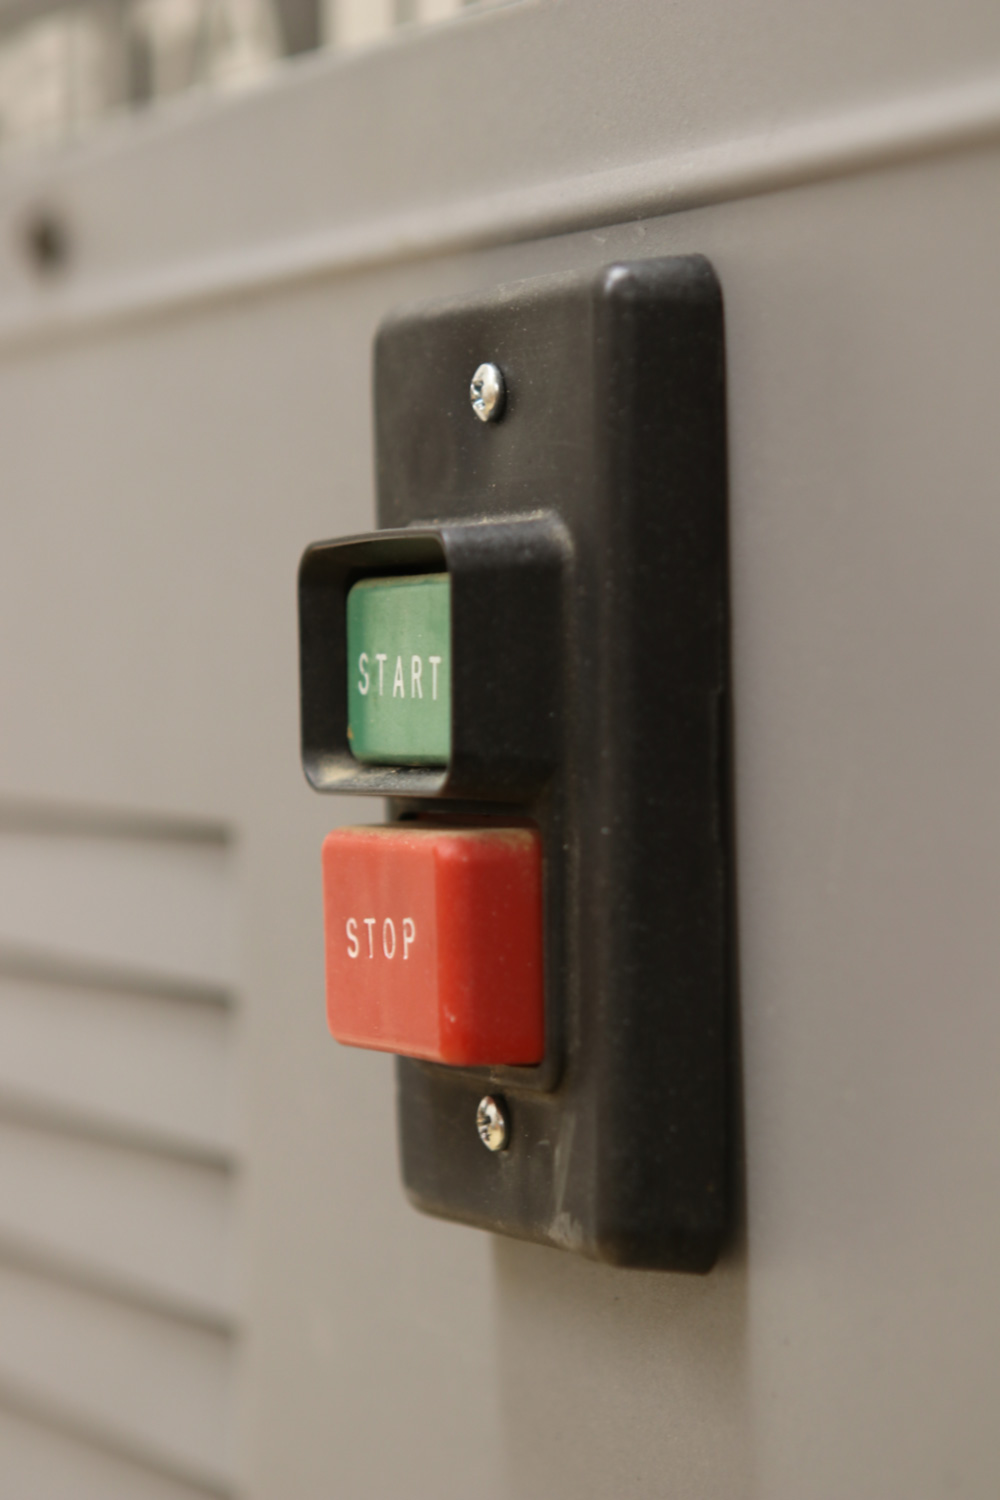
Putting the power switch back on was the final step, and literally the hardest thing I had to do on the whole project. The old hardware was broken, and required a crazy bolt – coupler – threaded rod – spacer – nut – panel – junction box combo I just couldn't recreate. So, I worked with the guy at my neighborhood hardware store to come up with a solution. With all the moving parts, it took me nearly forty-five minutes to reattach, and three trips to the hardware store. No fooling.
I replaced the belt, squared the fence, adjusted the tension, and…
DONE!
Here it is in it's new permanent home. Right now, it's nestled in a corner along the wall where the 220v circuit is, under the new window. This will work fine for shorter stuff. There's a door right next to the outfeed table, so I can roll it forward and joint longer stock right through the opening.

Now… all I have to do is learn how to use it. #Safely.
Thanks for following along!
![How To Find a Good Mechanic [6 Signs To Look Out For]](https://www.manmadediy.com/wp-content/uploads/2026/05/pexels-cottonbro-4489721-25704-scaled-1-23155.jpg?width=300&height=160)


