How to Drill Perfectly Vertical Bench Dog Holes in Your Workbench
A woodworking bench is more than just a table to lay your tools and project parts on. Used well, your bench is an all-in-one, three-dimensional clamping solution that will allow you to hold your work on any of its edges or faces. The traditional way to increase the work-holding capability is to place “dog holes” in your bench top, and allowing them to work in tandem with a face or end vise to secure parts of any size.
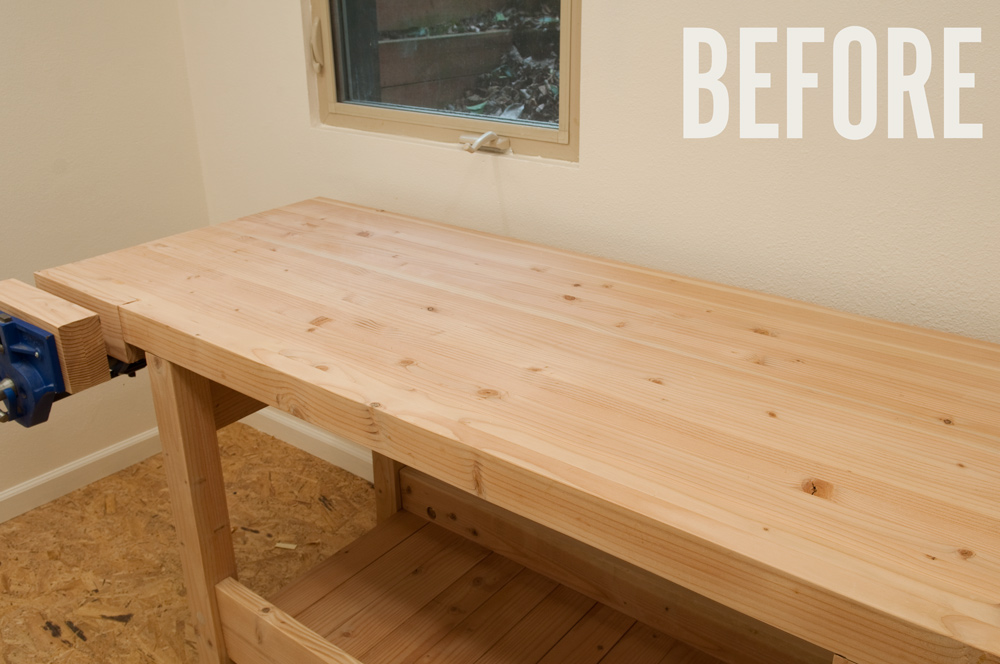
In order to work best, these holes need to be drilled vertically… or at a consistent off angle, typically between 2-3°. Normally, when you want a dead-on perfect angle, you’d place the workpiece on the drill press. But if you can figure out how to muscle your benchtop to work under a spinning drill press bit, then mister, you’re a better man than I.
So, instead, we must take the drill to the work, and figure out how to keep our angle nice and consistent while creating clean holes in a beefy benchtop. The answer, as in many woodworking solutions that seek consistency: let’s build a jig!
How to: Build a Jig for Drilling Bench Dog Holes
Tools and Materials:
- 3/4″ dog hole bushing (not required, but highly recommended), more below
- 3/4″ auger bit, more below
- Crosscut saw, drill, and other assorted tools
- length of 2×4, some 3/4″ plywood, and other scraps
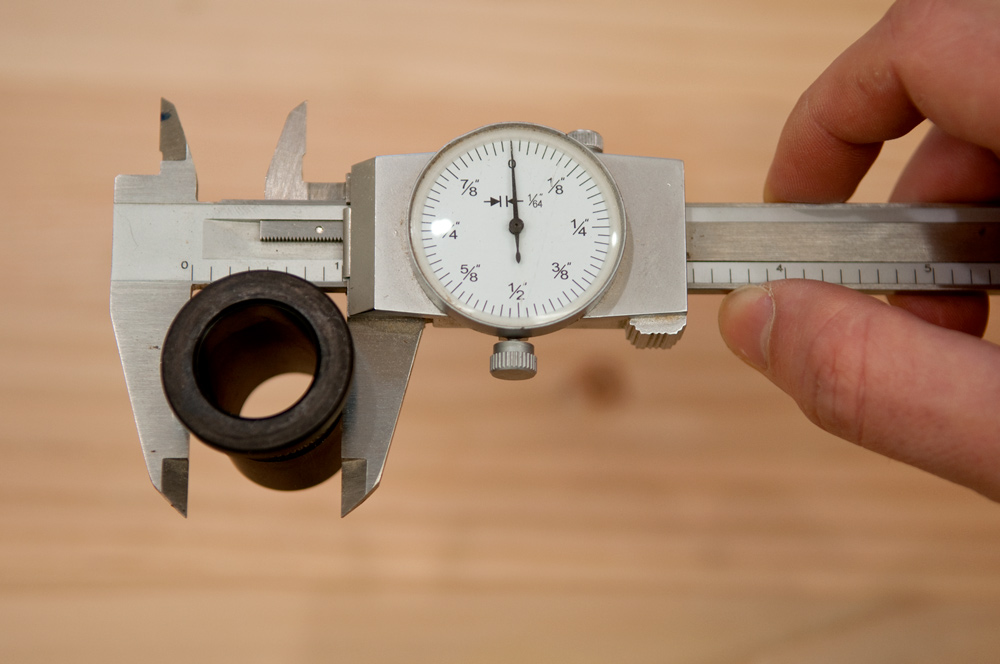 My approach takes advantage of this ingenious little helper – a steel bushing that prevents your bit from wandering. You don’t have to use one, but a guarantee that I won’t mess up the benchtop I spent months building is worth $8.40 to me. If you want to try to DIY something with the same principle, look for some steel pipe with an ID of exactly 3/4″ and cut it to size.
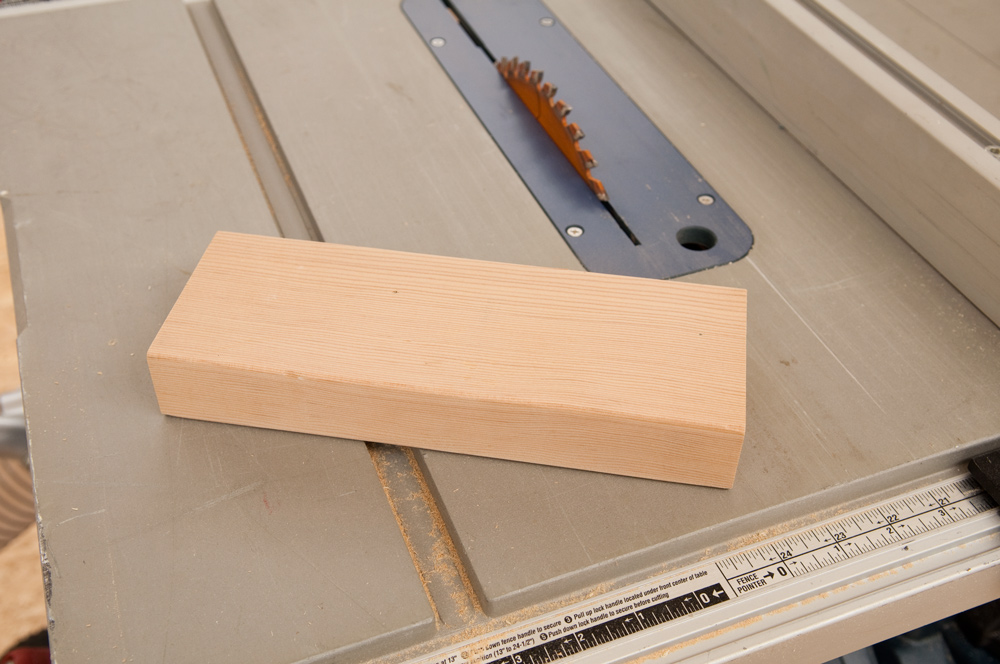
The bushing is sized to work with a piece of wood exactly 1 1/2″ thick. Thankfully, that’s the thickness of a 2×4, so grab a scrap that will work.
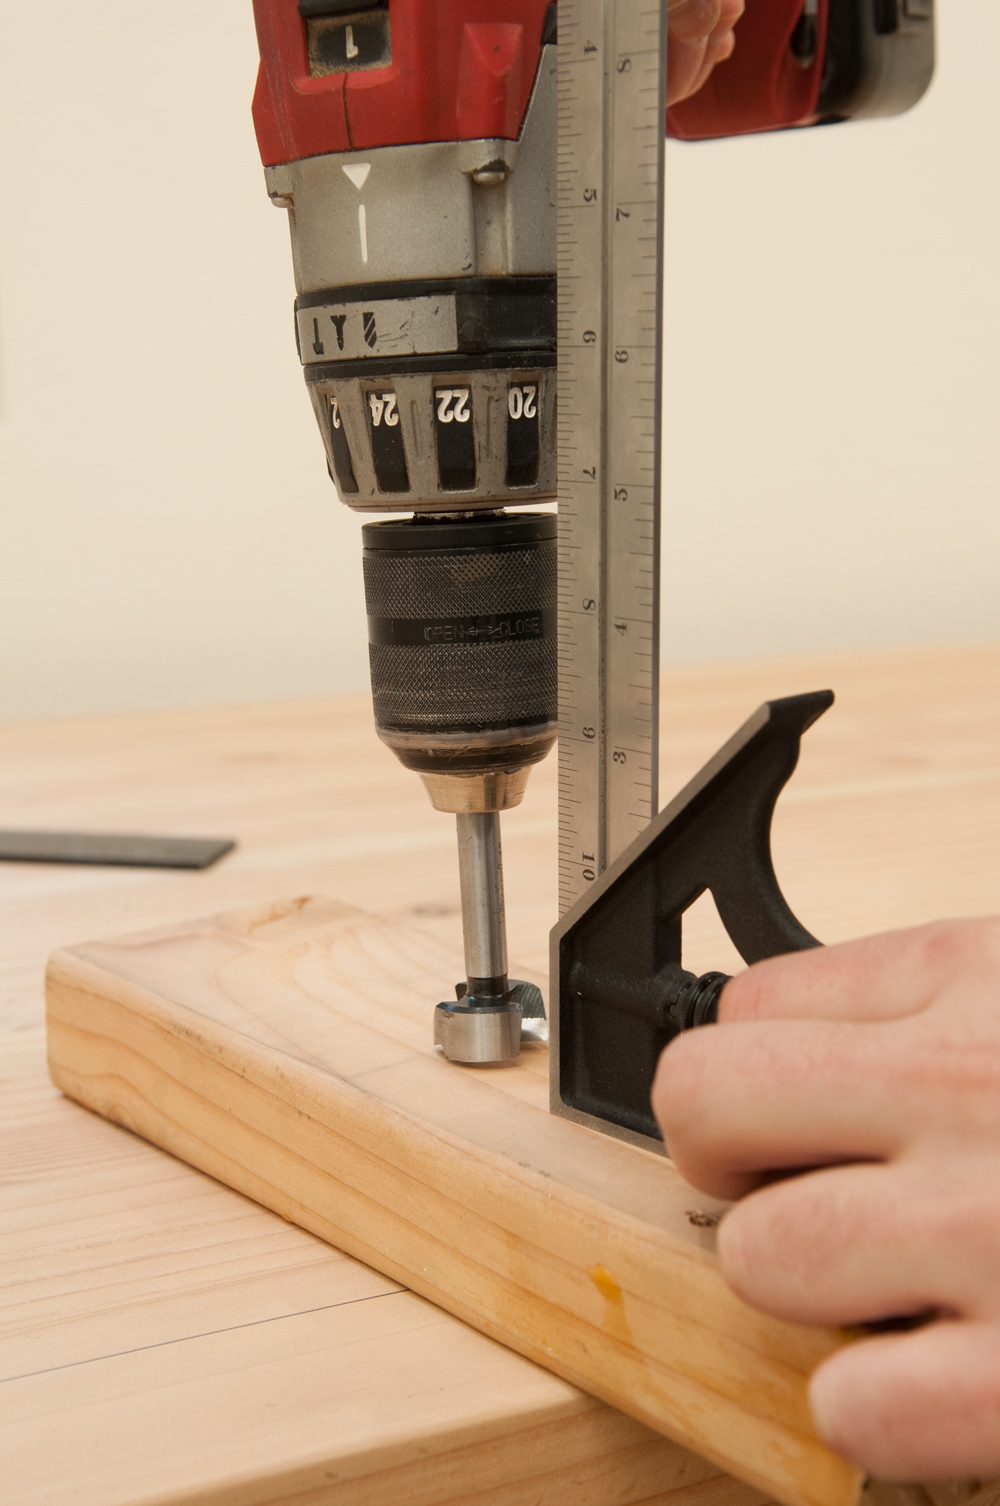
If you don’t have access to a drill press, use a square to guide your drill to bore a 90° with a 1″ bit. Keep trying until you get it right on. 2x4s are cheap, and it’s okay if your jig has a couple of holes, as long as you mark the right one.
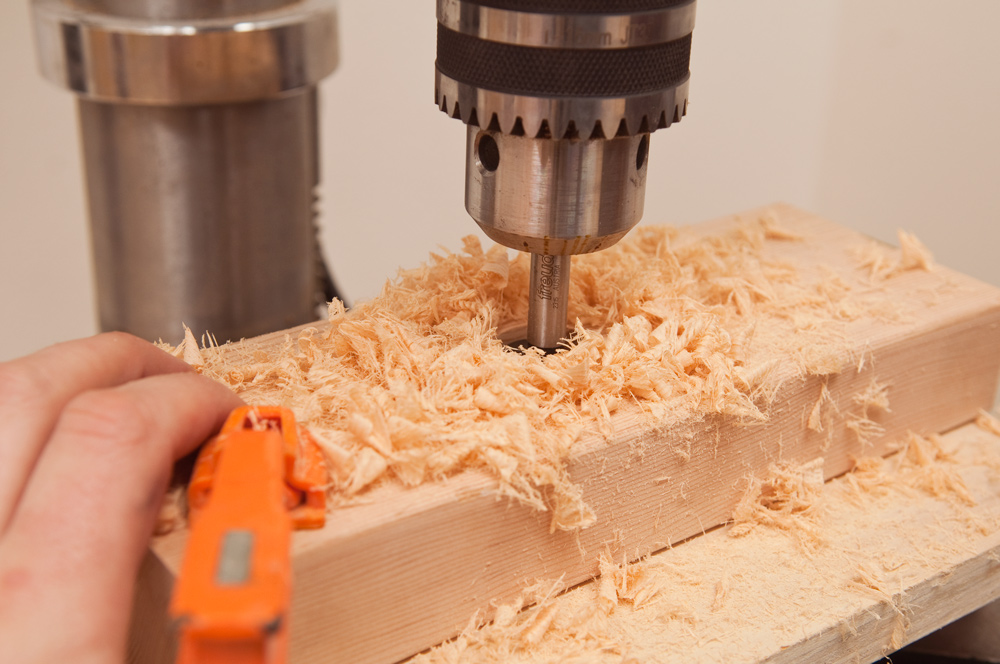
I do have a small benchtop drill press, so I used that to drill my outer hole with a 1″ Forstner bit.
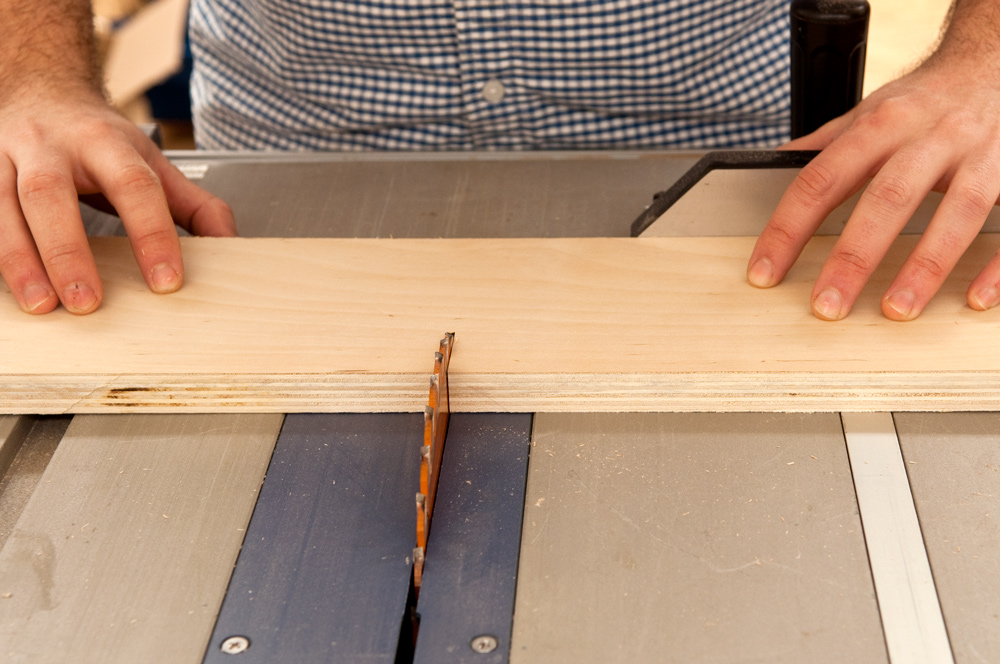
Next, cut a piece of scrap plywood to make the base. The size isn’t as important, as we’ll be adding a fence, but make it as long as your 2×4, and wide enough that you’ll be able to place the bushing as far in as you want your dog holes. Mine was about 5 1/2″ x 8″.
Attach the base to the 2×4 with countersunk screws. It’s important to use screws and not brads or pneumatic fasteners here, since you’ll want to be able take it apart to reuse the guide bushing without the fence to drill holes in other places besides the front edge of your bench.
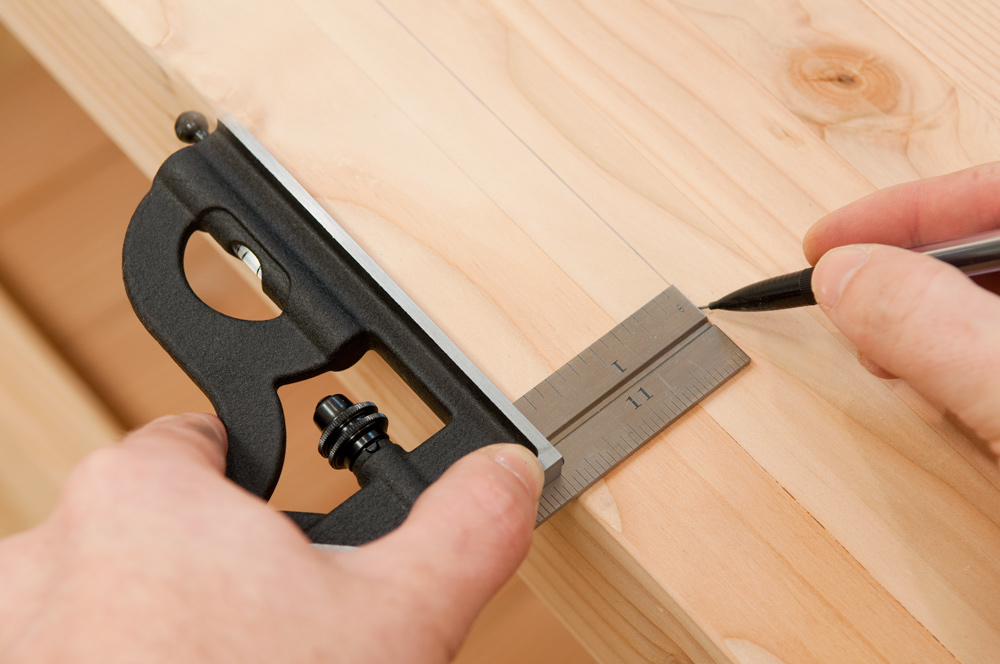
Now, determine how far from the front edge you want your dog holes. I researched the heck out of this, and everything I found indicated that drilling them as close as possible is best, preferably within 2″. So, I drew my line to make them 2″ on center from the edge, or, once drilled, 1 5/8″ from the front edge.
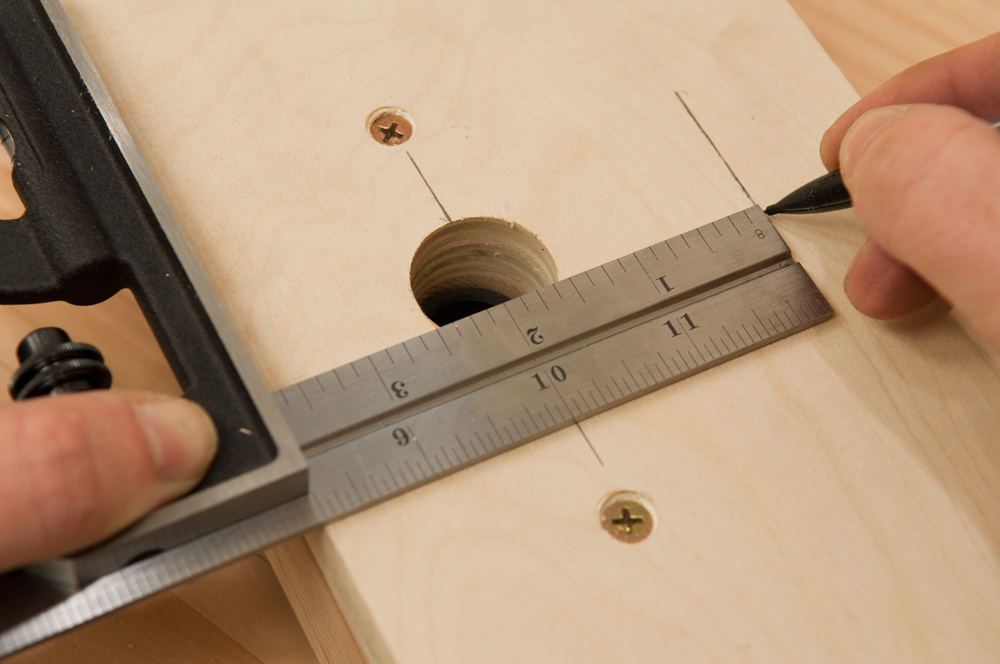 With that established, mark a line 2″ (or whatever you choose), from the center of the guide hole…
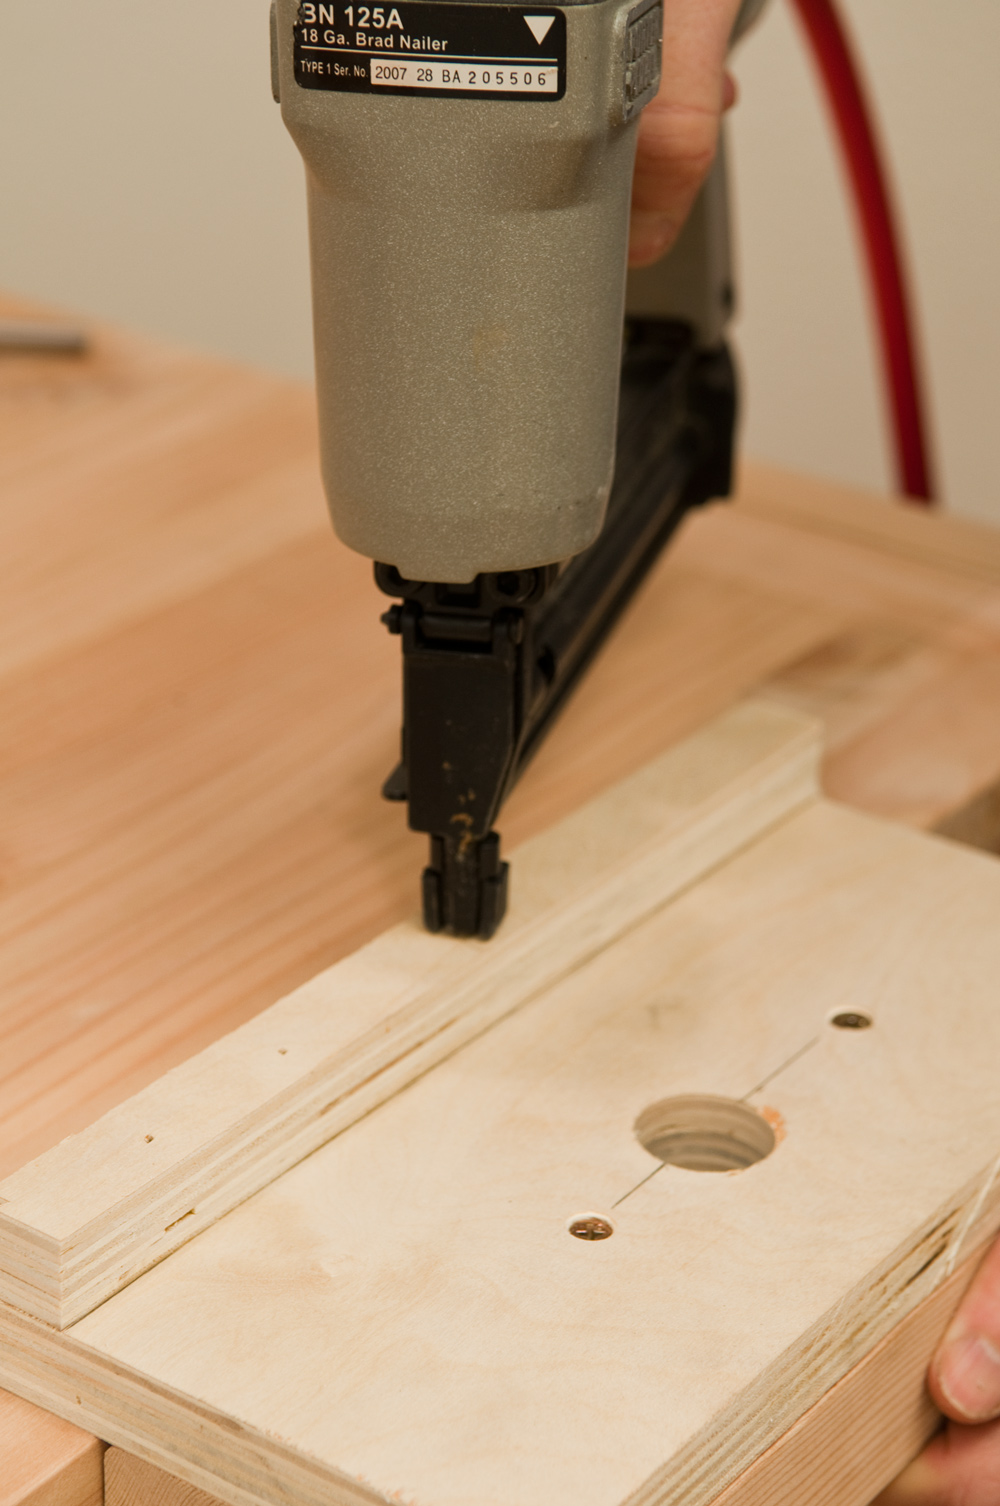
… and nail/screw and glue a thin strip of plywood to serve as a fence.
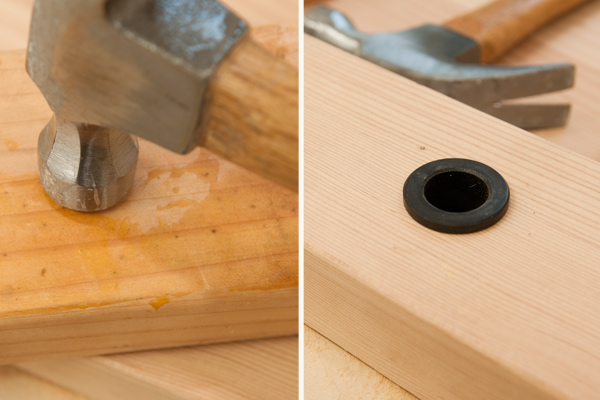
Lastly, use a scrap block and hammer or a soft mallet to insert the bushing.
Drilling Your Dog Holes
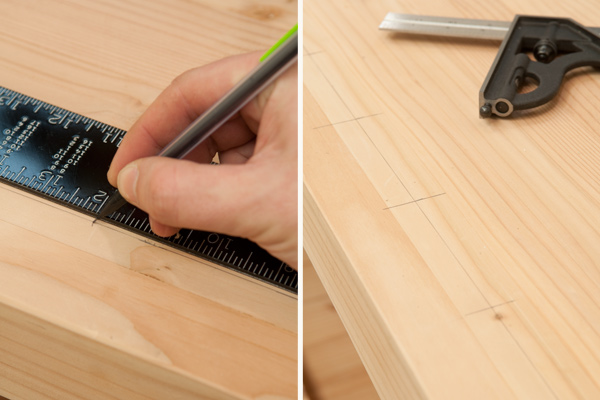
With your inset line marked, mark a nice big cross to indicate the center of each hole. I spaced mine 4″ apart, as that’s basically the travel of my end vise.
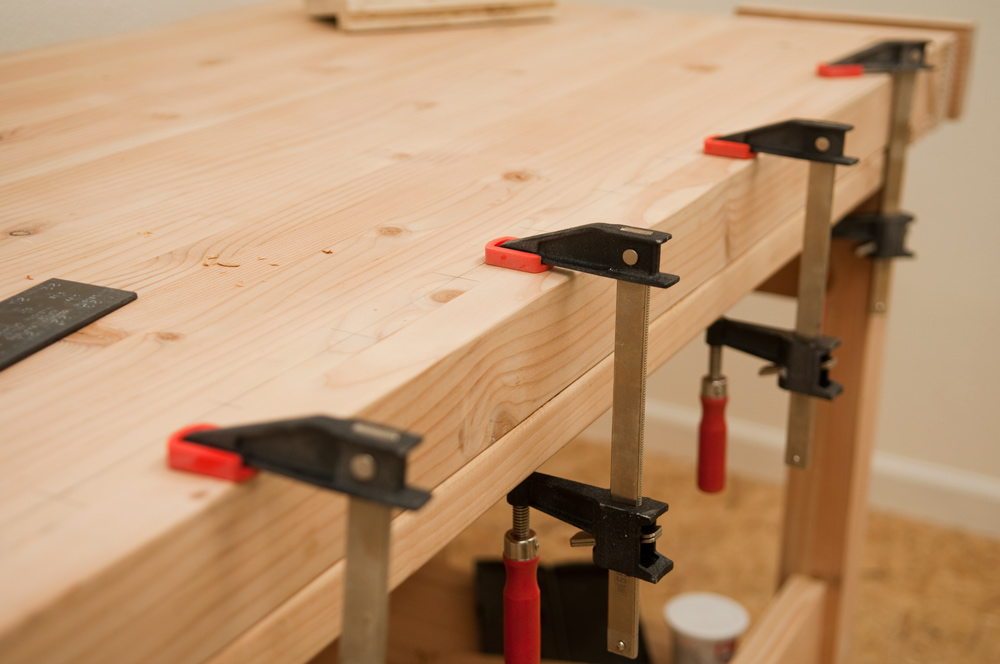
To prevent tearout on the backside, clamp or screw a scrap of 2×4 underneath your dog hole line.
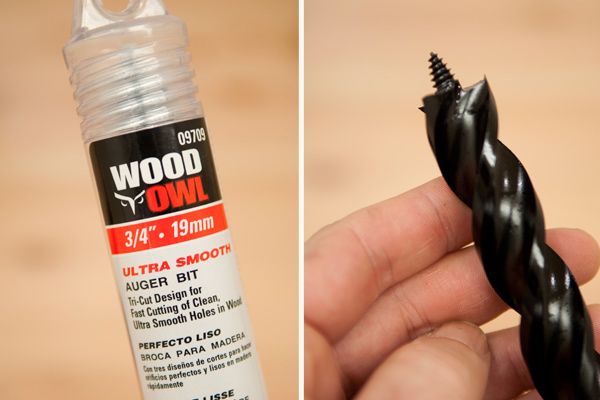
The proper bit for the job is an auger bit. This will help you power through the thick top while leaving a clean hole. The wide spiral flutes help remove the chips. I used a Wood Owl Ultra Smooth tri-cut bit, and was very happy with the results. You can really feel this dude grab and pull itself into the wood, and it left a great finish. Highly recommended.
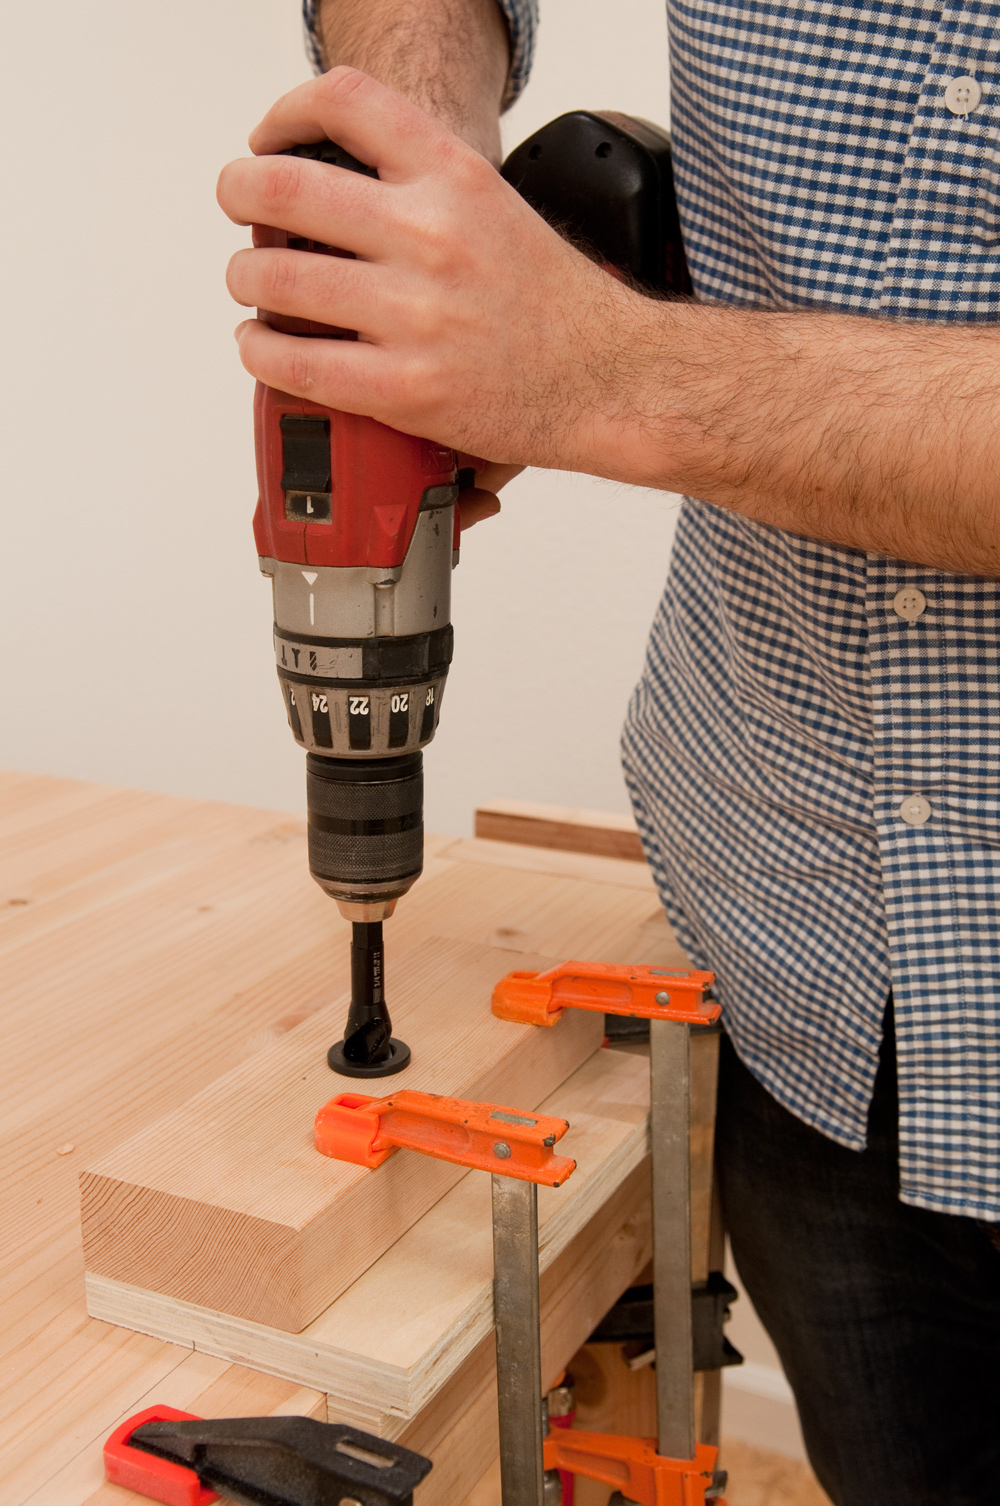
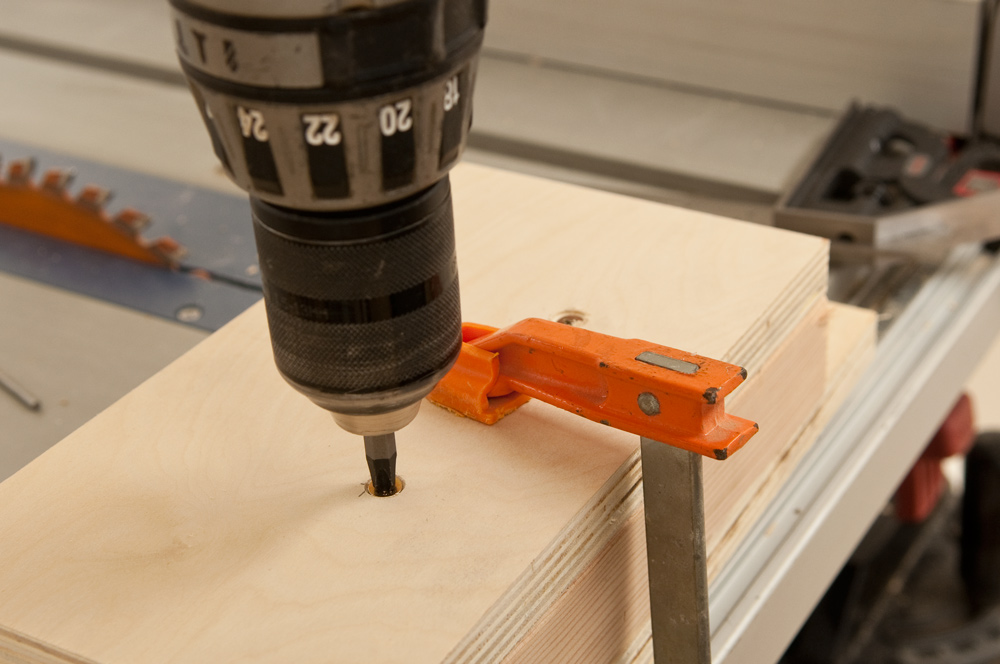
Set up the guide over the cross hairs, and check the placement by inserting the brad point of the bit into the jig. Fiddle with it until it hits dead center, and clamp in place. (If you haven’t drilled the plywood base yet, you’ll need to do that first to see through). Repeat until you’ve drilled all your holes. If you want to create a second row, just remove the bushing and screw to additional bases.
Potential last step: if you, like me, used a softwood for your benchtop, the wood around the holes will get all mangled with repeated use, especially on Douglas fir, which is particularly prone to tearout. That won’t really affect its functionality, but since I’m using mine for photography, so I decided to add some insurance.
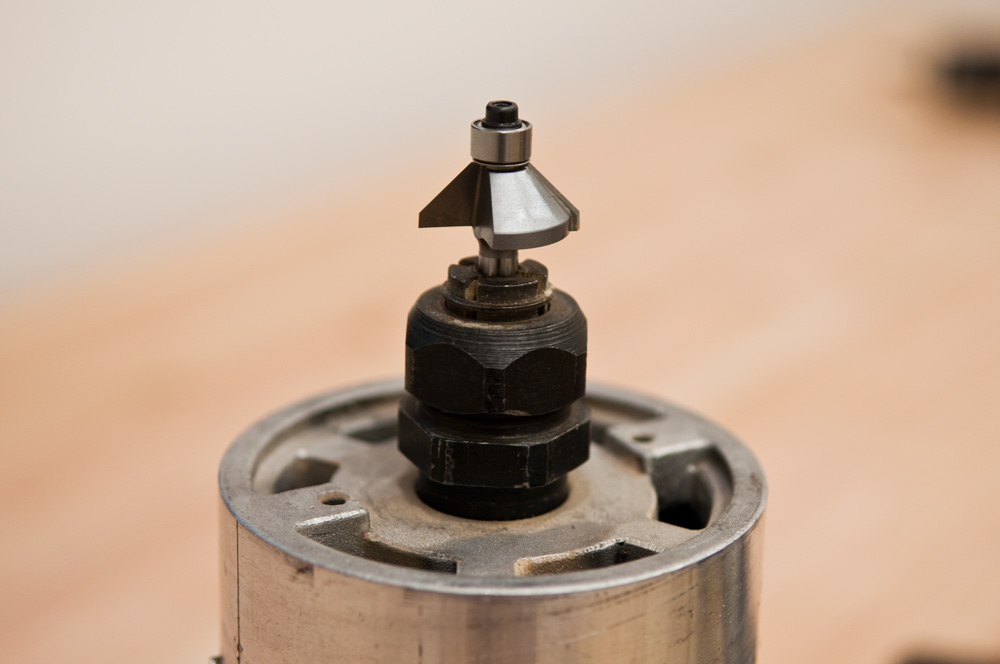
I used a router and 45° chamfer bit to soften the edges. I needed to buy a new bit with a 1/4″ shank here to get a bearing small enough to fit inside my holes. I’m glad was able to find that 1/4″ collet… which I’m pretty sure I have never used in the ten years of owning this thing.
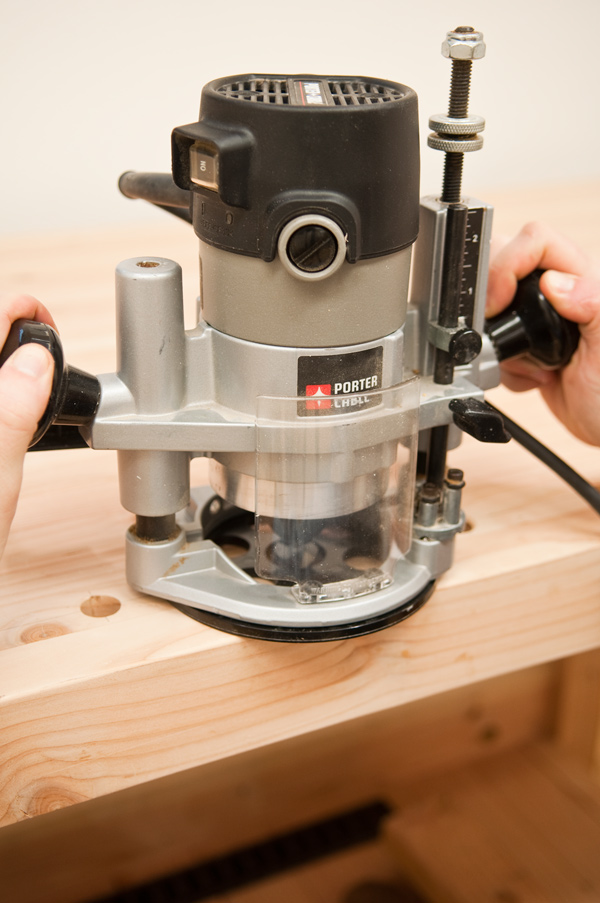
Use a plunge base if you have one. If not, and your router has a pretty soft start, you’ll probably be okay. Just test it on some scrap first, like that 2×4 with all the 3/4″ holes in it you used to prevent blowout.
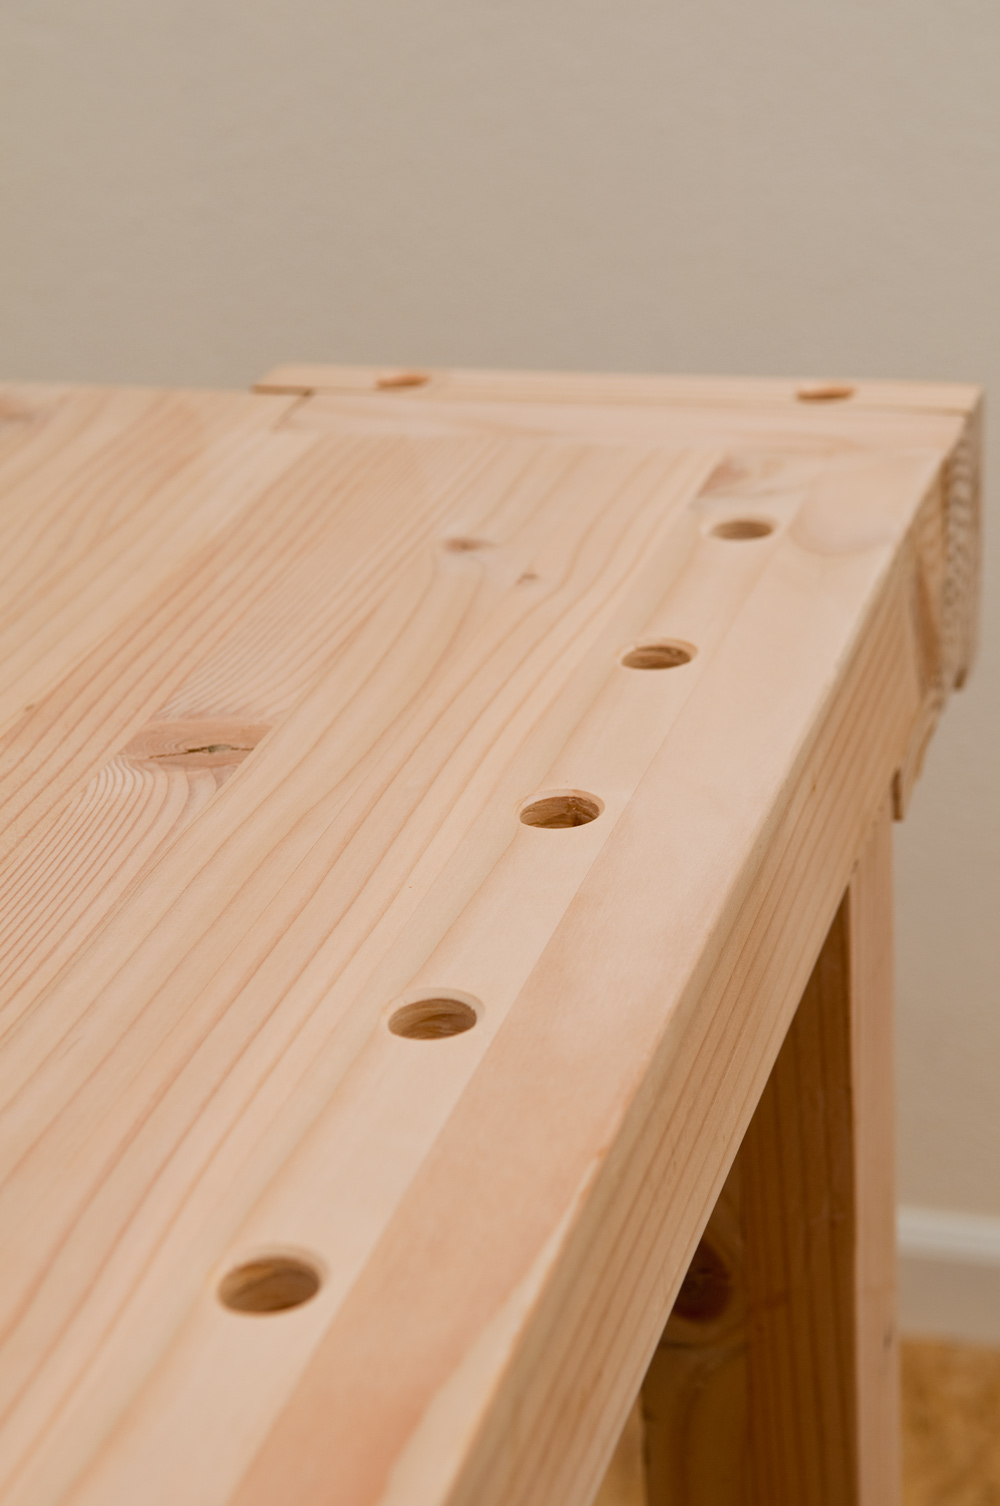
And… you’re done! I added some in front of my face vise, and down the right leg to support long boards. I also put some in the back leg and side aprons to store my holdfasts and other tools when not in use.
Make sure you keep your bushing guide and all the bases for whenever you want to add more. Write their use with a big black marker so they don’t get confused for scrap.
Have fun!