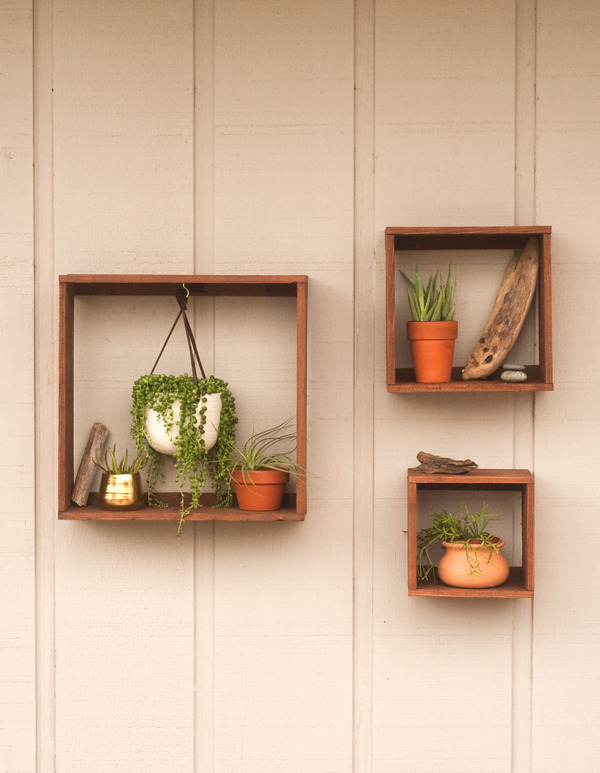
How to: Make These DIY Rustic Floating Plant Boxes

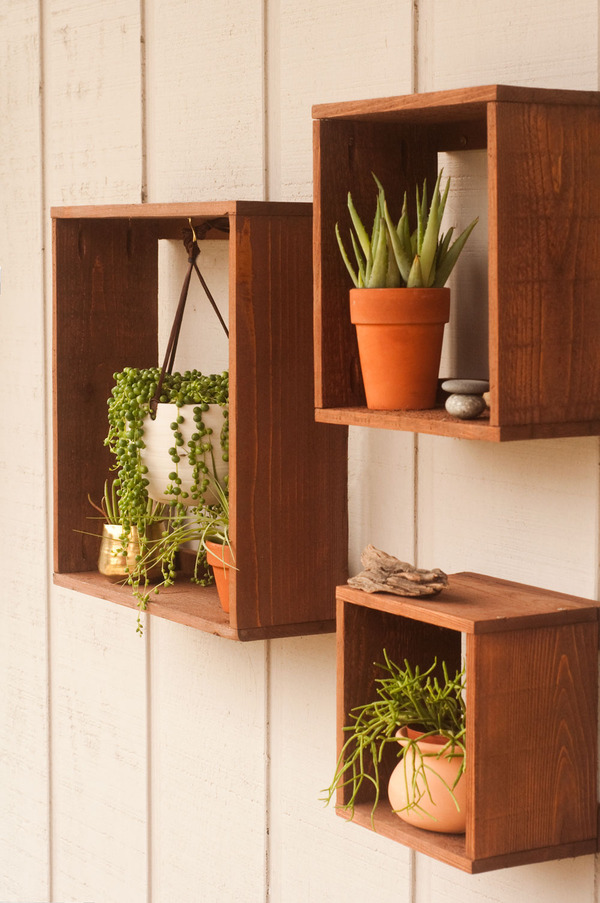
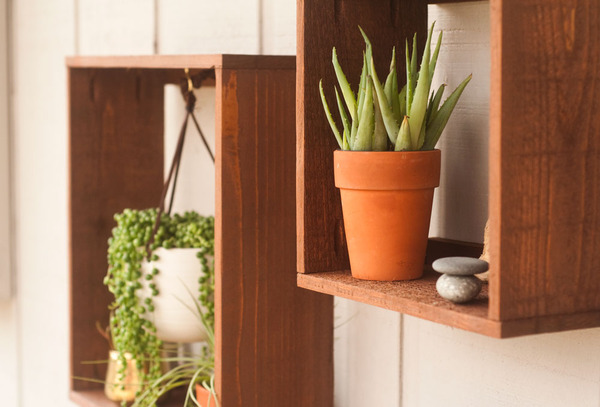
Plants, my friends. Plants. Succulents, ferns, ivies, flowers, cacti, sedum, even tiny trees are all an awesome way to bring some life into any space, indoors or out. These simple, rustic boxes allow you to get the plants off the floors and flat surfaces and onto the walls, where they can be seen and get the light they need. The boxes make it easy to combine a variety of pots, containers, and hanging planters, and maintain a cohesive vibe. Here, you don’t have to worry about all your planters and pots working together; just place or hang them inside these simple shadow boxes, and the whole thing comes out like an installation or gallery-style collection of living wall art.
Oh! And get this…
If you want to learn to make your own hanging planter for fall, you can sign up for this free DIY Workshop at your local Home Depot this Saturday. It’s available at Home Depot locations all across the U.S., and it’s totally free.
The DIY Hanging Planter Workshop takes place this Saturday, September 12, 2015 from 10:00 – 11:30AM. You can find more details and register at the Home Depot Workshops page.
If you live near Tucson, Arizona, I, Chris Gardner from ManMade, will be teaching the workshop at the E. Broadway Home Depot (Store #410, 7677 E Broadway Blvd) If you’re in the area, this is an awesome opportunity for me to meet and collaborate with ManMade readers, and I’ve love to hang out with you and use some power tools for a day.
So, head to the Home Depot DIY Workshops page to sign up, and we’ll see you on Saturday.
Tools and Materials
- 5/8″ x 5 1/2″ #2 cedar fence pickets, 6′ long
- Cedar 1×2″, 8′ long (or scraps)
- Circular saw or other crosscut saw
- Electric drill
- Random orbit sander and sanding disks
- Pocket hole jig and 1″ screws
- 1 1/2″ #8 flat head screws
- Wood finish and brush
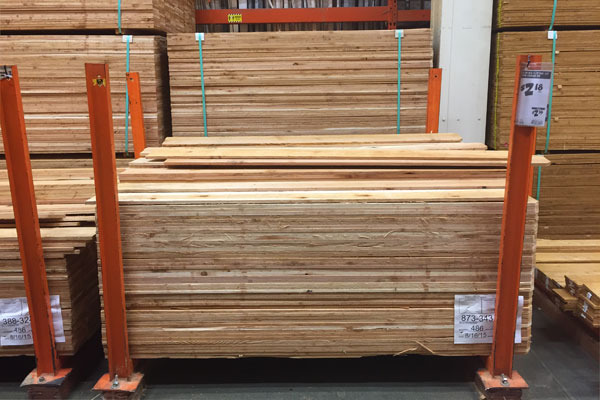
This project is made from rough sawn cedar fence pickets. These have a dog-eared cut on one side and a shaggy finish that give the boxes some great texture, and they’re very inexpensive. (They cost $2.18 at my local Home Depot). You can build one 18″ square box from one picket (or two smaller ones), which makes for a very economical project, and a great way to whip up several of these at a time.
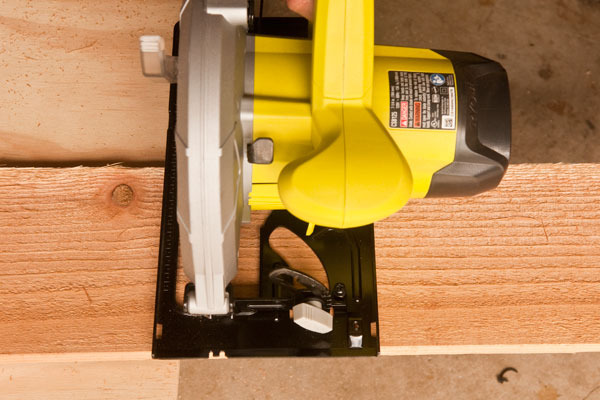
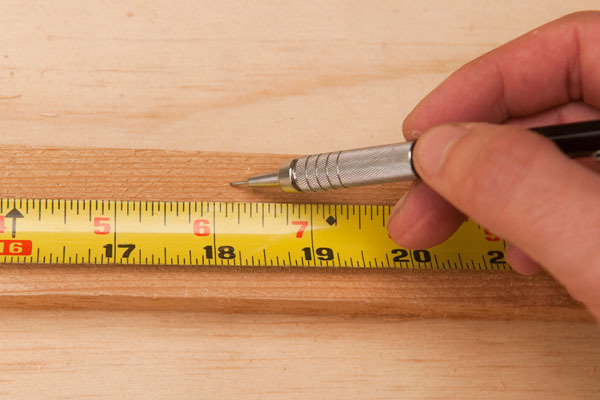
1. Here, I’m making an 18″ box, but you can scale this project up or down as needed. Use a crosscut saw to cut off the dog ear end of the picket, and then cut two 18″ lengths.
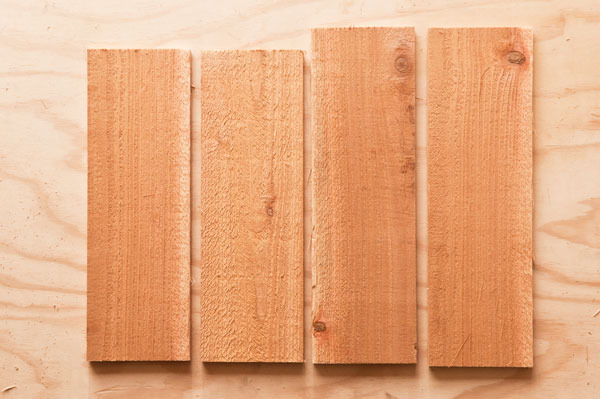
Then, subtract the doubled thickness of the wood (5/8 x 2 = 1 1/4), and cut the two sides. So, here, 18 – 1 1/4 = 16 3/4″.
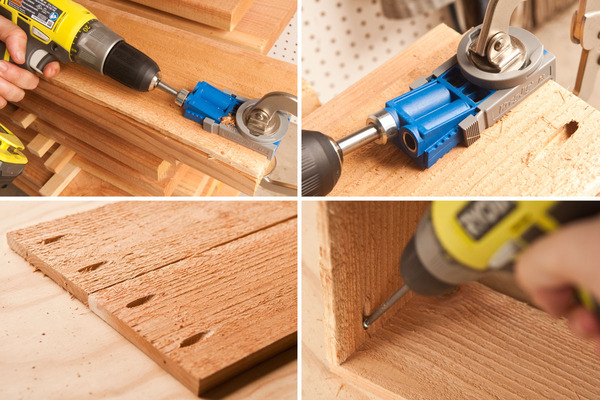
2. To hold things together, I used a pocket hole jig and 1″ screws. This is a simple way to make strong face and butt joints, and a nice way to keep the hardware hidden on the inside of the boxes. I used the Kreg R3 jig and the Kreg face clamp to quickly drill two pocket holes on both ends of the side pieces. Then, I attached them to the top and bottom with 1″ fine thread pan head pocket hole screws. (I like this multi pack of common screw sizes.)
3. Next, cut two cross bars from cedar 1×2 to attach to the top and bottom of the box. You can cut them to fit inside the box and sit flush with the back, or simply attach them to the outside. This provides strength to the structure and prevents racking from side to side, and also creates a place to attach the boxes to the wall.
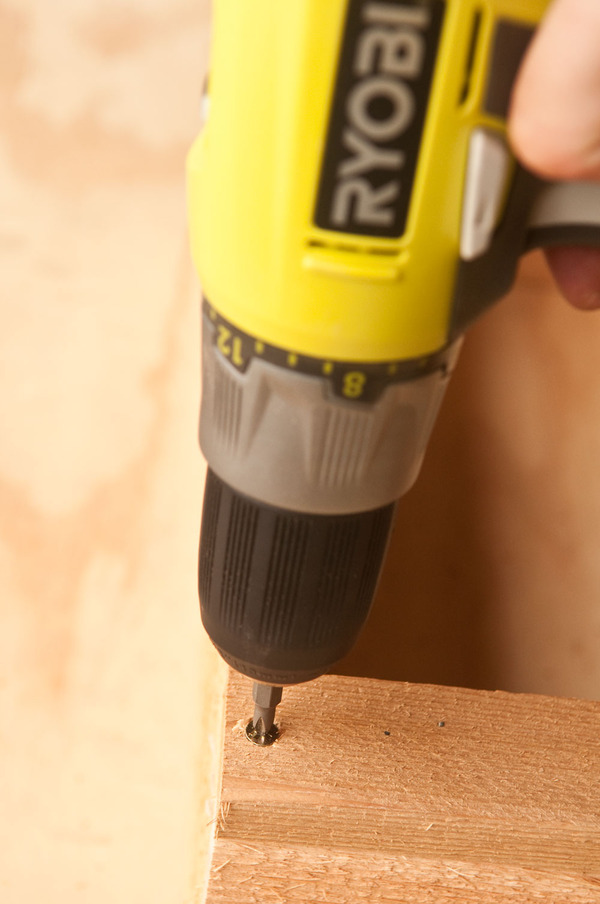
Attach them to the boxes with 1 1/2″ screws, or, if you’ve placed them on the inside, use the pocket hole jig again.

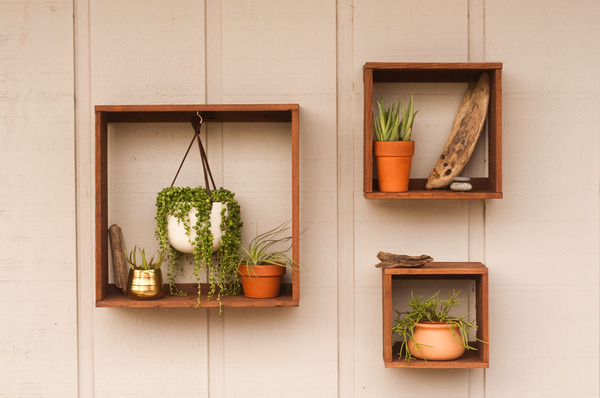
4. I then repeated steps one-three to make two additional boxes, 12″ and 9″ square. By keeping things in multiples of three and spacing them 6″ apart, I was able to get the gridded look I was going for.
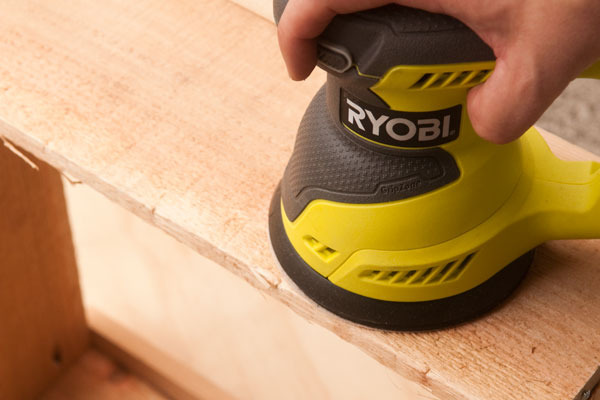
5. Sand the structures, but don’t completely remove the mill marks and texture from the wood. This gives the boxes an aged, weather character. I used 100 grit to remove large pieces of grain and splinters, then did a quick pass with 150 to smooth things over.
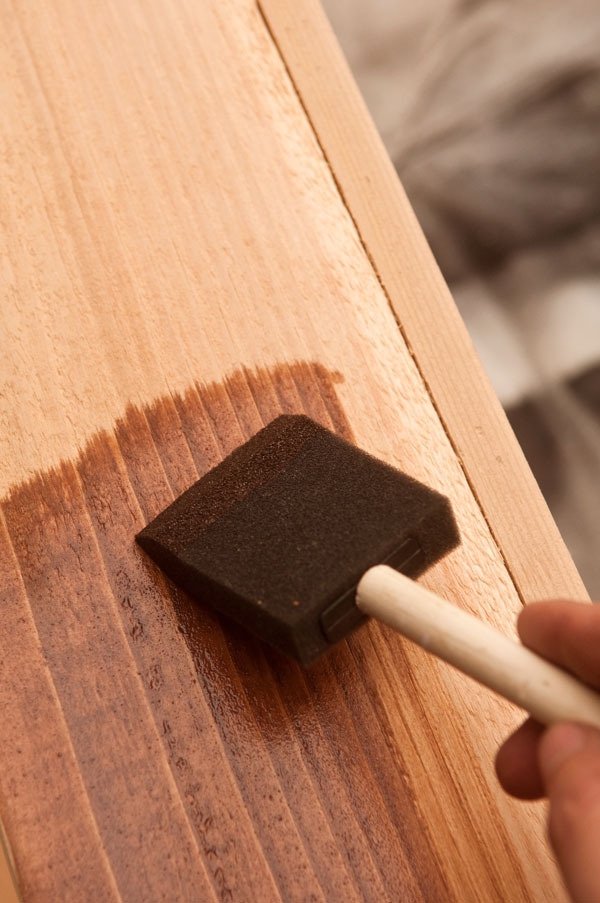
5. Since I’m using my boxes outside, I finished them with an outdoor friendly stain that works well with cedar. Feel free to finish yours in whatever wood tones make sense, or paint them any color you like.

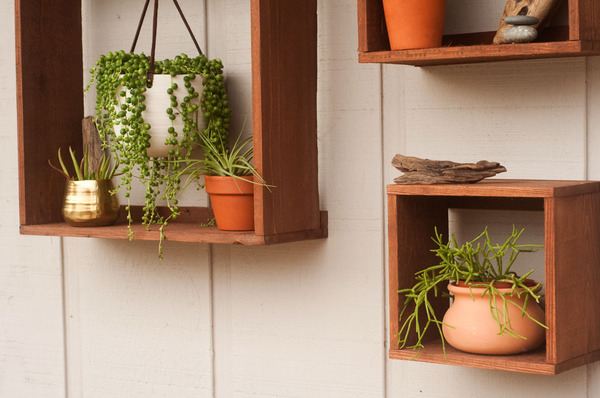
6. Lastly, I attached a 1 1/4″ cup hook to the top of the 18″ to attach a hanging planter. Attach them to walls via the 1×2 slats with the appropriate hardware and…
BOOM! You’re done.
Once these are in the walls, you can switch out the goods inside as seasons change, or easily add more boxes as your collection of plants grows.
Remember, you can sign up for the free hanging planter DIY Workshop at your local Home Depot on Saturday, September 12th. And if you’re in Tucson, I’ll see you on Saturday!
SIGN UP HERE!

Thanks to Home Depot for sponsoring this post and making ManMade a partner for the 2015 DIY Workshop series. Thank you for supporting the brands that make ManMade possible.


