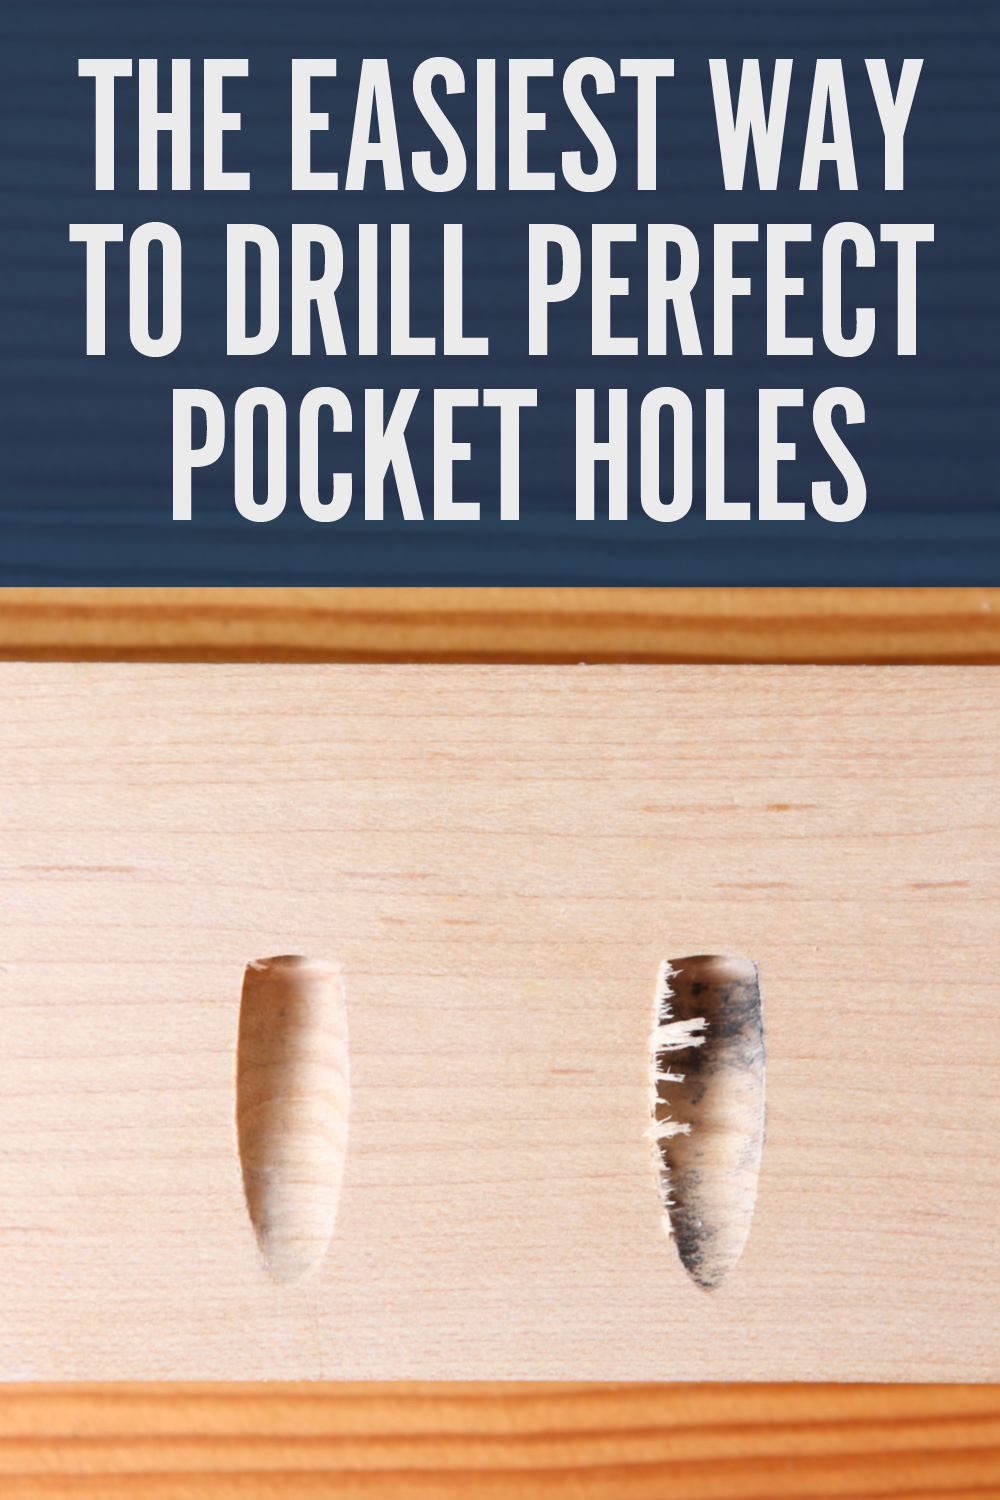
How to Drill Better, Cleaner Pocket Holes
Pocket hole joinery has a lot going for it. An affordable jig makes the process fool-proof, it comes together in less than a few minutes, and the joint itself is super strong.
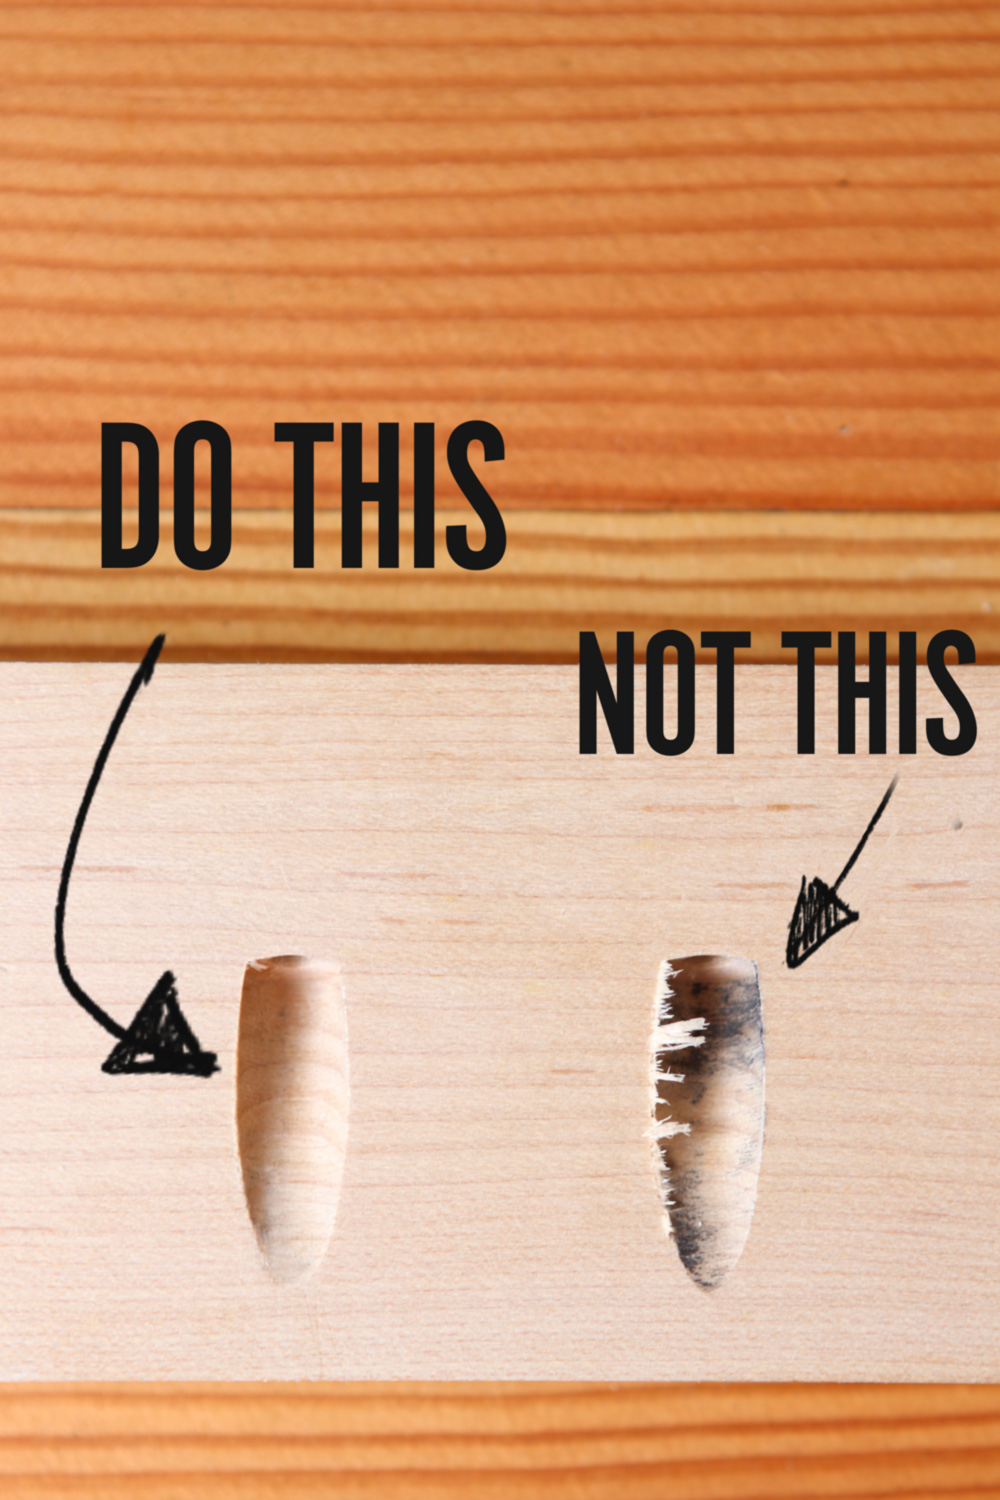
The Kreg jig itself does most of the work, but a little knowhow makes the pocket hole clean and precise. This is especially important if the pocket hole will be visible, plugged, or filled.
Ready to make nice, sharp pocket holes? Let's go!
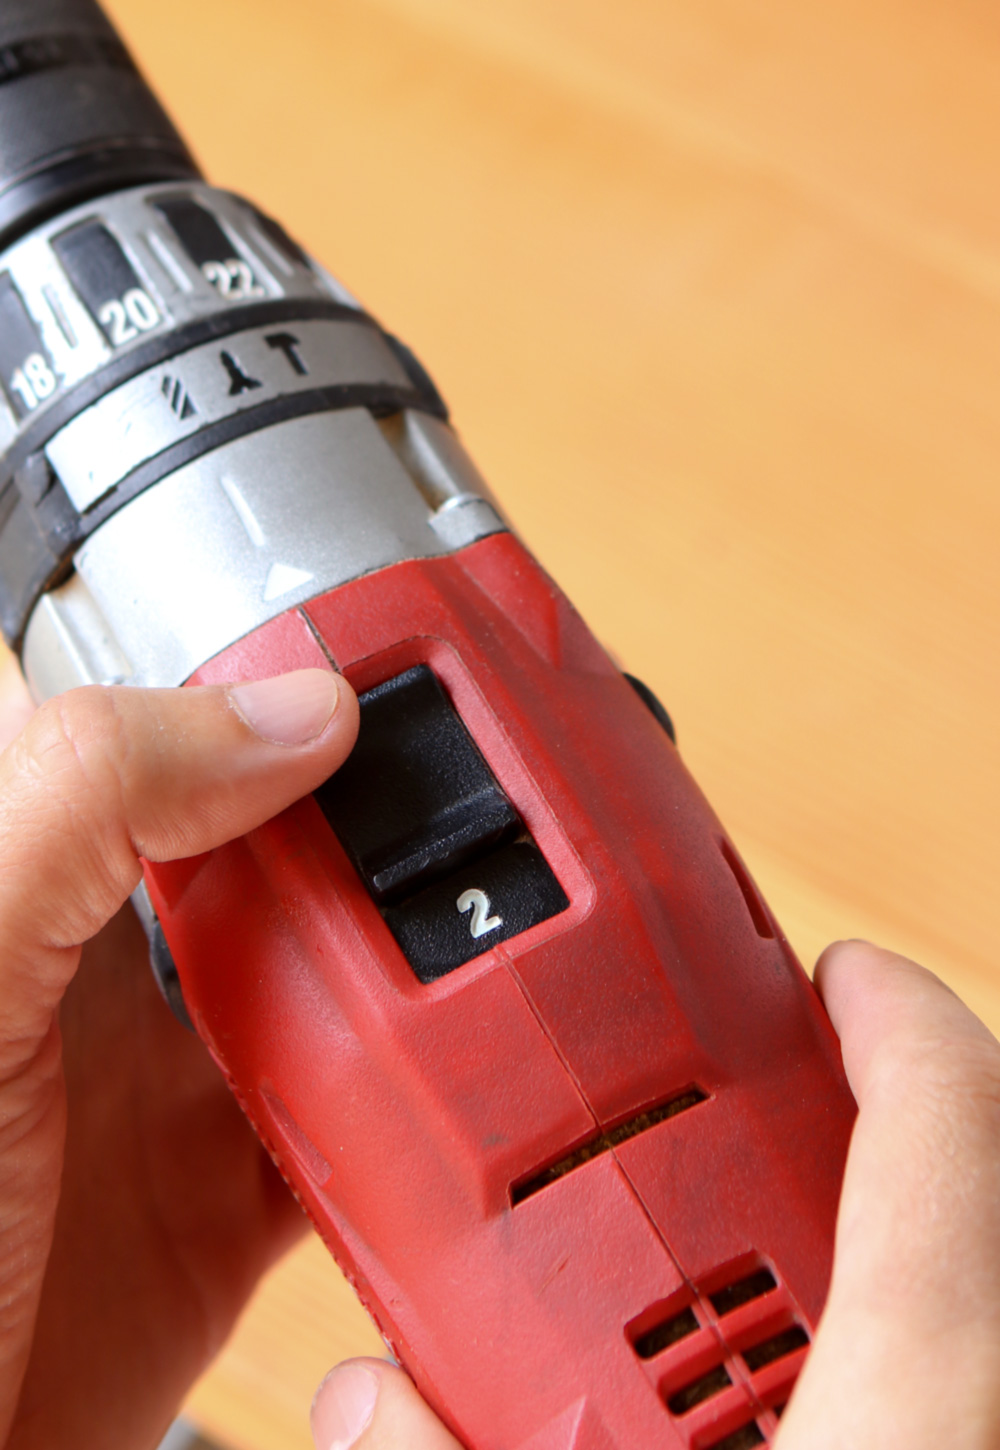
Use your drill's high speed setting.
Many cordless drills have two, or even three, speeds, which you can switch at top. These are designed to help you get the right balance between torque, rotational force, and its rotational speed. For cutting pocket holes, set your drill to its highest speed setting.
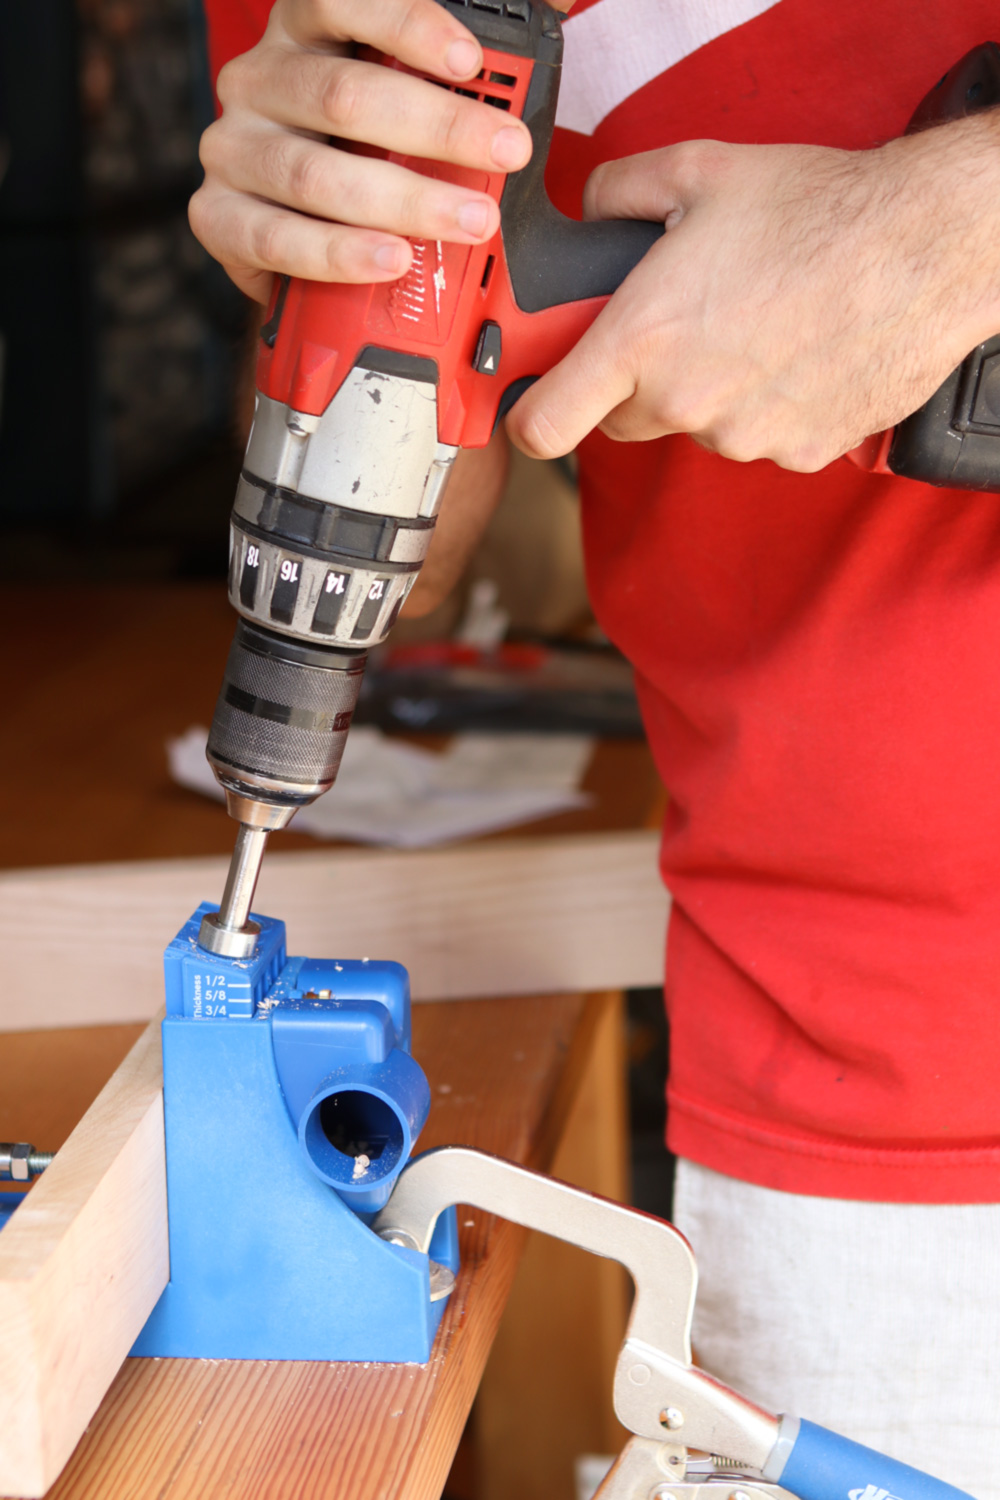
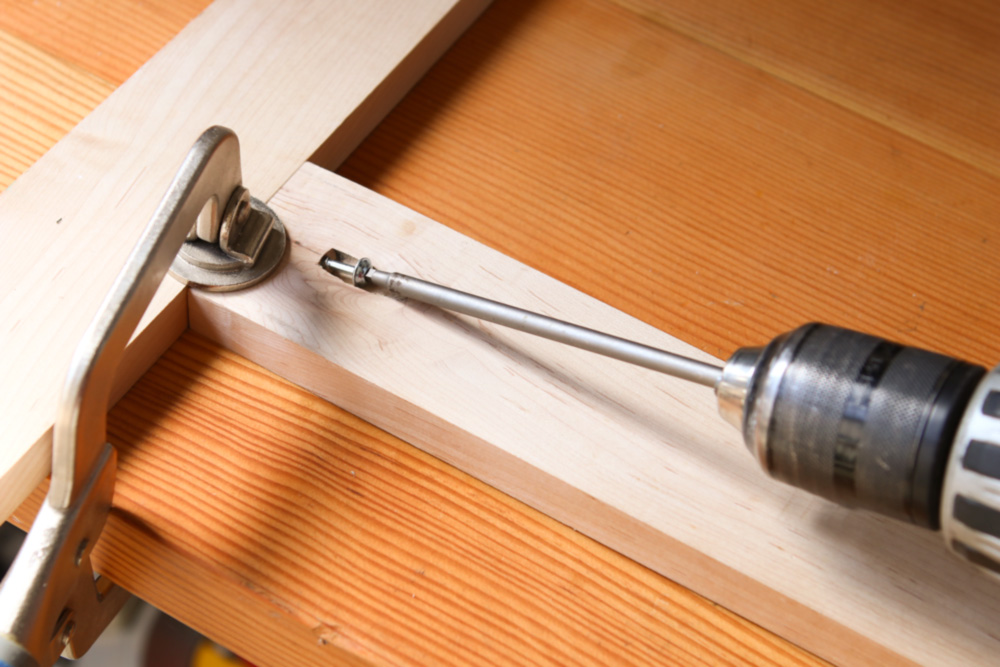
Use two hands.
One hand will press the trigger and keep the drill straight from side to side. The other should sit on top, slowly pressing the drill down into the wood, and preventing the rotation of the bit from bouncing it up and down as it meets the wood. This, of course, isn't really a problem when drilling a 90° hole in a 2×4, but it can mangle the surface when cutting an angle into face grain.
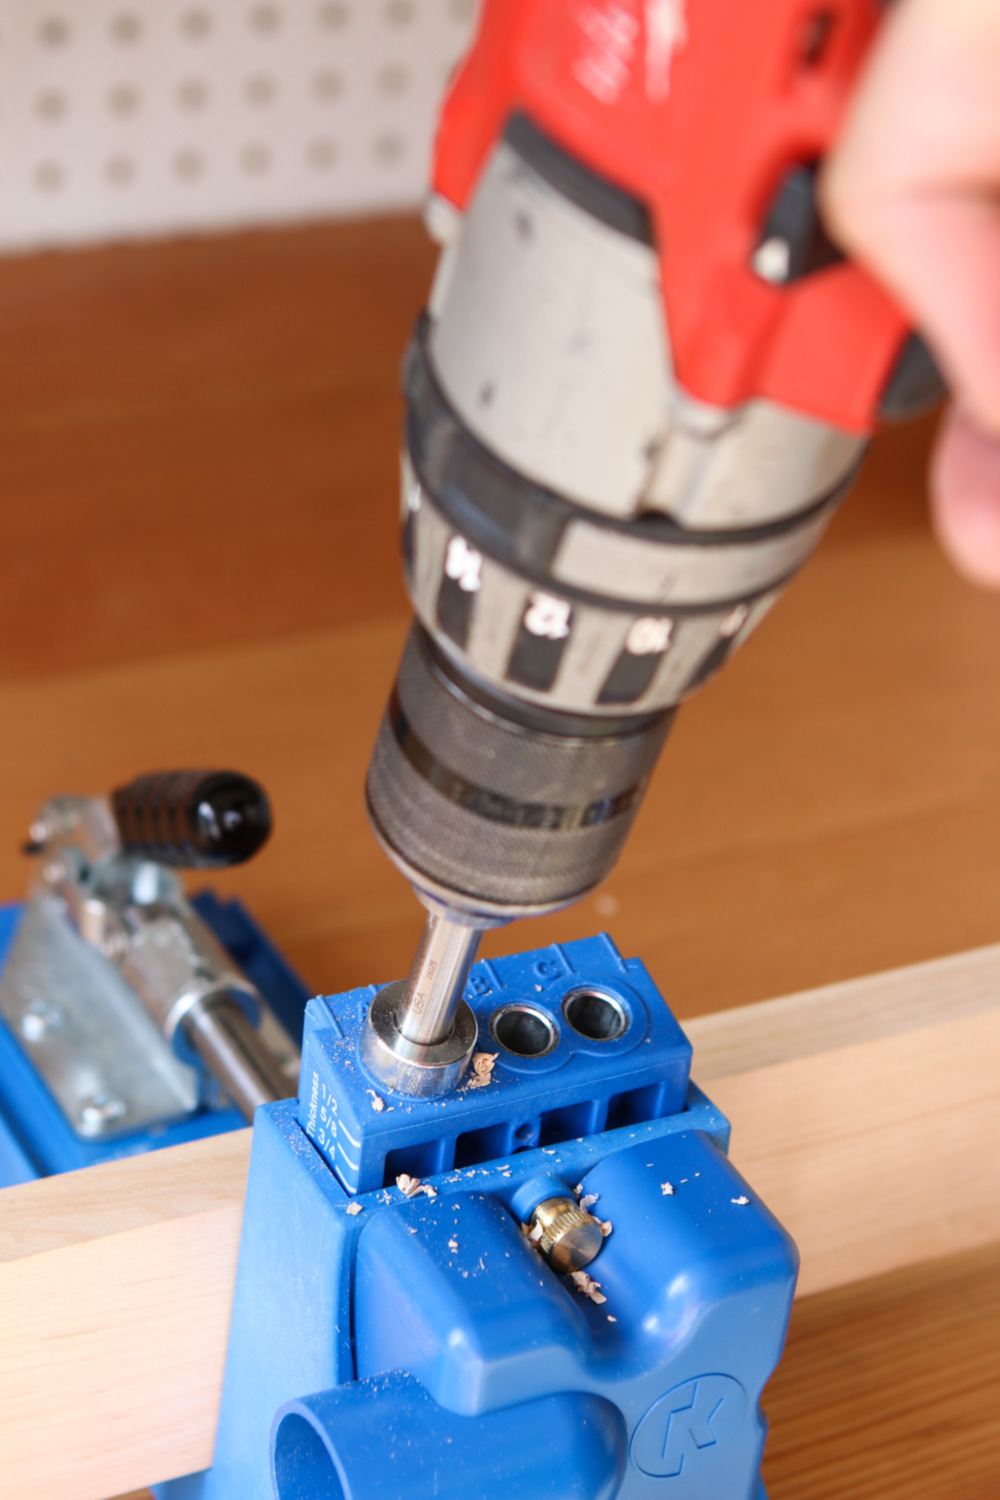
Let the drill come to full speed.
Always make sure the bit is spinning as fast as possible before it starts to cut the wood. Once you've done all your setup, place the bit in the guide hole, bottom it out, then pull back 1/2″ or more. Depress the trigger, and wait a few seconds for the drill to come up to speed, then lower it into the wood. This is especially important when you drill multiple holes in a row — wait for the drill bit to be at full speed before inserting it again.
You'll also want to make sure your battery is as fresh as possible, especially if its Ni-Cad, which will slow down as it loses its charge. (A Li-Ion battery which will basically just stop when its spent.)
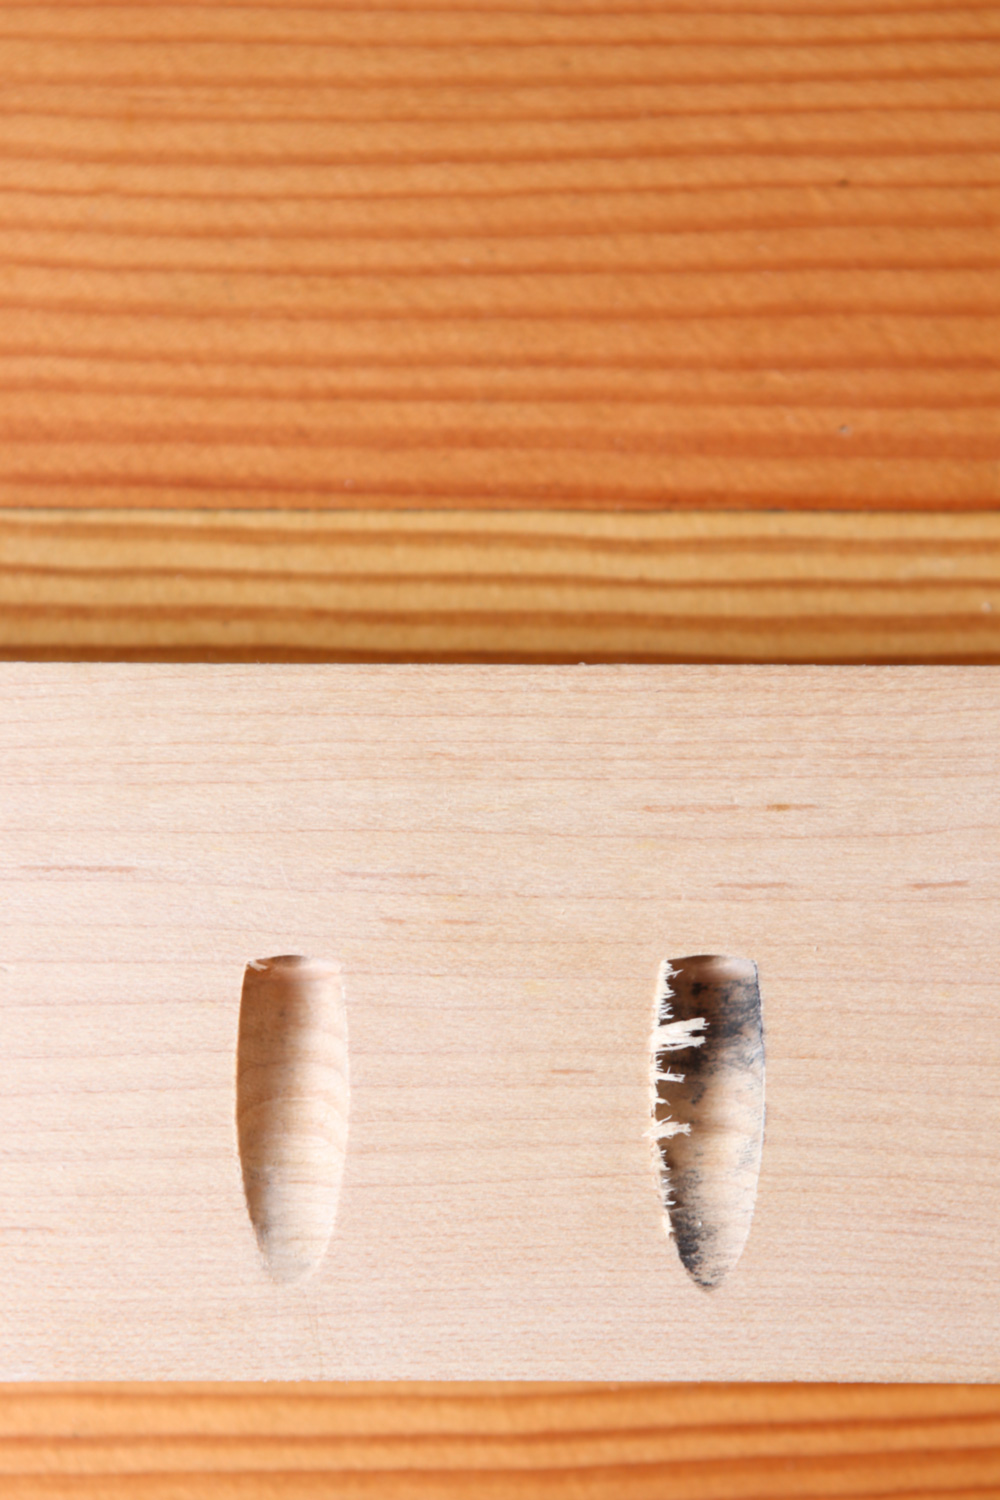
You'll probably still need to sand a little.
There's nothing wrong with sanding the surface to clean it up. Just move towards the hole, with the direction of the tearout. This will smooth and finish cutting the fibers in the right direction, instead of lifting them out and causing more tearing of the surface. You can even push them down in to the hole with the sandpaper, using the edge as a cutting edge to abrade the fibers where you want it.
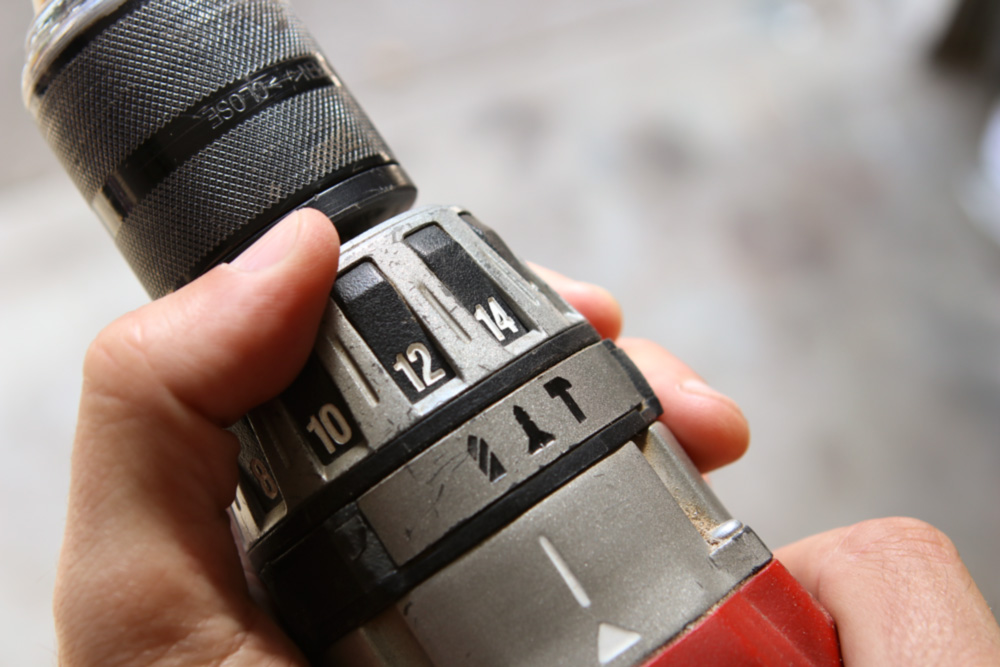
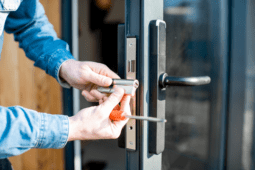
When driving the screw, use a cordless drill or driver with a clutch.
You know that little numbered ring on your drill? That's your clutch, and it can be set to provide just the right amount of torque, which means you won't overdrive your screw. A dedicated driver with a chuck that will slip works even better.
Like this post? Please help us out by sharing it on Pinterest.