A Chalkboard Wall Is Our Favorite New Addition To The Workshop
Oh, the nostalgia of chalkboards! When I see a chalkboard, I’m taken back to my junior school days. Long before smart screens and whiteboards were available in education settings, each classroom had a giant chalkboard secured on the wall behind the teacher. While blackboards may have lived exclusively in schools, they have made a big comeback outside the classroom.
Chalkboards have gained popularity in the DIY home interior design world. If you’ve been browsing Pinterest, you have probably seen many people posting and raving about their DIY home chalkboard walls. Most pictures show their creations completed in rooms like the home office, the kitchen, living room, or play areas.
Rustoleum Chalkboard Paint for the Win!
Recently, while cleaning out my shop, I came across some extra wall space. It needed some fresh paint as the area was heavily scuffed. While searching for some paint colors, I noticed the Rustoleum Chalkboard paint on the shelf. It was a moment of epiphany! What better place to have a wall chalkboard than in my shop, where I need to jot down my notes every day? I didn’t even hesitate to add this to my cart.
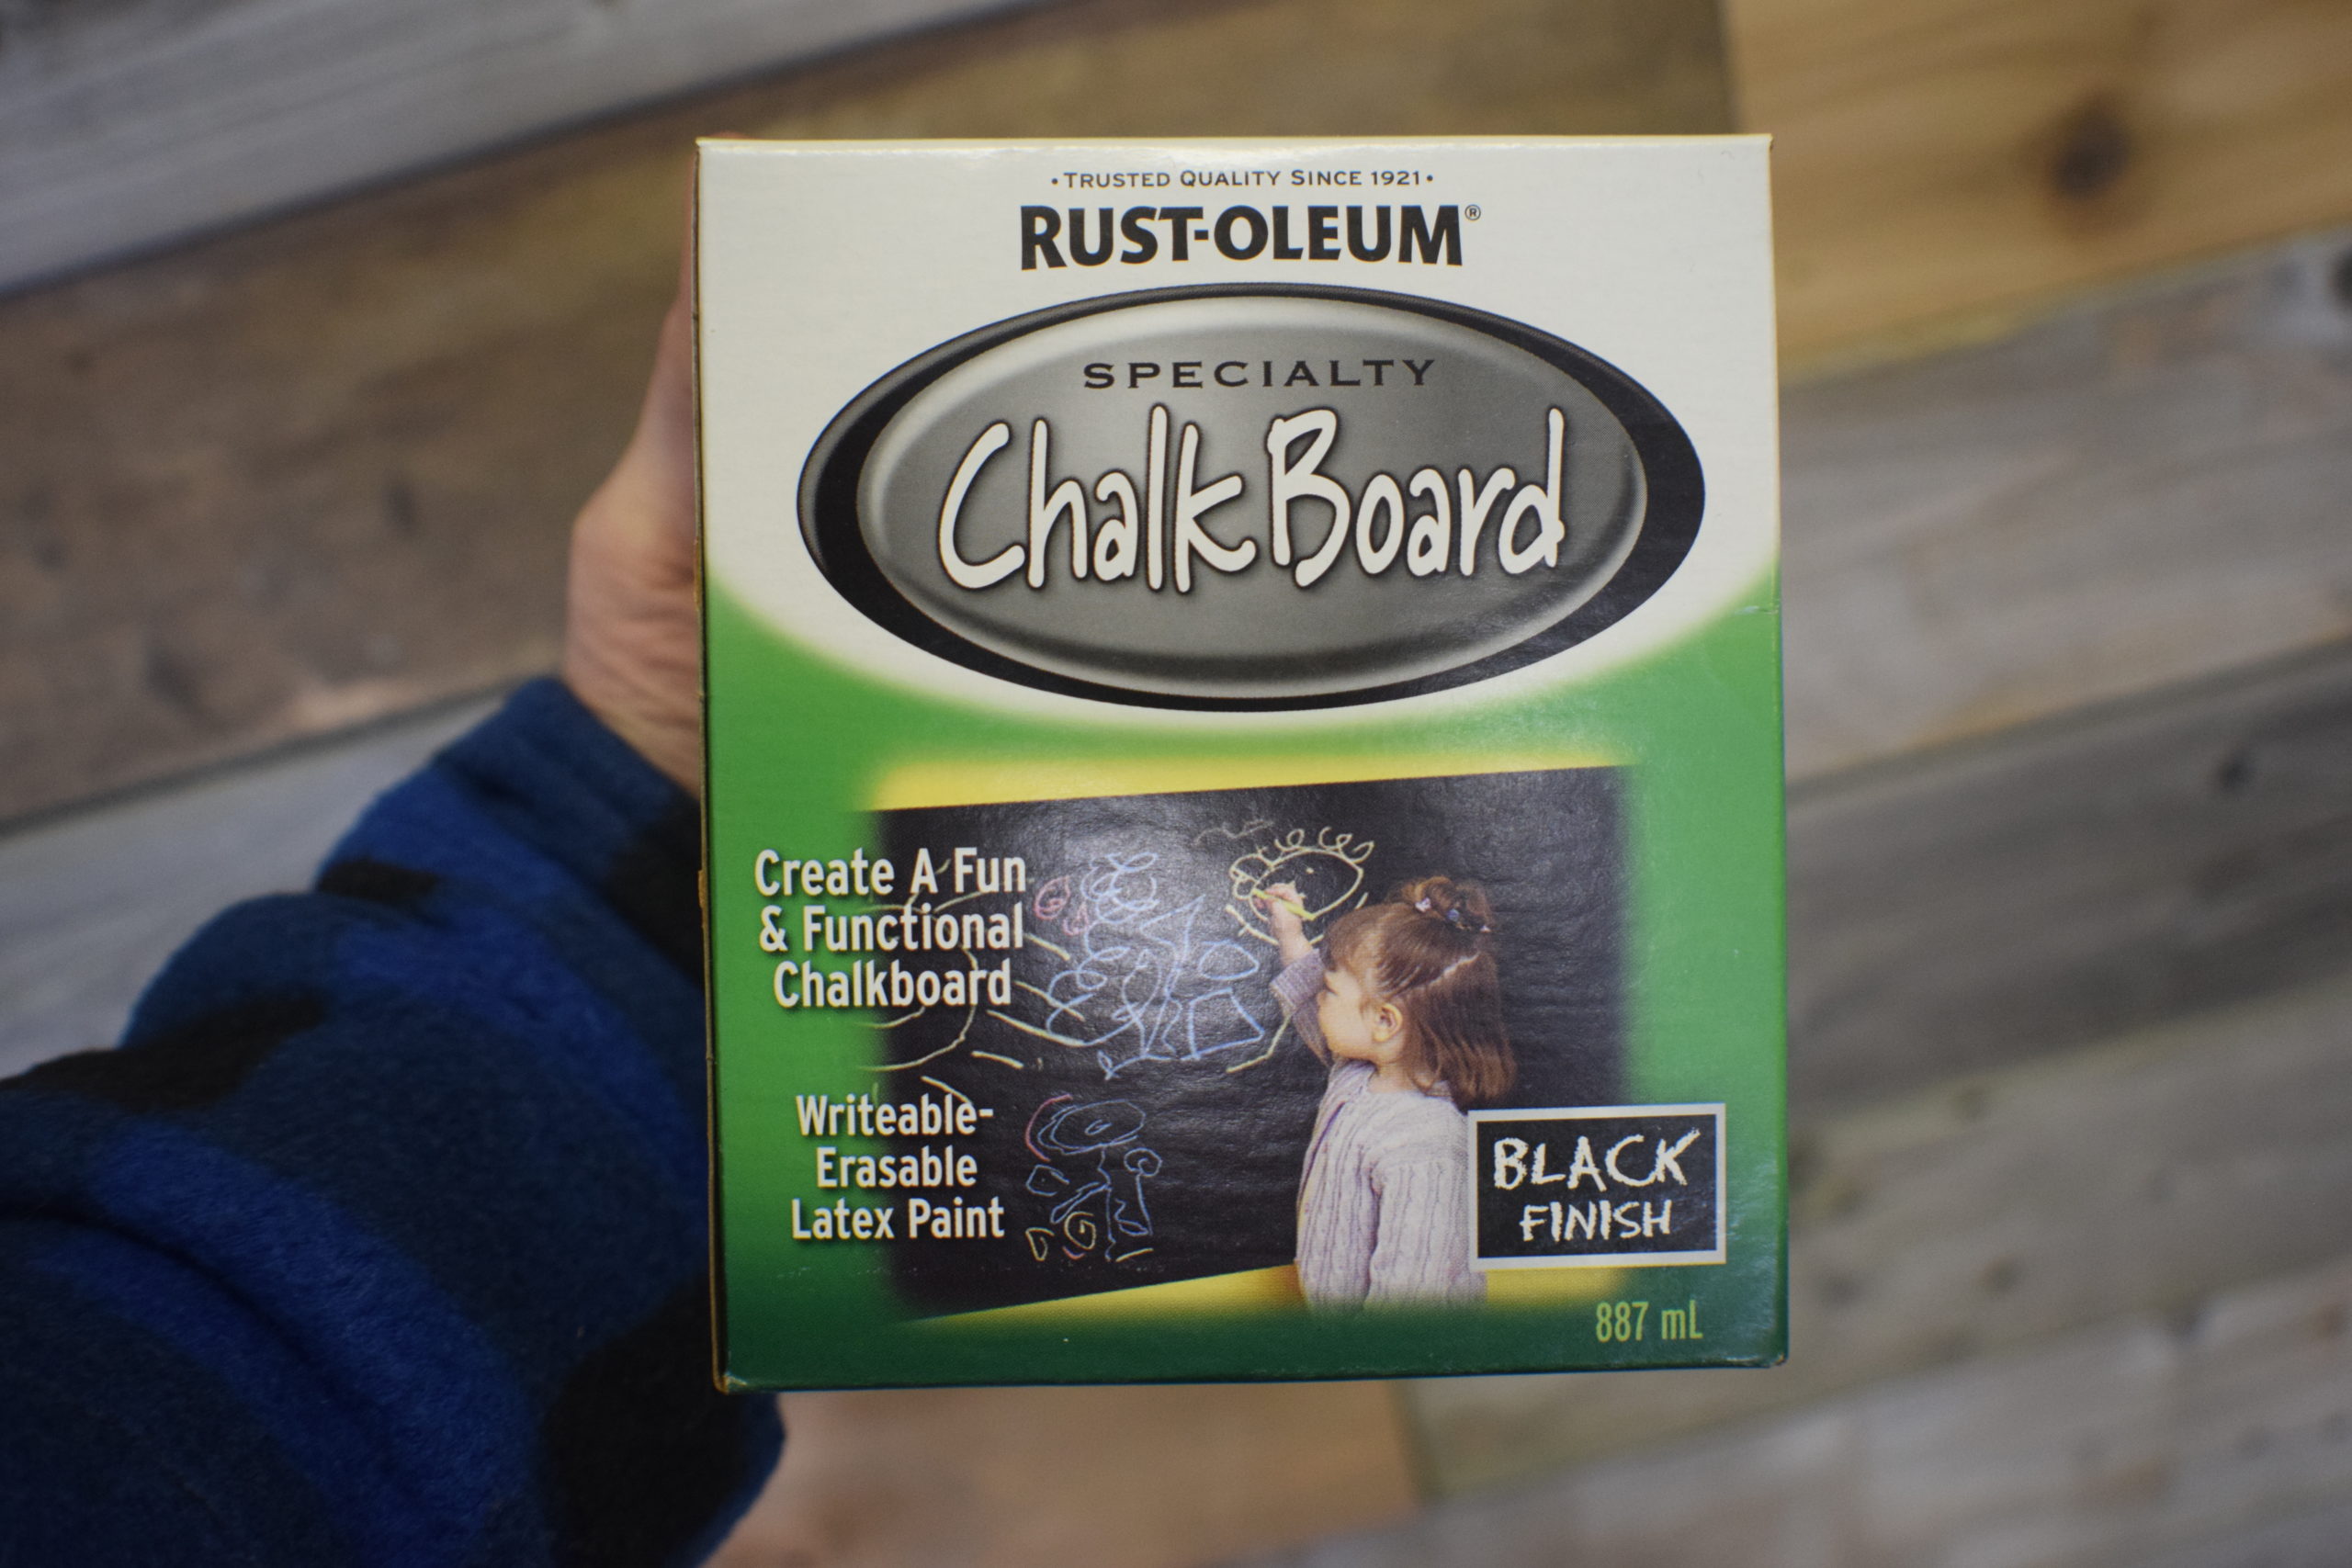
The tricky part was deciding which chalkboard paint I wanted to use. There were so many options! Besides the regular black chalkboard paint, Rustoleum has a full lineup of other options, including colored tinted chalkboard paints, magnetic primer, dry erase paint and even a clear coating chalkboard paint. I wanted them all but opted for the mat black to suit my rustic shop.
While this can of paint may look small, it promises coverage of 95ft2-120ft2. That was more than enough for my wall space. The can of paint cost me $26.00.
The Shopping List:
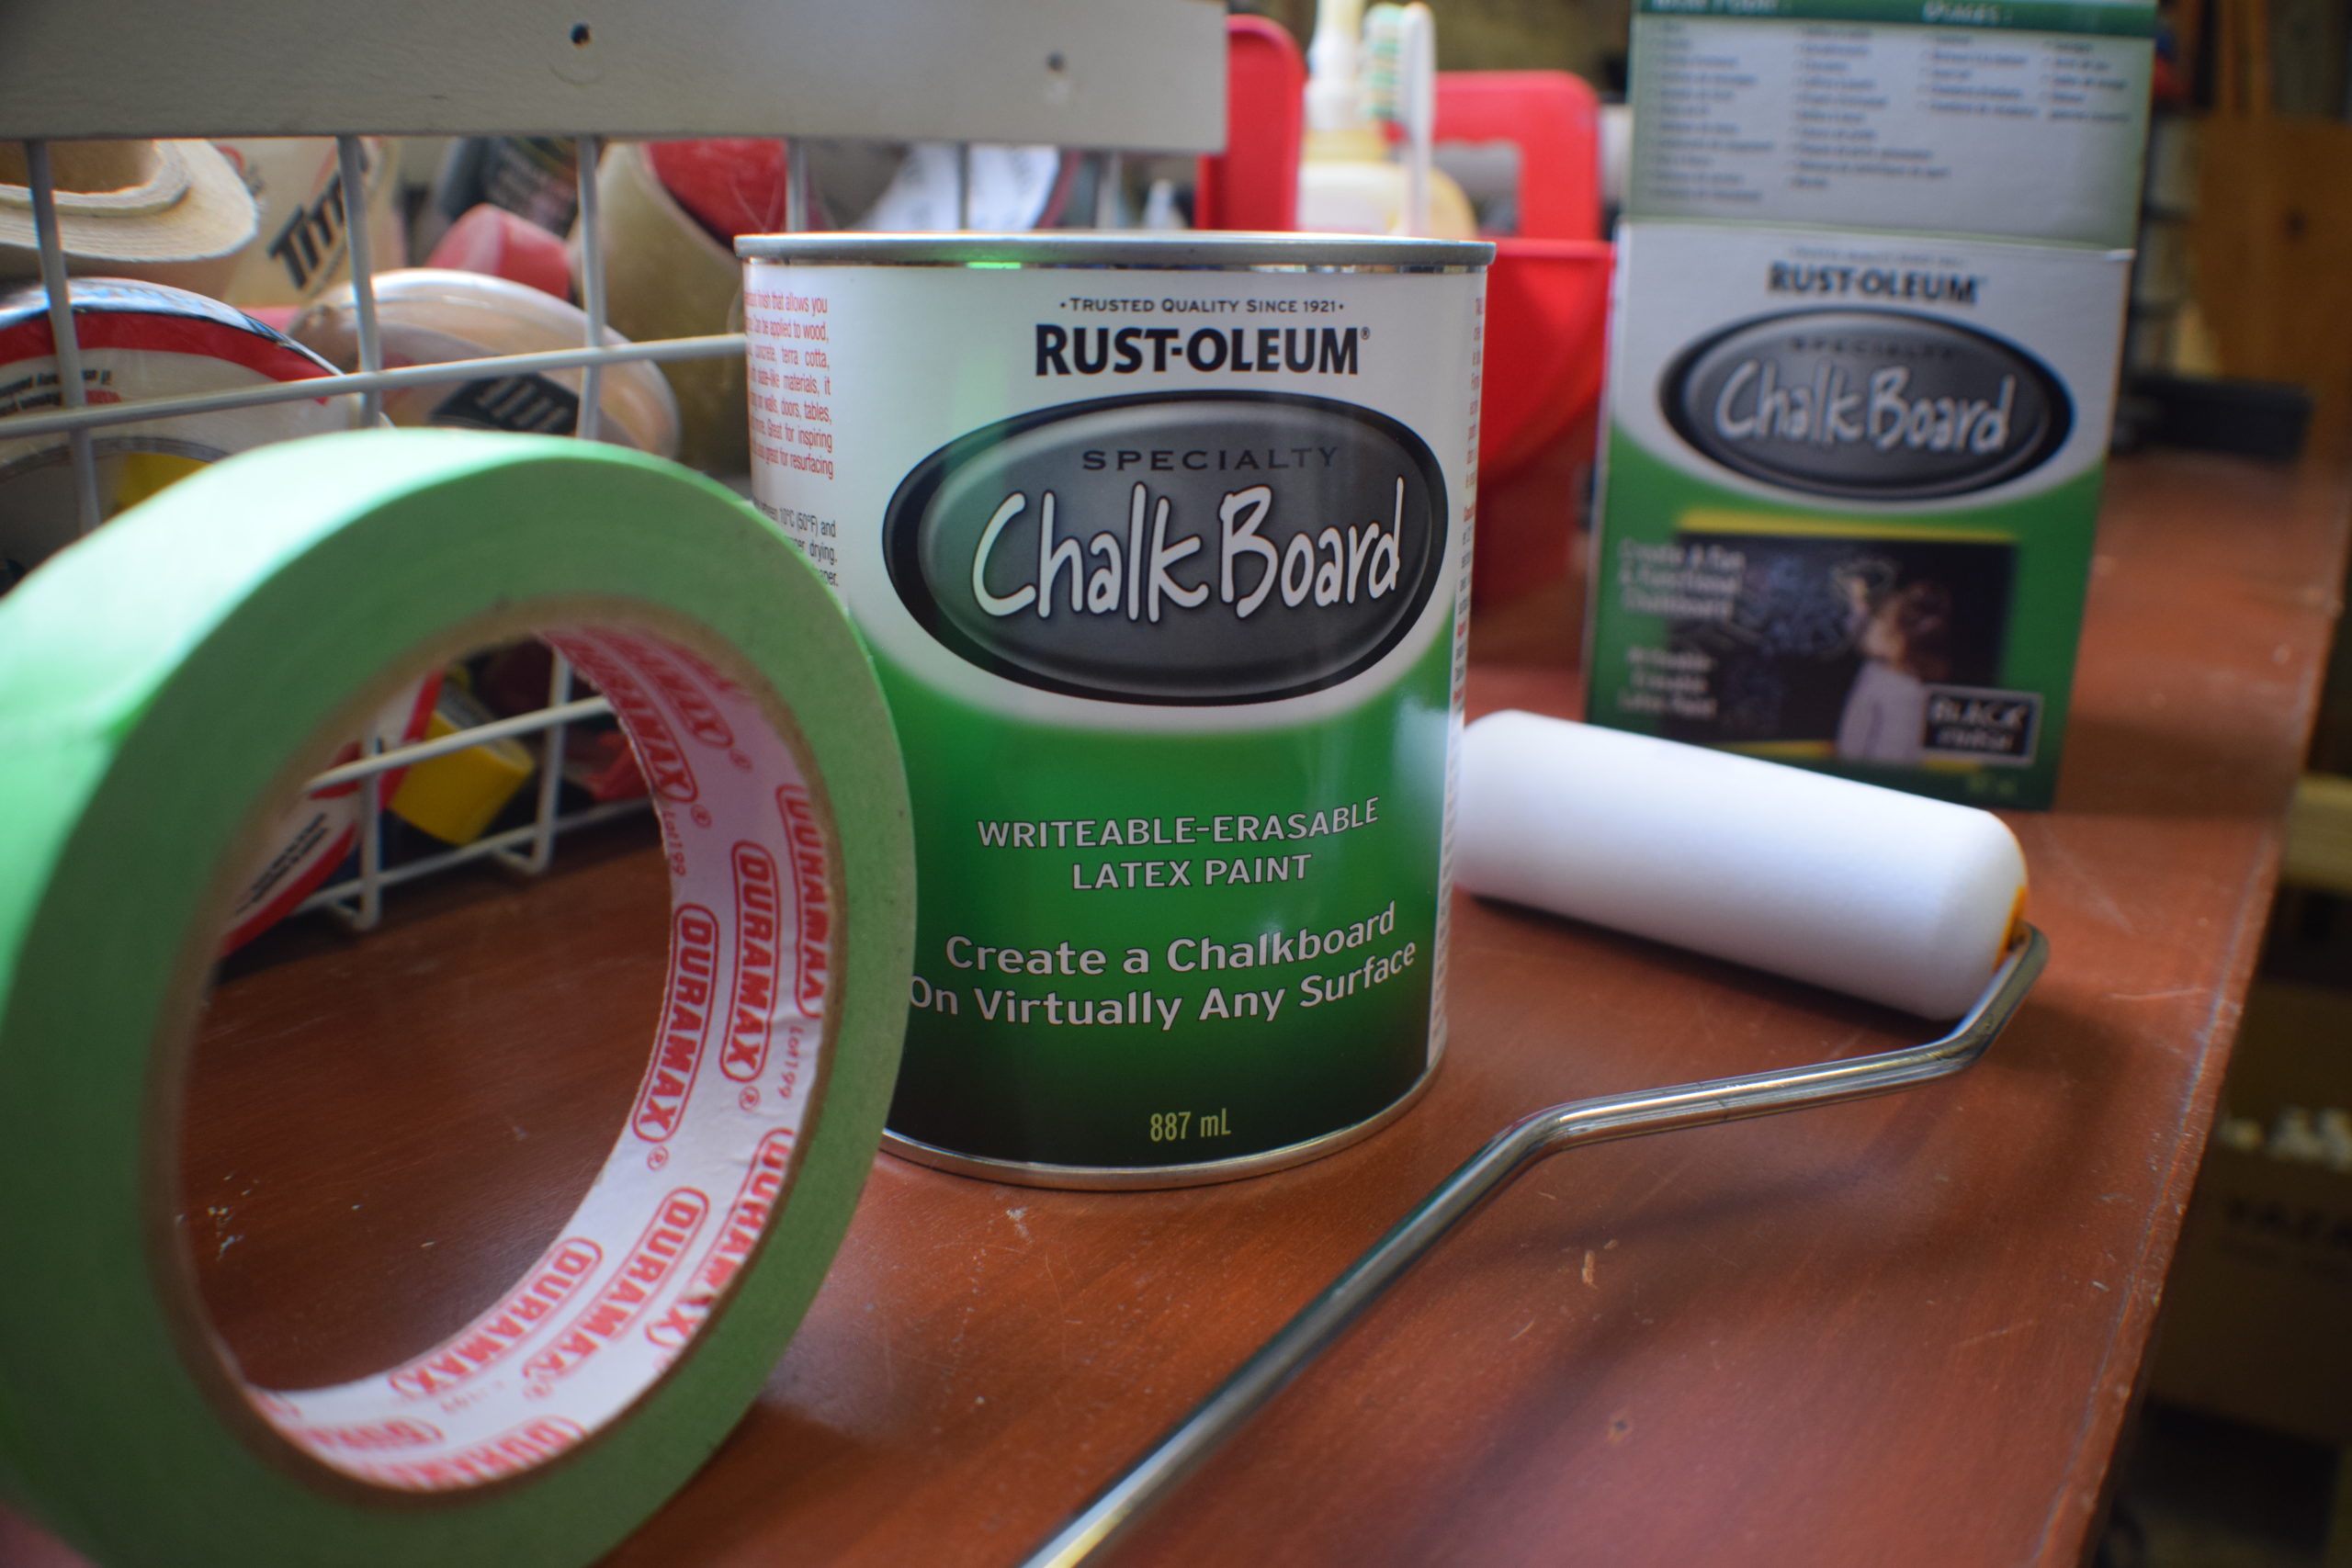
For this project, I picked up the following supplies:
- Rustoleum Chalkboard Paint
- Painters Tape
- Foam Roller
- Synthetic Paint Brush
- Painter Tarp or an old sheet
- Dish Soap & Water
- Microfiber Cloth
- Dap DryDex Spackling
- Sanding Block
Wall Prep 101
Before you start putting this stuff on your walls, proper wall preparation is essential. Just like interior painting, start by cleaning, patching, and smoothing the wall. The surface must be flat with no pores or dents. Chalk can find its way into the smallest holes, and you don’t want the chalk markings getting stuck deep down in places where you cannot remove them. You might end up with a messy and a white spackled chalkboard wall if you skip this step.
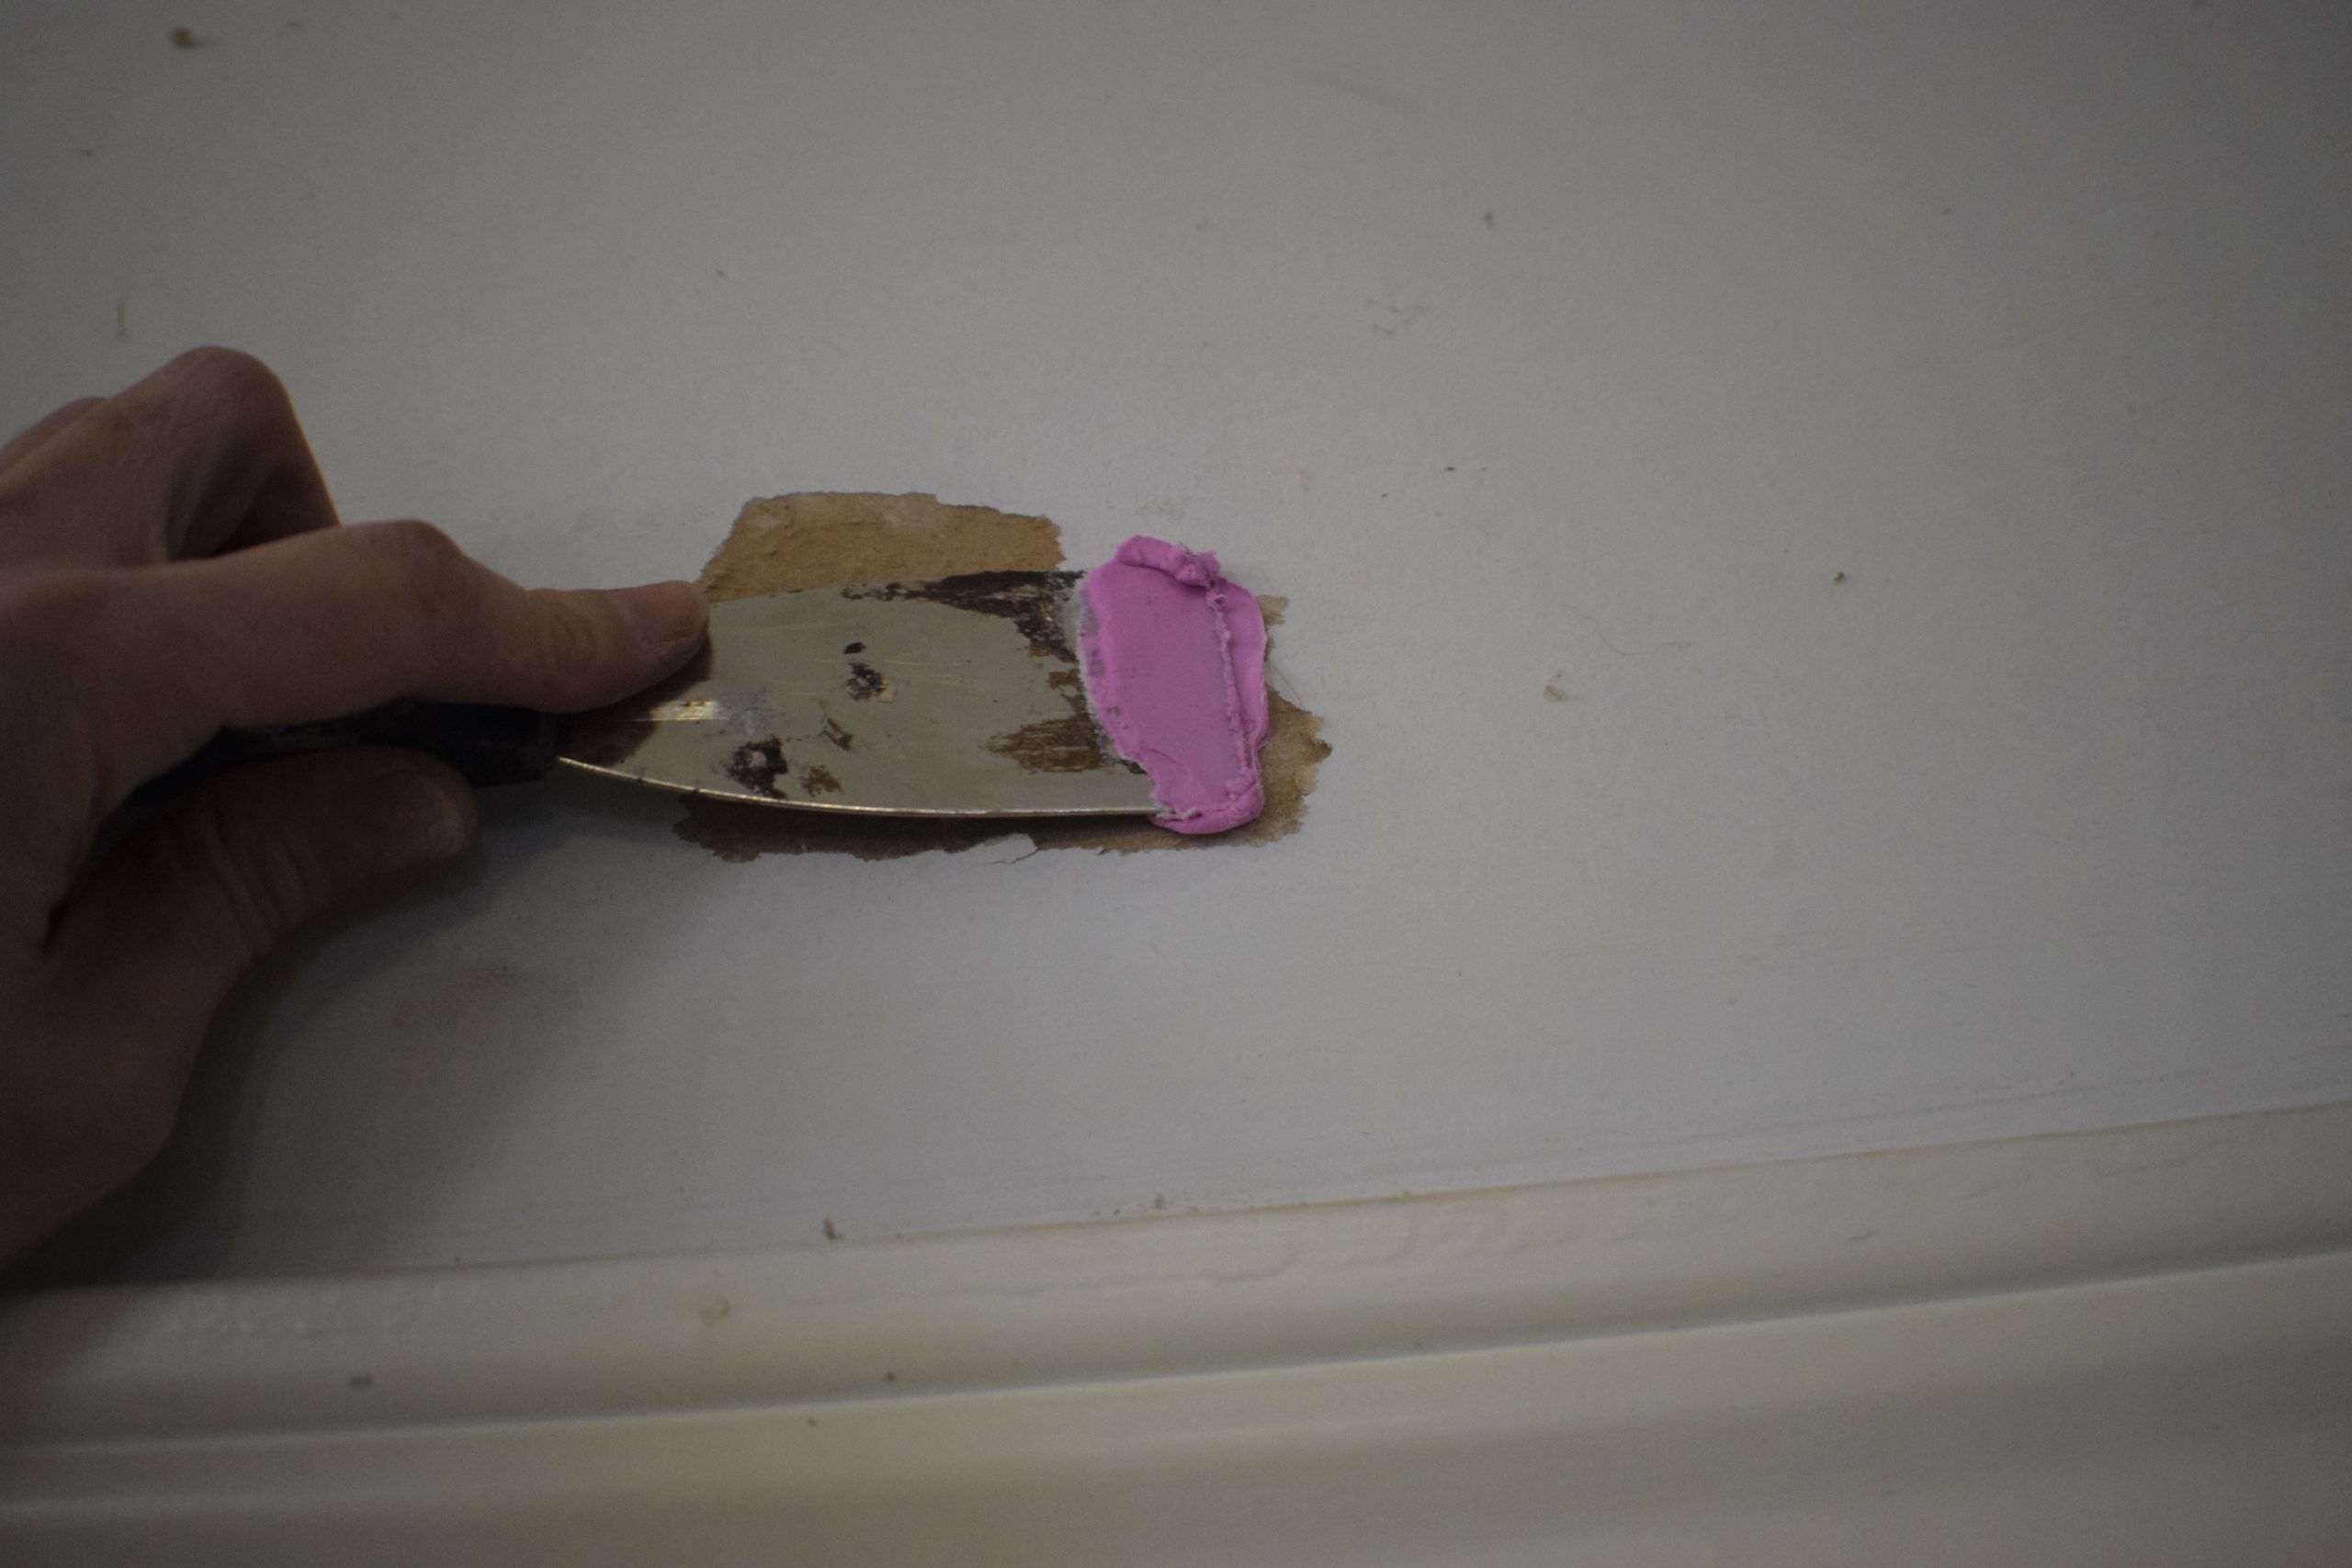
Pull out your DryDex spackling and fill all holes and pores.
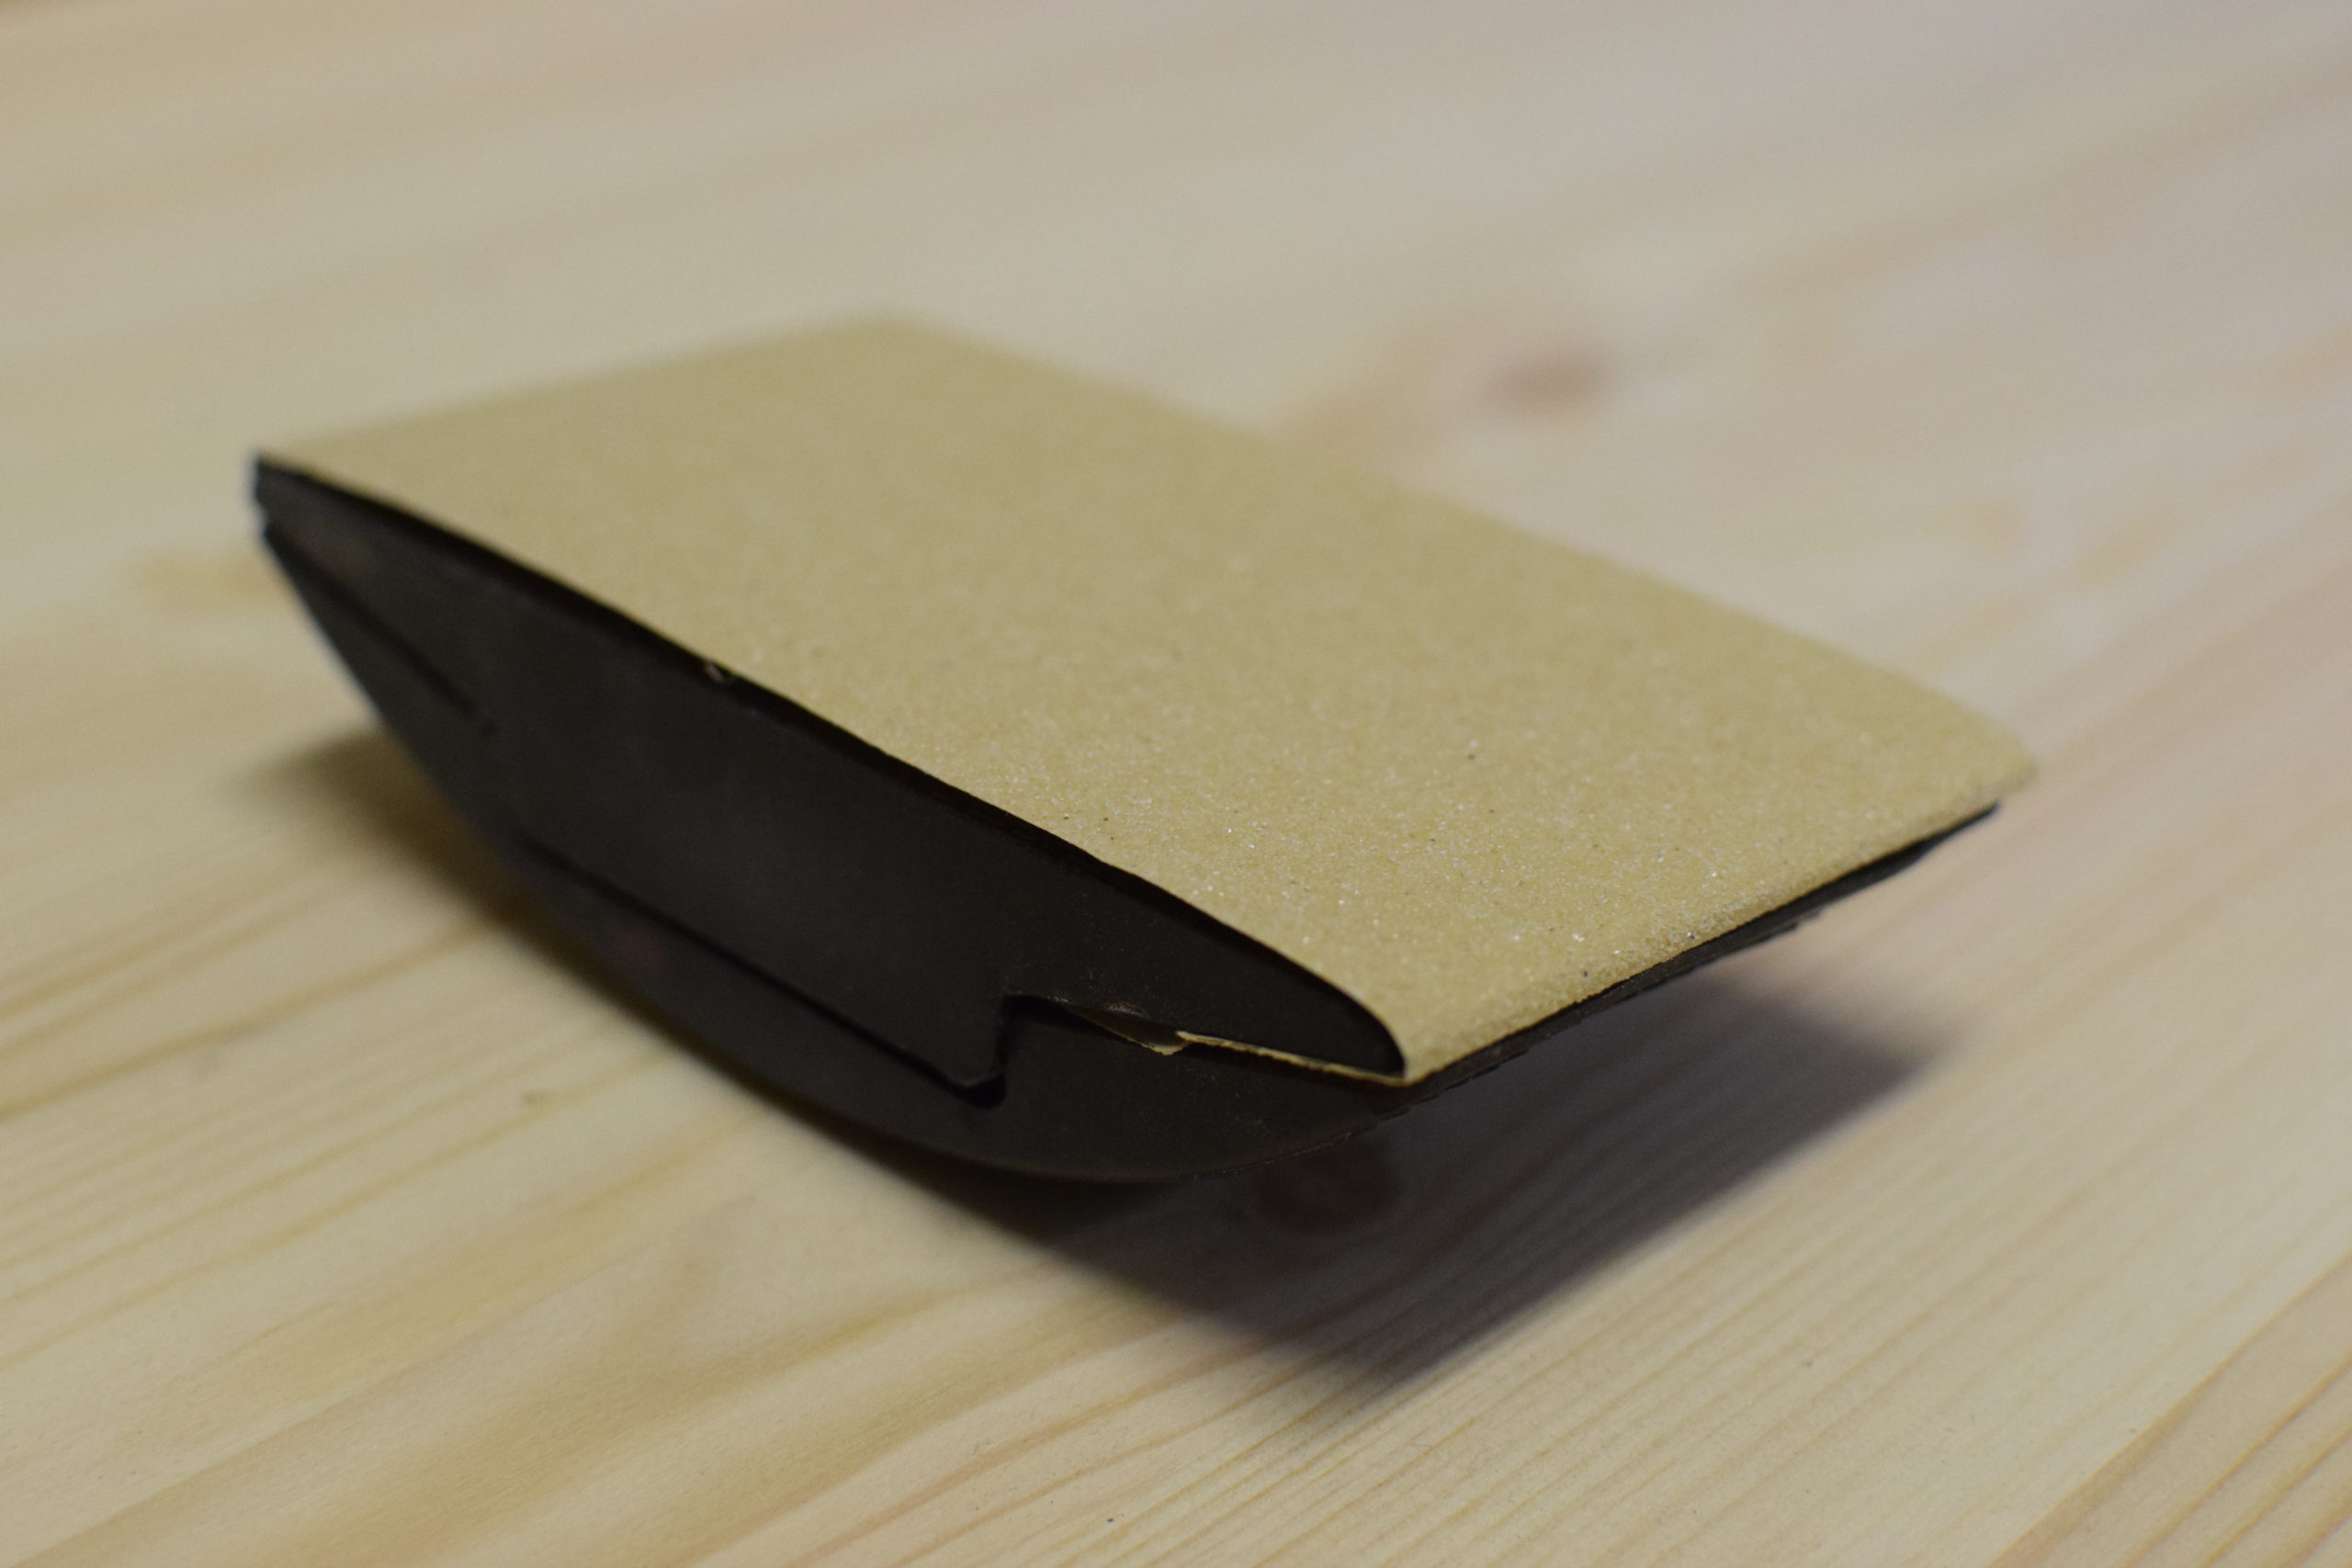
Sand down the wall so that it is smooth. I recommend using a sanding block with 120 grit sandpaper.
Fill a bucket with dish soap and hot water, and then use the microfiber cloth to wash down the wall.
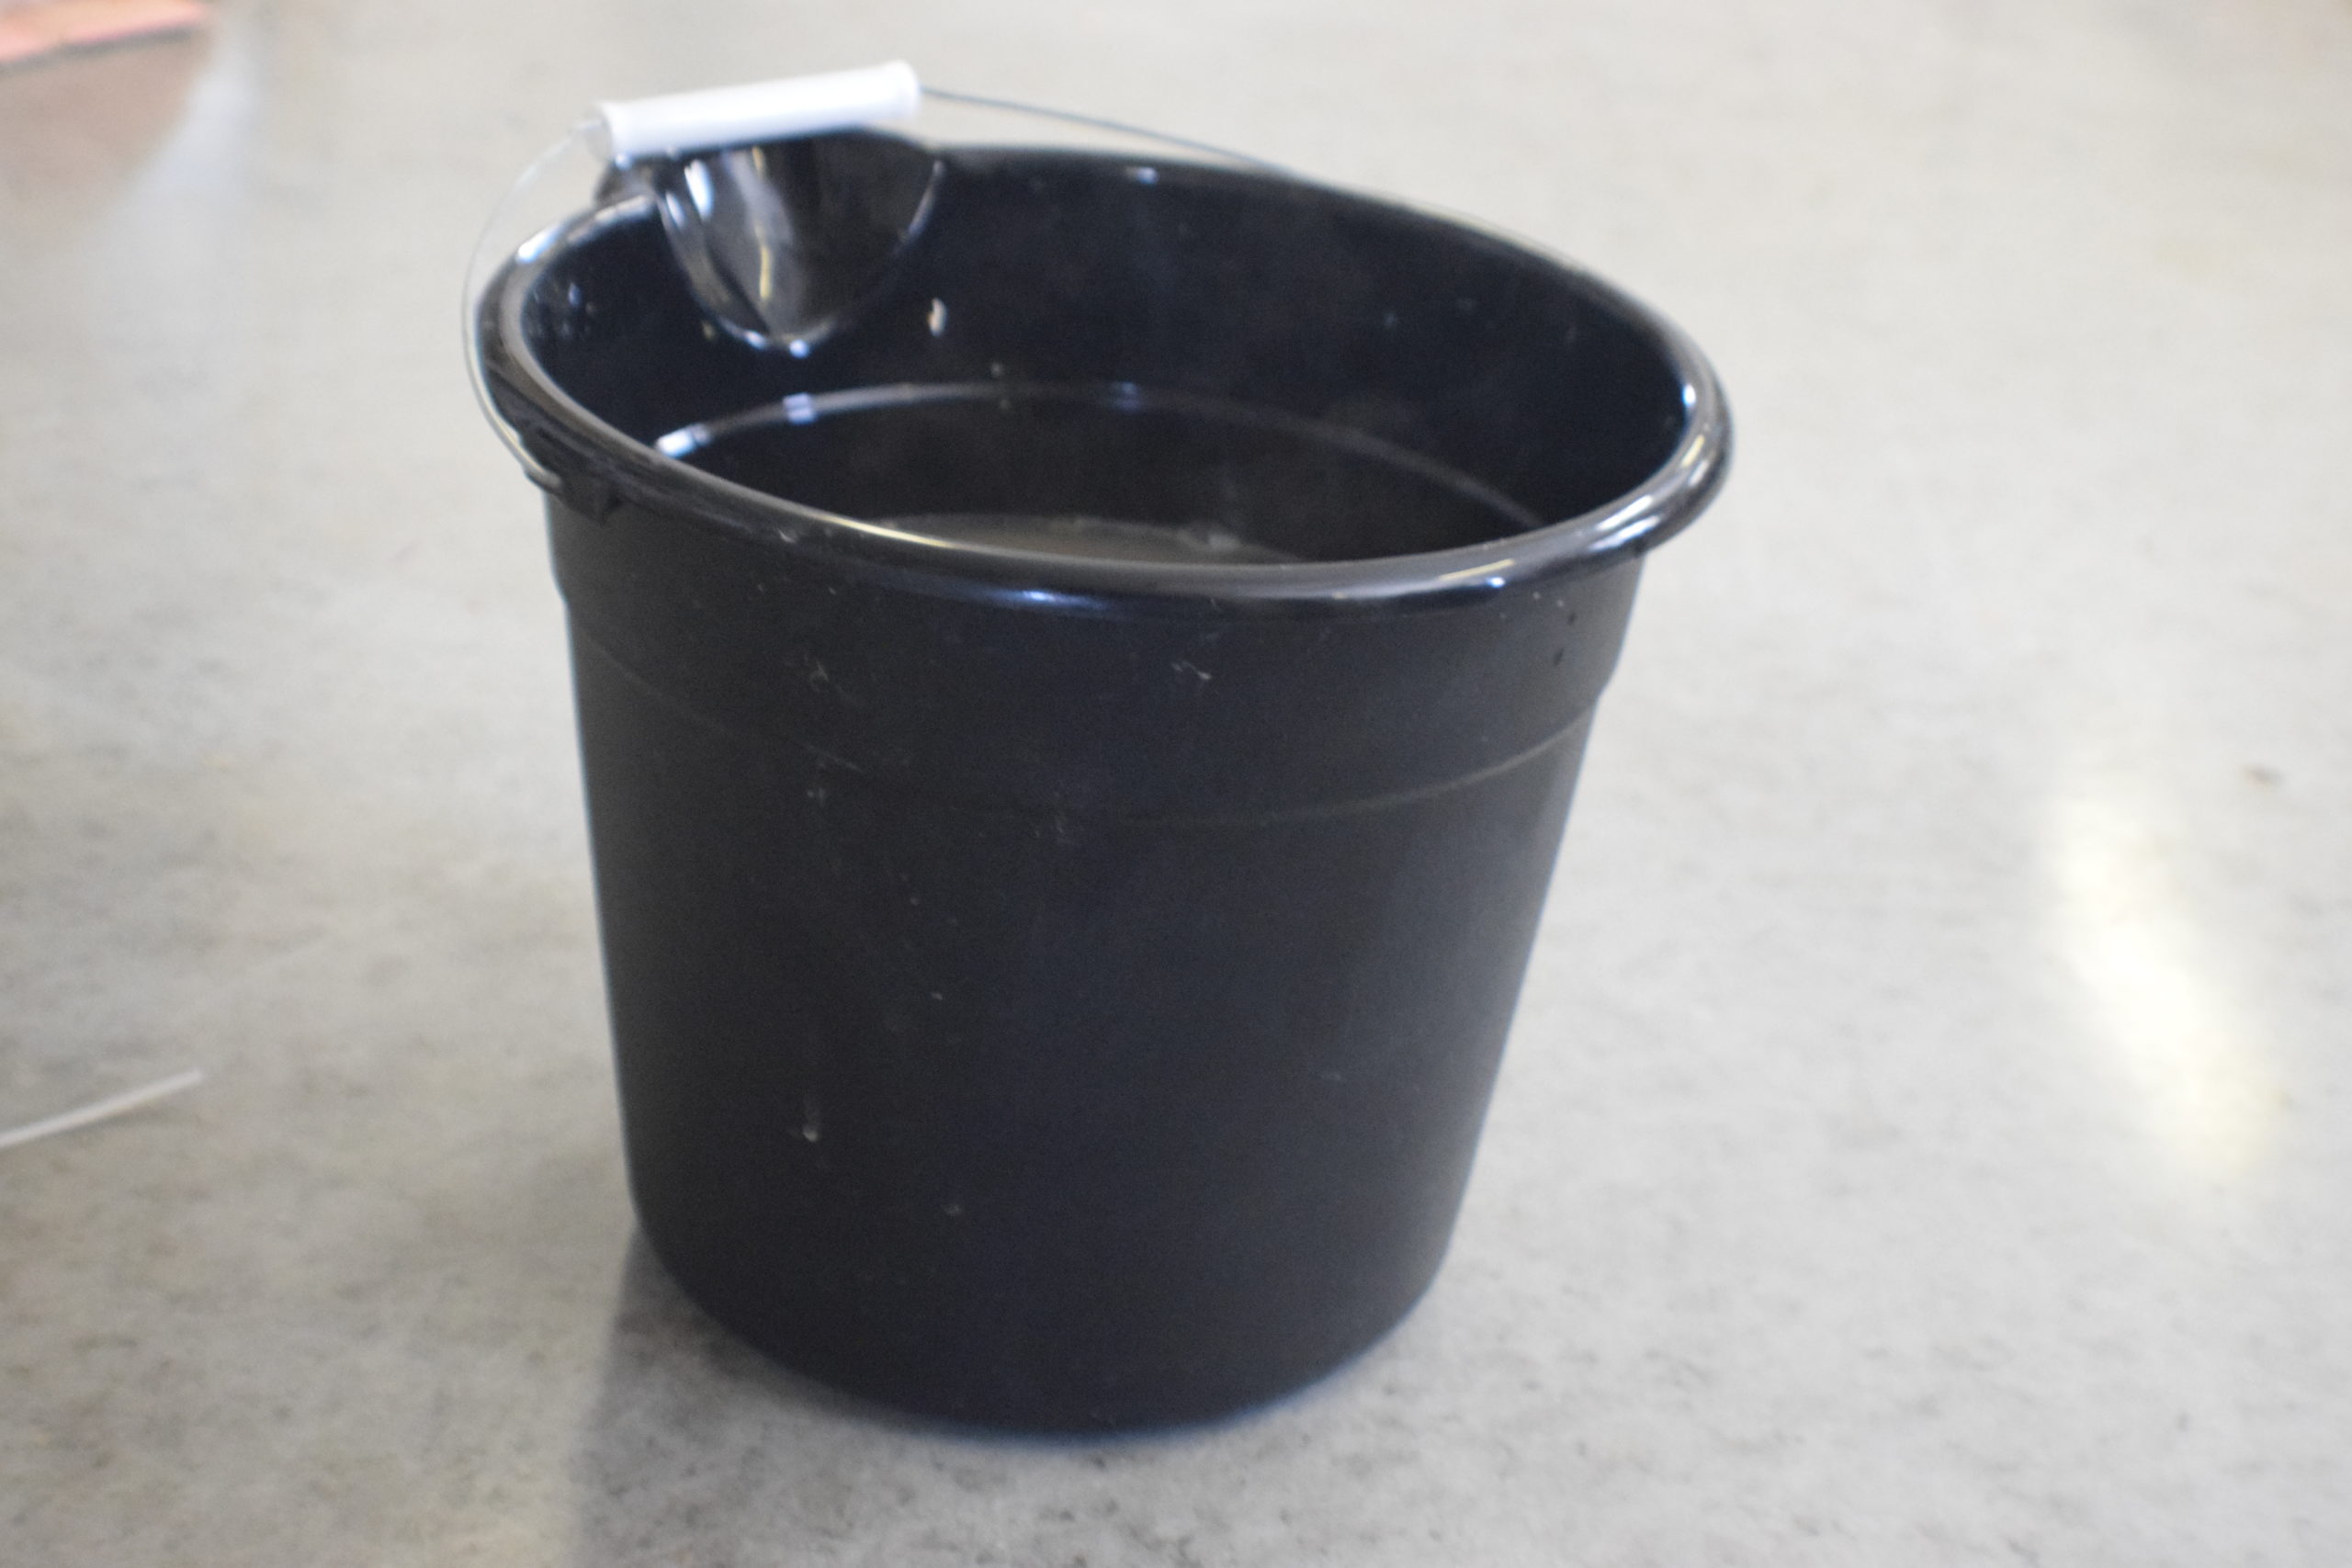
Once that’s dry, tape off your edges.
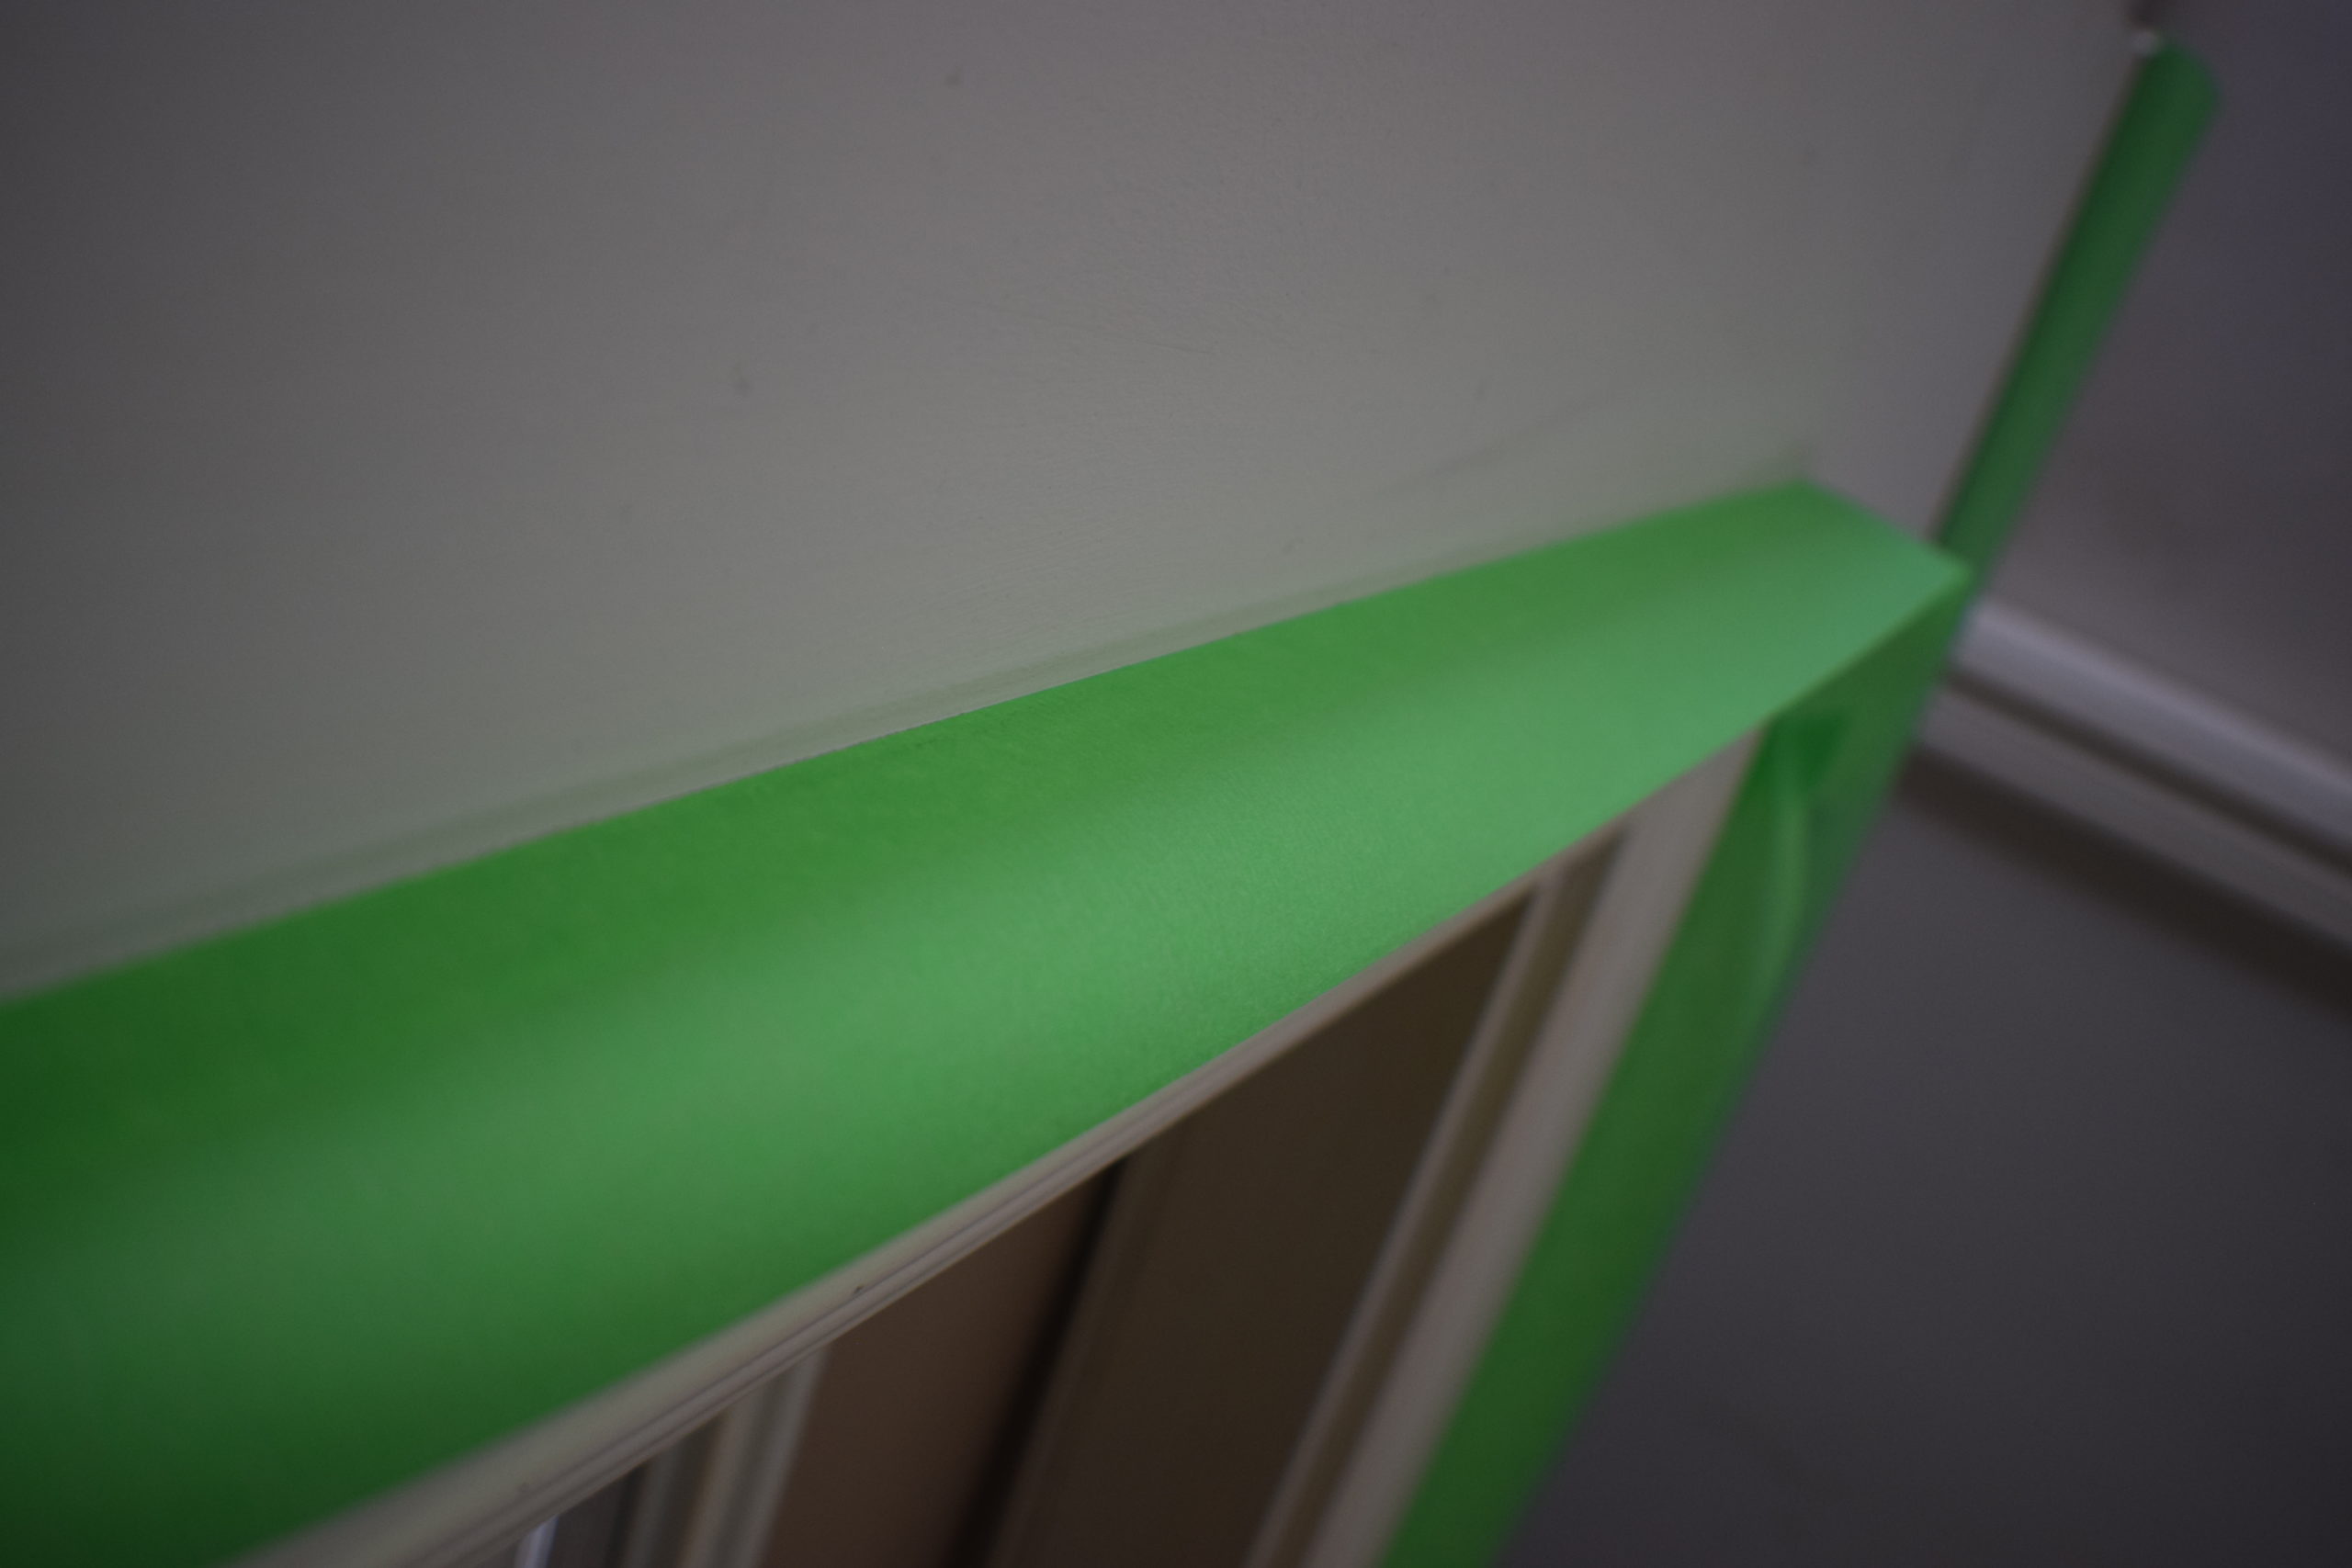
It is recommended that you prime your walls for the best results; however, I completely skipped this step and was able to achieve great results.
Time To Roll
Lay down your painting tarp and crack the can! Don’t be alarmed when you remove the lid and see the shiny blue paint inside. This is completely normal. Not going to lie; I thought I picked up the wrong can of paint at first glance and completely panicked. Save yourself the worry – this product will dry black.
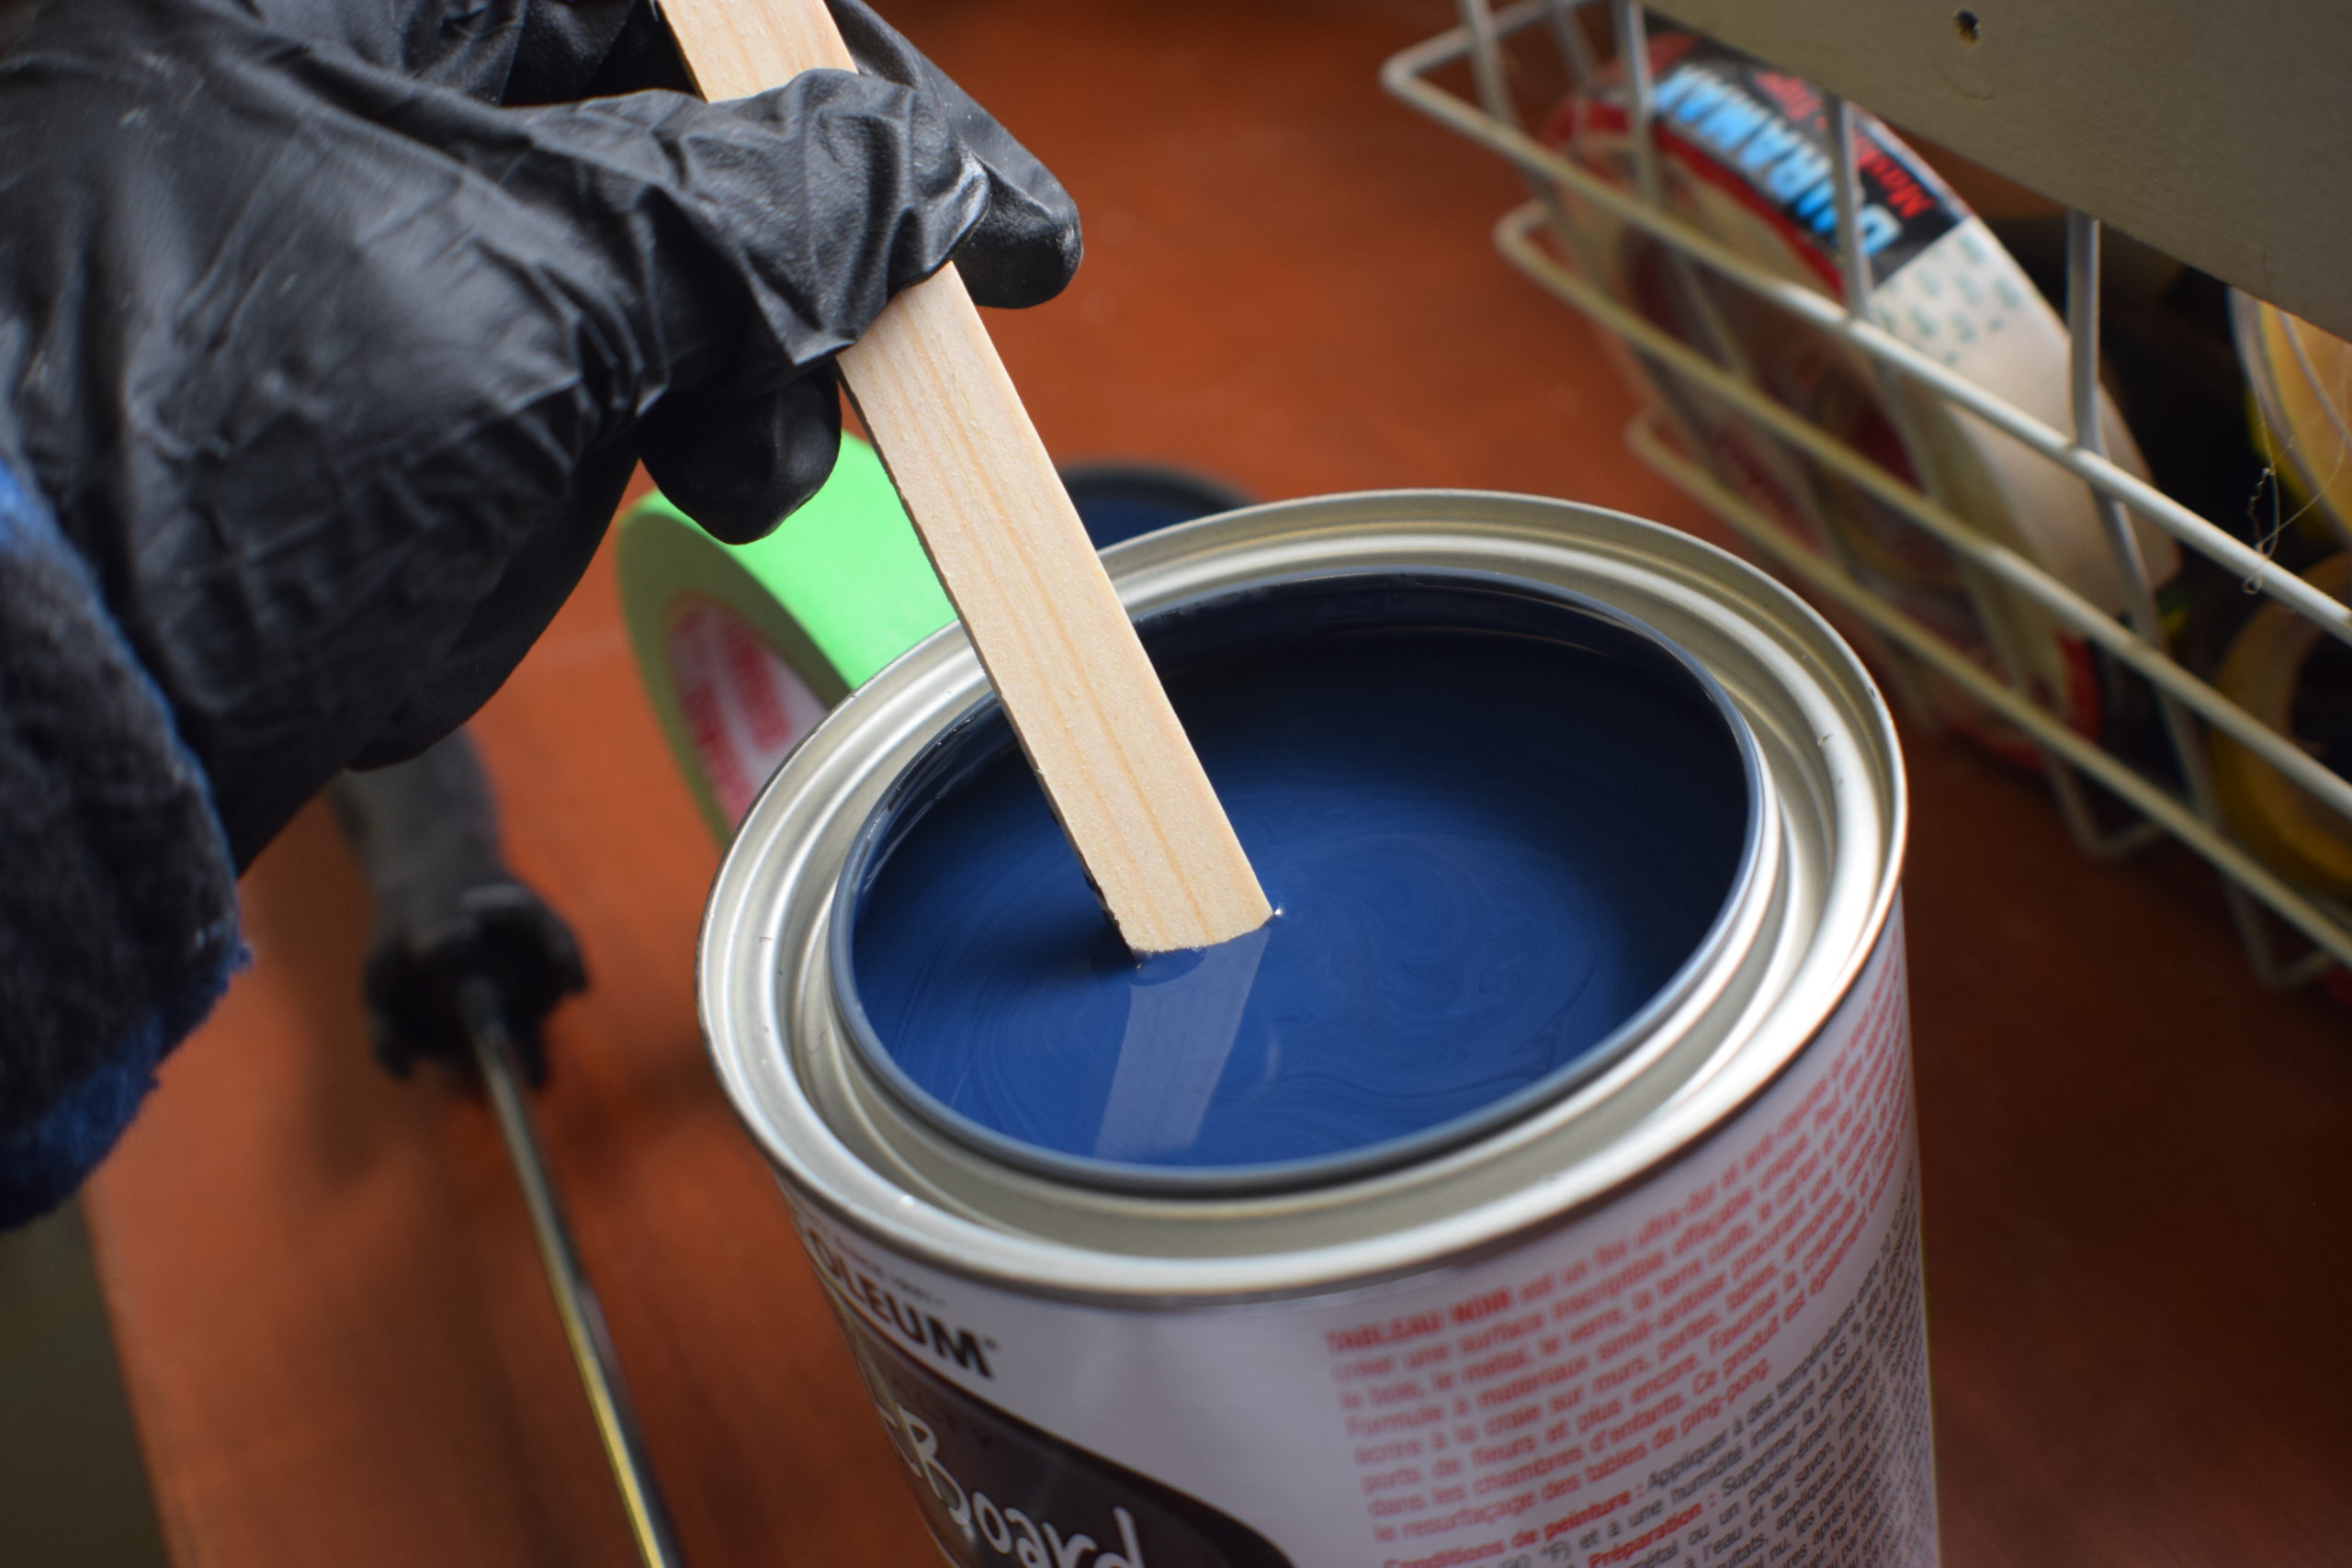
Using your synthetic paintbrush, cut in your edges. The instructions indicate that you can use a paintbrush for the entire application, but I had read on other DIYers reviews that this product dries fast. People who opted for the paintbrush complained of brush marks and uneven coatings. Therefore I went with a dense foam roller.
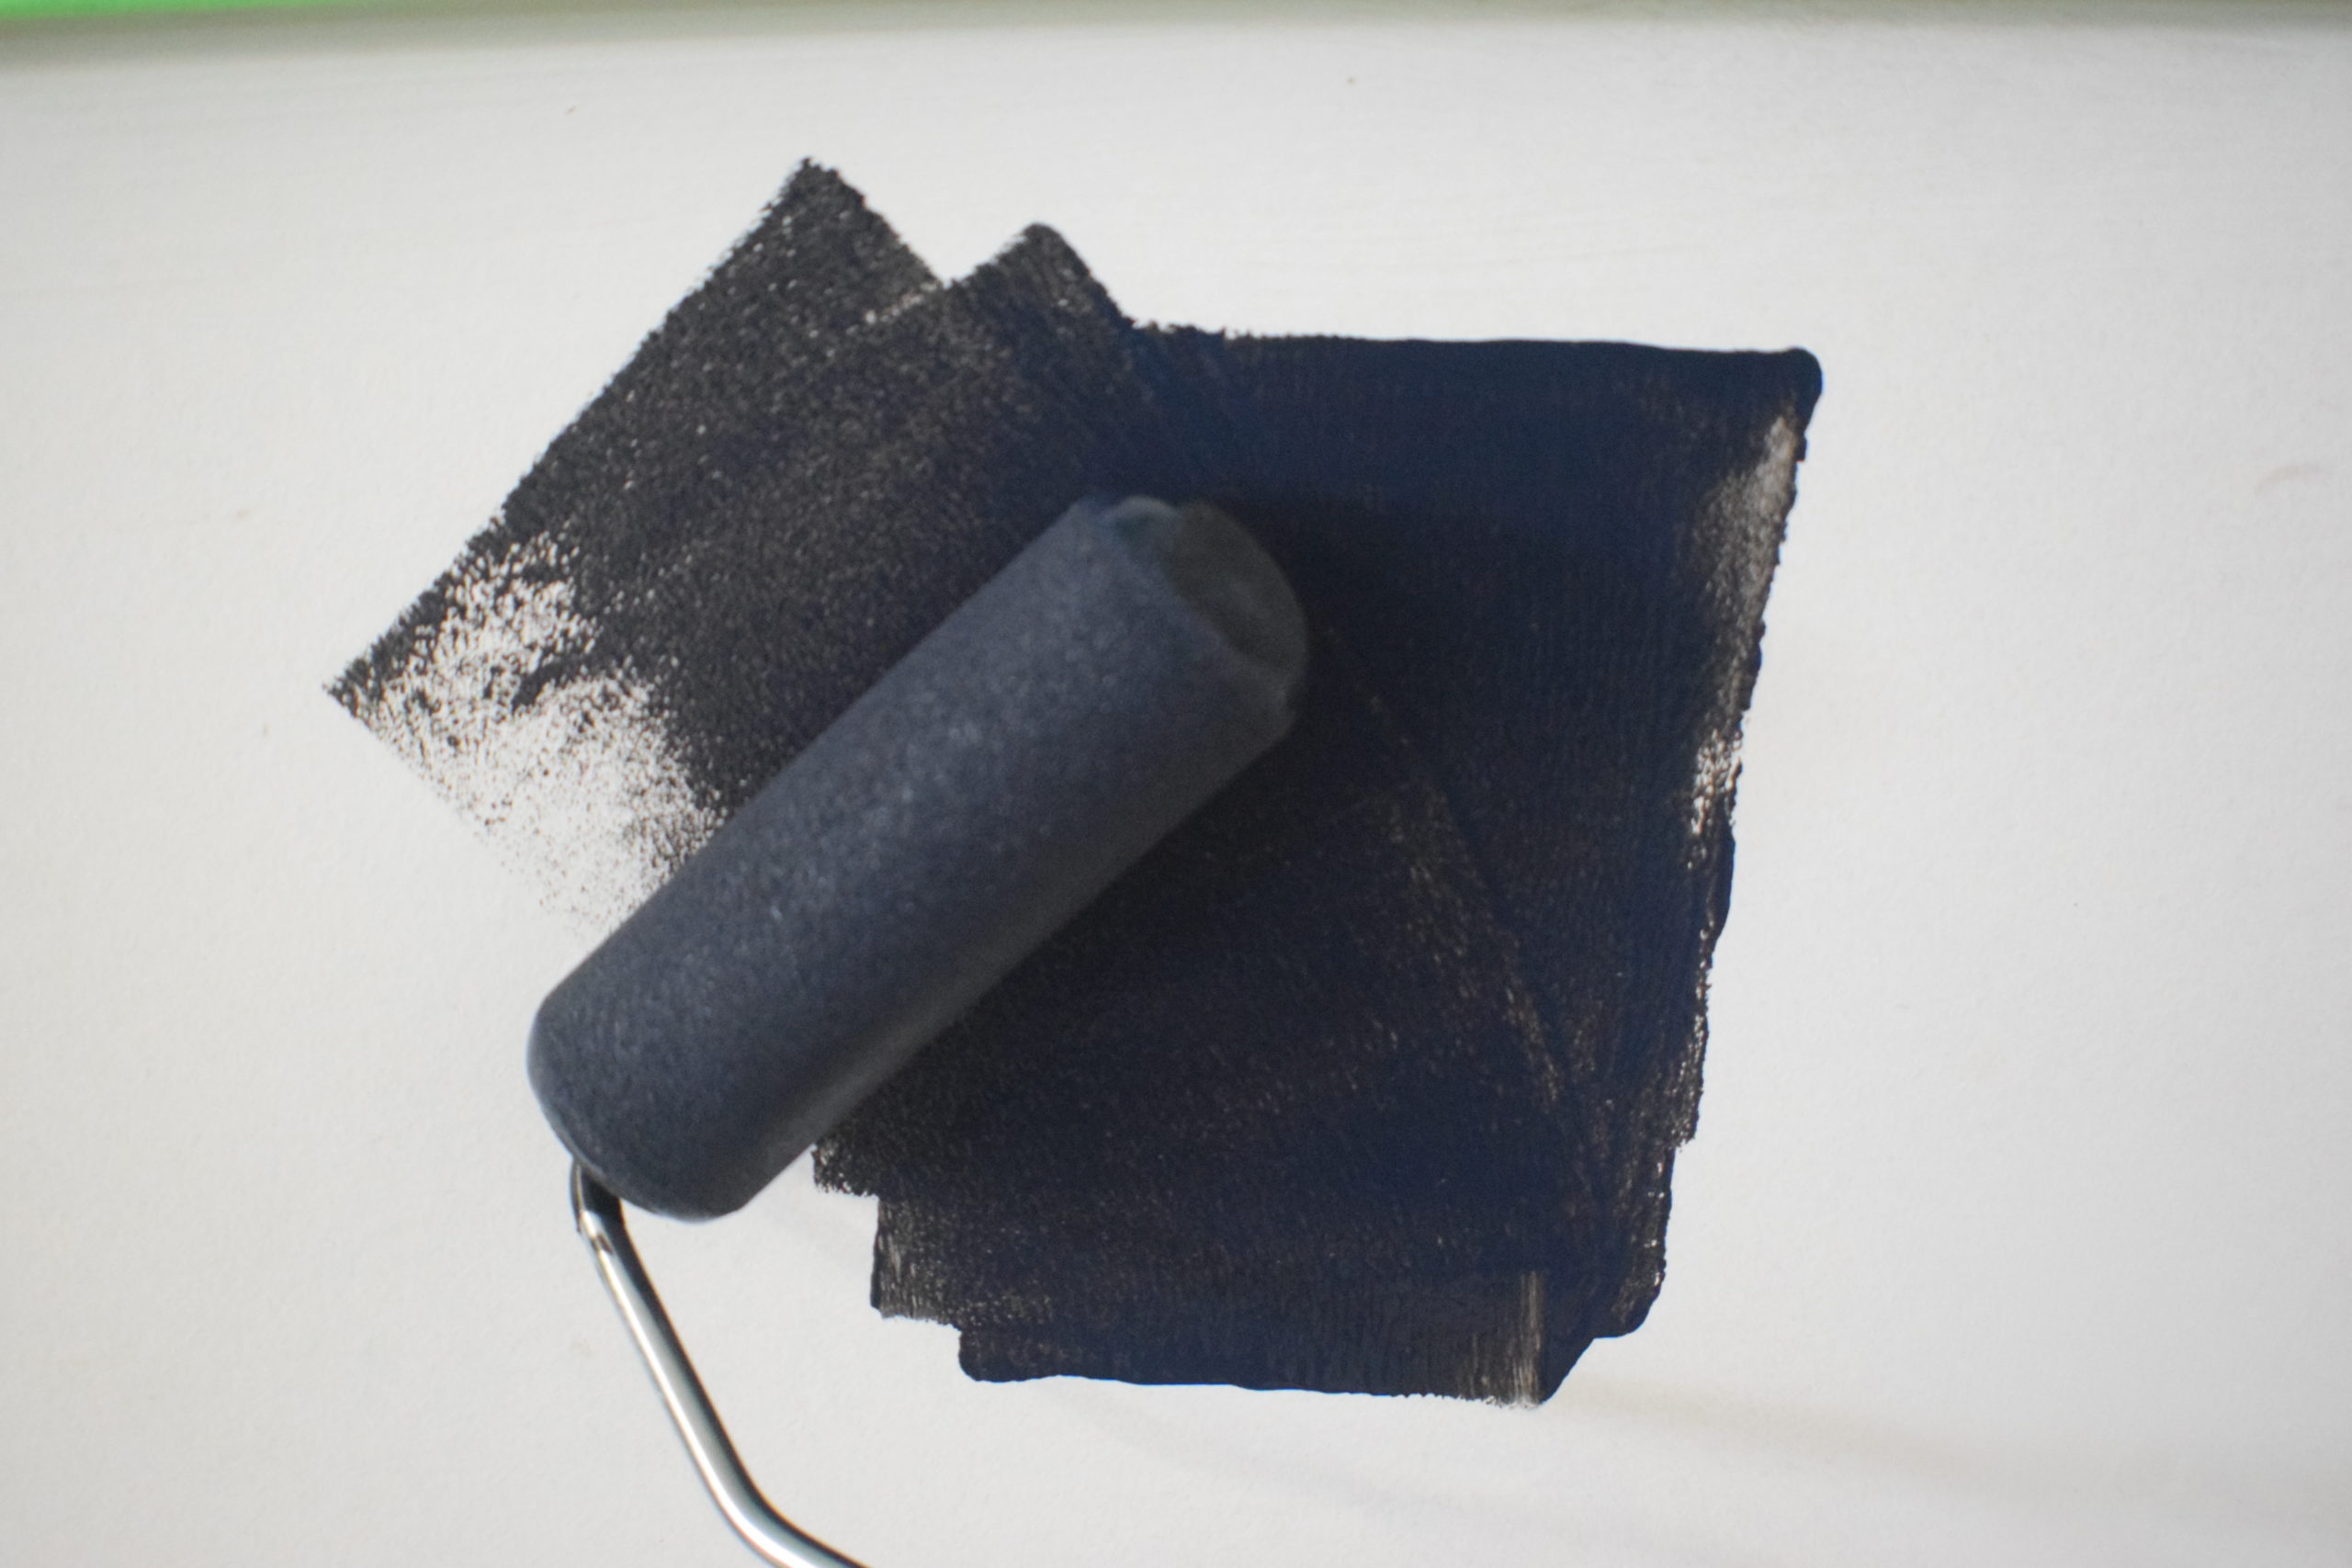
When rolling, it’s best to focus on covering small areas and avoid overlap. Use light and even strokes. This paint does not like to be double-coated while wet or during the drying stage, and you will end up with uneven and tacky coverage. I accidentally went over a drying area with my roller, and it noticeably thickened the paint. I had to wait for it to dry, sand it down and repaint the area. So my biggest takeaway was to avoid double rolling at all costs. If you require a second coating, wait the full 4 hours for the best results.
Before You Chalk It Up
Your wall is dry, and you can’t wait to test it out. Halt!! The most important and commonly skipped overstep is this one right here: You must wait three full days to chalk up your wall. I understand it feels like a really long waiting period after putting all your effort into it, but for the best results, you will need to practice your patience and hold off for 72 hours.
Conditioning the Surface
Time to prep the surface! It sounds odd bringing up prep work again, especially since you’ve already put all your painting supplies away. Don’t worry; this prep work is easy and only requires a piece of chalk.
After you’ve waited out the three-day curing period, you need to condition the wall. This prepping step is completed by rubbing the side of a piece of chalk over the wall’s surface. Then erase it all. Once you have erased your chalk, your chalkboard wall is officially ready for use!
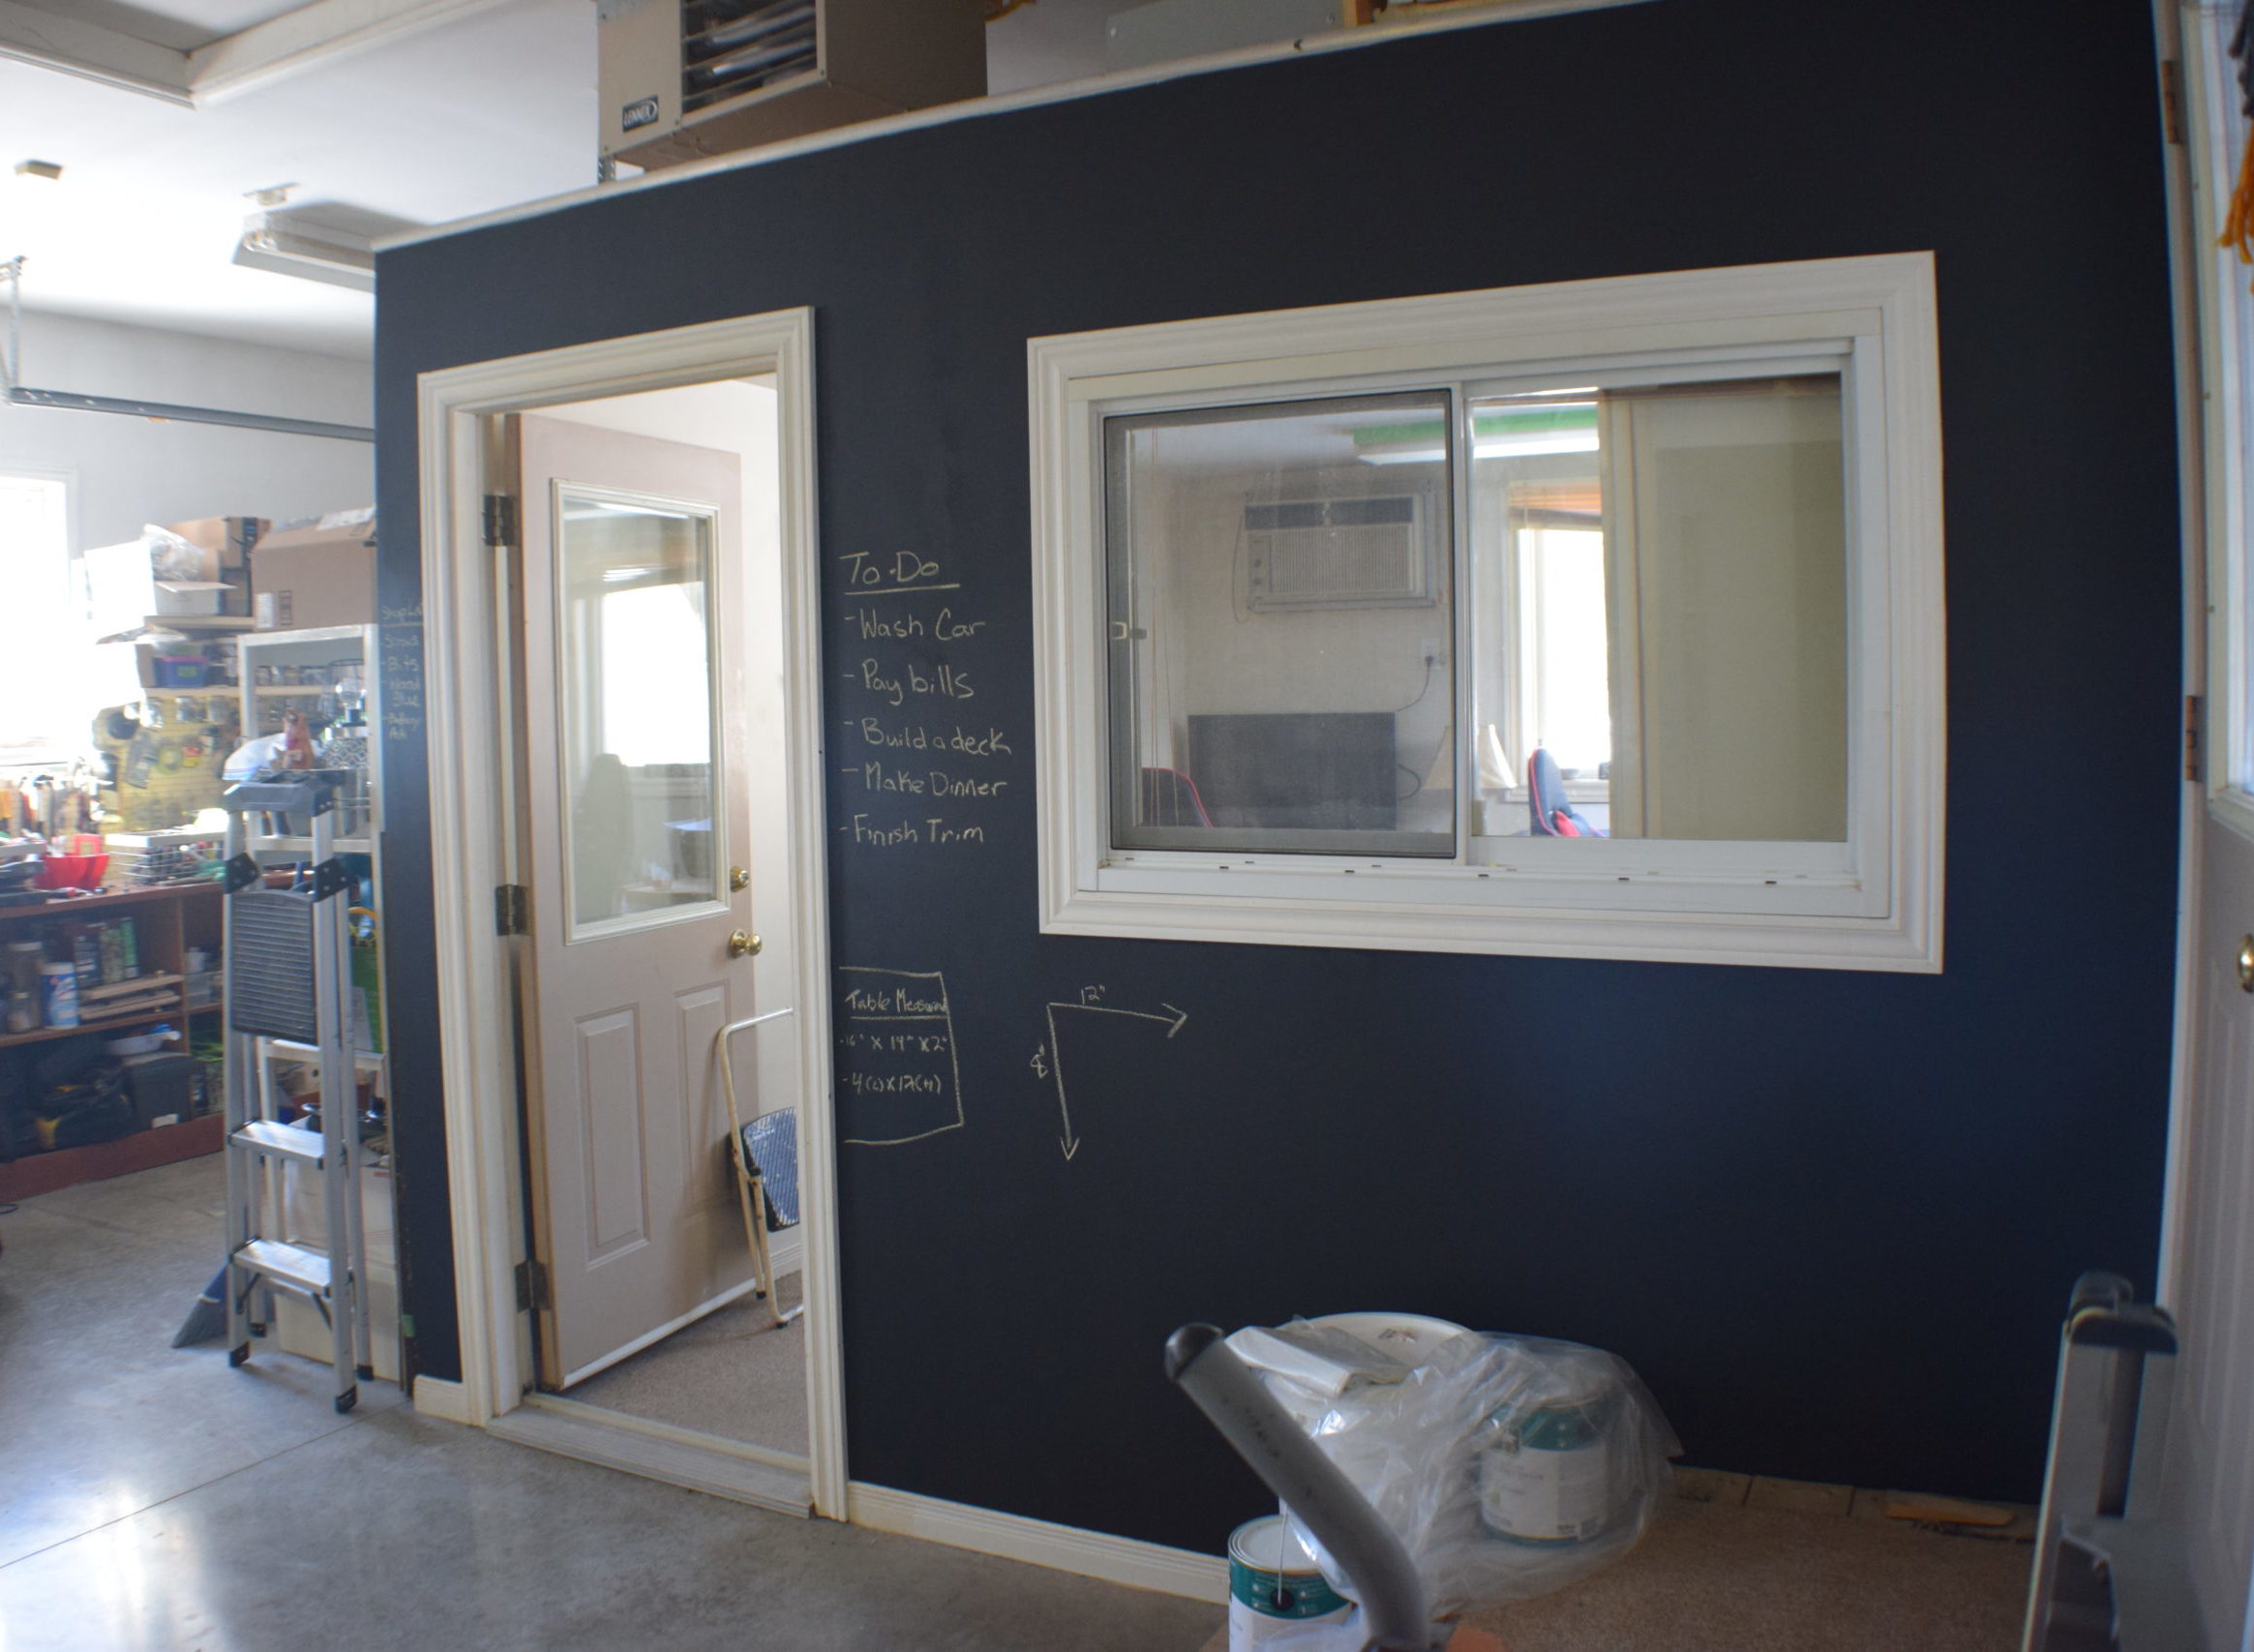
Not only did this chalkboard wall enhance the appearance of my workshop, it quickly became one of my favorite essential shop tools. Every day, I use my wall to jot down project measurements, my to-do list, and any creative ideas. It’s also proven to be a huge convenience and time saver. Give this ManMade DIY a go in your workshop, and you won’t be disappointed!


