Tips For Painting Trim Perfectly Every Time
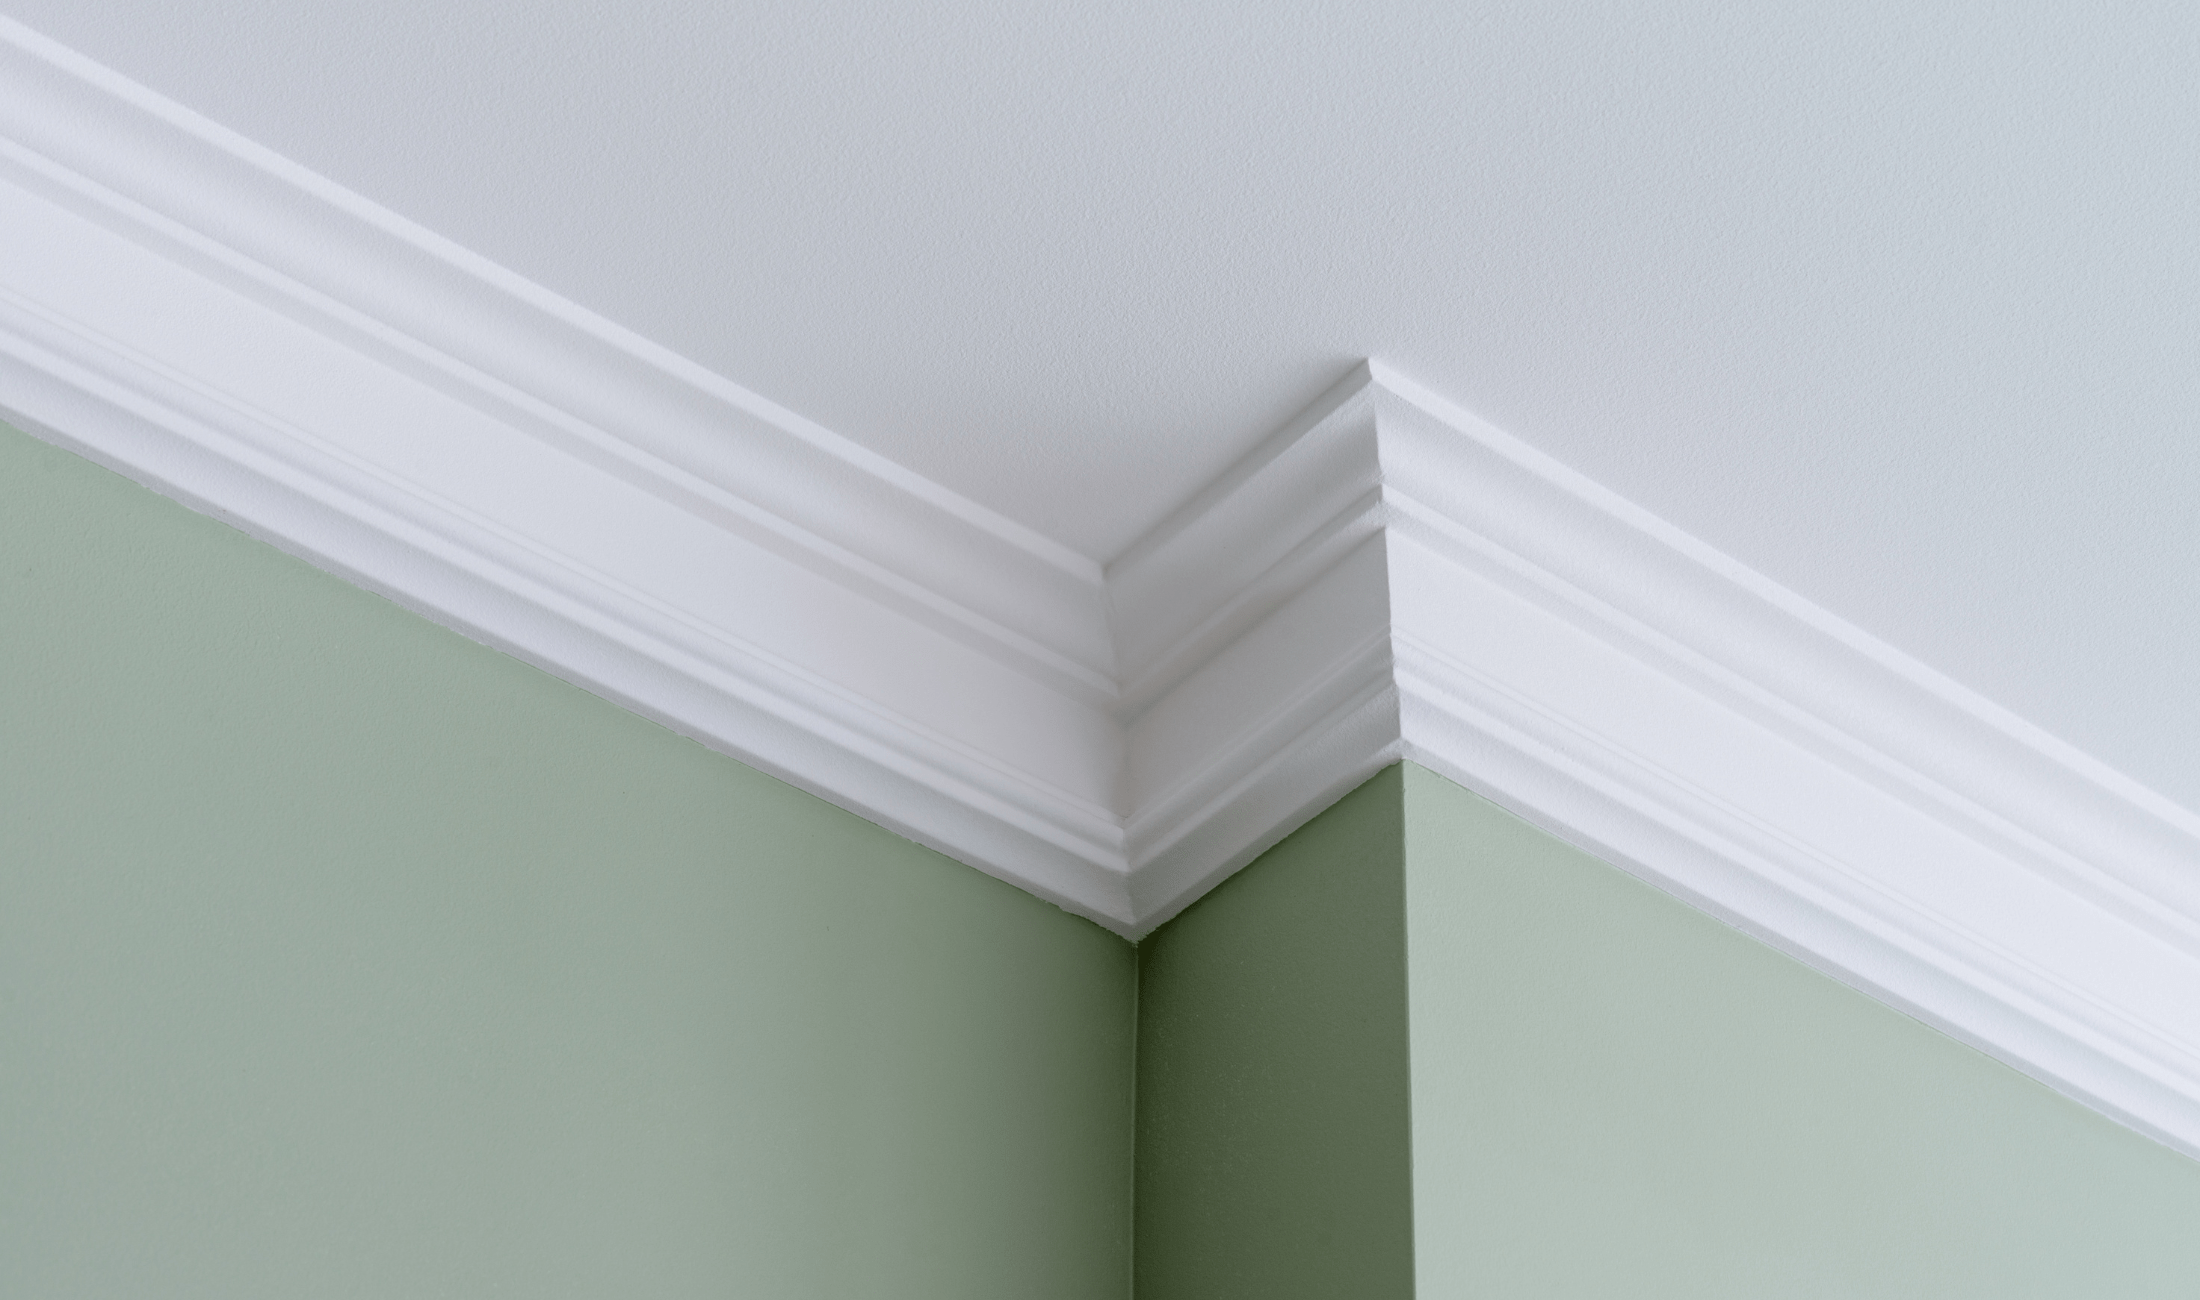
Painting trim might look simple at first, but getting it to look clean and even is where the real work begins. Trim draws attention, frames the room, and can either elevate or drag down the look of an entire space. Whether you’re refreshing existing paint or starting from scratch, there’s a method to getting it right. These steps will help you stay focused, avoid messes, and get a smooth, sharp result every time.
Prep Starts with Clean Trim
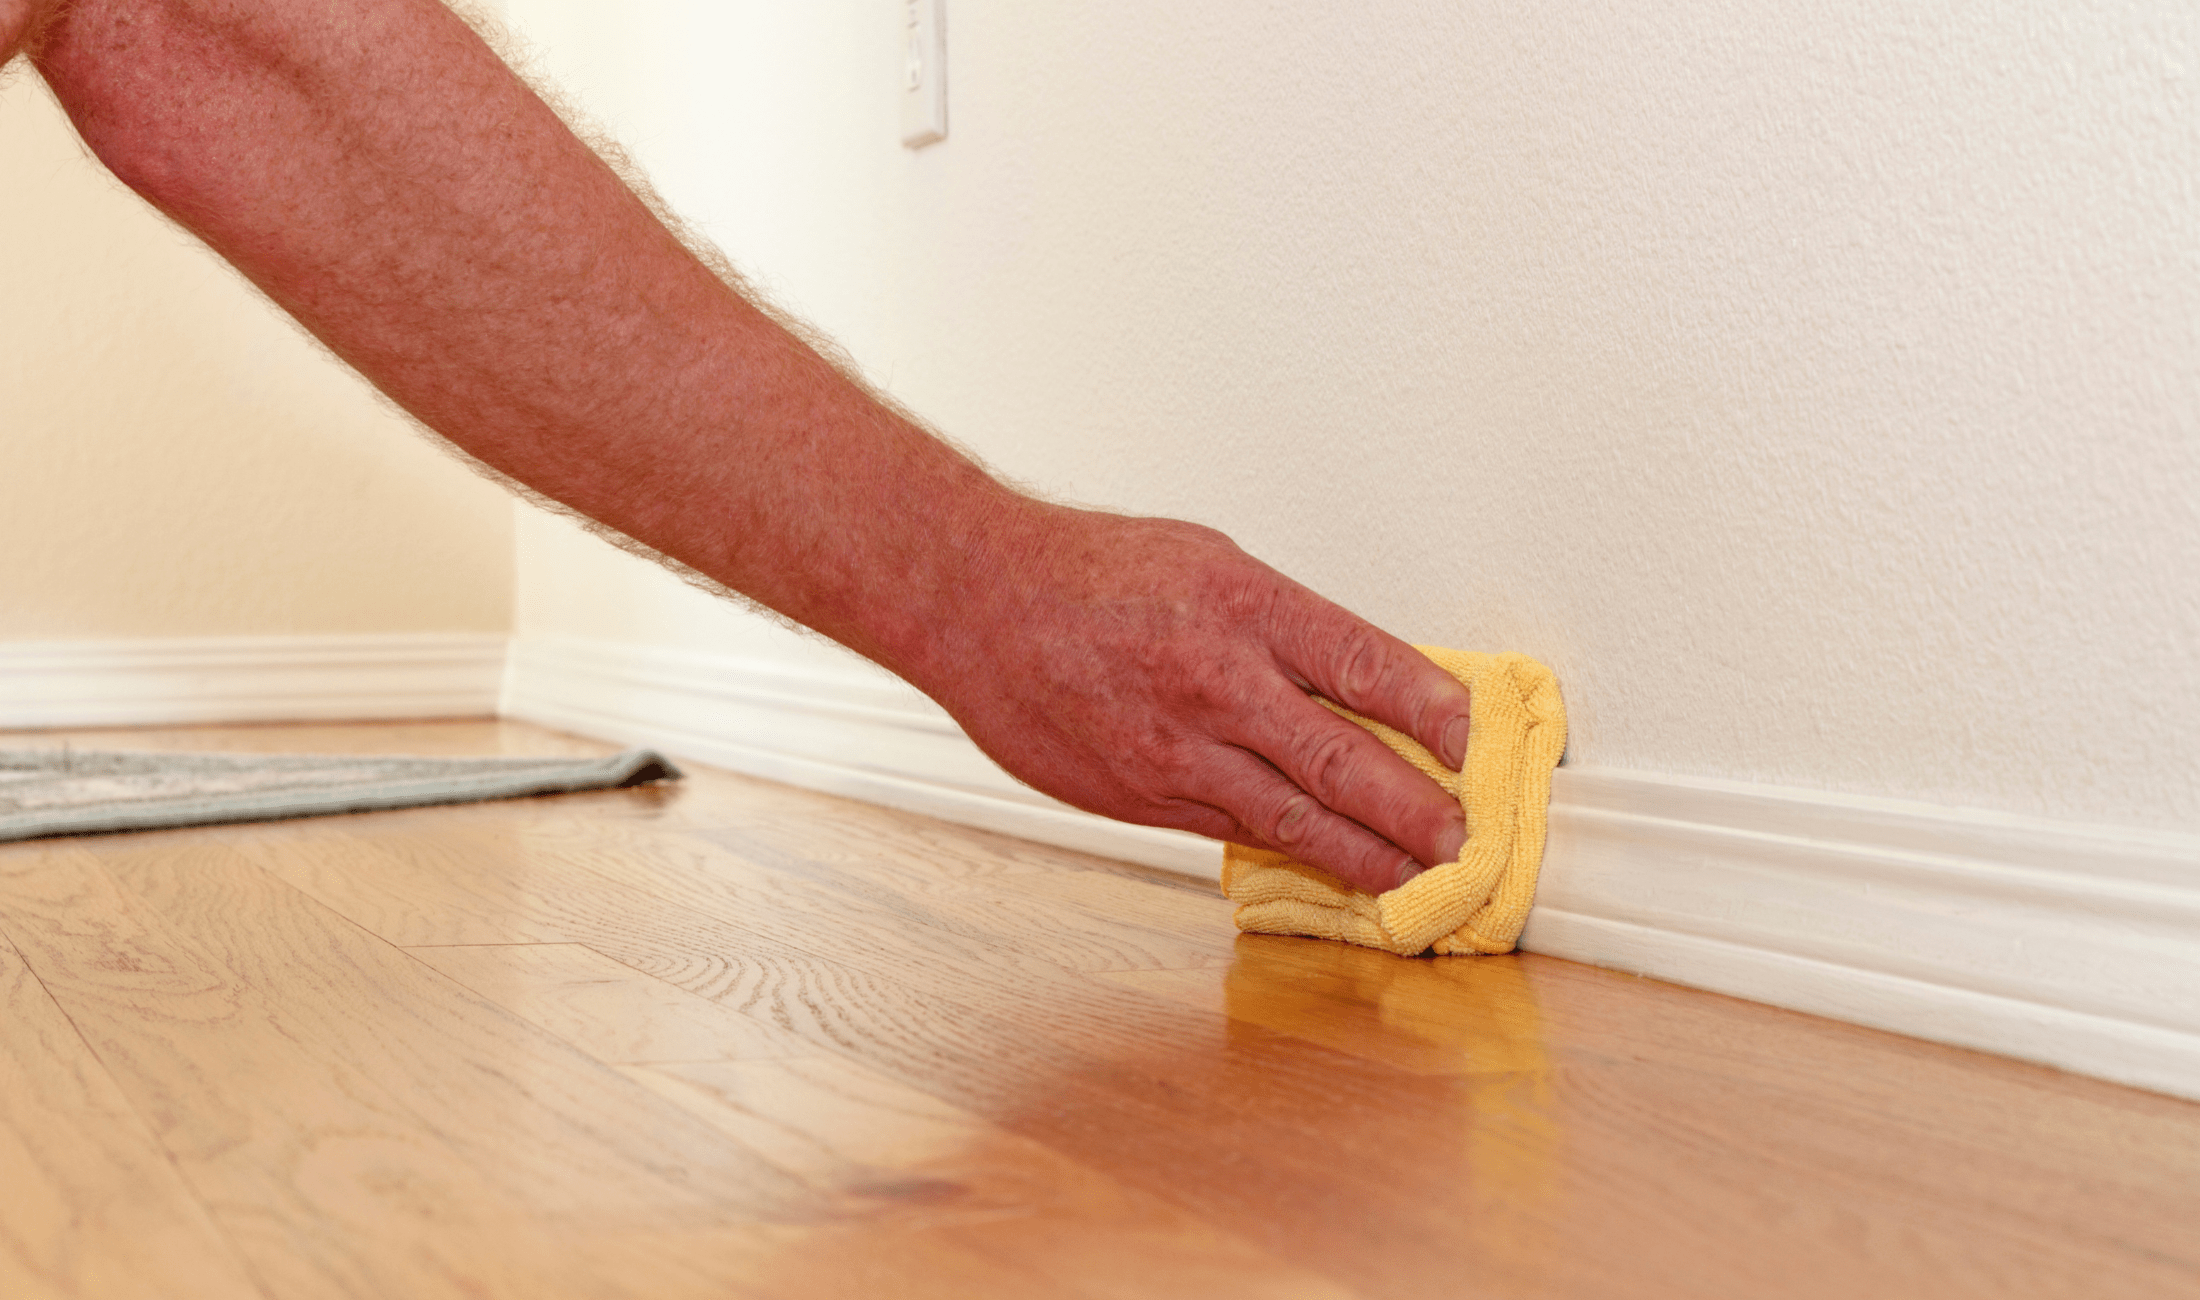
Before you even open a can of paint, your trim needs to be clean. Dust, dirt, and even oils from your hands will keep paint from sticking well. Use a damp cloth and/or mild soap solution to wipe everything down, then let it dry fully. If there’s old, chipping paint, gently sand the area to smooth it out. A clean, dry surface is the best starting point for paint that stays put and goes on evenly.
Choose the Right Tools
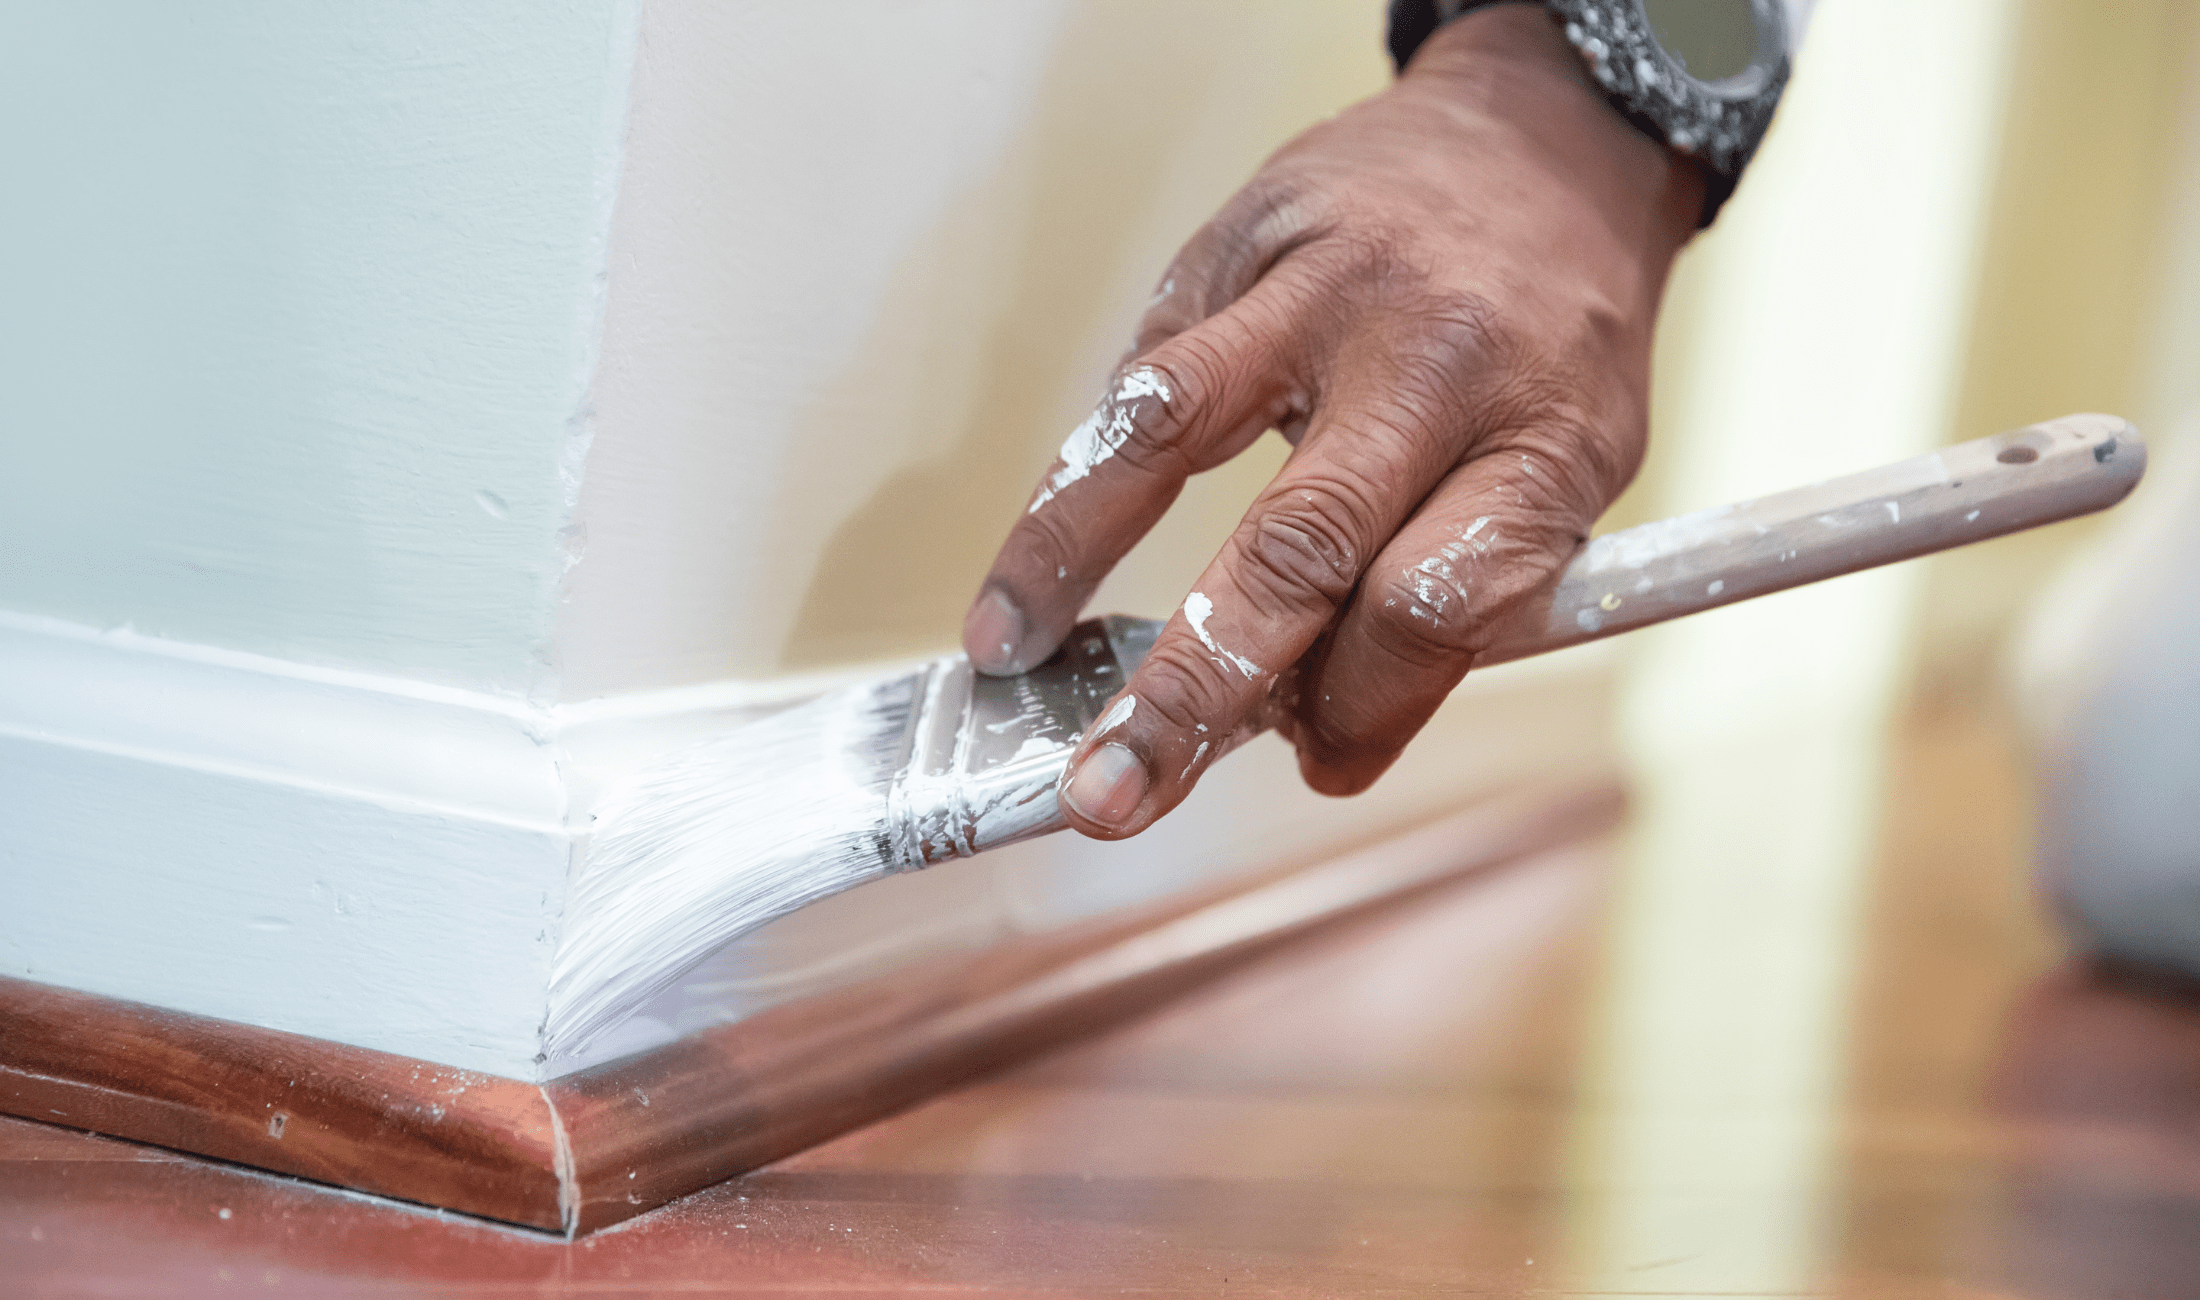
Good results come from using the right tools. A high-quality angled brush will give you better control around edges and corners. Avoid foam brushes or cheap bristles that can leave streaks or shed mid-job. If you’re working on a lot of trim, painter’s tape and a small paint cup can also help you stay neat. Tools don’t need to be expensive, but they do need to be made for trim work specifically.
Use Painter’s Tape
Speaking of painter’s tape, tape helps keep lines clean, but only if it’s applied correctly. Press it down firmly along edges so no paint can seep under. Don’t stretch it as you lay it down or it may lift later. Remove the tape while the paint is still slightly wet so you get a clean edge without pulling off dried paint. Take your time taping. It adds a few extra minutes but saves you from hours of fixing and touch ups.

Work In Steady, Even Strokes
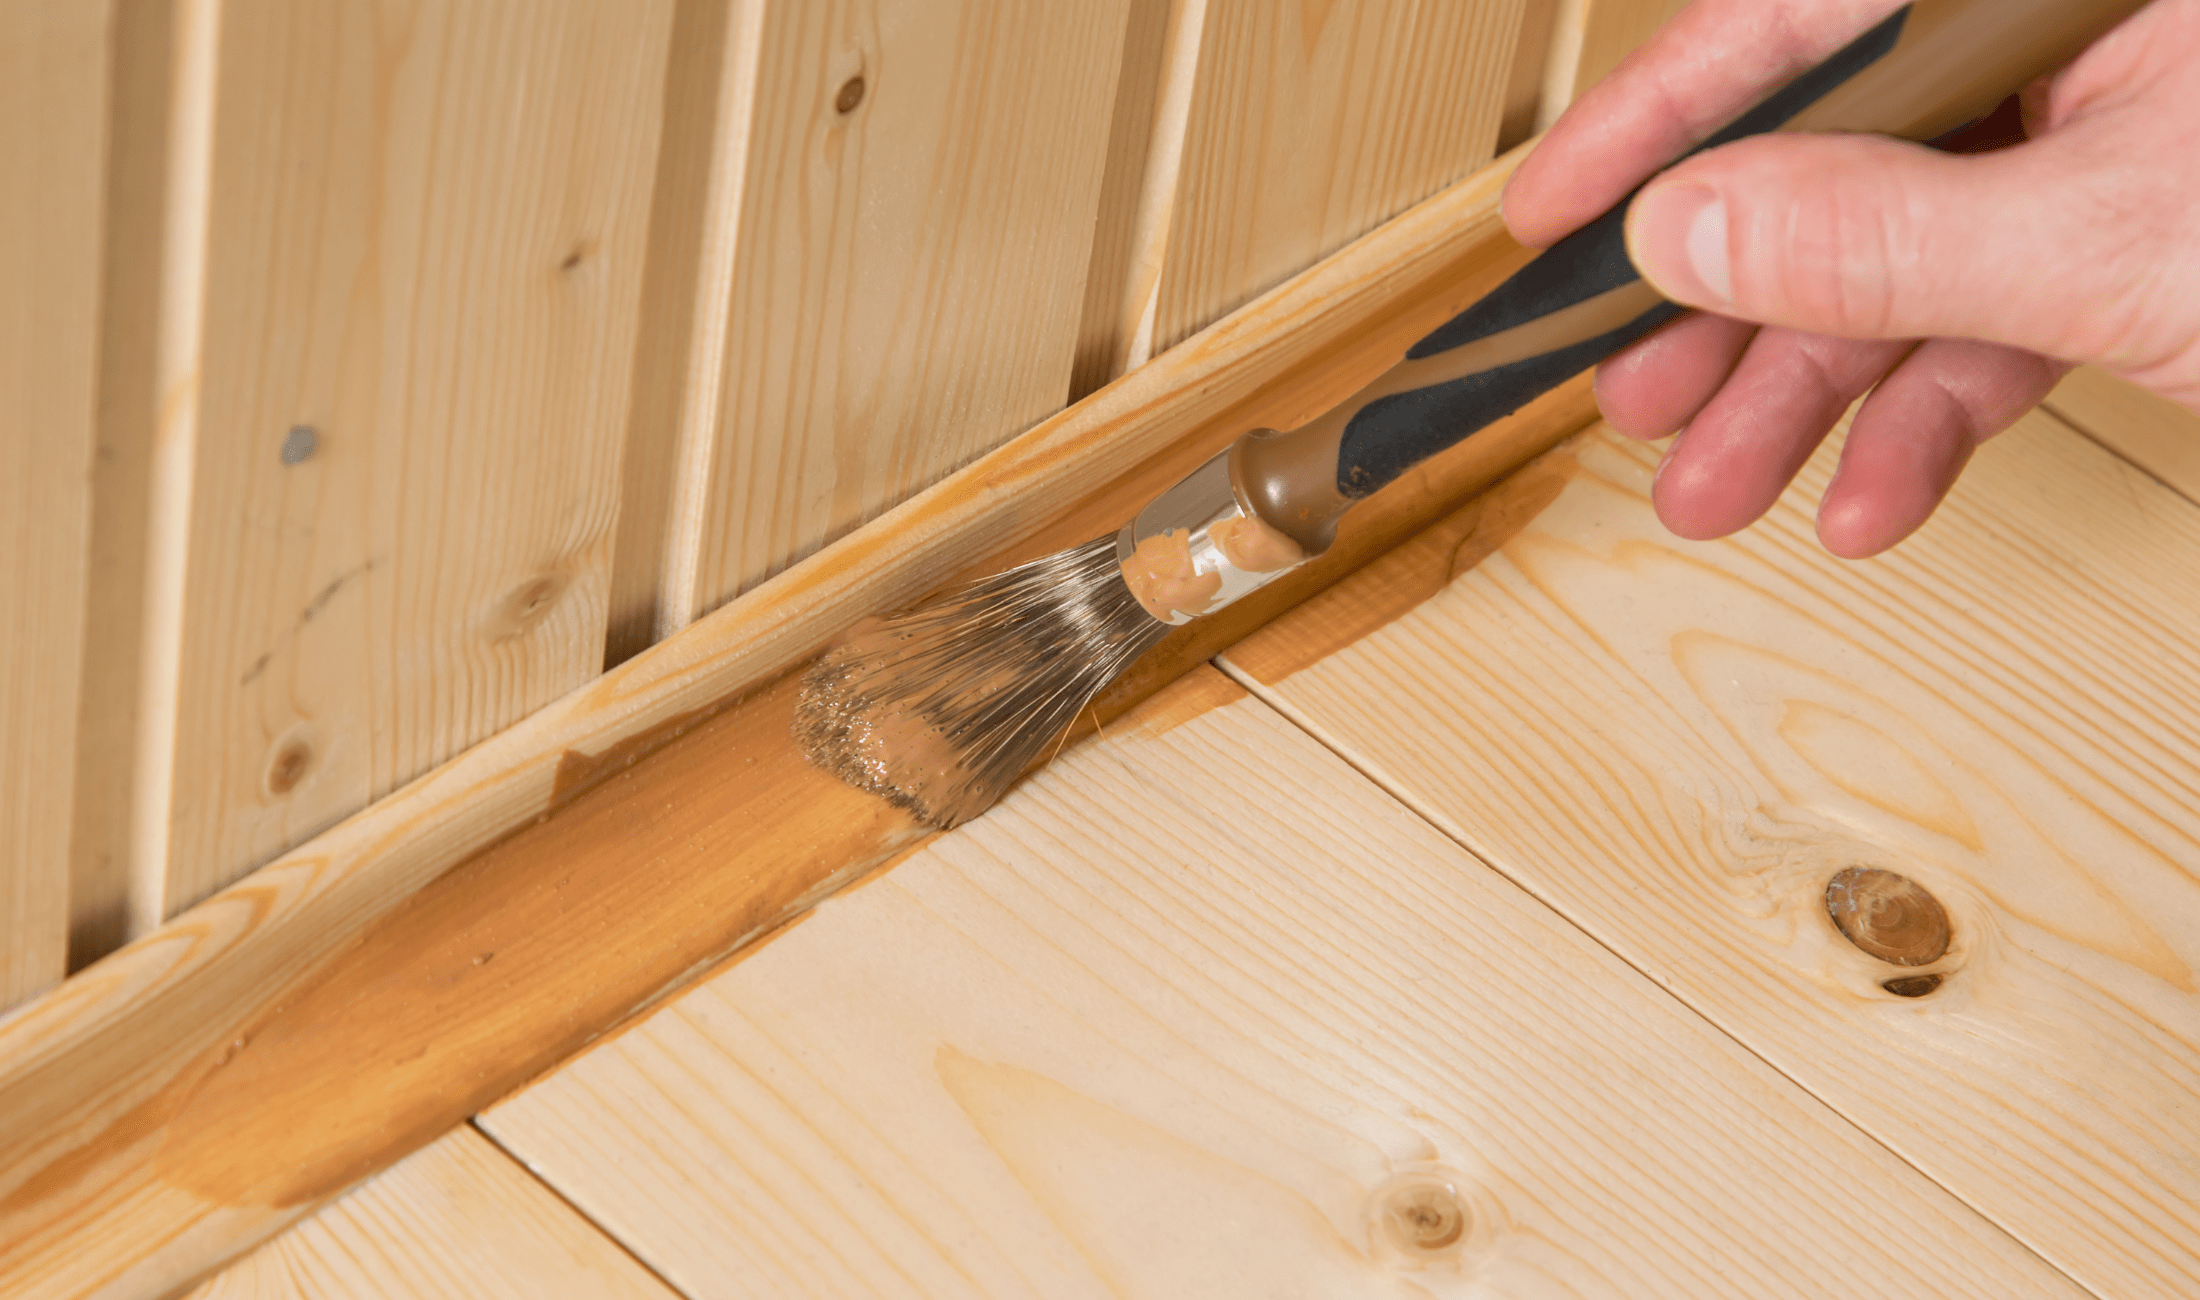
Once you’re painting, don’t rush. Dip just the tip of your brush into the paint, then gently press the bristles into the trim using long, smooth strokes. Short strokes or overworking the same spot can leave visible brush marks. Try to maintain a wet edge as you go. This means overlapping your strokes slightly while the previous section is still wet so the paint blends in smoothly without ridges or streaks.
Sand Between Coats
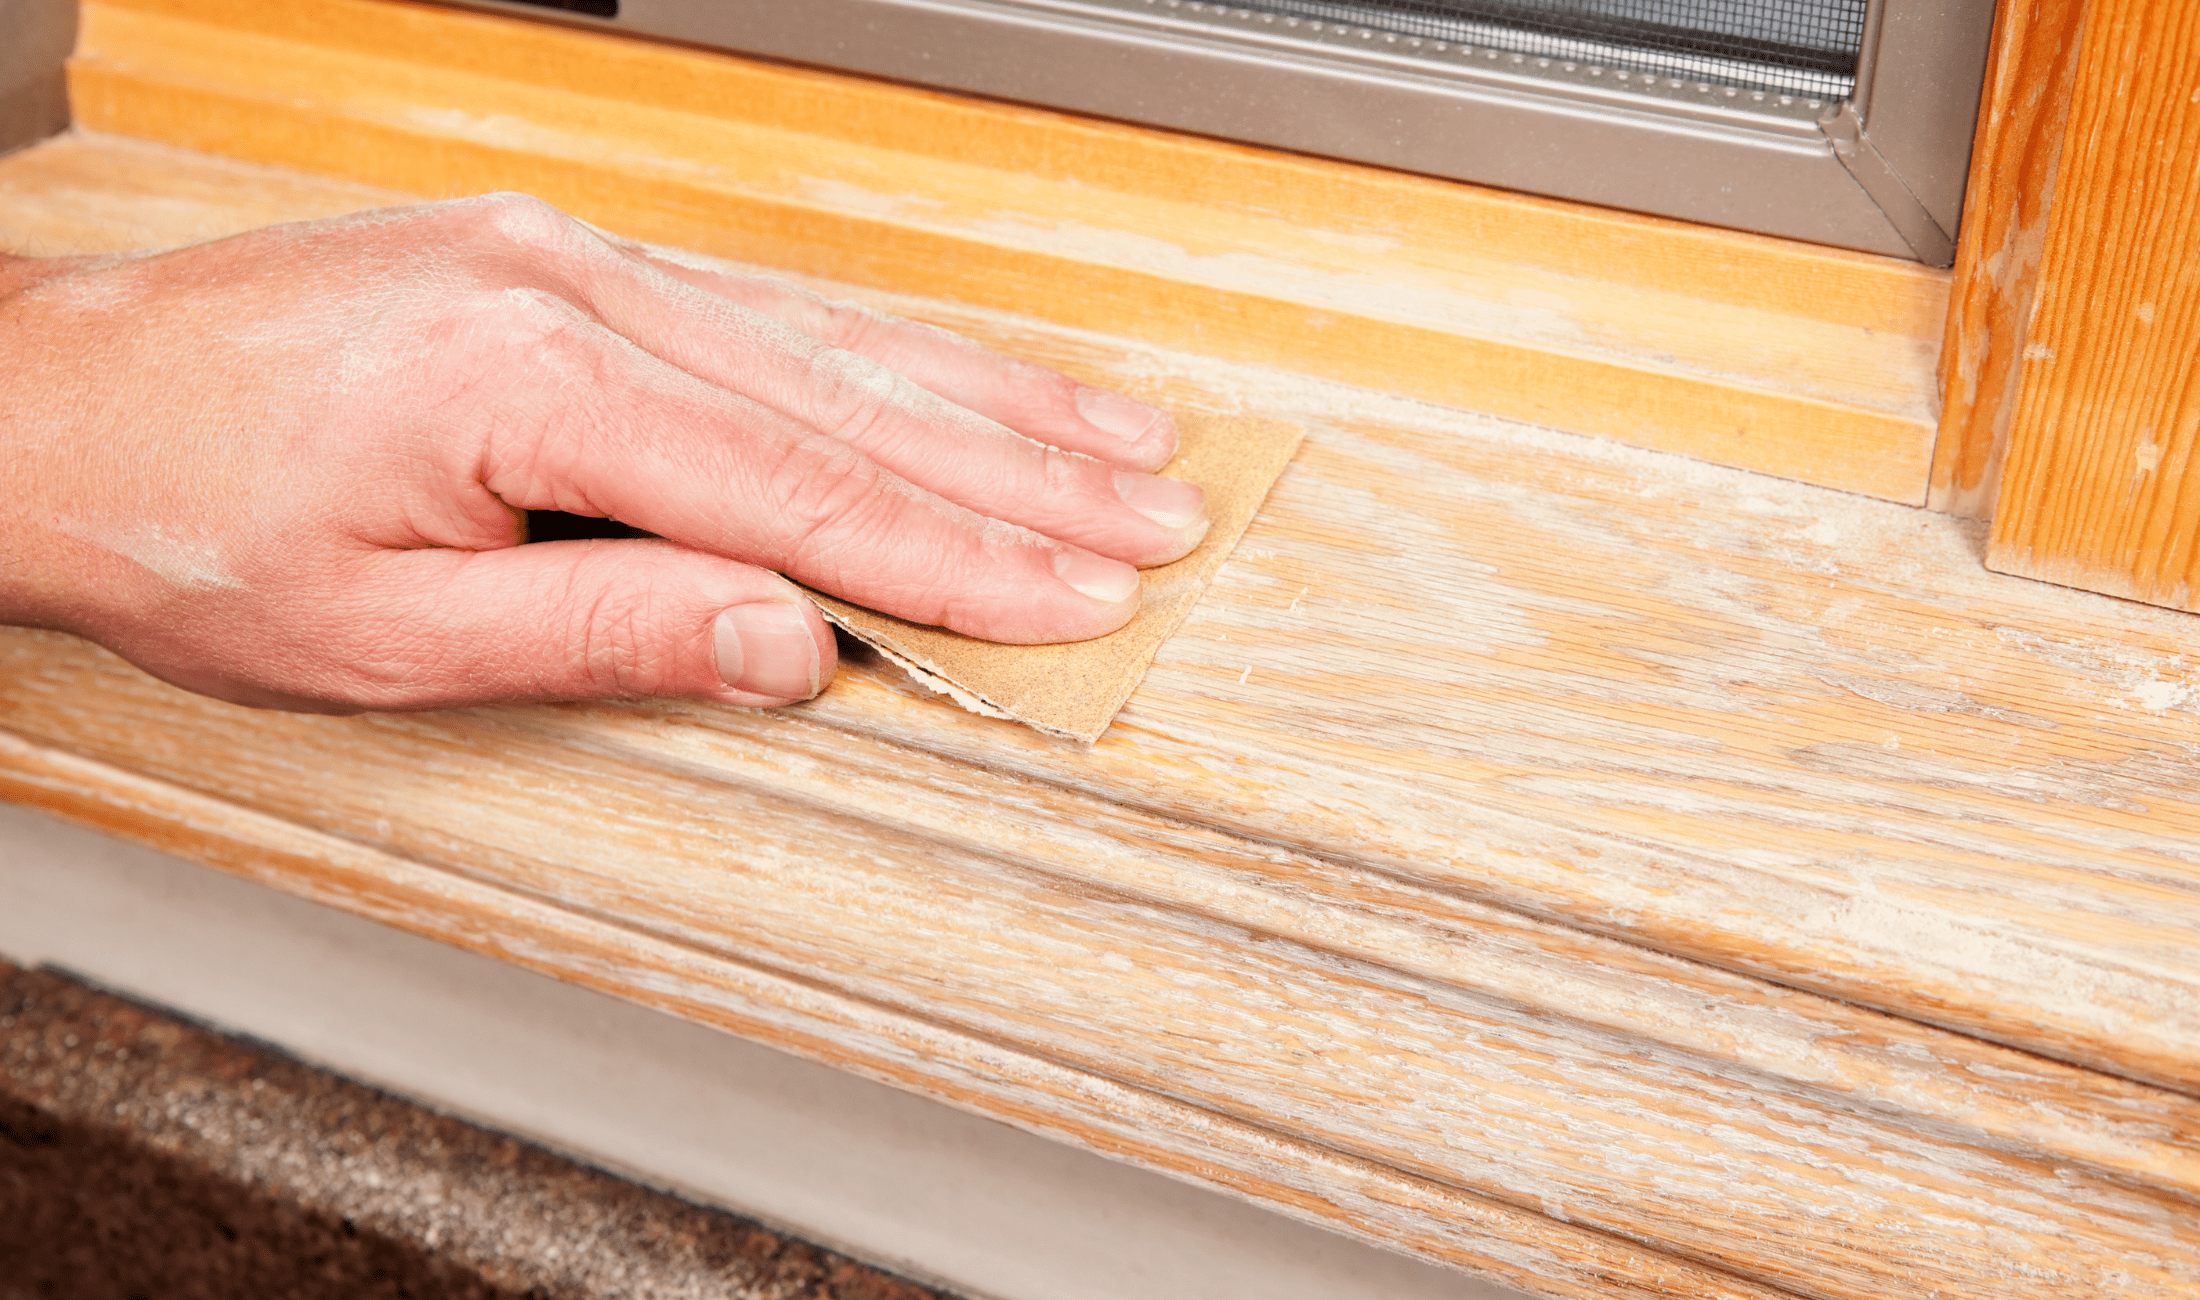
It might feel like an unnecessary step, but sanding between coats gives trim a smooth, professional finish. Once the first coat is dry, lightly sand it with a fine-grit sanding sponge or paper. Wipe off the dust with a tack cloth before applying the next coat. This helps the second layer go on smoother and gives you that crisp, even surface that makes all the difference when the light hits it just right.
Don’t Skip the Dry Time
One of the most common mistakes is rushing through the dry time. Paint needs time to fully dry between coats and before handling. Even if it feels dry to the touch, the layers underneath may still be soft. If you touch or tape too soon, you’ll leave marks or pull paint away. Follow the drying time listed on the can and give yourself more time in humid or cooler conditions.
Related Articles
- 25 Clever DIY Painting Hacks for Professional Results
- Does Paint Expire? How Can You Tell?
- This Type Of Paint Is The Worst, Professionals Say
Painting trim can feel like a tedious job, but it’s the kind of detail that makes a room feel finished. When done well, it disappears into the space in all the right ways. With careful prep, smart tools, and some patience, you’ll get the kind of sharp, smooth finish that looks like it was done by a pro.


