The Proper Way To Cut Vinyl Siding For Windows and Doors
Vinyl siding is an easy application that any do-it-yourselfer can tackle with a little practice. Vinyl siding is a forgiving material, it has the flexibility to adjust a perfect fit that steel or aluminum siding just can’t match. Metal siding will bend, crease, or dent if you try to force it into place, vinyl won’t, it just fits if you make the correct cut.
The secret to a good siding job is in the small details. As good coaches say, “Worry about the little things, the big things take care of themselves.”
When it comes to a siding job, there are two little things to worry about: the area around the windows and doors, and in the inside and outside corners.
Start By Prepping Your Home
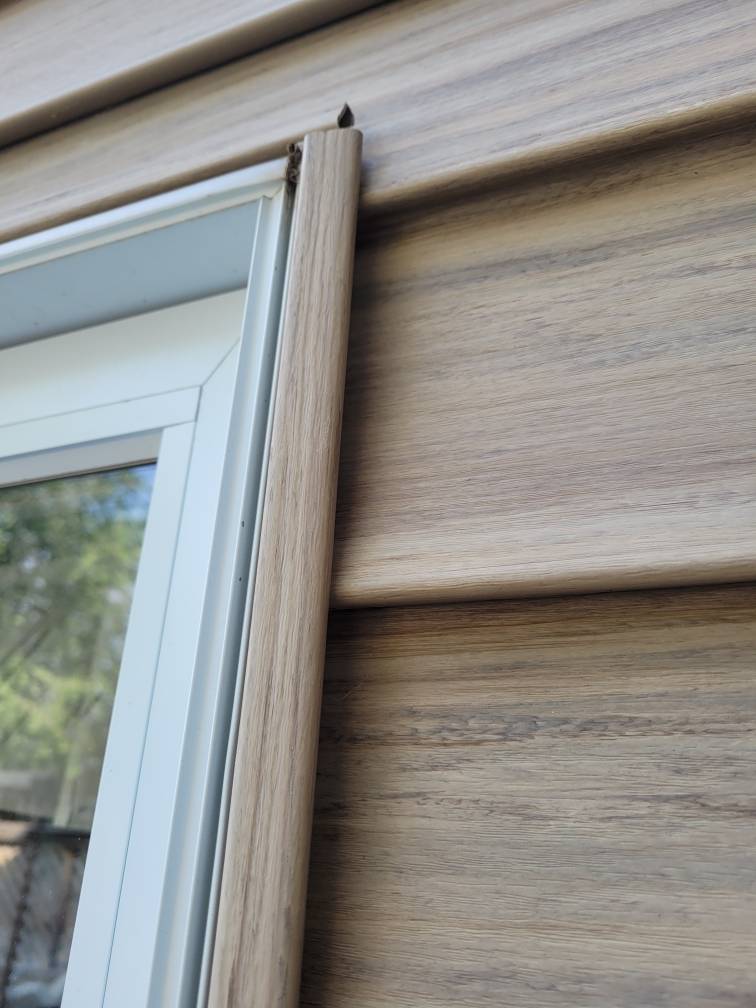
Before you lay any siding you need to prep the doors, windows, inside corners, and outside corners. This includes taking away any old siding, cleaning the frames, and filling in any gaps necessary. Vinyl siding manufacturers make corners that are easy to install, require little adjustment aside from cutting to length, and always make the finished project professional-looking as long as you’ve prepped accordingly.
J-Channels Are The Key To Success
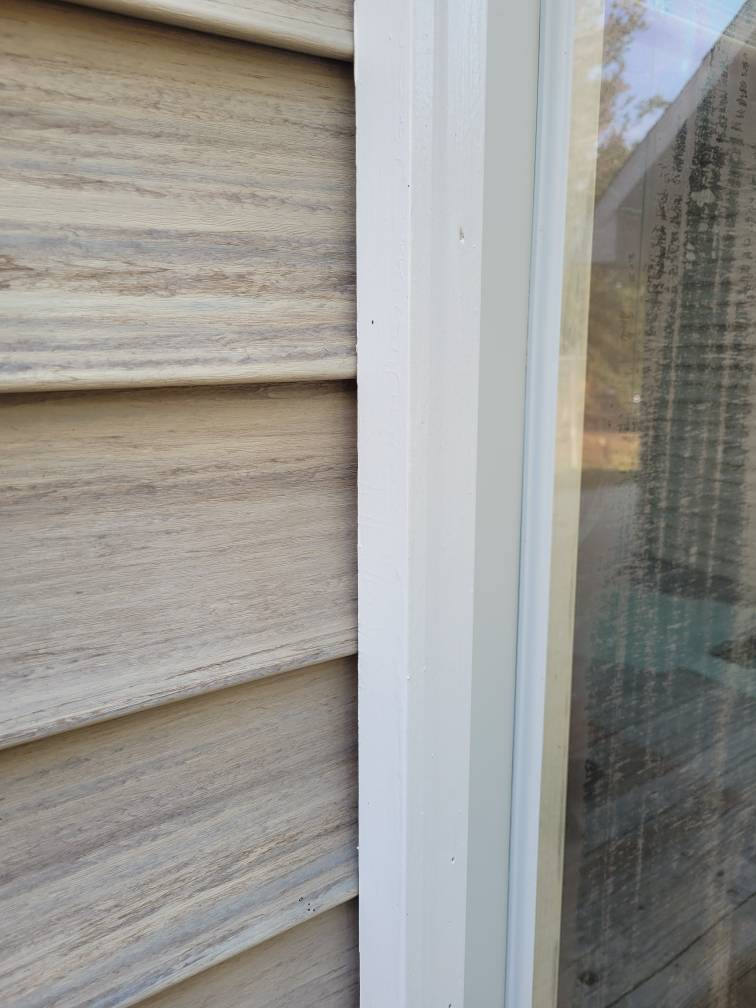
For the doors and windows, you’ll need to use a product called J-channel. As the name implies, it looks like two Js juxtaposed to each other from the end. Some think it looks more like a U but one side is shorter than the other, giving it the J moniker. J-channel needs to be wrapped around the jamb of each door and window.
Step 1: Start by attaching the bottom J-channel first on each window and door. It needs to be cut to match the width of the door or window exactly.
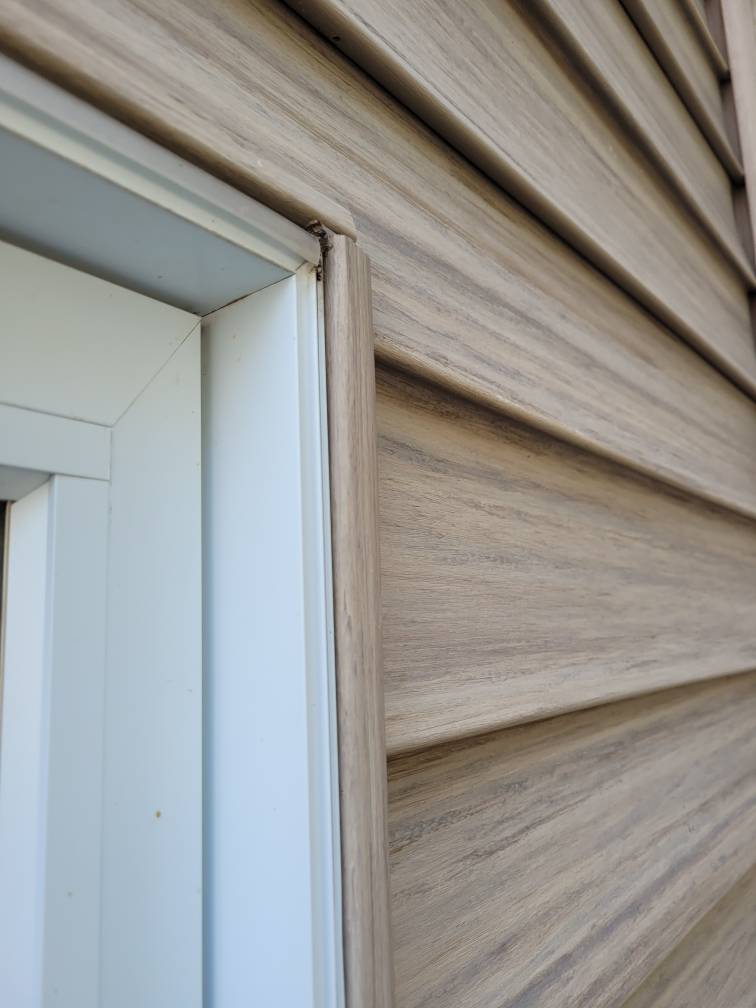
Step 2: The next step is to measure, cut, and attach the vertical pieces of J-channel. For these pieces, you need to measure from the bottom edge of the J-channel under the door or window to the top of the jamb.
You’ll need to cut out the bottom edge of the vertical piece to allow the siding to slide up to the bottom of the door or window. If you leave the side J-channel intact without cutting out a notch in the bottom the siding will not slide under the door or window leaving a big gap.
Step 3: When the bottom and the sides are attached you need to measure horizontally between the outside of the two vertical pieces. This will be the length of the top J-channel. The top J-channel needs to have the corners on each end sliced so a small piece of the end can be pulled down at a right angle.
This creates a path for water to flow down the outside of the J-channel and away from your home, and outside of your siding.

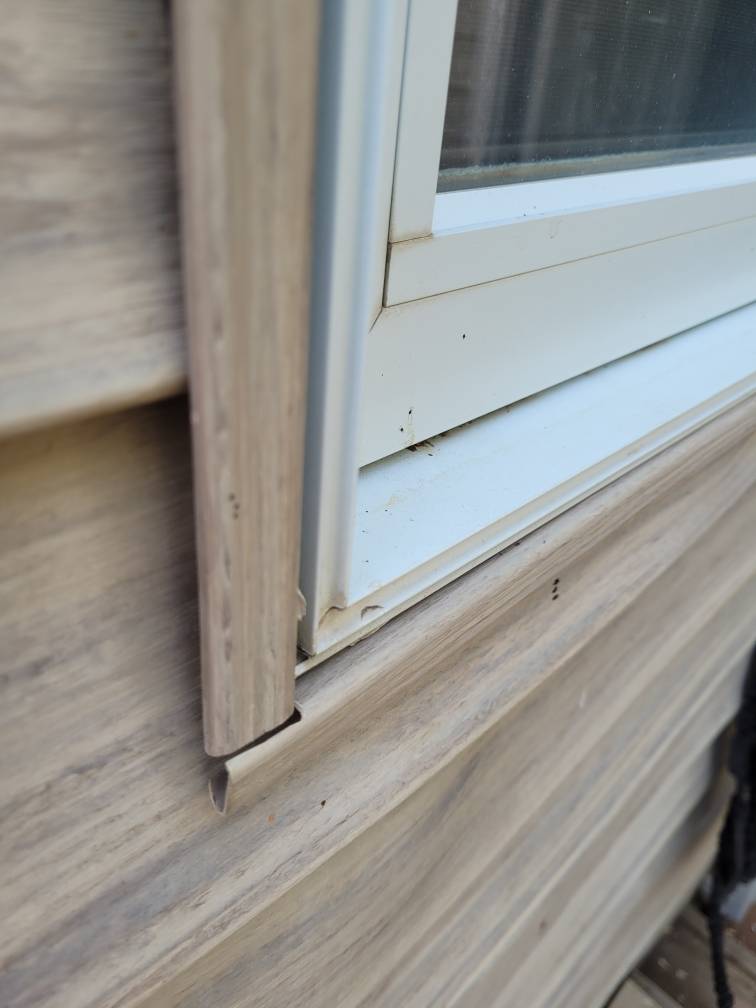
Rain and melting snow will follow the path of least resistance in flowing down. The J-channel provides a route for this unwanted water. The top covers the two sides, and the sides allow water to flow directly down the sides, splashing off the surface of the siding before hitting the ground below.
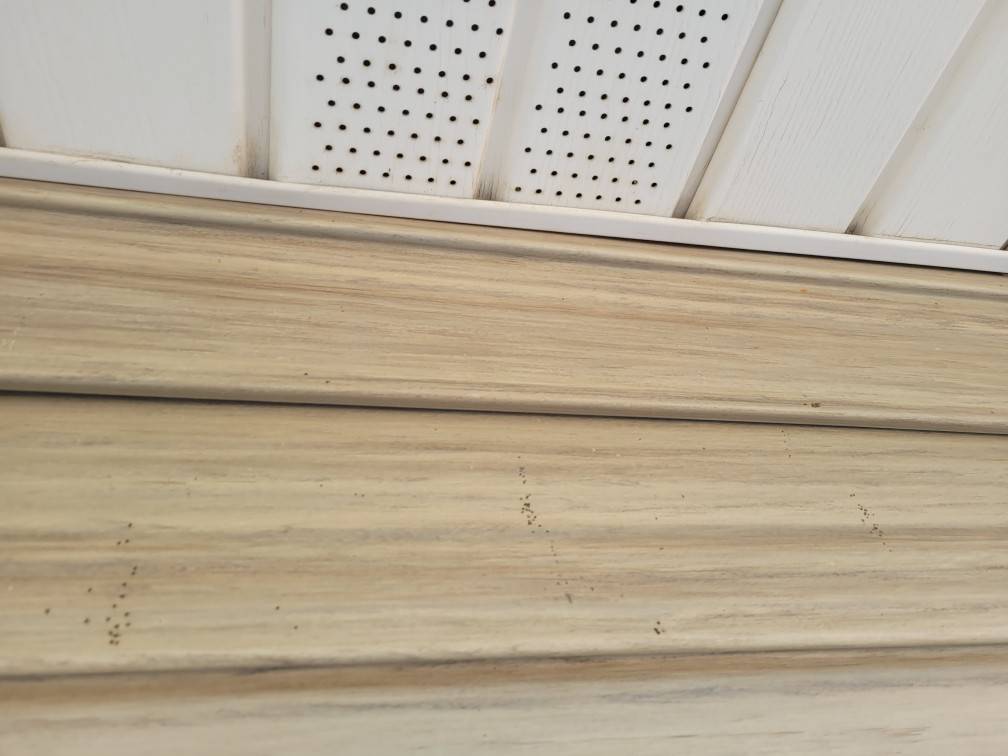
Apply a similar technique is just when you hit the top of the wall you’re laying siding on. The top edge of the wall, where it hits the soffit has a top closure that locks the last row of vinyl into place. It also has a final piece of J-channel that hides this last edge, creating a smooth, uniform finish to your siding job.


