The DOs And DON’Ts Of Fixing Holes In Drywall
Holes in drywall happen to almost every home. Whether from a doorknob, moving furniture, or a clumsy accident, they’re undeniably an eyesore, but one that’s easy to put off fixing. The good news is that repairing drywall is doable for most homeowners if you know the right steps. The key is being realistic, patient, and avoiding common mistakes. Here are the DOs and DON’Ts that will help you get a clean, smooth finish without wasting your time or effort.
DO: Use the Right Materials
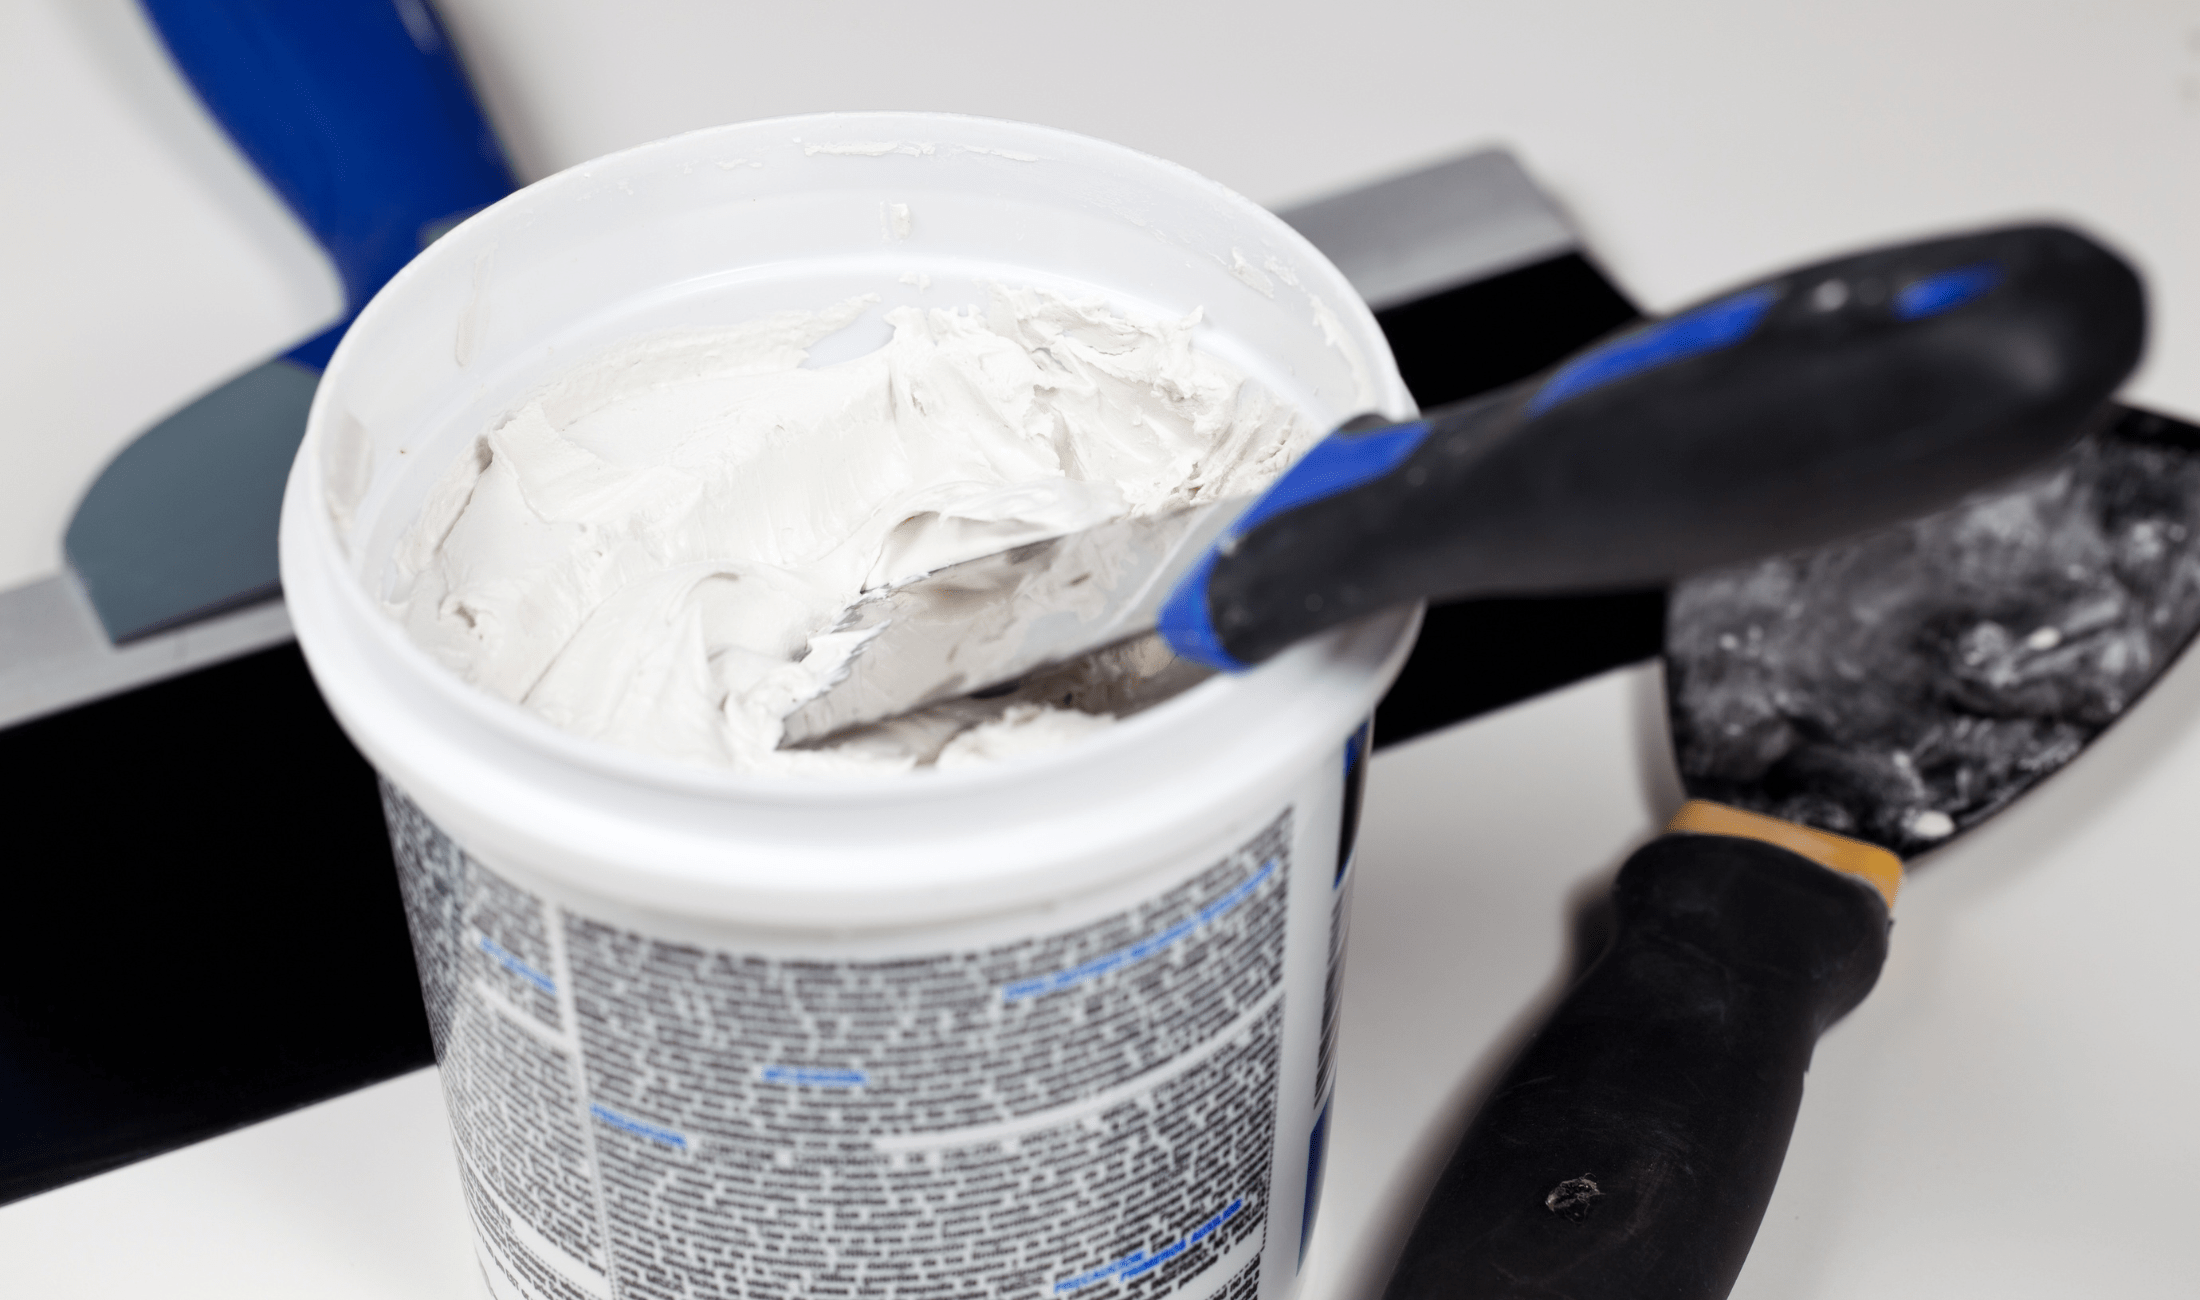
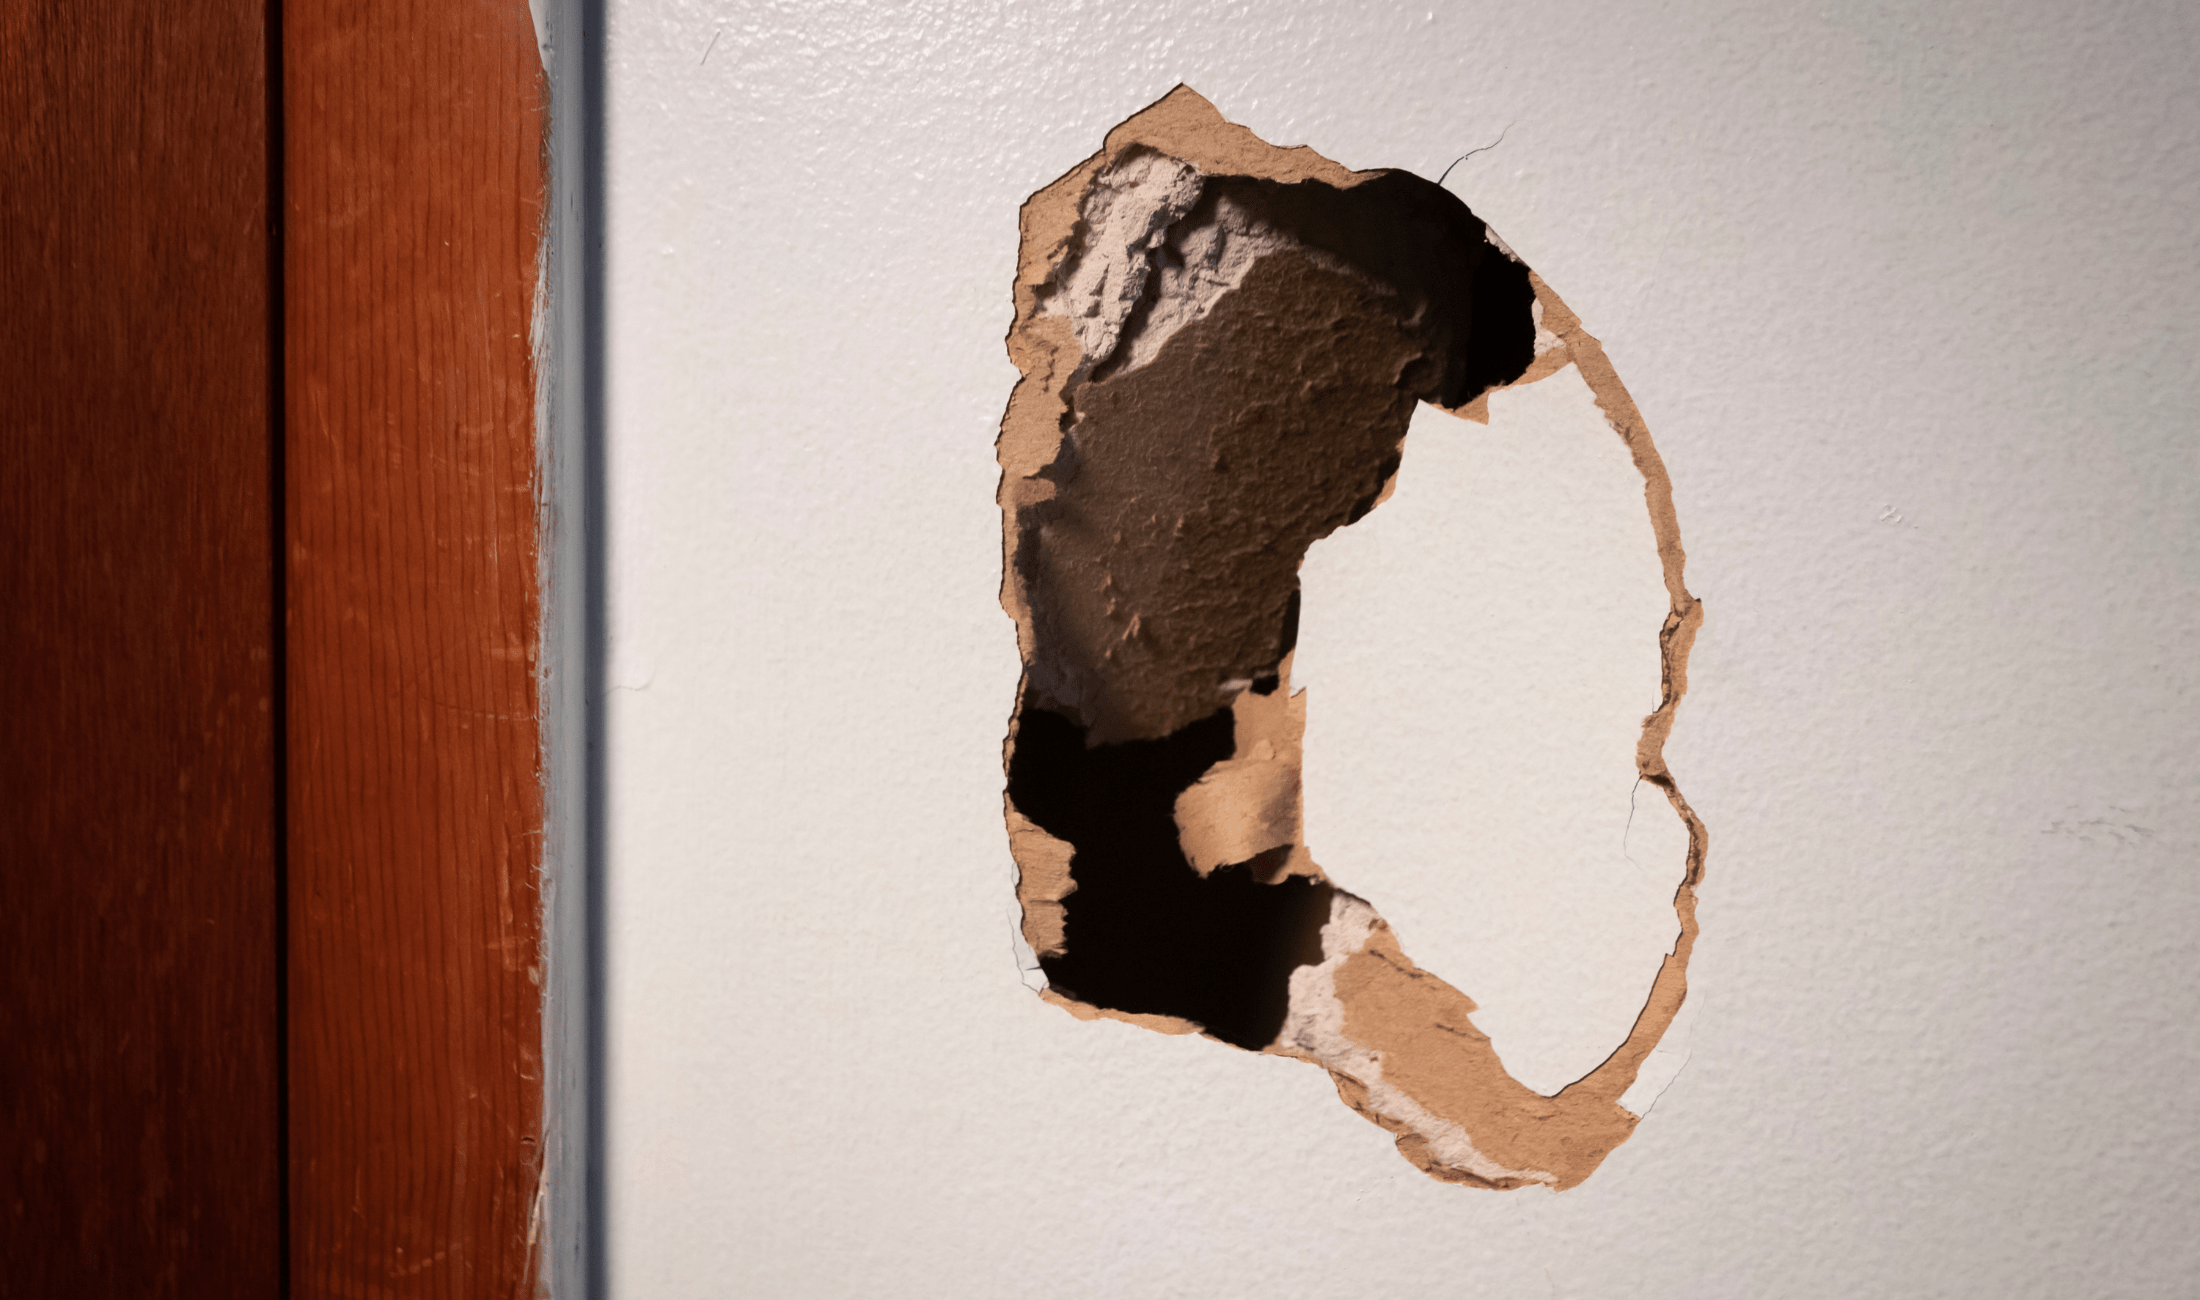
Spackle, joint compound, and drywall patches each have their place. Small holes are fine with lightweight spackle, while larger ones need mesh or metal-backed patches. For anything bigger, use a cut-out section of drywall with joint compound and tape. Having the correct supplies makes the difference between a repair that blends in and one that looks obvious. Spend a little extra upfront to avoid doing the job twice.
DON’T: Rush the Preparation
One of the biggest mistakes is skipping prep. Dust, loose drywall paper, and jagged edges will stop joint compound from sticking properly. If you just smear mud over a rough hole, the repair will fail. Take a few minutes to clean the area, trim edges with a utility knife, and wipe away debris. The smoother the surface you start with, the better the final result will look.
DO: Check for Wires and Pipes First
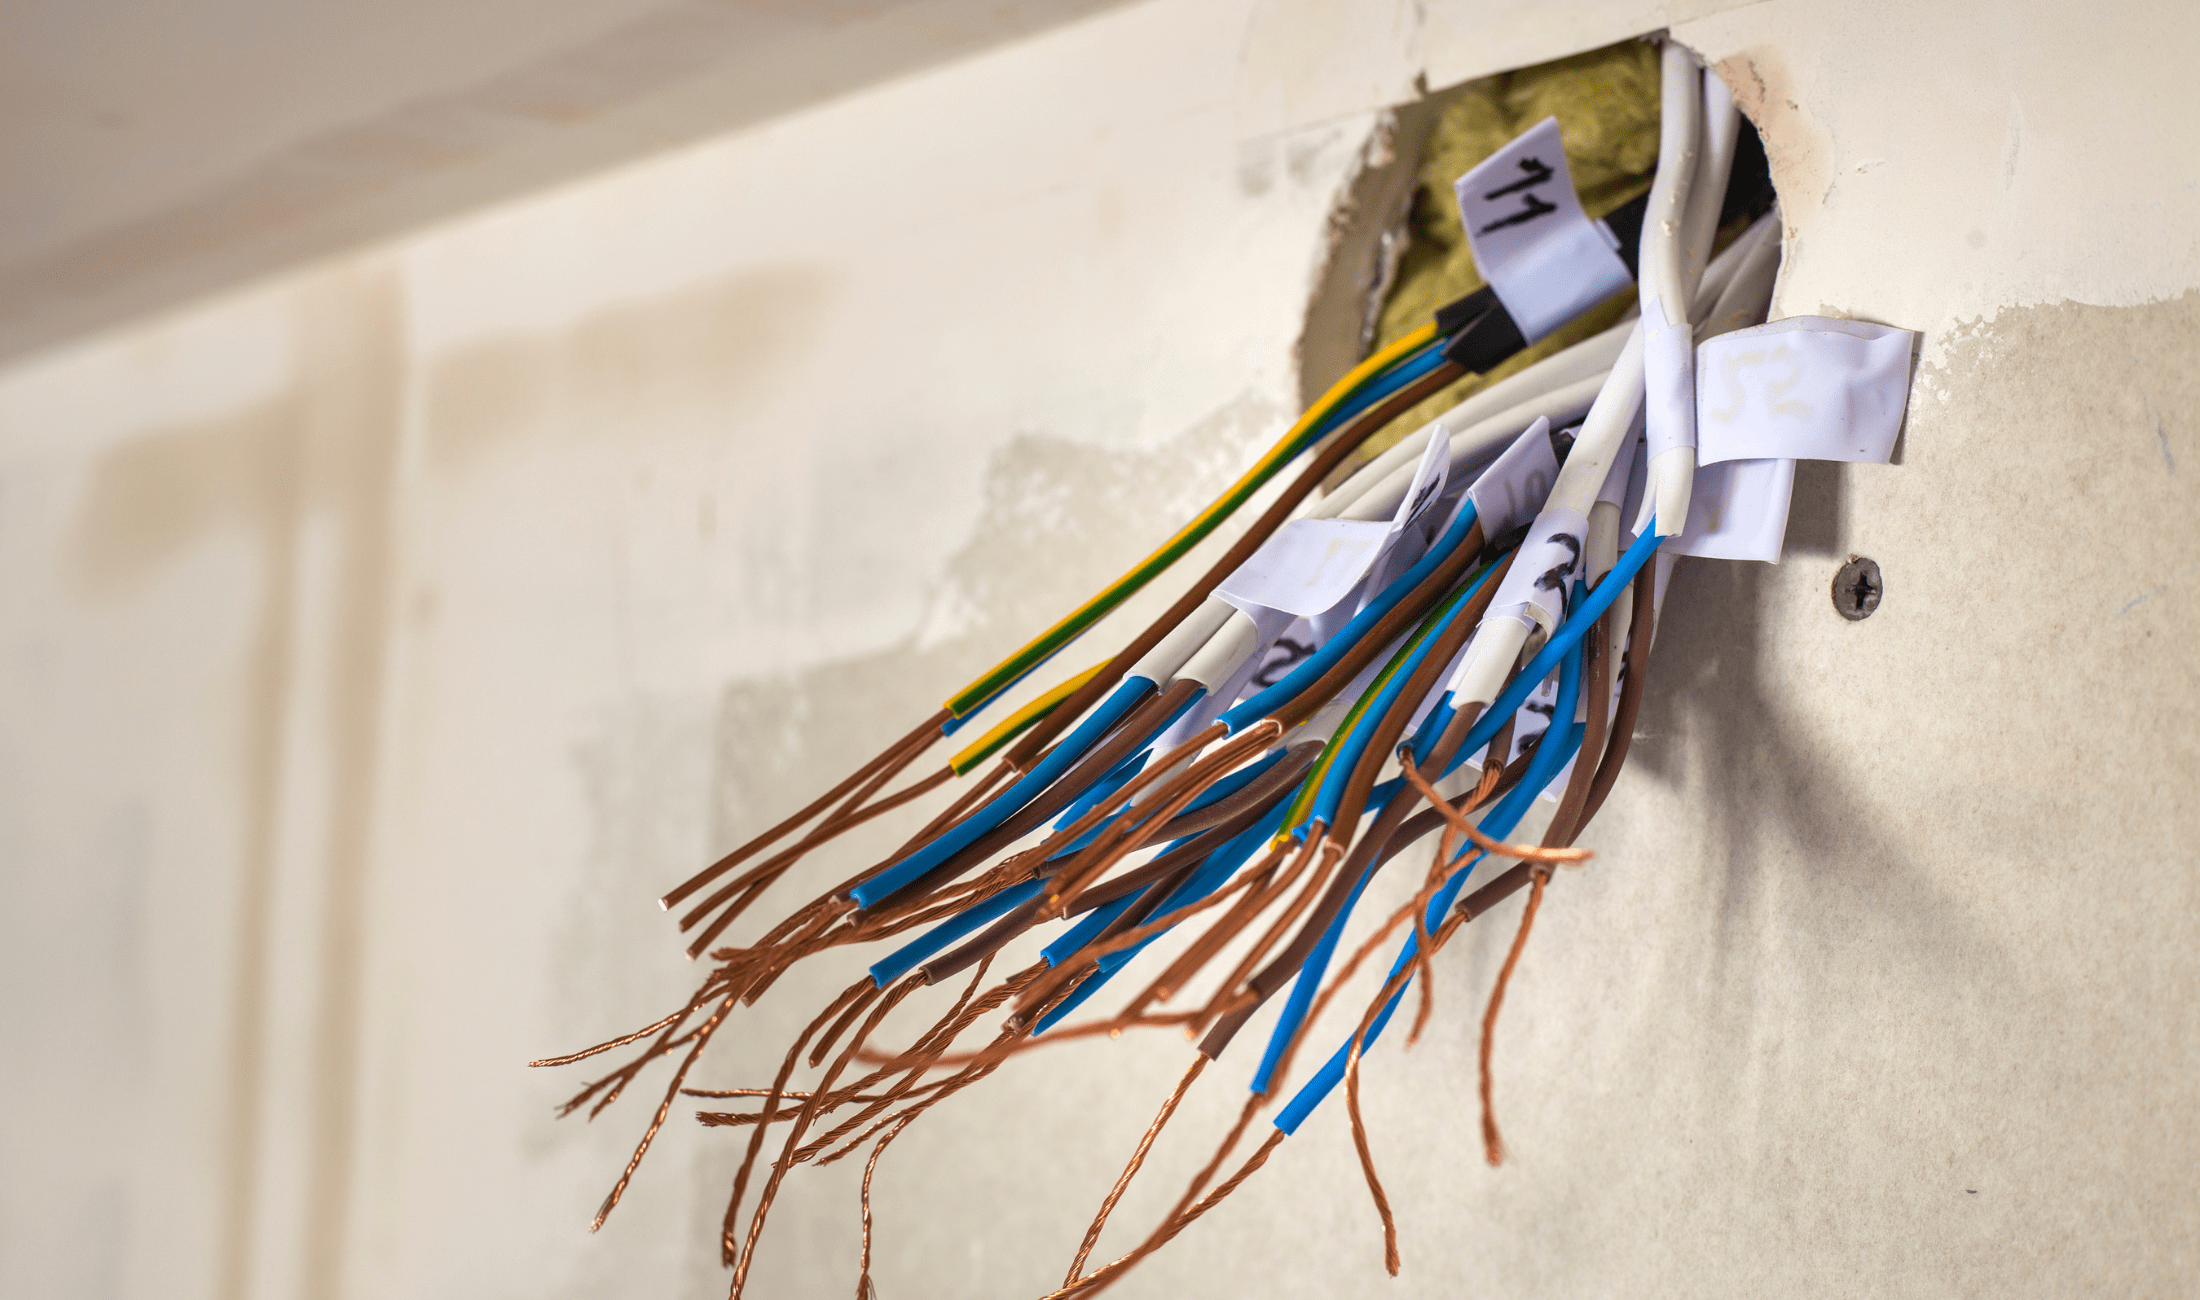
It’s easy to assume you can cut into drywall without worry since you’re not going too deep, but walls often hide surprises. Electrical wires, plumbing, or even HVAC lines can sit just behind the drywall in some builds. Before enlarging a hole or cutting out a patch area, shine a flashlight in or use a stud finder with a wire detection feature. Taking a few minutes here can prevent serious damage and costly repairs that go far beyond drywall.
DON’T: Overload the Compound
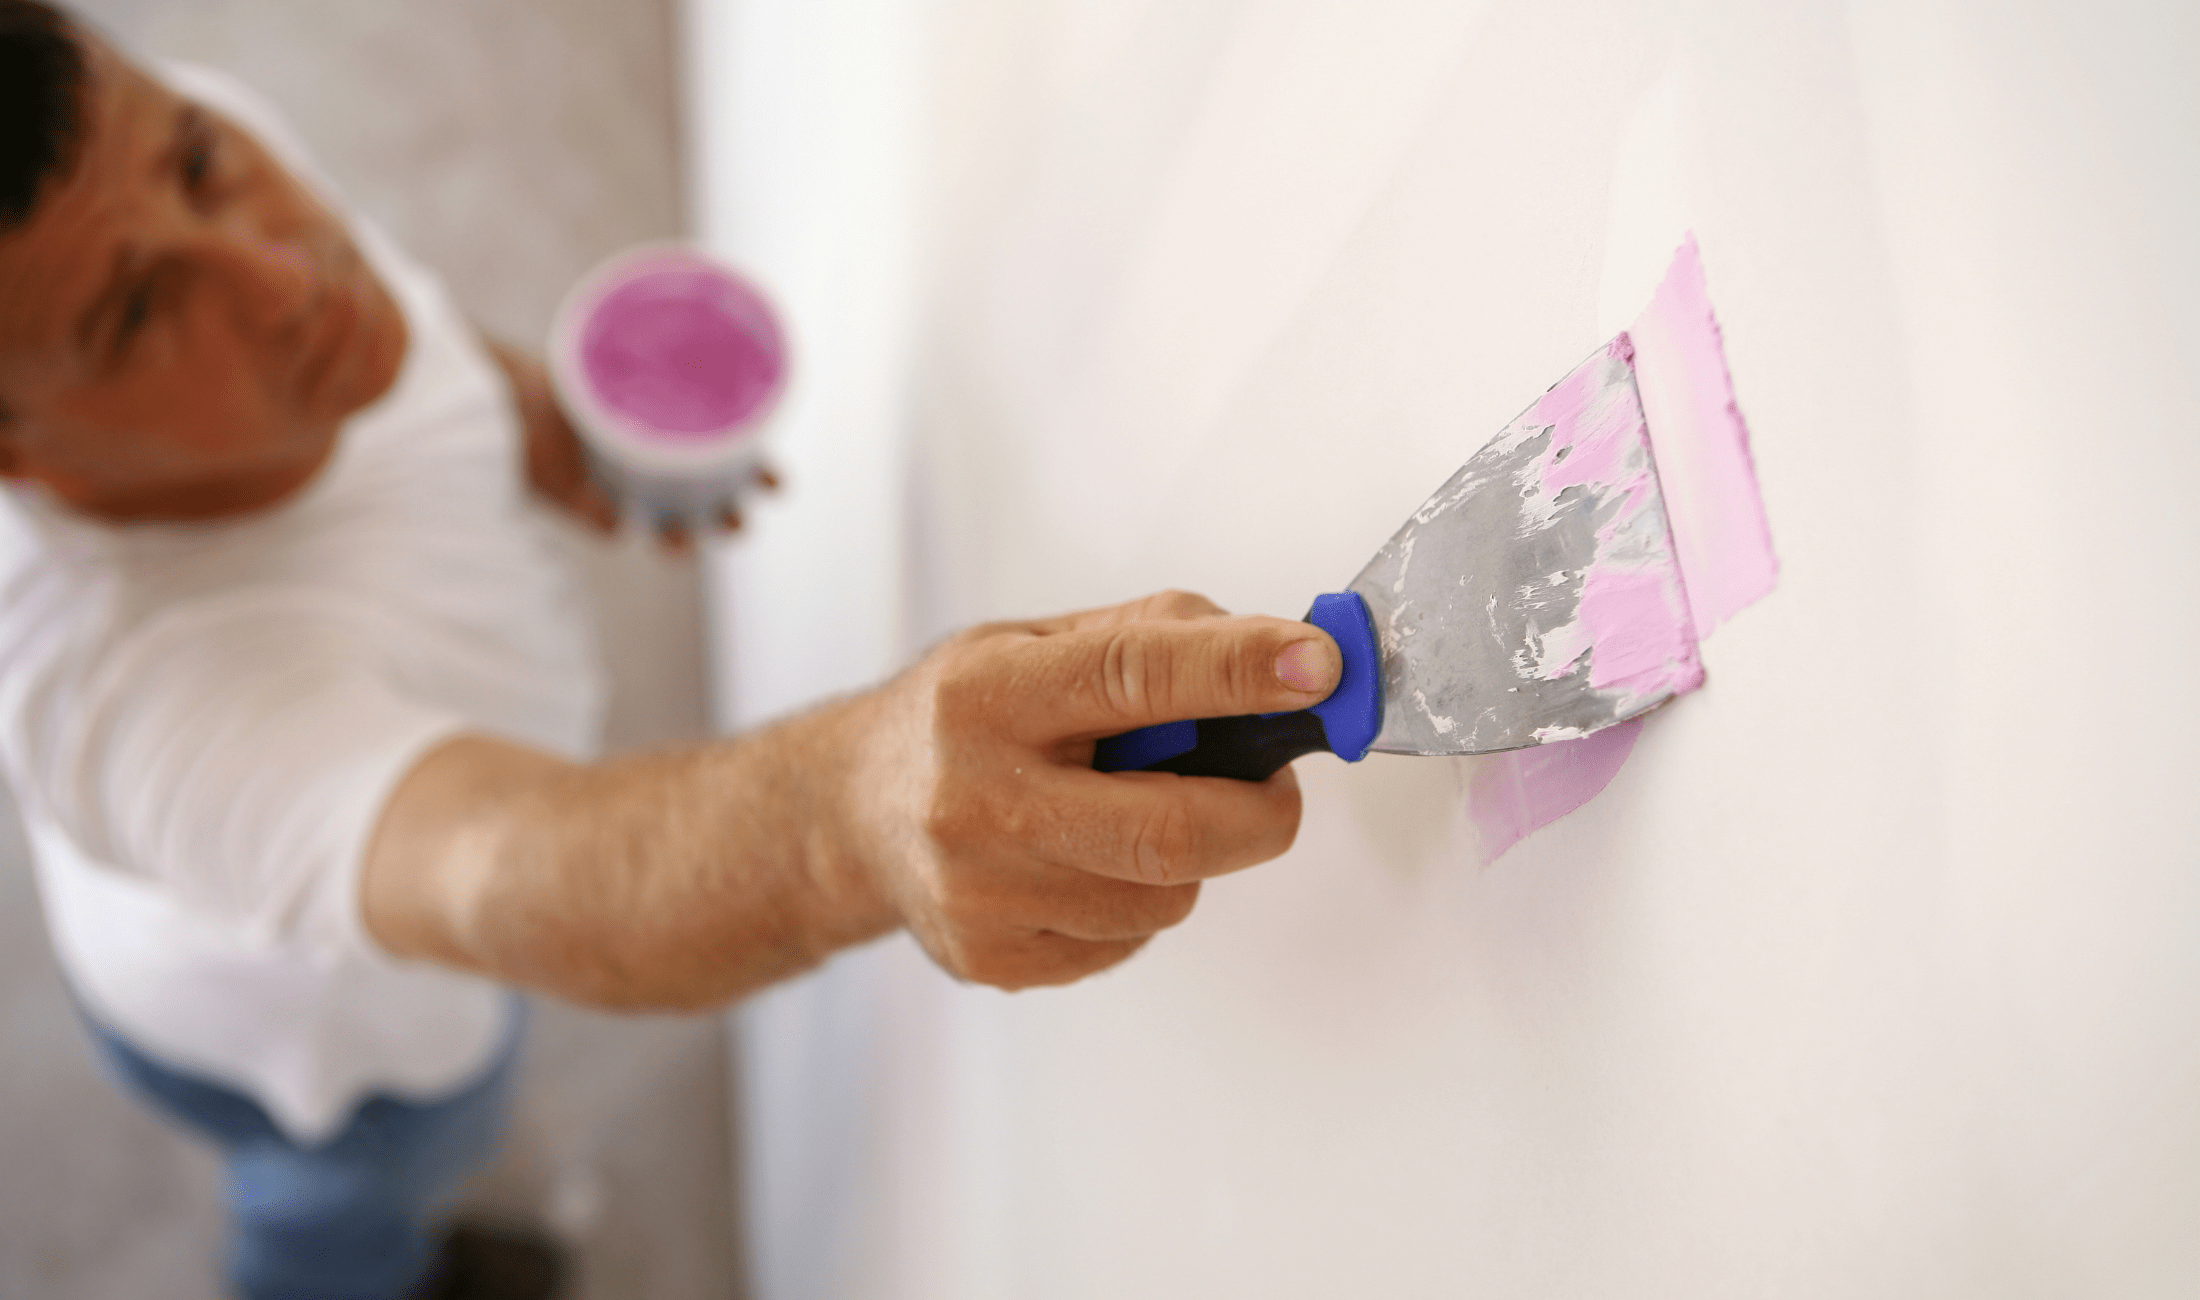
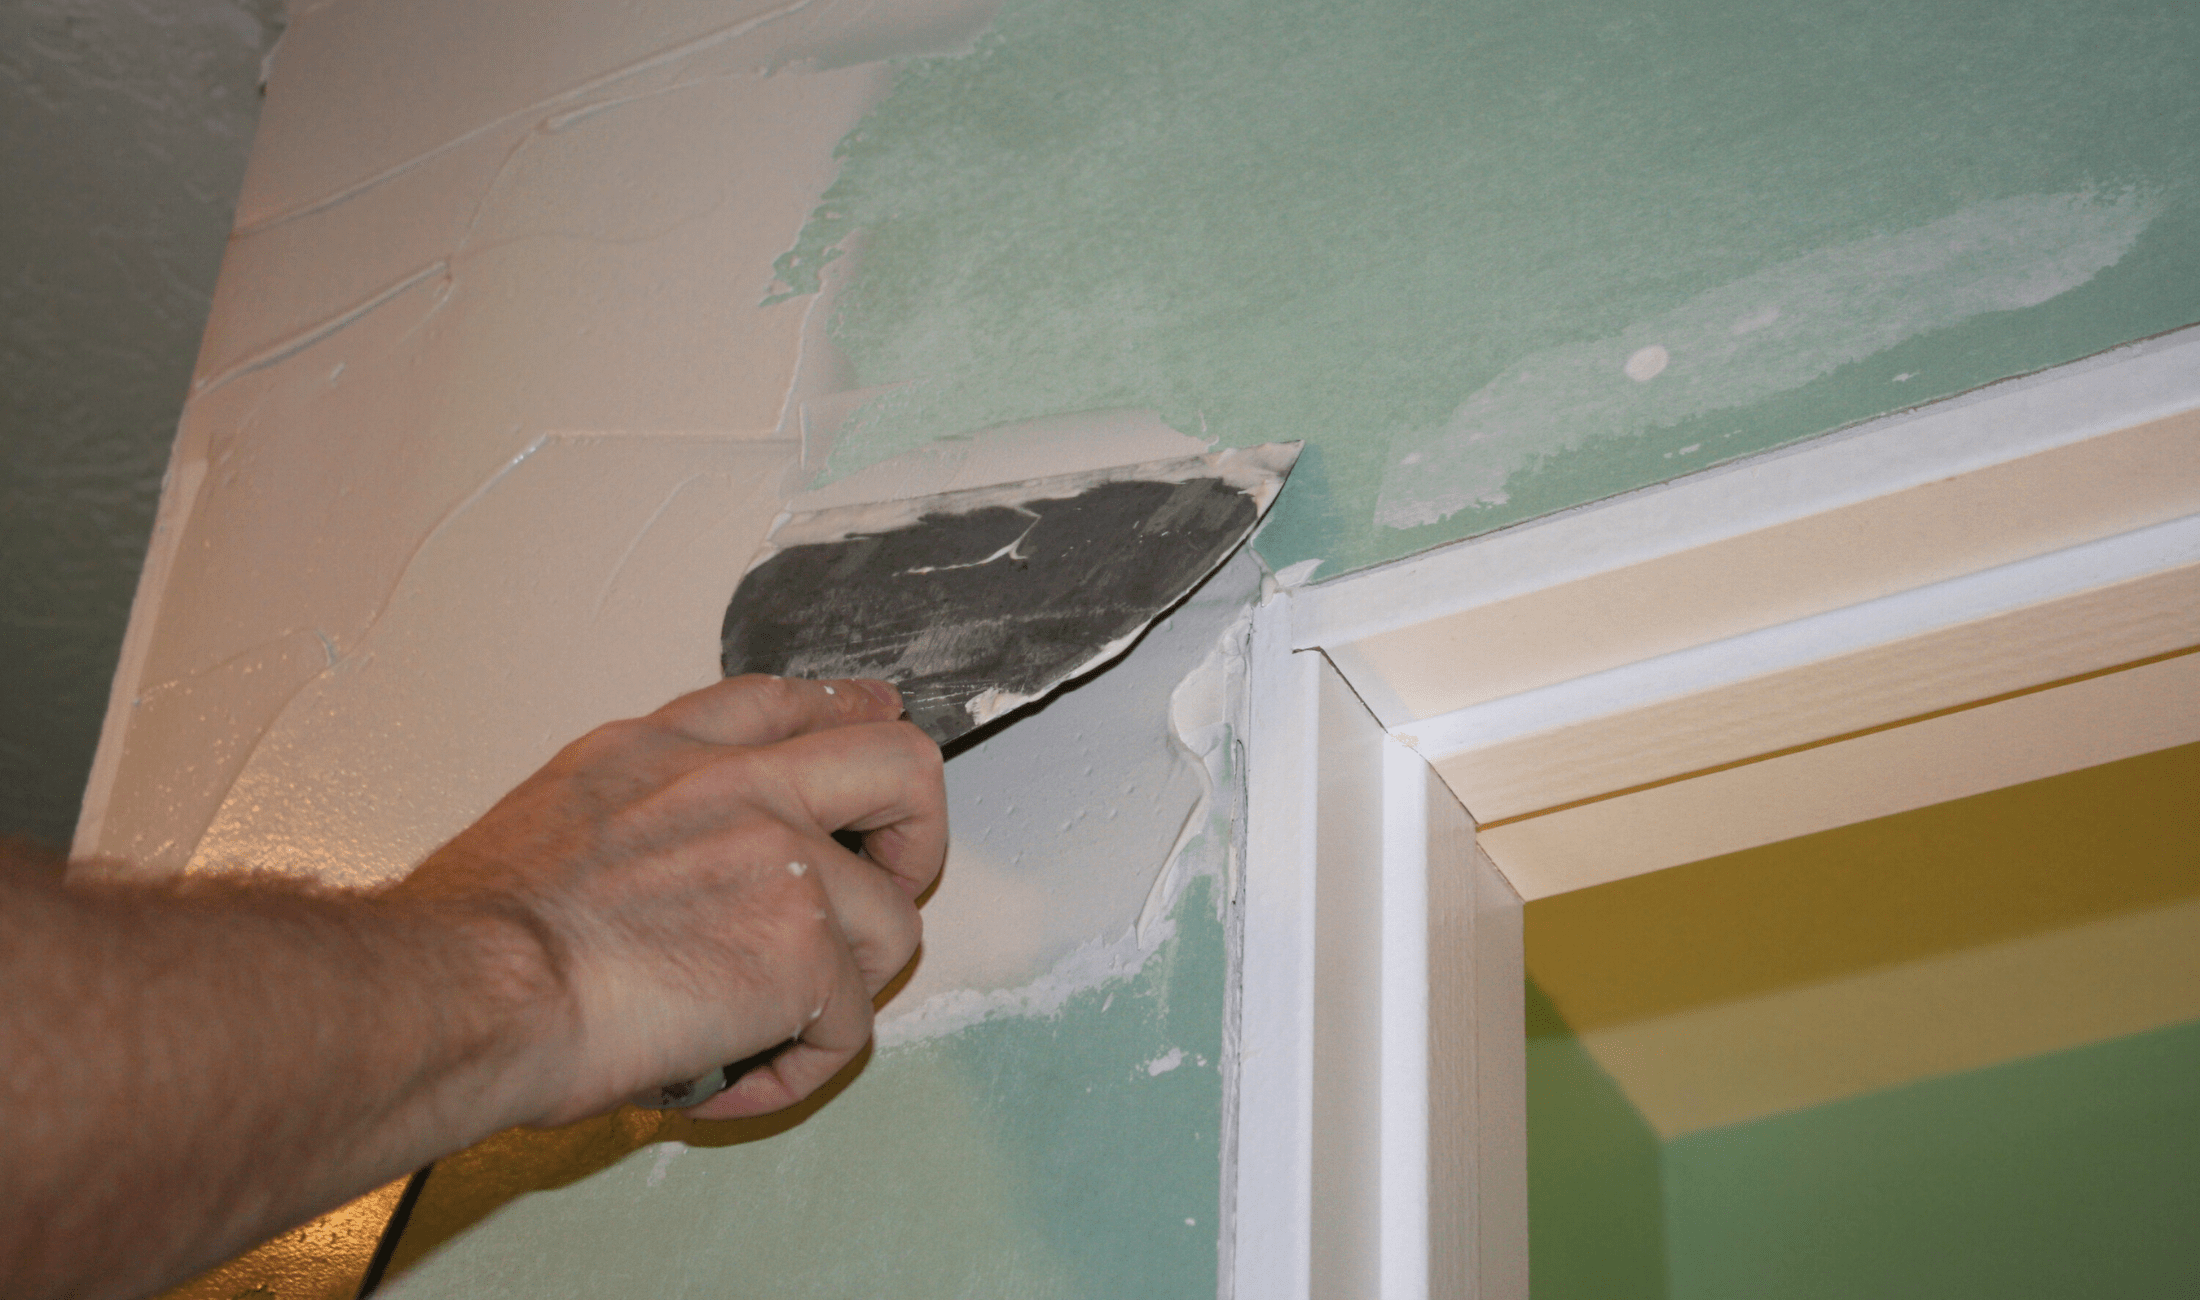
More mud is not better. Thick layers crack, shrink unevenly, and take forever to dry. Instead, apply thin coats and let each one dry before sanding lightly and adding the next. This process takes more patience, but it’ll give you the smooth finish you want. Heavy-handed repairs only create bigger bumps that show through paint. Think light and gradual rather than trying to cover it all at once.
DO: Sand Between Layers
Sanding isn’t fun, we know, but it’s what makes a repair blend with the rest of the wall. Use fine-grit sandpaper between coats of compound to feather out edges. Keep a gentle pressure so you don’t gouge the wall. A quick, careful sanding after each layer will prevent raised spots and help the final paint coat look way more natural. Skipping this step is the fastest way to end up with a lumpy patch.
DON’T: Skip Primer Before Painting
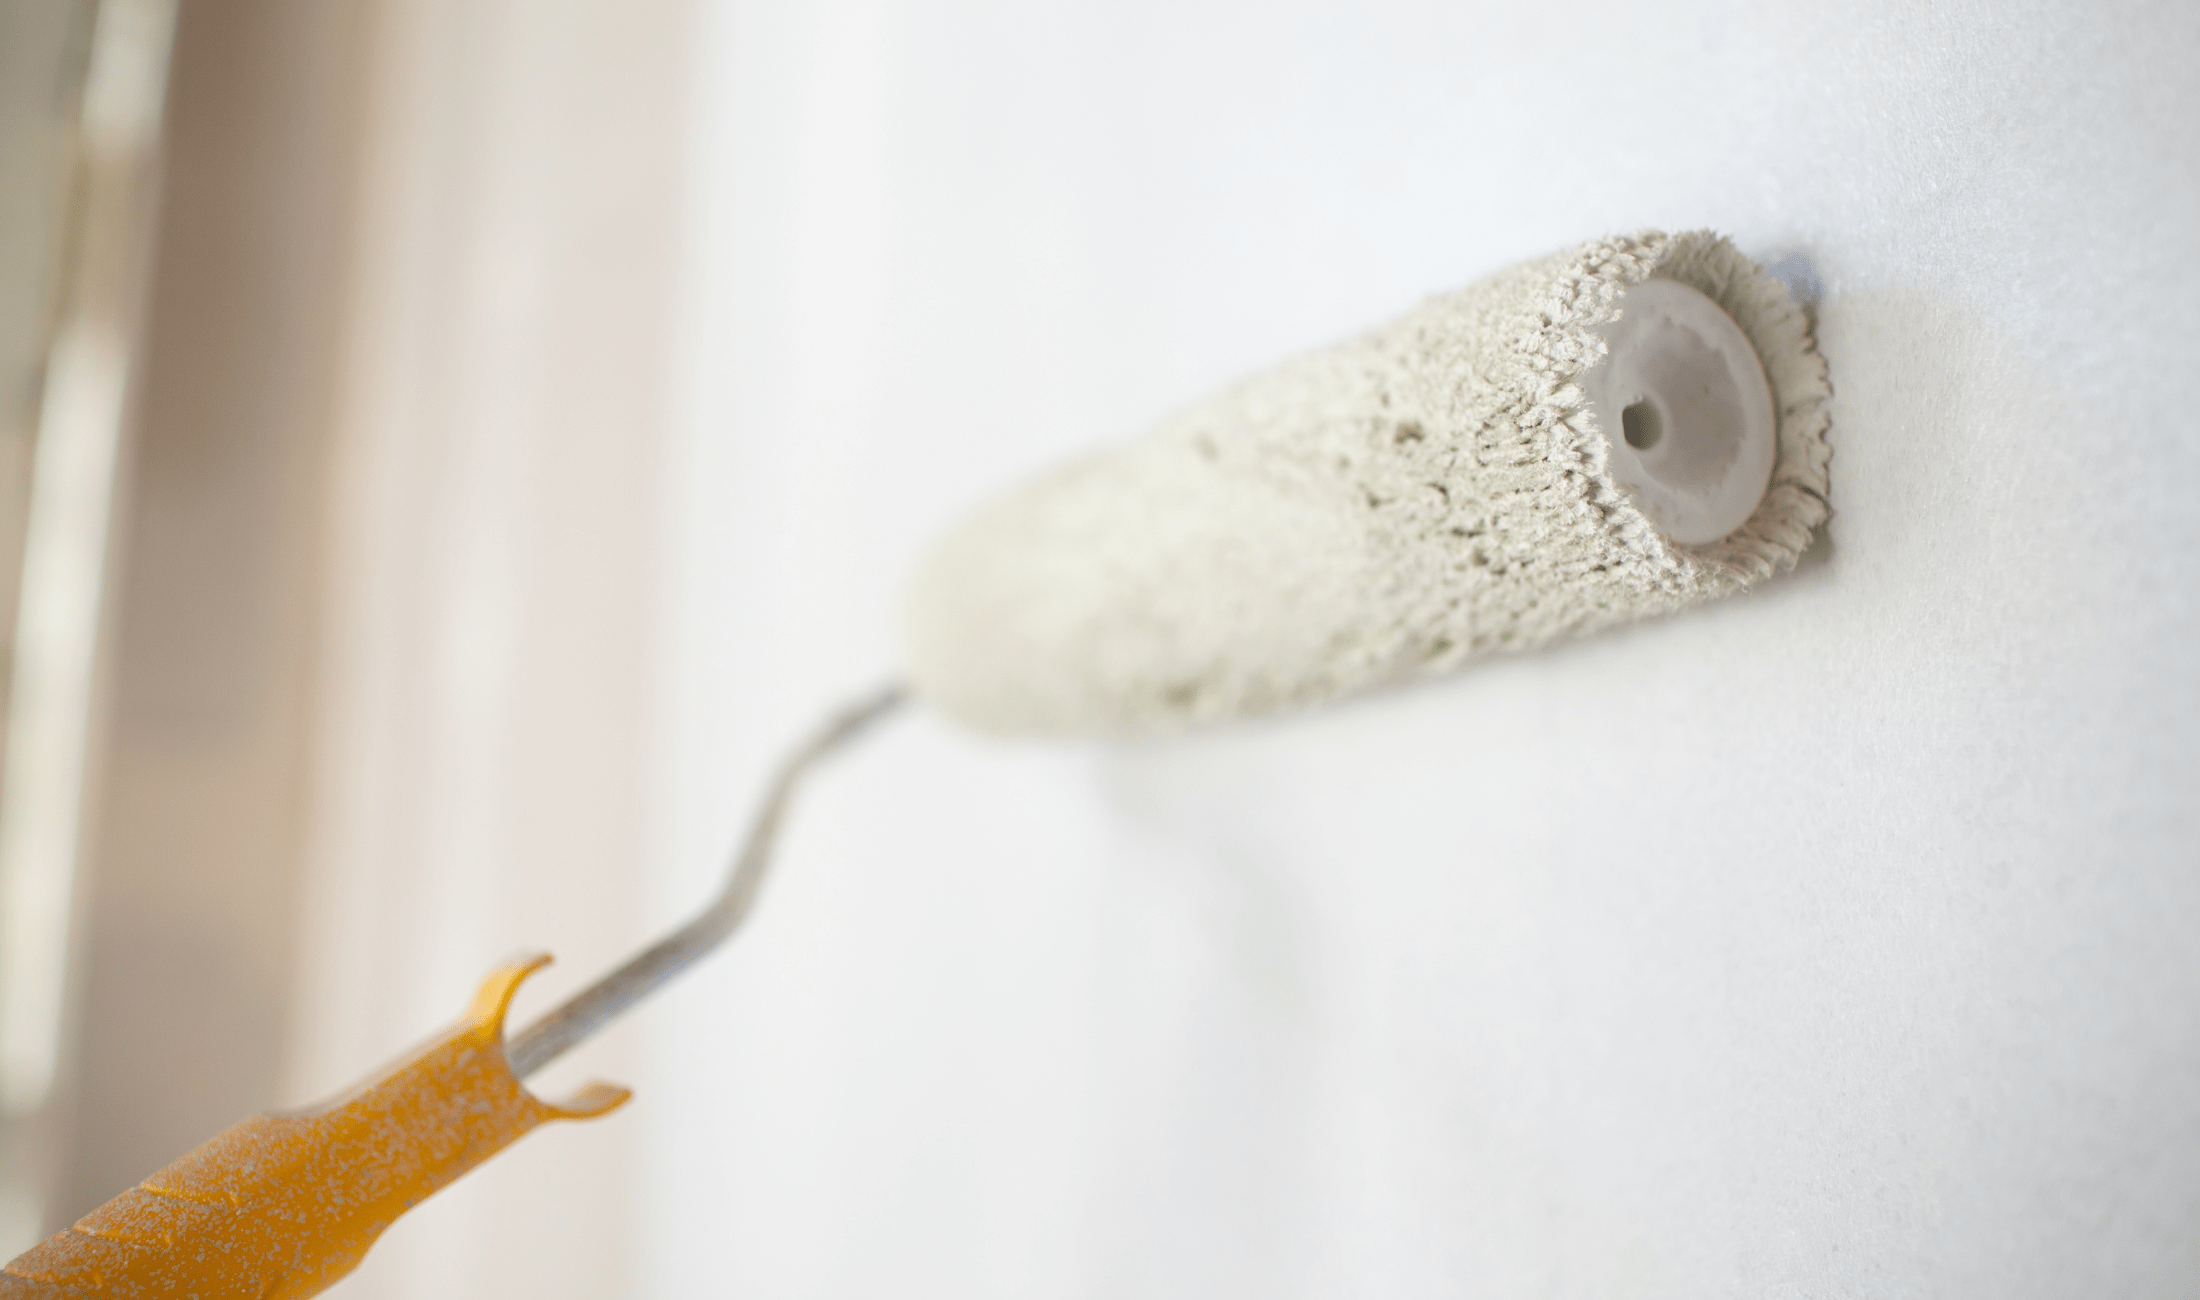
Even the smoothest repair can flash through paint if you skip primer, since the patched area will soak up paint differently than the surrounding wall. This leaves a dull or shiny spot that stands out in a big way. Always apply a coat of primer once the patch is sanded and dusted. This step evens out the absorption so your final paint job matches the rest of the wall seamlessly. It’s worth the extra few minutes.
DO: Match the Paint Carefully
Color matching is trickier than it seems. Walls fade over time, so leftover paint may not be identical. If possible, use paint from the original job. Otherwise, bring a chip from an inconspicuous spot to the store for a custom match. Even a slight difference will highlight your repair. Taking time to match correctly ensures the patched area disappears and your wall looks as though nothing ever happened.
DON’T: Ignore Safety
It’s easy to forget safety when the job feels small, but drywall dust is harmful if inhaled, and utility knives are sharp. Wear a mask when sanding and goggles to protect your eyes. Keep your workspace ventilated and your tools sharp but handled with care. It’s a quick repair, sure, but your safety matters just as much as the final result. A small mistake here could cost more than the hole itself.
Related Articles
Fixing holes in drywall isn’t complicated, but it does take care and patience. The difference between a smooth, professional-looking repair and a rough patch usually comes down to preparation, materials, and technique. By following these DOs and avoiding the DON’Ts, you can restore your wall without any stress or wasted effort.


