The Biggest Mistakes People Make When Building A Shed
Sheds are meant to be simple storage solutions, but many builders run into frustrating, expensive problems once the work begins. The biggest issues often aren’t about design or budgeting, but the small, avoidable errors made during construction. If you’re putting a shed together yourself (or are hoping to), here are the most common mistakes people make while building a shed and how to avoid doing the same.
Cutting All Your Lumber at Once
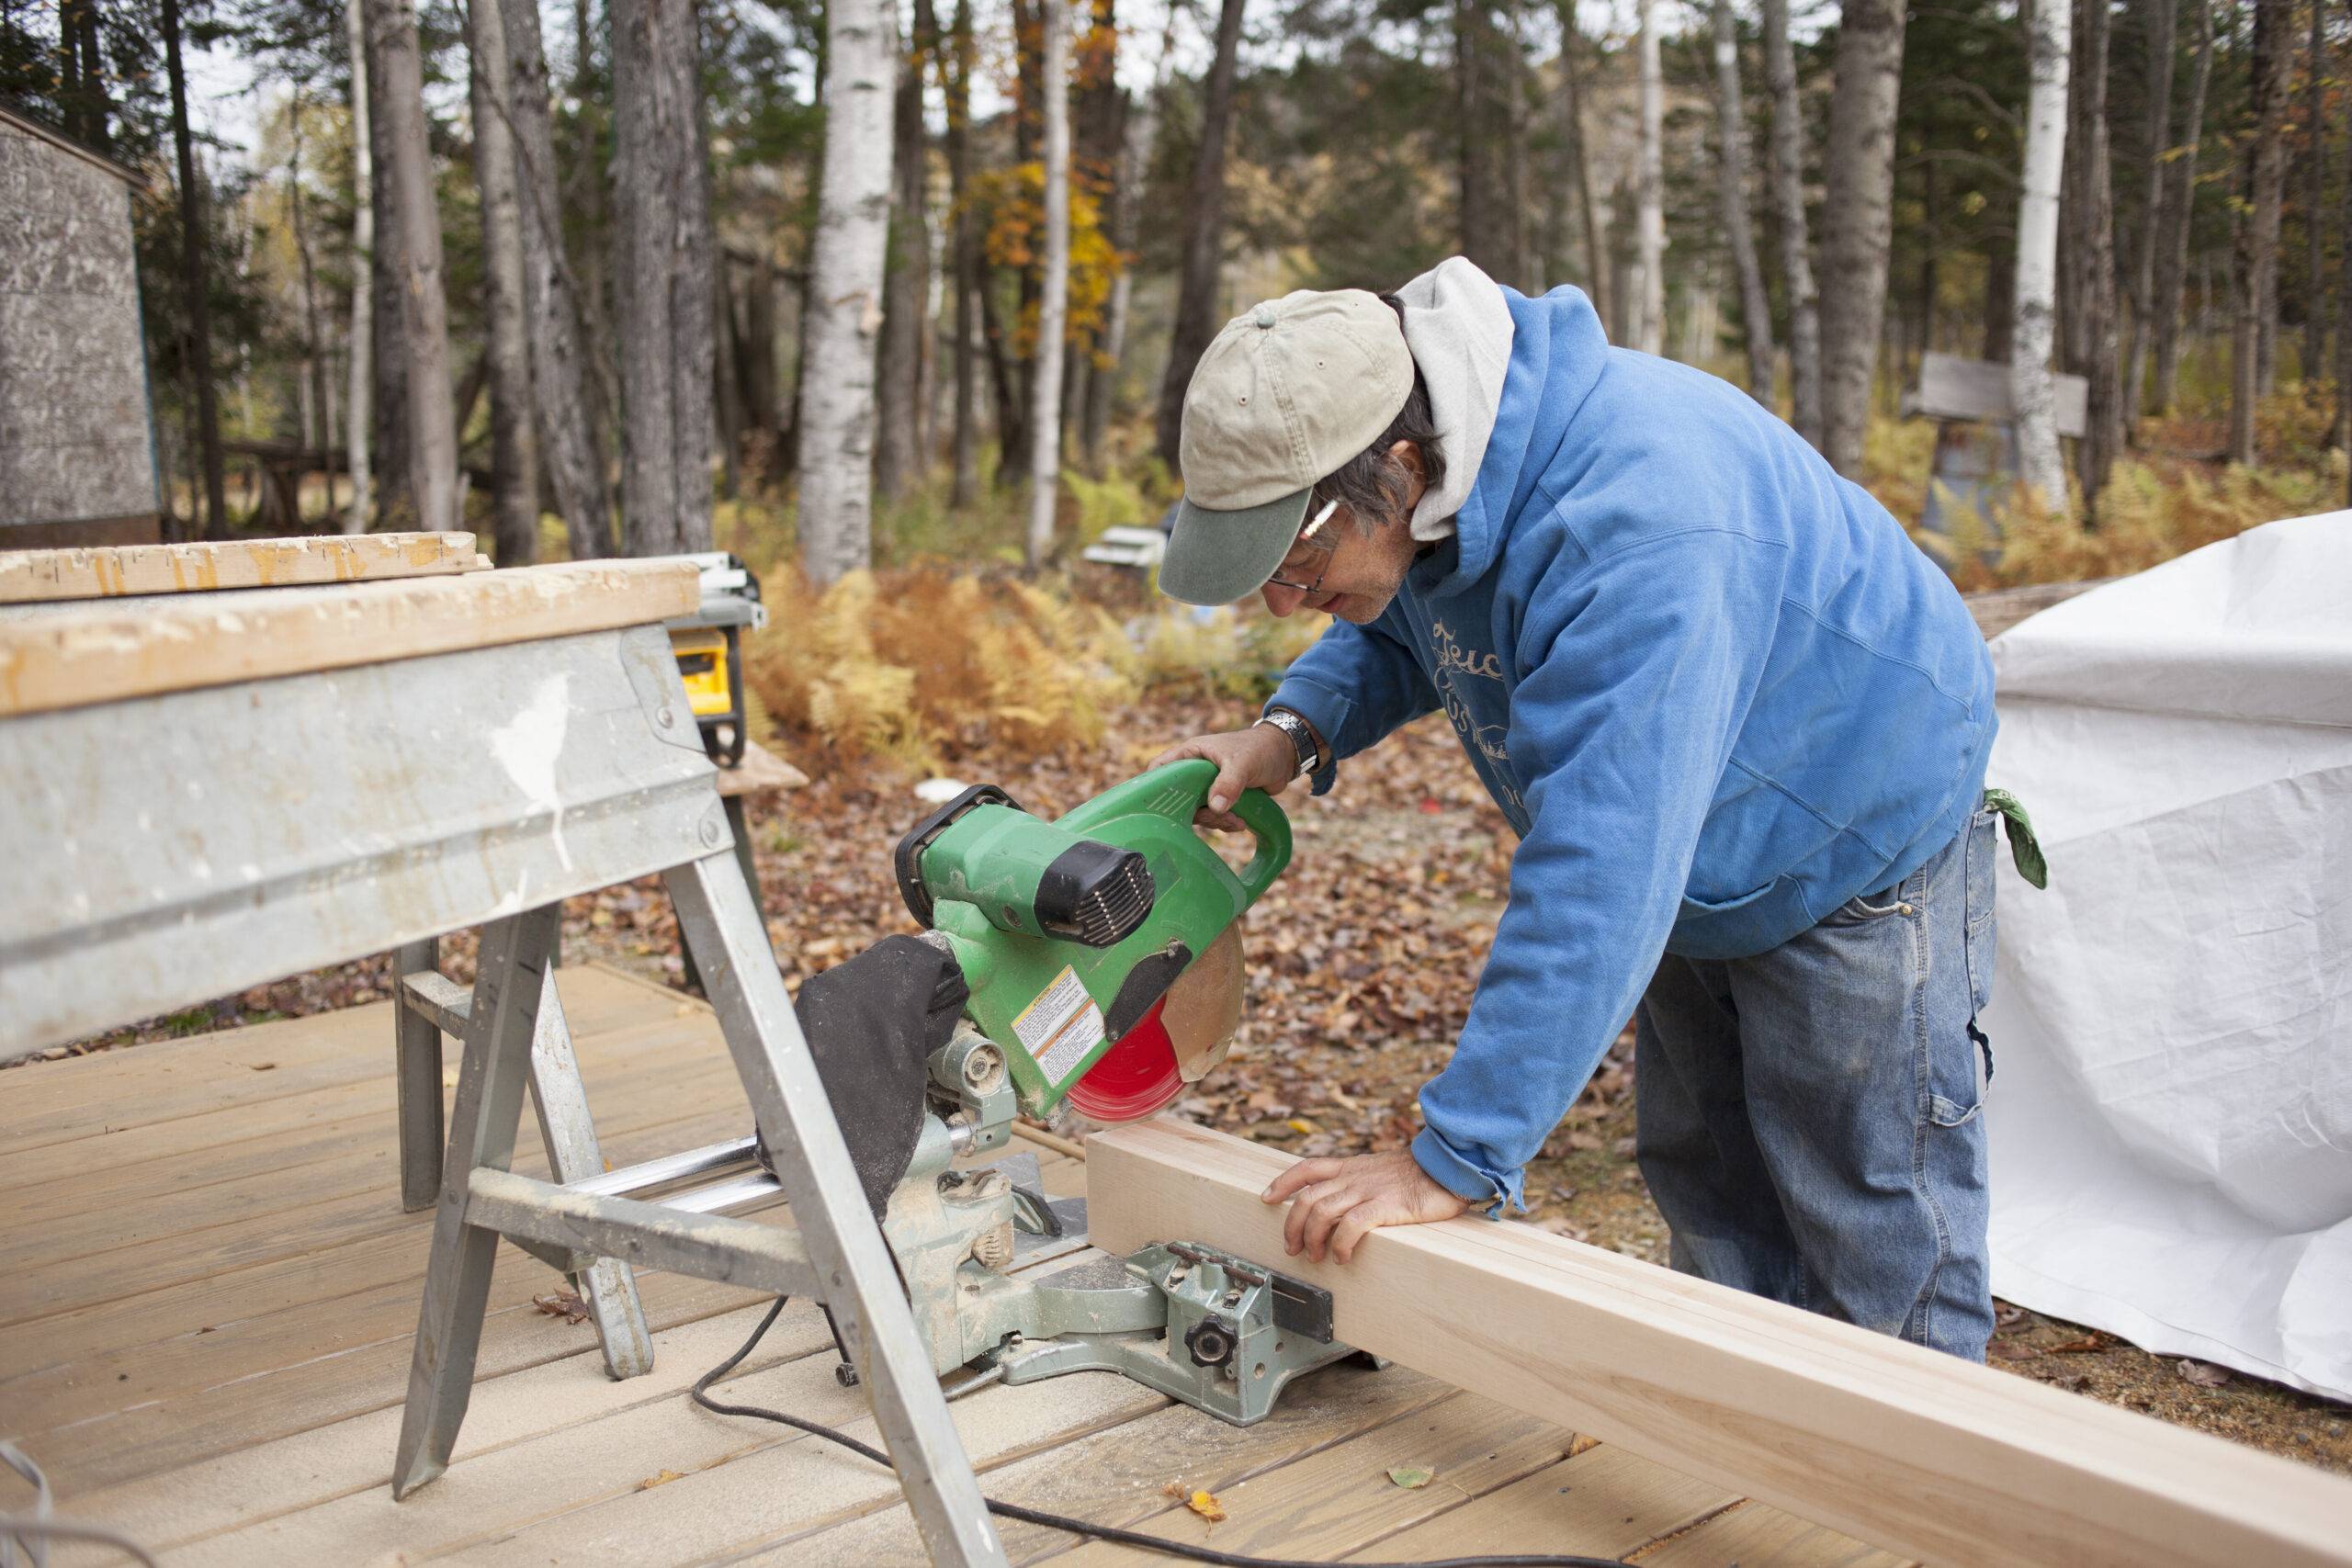
It might seem efficient to pre-cut everything before assembly, but that rarely ends well. Framing lumber can shift, and even slight measuring errors add up fast. Walls or roof sections won’t line up, and correcting it later is a headache. Only cut as you go, and double-check each measurement every time. You’ll be grateful you did.
Failing to Square the Floor Frame
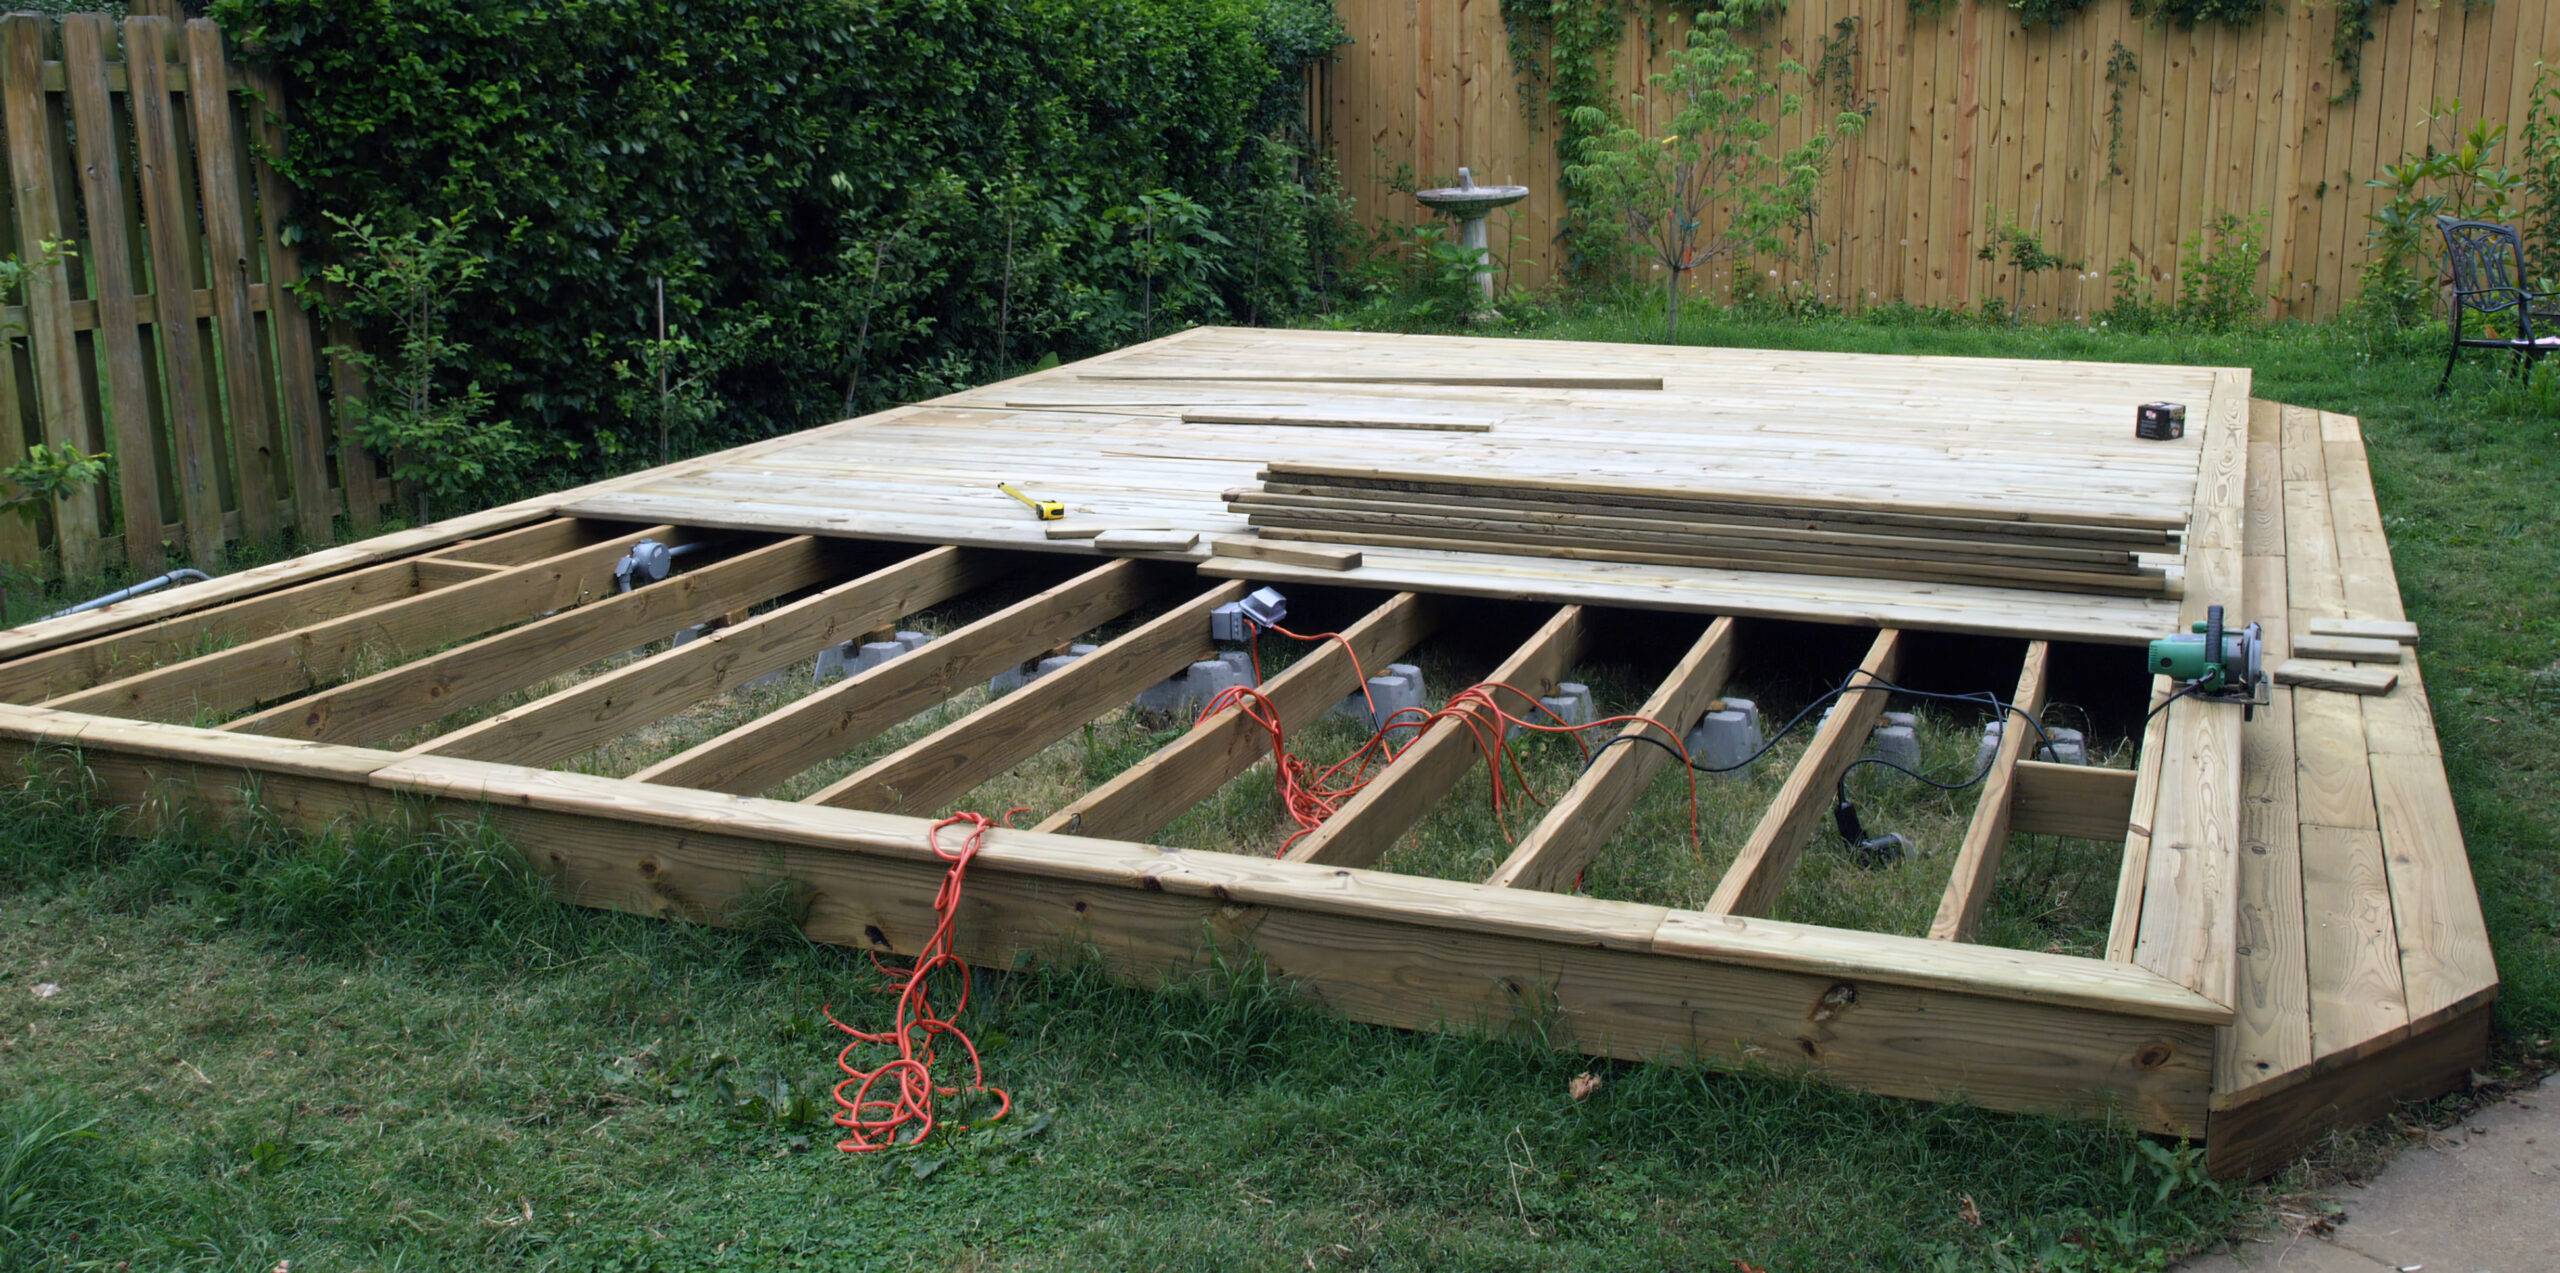
If your floor isn’t perfectly square, nothing else will be either. Doors won’t hang straight, walls will lean, and gaps will show up everywhere. Thankfully, it’s a simple fix if caught early. Before securing the floor, measure corner-to-corner diagonally in both directions. If the numbers match, you’re square. If they don’t, adjust before moving on.
Not Leveling the Foundation
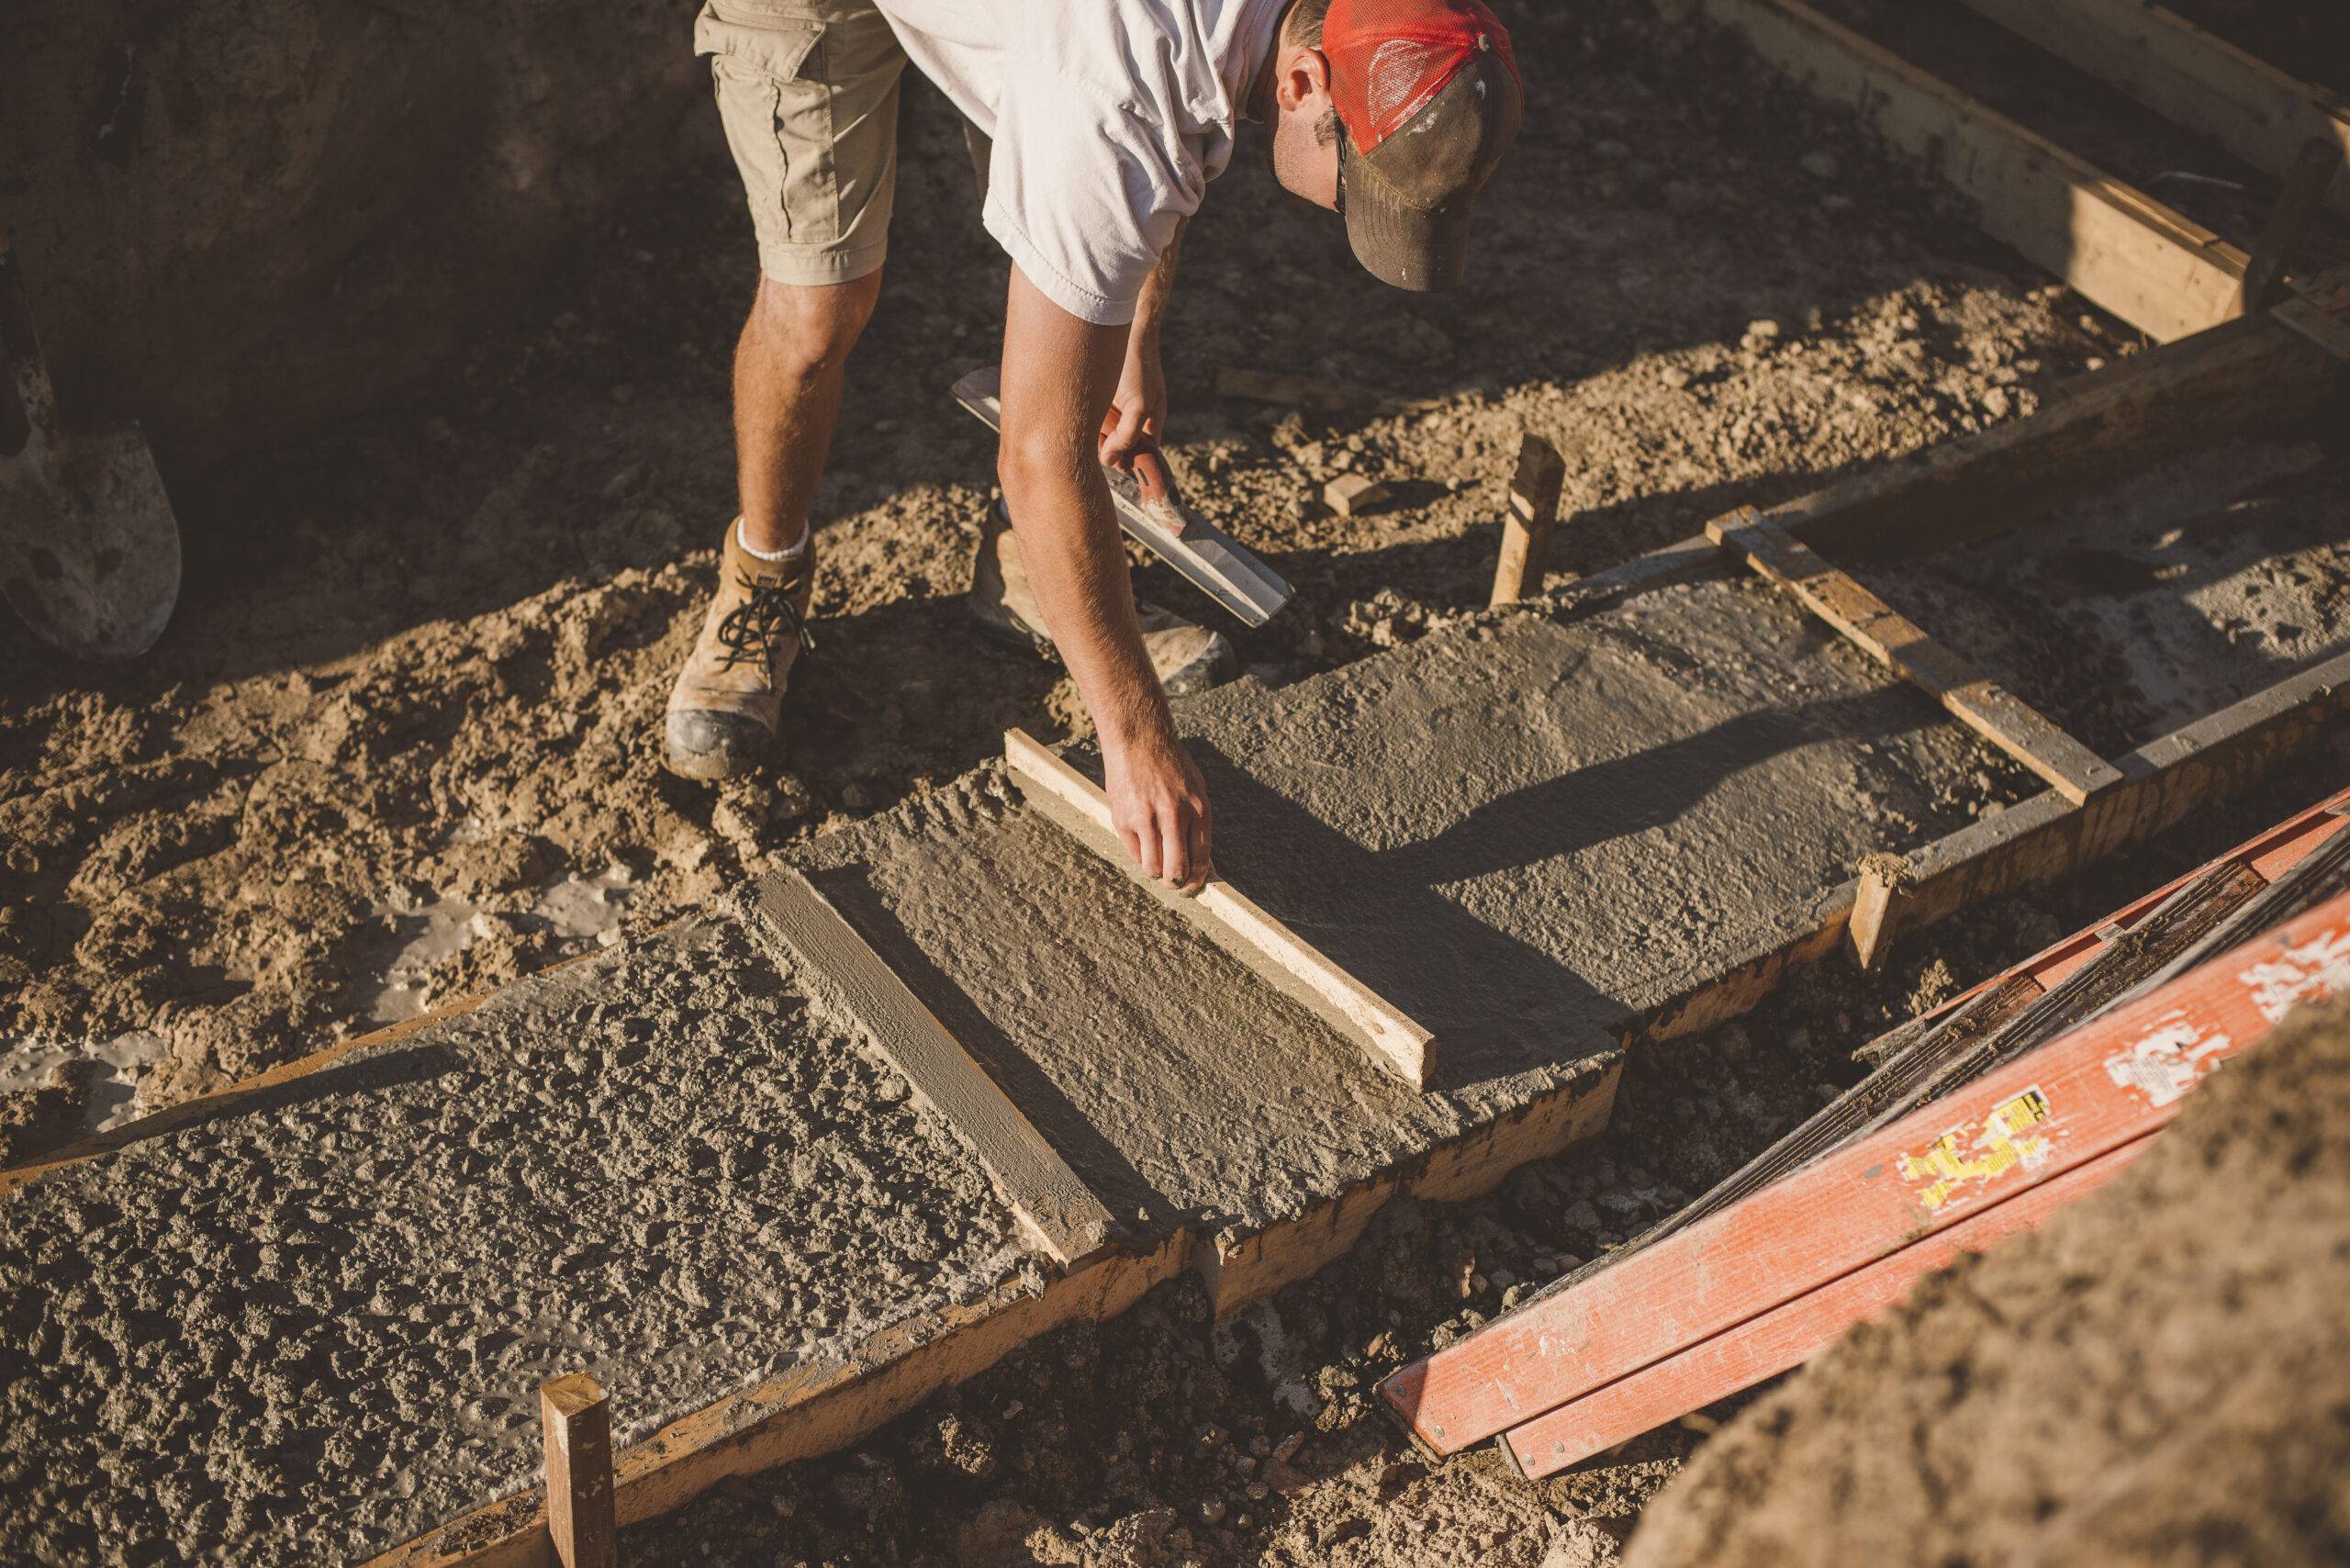
Some skip the effort of fully leveling the shed base, thinking it’ll sort itself out. It won’t. A sloped or uneven base causes structural strain, cracks, and misaligned walls. Whether you’re using concrete blocks, a gravel pad, or a poured slab, take the time to get the base completely level using a long level or laser line.
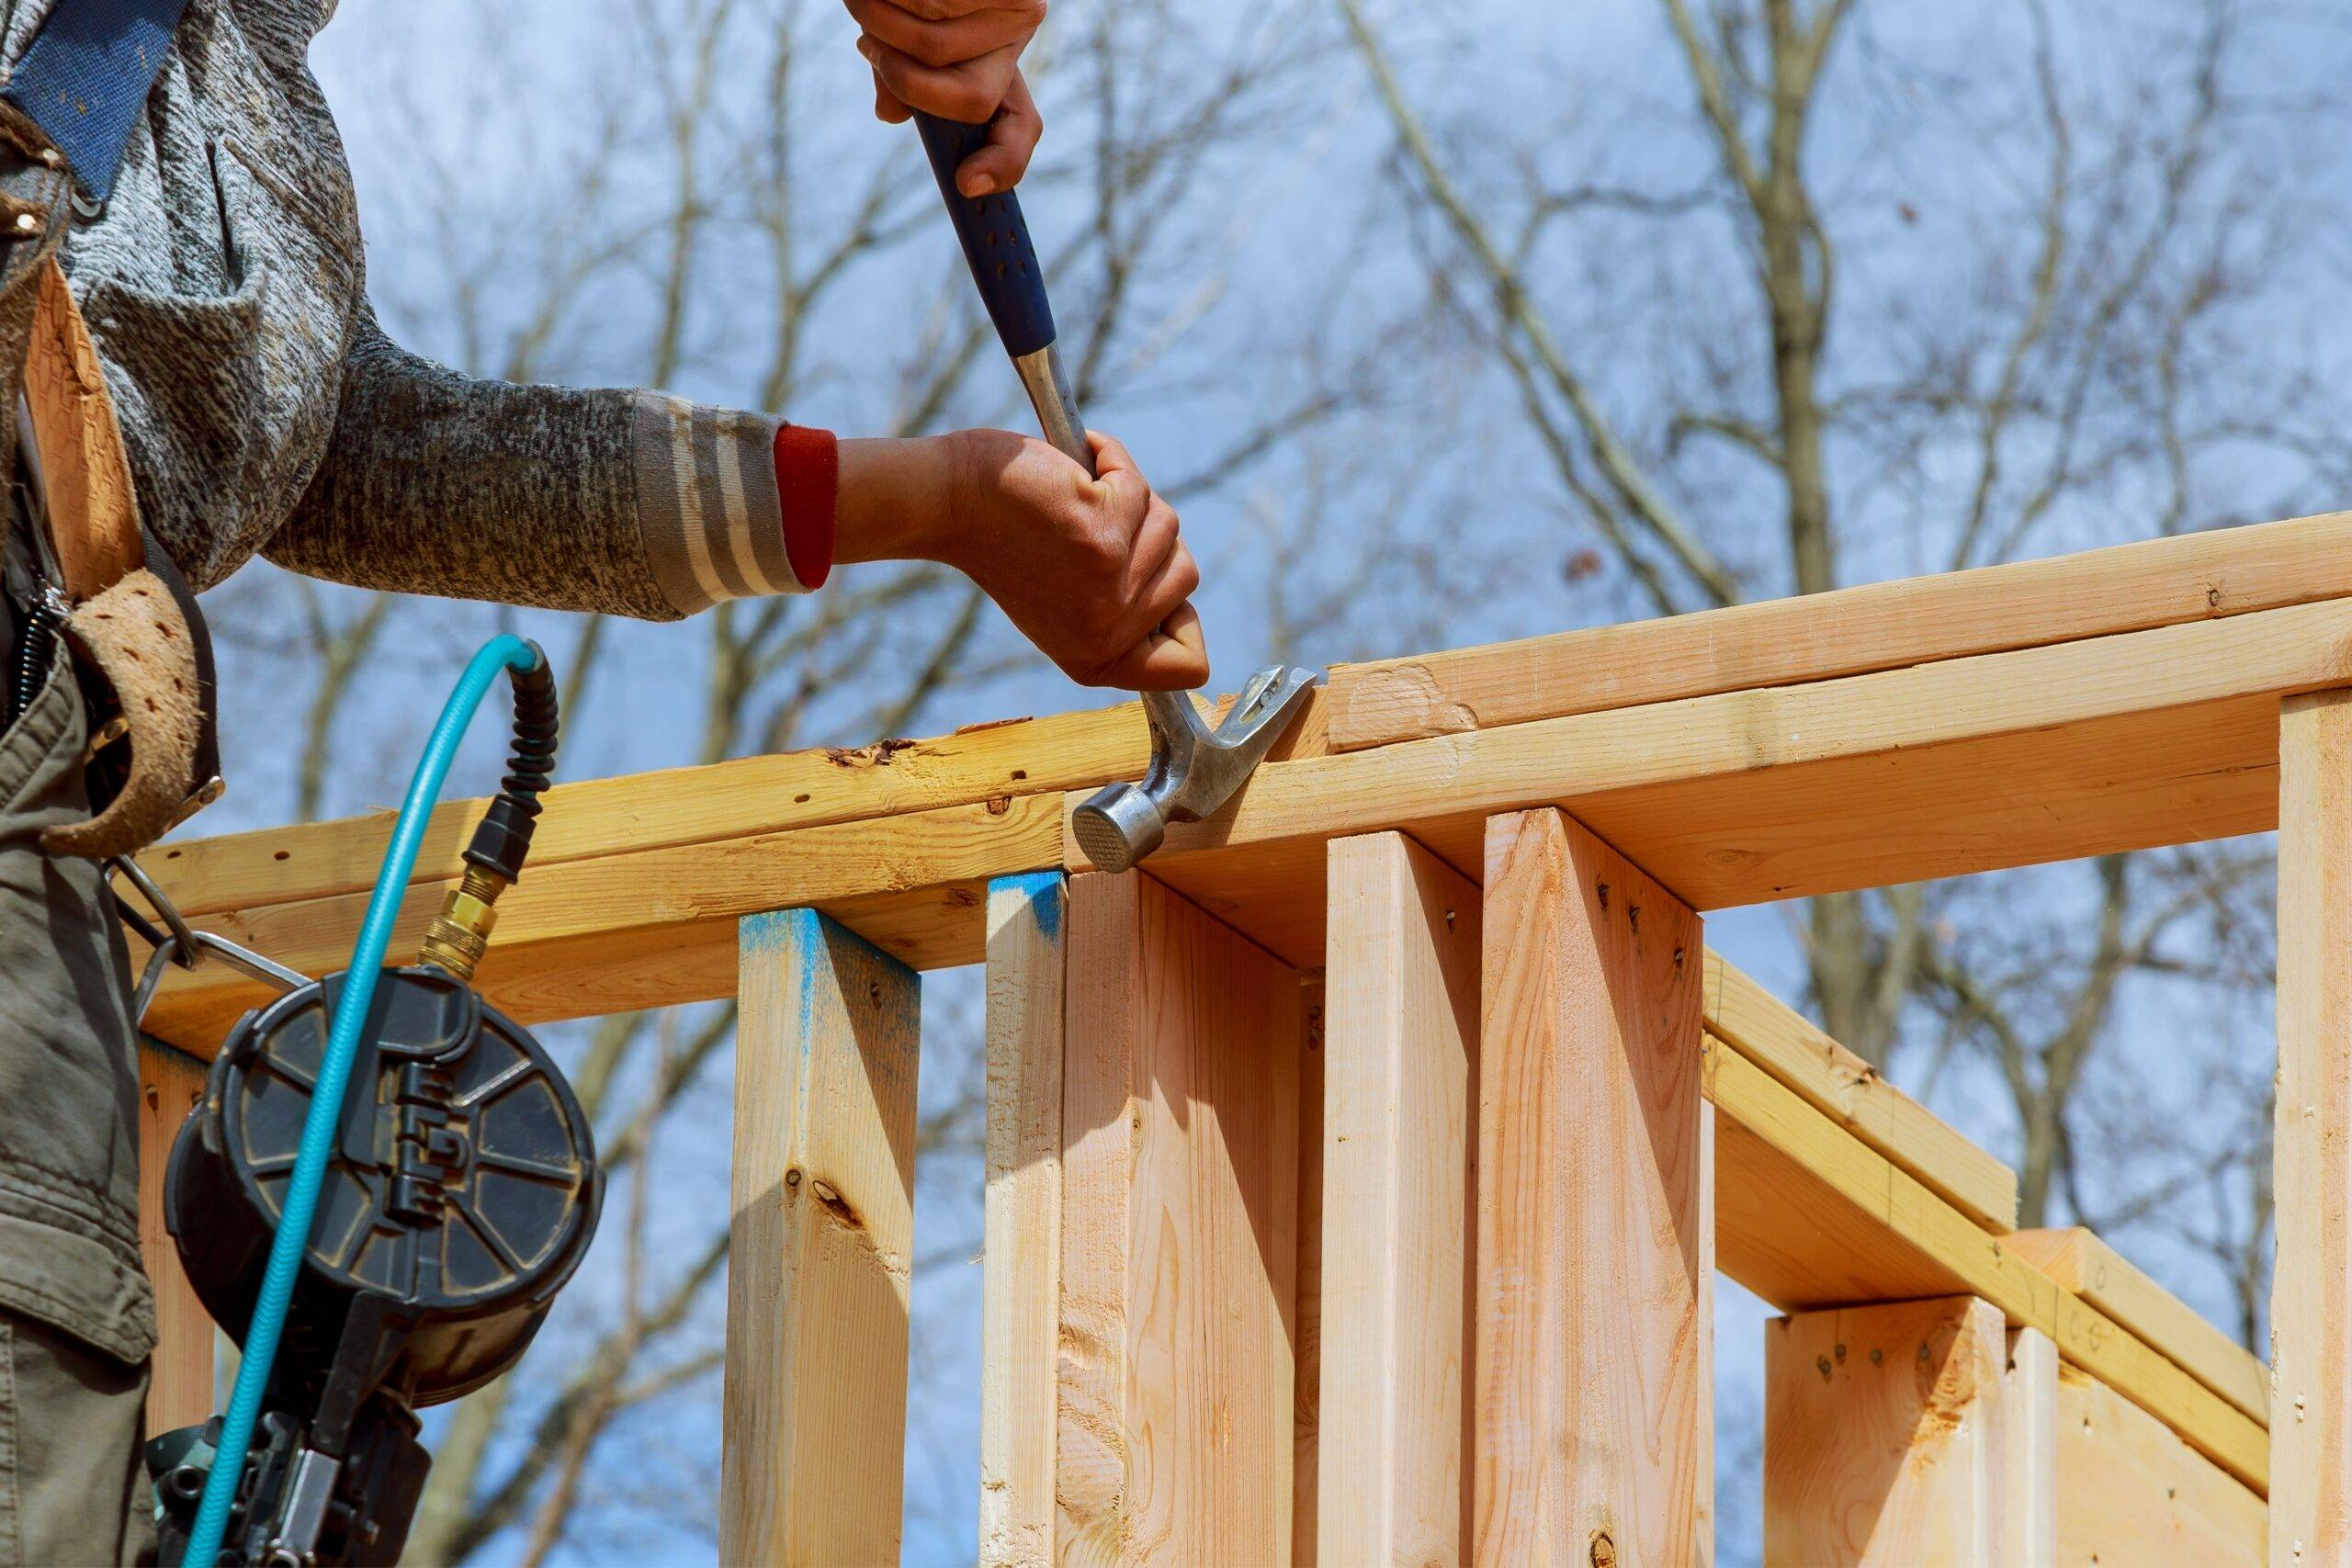
Driving Nails Too Deep
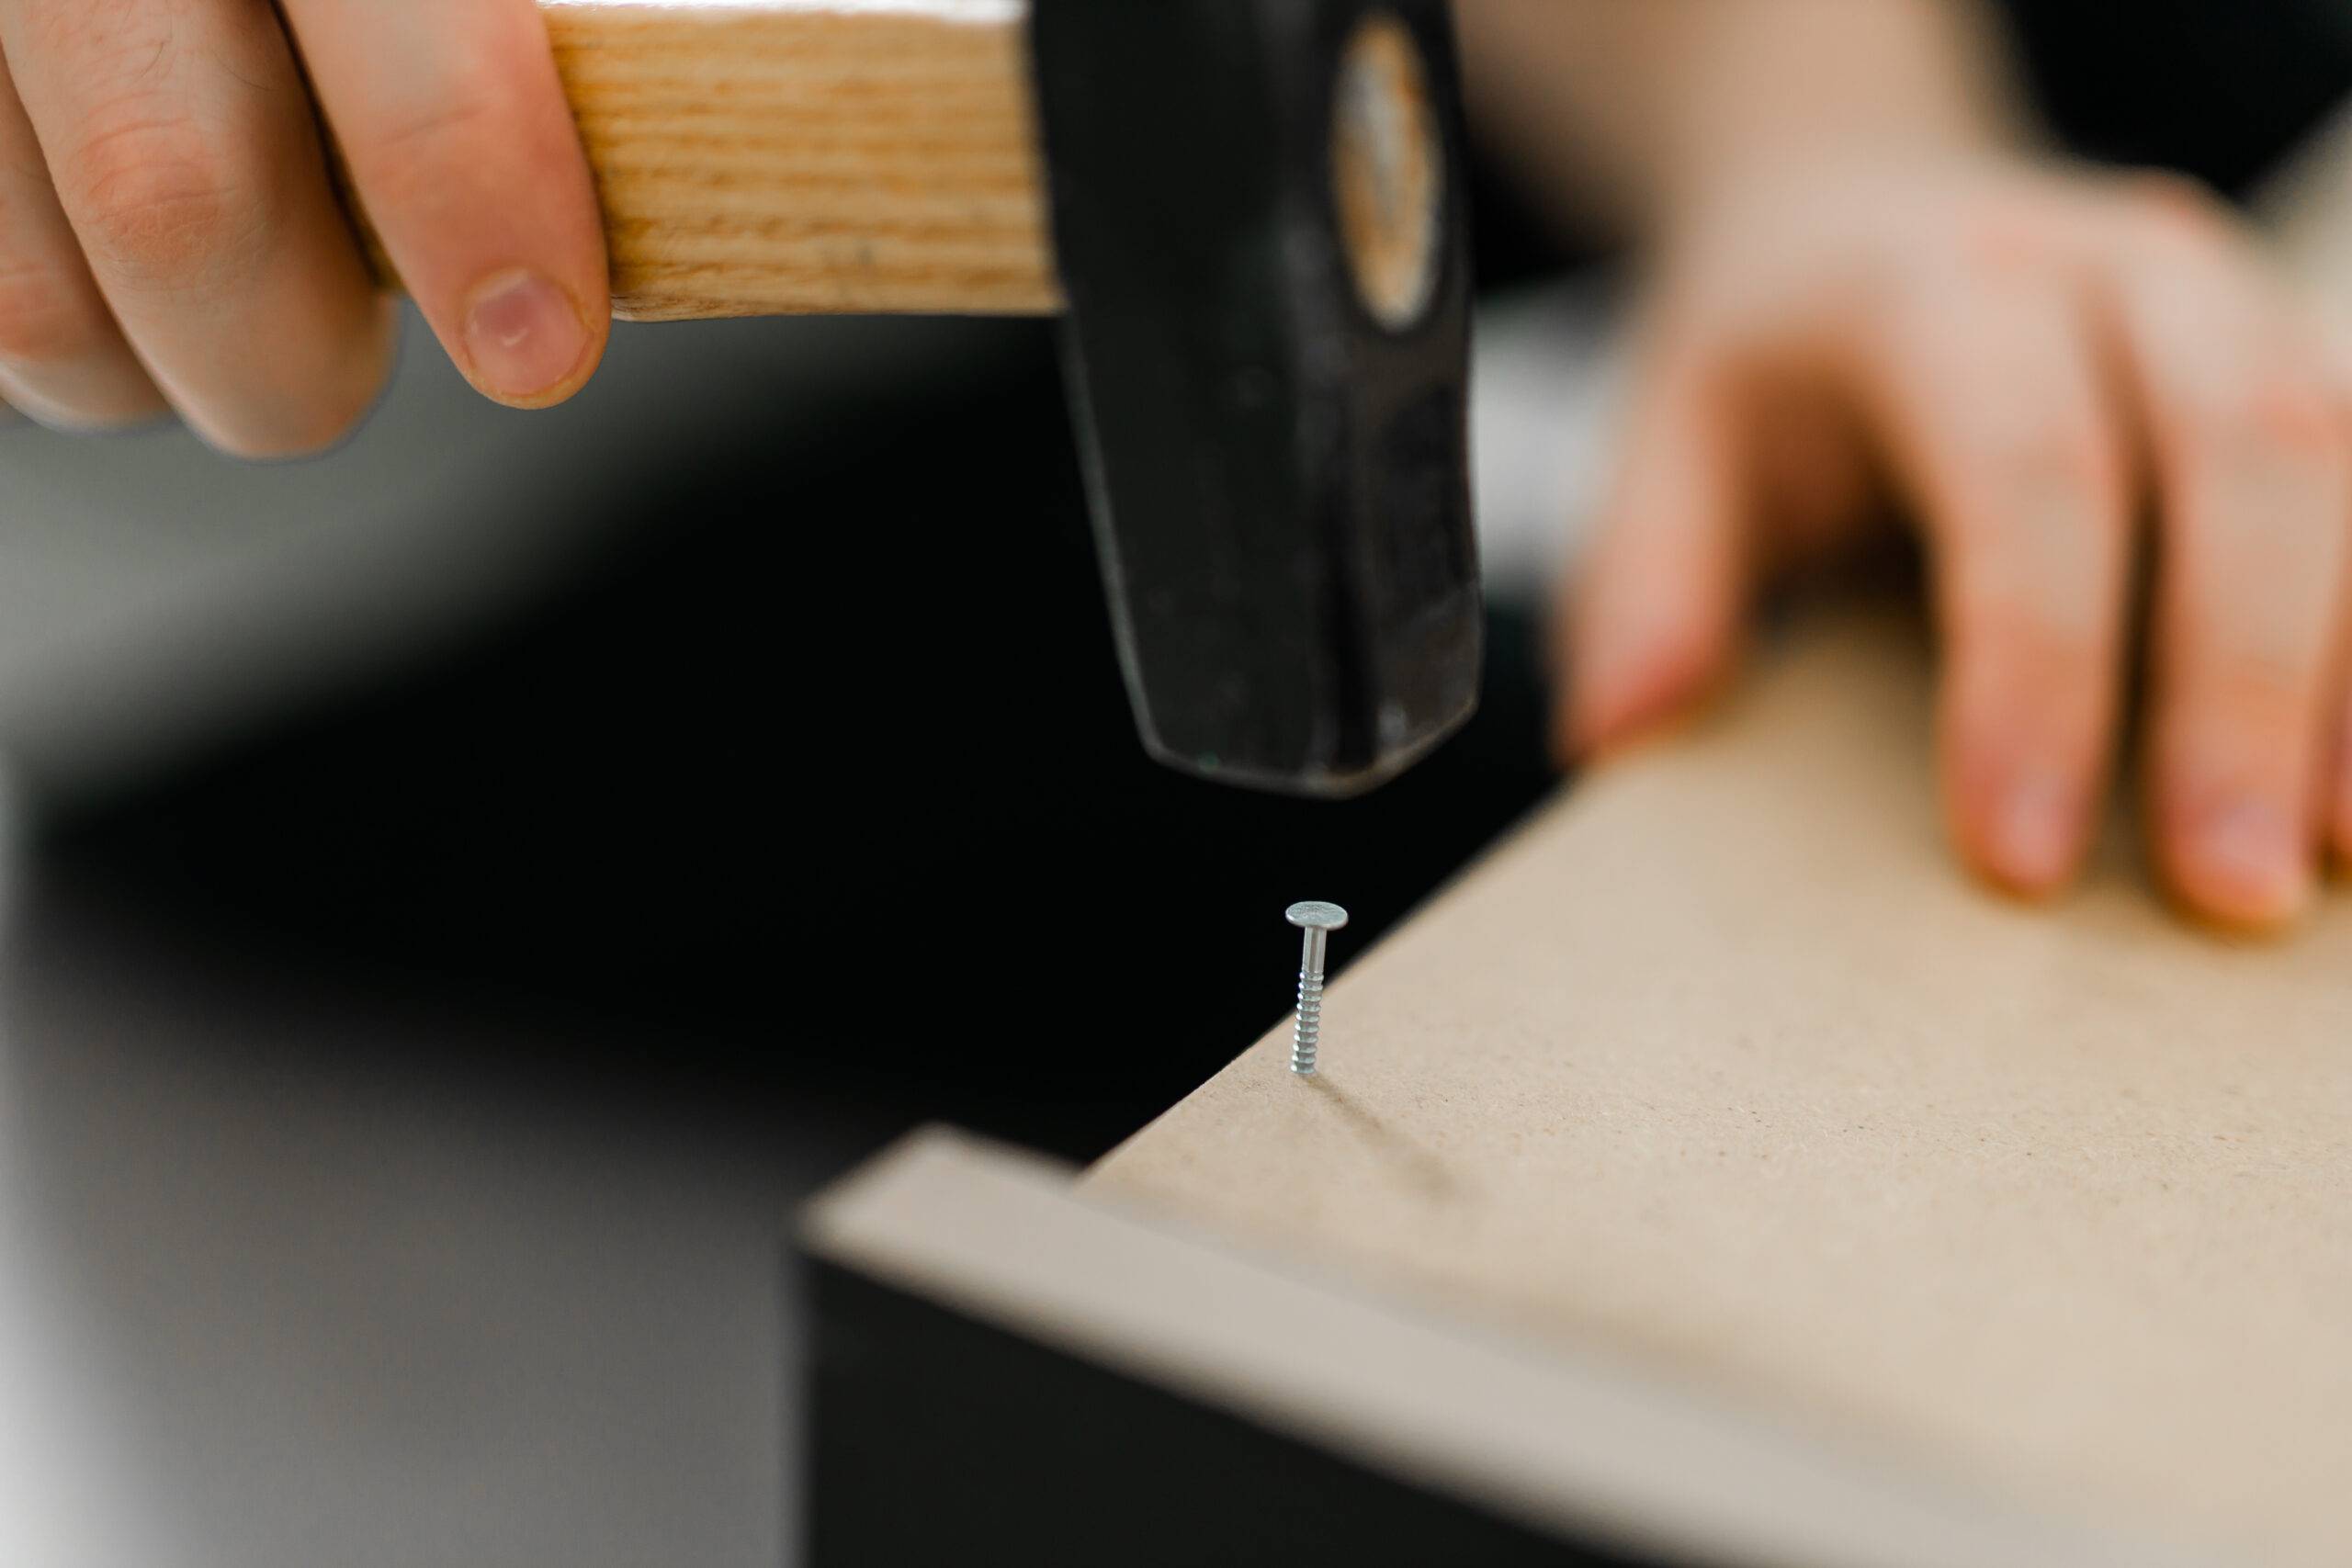
Sinking nails past the surface of your boards weakens the hold and damages the wood. Over time, that leads to loose joints and sagging, especially on siding or roof sheathing. Use your hammer or nail gun with care. Nails should sit flush with the surface unless countersinking is necessary, and even then, it should be intentional.
Framing Walls Directly on Uneven Ground
Some try to stand and build shed walls directly on the foundation without assembling them flat first. That makes it harder to keep everything straight and square, especially if the ground underneath isn’t even. The better way is to build each wall flat on level ground, then raise it into place once framed and braced.
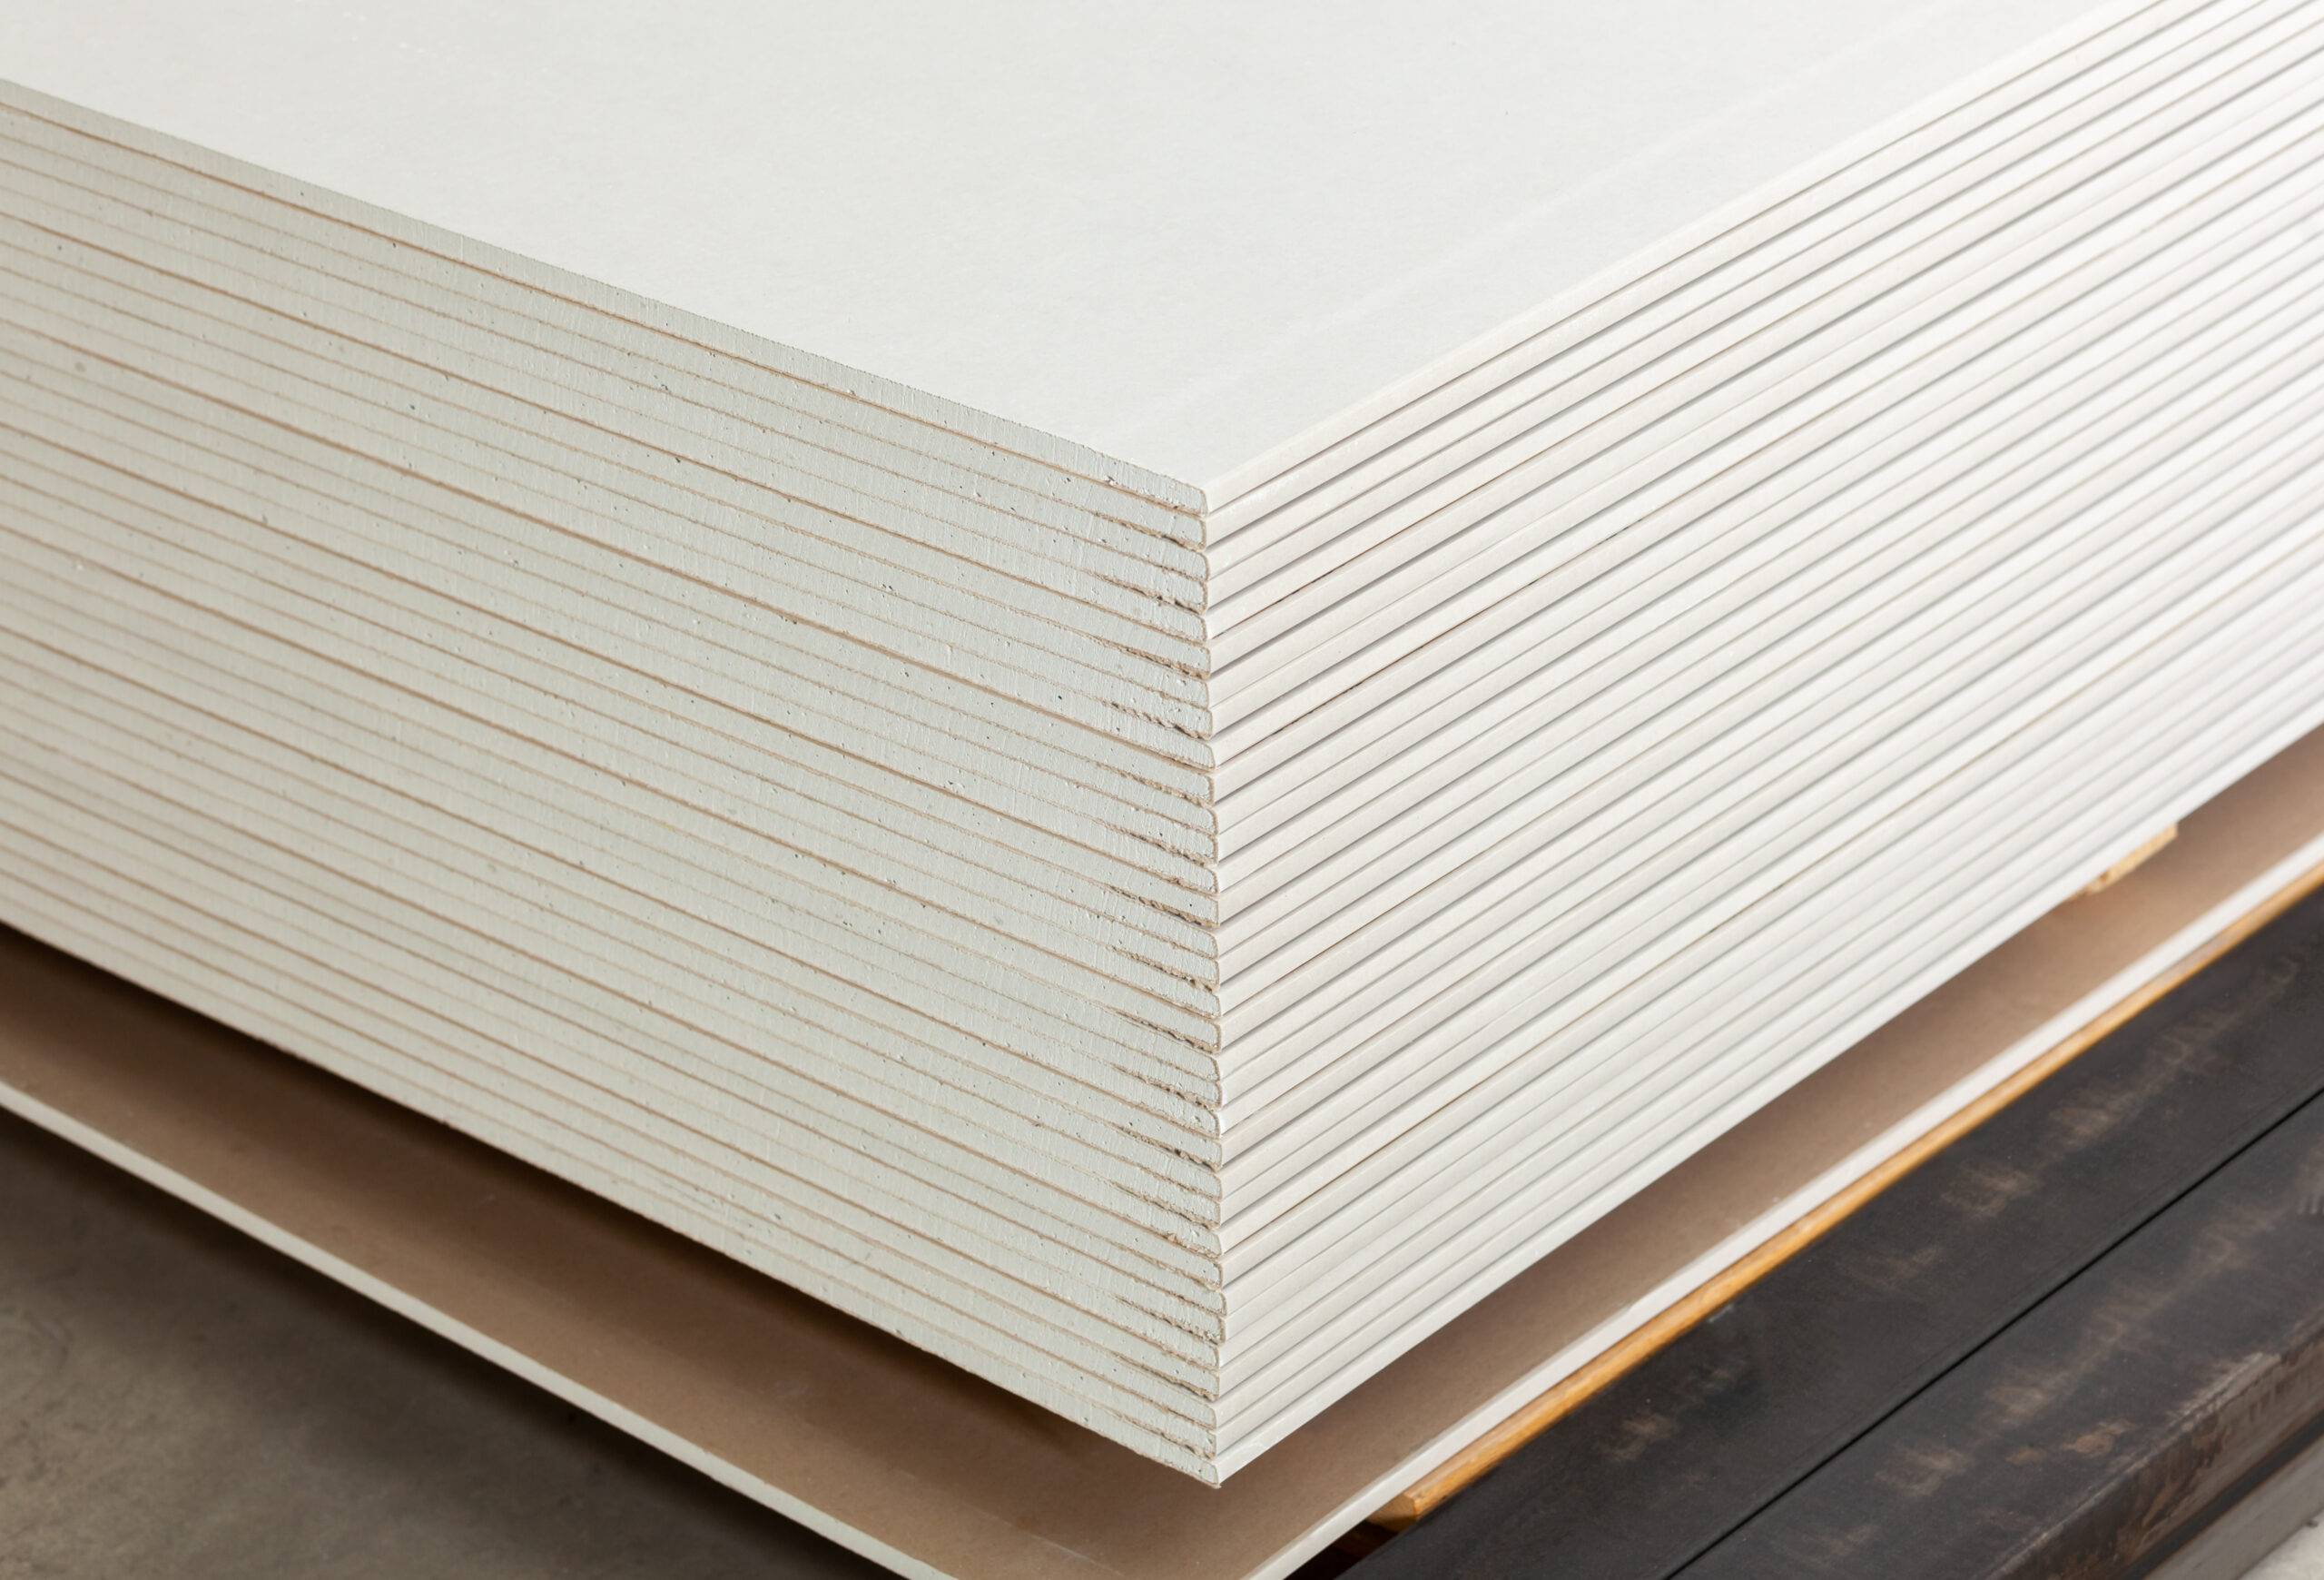
Using Drywall or Interior-Grade Materials
People sometimes use leftover materials from other home projects, like drywall or MDF panels. These are not made for outdoor structures and will crumble, mold, or warp with moisture. Only use pressure-treated lumber, outdoor-rated panels, and weather-resistant fasteners. Even if the inside of your shed is covered, outdoor conditions like rain and snow can still find their way in.
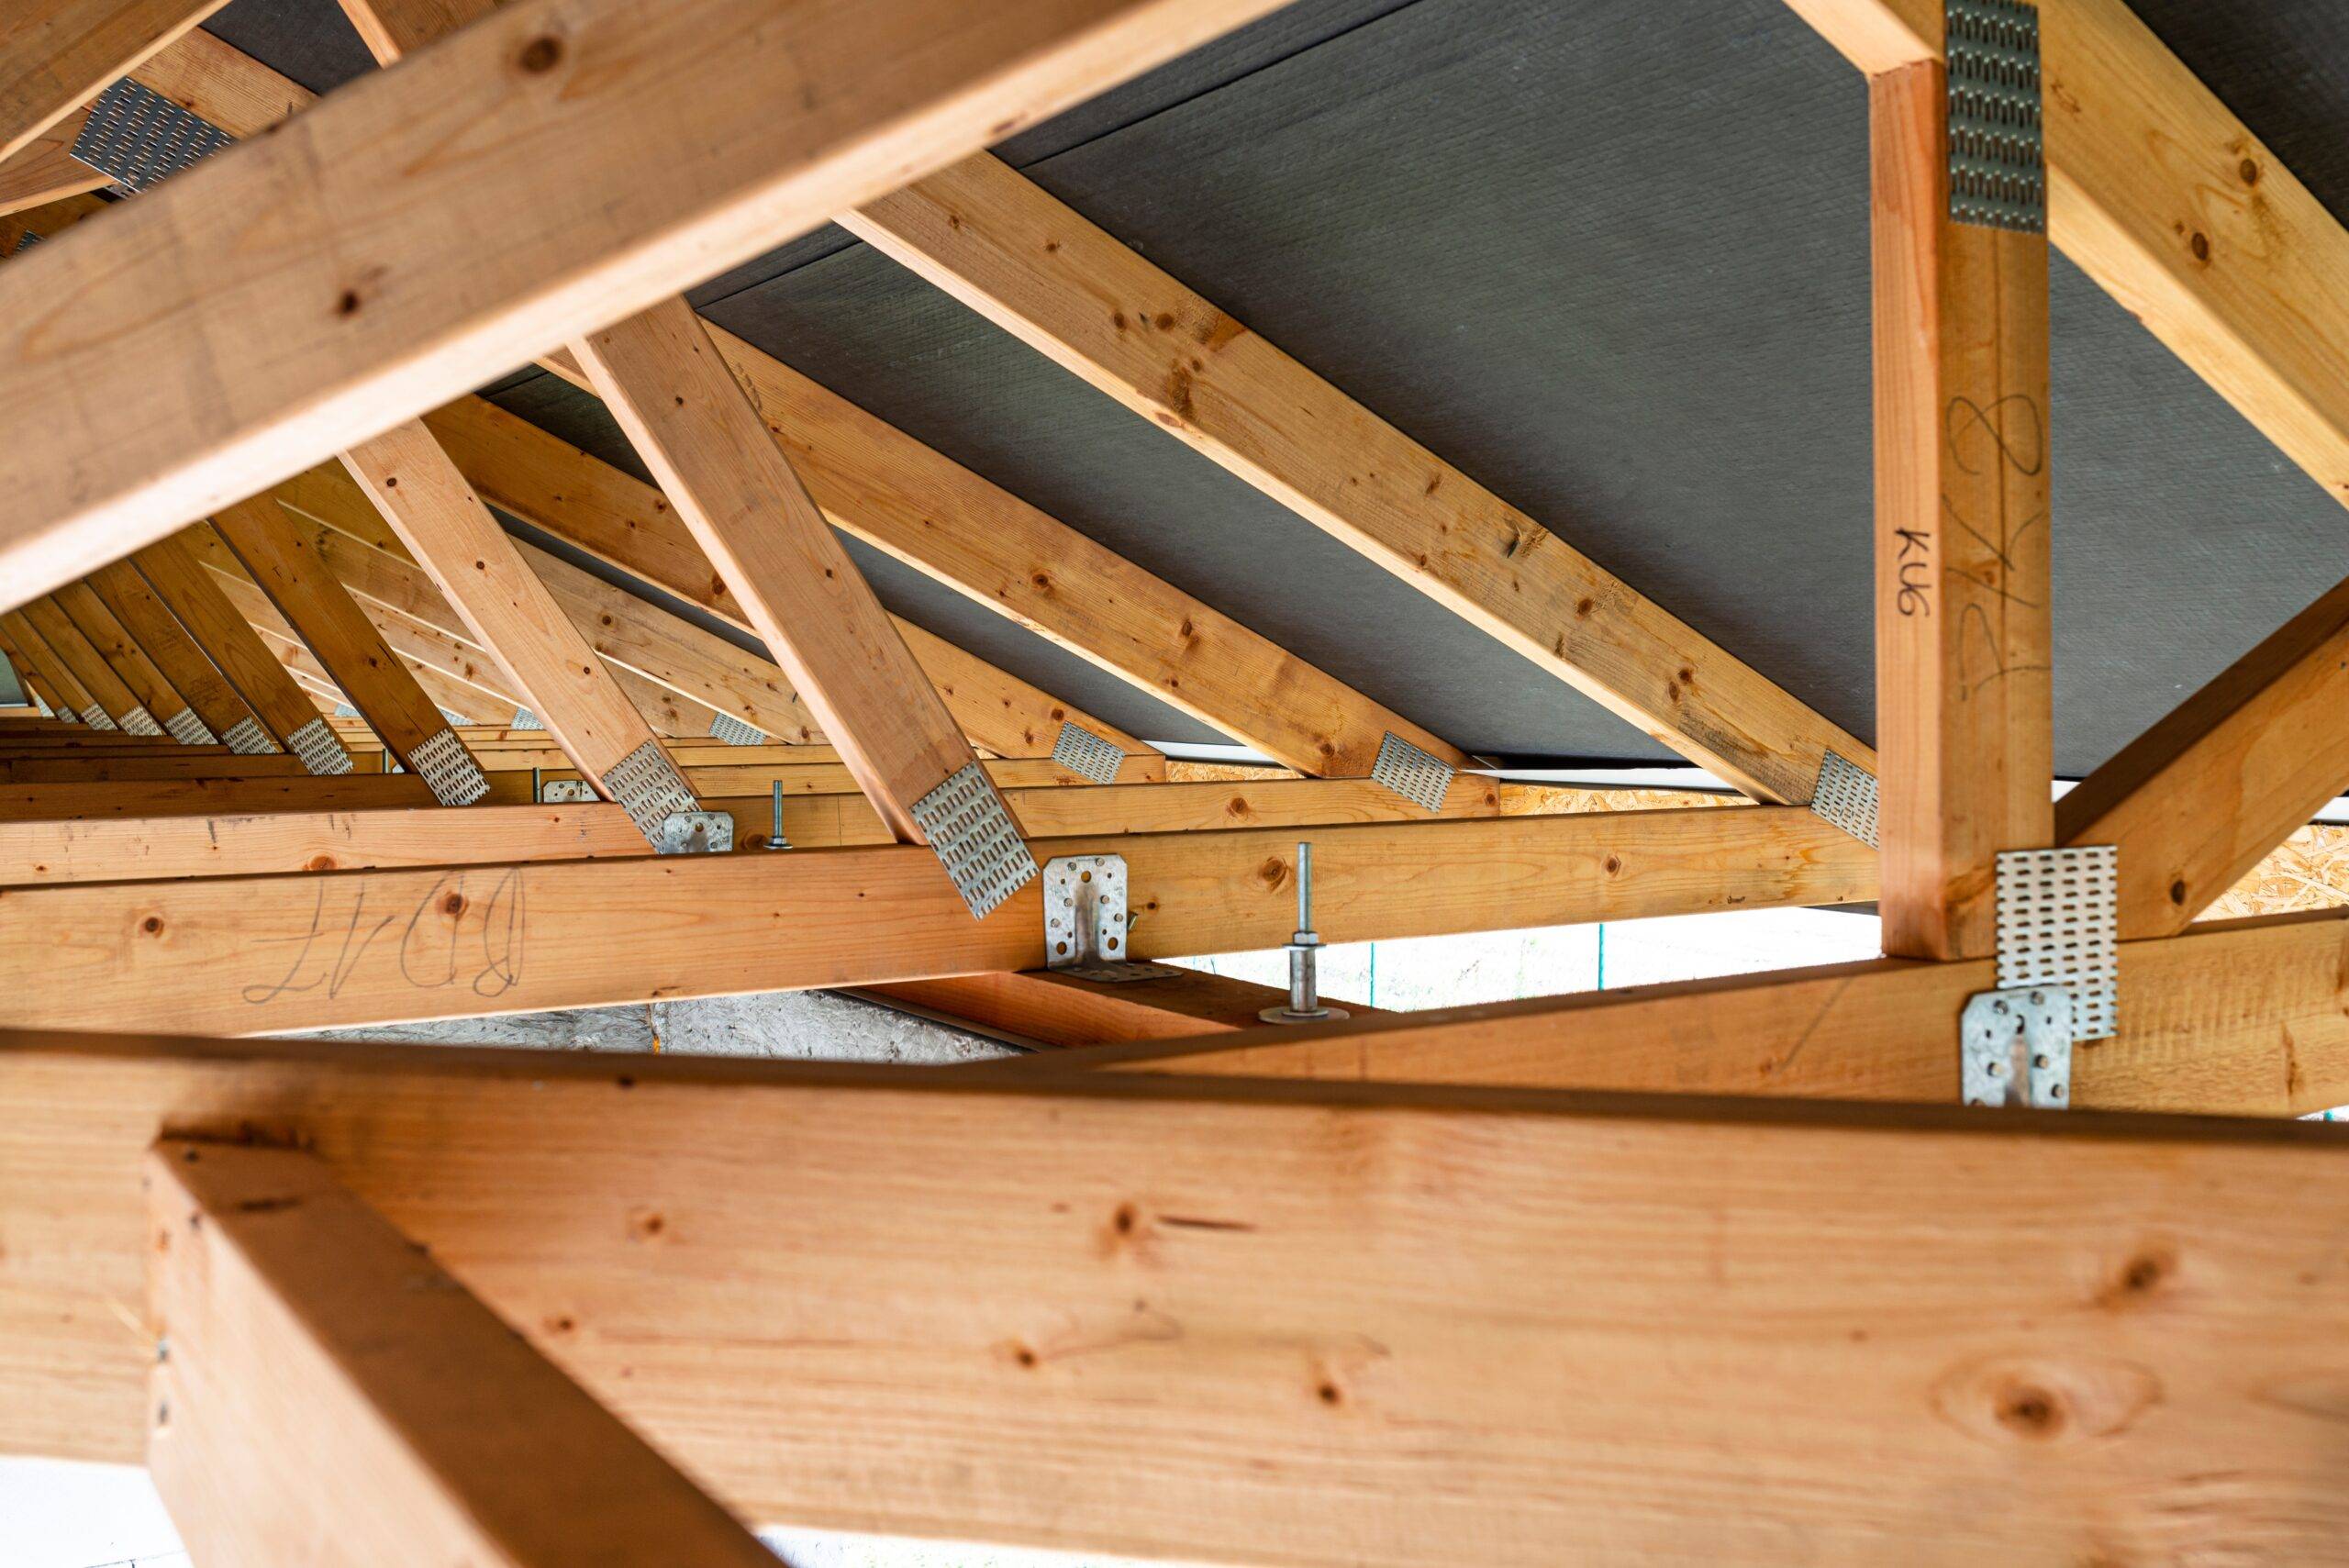
Improper Rafter or Truss Assembly
Roof framing mistakes can quickly compromise the whole shed structure. Misaligned rafters or improperly secured trusses can lead to sagging, leaking, or worse. Use a framing square and check spacing carefully. When in doubt, build one rafter or truss perfectly and use it as a template for the rest.
Not Using Drip Edge Installation
A drip edge is a simple metal flashing strip that directs water off your roof and away from your walls. Many skip this step, thinking shingles alone will do the job, but without it, water can seep behind the fascia and rot the roof edges. Install drip edge along both eaves and rakes before laying down your roofing felt or shingles.
Rushing The Project
Building a shed (or anything for that matter) isn’t a race. Trying to finish it quickly often leads to shortcuts, which then leads to mistakes. These mistakes will come back as problems that need fixing down the road. Take your time, follow your steps carefully, and check your work along the way. Patience pays off with a shed that lasts years and serves you well.
Related Articles
- 7 Things You Shouldn’t Keep In Your Outdoor Shed
- Stop Making These Landscaping Mistakes If You Want A Thriving Garden
- How to Move a Shed Around Your Backyard
Even experienced DIYers slip up when building a shed, especially when trying to save time or simplify steps. These aren’t design flaws or poor ideas — they’re real, physical missteps that lead to bigger problems down the line. By focusing on build-stage accuracy, material choices, and simple construction habits, you’ll end up with a shed that looks right, performs well, and holds up for years to come.

