Easy Guide To Growing Your Own Food: Starting Plants Indoors
Growing your own food and becoming self-sustainable is becoming more popular and easier than ever. If you’ve got a green thumb or just the urge to get one, starting your plants indoors a few months before the weather allows planting a garden is a good idea. If you use you rely on your garden for summer produce, can or freeze your vegetables for year-round use, it makes sense, (dollars and cents) to get those plants started.
Many gardeners with small available plots just go to the local nursery in April or May, but a few plants and set them out when the conditions are right. Nurseries provide a great service to hobby gardeners with a few plants, but they come at a price. Seedlings run from 50 cents up to several dollars each. Seeds are much less expensive, but require a time commitment early in the season for long growth season plants.
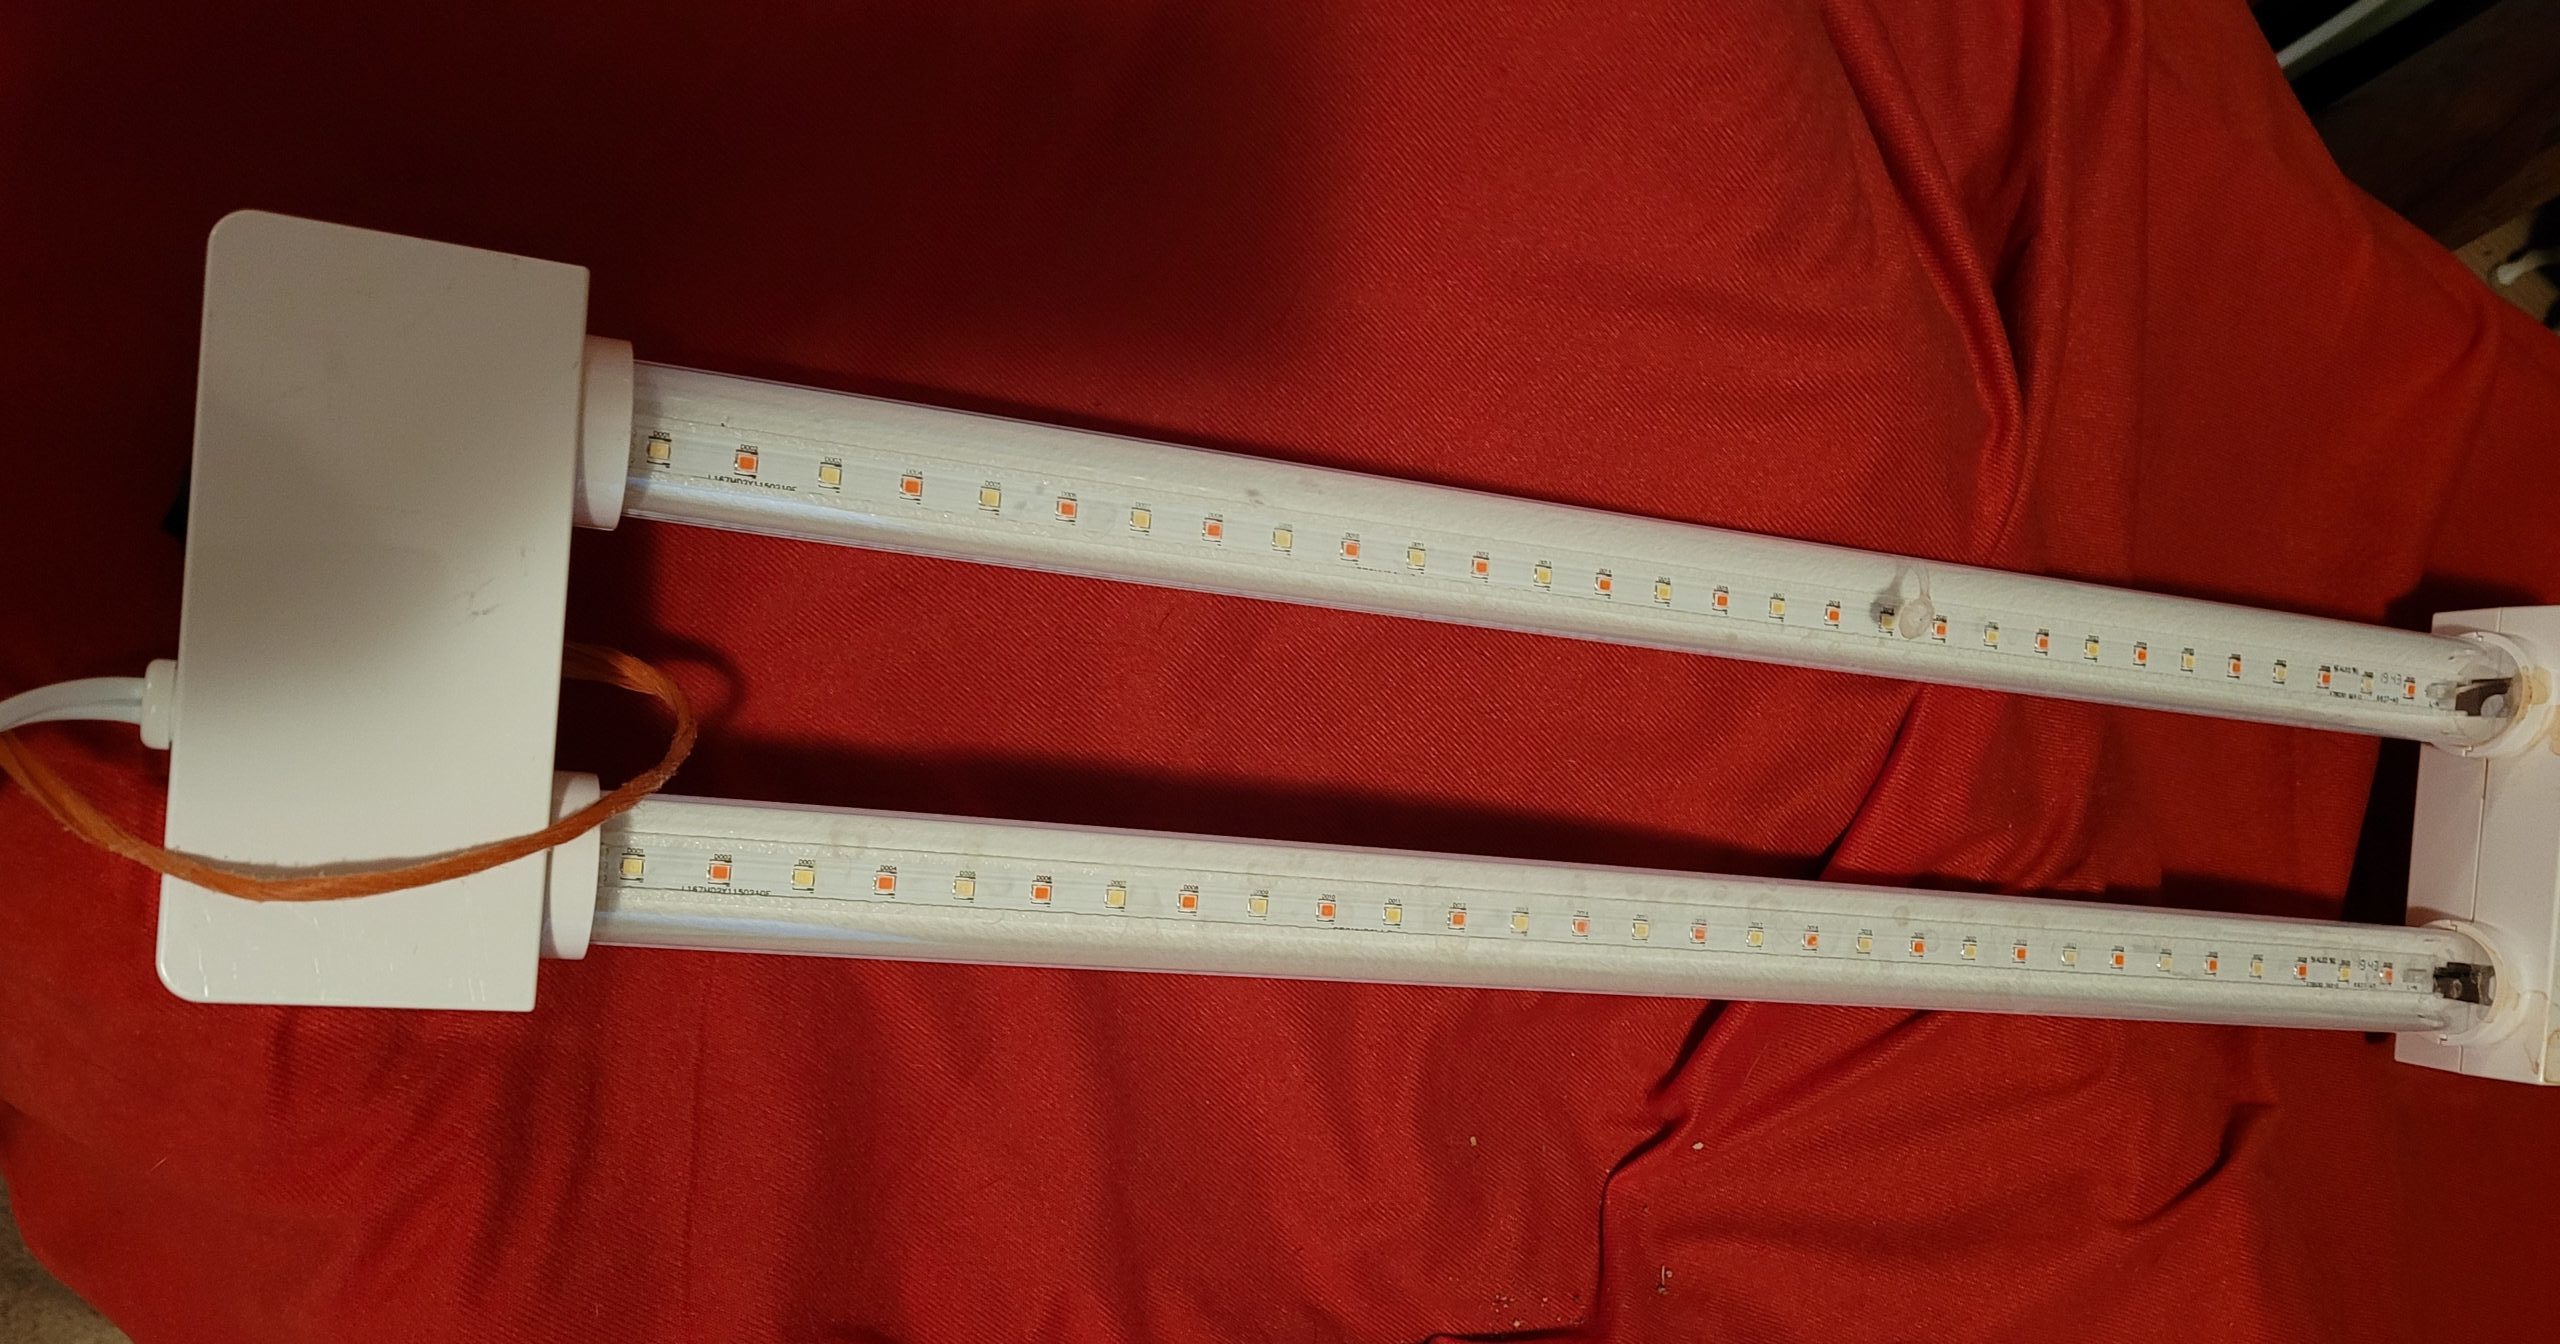
The solution is to plant indoors in February or March and grow them under fluorescent grow lamps.
Start With A Mini-Greenhouse
Small plastic enclosures, with several shelves, don’t cost much and can work just fine placed on a south-facing window in a warm room, without any additional artificial light. The problem is the amount of sunlight they’re able to receive. Sunlight triggers growth in emerging plants, they have a genetic trigger that is flipped by the amount, and duration of light they receive each day.
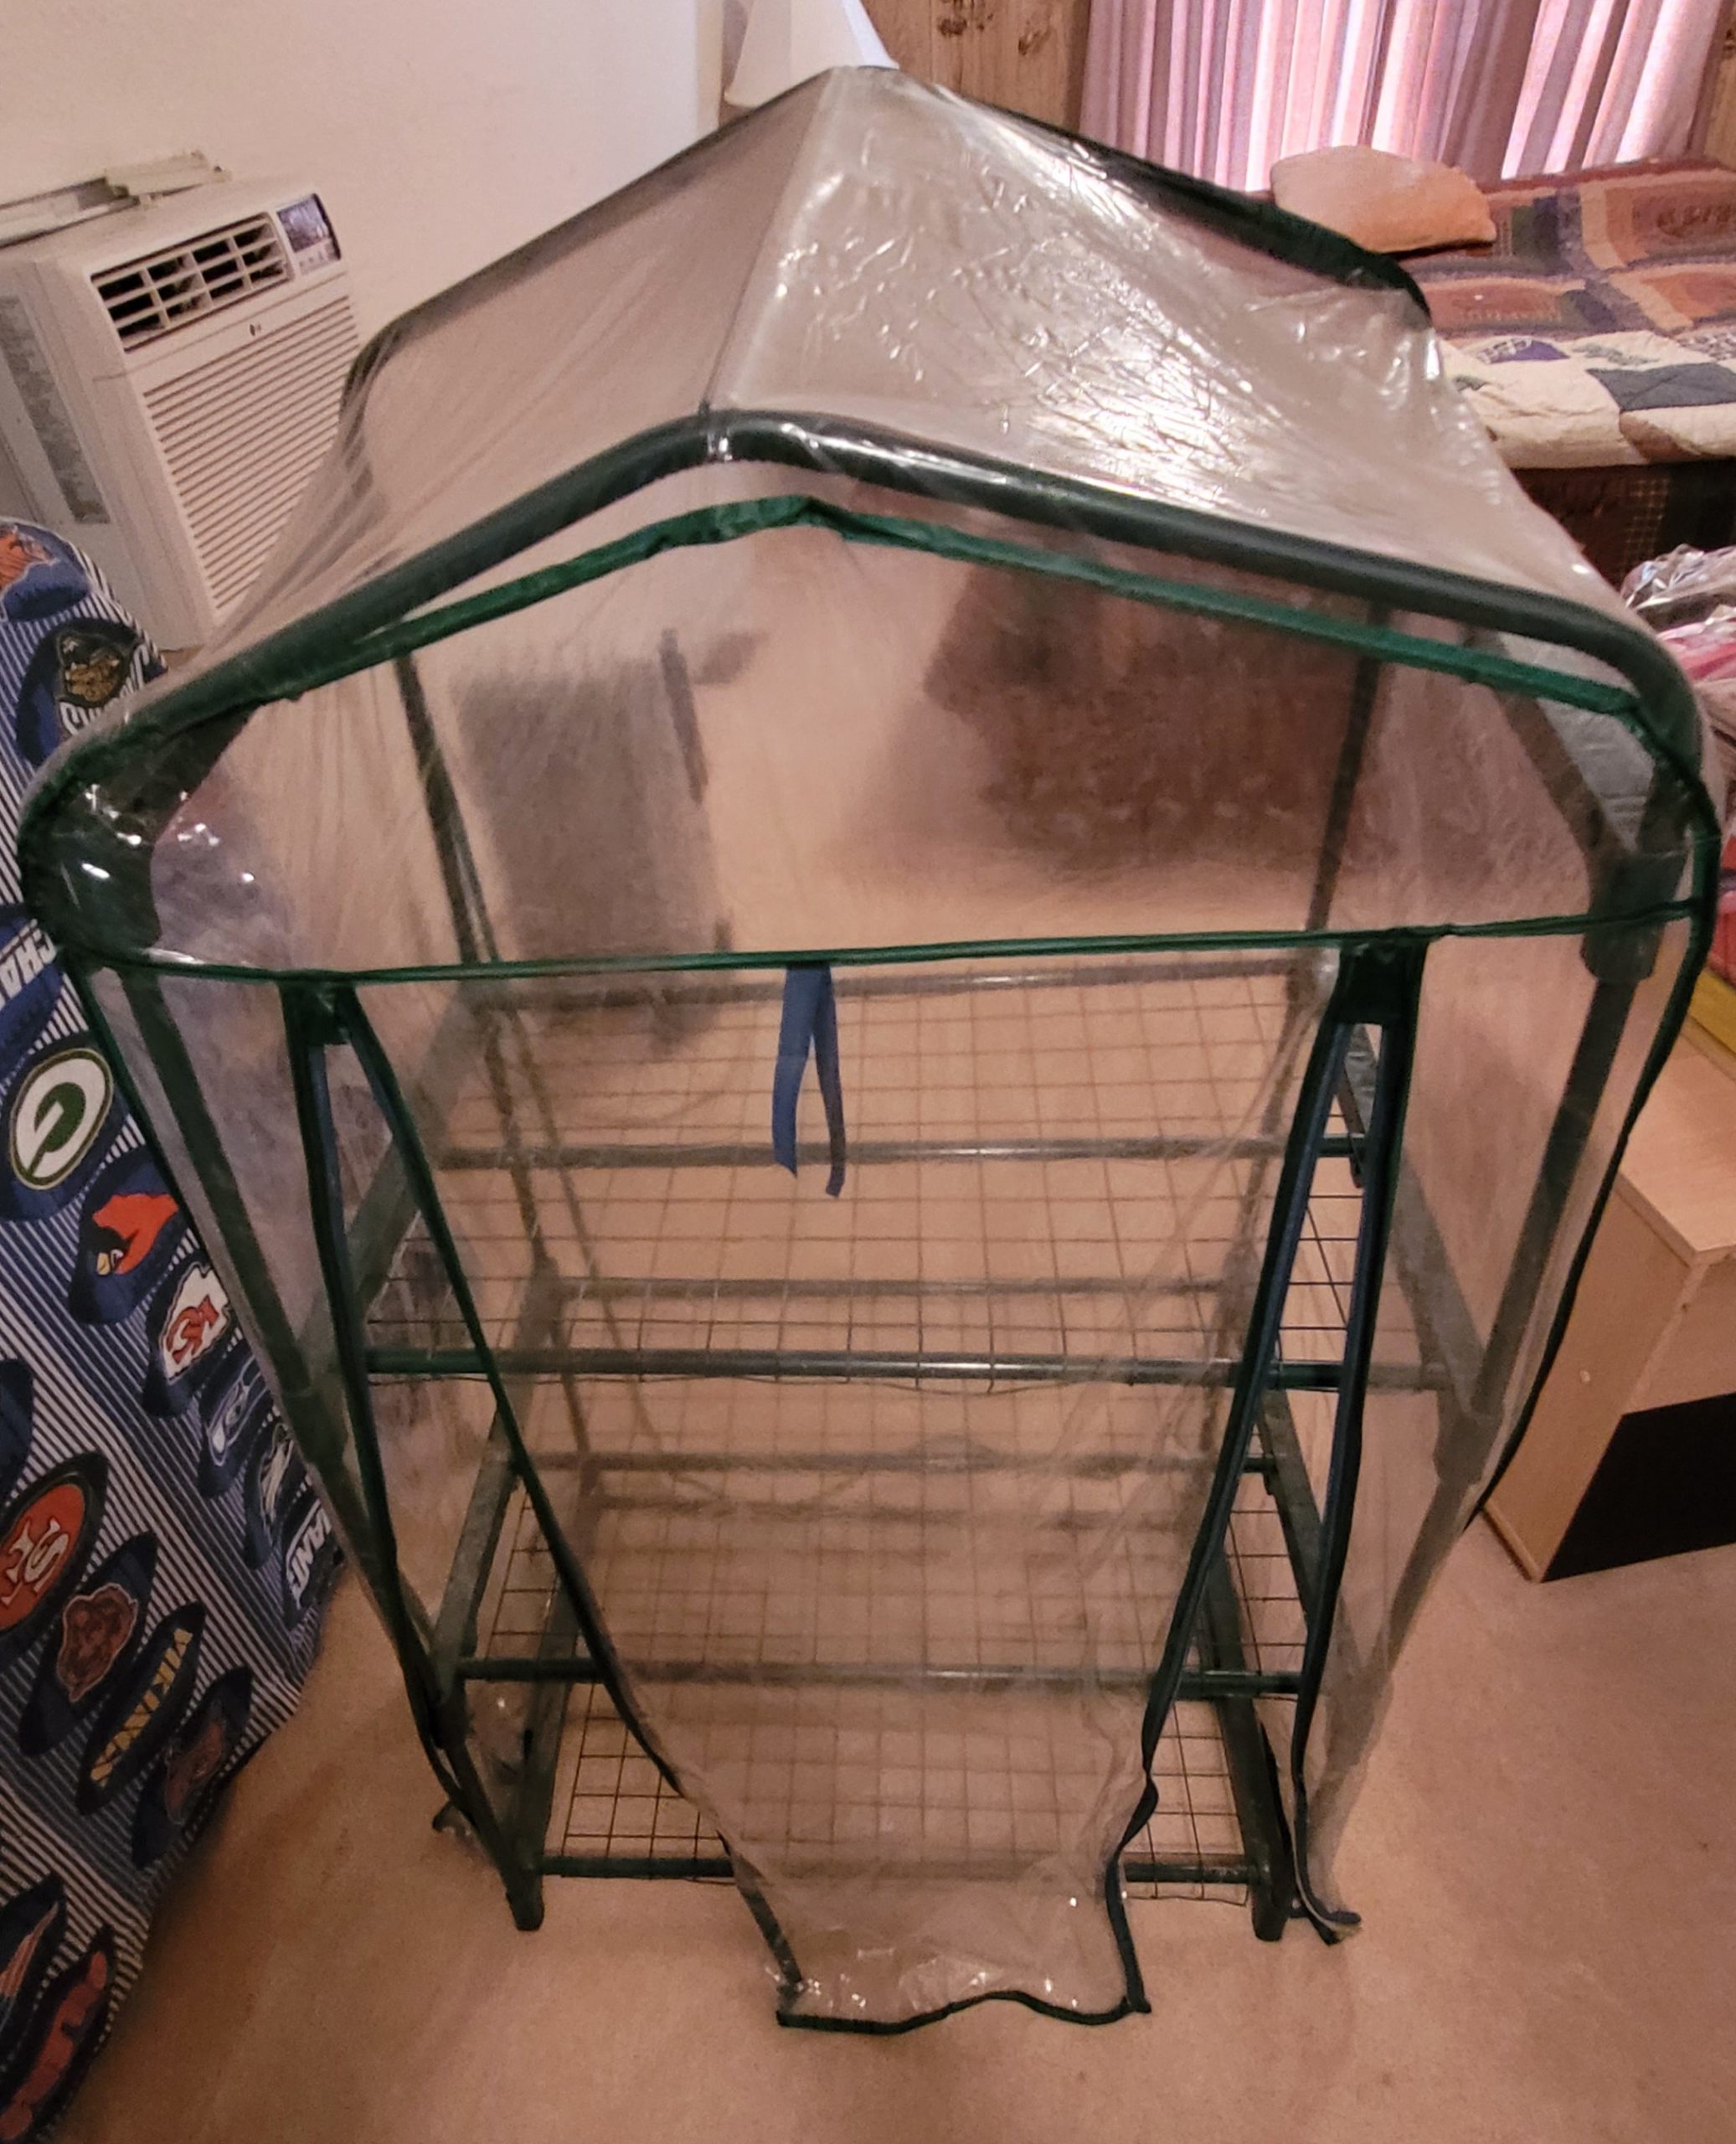
A grow lamp can mimic a hardiness zone several steps up the chart by providing longer duration light.
Hardiness zones were created as a template for gardeners to use in determining what types of plants they could grow way back in 1927 based on how cold it gets in the winter. Cold winters, mean cooler springs and shorter summers, based primarily on latitude. You can fool mother nature with a grow lamp that extends those shorter hours artificially, but there are caveats.
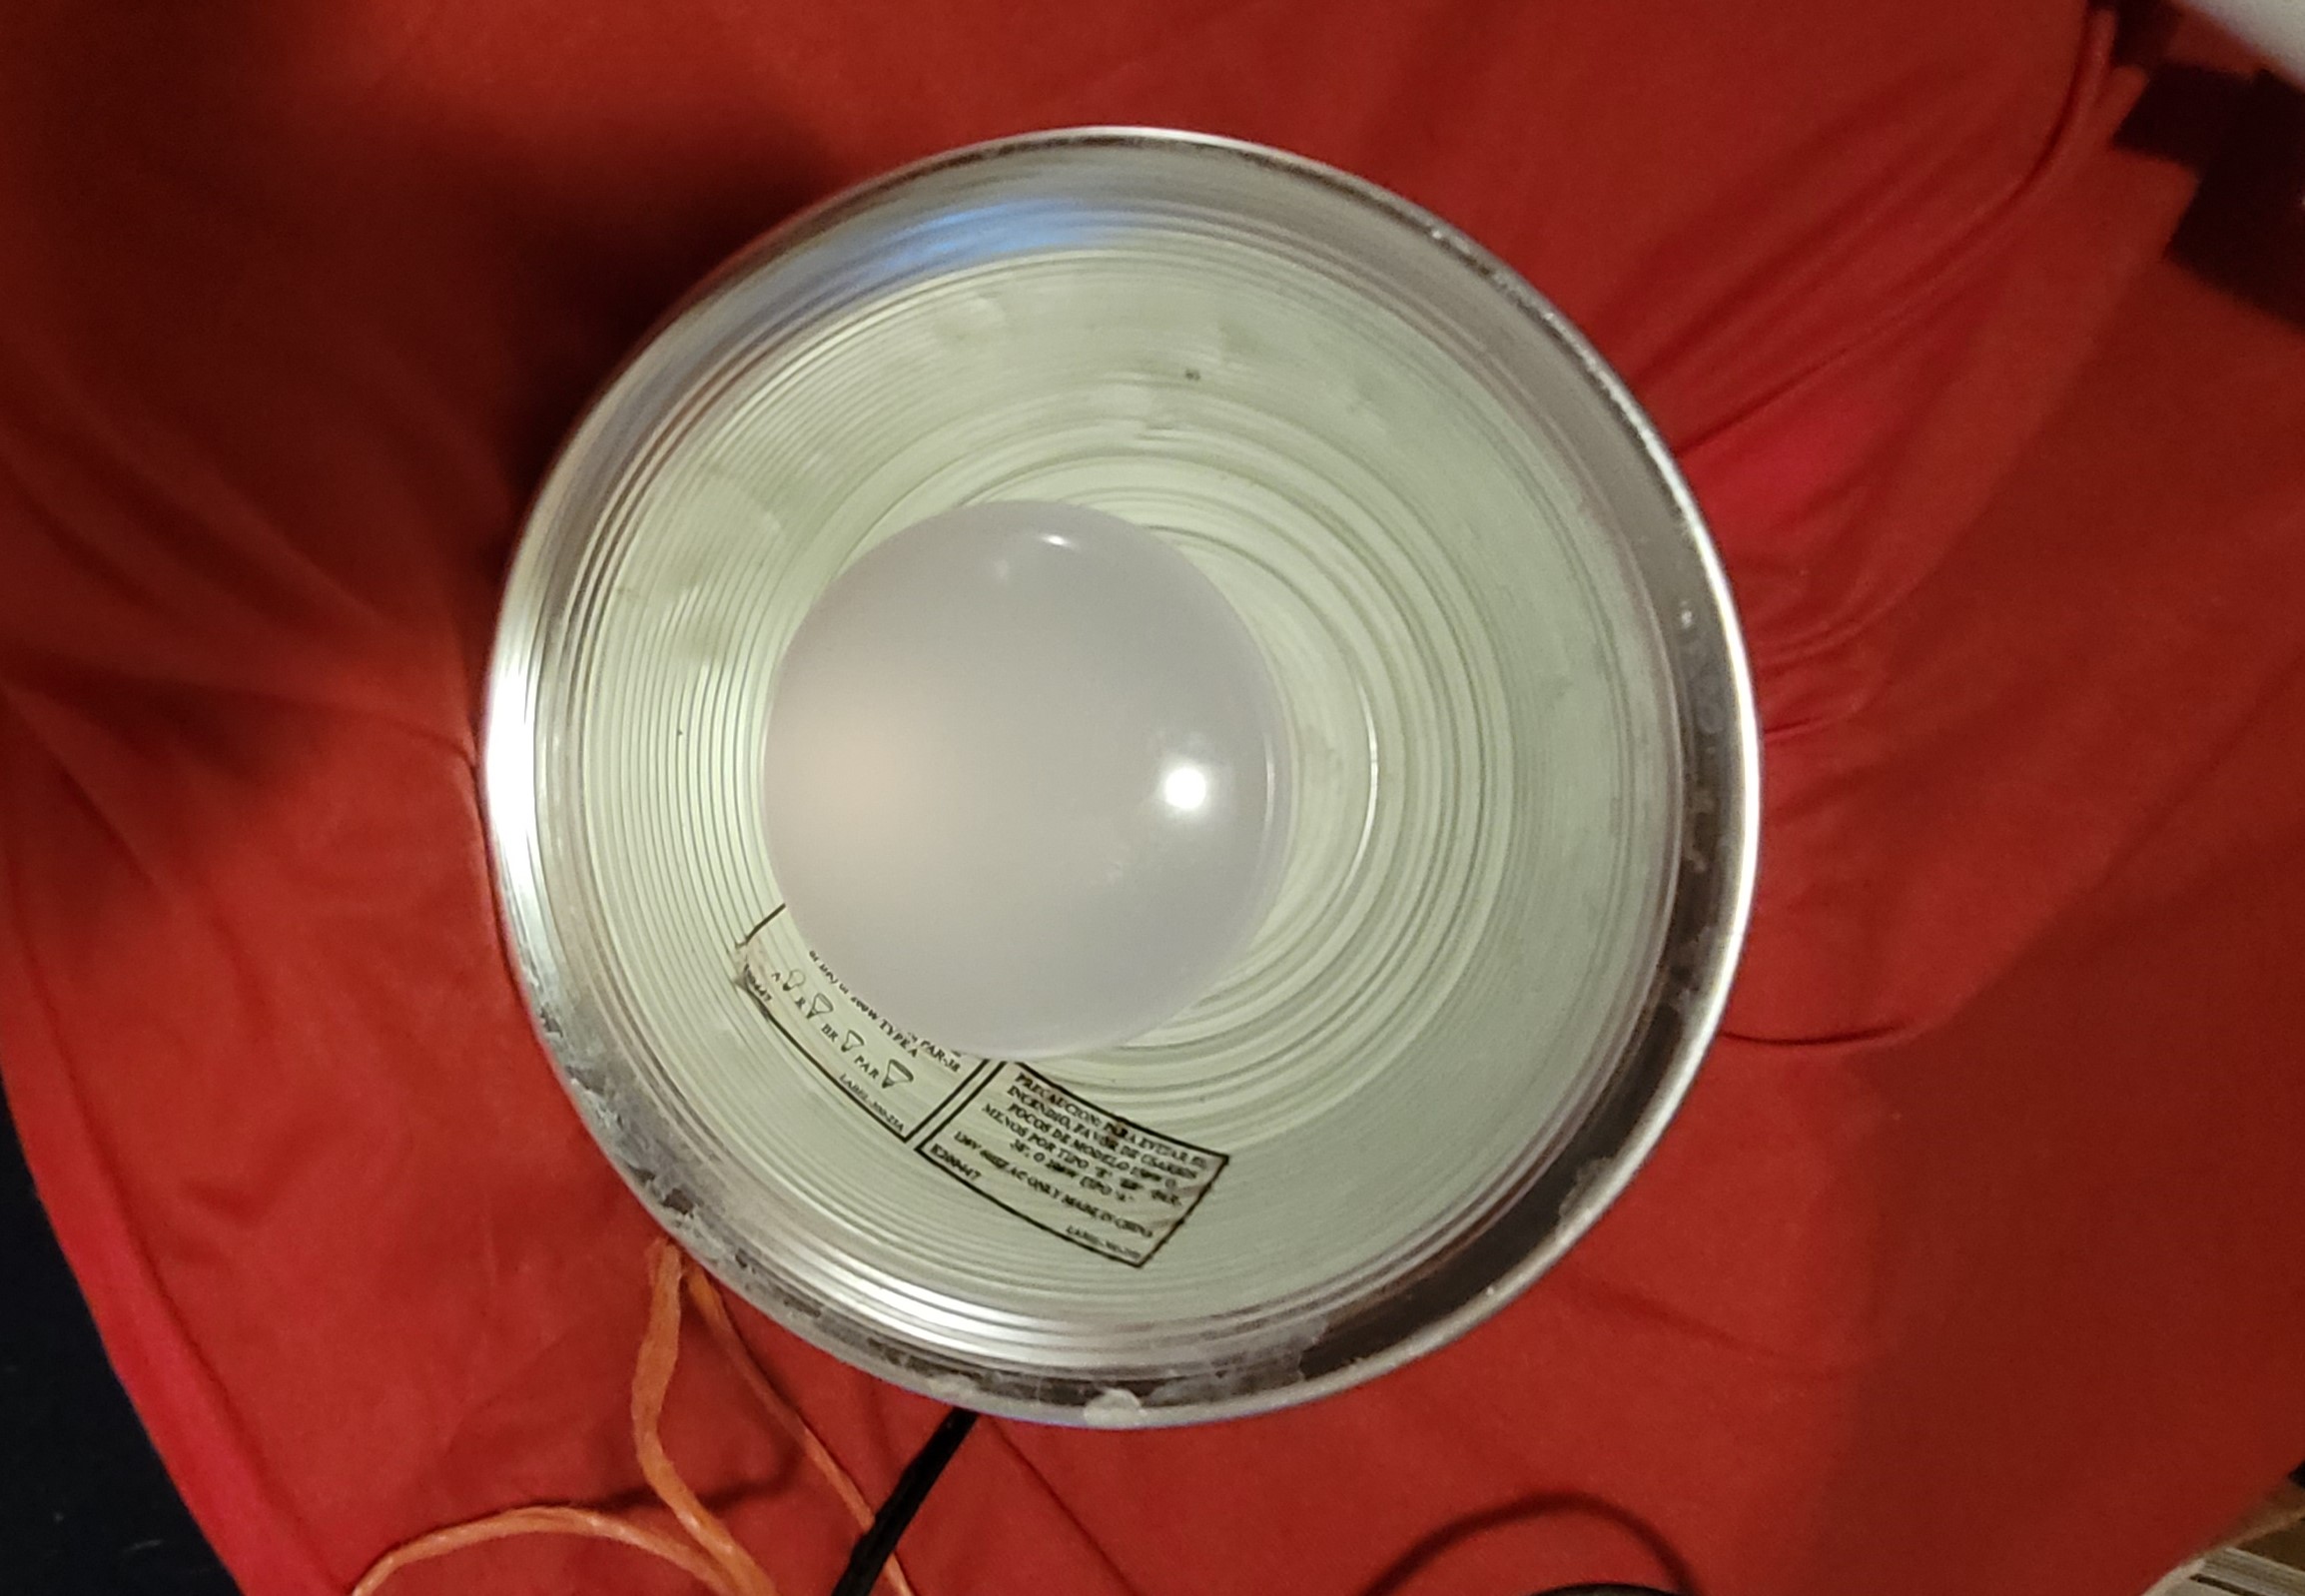
A growth lamp placed too high produces spindly seedlings as they try to reach it. A growth lamp too low only hits a few plants and can damage leaves. A growth lamp left on too long inhibits natural growth since the plant doesn’t expect that much light.
As with Goldilocks, finding just the right bed, seedling bed in this case is the key.
Start The Process Early
Purchase your seeds or take out the ones from previous years. Seeds are viable for a long time, sometimes many decades. Pay close attention to planting depth as indicated on the package. Some require an inch of soil, others just a dusting of dirt to cover the seed.
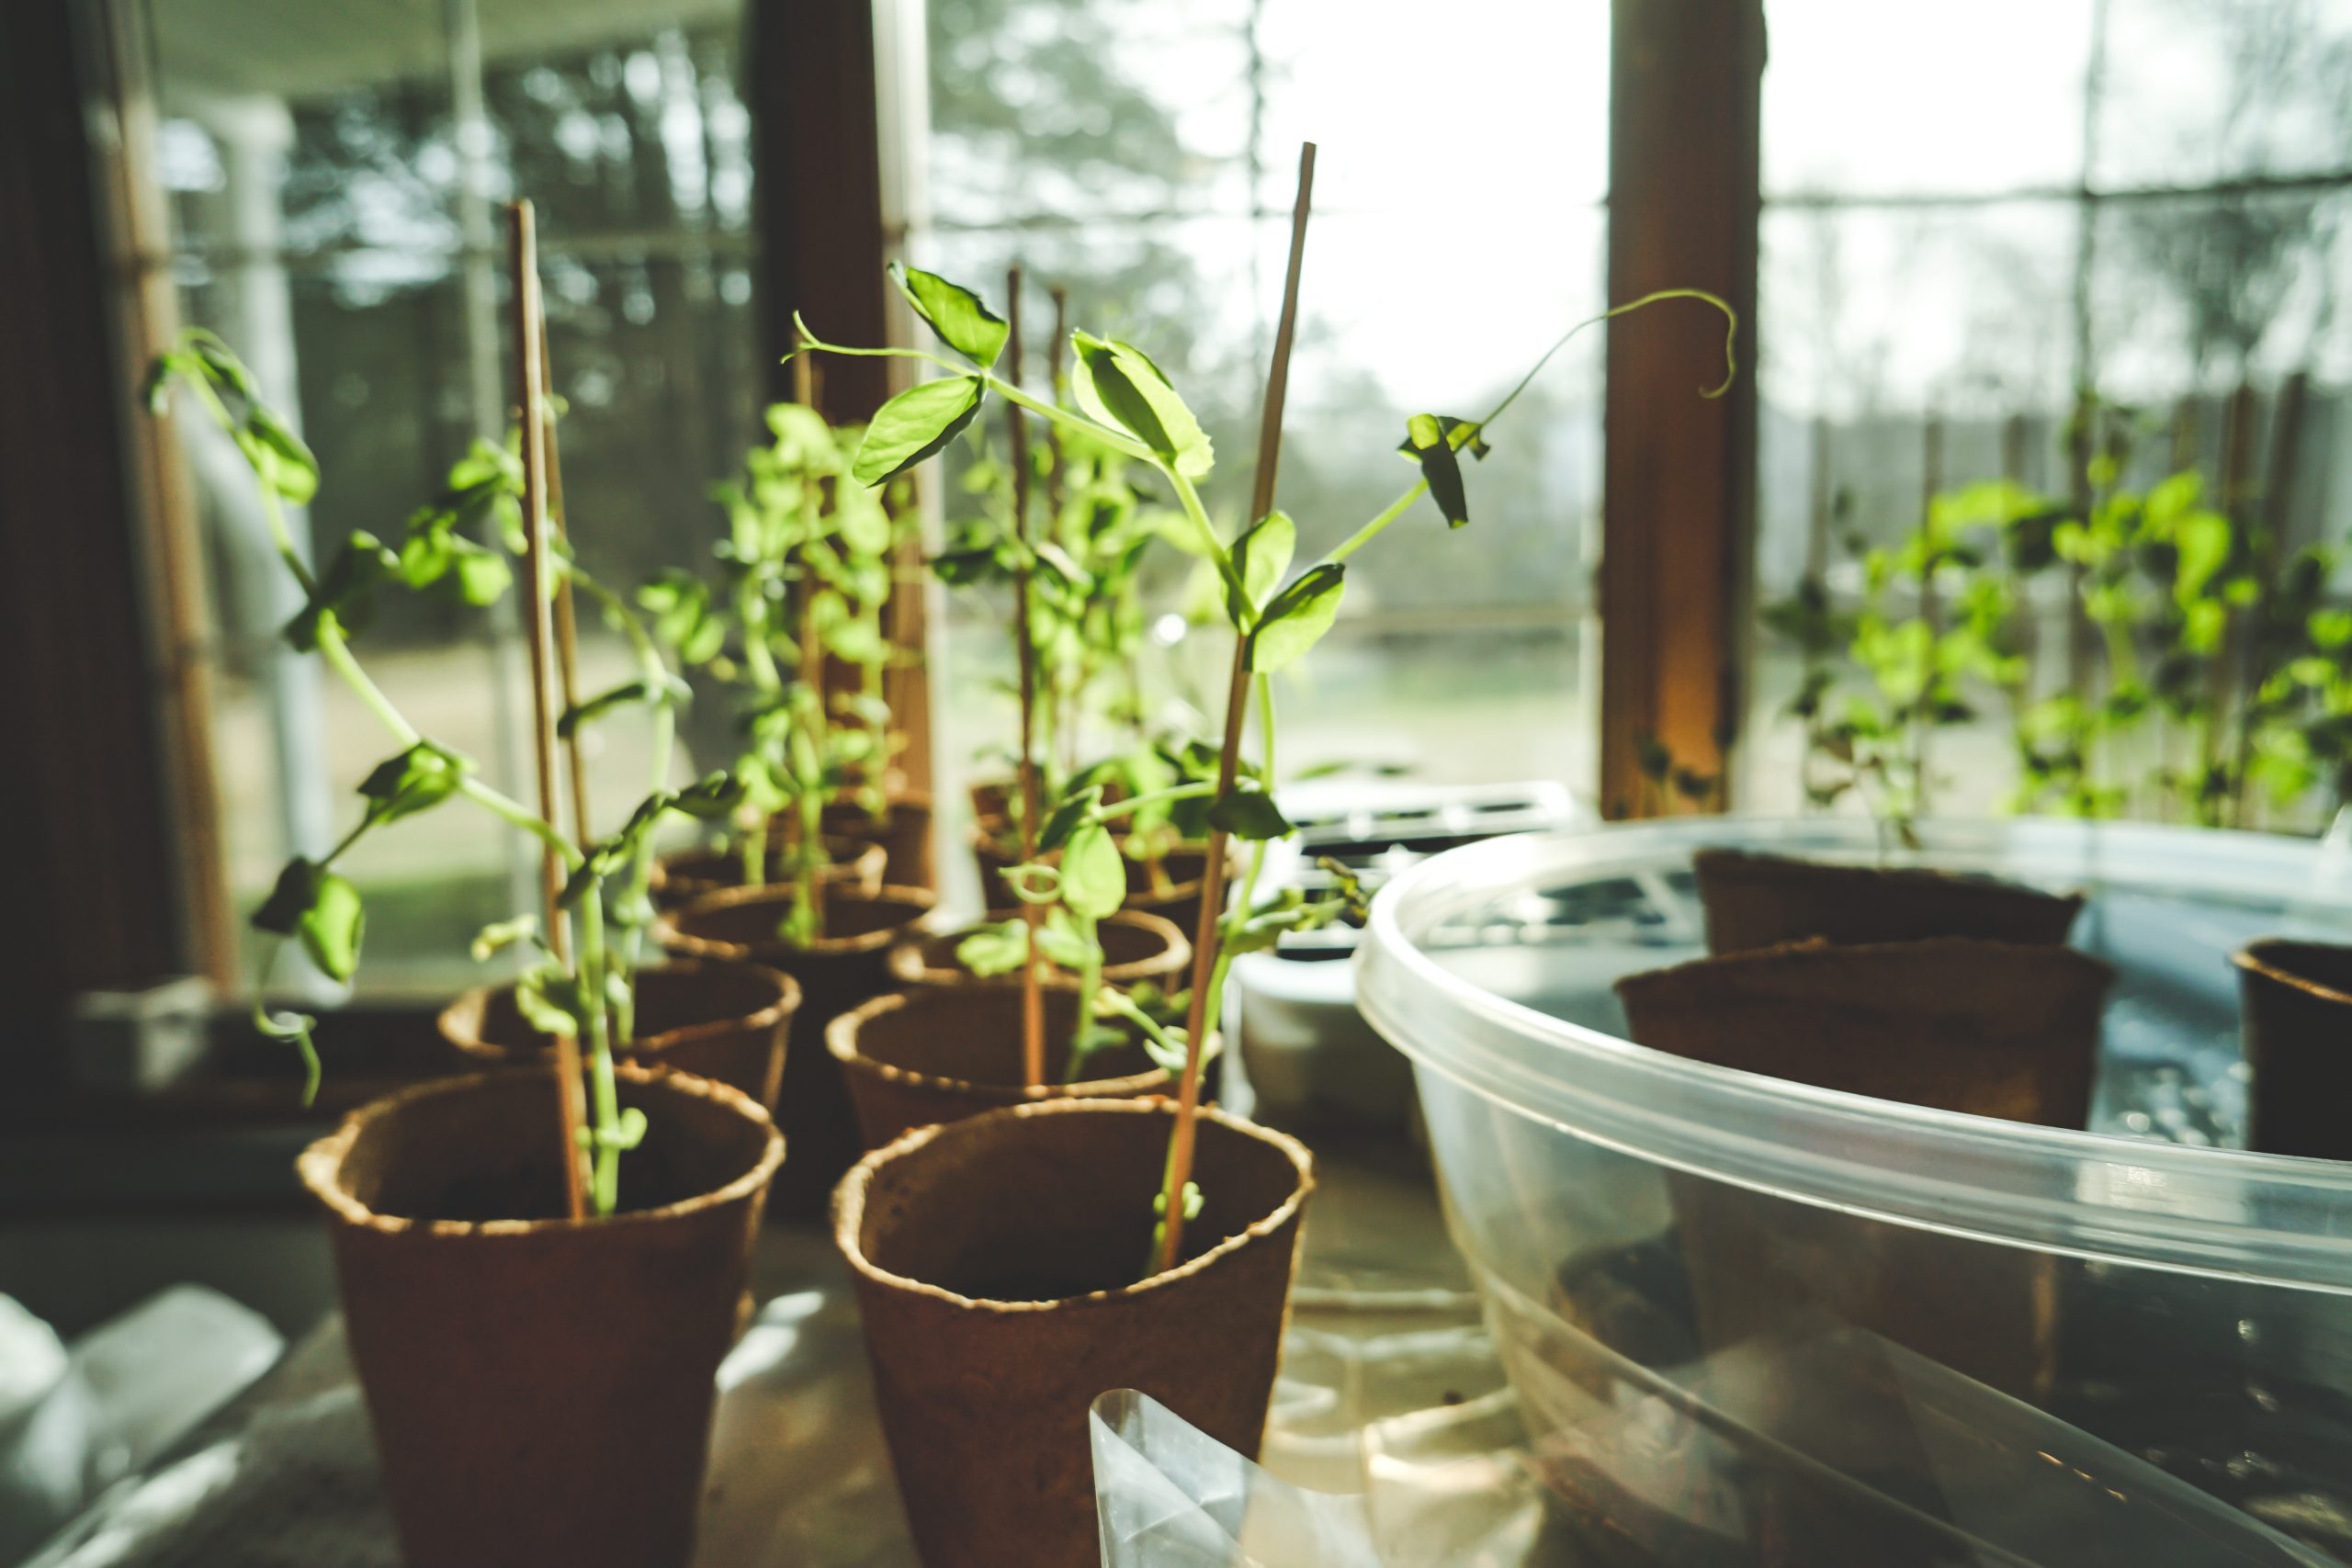
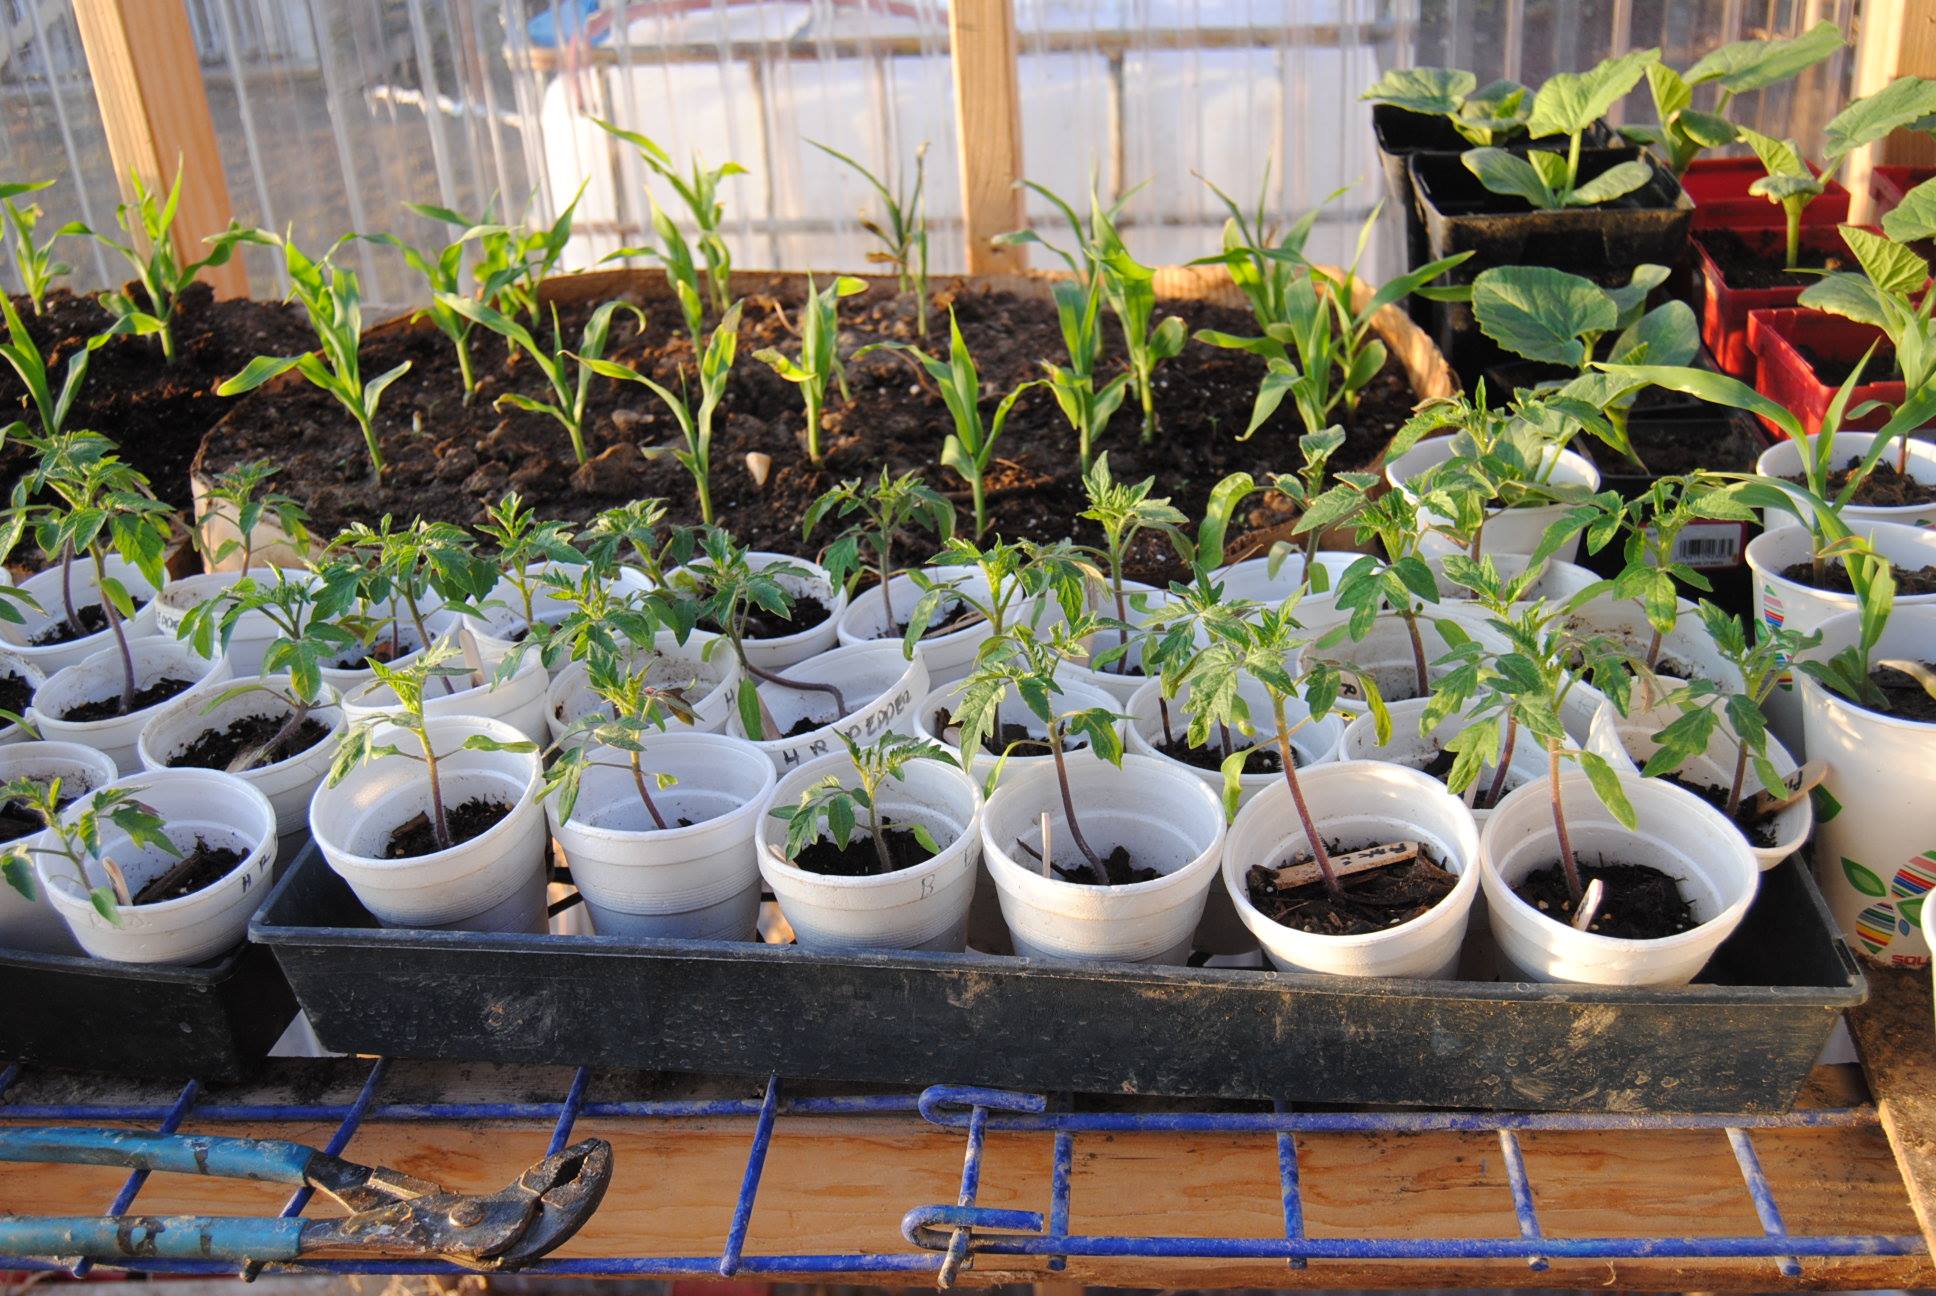
You can purchase special containers to start your plants from a home supply store, or you can just buy a stack of paper cups from your local supermarket, cups are much less expensive. Put a little potting soil in each cup, arrange the cups in a tray, once again at a garden center or just one of those inexpensive aluminum cooking trays at the grocery store, drop the seed into the center of the container at the proper depth and cover with soil. Water the seeds per direction on the package.
Place the trays about six inches below the grow lamp. Check to make sure the light hits the edges of your tray or you may have to move the lamp a little higher.
Timing Is Everything
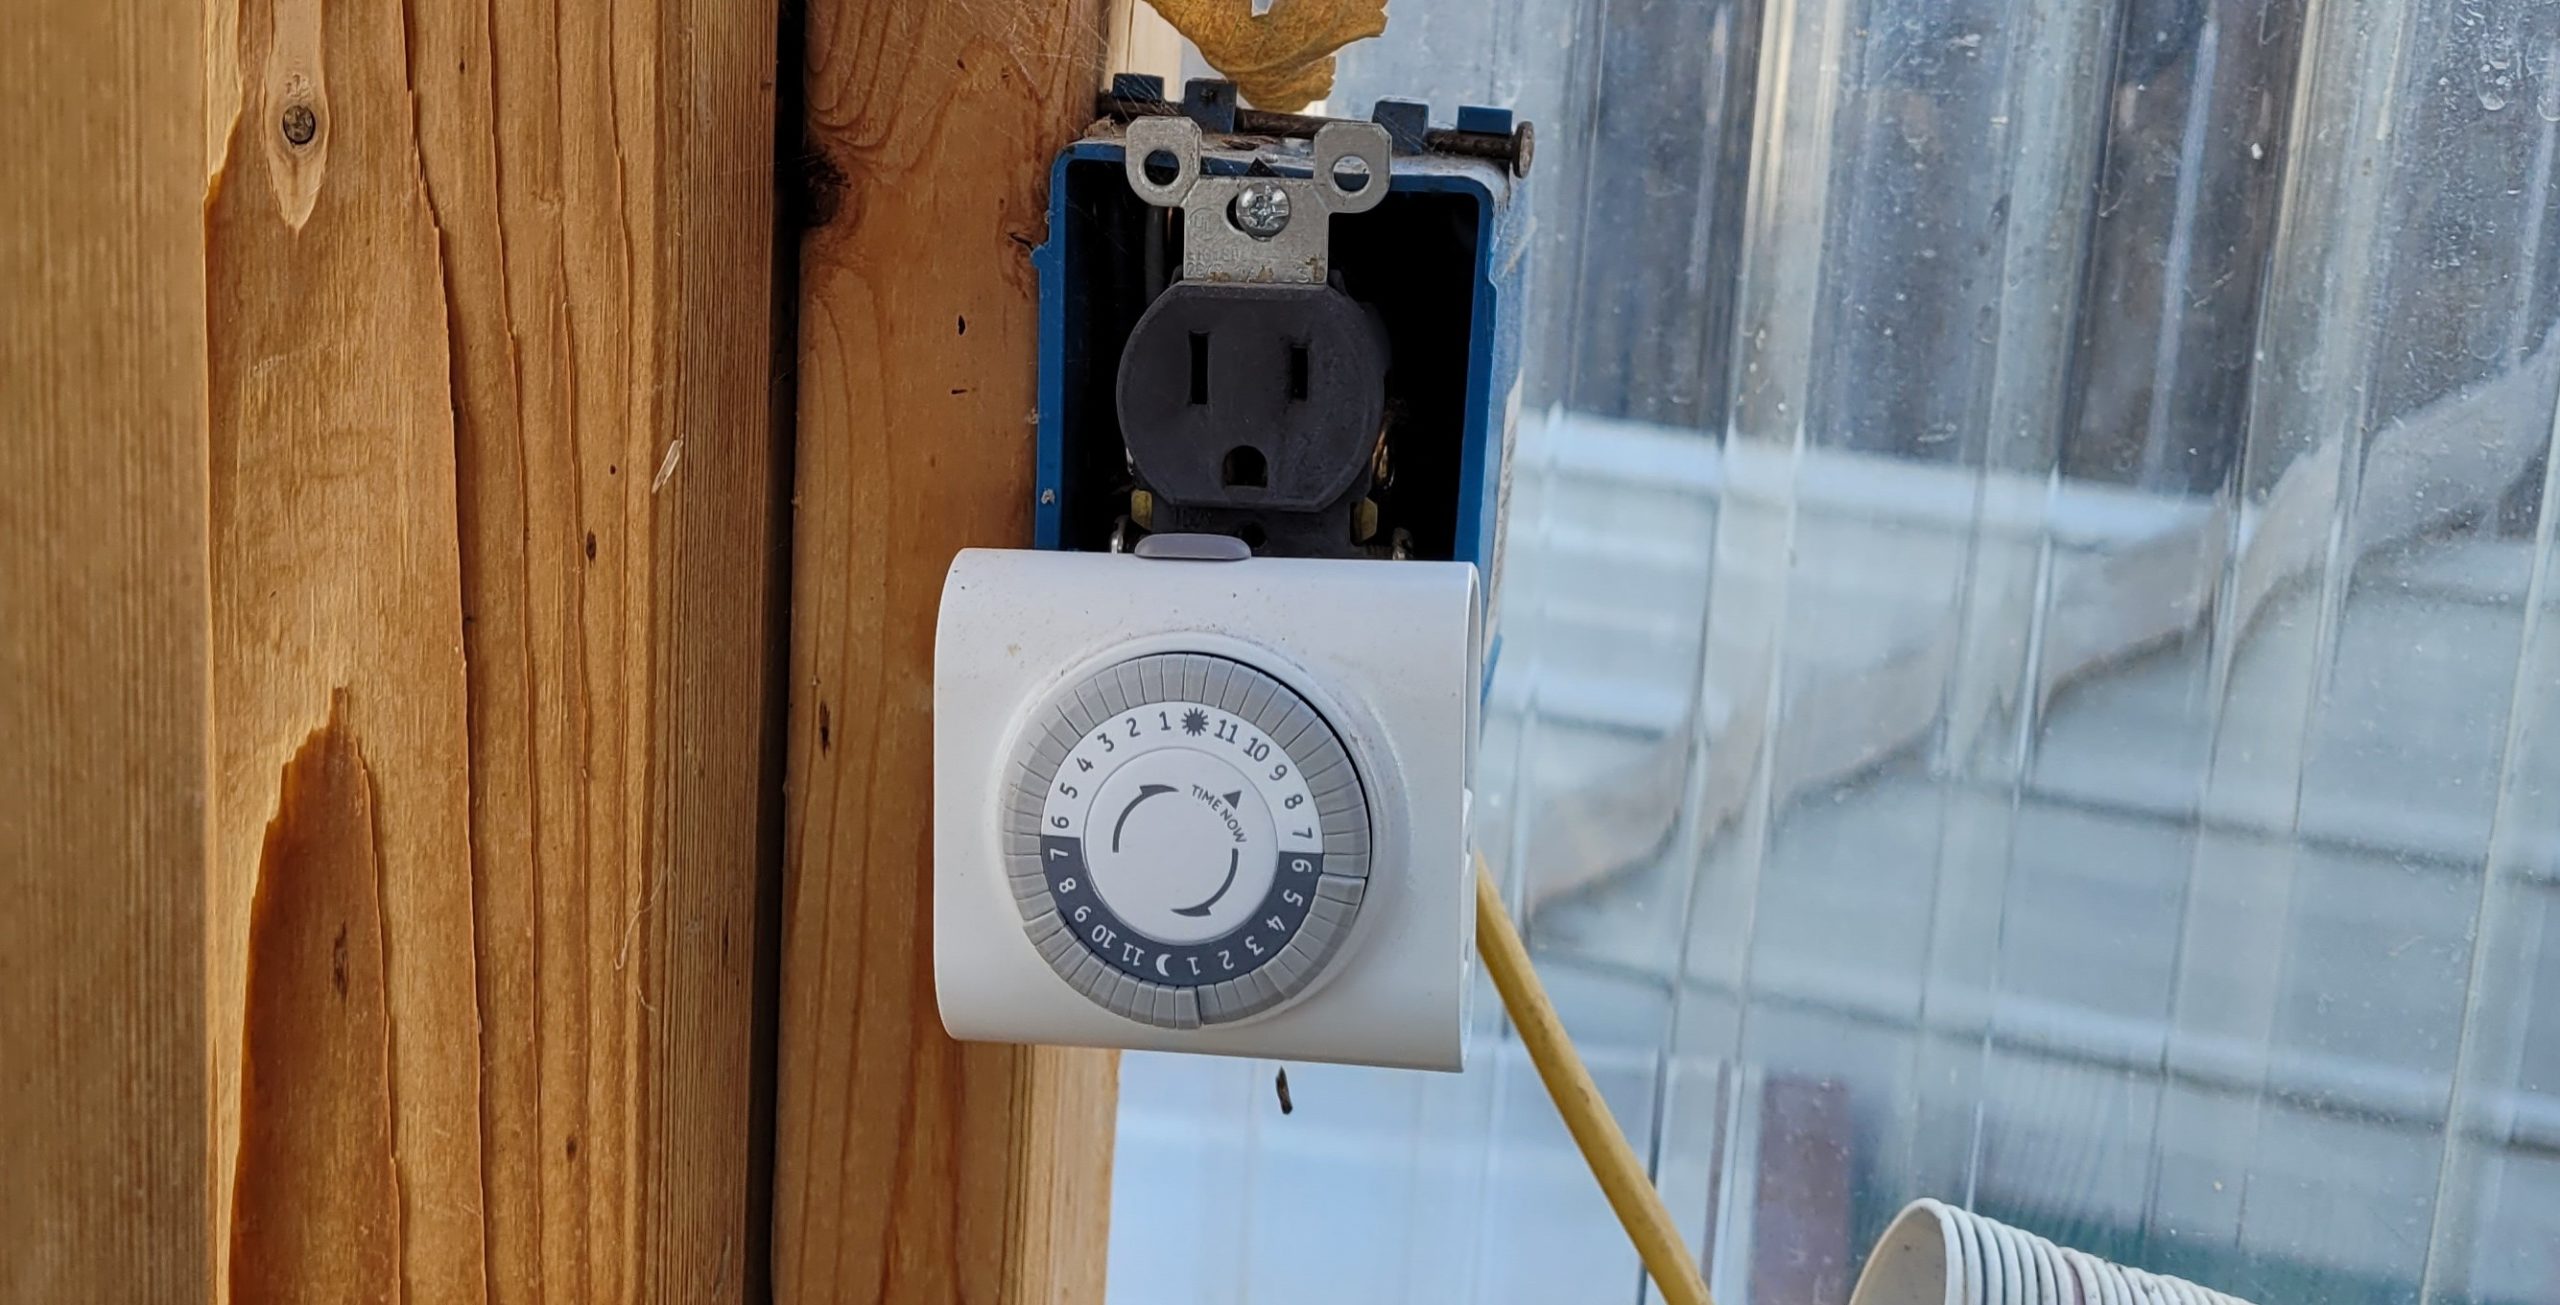
You can turn the lamp on and off manually each day on your plants, but that is a routine destined to fail a few times. A few missed days mimics cloudy weather, but an erratic pattern does a number on seedlings and they won’t grow correctly. An easy solution is a plug-in timer. These are available at hardware stores, garden centers, and in big box stores. Set the dial or punch buttons to start and stop at the specific time you need and forget it. Grow lights don’t draw many amps, so you can use a surge protector connected to the timer for multiple lights.
Water the seeds enough to keep them moist but not to drown them. Soon you’ll have plants popping up from the soil. About two weeks after the plants emerge it’s time to move them to a larger container to prevent root binding.
Fill the larger cup or container about half full of potting soil, carefully shake the plants loose from their starting container, dig a hole in the new cup and place the plant with the dirt attached to the roots inside. Water accordingly, adjust your grow light and proceed a few more weeks with the grow lamp.
Soon They’ll Be Ready To Move Outside
Once the plants are large enough to transplant, you can move the plants to a larger greenhouse, or if the garden climate outside is tolerable, don’t just take them from the trays to the garden. You need to season them first. Seasoning means taking the trays with the plants outside for a few days with increasing outside exposure each successive day, a general rule is to add an hour a day. After about five days, your plants should have been outside for five hours and are ready to take on the world. In a few months, tomatoes, peppers, cabbage, and melons will fill your garden.
