Say Goodbye to Clogs: DIY Techniques for Removing a Stubborn Sink Drain
When it comes to home maintenance and improvements, learning how to remove a sink drain is a skill that can save you both time and money. Whether you’re dealing with a clog, planning to replace an outdated fixture, or simply curious about the inner workings of your home plumbing system, understanding the process can be incredibly empowering. This guide aims to demystify the steps involved in removing a sink drain, ensuring that even those new to DIY projects can approach the task with confidence.
Gathering Your Tools and Preparing the Area
Before diving into the removal process, it’s essential to gather all the necessary tools and prepare the area to ensure a smooth operation. You’ll need a wrench or pliers, a bucket, some old towels or rags, and possibly a plumber’s putty or a similar sealant.

Clearing out the space under the sink is also crucial; this will not only give you better access but will also protect your belongings from any water that might escape during the process. Taking these preparatory steps seriously will make the subsequent stages much more manageable.
Understanding the Anatomy of Your Sink Drain
Before you can successfully remove a sink drain, it’s vital to have a basic understanding of its components. Typically, a sink drain includes the flange, the drain body that extends through the sink, a gasket or washer, and a large locknut that holds everything in place.

Some setups might also have a tailpiece connected to the drain body, leading to the P-trap. Familiarizing yourself with these parts and how they fit together will significantly demystify the process and help you identify what needs to be detached or loosened.
The Step-by-Step Process of Removing the Sink Drain
With your tools in hand and a clear understanding of the task ahead, it’s time to start the actual process of removing the sink drain. The first step involves loosening the locknut that secures the drain trap to the sink. This might require some effort, and the use of a wrench or pliers can be very helpful.
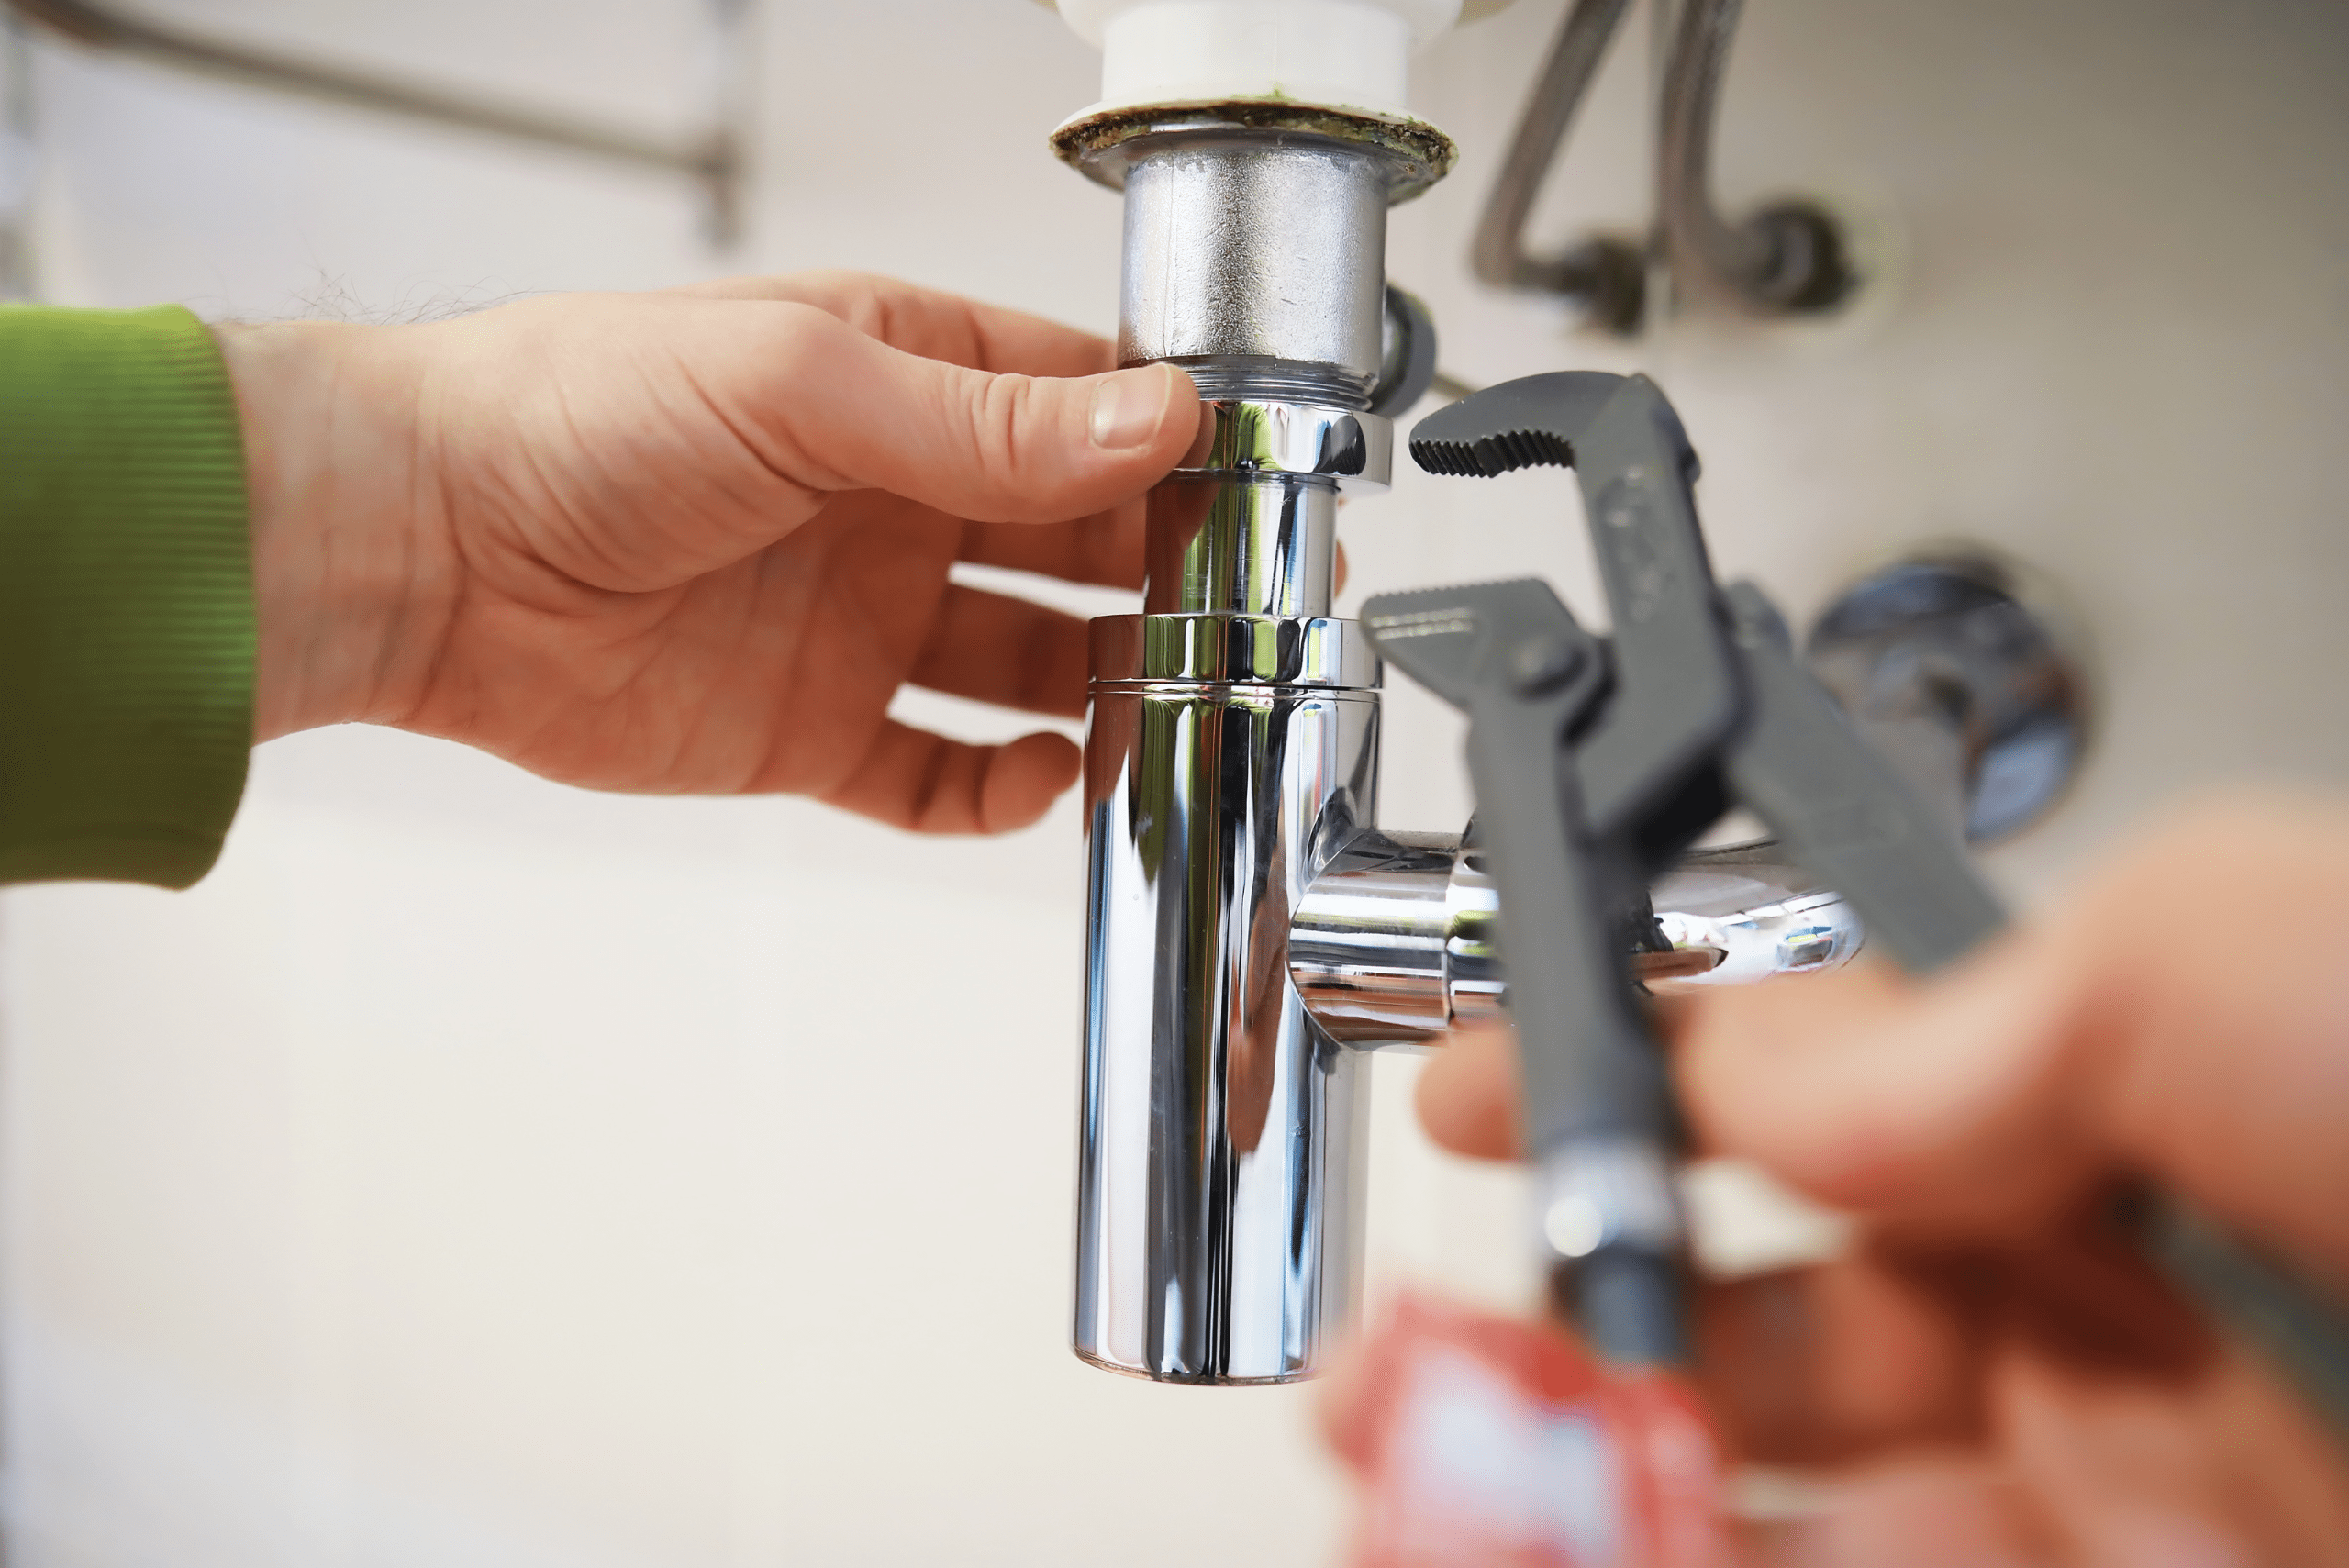
Once the locknut is loose, you can remove the drain body from the sink. It’s important to have a bucket and towels ready at this stage to catch any residual water that might spill out. If your sink has a plumber’s putty seal, you might need to carefully scrape this off to fully free the drain.
Addressing Common Challenges and Ensuring a Clean Finish
Even with a straightforward task like removing a sink drain, you might encounter some challenges. One common issue is dealing with a particularly tight or corroded locknut. In such cases, applying a penetrating oil can help loosen it. If the drain assembly is old, you might also find that parts crumble or break during the process.

Having replacement parts on hand or knowing where to quickly obtain them can save you from being caught off guard. Once the drain is removed, cleaning the area thoroughly will prepare it for whatever comes next, whether it’s installing a new drain or addressing other plumbing concerns.
Removing a sink drain might seem daunting at first, but it’s a task that becomes more straightforward with a little knowledge and preparation. By following the steps outlined above, you can tackle this project with confidence, saving yourself a call to the plumber and gaining a new skill in the process. Remember, the key to successful DIY projects is patience, preparation, and a willingness to learn from each experience.
Ready to start your next project? Join our DIY community to receive tool tips, how-to guides, and exclusive creative insights. Subscribe to the ManMadeDIY newsletter now! Click here to unlock a world of hands-on inspiration.

