Reset an Oil Change Light [Easy Steps for American-Made Vehicles]
Regular oil changes are imperative in prolonging the life of a vehicle. Resetting the oil change light is one of the necessary steps in keeping to the recommended change routine on your particular vehicle.
In the old days, when everyone changed their own oil, it was easy to just write down the mileage on a slip of paper, toss it in the glove compartment and check it periodically. Service centers made it a little easier, and added regularity to oil changes by writing down the next oil change mileage, with the mileage at the time of this change in a clear plastic sleeve, attached with light adhesive just below the driver side sun visor.
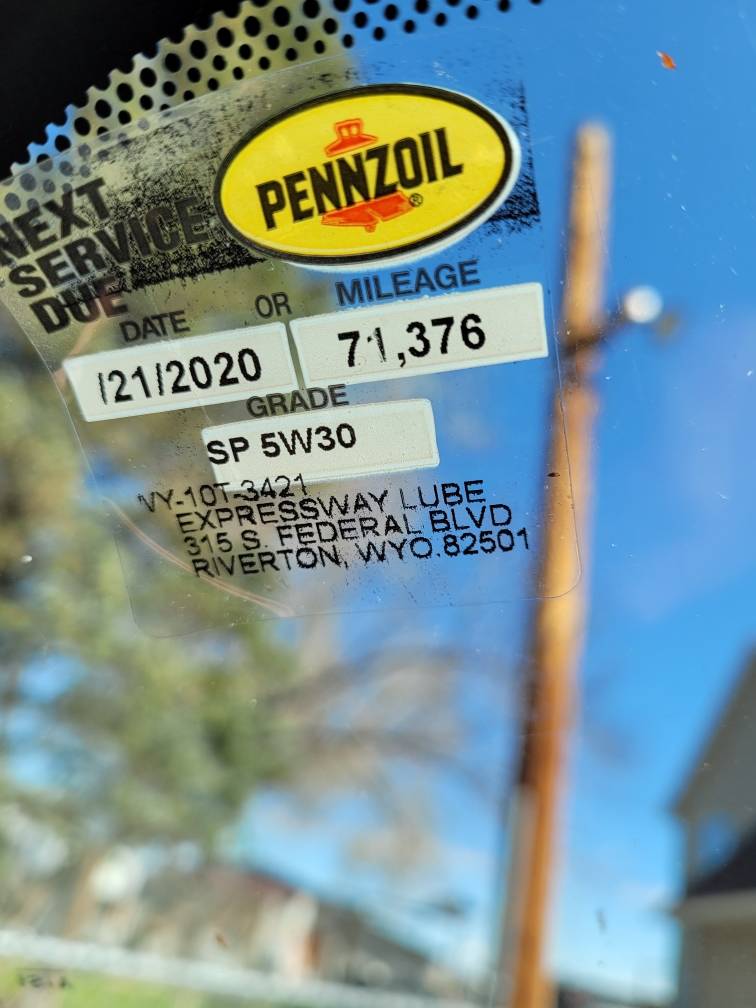
Vehicles began production with oil warning lights in the 1950s. These were just an indicator that your oil level was dangerously low and needed to be checked. General Motors came out with the first oil change light, tied directly to the odometer in 1988. Since then, every major manufacturer has a version of the system unique to their line of vehicles.
Reset an Oil Change Light
We’ll take a look at a few of the major manufacturers and how to reset the oil change sensor after you change the oil yourself. It’s the final step for those DIY advocates.
General Motors:
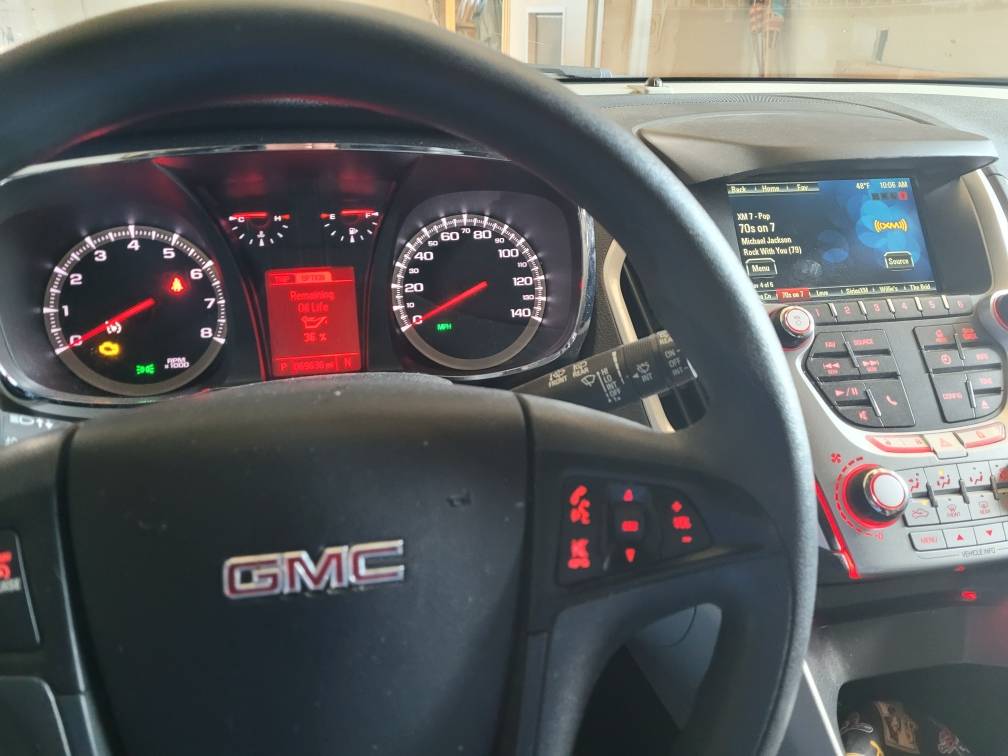
On a pre-2005 GM vehicle, get behind the wheel, close the door, turn the ignition on to the accessory power position, wait for the lights to be displayed, then push the accelerator to the floor three times within five seconds of turning the key. The oil light should flash, indicating the counter has been reset.
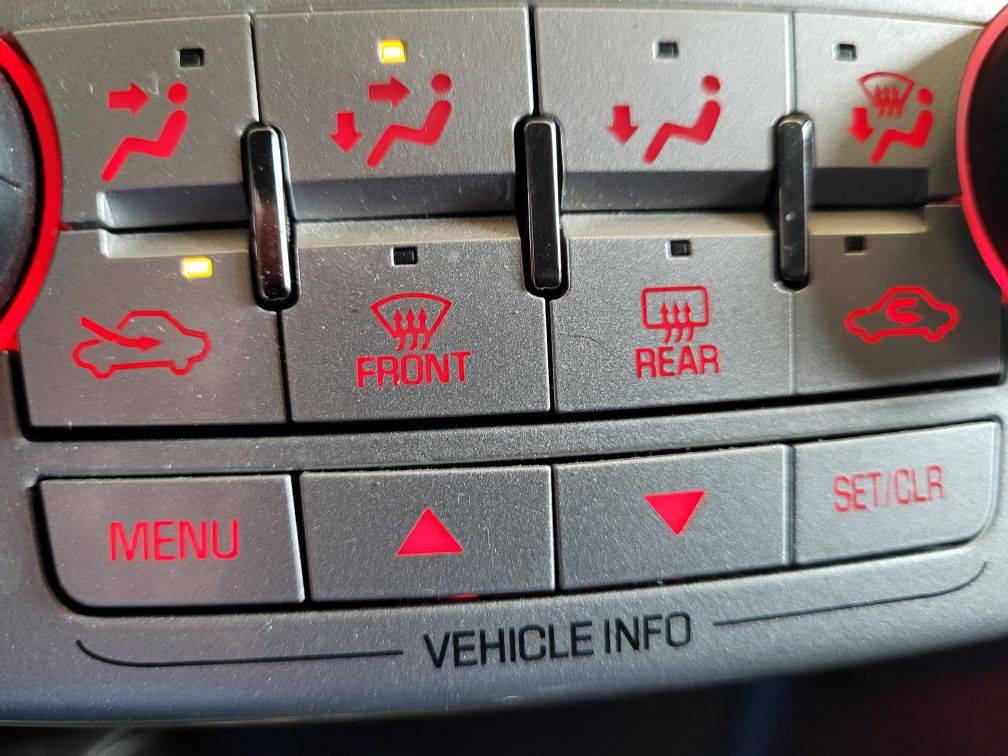
On a 2006 or newer GM use this procedure, but note, some vehicles have slightly different button locations to push to reset.
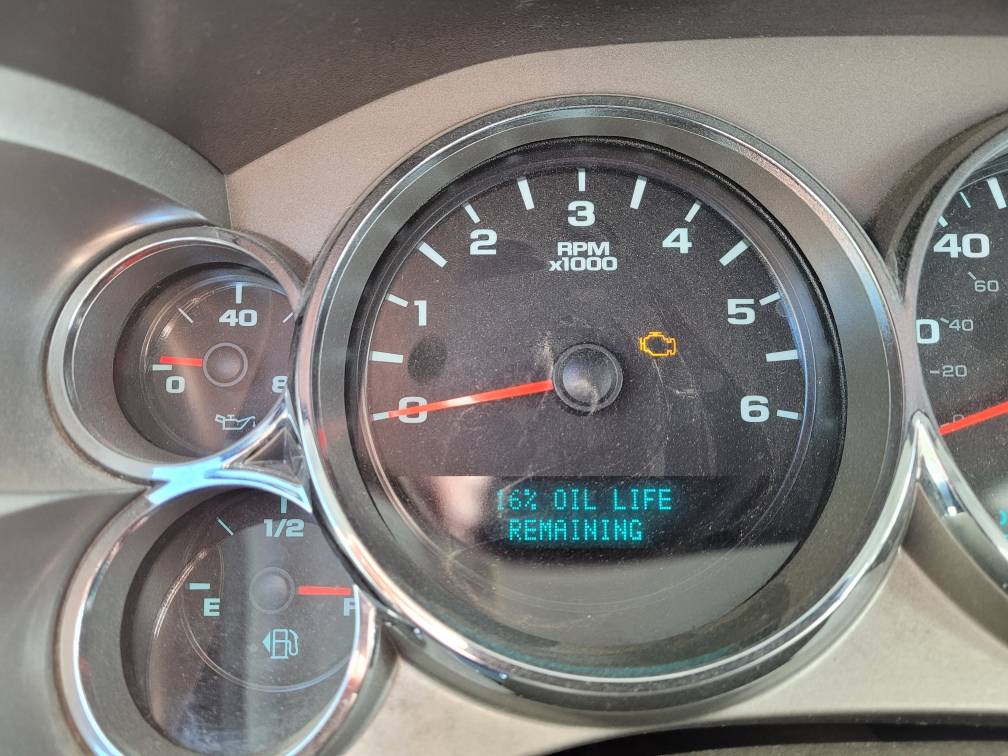
Sit behind the wheel, with all the doors closed, turn the key to the accessory power position. Scroll through the option on the Driver Information Center (DIC) until you find the oil life message then push the enter button on the DIC for one second, and release it. The DIC will display a reset message.
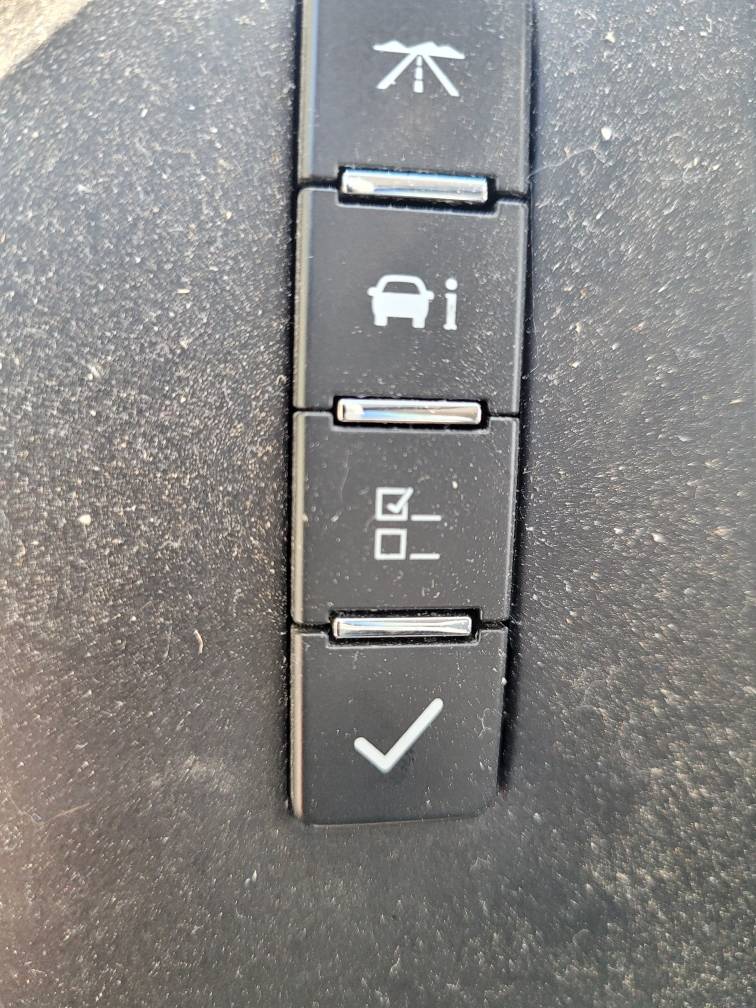
Ford:
Depending on whether you’re in a Ford passenger vehicle, SUV, or F-series pickup, the reset button for the oil change sensor can be on the column display, above the rearview mirror, or on the console.
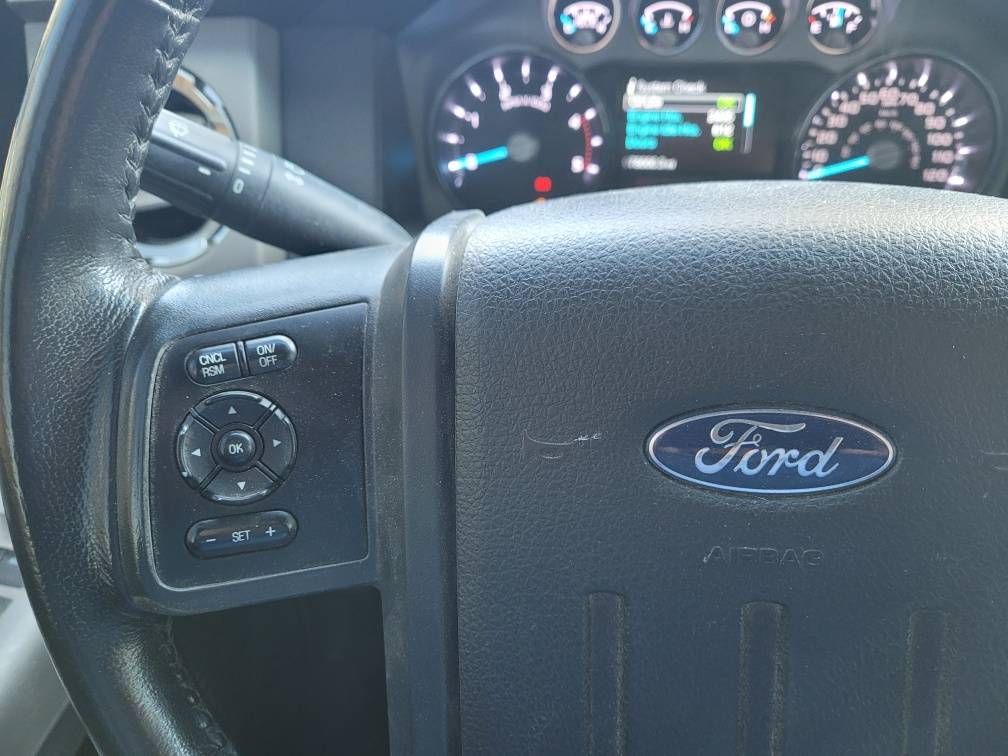
When the display reads “Oil Change Required,” change your oil and filter. After completing the work, reset the display by sitting inside with the vehicle in park, or first gear, set the parking brake, close the doors and turn the key on, but don’t start the engine.
Scroll through the options for mileage, trip length, tire pressure, etc.. until you find the oil change message. Locate the reset button, press it for one second and the display will read “Oil Light Set to 100%”
Chrysler/Dodge
Chrsyler’s methods of resetting an oil change light vary greatly by make. If you’re doing it yourself, the odds are you own a Dodge truck. It’s not always true, but truck owners often do more of their own repairs, than car or SUV owners do.
On a Dodge Ram there are two options:
- Turn the key on, or if you have a push-button start, press the start button once, but don’t start the engine. Push the accelerator pedal three times all the way to the floor, in less than 10 seconds. Turn the ignition off, and the light will disappear, resetting the indicator.
- The second option is the same as the first step above but requires you to use the up/down arrows to find “Vehicle Info” options on the display. Locate the “Oil Life” option, press the right arrow for a few seconds until the reset option comes on. Press the up arrow to verify and the display has been reset.
Imported Vehicles:
Imported vehicles have their own unique methods of resetting the oil change messaging system. We suggest calling up the dealership or local body shop and they’ll know the exact way to reset that light for you.

