How to Remove Roof Shingles Quickly and Safely
Roofing is one of the most physically demanding trades in the construction industry. Working in the hot sun, with no shade on an angled roof that can seem nearly vertical at times, is a challenge.
The reward lies in a job that allows you to see what you’ve accomplished and that, in comparison with other construction fields such as finish carpentry, involves a quick flurry of action.
Types of Roof Shingles and How They Are Mounted
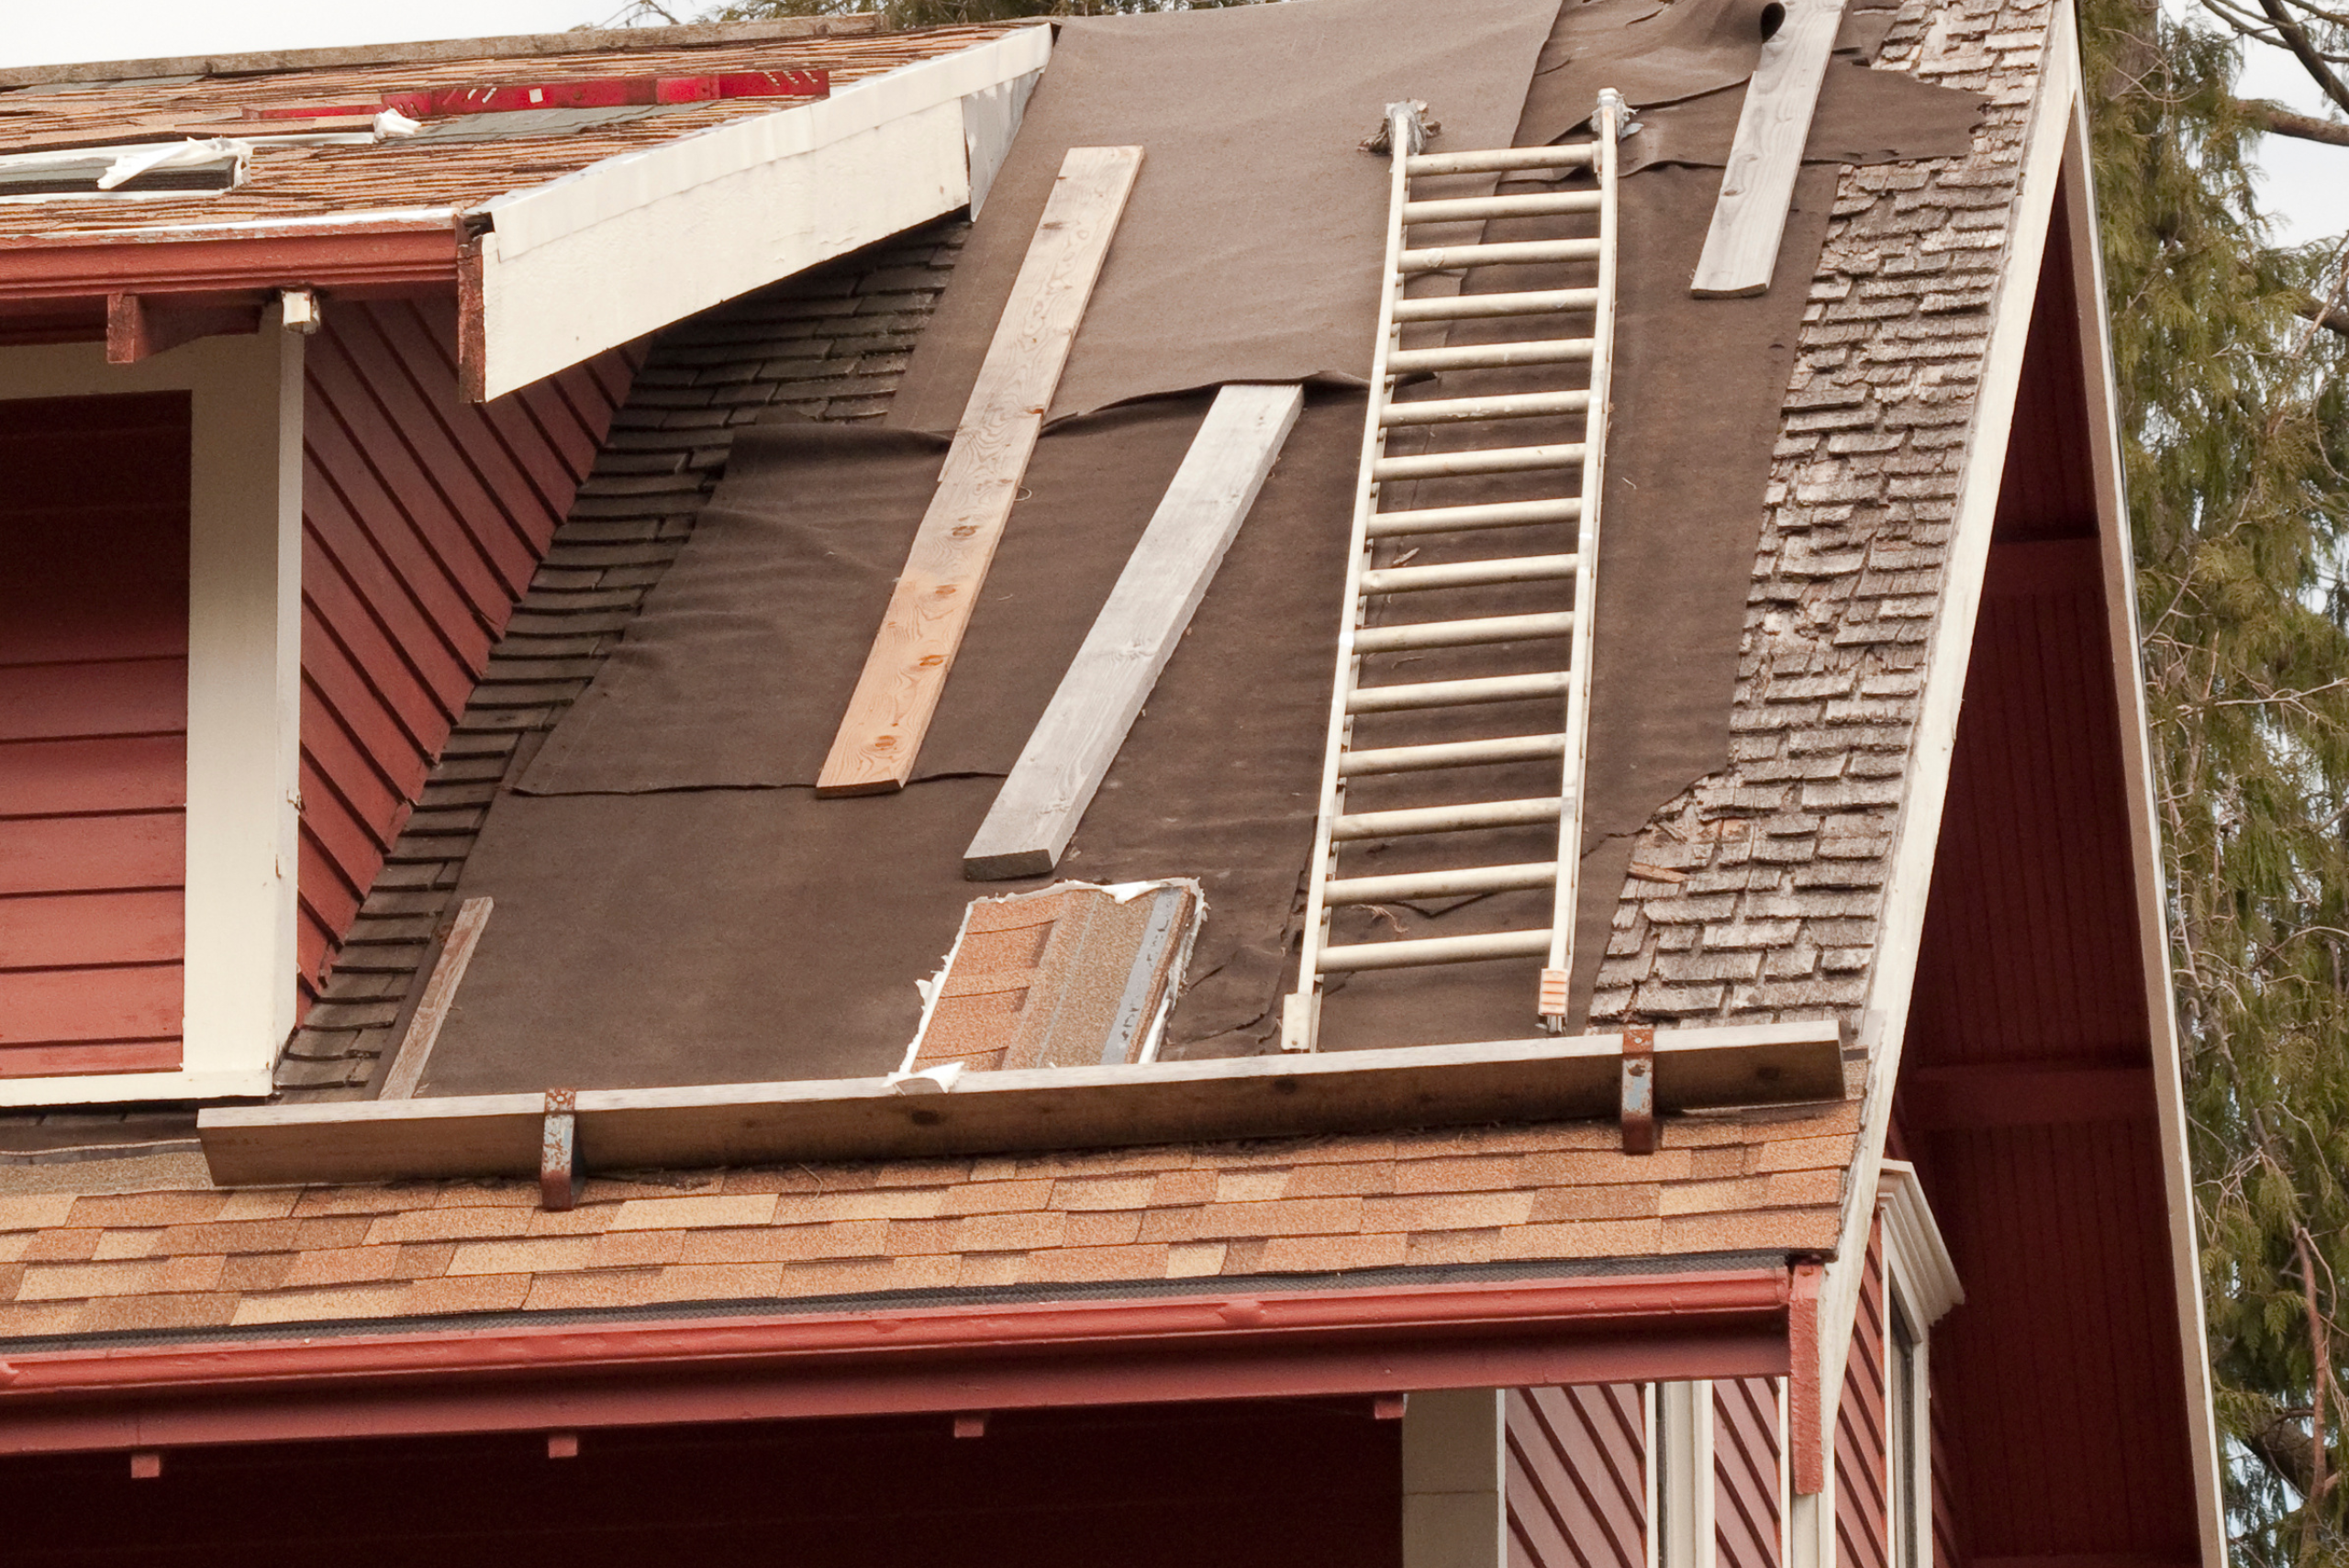
Shingles were once available in a variety of styles but are now limited to the “3-tab” glue-on variety.
“T-lock” shingles were once the industry standard. They held their integrity longer than 3-tab shingles or wooden shakes, but they cost more to install since roofers had to place, slide, and lock each one into place. Insurance companies didn’t like this; it cost them more to pay for a damaged roof with t-locks than it did with 3-tabs, so the t-lock was gradually driven out of the market.
They’re not available as they once were, but they’re what you often find when it comes to removing shingles from an existing roof.
It is allowable to overlay one layer of shingles with a second layer, but any additional layers add too much weight to the supporting trusses or rafters underneath the roof and can create disastrous collapsed roofs when heavy snow or high winds push on the roof.
Start Early in the Morning
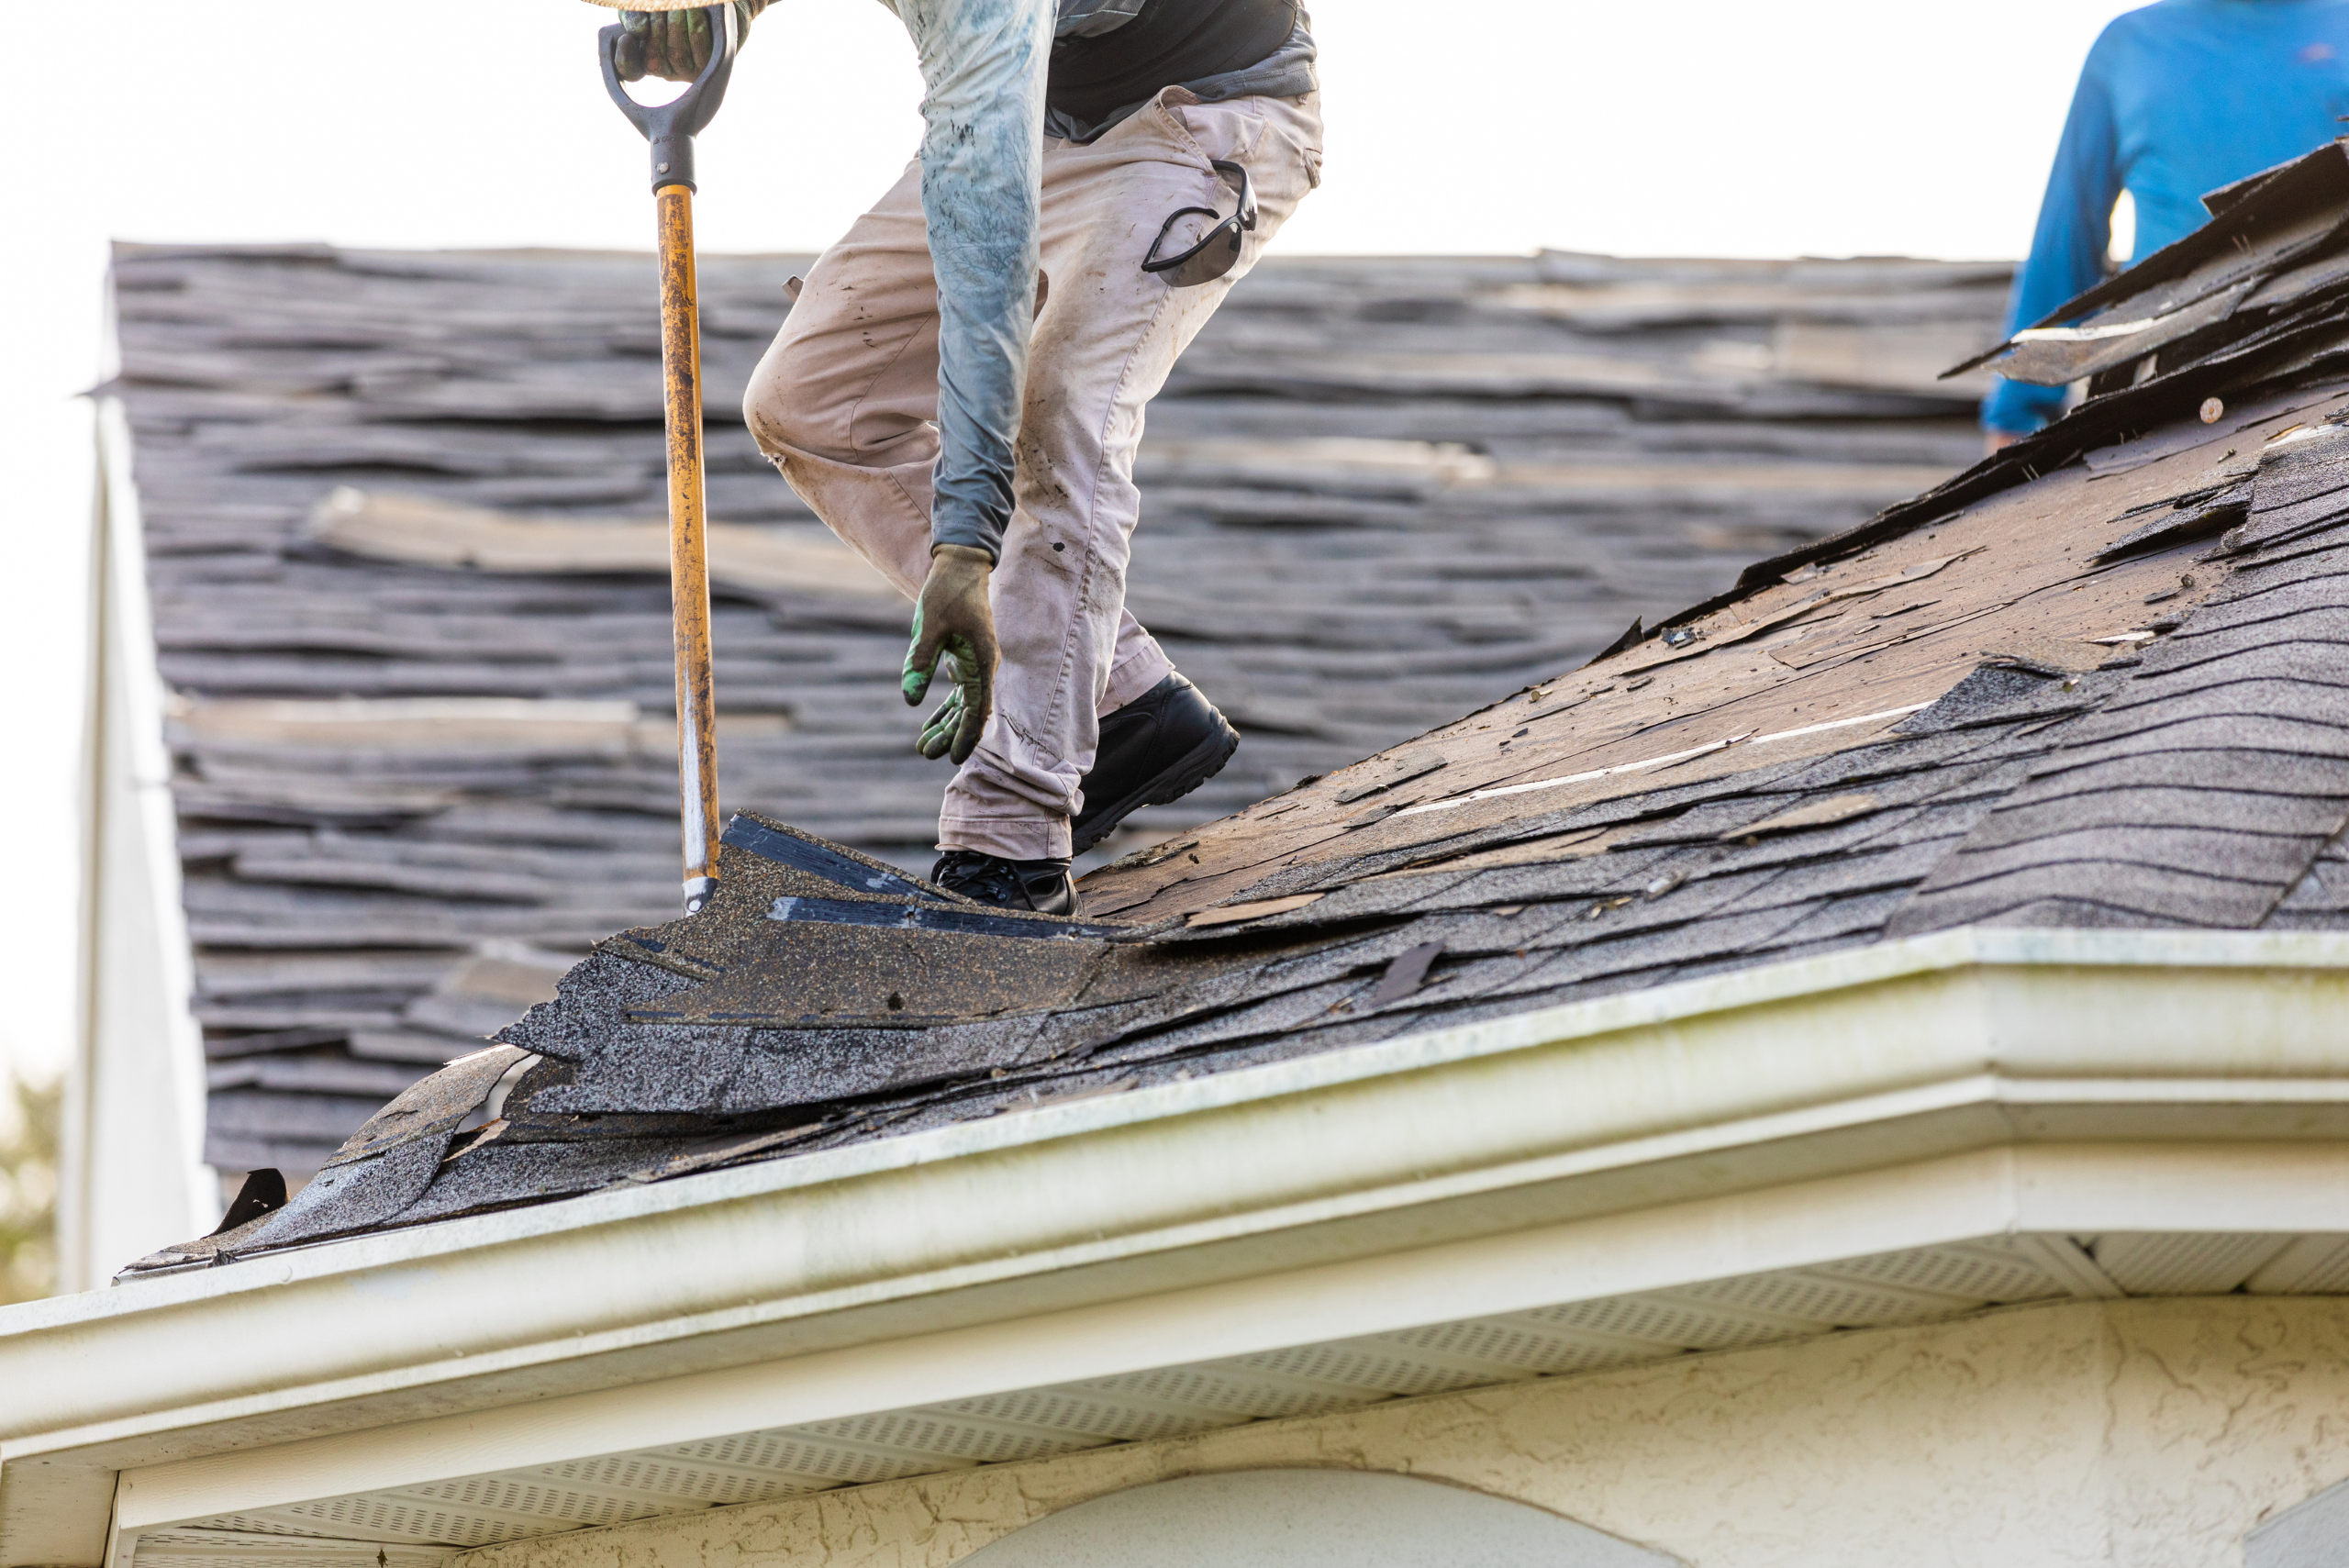
Removing existing shingles has to be done prior to laying down a metal roof or when two layers of asphalt shingles are already in place.
Ripping shingles off a roof is a challenging process, but if done correctly in the proper sequence, it can be very quick work.
Weather, temperature, and time of day are your friends in any roofing job.
The best time to rip shingles off a roof is the early morning. Shingles adhere to each other stronger when it’s cold than when the roof is hot after hours of sun exposure.
Setup a Dumpster or Trailer
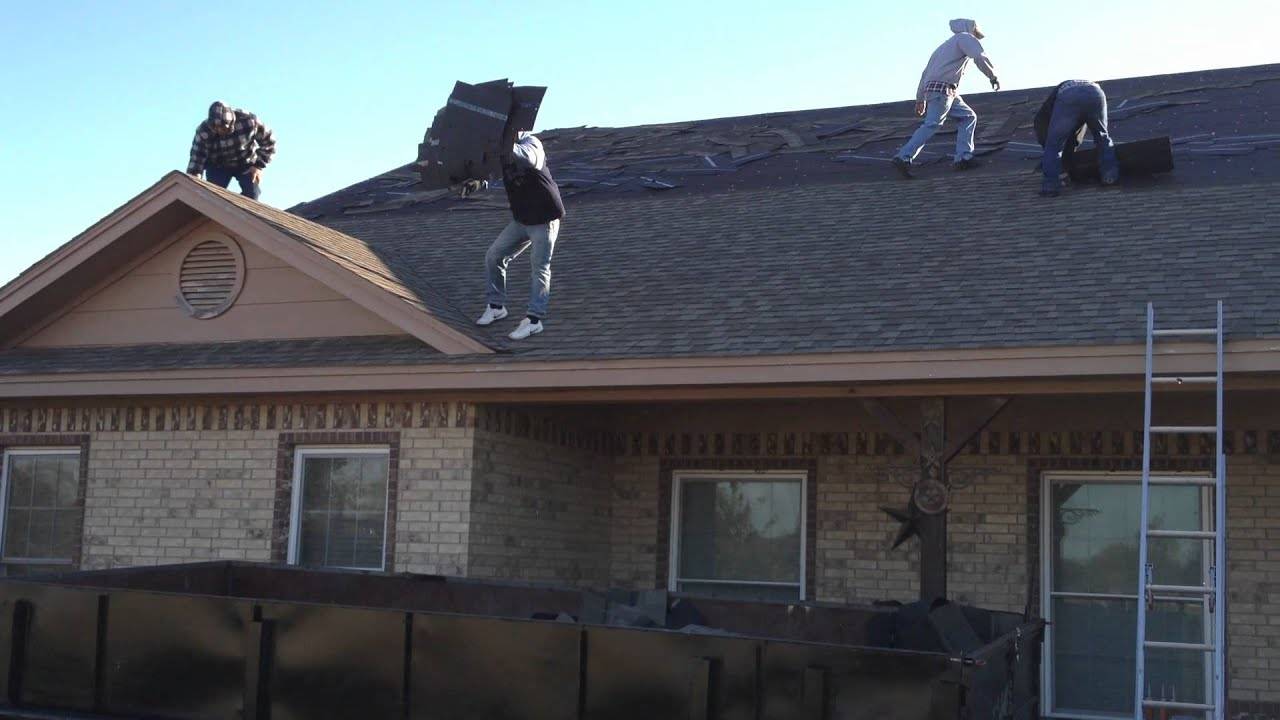
Set a dumpster, dump trailer, or dump truck parallel to the bottom of the roof. Lay heavy tarps over all the plants and shrubs below. Take full sheets of ½ inch plywood and lean them over the windows with the plywood placed above the top of the window. If a stray shingle falls, it will hit the plywood and slide to the ground, avoiding the window.
With this ground prep completed, you’re ready to tear off shingles.
Tearing big sections of shingles at once is much more efficient than removing them one by one.
Start at the peak of the roof. Removing shingles should be done in reverse order of laying them down.
Remove Shingles in Layers from Top First
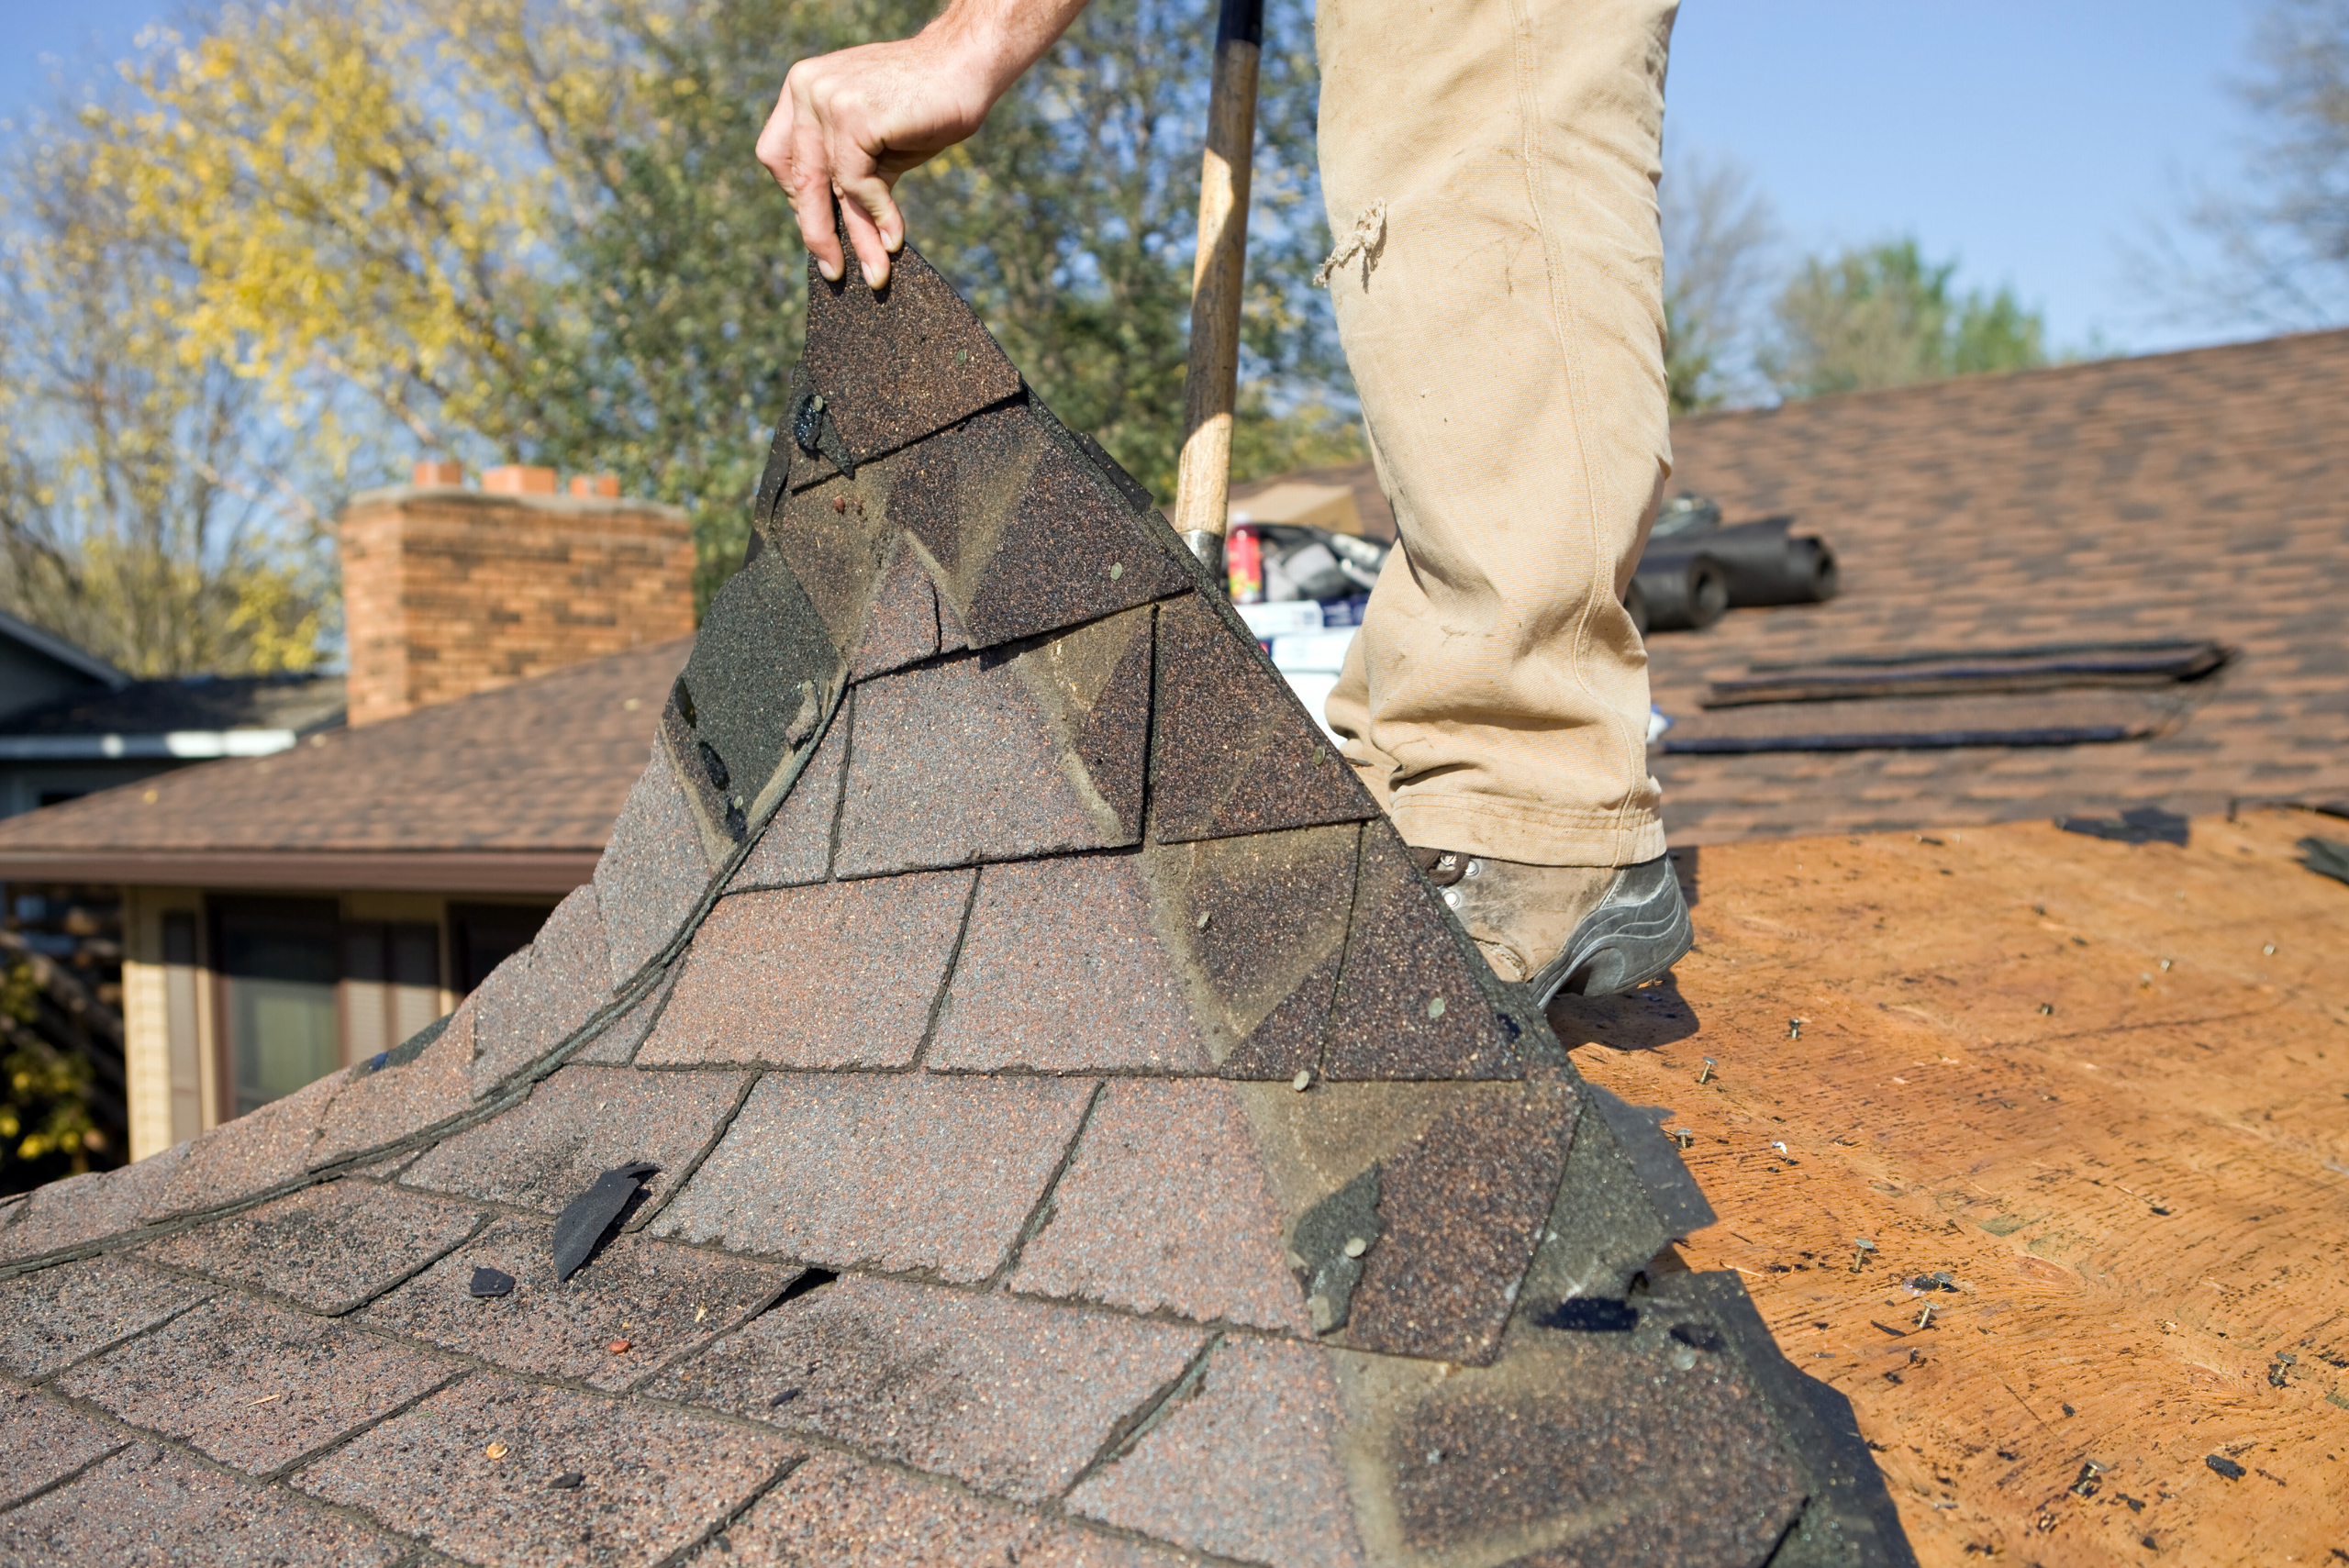
Remove the cap shingles with a claw hammer or crowfoot bar to expose the top row of shingles. Remove all the vent covers and other metal from the roof surface.
A square shovel is the best tool for this job, but you can purchase custom shovels with grooves designed to pull nails that work great as well.
Start at one end and pry up a shingle corner so you’re able to get the shovel under it. Push down on the handle to pry the shingle up. As you get a few shingles off the roof, you’ll be able to slide the shovel harder in a motion similar to chipping ice. With a little practice, you’ll have bigger sections coming up at once. If you get one section loose, move a few feet sideways and try to get a three-foot or wider section going at the same time.
If you can get larger sections moving, they can act like rolling up a carpet and pulling nails as you go. Don’t worry about any remaining nails; just get the shingles sliding towards the dumpster waiting below.
Remove Shingles from All Roof Sides
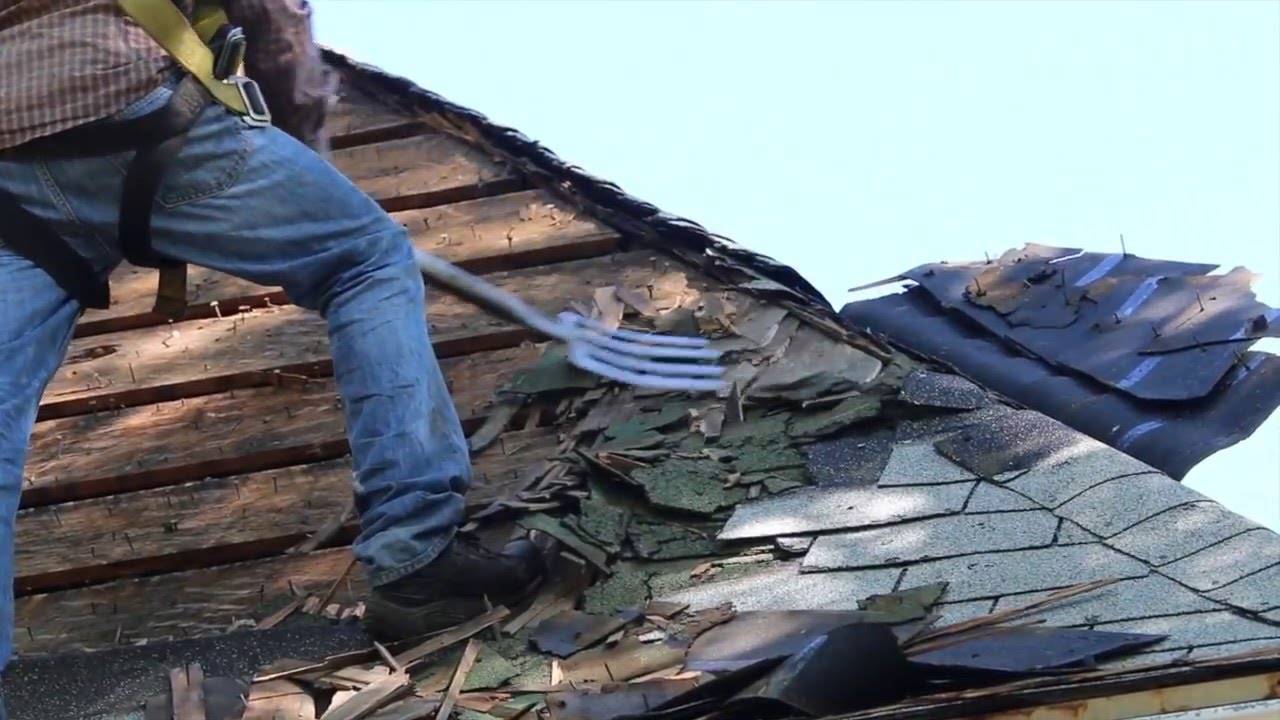
The removal will often leave the advancing exposed wood on the roof at a diagonal as you work across; that’s how it should look.
Keep prying, pushing, and lifting until all the shingles are removed from one side of the roof. Check the metal edges and the valley tin as you proceed. If they’re undamaged, you can use them again. If they show signs of wear or are perforated, they’ll need to be pulled up, too. The best tool is a straight claw hammer and a crowfoot pry bar for this work.
When you’re finished with one side, move to the other side of the roof.
Ideally, you’ll be able to move the dumpster to that side as well, but if you can’t. You’ll have to grab piles of loosened shingles and throw them over the peak to be slid down to the dumpster on the other side.
Pull Remaining Nails and Prepare the Roof for New Shingles
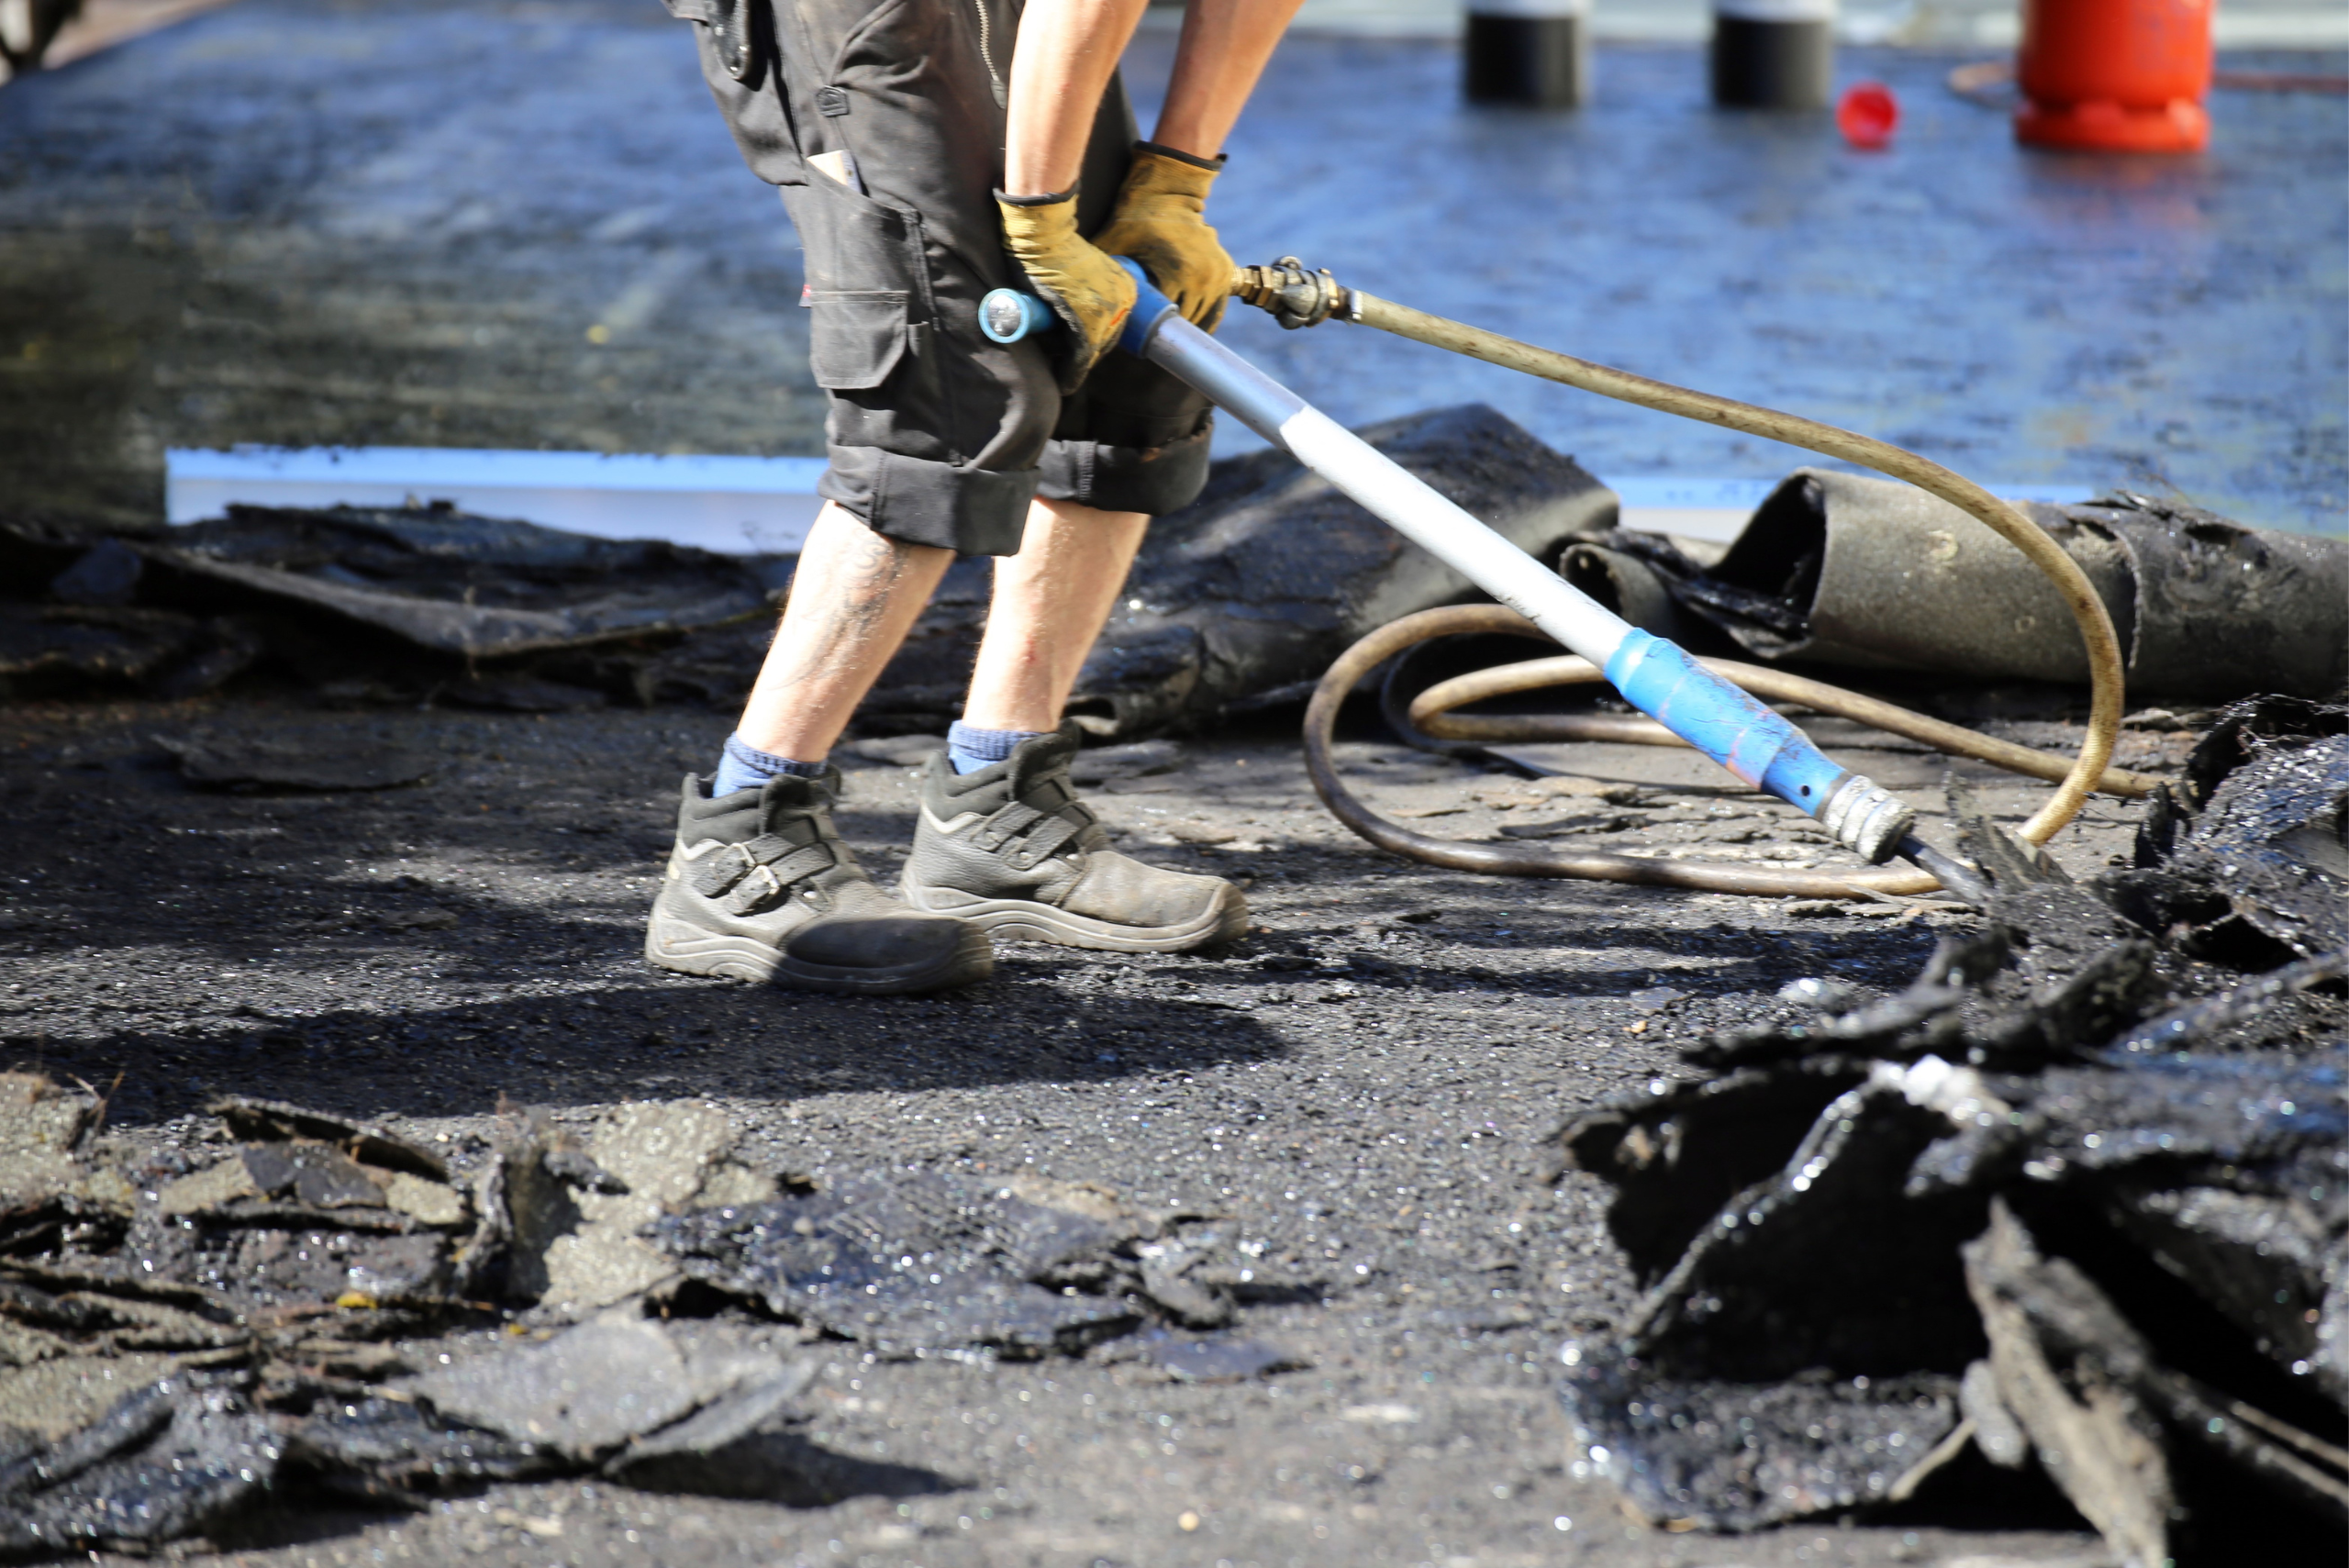
The final step is to pull any remaining nails. Walk across the roof in different directions, left to right, angled, and up and down. As you see a nail, pull it with your claw hammer and throw it in the dumpster. It’s often easier to wear a carpenter’s apron and put the pulled nails in a pouch as you walk across the roof.
If any wood is damaged, you’ll need to repair it, but your old roof is gone, and the new one is about to arrive.

