Paint Won’t Stick? Here’s What’s Really Going On (And How To Fix It)
You prep, you roll, you wait, and then it happens. Peeling, bubbling, cracking. It’s frustrating when you’ve put in a ton of effort only to have your paint job rebel against you. But most of the time, the problem isn’t the paint. It’s what’s underneath, or how the paint was applied. Thankfully, you can usually fix peeling paint, and we’ll give you the tips you need to avoid it altogether next time. Here’s what’s really going on behind those stubborn paint problems.
You Painted a Dirty Surface
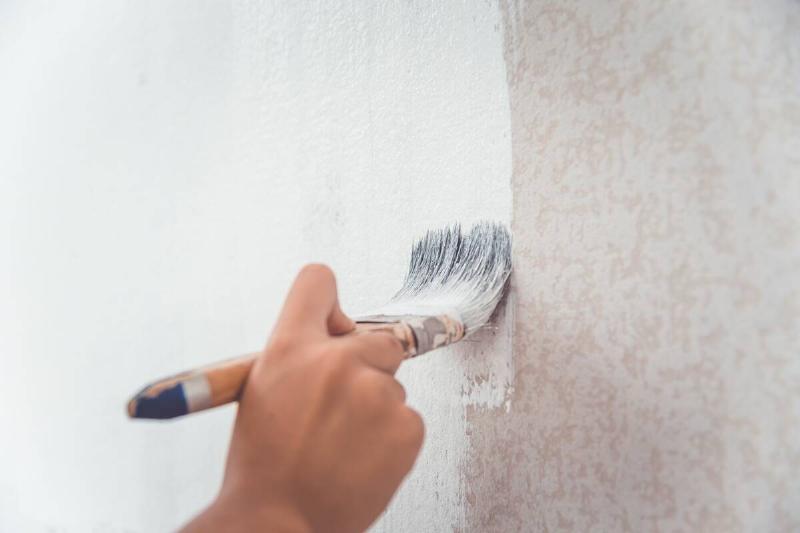
Even if a surface looks clean, paint shows what your eyes missed. Dust, grease, and even a bit of pollen can keep paint from sticking like it should. This happens a lot in kitchens, bathrooms, or outdoor areas where a quick wipe with a damp rag isn’t enough to get rid of the grime. Use a degreaser or a TSP substitute to really clean the surface before painting. It’s an extra step, but it makes a huge difference in how long your paint job will hold up.
There’s Moisture Hiding Beneath
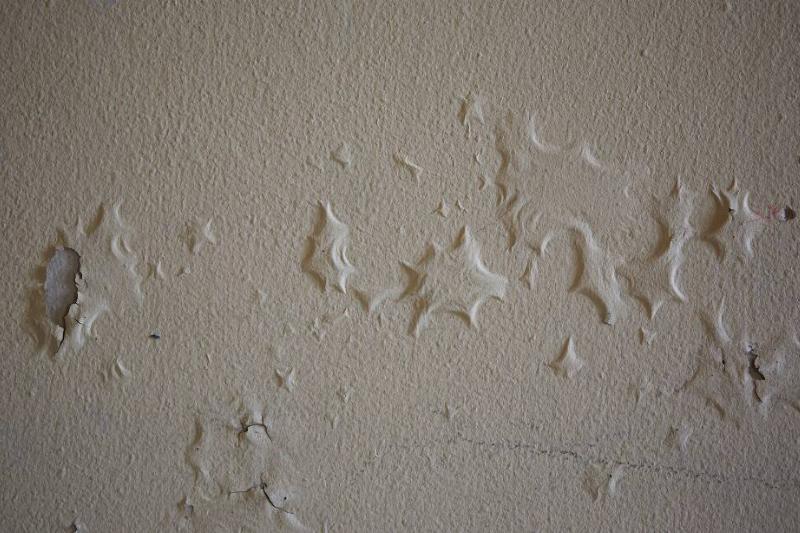
Moisture is sneaky. It can be hiding in walls, wood, or even masonry without showing any obvious signs. If paint is bubbling or peeling shortly after you’ve applied it, trapped water might be the culprit. This is especially common in bathrooms or basements. A moisture meter can help spot the issue, but if you don’t have one and you aren’t sure, wait. Make sure surfaces are bone-dry, and consider using a primer made for moisture-prone areas before painting.
The Old Paint Wasn't Prepped Right
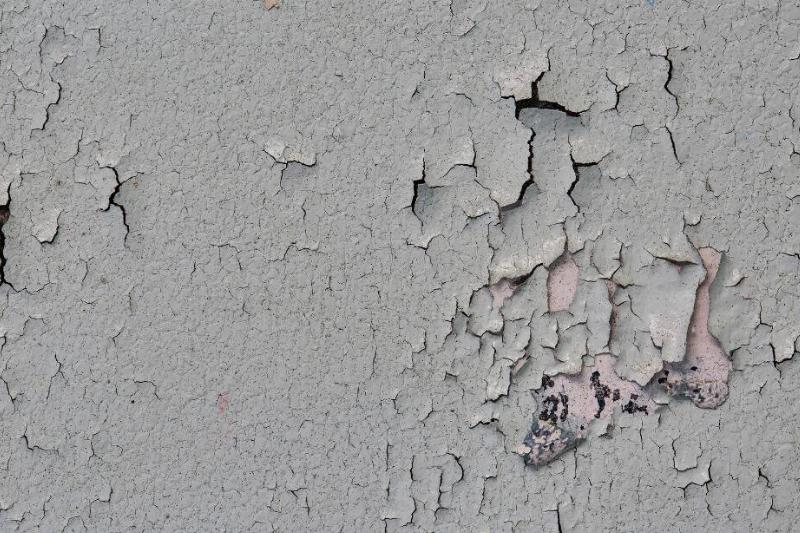
If you’re painting over existing paint and it’s already flaking, your new layer won’t stand a chance. You need to sand or scrape away any loose, peeling areas first. Painting over a mess just traps the problem underneath and the same thing will happen to your new layer of paint. A simple sanding sponge can go a long way here, and using a bonding primer after prepping the surface can help your new paint grip on much better. Don’t skip the prep, even if the wall looks good enough.
You Used the Wrong Paint for the Job
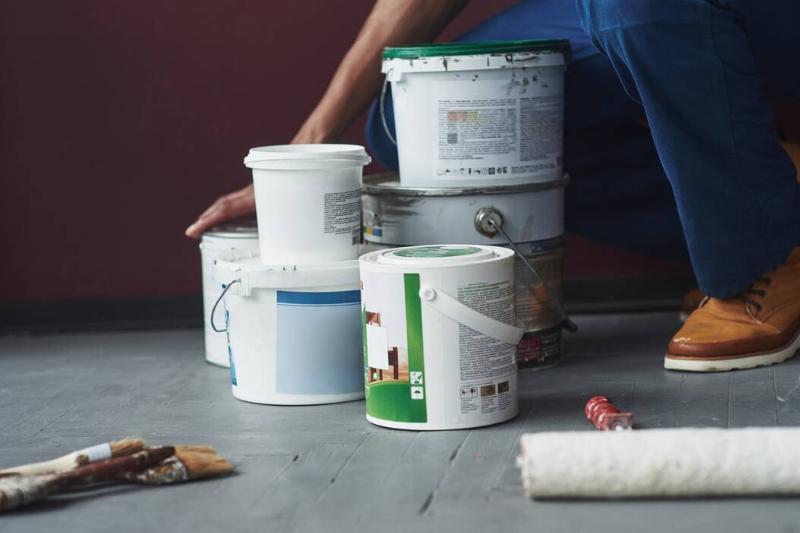
Paints are not all created equal. There’s interior vs. exterior, flat vs. gloss, oil-based vs. latex, and they don’t always play nicely together. If you’re painting over oil-based paint with latex without sanding or priming, it may just peel right off. If you’re using interior paint outdoors, it might not hold up to the weather. Always check the label, and when in doubt, ask at the hardware store. They’ve usually seen every mistake in the book.
Temperature Wasn't On Your Side
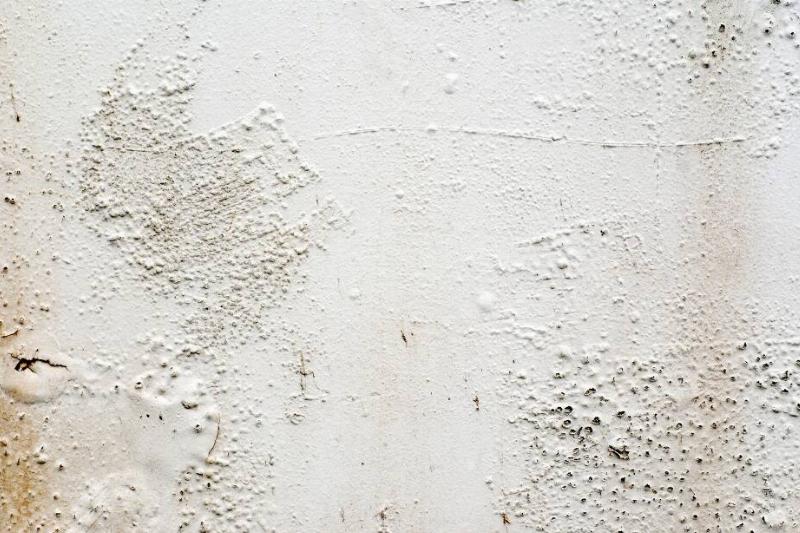
Paint doesn’t like extreme temperatures, hot or cold. If you’re painting in direct sun, the surface might be too hot, causing the paint to dry unevenly or blister. Too cold, and the paint can get thick and clumpy or not cure properly. Always check the label on the paint can for the ideal temperature range. And if you’re painting outside, try to paint in the early morning or late afternoon for the best conditions.
You Skipped the Primer (Or Used the Wrong One)
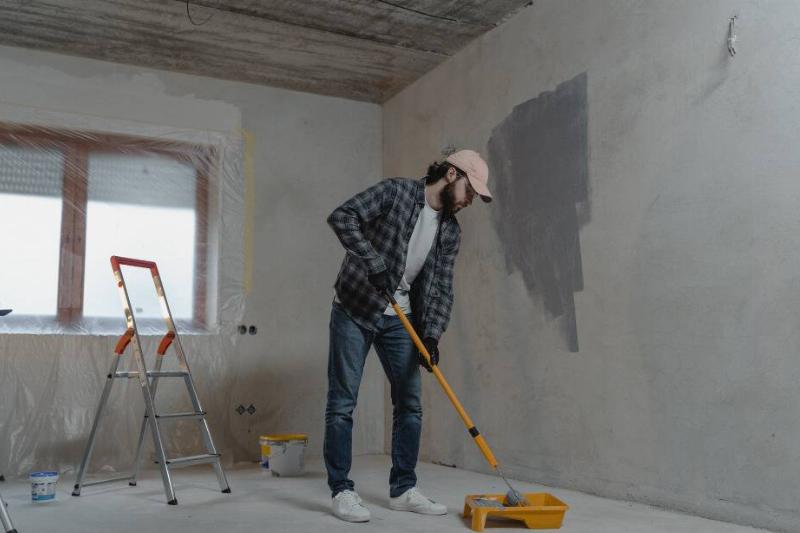
Primer might feel like an optional step, especially when the paint says “paint and primer in one,” but it's often very essential. Glossy surfaces, raw wood, or previously unpainted drywall all need a primer to help the paint stick properly. If you’ve got stains or discoloration, a stain-blocking primer is also worth the extra cost. It gives your topcoat something to grab onto, and keeps old marks from showing through once everything dries.
There’s an Oil Problem You Can’t See
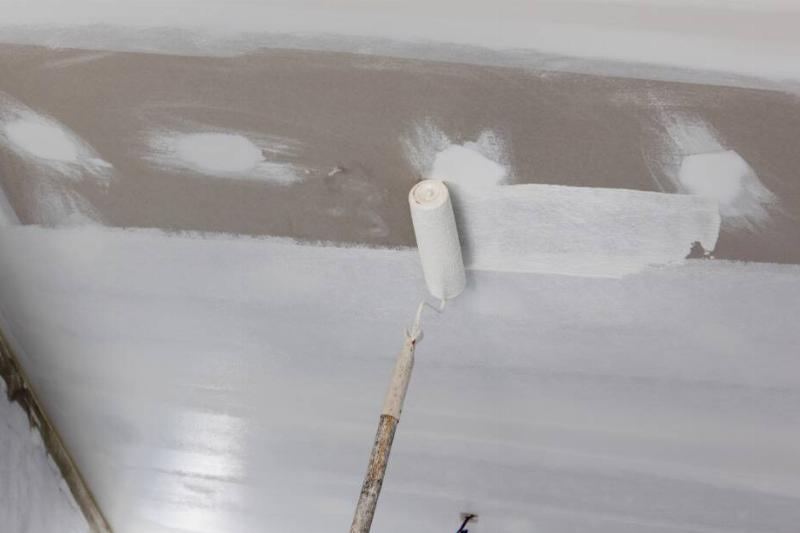
Oil from hands, cooking, or even certain woods can mess with how paint sticks. Doors, cabinets, and trim are big culprits of this. The surface might look clean, but those invisible oils stop paint in its tracks. Wipe down surfaces with a degreasing cleaner, and do a light sand to give the paint something to grip onto. When in doubt, go back to basics: clean, dry, dull, and dust-free is always the goal for your surface before you start painting.
Related Articles
- Expert Painting Tips To Improve Any Paint Job
- Does 2-in-1 Combined Paint + Primer Really Work?
- Tips For Painting Trim Perfectly Every Time
When paint won’t stick, it feels like the whole project is falling apart. But it’s usually not a lost cause. A little bit of detective work and the right prep can save you from having to do the whole thing over again next month. So if you’ve had paint troubles in the past, don’t beat yourself up over it. It happens to the best of us. Just try one or two of these fixes, and your next paint job will go a lot smoother.


