How to: Build an Outdoor Sofa
For the last couple of years, we had two ugly rocking chairs on our patio that I never really liked. They were a little awkward to get into, the fabric was hideous, and they took up way too much space when they were reclined. So, when my wife asked me to build an outdoor sofa for our patio, I didn’t have any hesitation to say “yes”!
To figure out what style of seating we wanted, I searched “outdoor sofa” on Pinterest to get some inspiration and figure out a basic design. Once that was decided, I tasked my wife with finding the outdoor sofa cushions. I wanted to find the cushions first and then build the couch based on the dimensions of the cushion instead of the other way around.
We turned to Ikea for our cushions because they have oversized cushions for a reasonable price. We didn’t realize until after the fact that the cushions had such terrible reviews; however, our patio is covered so they cushions won’t get wet. We haven’t had any issues with the cushions yet.
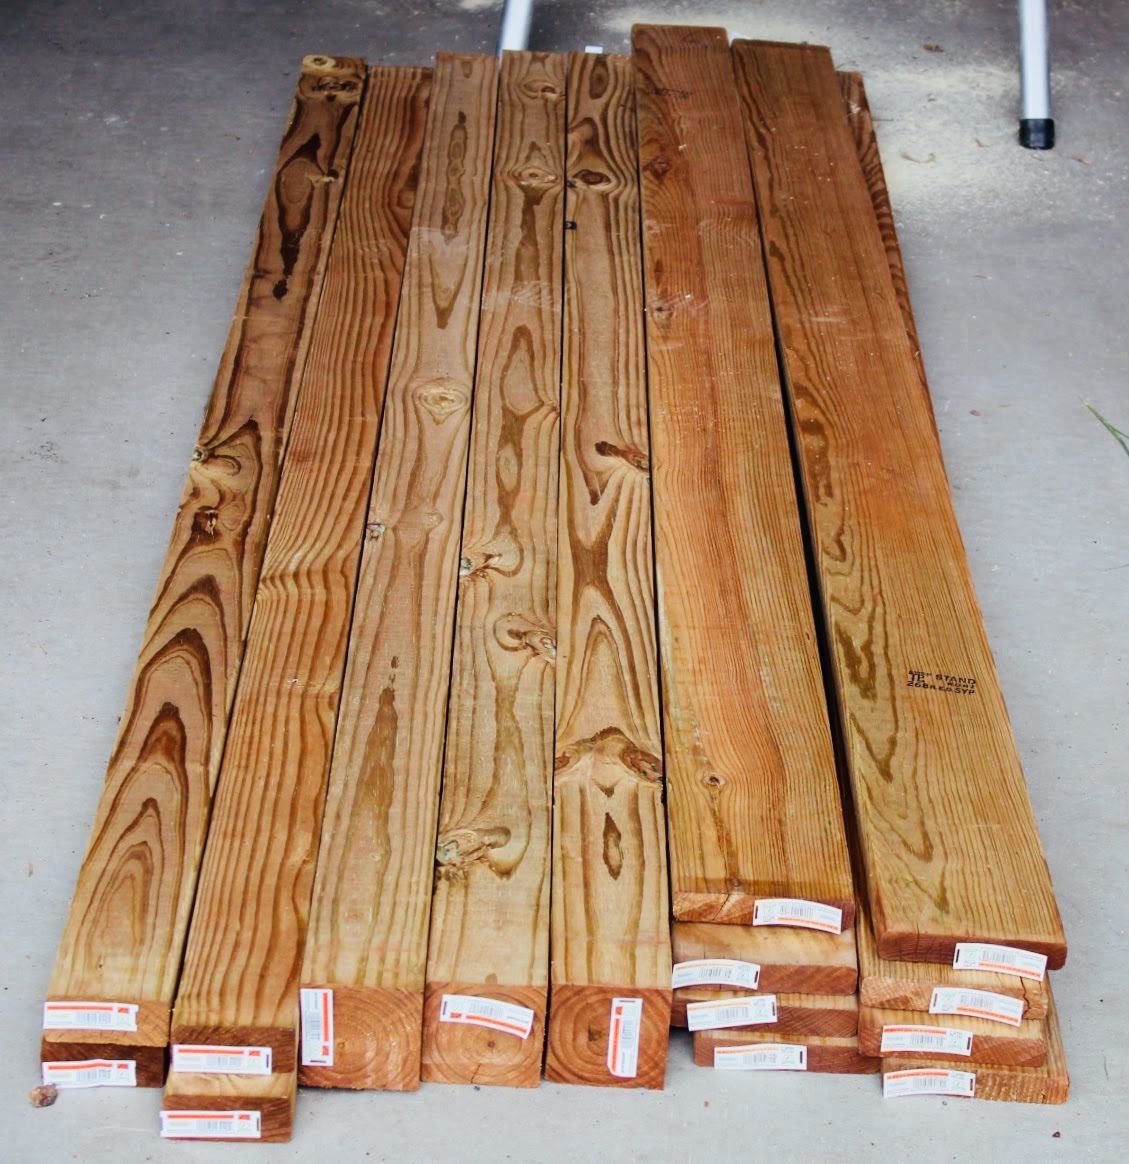
With the cushions purchased, I headed to our nearest home center to purchase the materials. I purchased pressure-treated cedar-toned lumber. You can also purchase cedar for the outdoor sofa, but that will be more expensive and the wood will eventually turn gray. I really like the reddish-brown look of the cedar-tone lumber. Please note that if the pressure-treated lumber is still wet, it will be extremely heavy. The wood will dry out in approximately six weeks and will lose a substantial amount of weight. You can build an outdoor sofa while the lumber is still wet, but it is better to weight for the lumber to dry out.
Outdoor Sofa: Tools and Materials
- 4 x 4 x 8 Pressure-treated cedar-tone lumber (x3)
- 2 x 4 x 8 Pressure-treated cedar-tone lumber (x4)
- 1 x 6 x 8 Pressure-treated cedar-tone lumber (x6)
- Wooden dowel as screw hole plugs
- Drill
- Impact driver
- Drill bits
- Miter saw
- Table saw or circular saw
- Chisel
- Clamps
- Wood glue
- Deck screws
- Orbital Sander
- Pocket hole jig
- Pocket hold screws
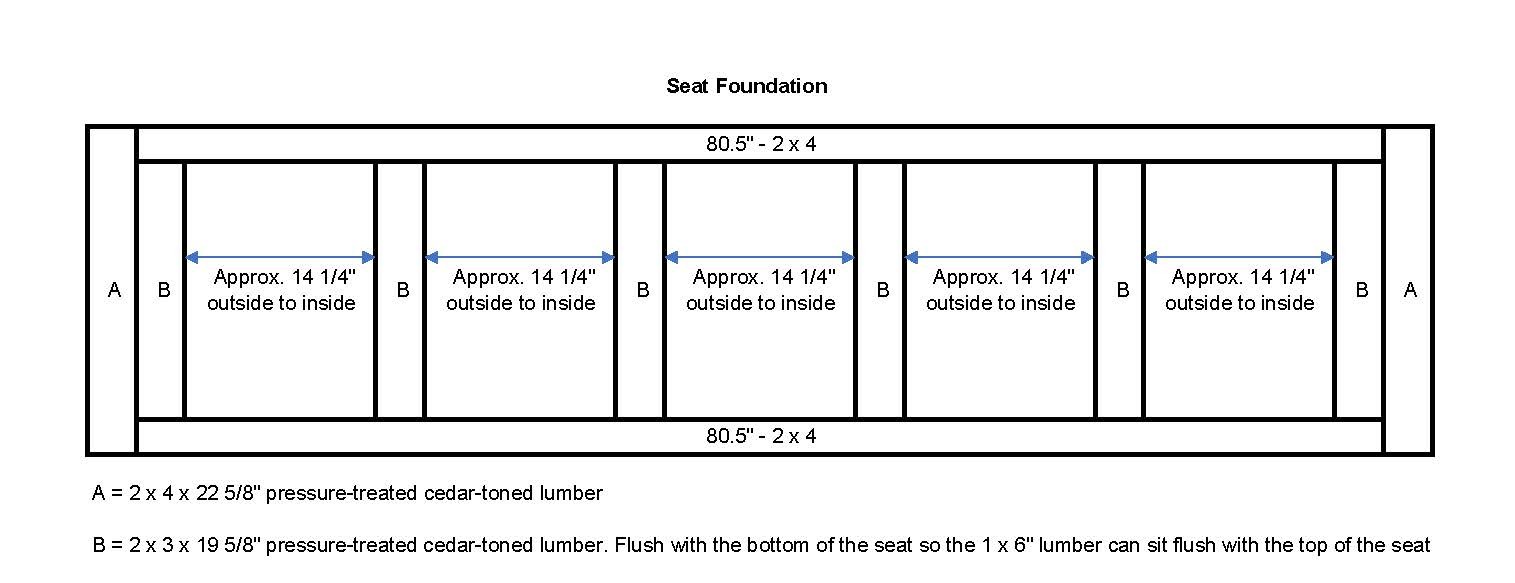
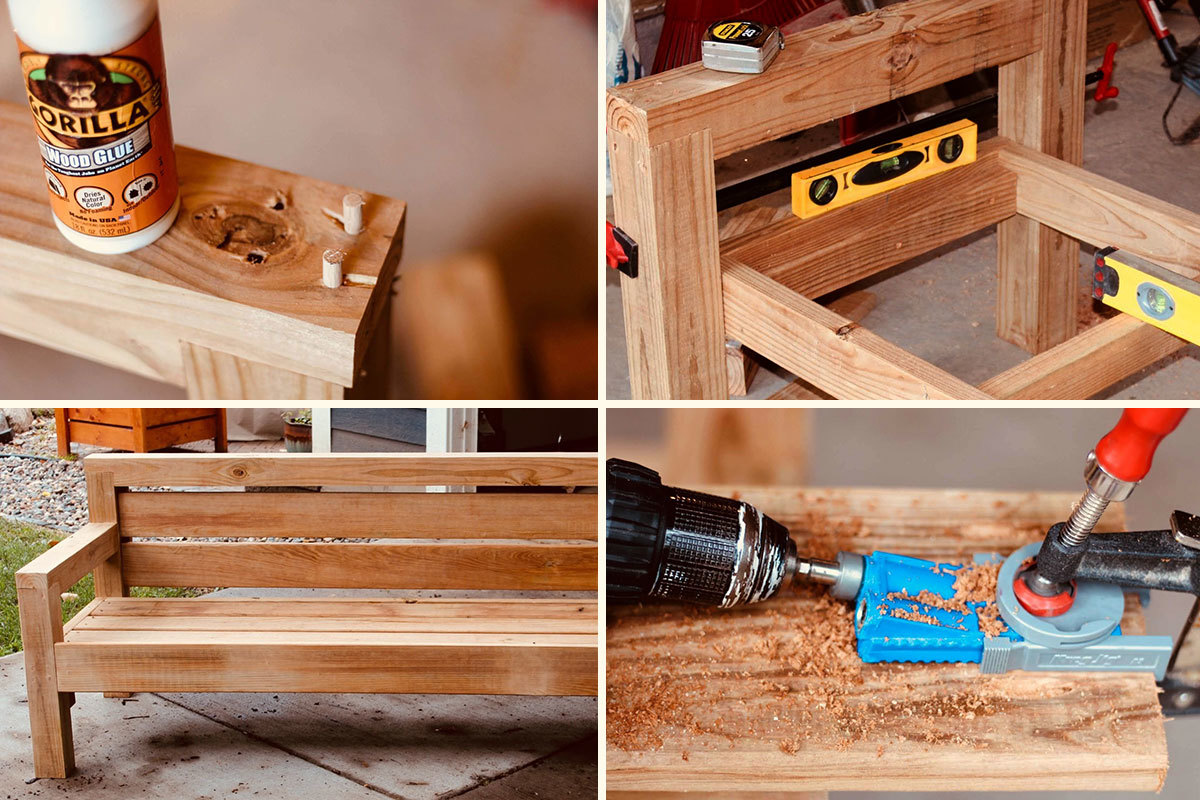
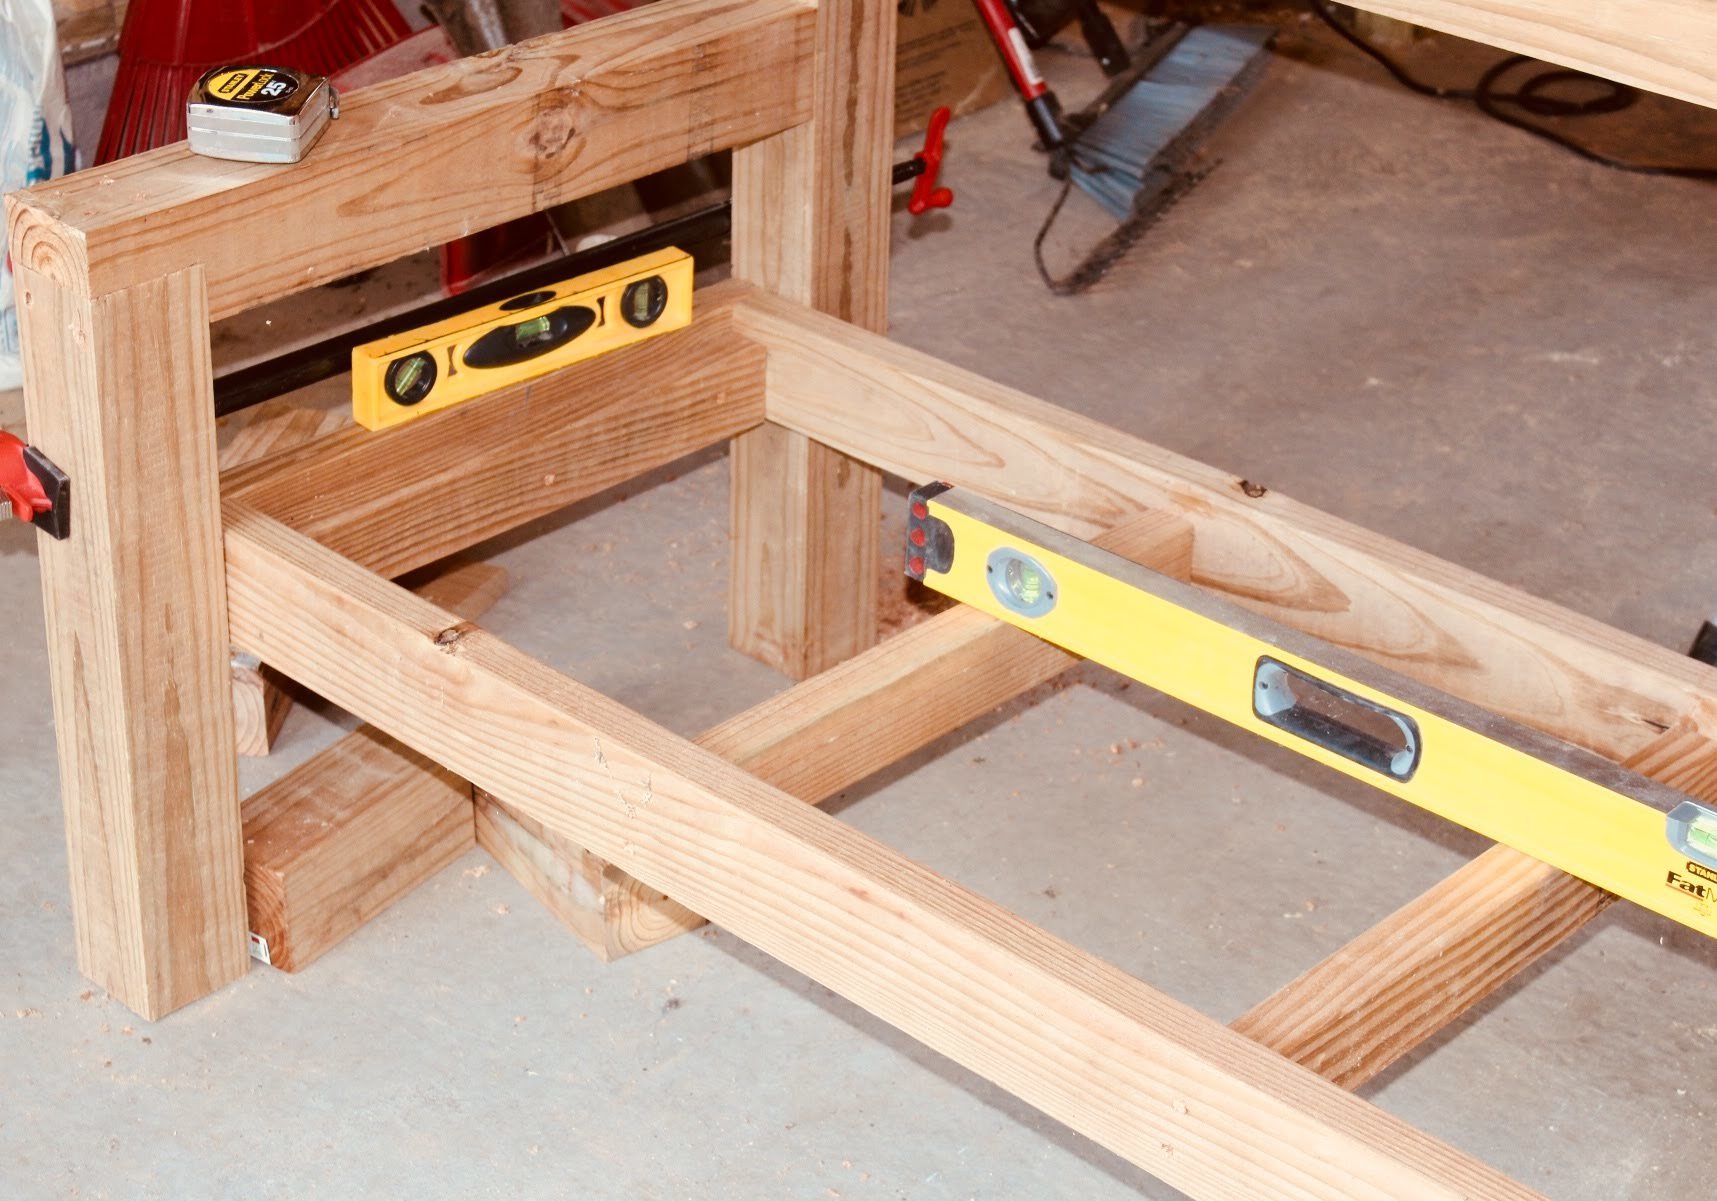
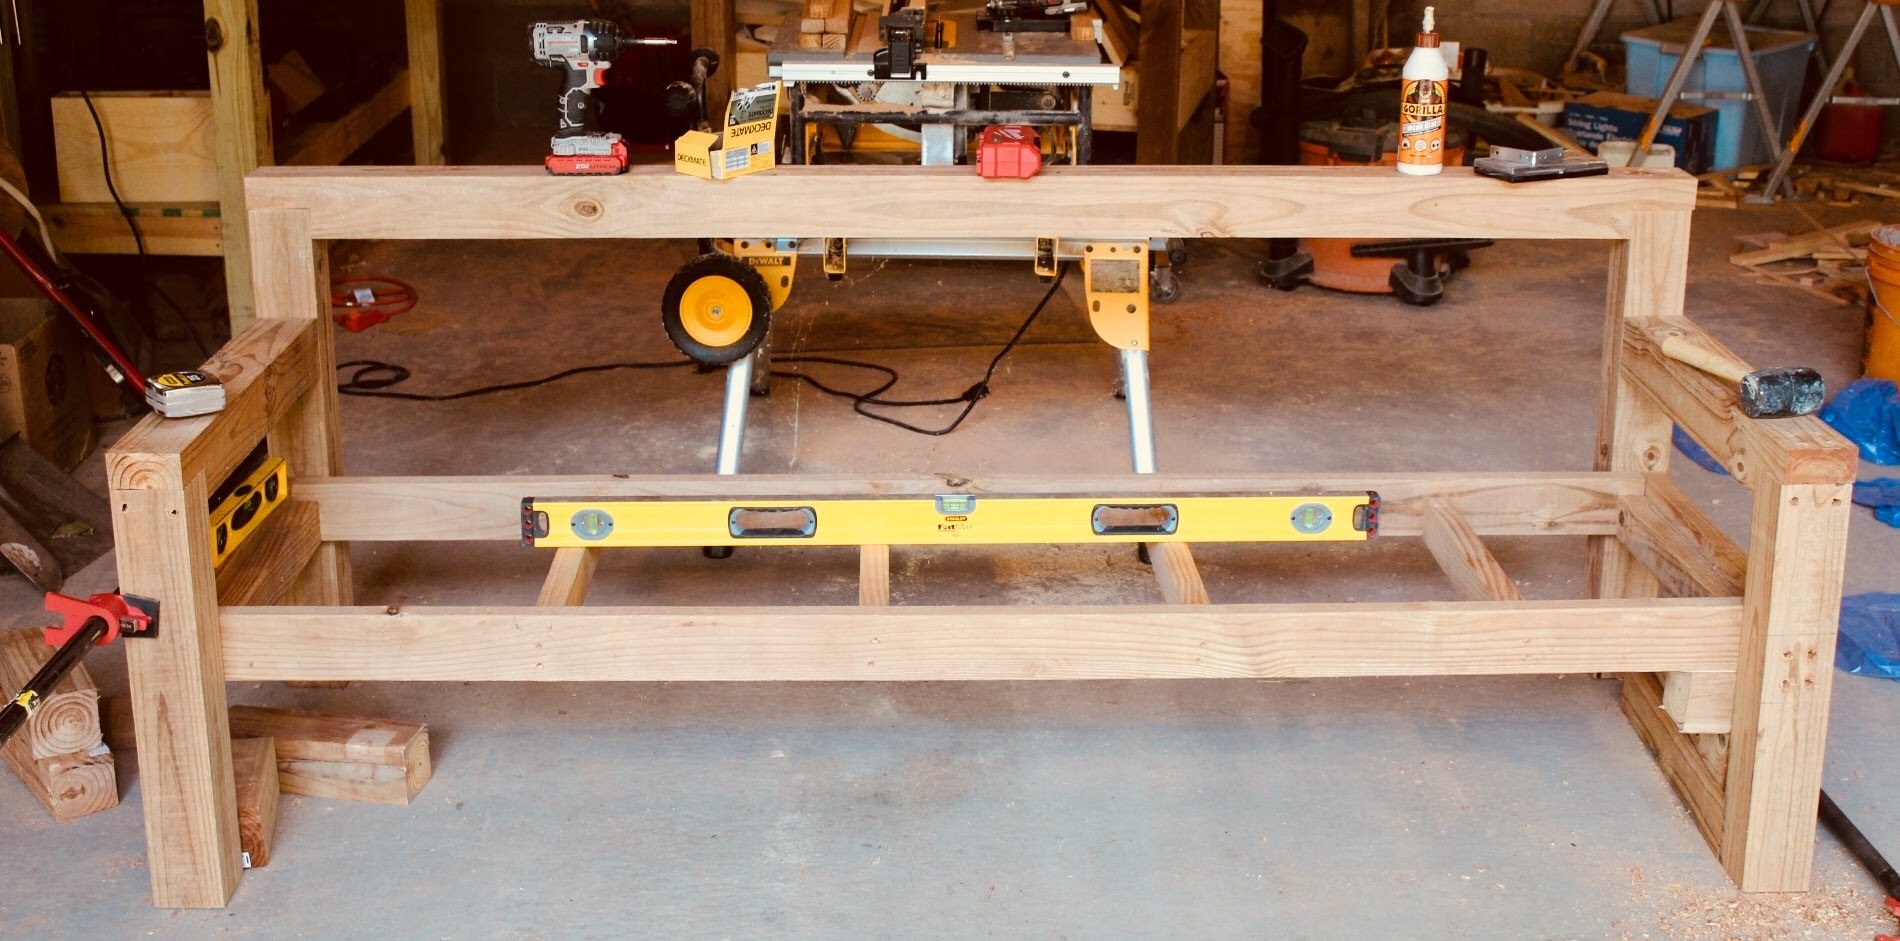
I started out by building the seat foundation, which was made from the 2 x 4 x 8 pressure-treated lumber. I started by connecting all the outside pieces with wood glue and 2 1/2” deck screws. Then I screwed in the supports for the slats that will hold the cushions in place. As most of you probably know, the 2 x 4 lumber is actually 1.5” x 3.5” and the 1 x 6 lumber I used as the slats is actually 1” x 5.5”. Therefore, I ripped the six inside supports (part “B” in the picture) to 2.5” wide, which allows the slats to sit flush with part “A”.
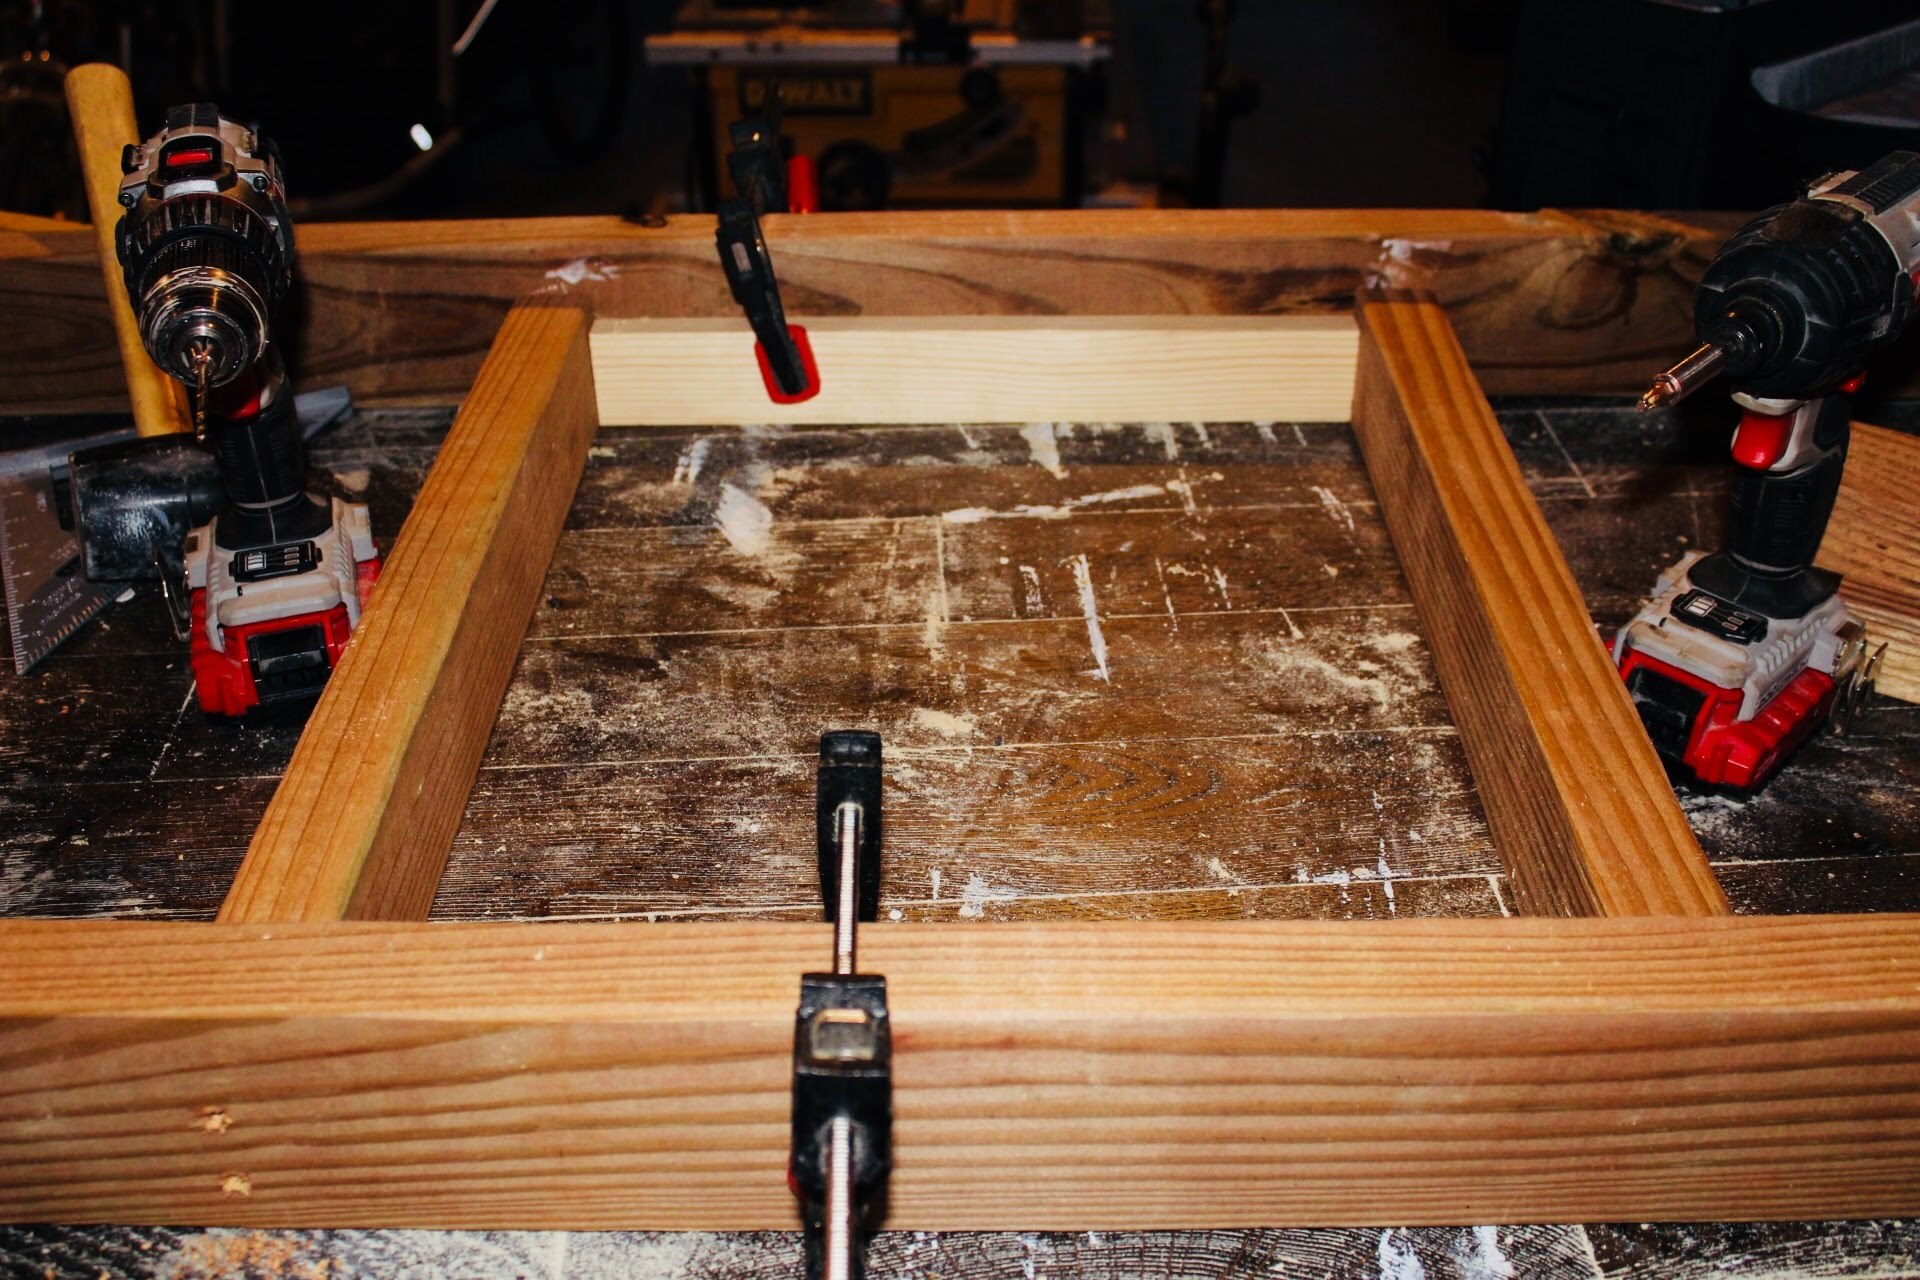
I used a wooden spacer to easily space out the inside seat supports and then attached them to the outside seat foundation using wood glue and 2 1/2″ deck screws.
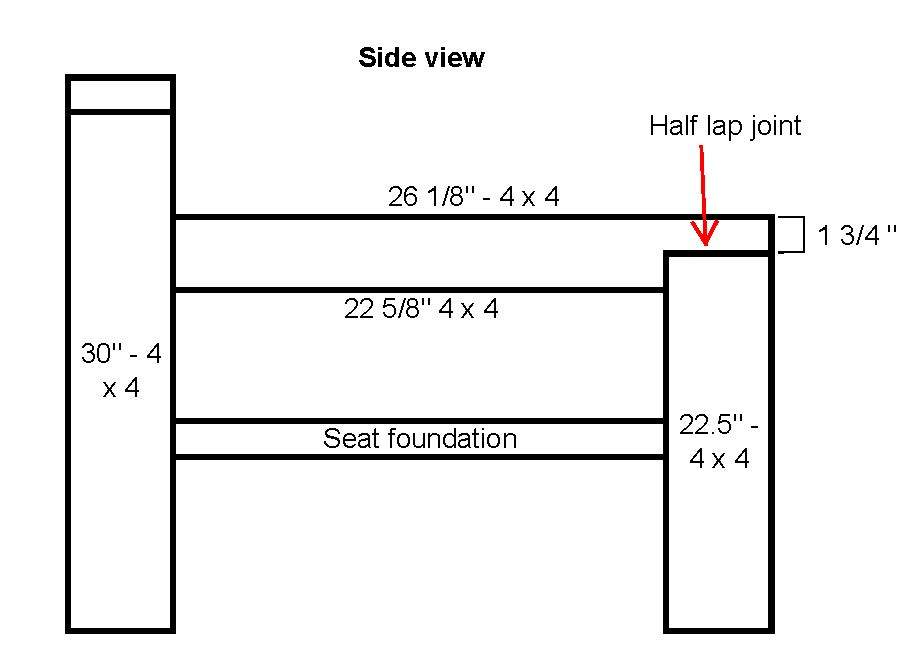
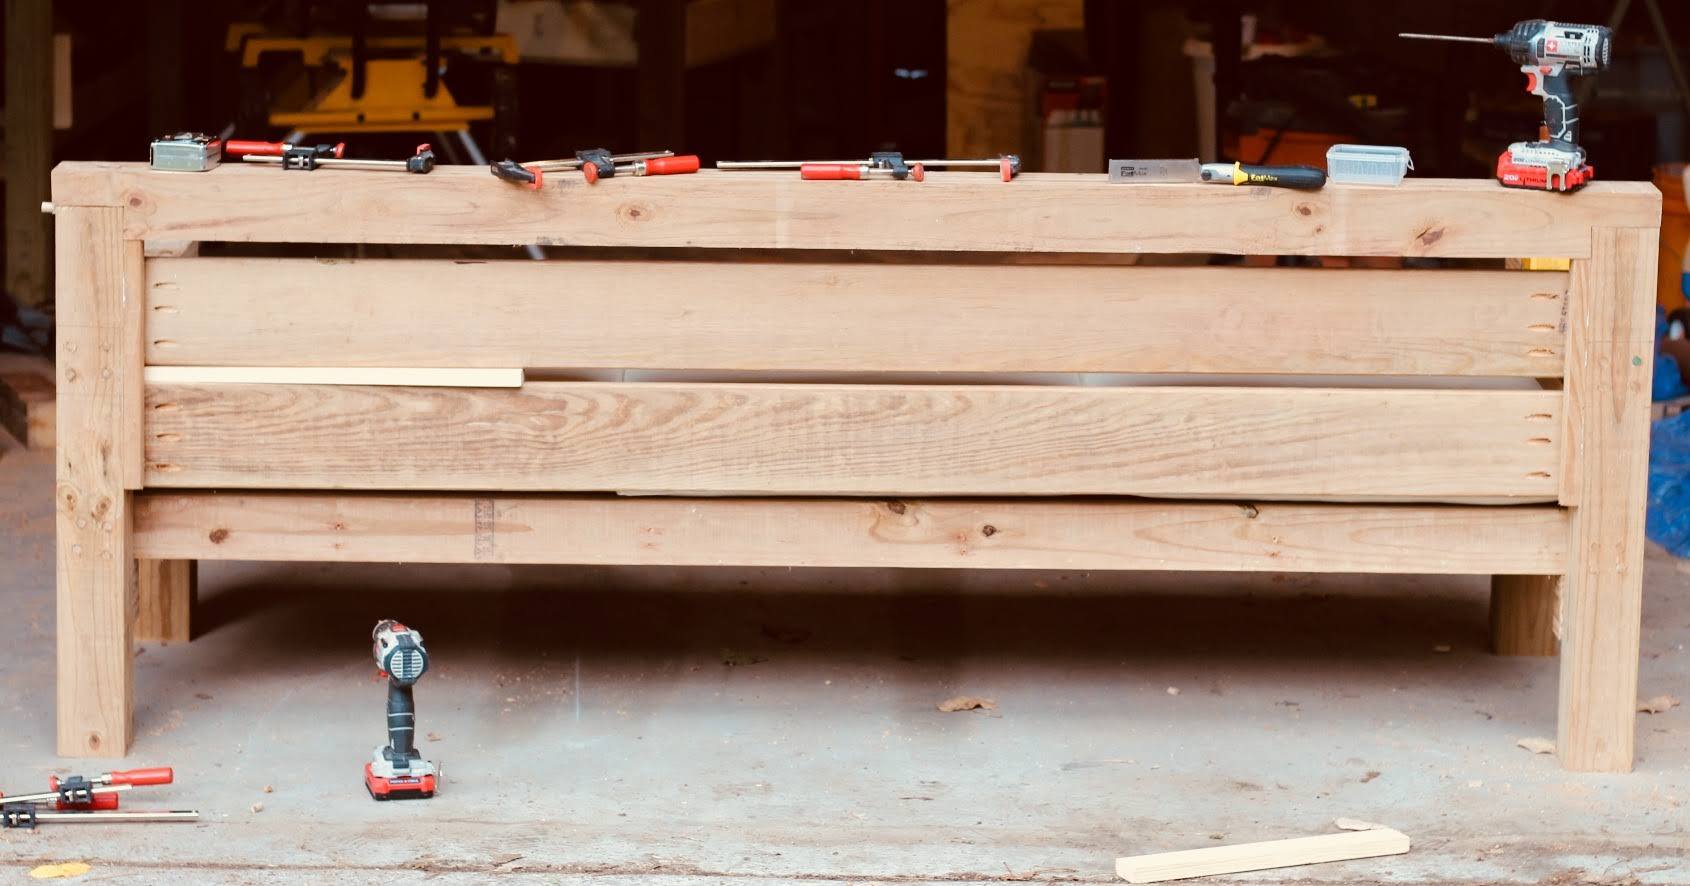
Next, I assembled the sides of the couch using the 4 x 4 pressure-treated lumber.
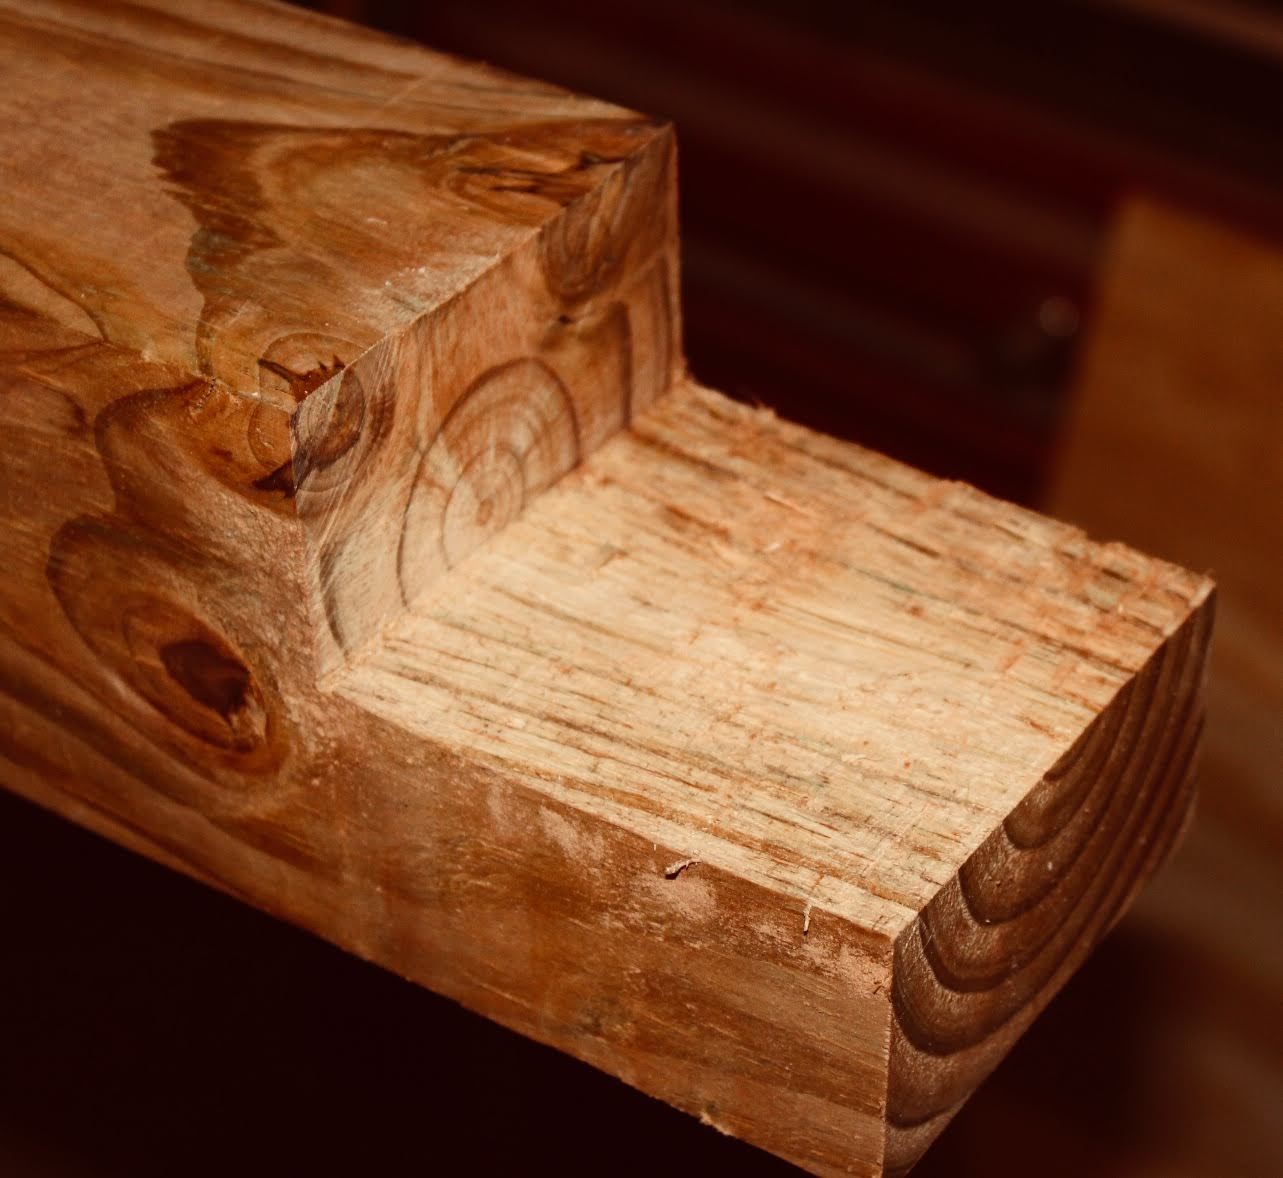
I used half lap joints where indicated above for additional strength. I used a circular saw and chisel to make the joints. All pieces were attached using wood glue and deck screws. When screwing directly through the 4 x 4, I used 5” deck screws and drove the screw approximately one inch into the 4 x 4, which was then plugged with a dowel.
Once each side was built, I attached the entire seat foundation to the sides. The bottom of the seat foundation is approximately 11” from the ground, but you can adjust that height accordingly to preference. I attached the seat foundation to the sides using the 5” deck screws and drilling through the 4 x 4 frame into the seat foundation.
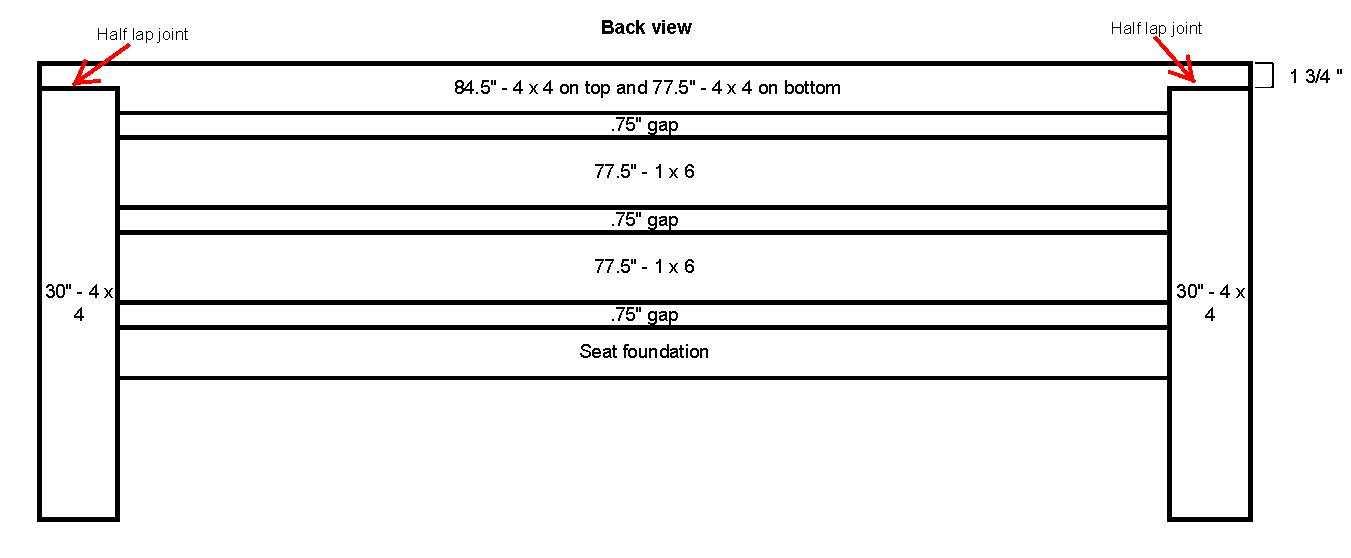
After attaching the seat foundation to the sides, it was time to assemble the back of the sofa. First, I attached the 4 x 4 top to each of the sides using a half lap joint on both sides as indicated above. I attached the top of the back to the sides using wood glue and 2 1/2” deck screws.
Next, I used the 1 x 6 x 8 pressure-treated lumber to finish assembling the back of the sofa.

The 1 x 6 pressure-treated lumber was attached using pocket hole screws and wood glue.
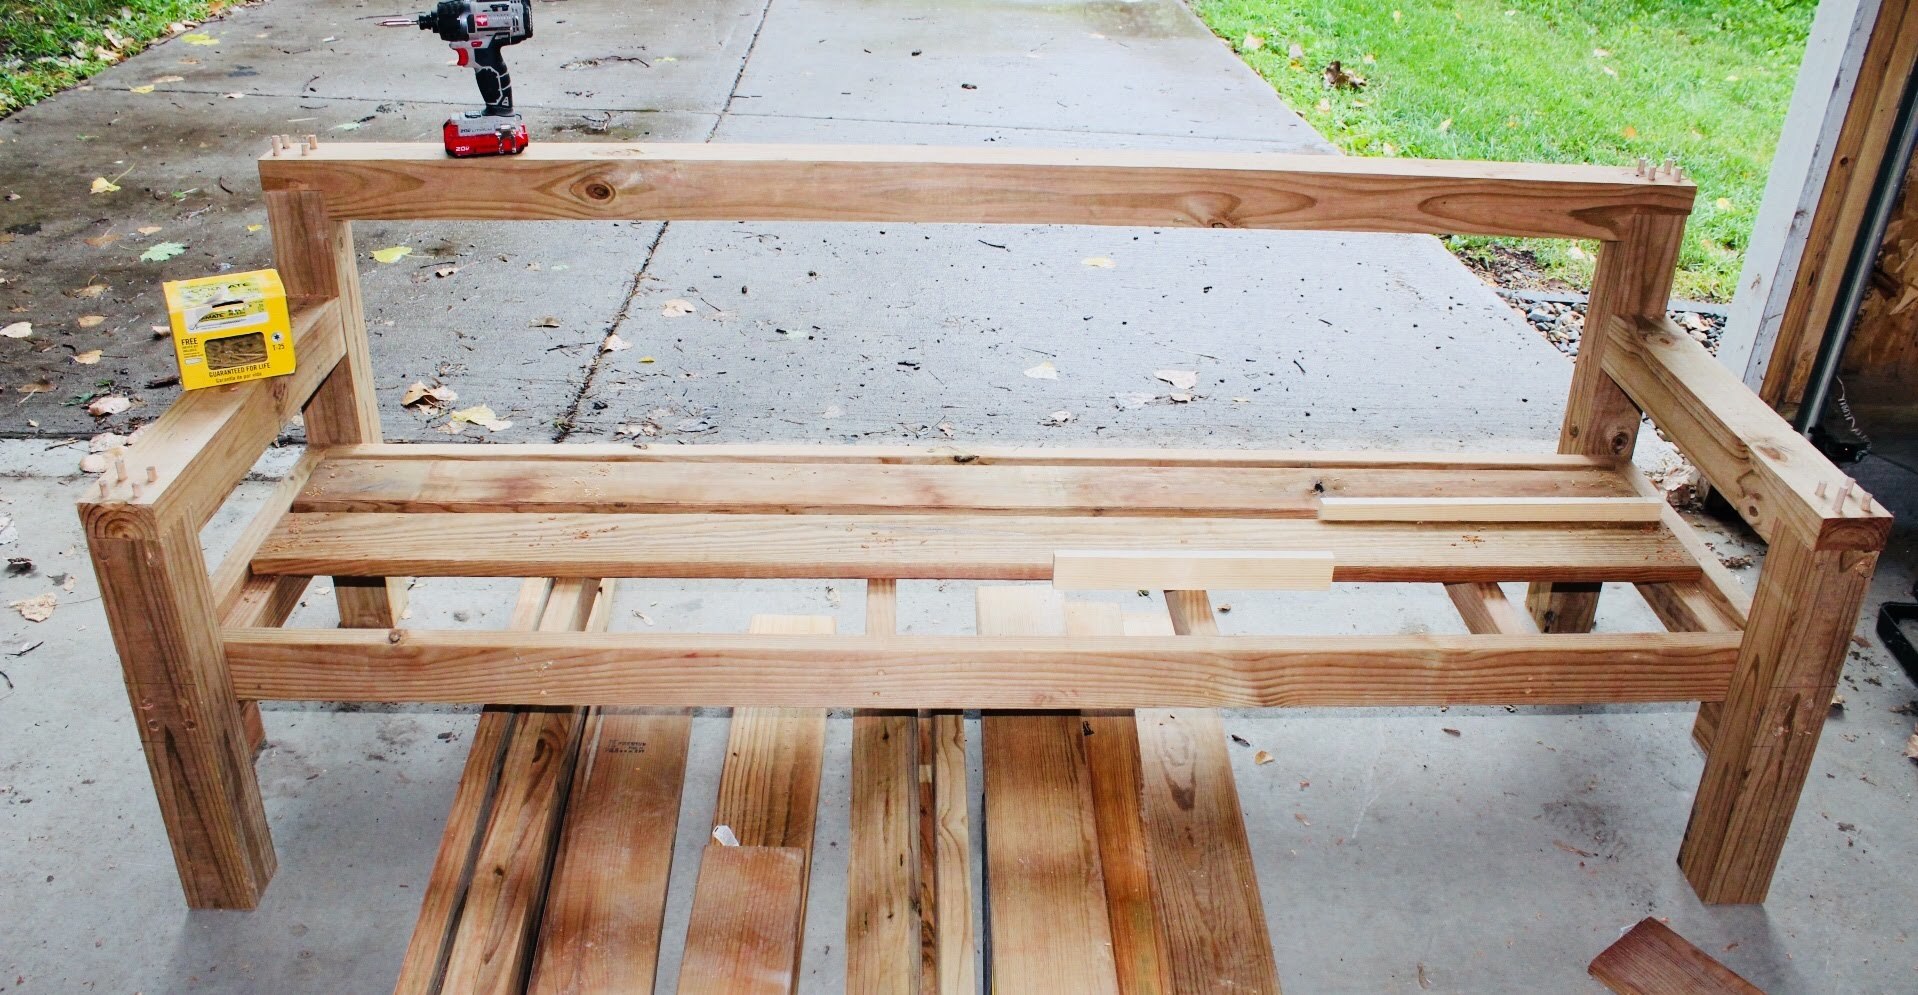
To attach the seating slats, I used 3 of the 1 x 6 pressure-treated lumber pieces cut at 70”. Each of the slats was screwed into the seat supports using 2 1/2” deck screws.
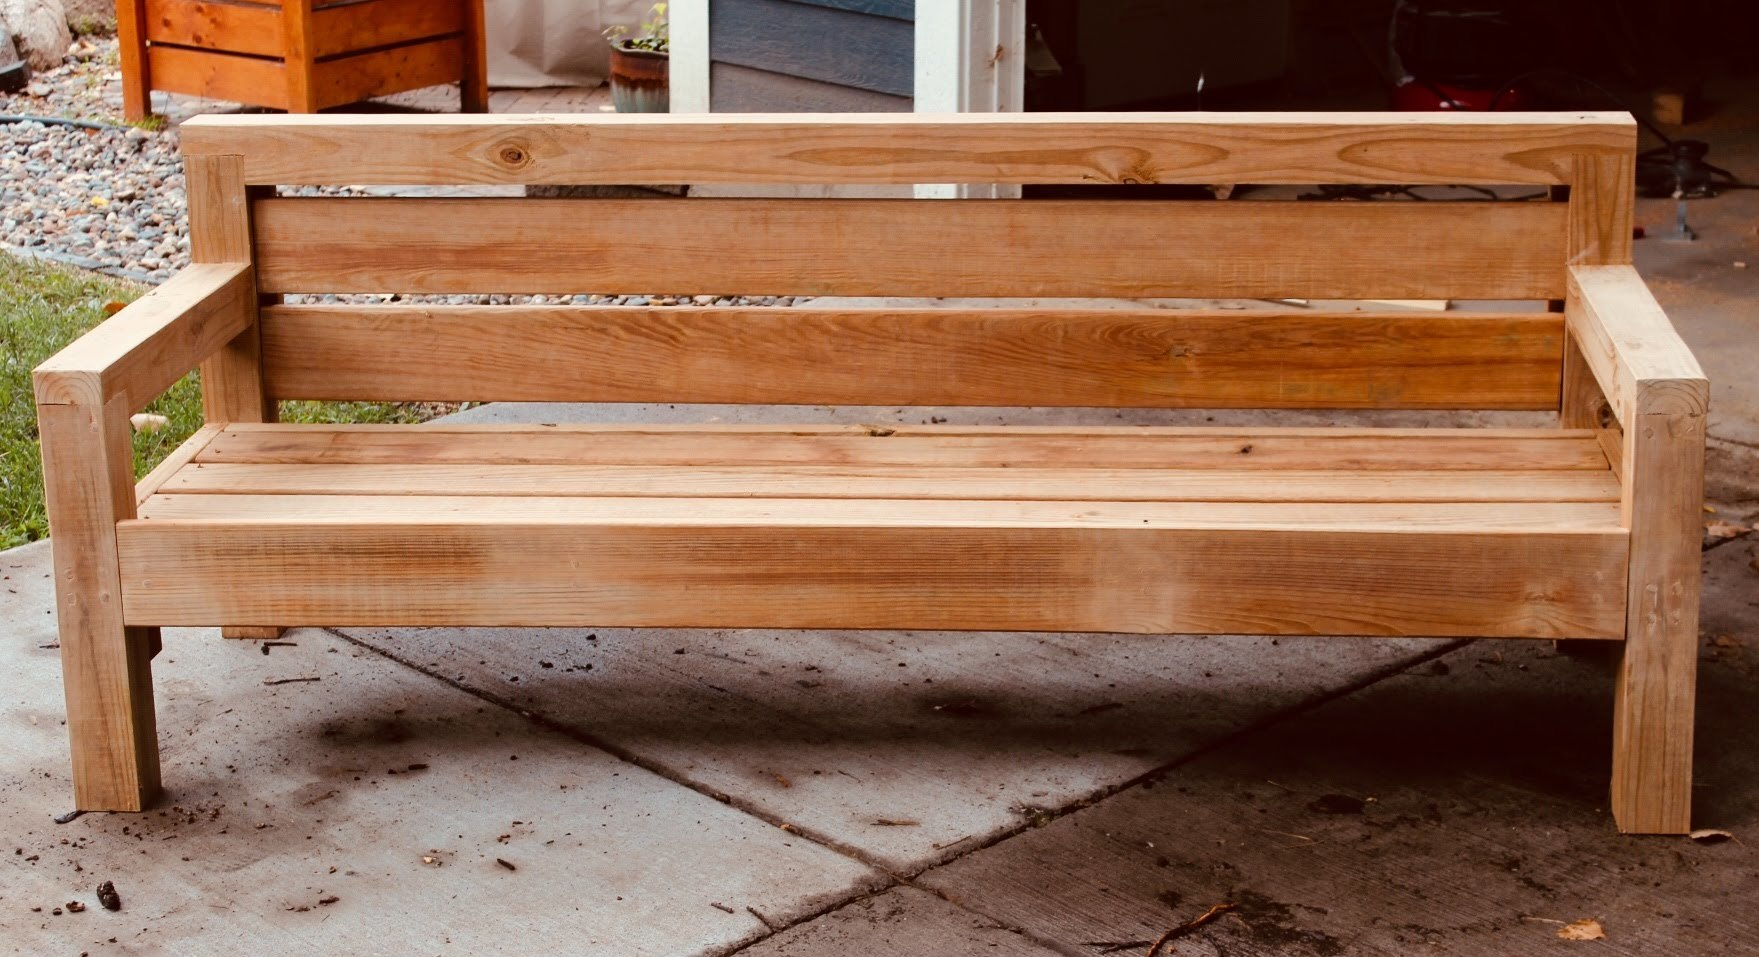
The last part of the outdoor sofa assembly was to attach a 1 x 6 face plate to the front of the seat. The face plate is approximately 2” above the seat and helps keep the cushions from sliding off the sofa.
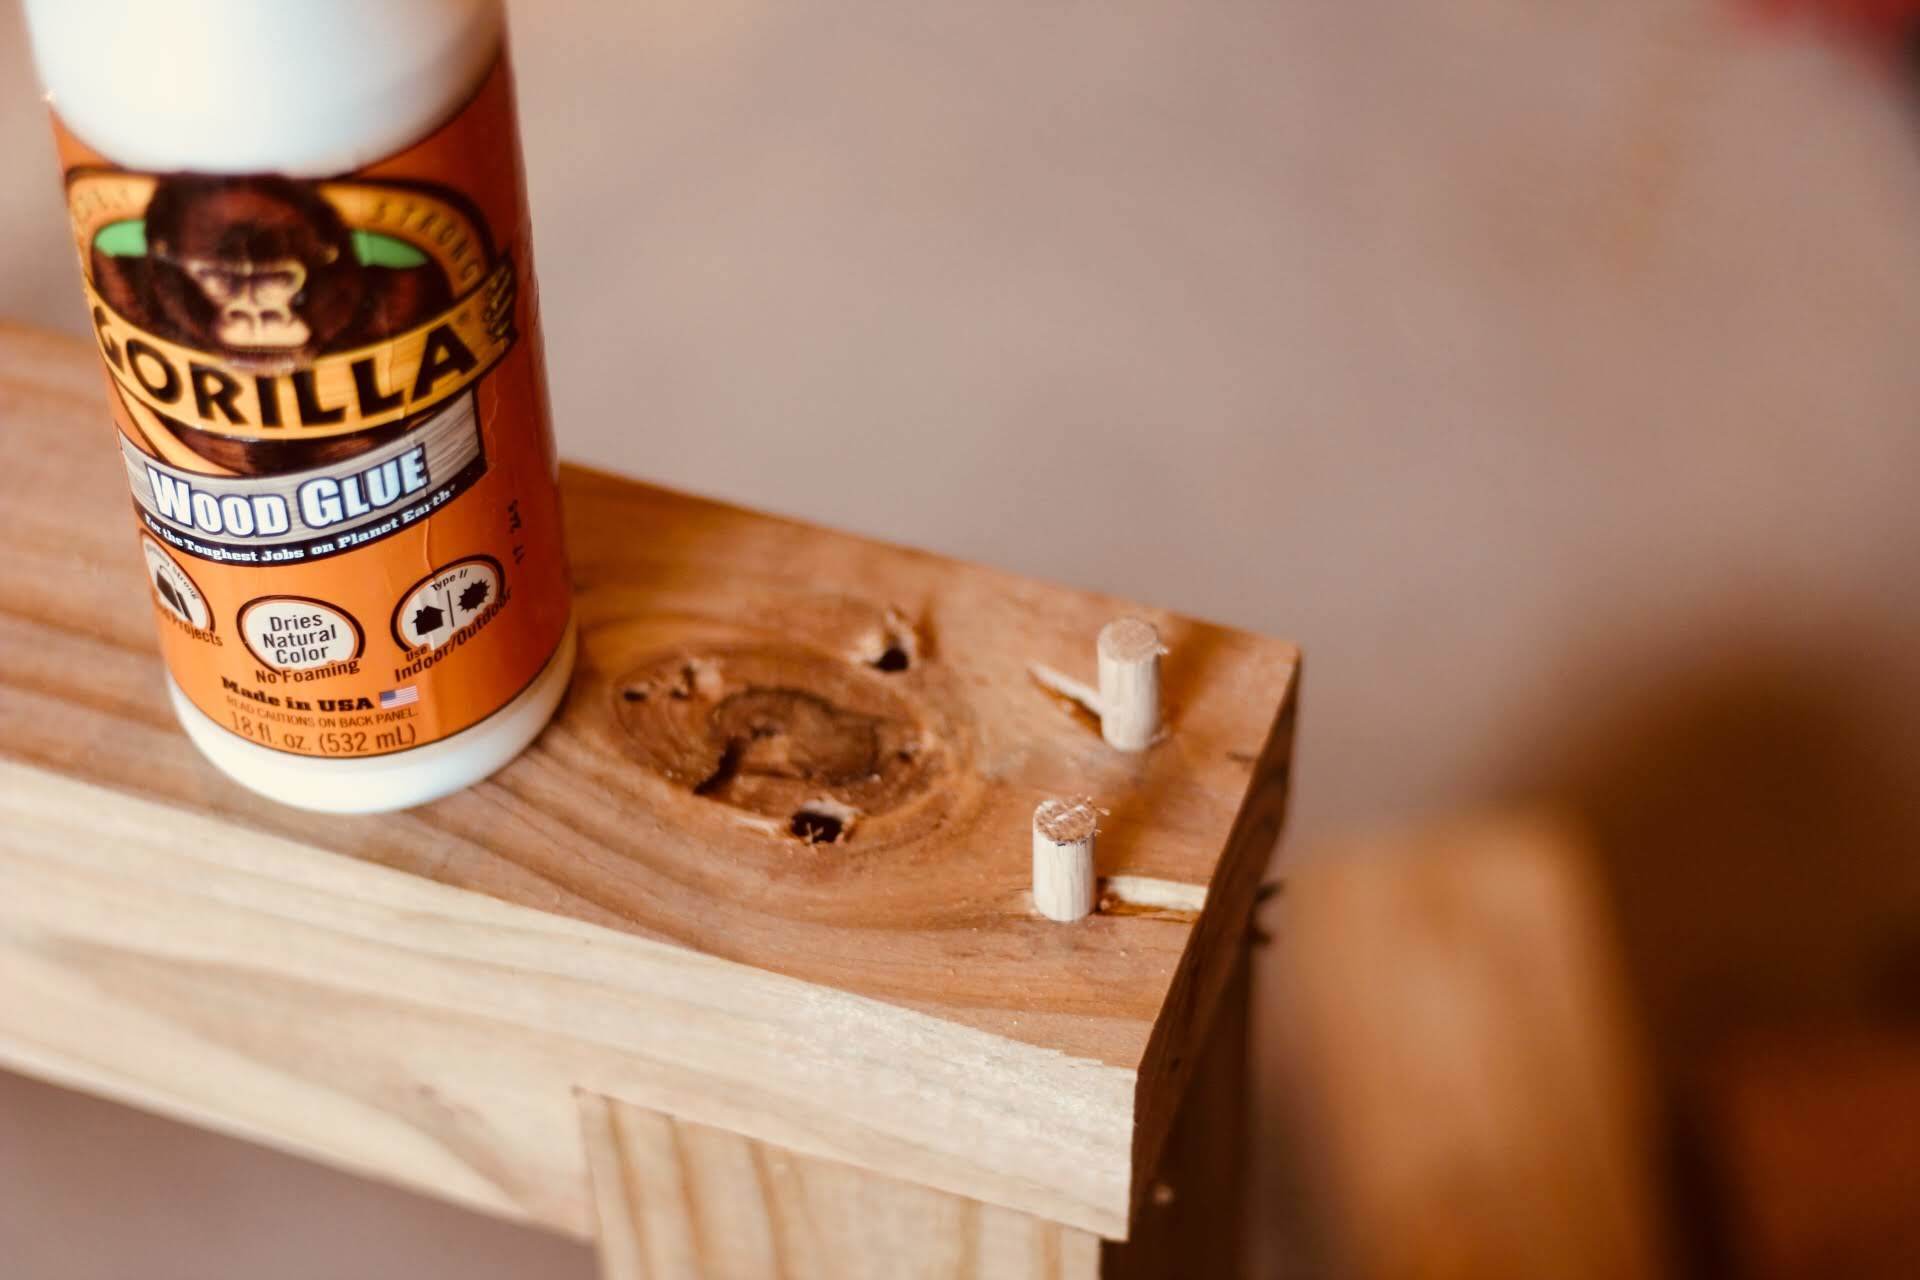
As a finishing touch, I filled all the screw holes with oak dowels. This was for aesthetic reasons and is not necessary to finish the project. Lastly, I sanded the entire project to prevent slivers and smooth out and rough areas.
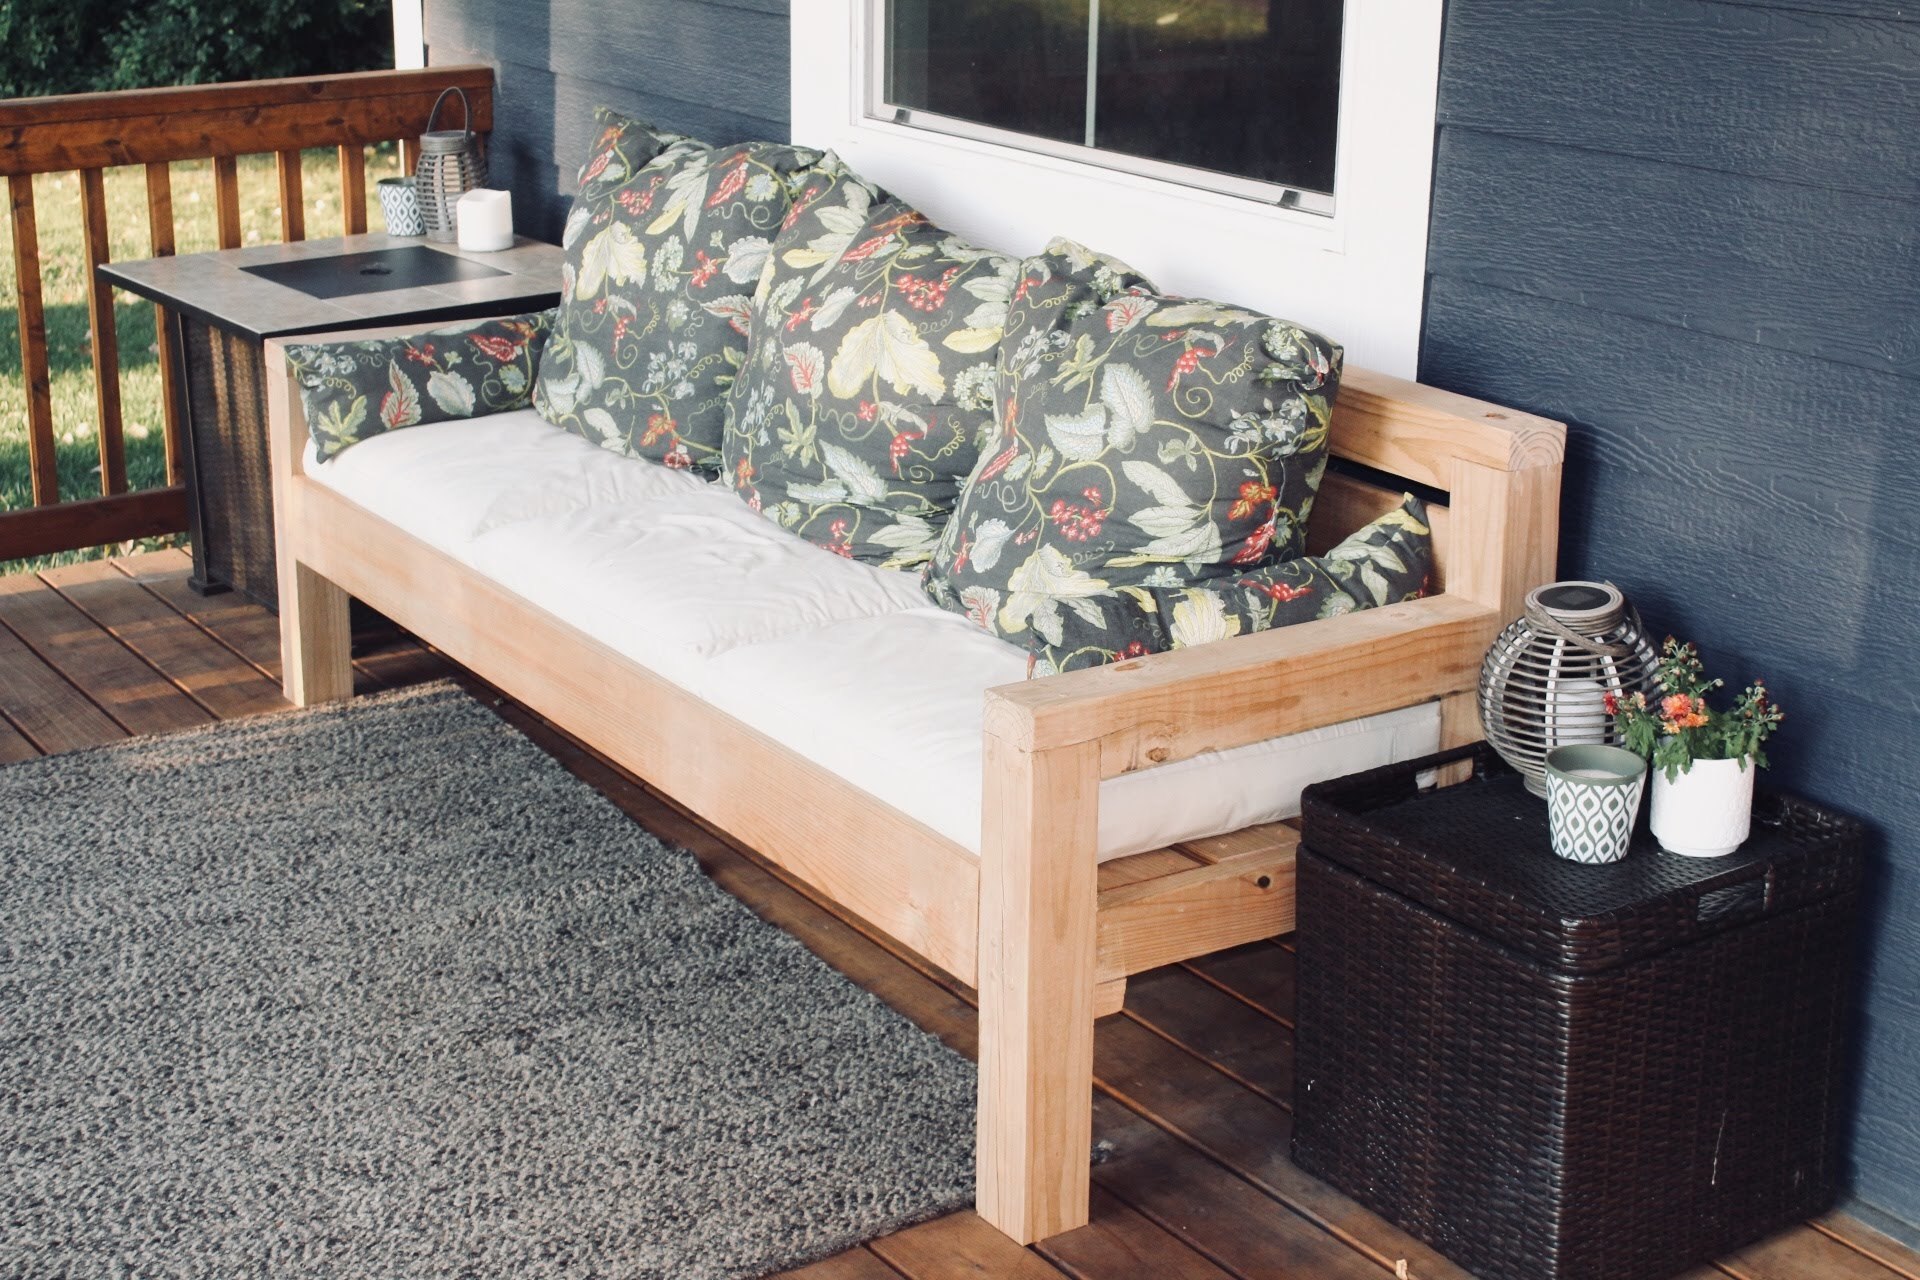
You probably noticed I didn’t say anything about the back pillows/cushions with the floral pattern. My wife made those pillows out of old curtains and poly-fil, but unfortunately, I forgot to take pictures of the process. As I mentioned before, our outdoor sofa is under our covered patio, so we didn’t need to buy expensive outdoor pillows.
Overall, the DIY outdoor sofa took me approximately 10 hours to complete. The hardest part was getting the sides and back assembled by myself. I had plenty of clamps to help hold the pieces in together, but a second set of hands would have cut the project time down significantly.
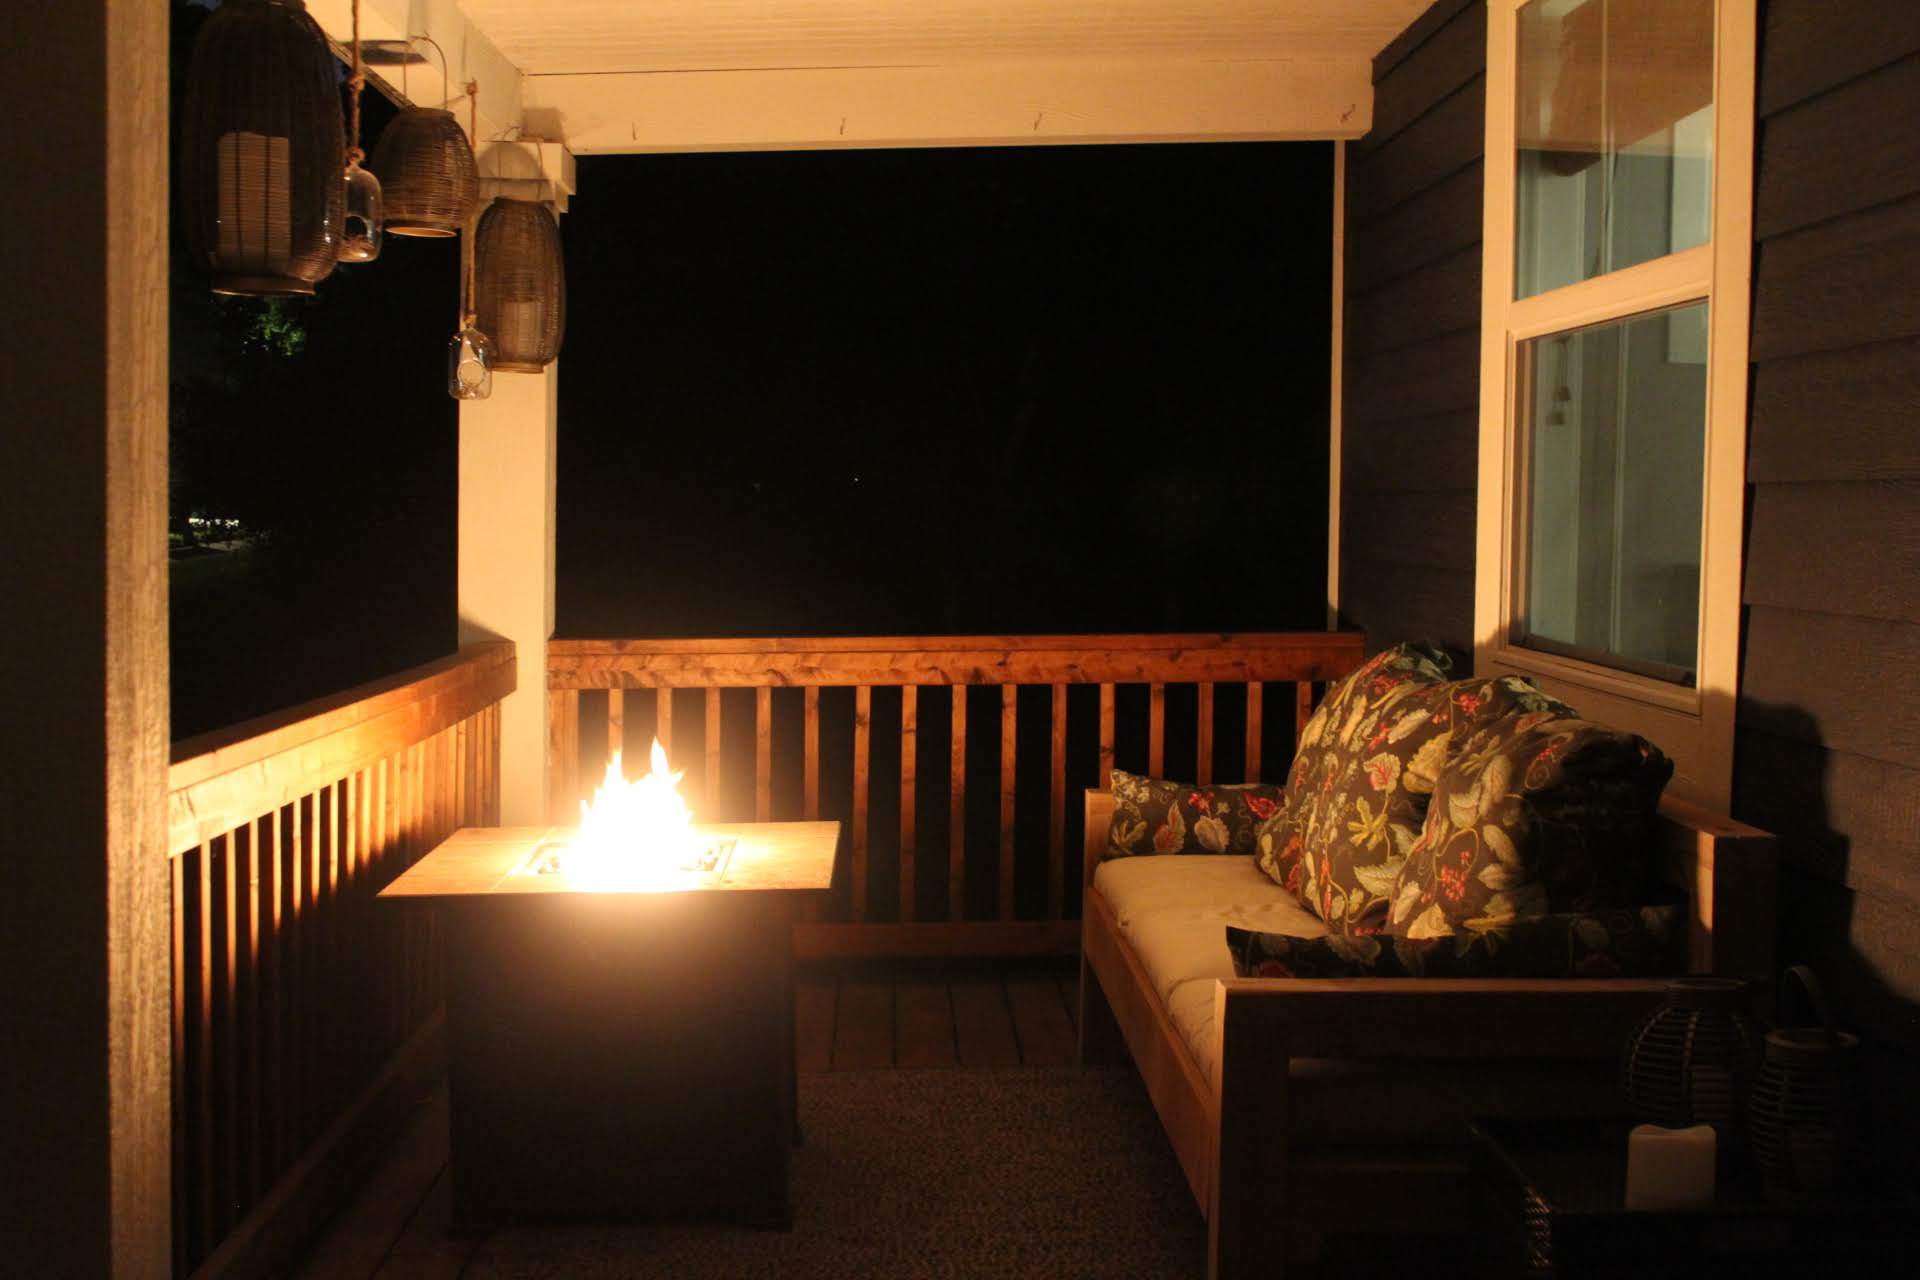
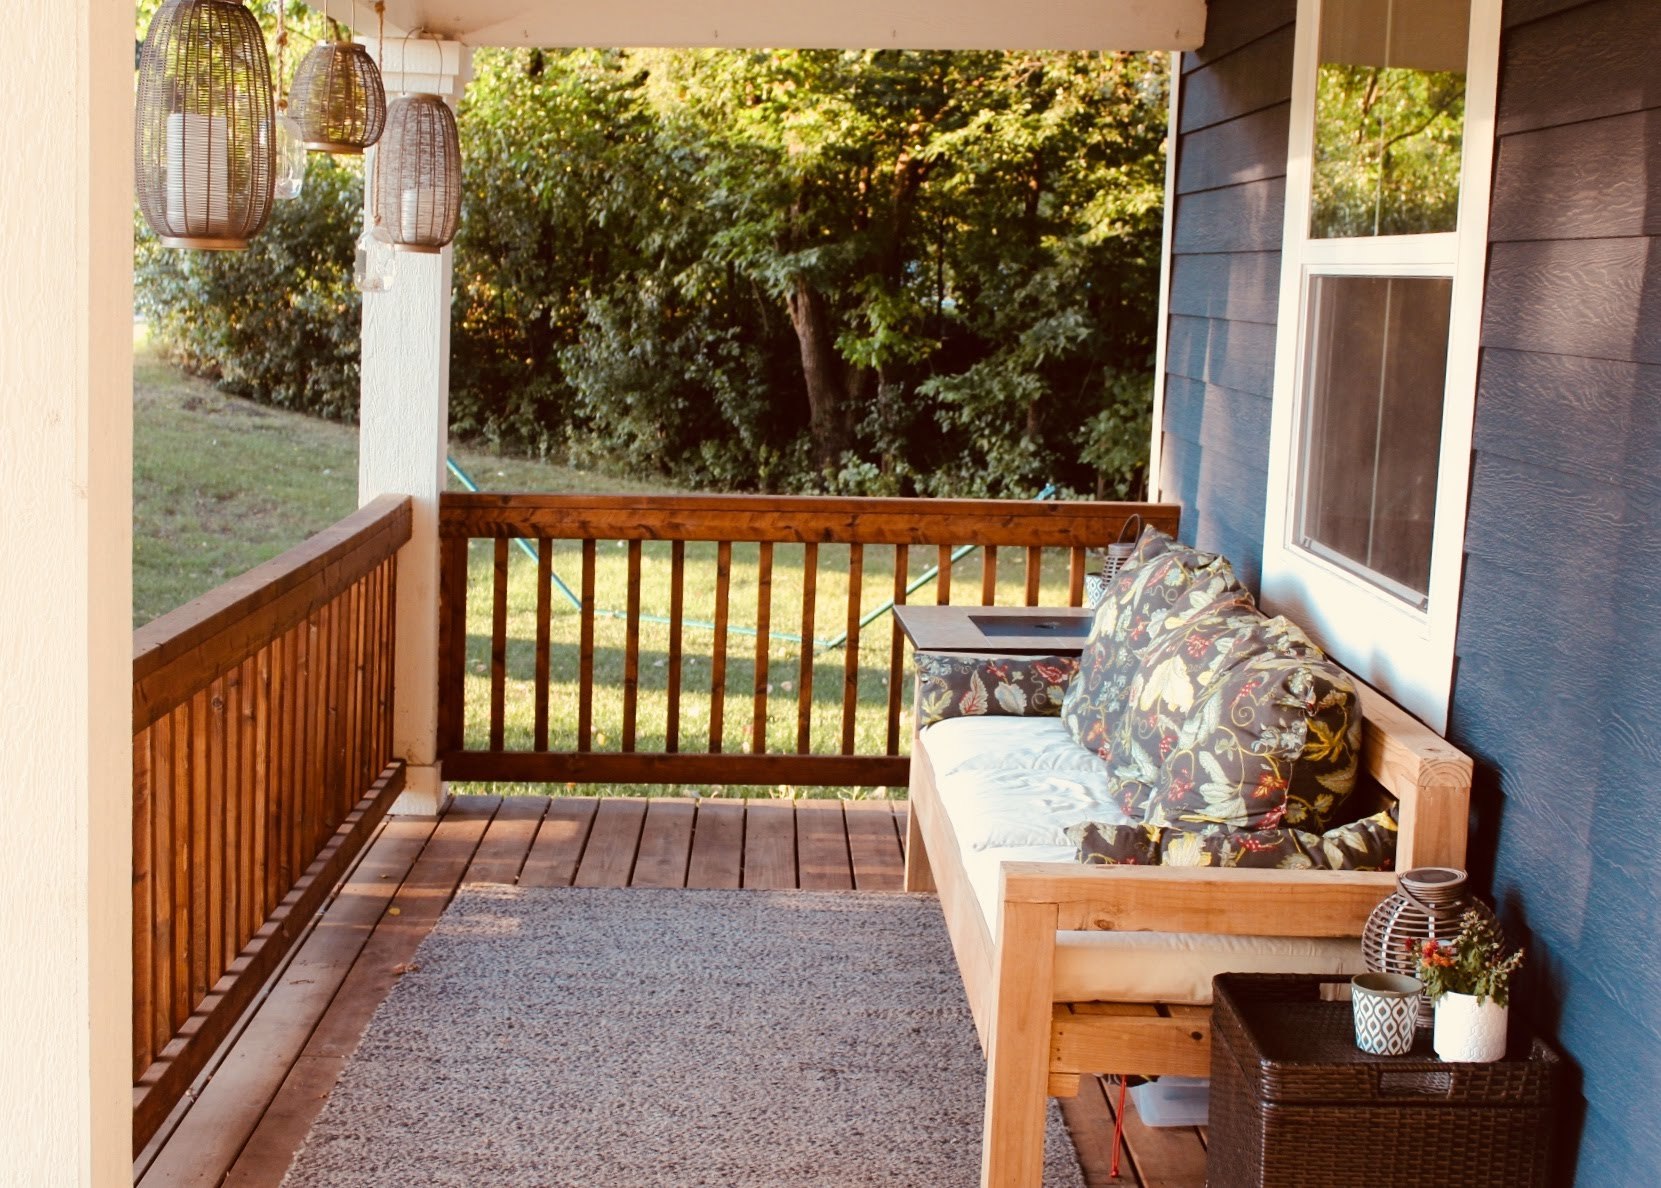
With autumn right around the corner, I know we will get a lot of use out of this patio sofa. Enjoy!


