My Total DIY Mudroom Remodel + Makeover
Most people refer to the “heart of the home” as the kitchen, and for good reason. However, the first thing you see when you walk into my house is the mudroom, and its honestly the space that gets the most action. We moved into our house about fifteen months ago, and ever since we first walked through the house, I wanted to make the mudroom/laundry room more functional. Not only did I want to add more storage, I wanted the room to be an area that I was proud to welcome people into when showing them our home.
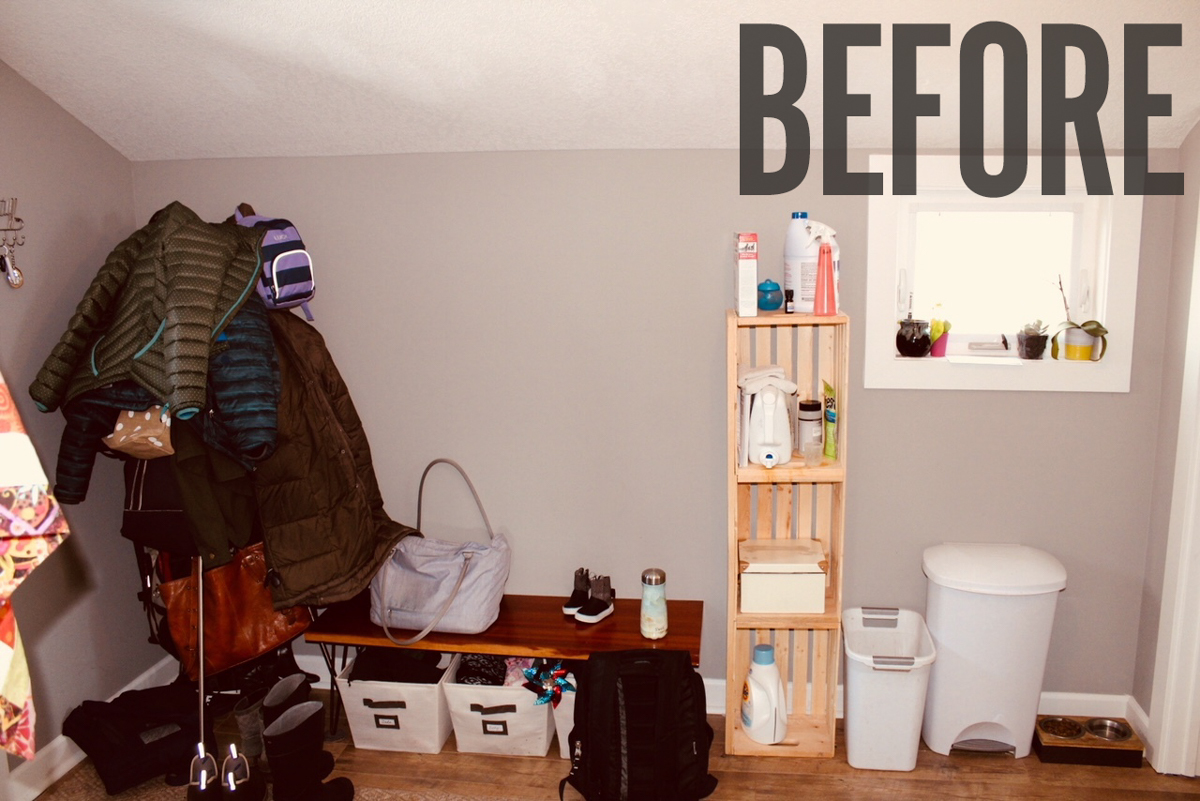
As you can see, before I started the project our mudroom worked on many levels but it was very boring and it seemed to get cluttered easily. After completing some other more important projects on our home during the first year, I knew this summer was the time to tackle this space.
When I want to create something, I almost always start by scouring Pinterest for something that inspires me. I take that picture or idea and use that as a rough draft of how I want my project to turn out. I typically don’t follow plans or instructions when I build or create something because I like to let the project evolve as it forms. This project was no different. The only thing I followed was a rough sketch that my brother-in-law drew on post-it note from my realtor while I was describing to him what I was imagining (as you can see, my final product evolved into something slightly different but mostly kept the same premise). Once I had my idea, I went to work.
Building the Mudroom Cabinets

I started building the shell of the cabinet last winter in my garage out of 2 x 4s and plywood. This part of the project was probably the most time consuming and expensive. If I had to do it all over again, I would consider buying a pre-fab cabinet from a box store that fit my area, which I could have bought for about $175. A purchased cabinet would have been painted and ready to be assembled, saving me close to three days of labor. But, at least I know that my DIY will last forever because of how I built it, and that can’t be overlooked.
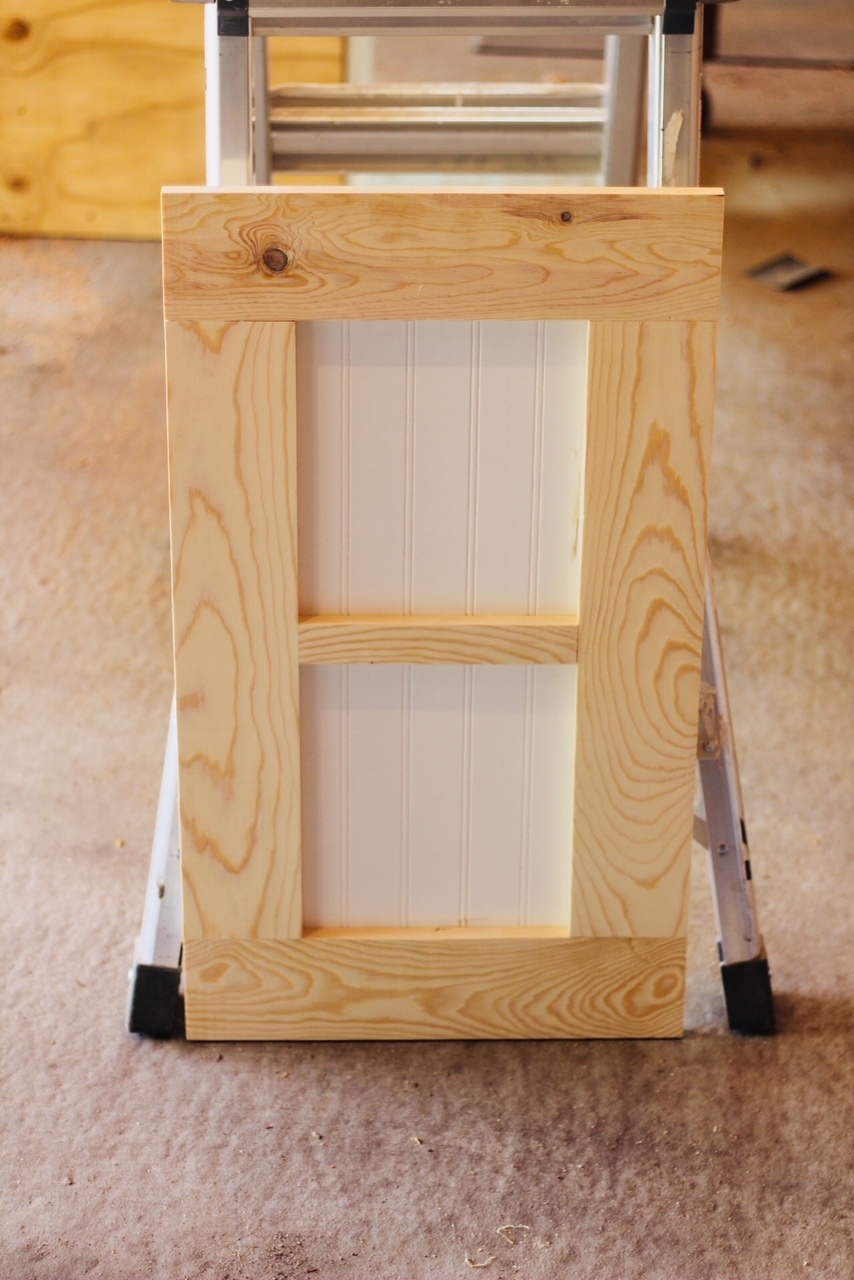
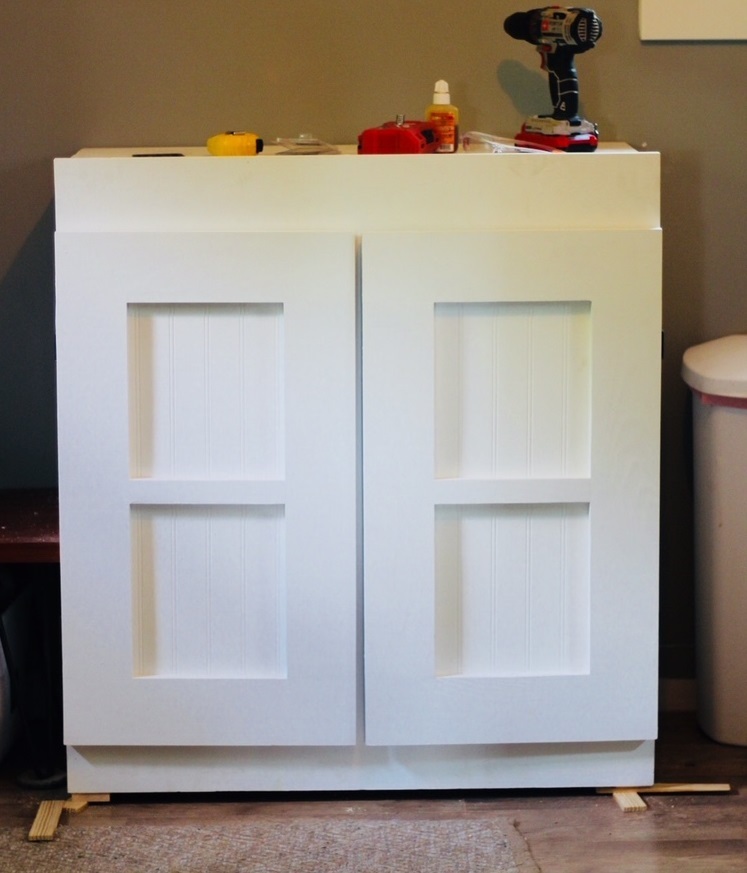
Next, I built the cabinet doors out of pine and bead board. I used a pocket hole jig to join the rails and stiles of cabinet door together. This was simple cabinet door style that was easy to make, but I thought the bead board added a little elegance that made it unique and fit the style I was looking for.
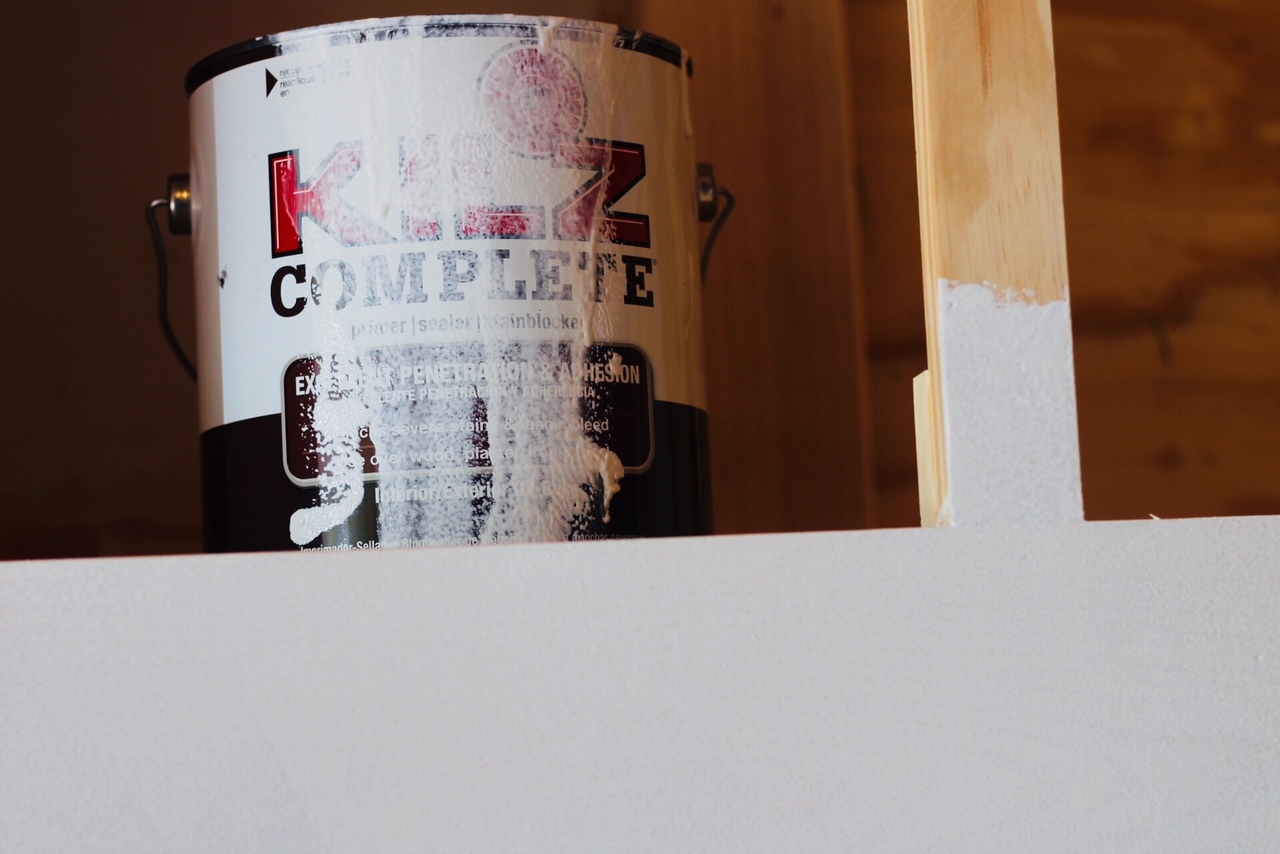
Since I was going to paint over the pine, I needed to prime over the cabinet and doors (I used the same primer for the entire project). After researching primers, I decided that Kilz Complete was the best fit for my project. I was not disappointed with Kilz! It did a phenomenal job hiding all the wood grain and preparing the area for paint. Just make sure you use the Kilz in a well-ventilated area.
Once the cabinet was completed and primed, I used shims to get it in place. Once the lower cabinet was set, I planned on building everything off of that location.
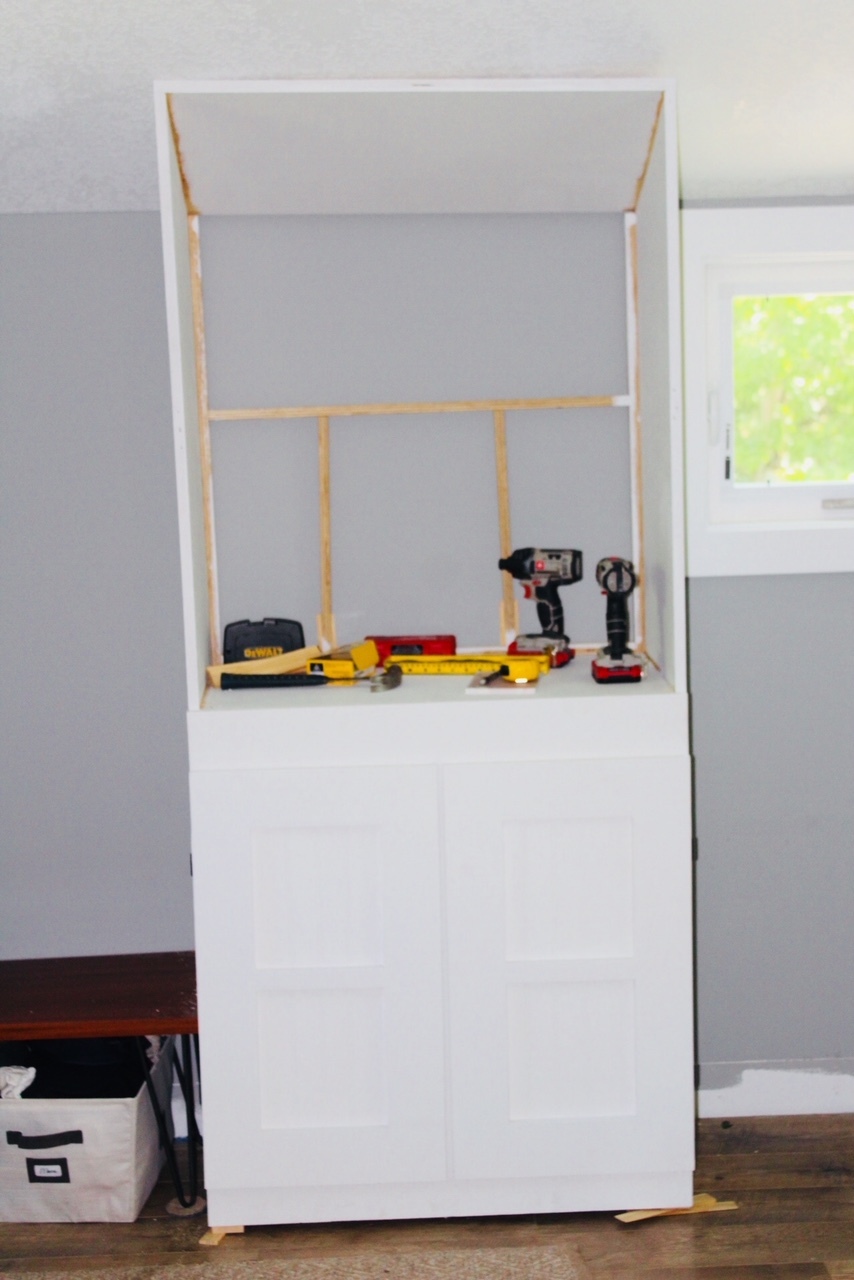
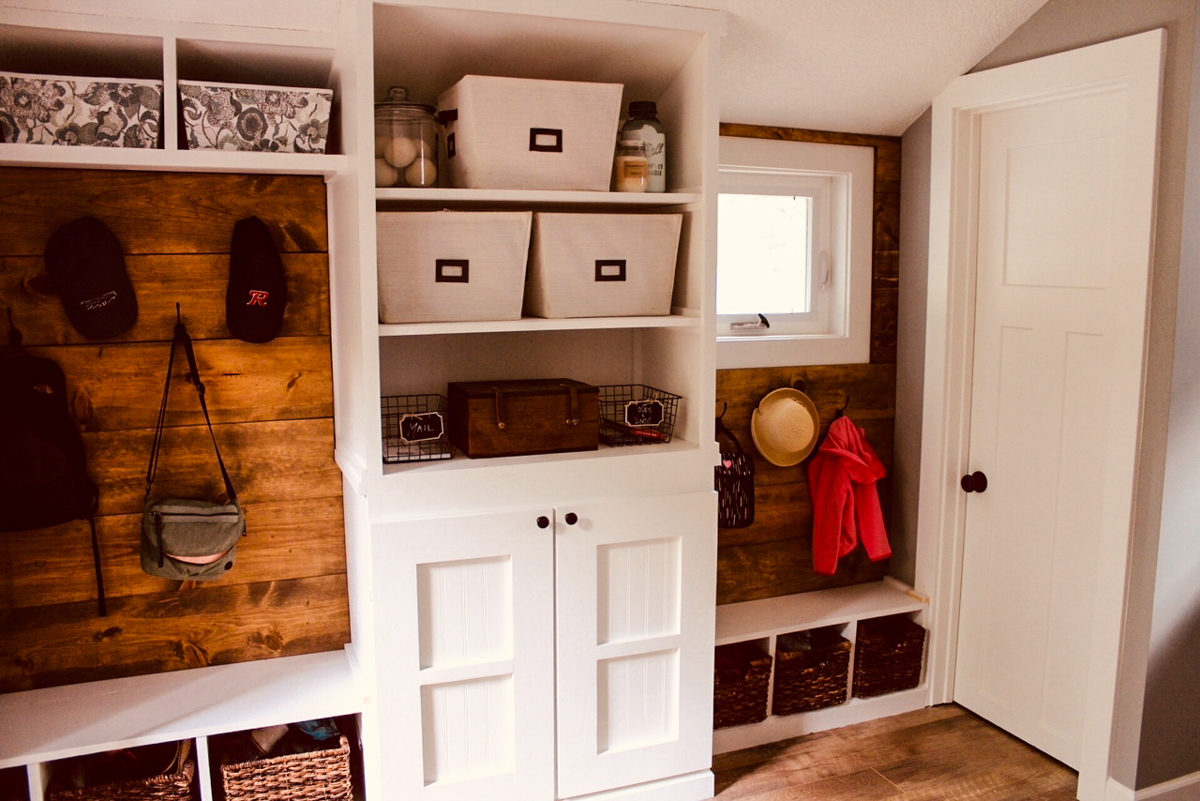
Adding in the top part of the cabinet was more challenging that I thought it was going to be because of the pitched roof at the top. I knew I wasn’t going to be able to get everything perfectly square but I was going to be able to hide most of the imperfections with trim so I did the best I could and made sure it was sturdy.
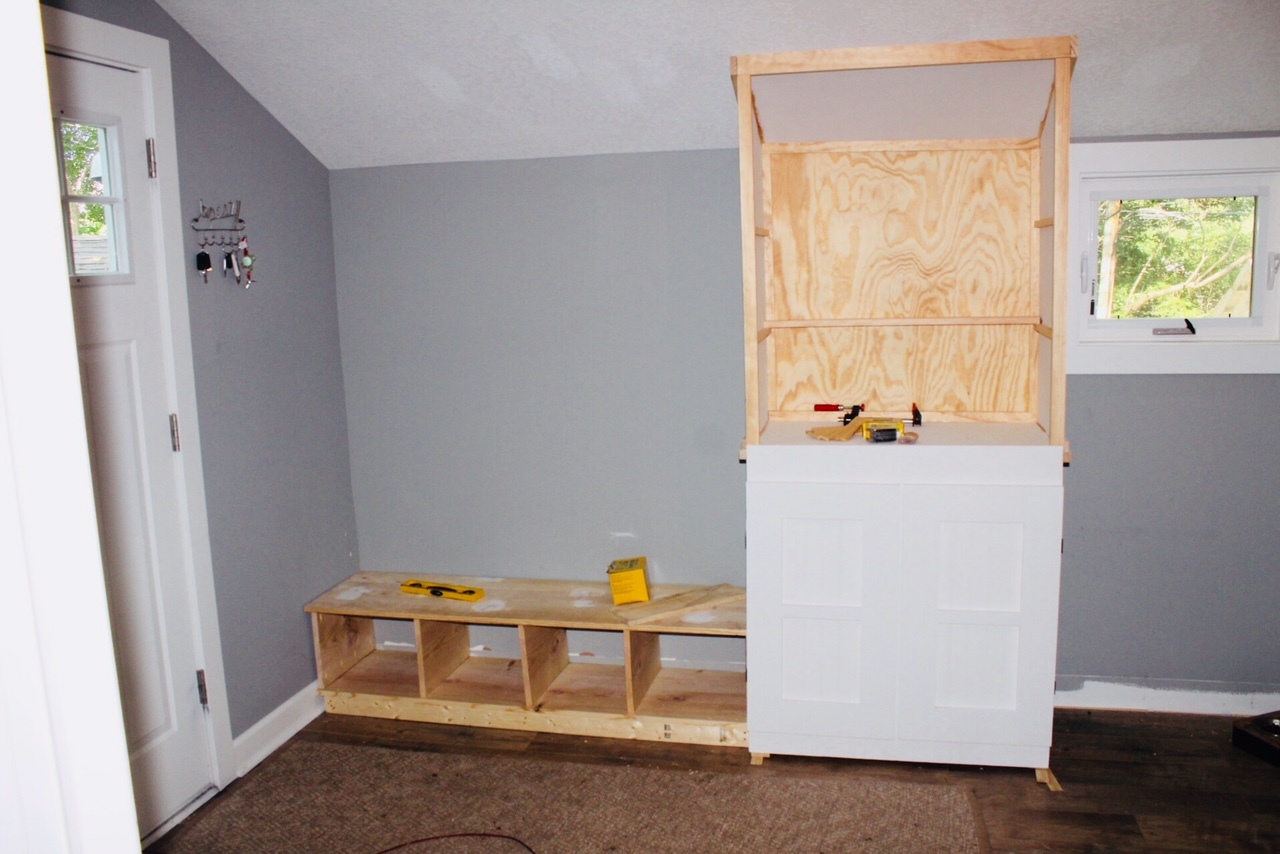
With the cabinet top and bottom secure, I set out the build a storage mudroom bench for each side. I started with a 2 x 4 base to lift it off the ground a little bit and then built in the storage bins and bench top. The entire mudroom bench is anchored to the wall and the cabinet so it’s not going anywhere. The benches were a quick and fairly easy part of the entire project.
A DIY Mudroom Bench
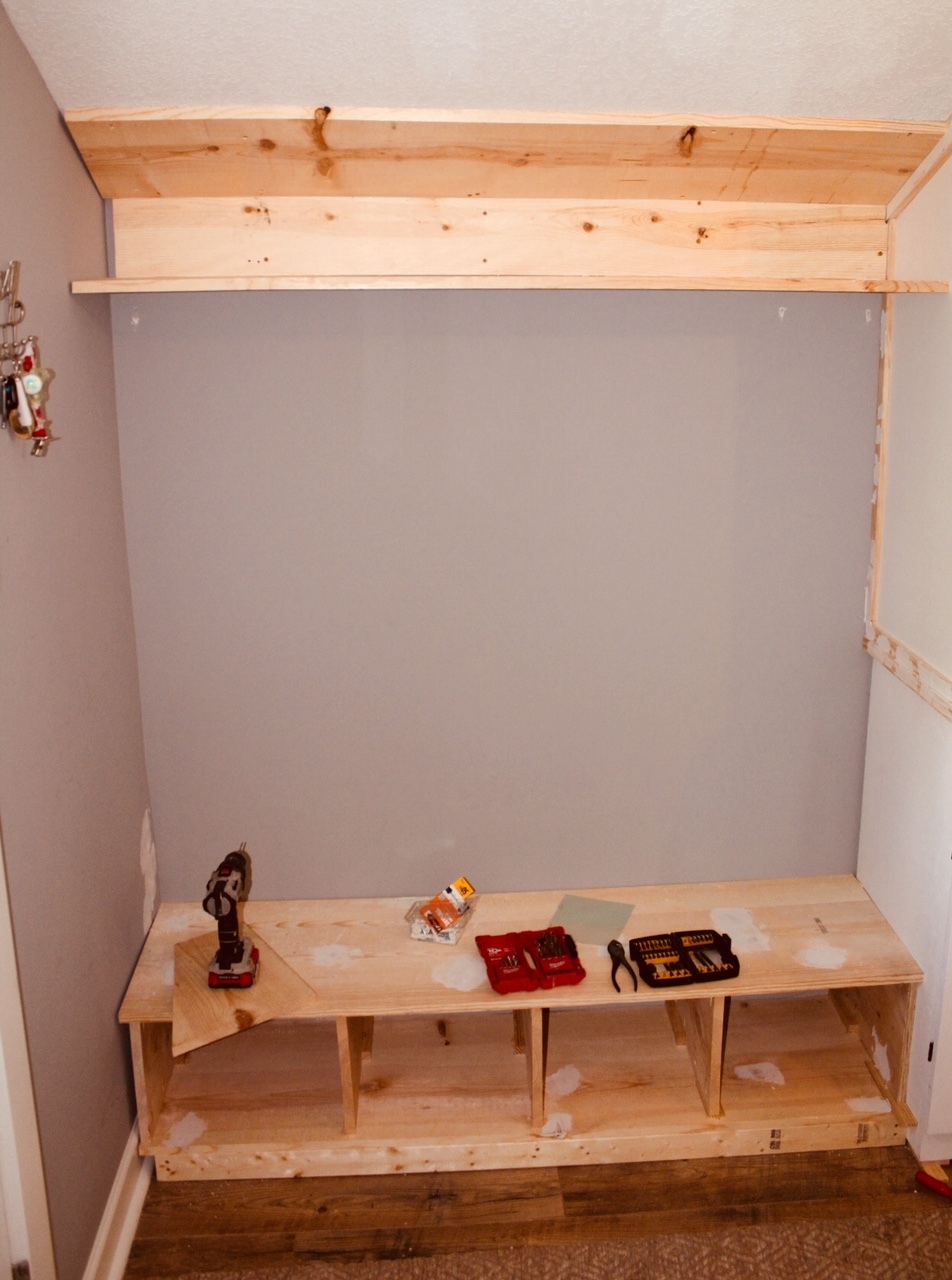
Next, I added in the overhead storage. I started by screwing in a 1 x 12 piece of pine to the top angled part of the ceiling. By finding the ceiling joists, I was able to ensure this piece was secure. Then I added in the back part of shelf by screwing it to the studs. The lower shelf was then anchored to the cabinet, the back wall piece and I added in brackets on both sides of the shelf for support.
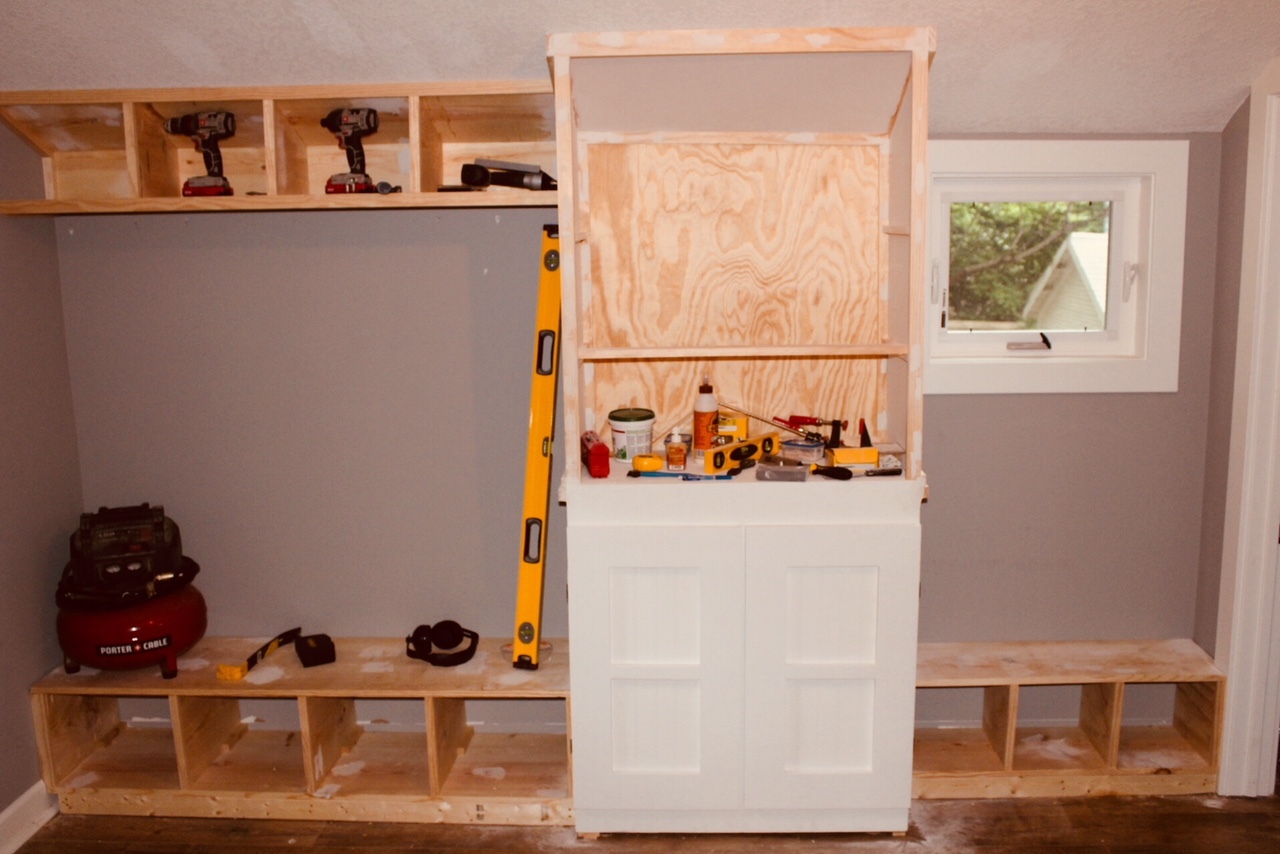
I added in the angled dividers on the top, left side and then added another mudroom bench and storage bins on the right side. The bench and bins on the right side are similar to the left side, but on a smaller scale. I made the right side mudroom bench lower and the bins smaller so it wouldn’t obstruct the pantry door and so my young daughter could easily use the lower bench.
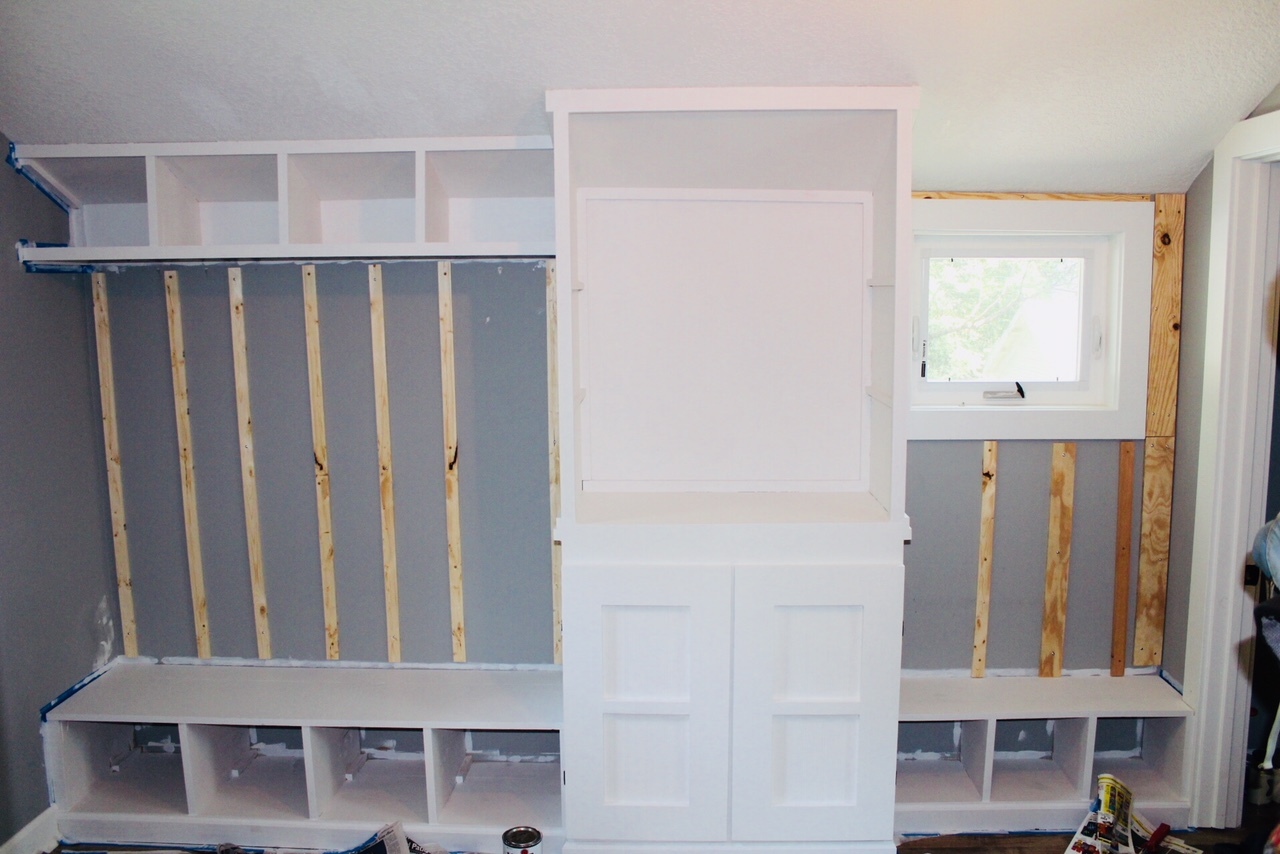
Once I finished building each mudroom bench, I filled in all the screw holes with a joint compound and primed the entire area. I didn’t really want to use the oil-based Kilz Complete inside because the aroma can be overpowering, but I didn’t have a choice since the benches needed to be built-in. So, I cleared the house, and used a mask with all the windows open. Next, I used Sherwin Williams white satin paint over the entire area that matches the other white painted areas of our house. Finally, I screwed in the furring strips so I could easily pin nail the wooden feature wall in place.
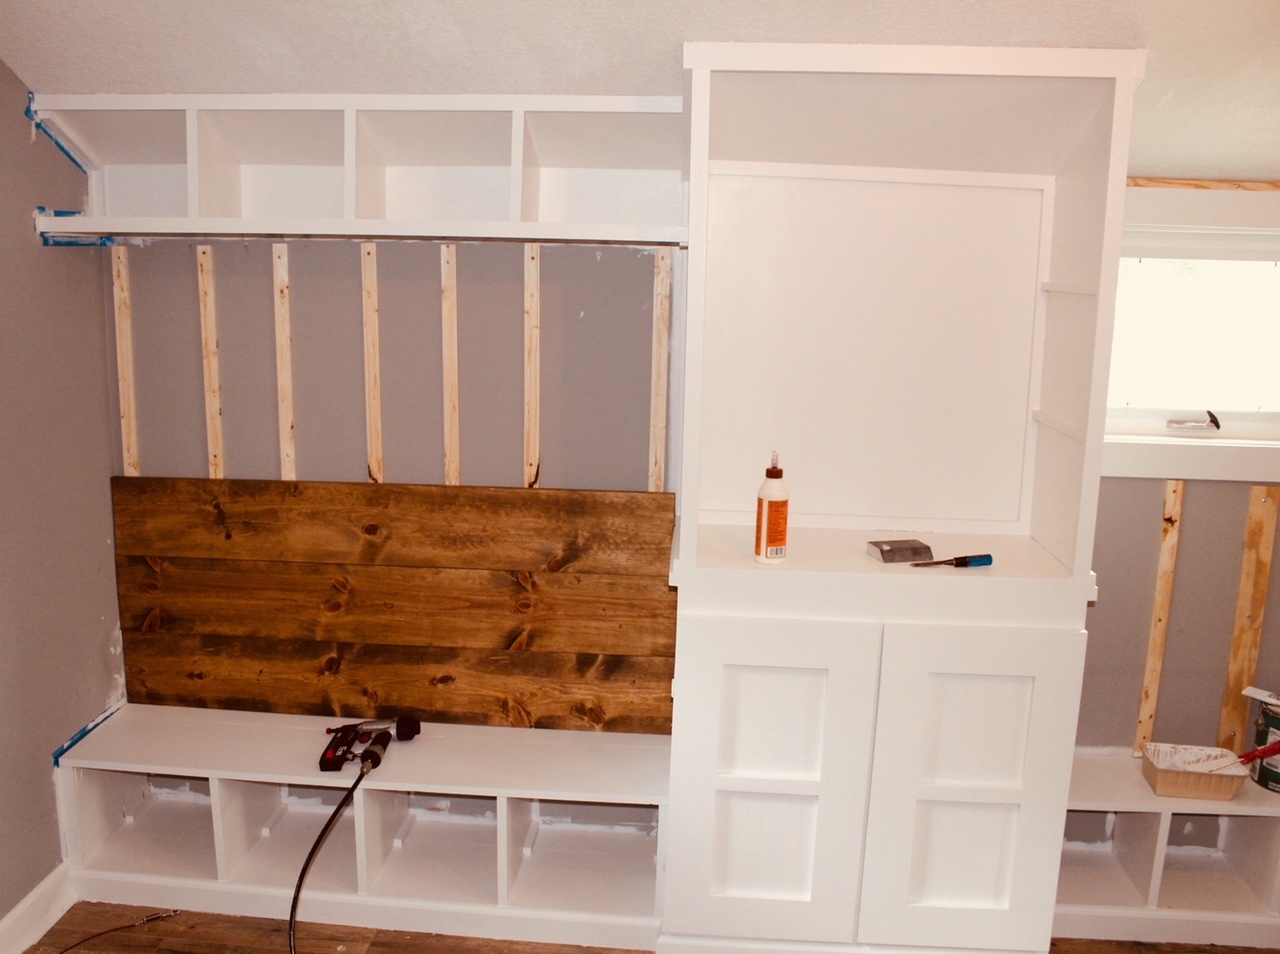
Before putting up the wooden feature wall, I stained all 1×10 boards with Minwax Special Walnut. To hang the boards, I added wood glue to the furring strips and then used my 18-gauge brad nailer to attach all the boards.
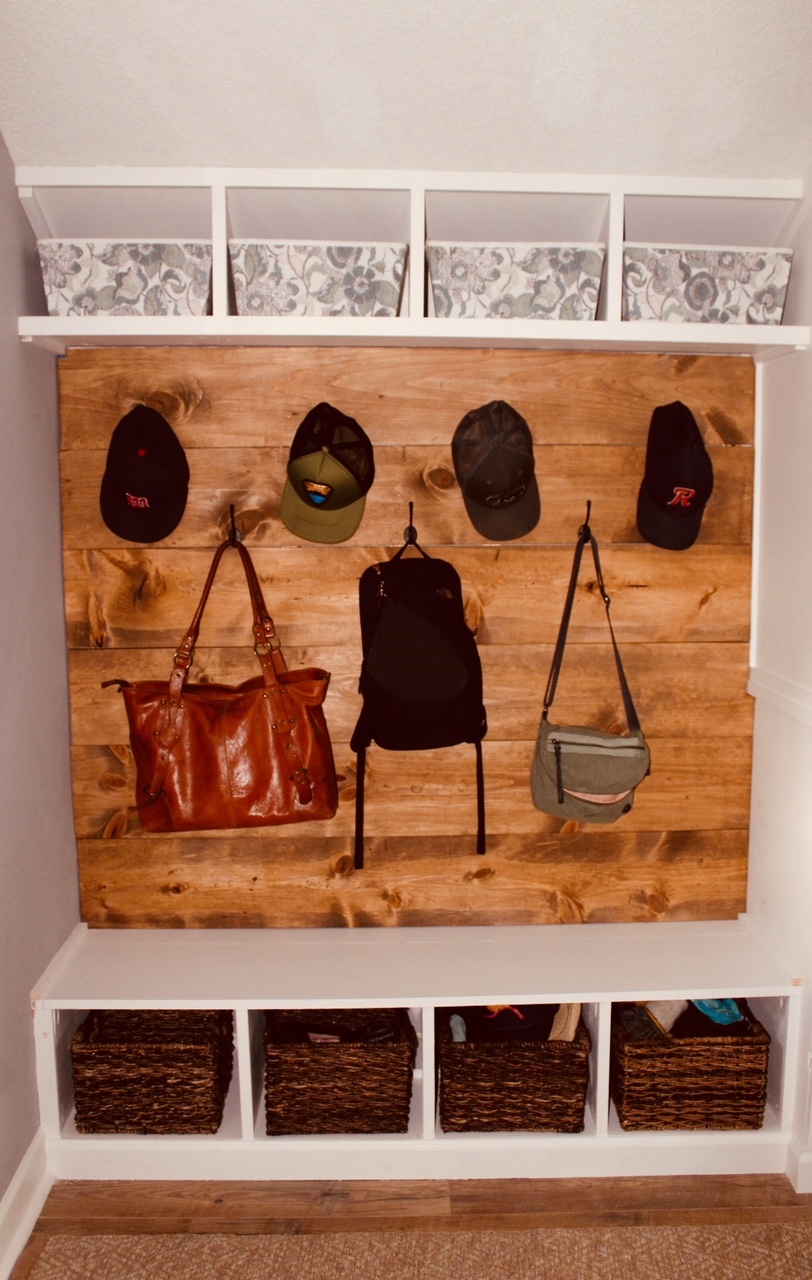
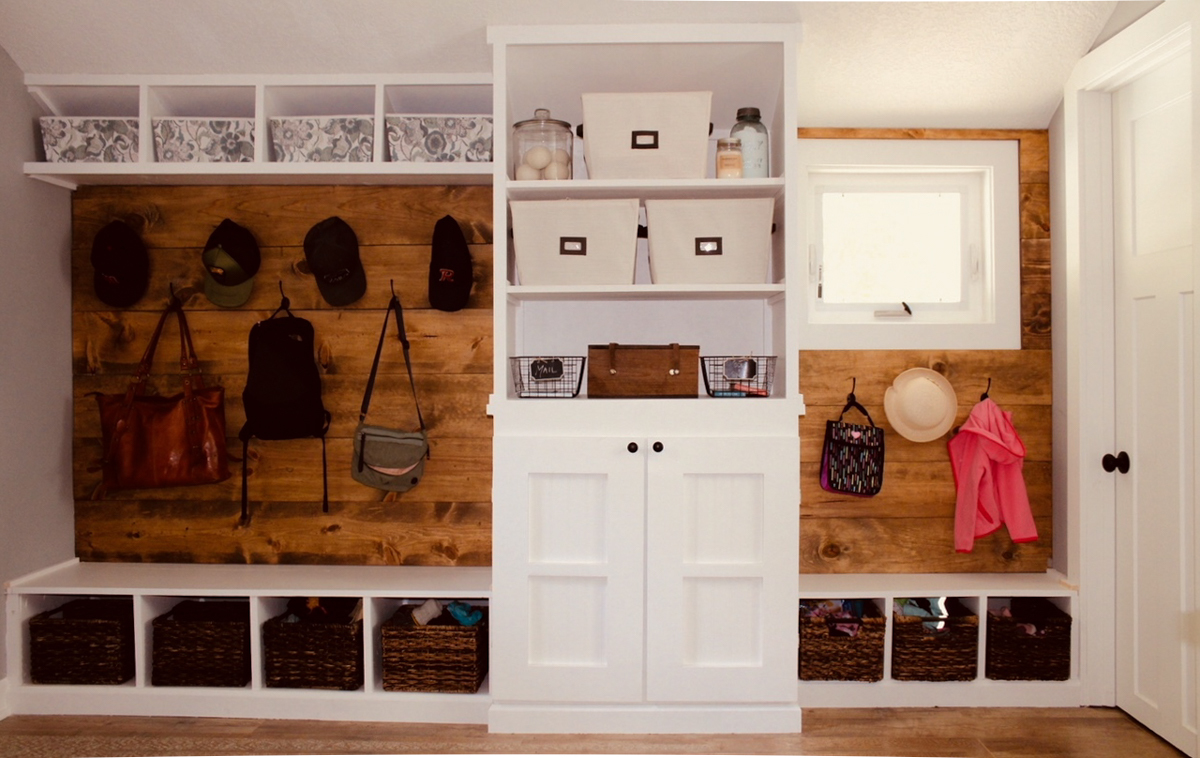
Once all the feature wall boards were secured I added in some coat hooks and baskets for storage.
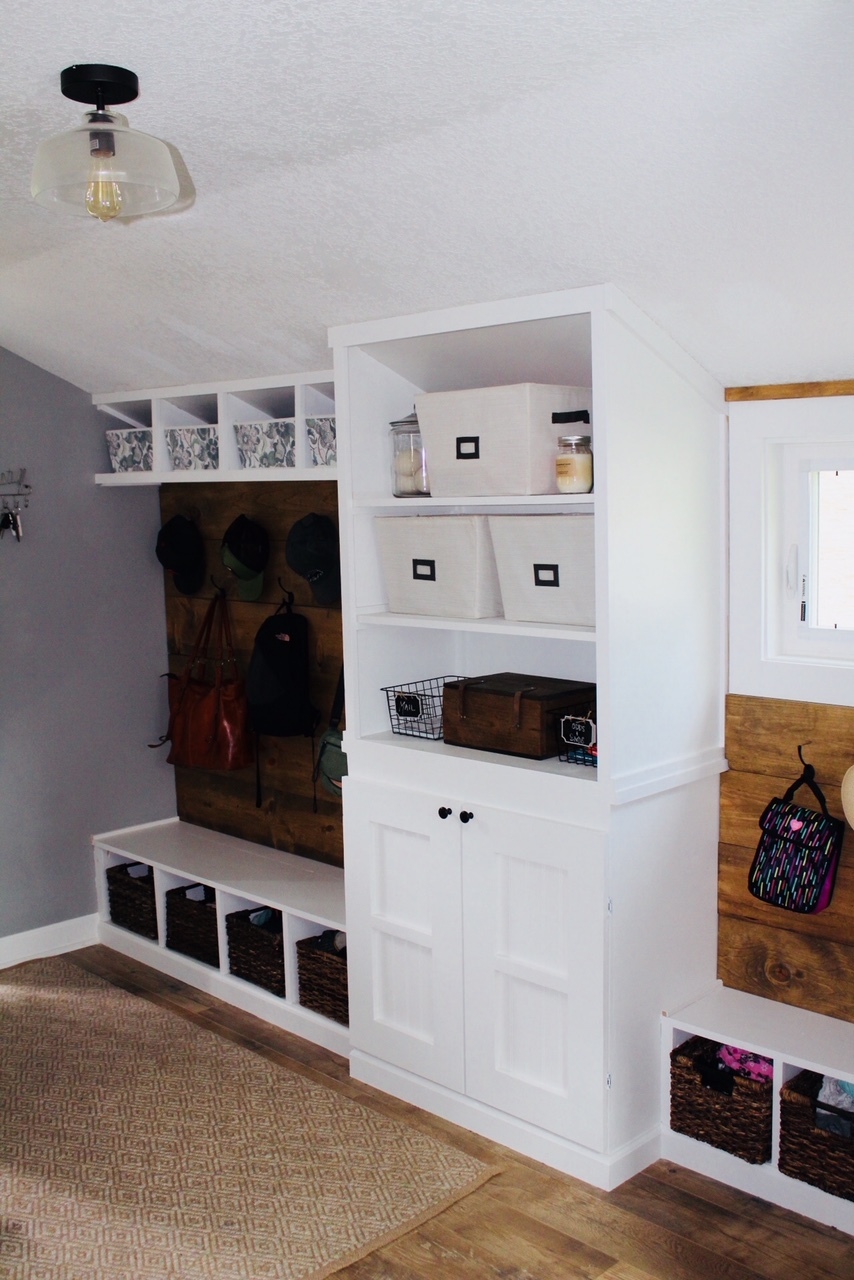
I added in shelves to the top part of the cabinet to finish that section and added in the storage baskets. The cabinet doors are hiding our garbage, which is much nicer than having it sit out in the open (and as a bonus, it keeps my curious toddler from rummaging through it). I also added coat hooks to the right side of the wall and matching storage baskets.
Overall, this was one of the bigger and more time-consuming projects I've done in a long time, but I was really happy with the results. I added a ton of organization while creating a really fun area to walk into. A special thanks goes out to my wife for putting up with a cluttered entry way for weeks while I was finding time to finish this project and for helping paint and decorating the area after I finished building it!