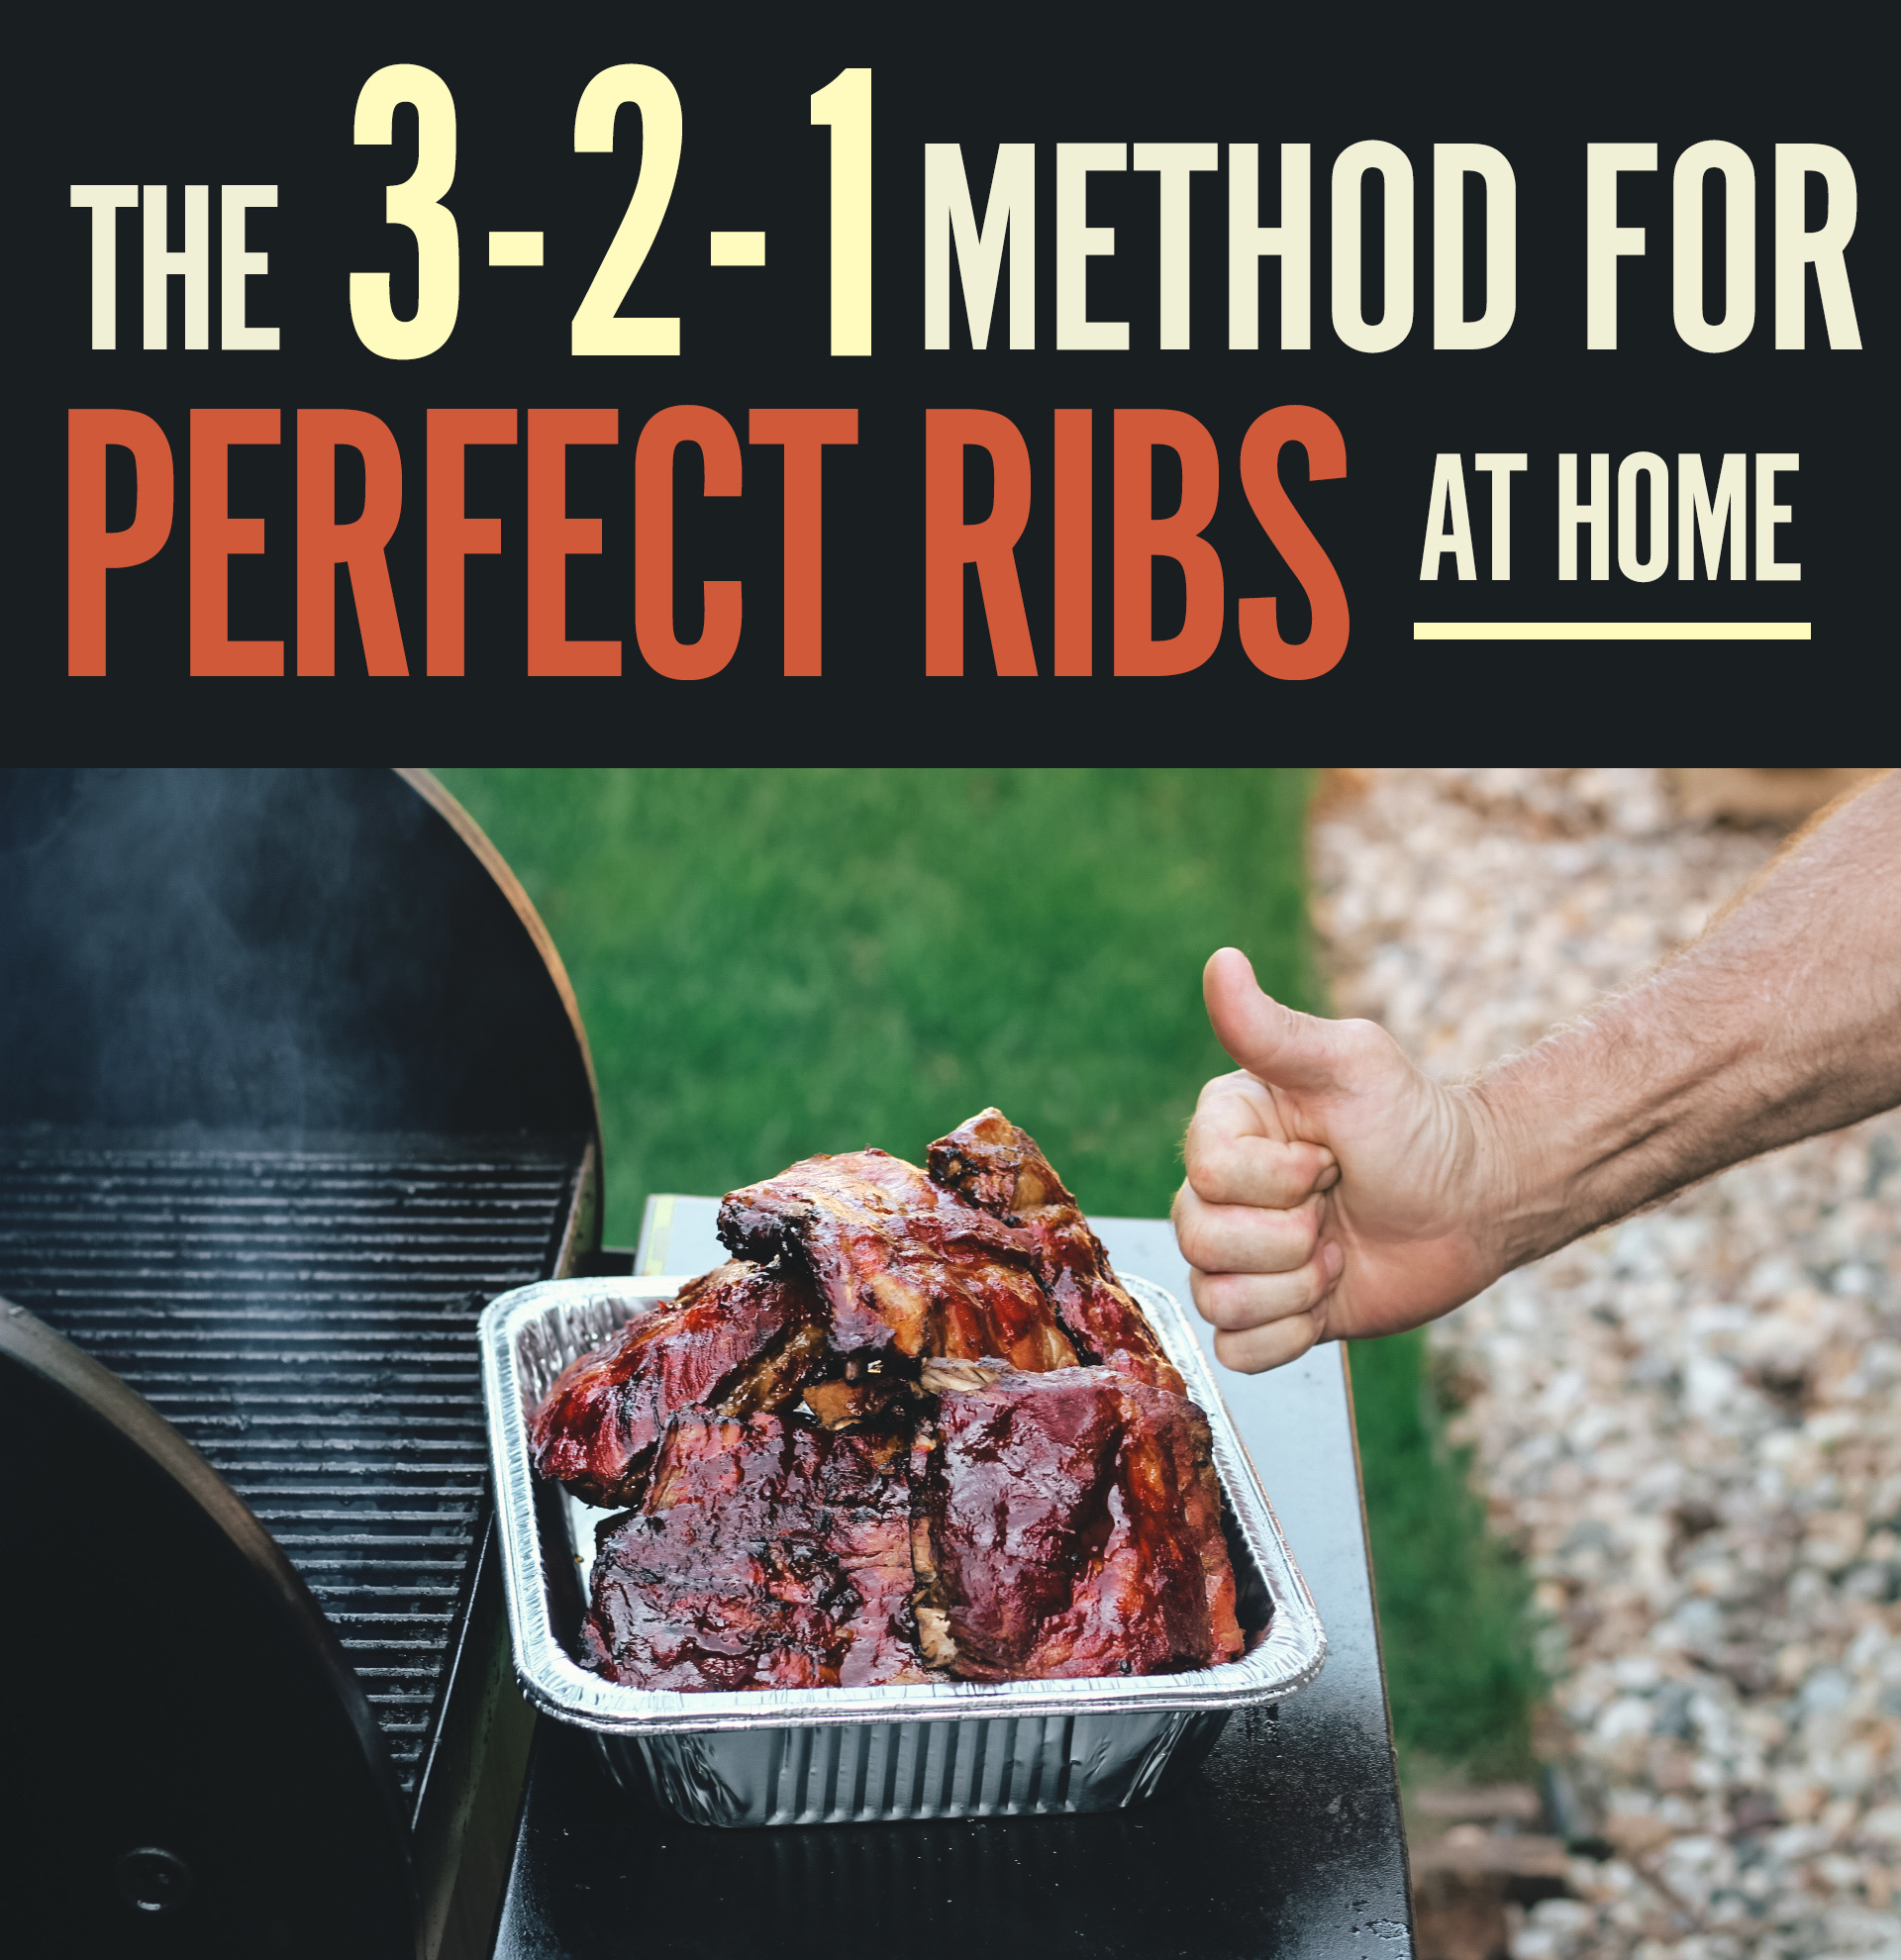
How to: Make Killer Ribs in Three Easy Steps
Making great tasting ribs is certainly a little more involved than grilling a great tasting steak or burger, but that doesn’t mean it has to be difficult. The concern for most people is that this is a task better left to professional pitmasters or your local paper-towel-on-the-table BBQ joint. So many of us are just afraid of messing it up.
But here's the good news: you won't. As long as you understand that ribs are a working muscle and become their best selves with the use of low and slow heat. You can do this with any grill. Literally – any. grill. You don't need a dedicated smoker, and you can even finish the project in your oven if you'd like.
The trick is all in this simple formula, known as the 3-2-1 ribs method. It's fairly common and very easy to remember:
- 3 hours of smoke
- 2 hours in foil
- 1 hour unwrapped to finish
Ready? Let's make some ribs.
Ingredients
- 2 racks of pork spare ribs
- 1/3 cup yellow mustard
- 1/4 cup of apple juice (x2)
- 1 tablespoon of Worcestershire sauce
- 1/2 cup dark brown sugar
- 1 cup of your favorite barbeque sauce
- 1/3 cup of honey, warmed
- Dry rub of choice
Preparation and Grilling
Like most cooking or grilling recipes, the preparation is often the most tedious and labor intensive. The preparation involved the following steps.
- Remove the skin membrane from the bone side of the ribs
- Cut the ribs into smaller and more manageable pieces (typically 4-5 ribs per piece)
- Spread sauce on both sides of the ribs. I combined the following items:
- 1/4 cup of apple juice
- 1 tablespoon of Worcestershire sauce
- 1/3 cup of yellow mustard
- Apply a dry rub of choice, using the granules to adhere to the sauce
3 Hours of Smoke
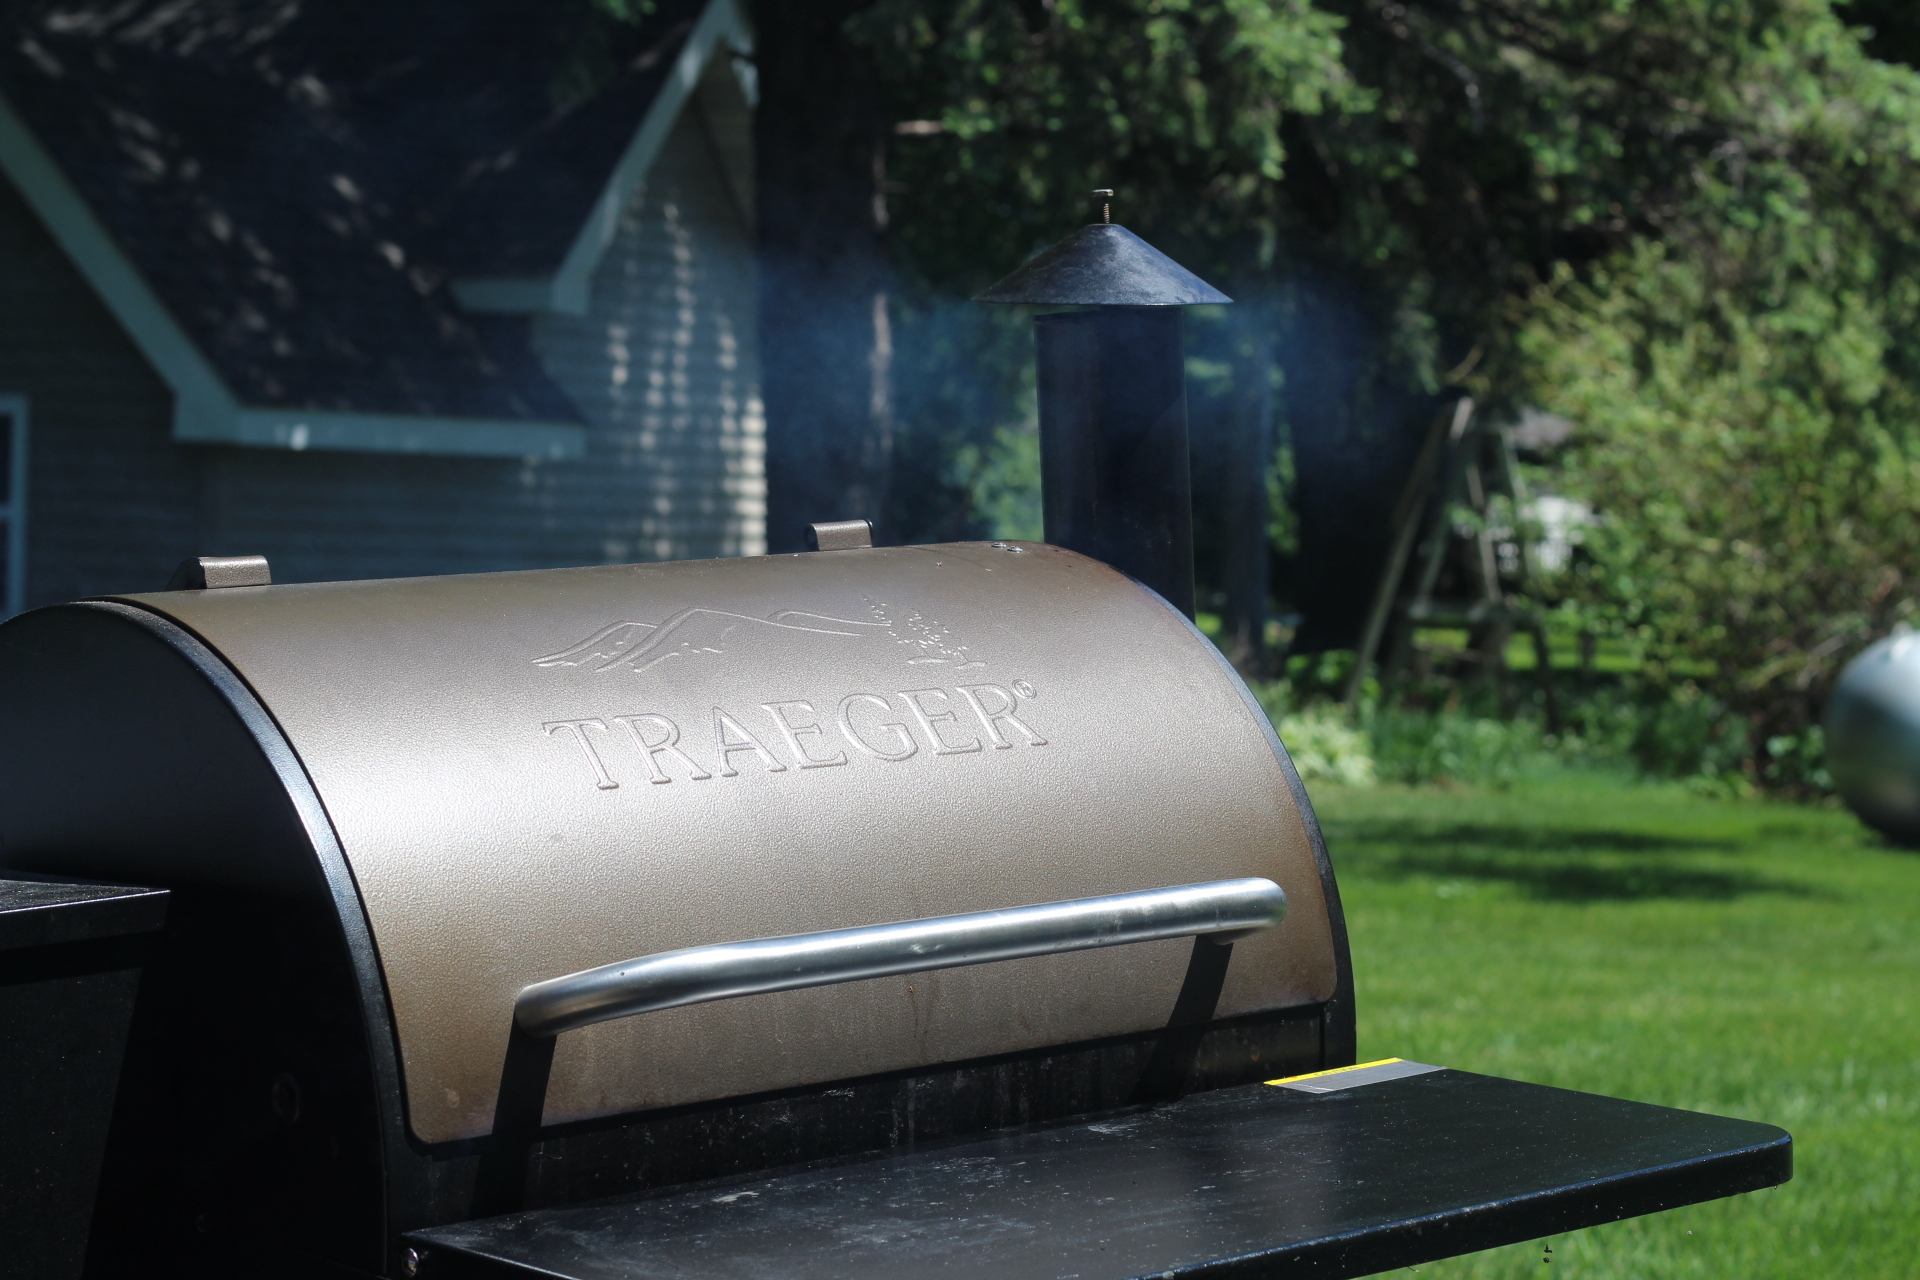
I used a wood-fire grill that has a “smoke” setting at 225 degrees, but you can also use any charcoal or gas grill to get a similar effect. If you don’t have access to such a grill, check out this great article – How to Turn Your Grill into a Smoker. Basically, if your fuel source isn't wood, you want to add it – either in the form of wood chunks that will smolder next to your charcoal, or a foil packet of soaked wood chips placed over the flame in a gas grill. Whatever method you take, make sure the fire and smoke-producers are on one side of the grill, and the food is on the opposite, cooler side. (Bank your coals on a charcoal grill, or turn one burner to medium-high, leaving the ones around the food fully off.) If you use a kettle grill, put the fire on one side, the ribs on the opposite, and place the lid's vent over the food, so it draws the smoke across the meat as it exits.
Whatever your method. Make sure you smoke the ribs meat-side up. Leave the ribs on the grill for 3 hours. This is an easy “set it and forget it” process.
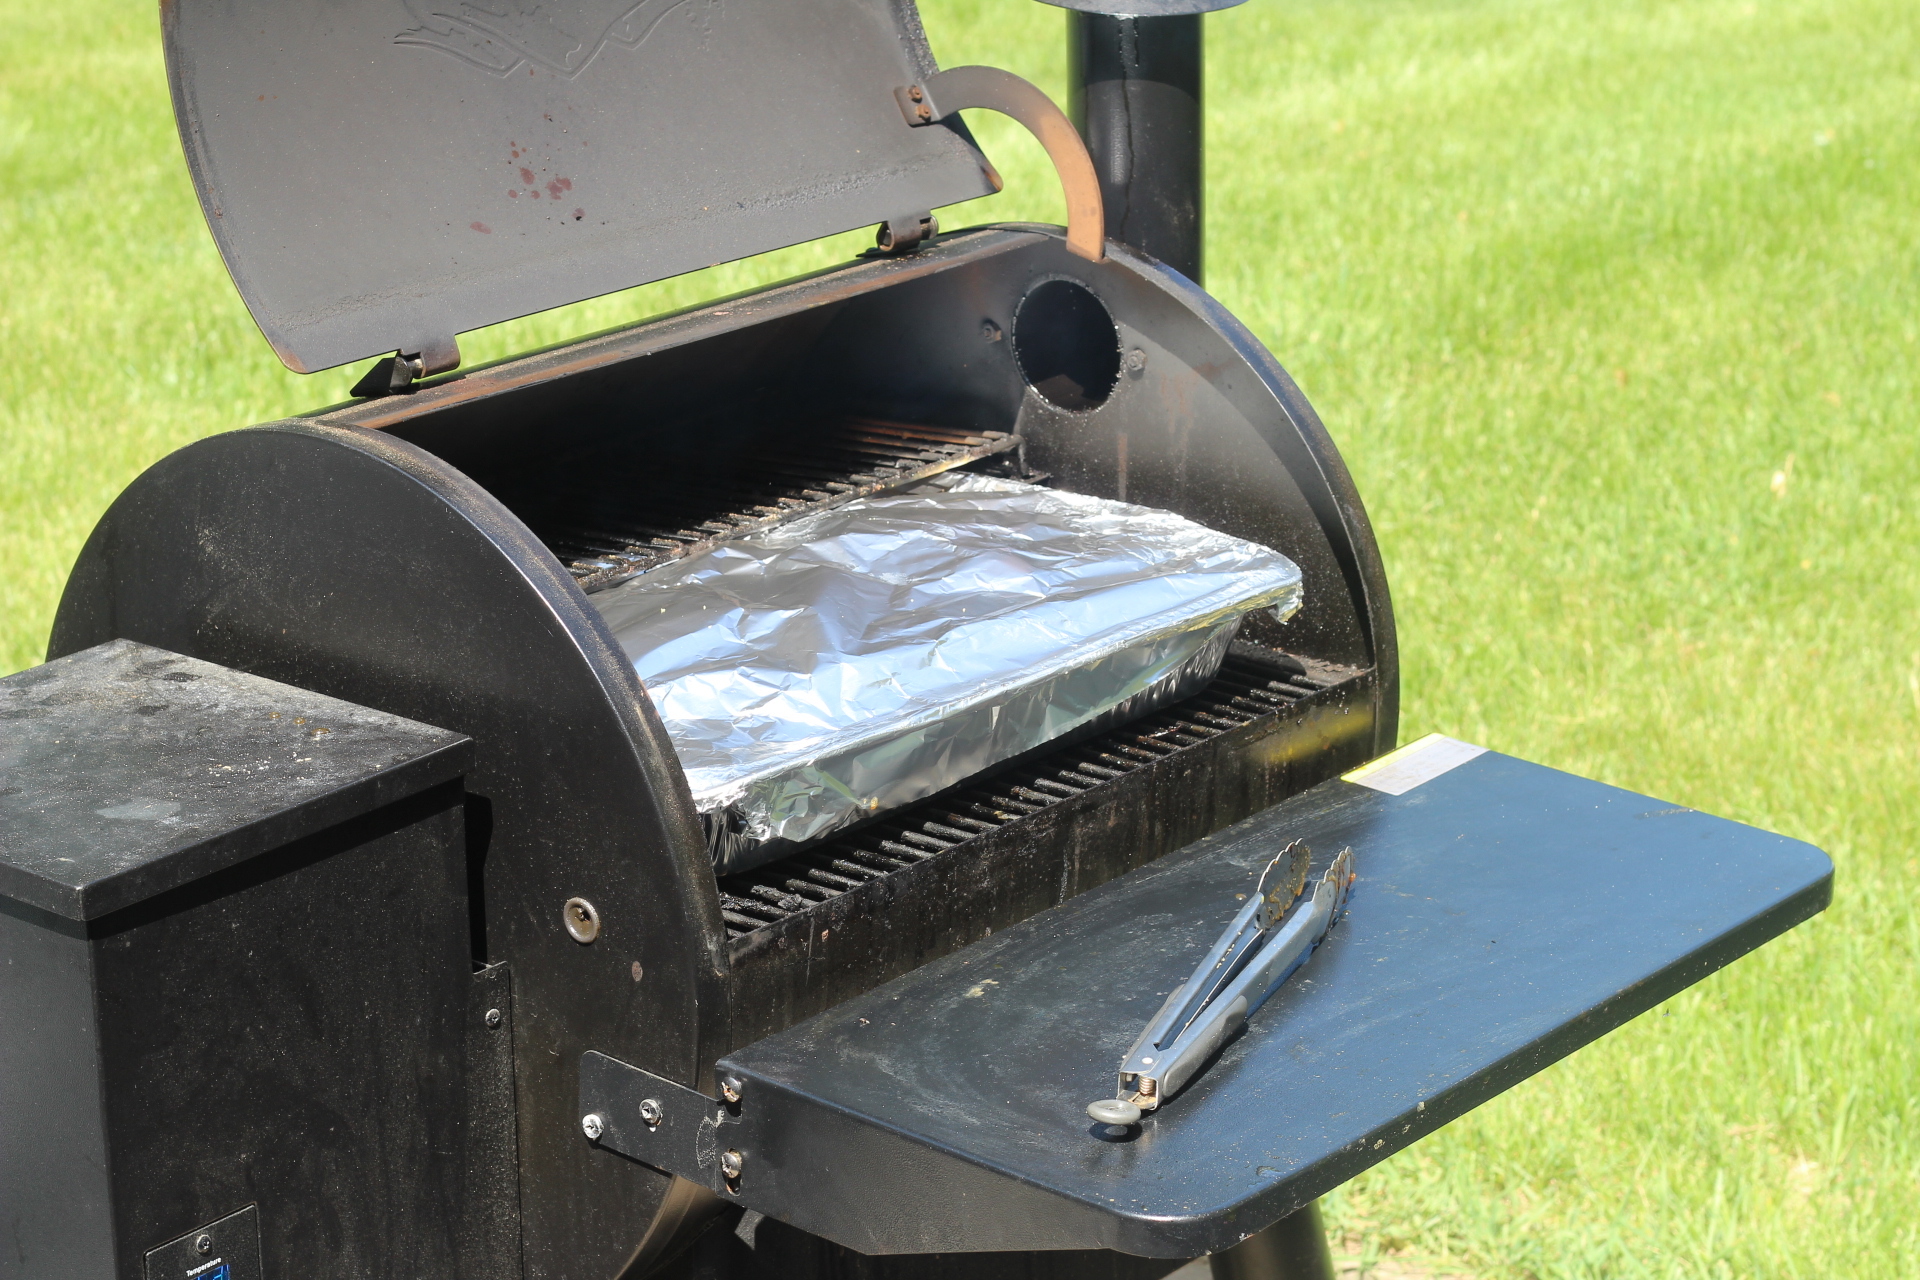
2 Hours in Foil
After you’ve smoked your ribs, it’s time cover them in foil. I used an aluminum pan and then covered the entire pan with aluminum foil. Spread 1/3 cup of warmed honey and 1/4 cup apple juice on the ribs and then sprinkle on some brown sugar. Place the pan back on the grill at 225 degrees for 2 hours. You don't need to add more wood/smoke at this point, but don't fear if it's still present.

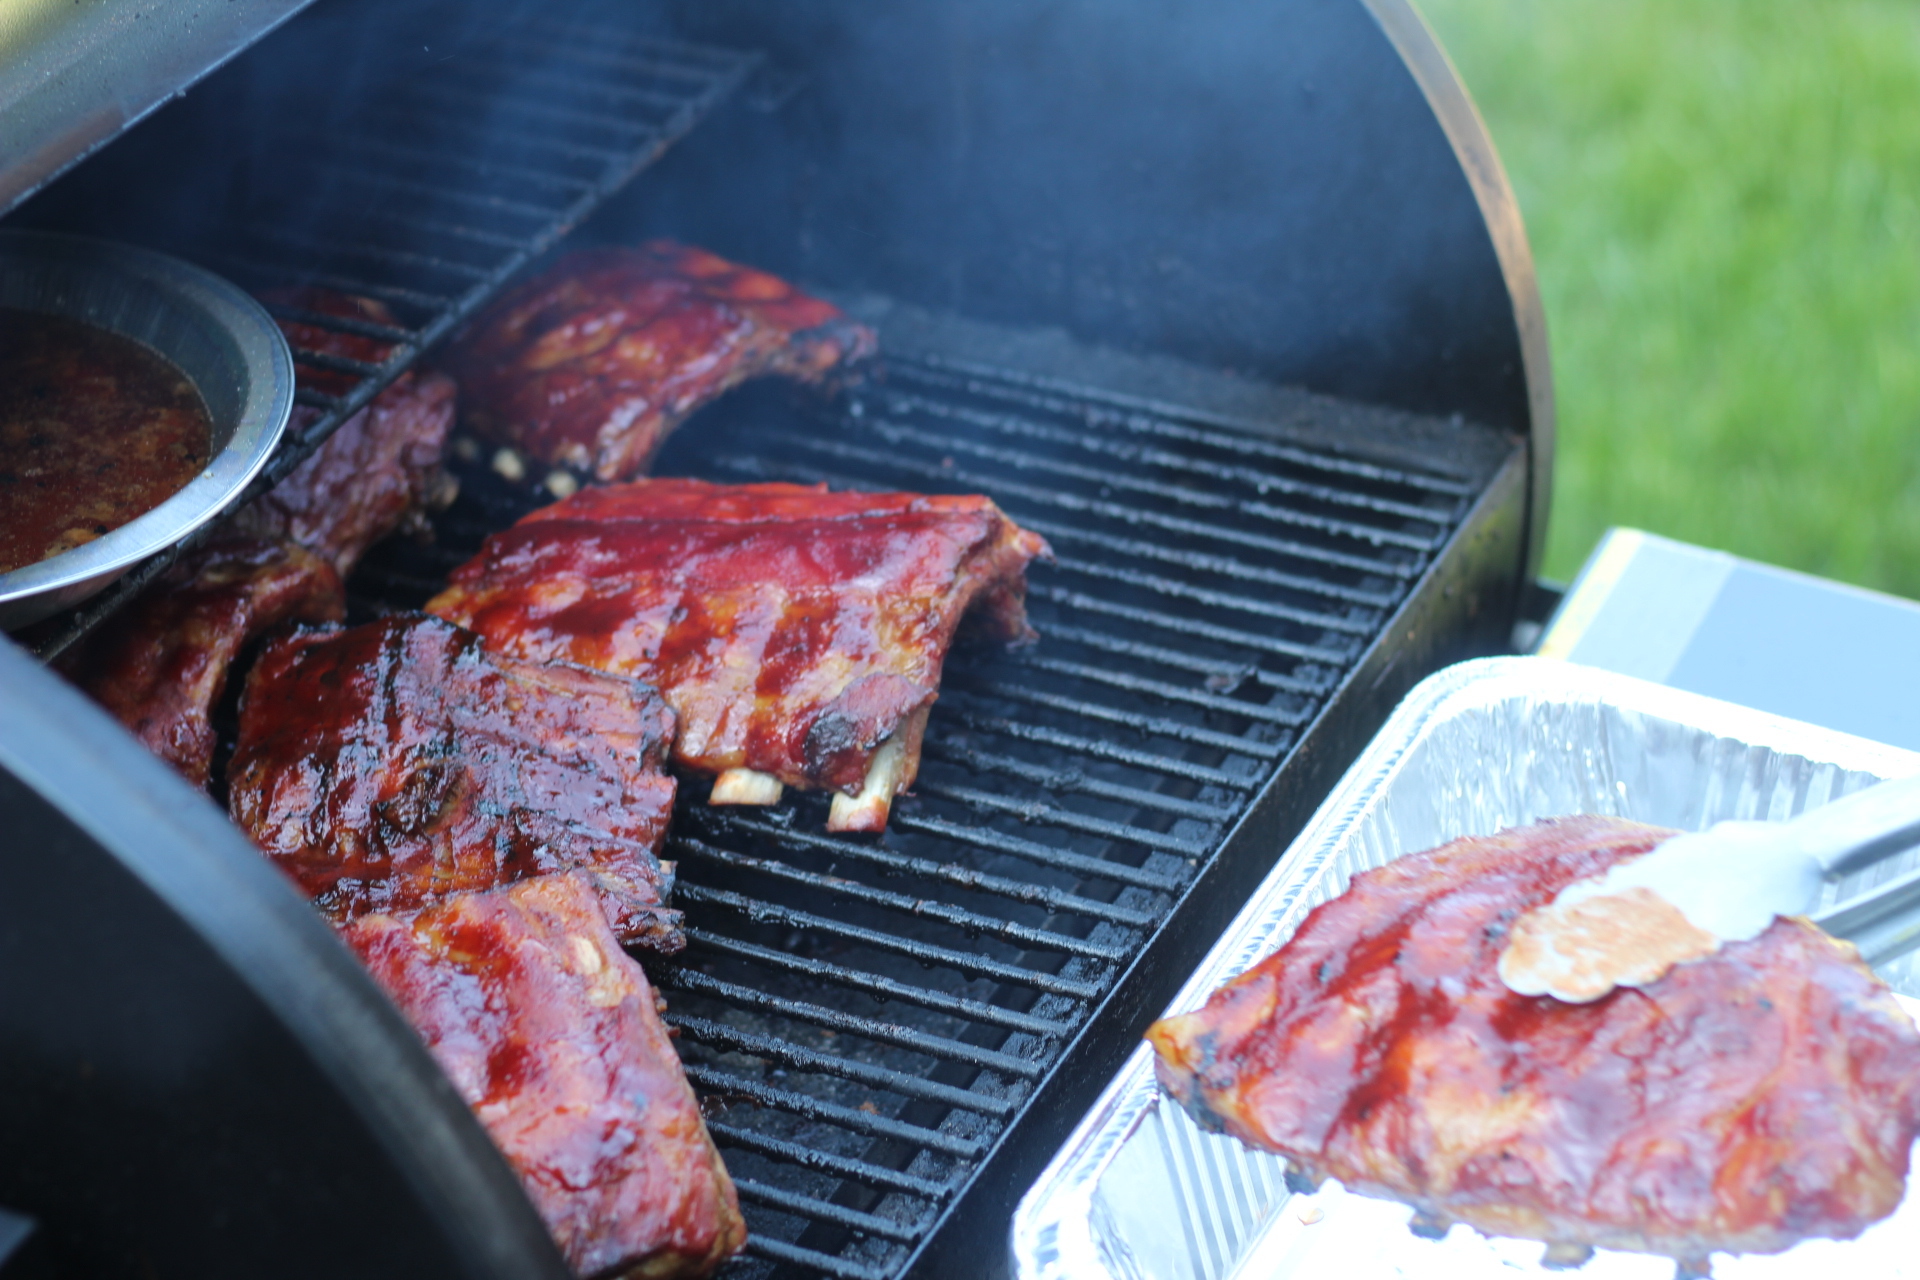
1 Hour Unwrapped to Finish
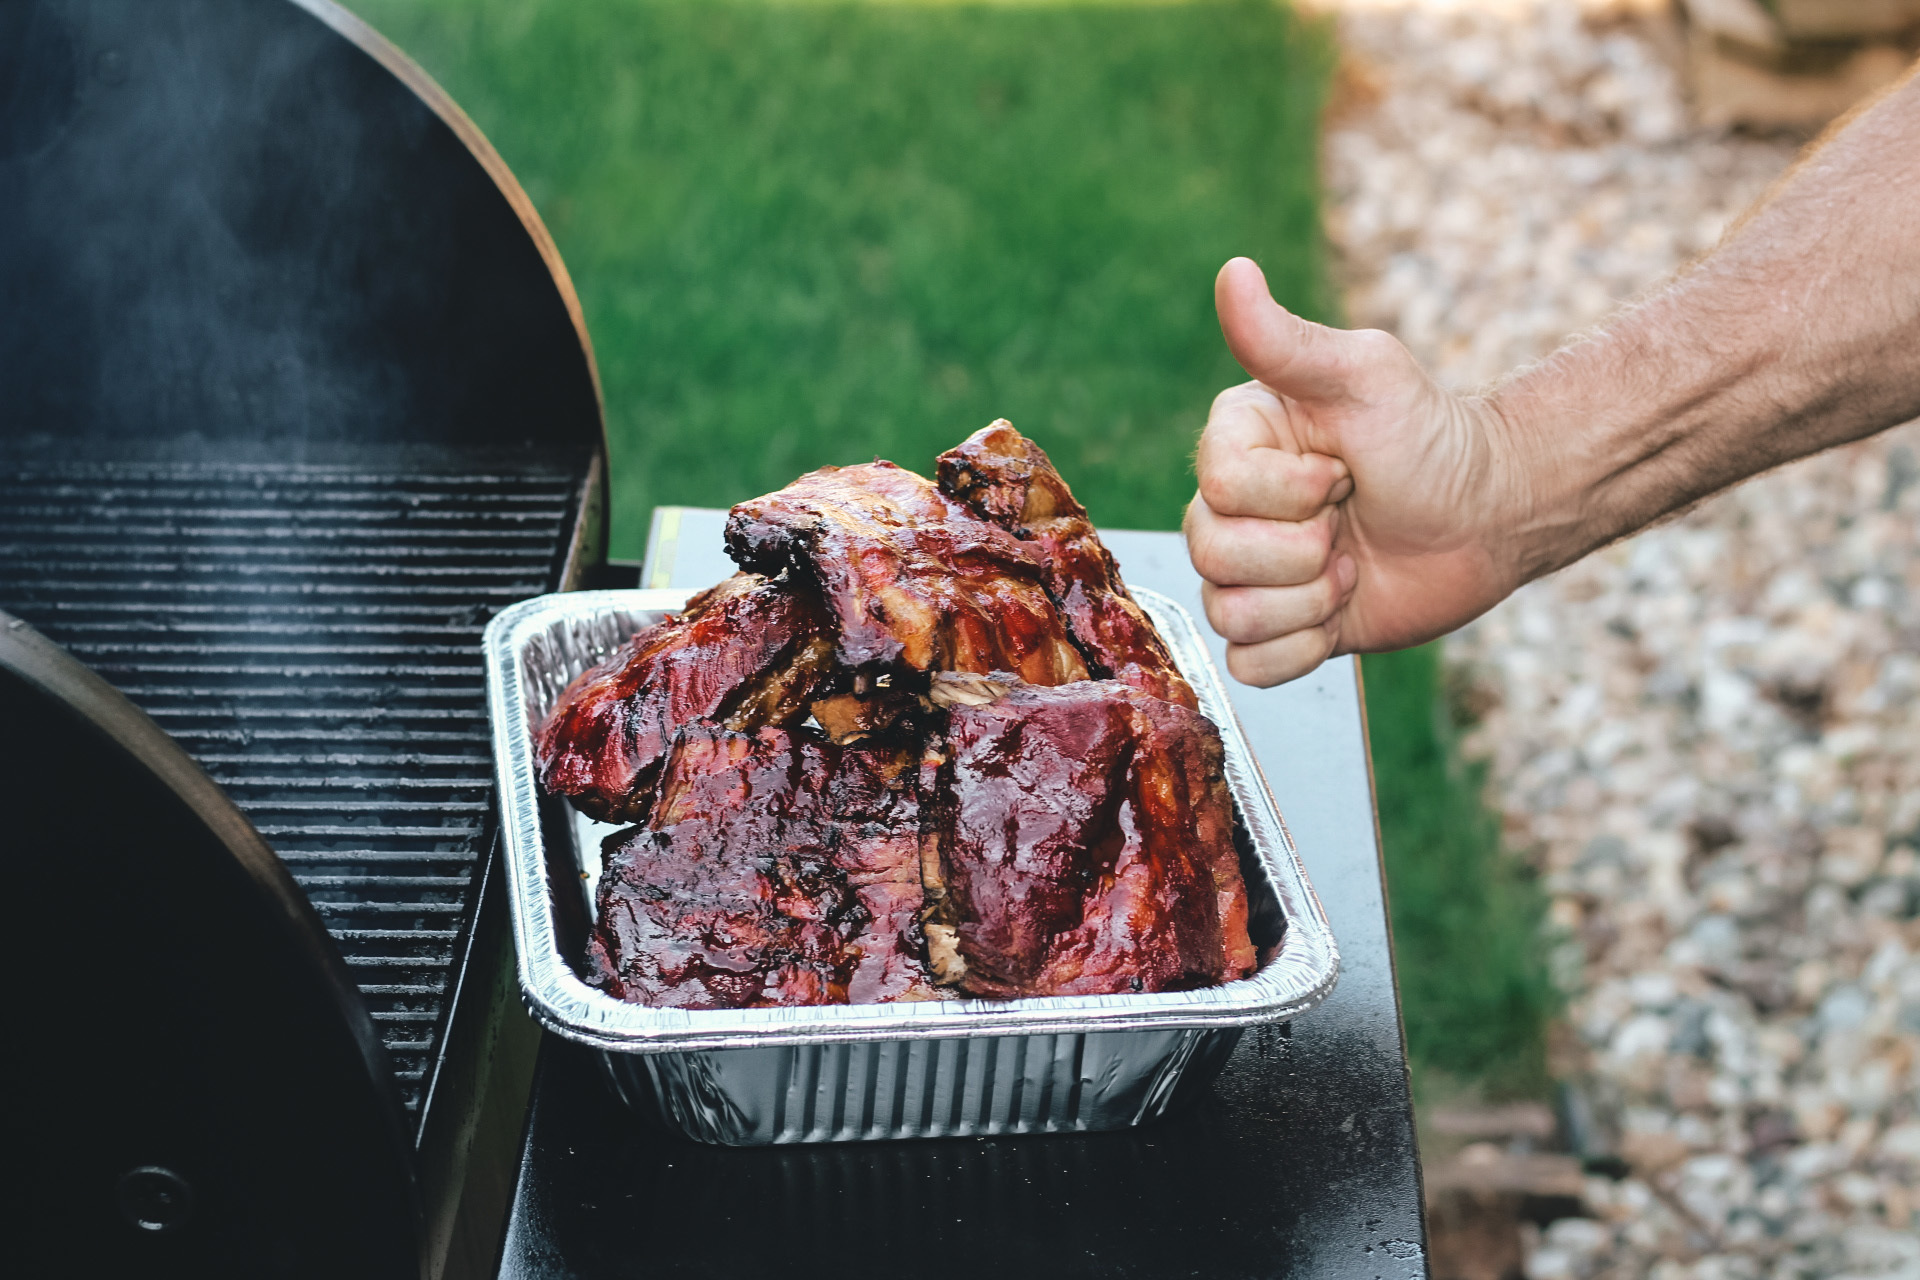
Remove the ribs from the aluminum foil. Be careful when first opening the aluminum foil because there will be plenty of hot steam. Brush both sides of the ribs with your favorite barbeque sauce. Put the ribs back on the grill at 225 degrees and continue to cook until the sauce “tightens”. The recipe called for a full hour for this last step, but I would check the ribs after 20 minutes. The full hour on the grill might in the ribs being a little overcooked (but still very delicious). Check the meat at 20 minutes and if you think they need a little more time, then leave them on the grill and check periodically until you have exactly what you like. The target temp here is around 185-195°F, but really, they're done when they're done.
Overall, this process takes several hours from start to finish so it’s definitely a meal that you need to plan for ahead of time, but it’s not a very involved process. I’ve made meals in 30 minutes that take more work than these ribs and didn’t taste nearly as delicious. And it can definitely be completed, even with the accompaniment of a few crisp lagers.
With the 4th of July coming up, this is the perfect time to get out the grill and spend the day outside waiting for your ribs to get finish cooking. Enjoy!