5 Tips for Installing a Window Air Conditioning Unit
A window air conditioning unit is a great way to keep your space cool without the expense of central air. However, improper installation can lead to inefficiency, safety hazards, and even damage to your window or unit. To get the best performance and longevity from your AC, follow these five essential installation tips.
1. Choose the Right Window and Location
Selecting the proper window is the first step in ensuring effective cooling. Ideally, choose a window that’s centered in the room to allow even air distribution. Avoid windows that receive direct sunlight for most of the day, as this can force your unit to work harder.
Additionally, ensure the window is strong enough to support the weight of the unit, and avoid placing it near obstructions like trees or furniture that could block airflow.
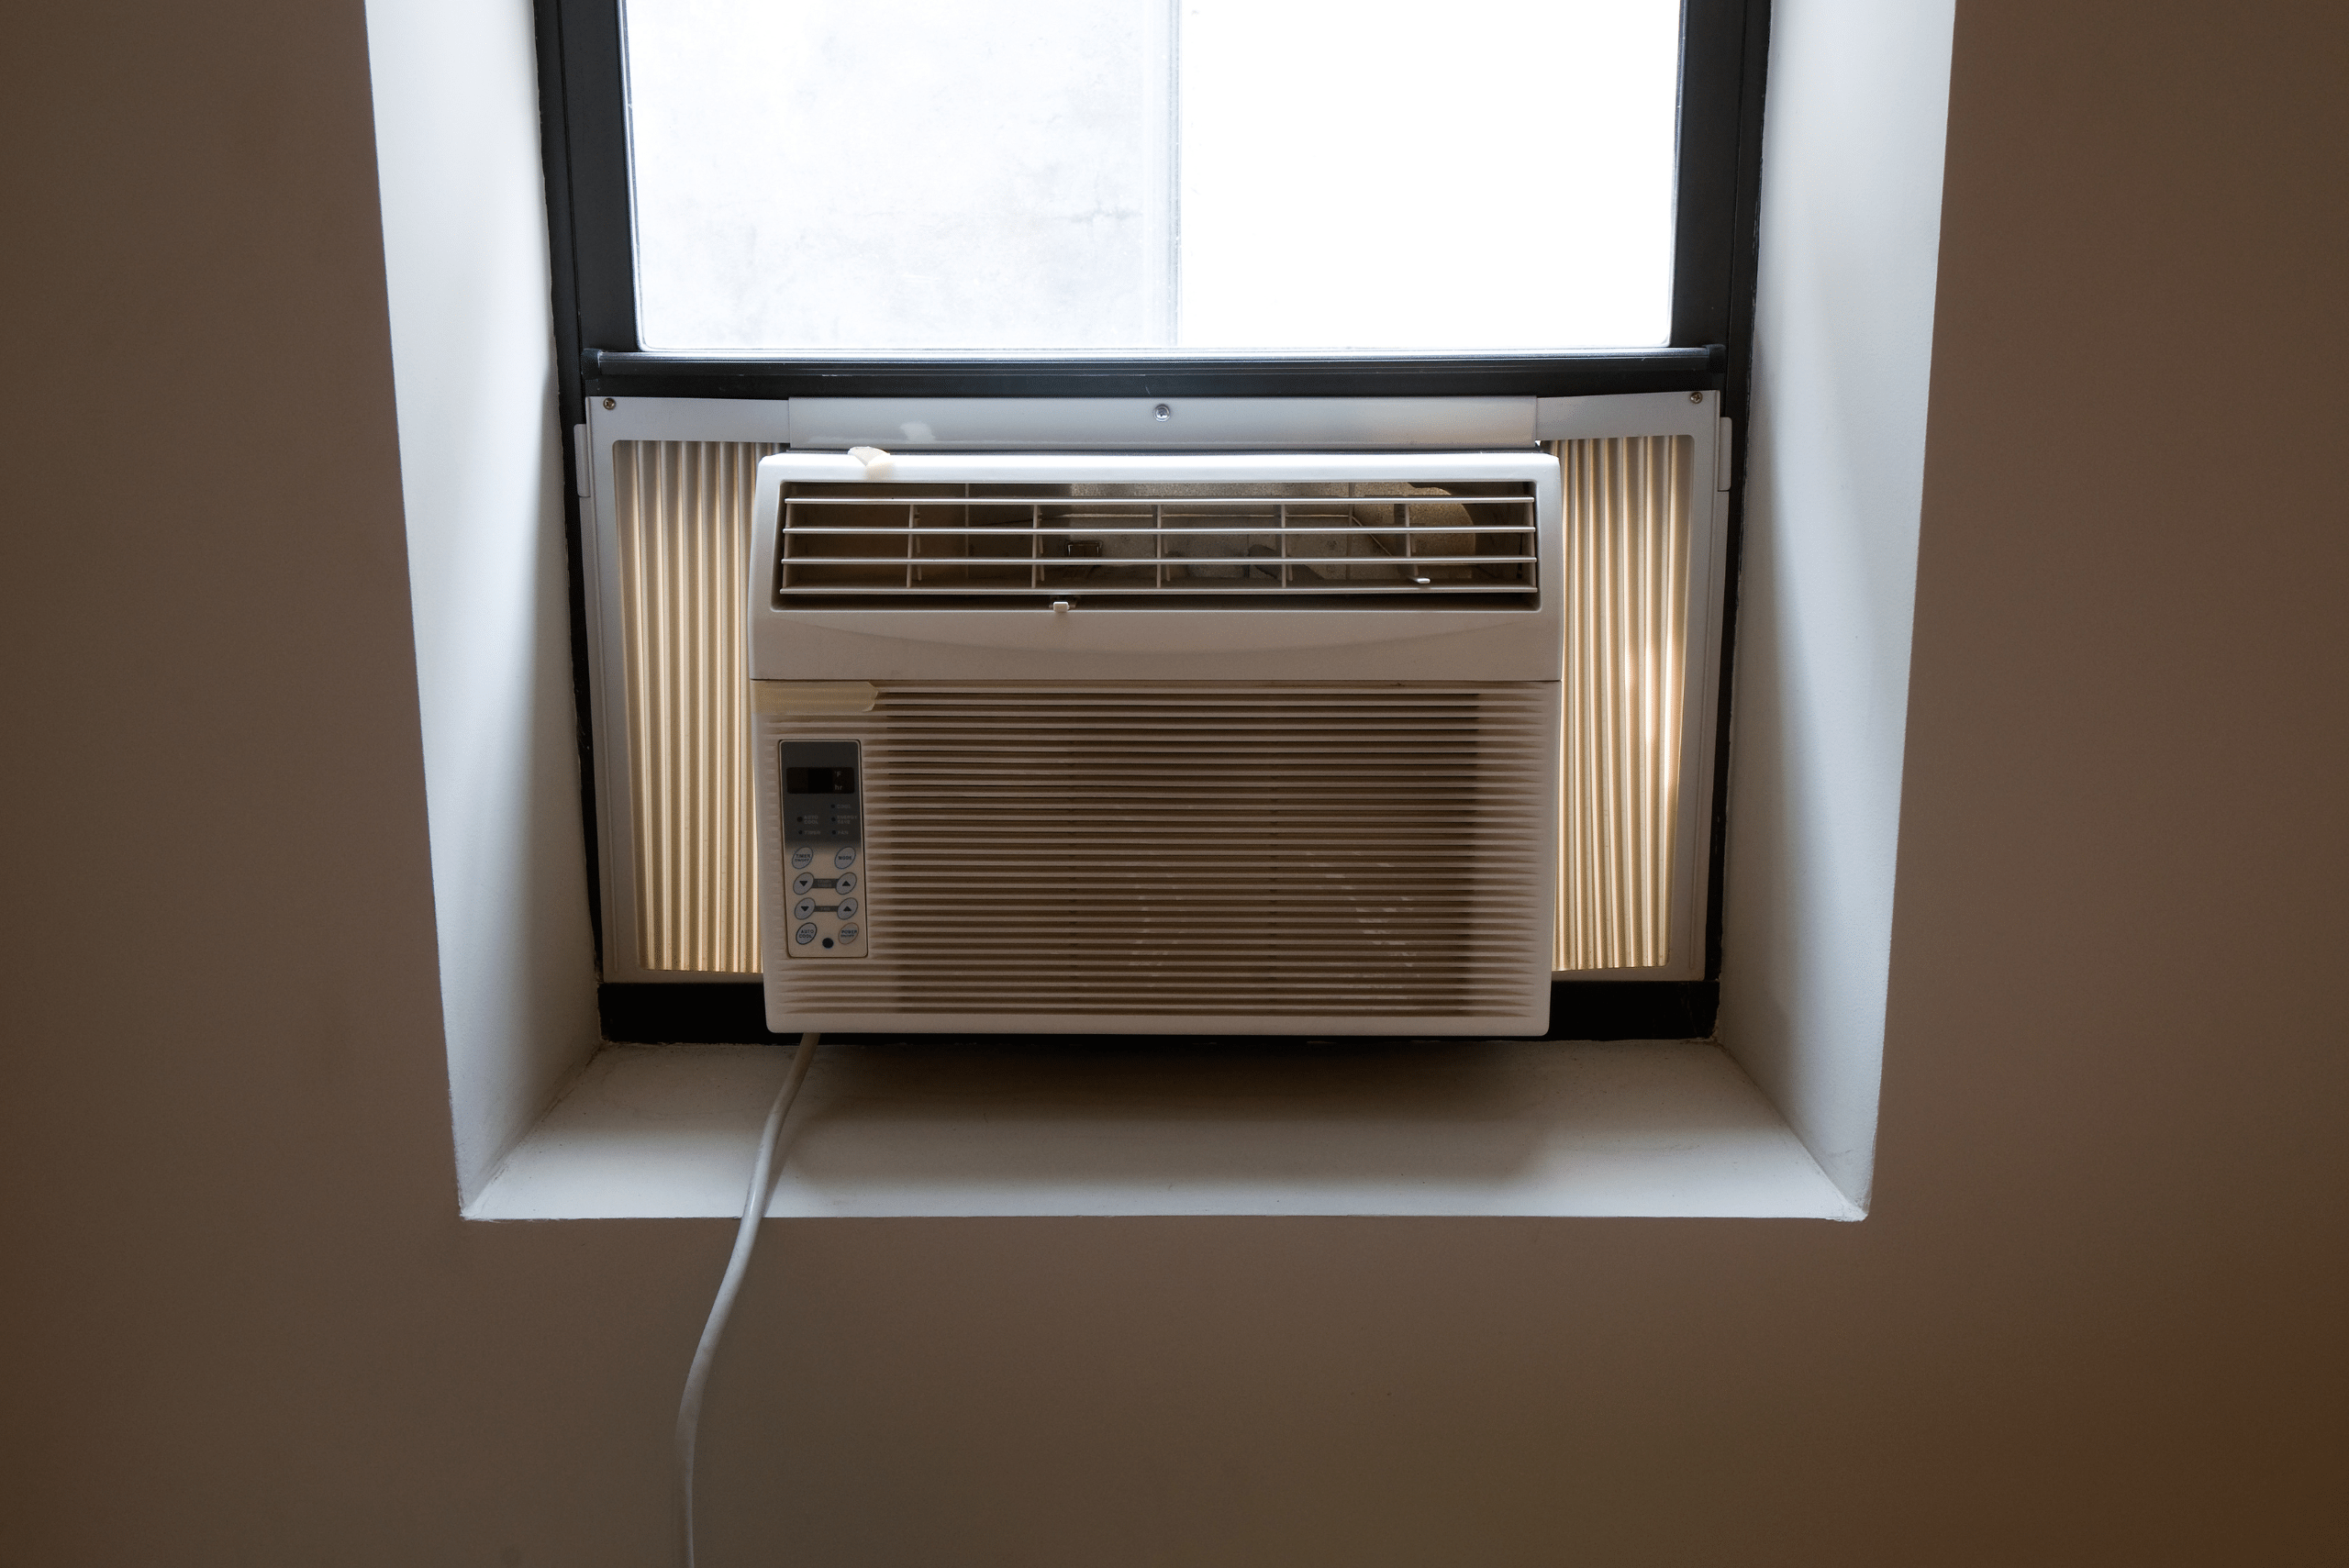
2. Secure the Unit Properly
A window AC unit is heavy and needs a stable, level surface for safe operation. Use the mounting hardware that comes with the unit, and follow the manufacturer’s instructions carefully. Many units require additional brackets or support on the exterior side to prevent them from tilting or falling.
If your window frame is weak or worn, consider reinforcing it before installation to ensure the unit remains stable. Safety should always be your first priority when installing an air conditioning unit in a window, as it can cause injury to you or others walking under the window.
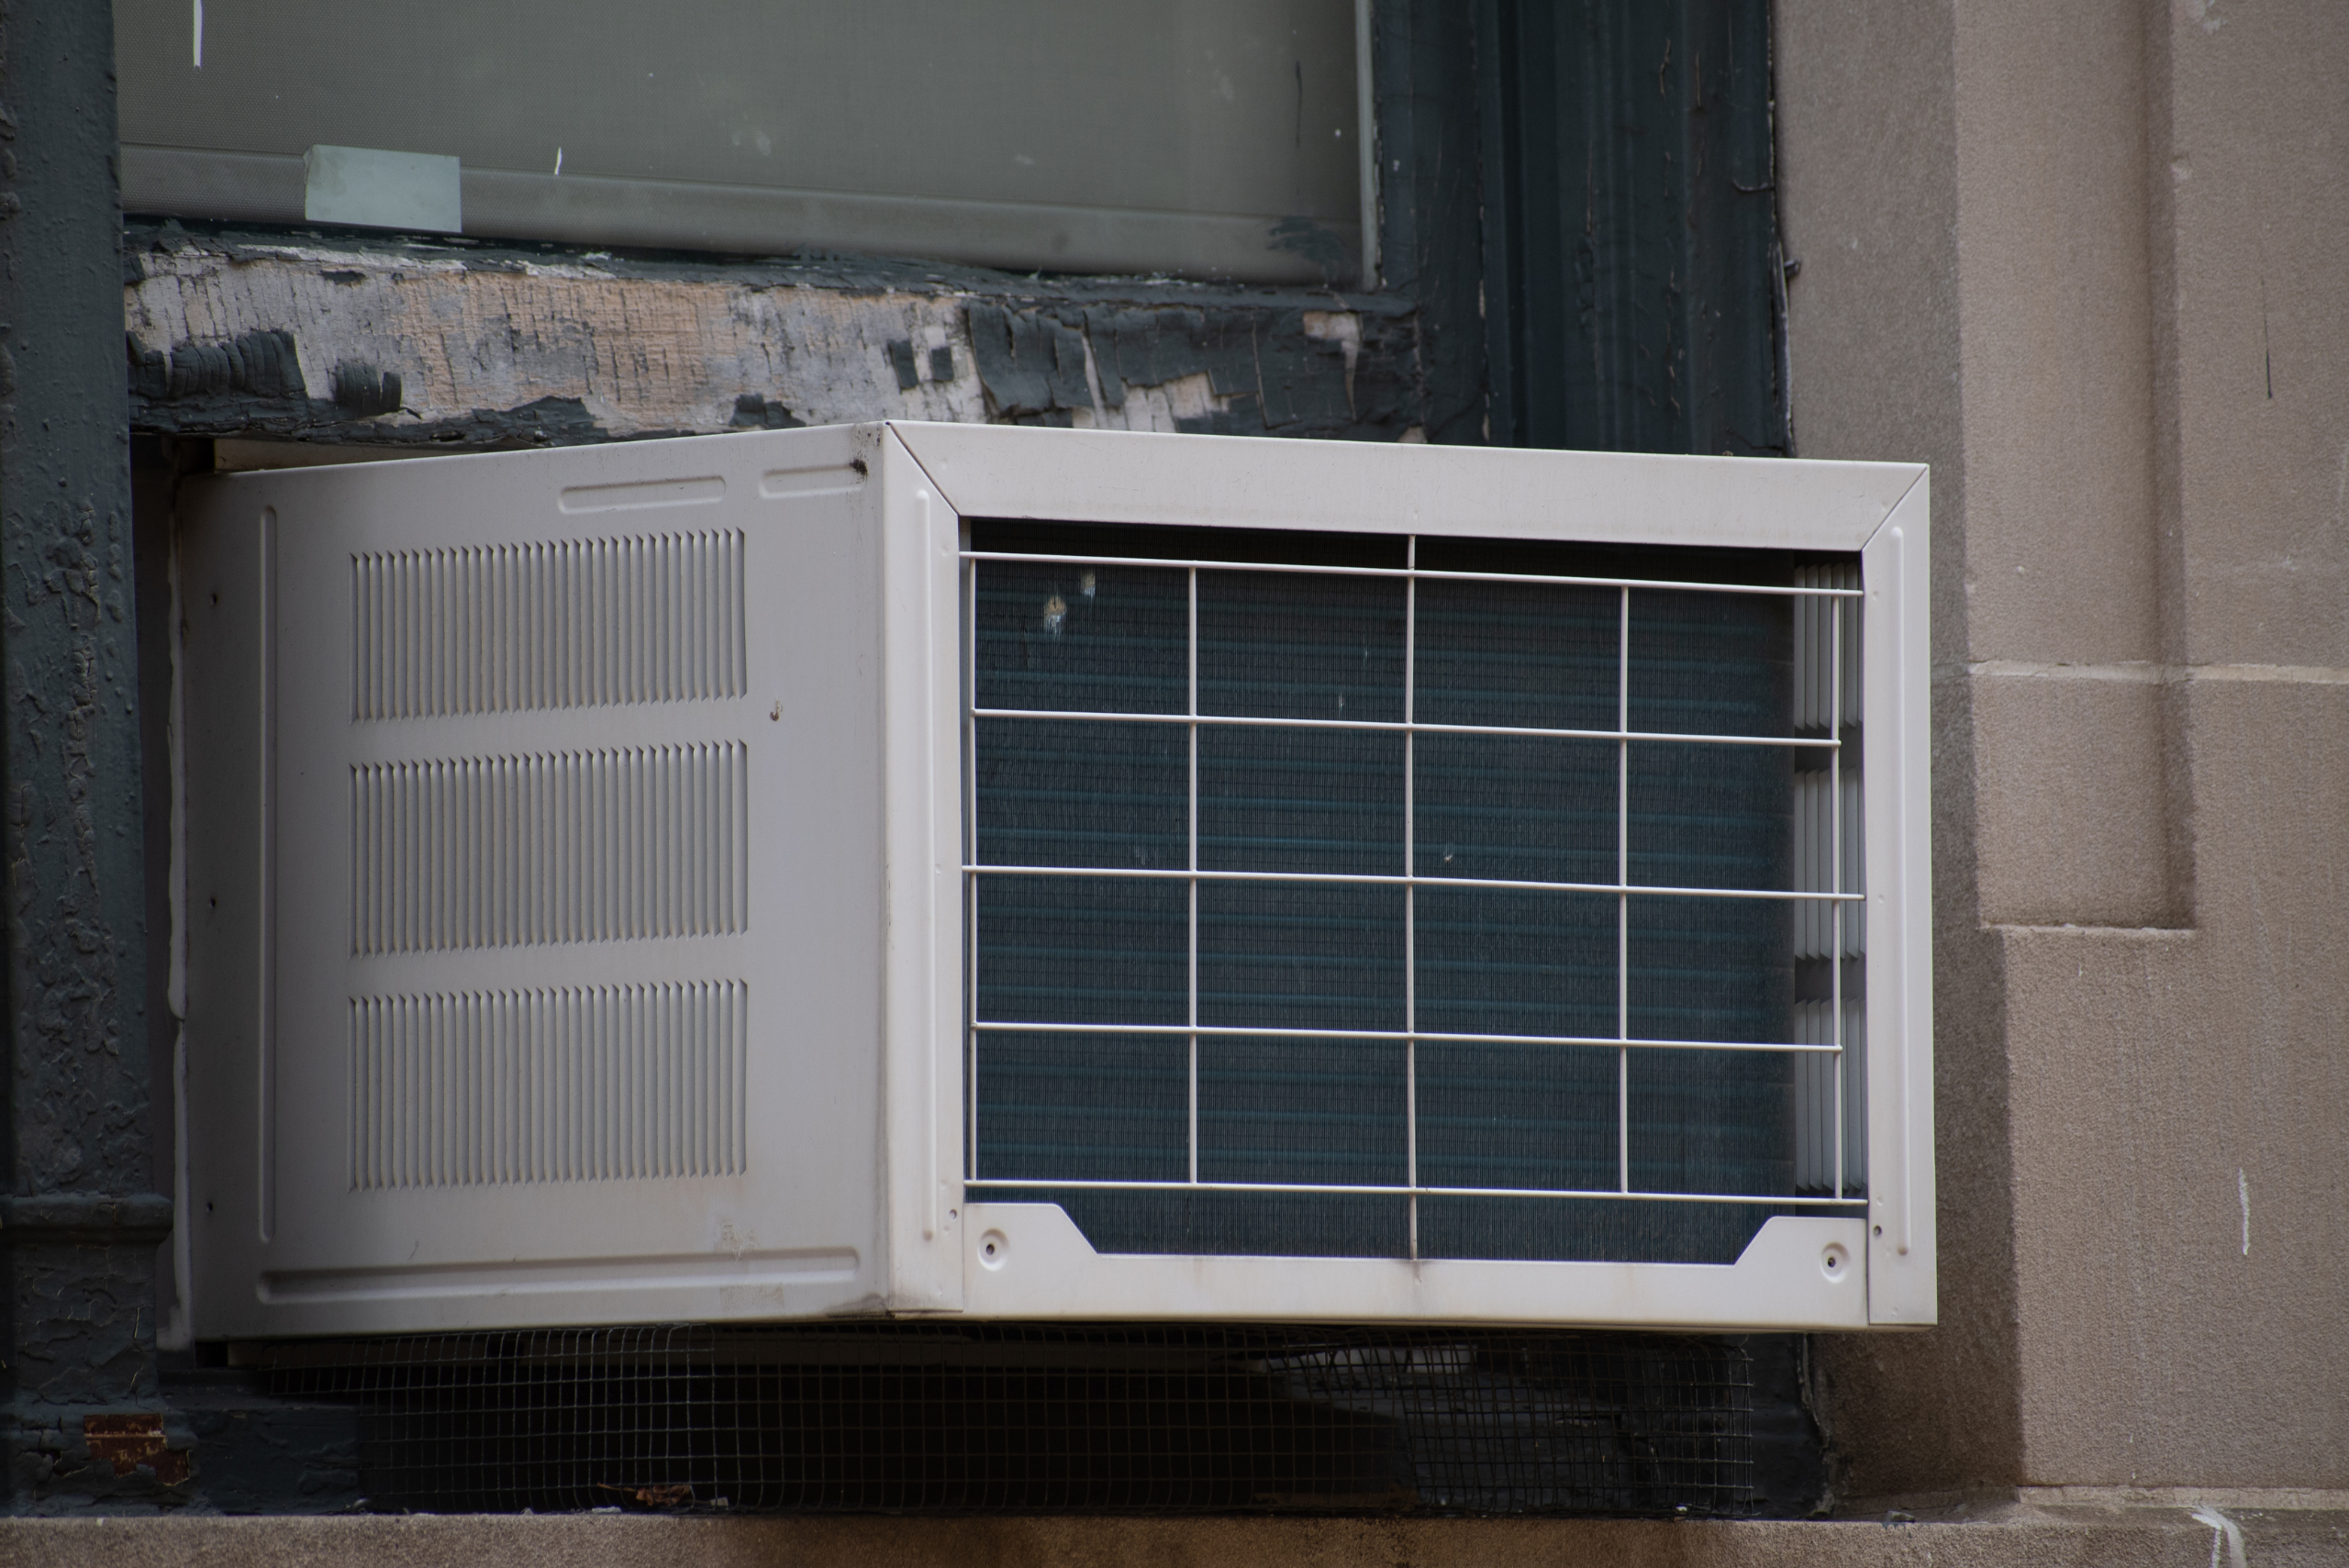
3. Seal Gaps to Improve Efficiency
Once the unit is installed, there may be small gaps around it that allow hot air to seep in and cool air to escape. Use the foam insulation strips that come with the AC or purchase additional weather stripping to seal any open spaces.
Proper sealing not only improves energy efficiency but also helps prevent bugs and moisture from entering your home. Improper installation can cause a wide variety of problems and damage that is easily preventable by following the manufacter’s installation guide.
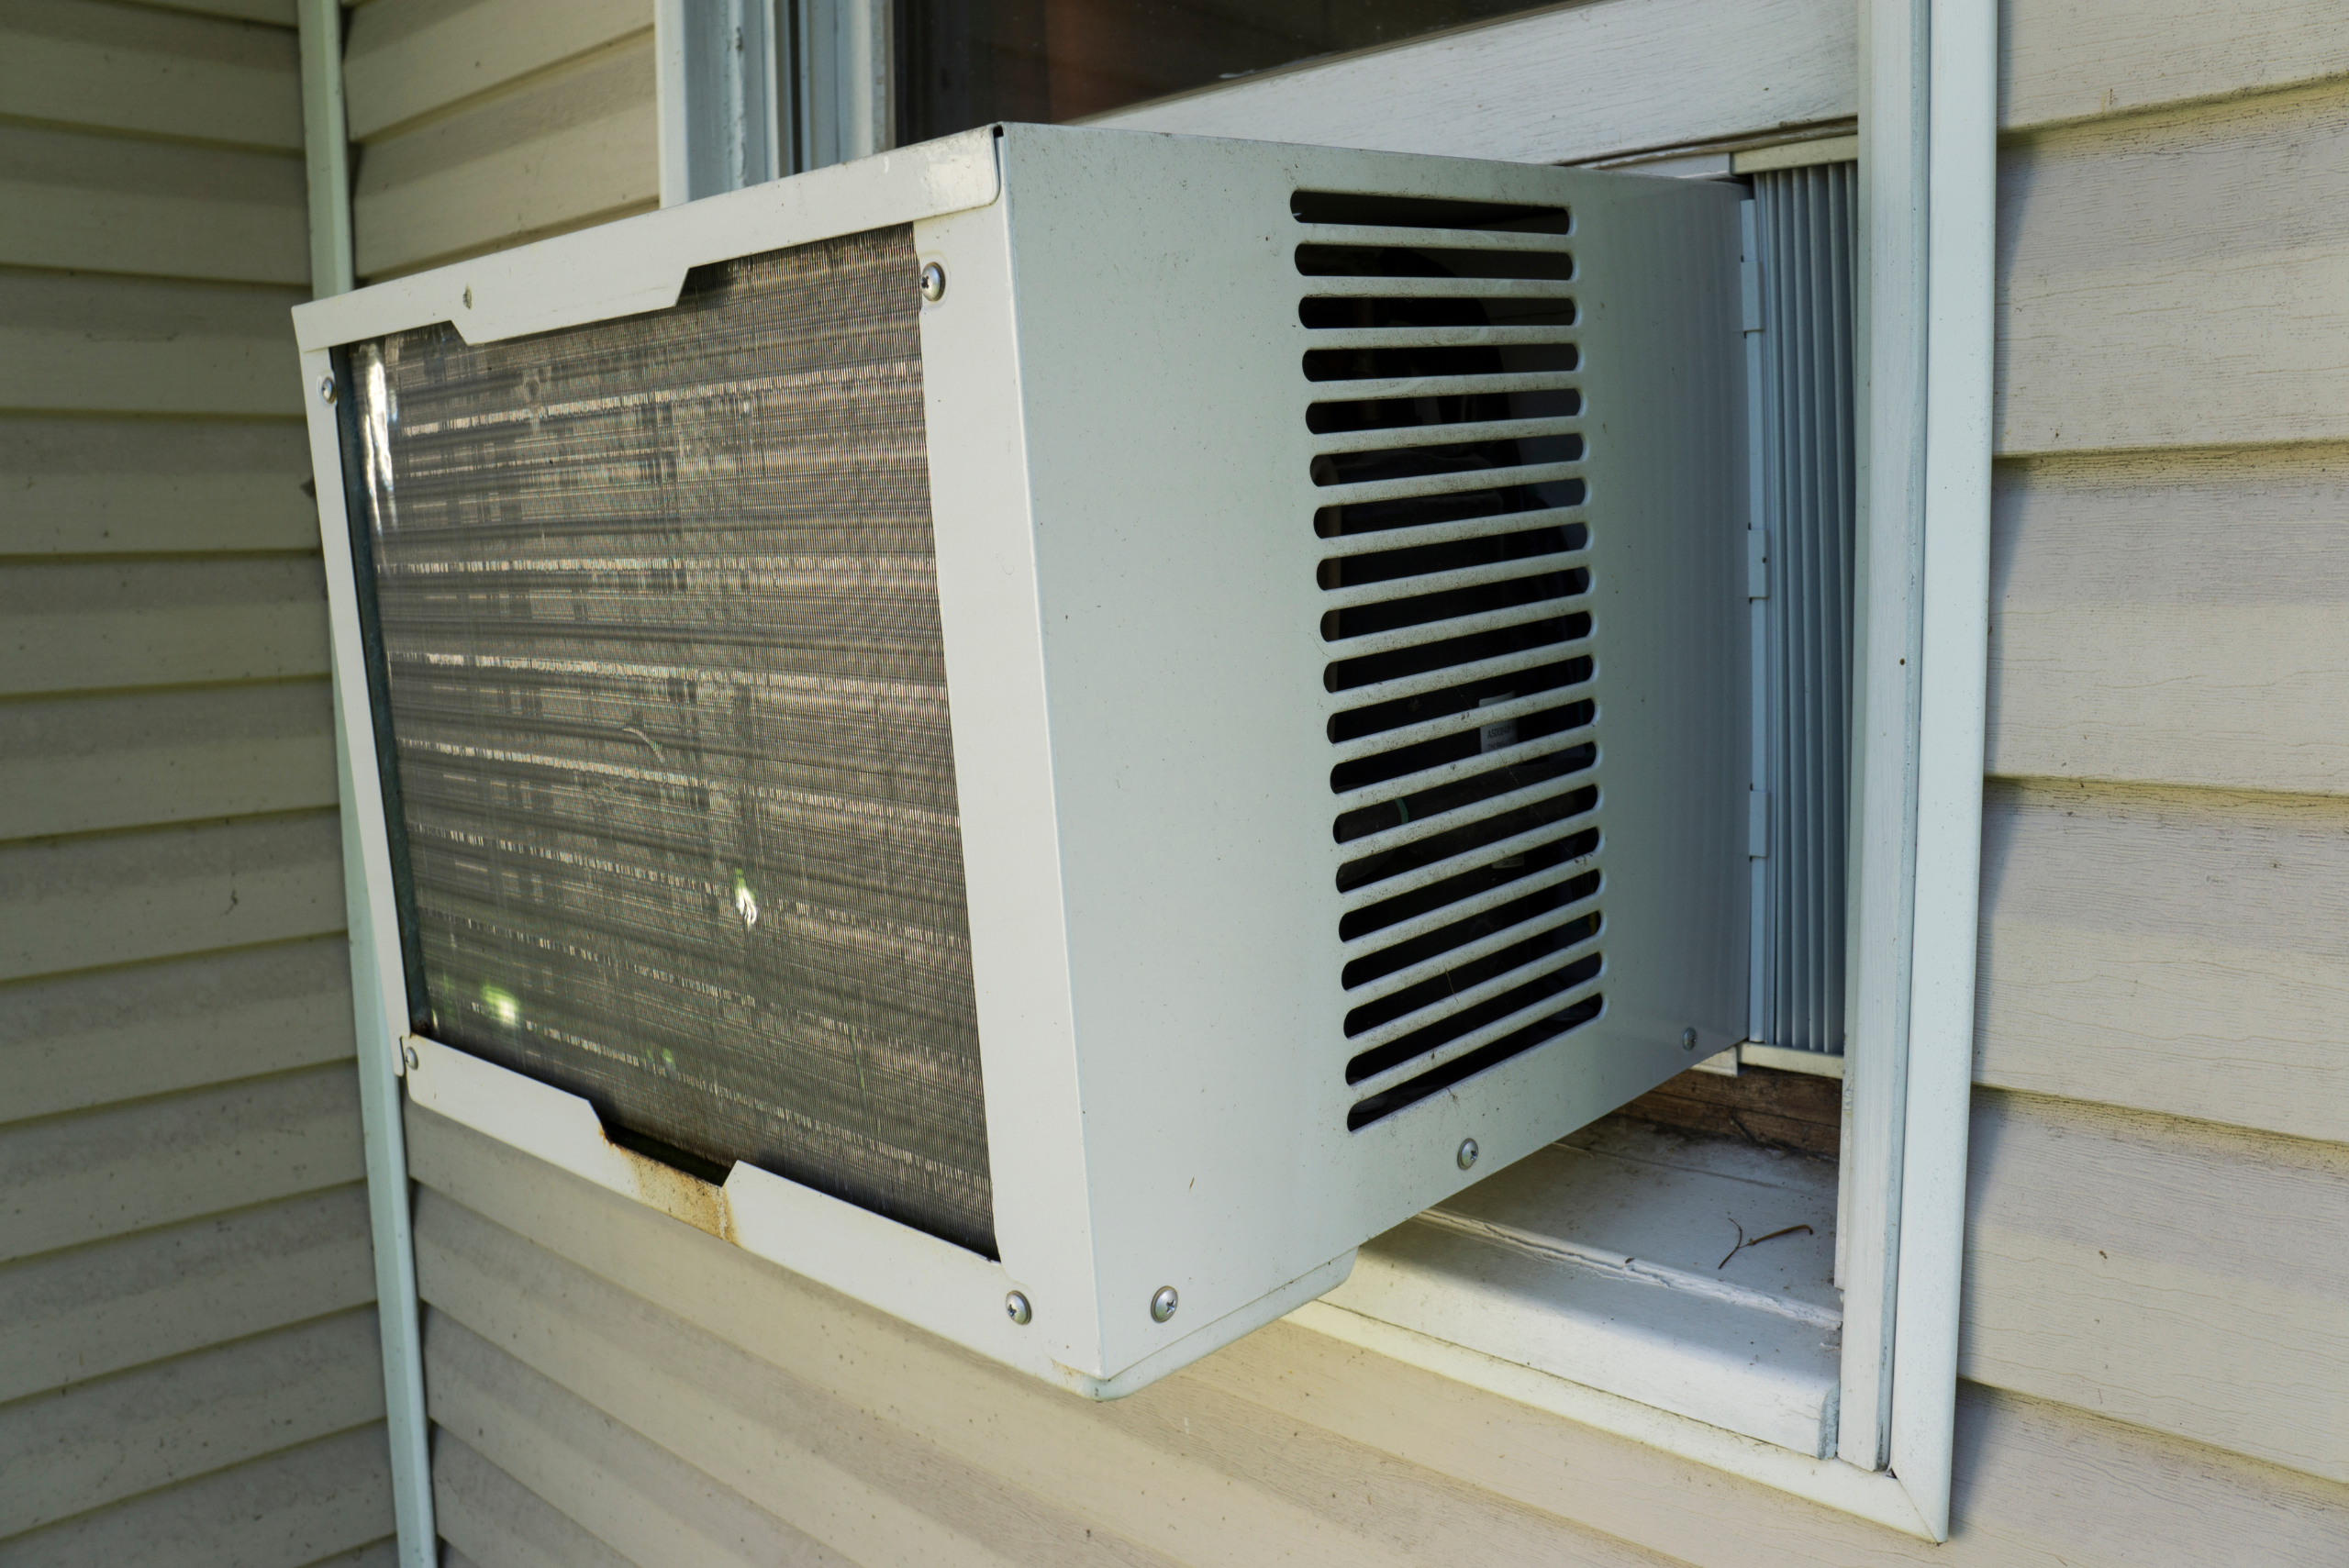
4. Check the Drainage System
Most window AC units produce condensation, which needs to drain properly to avoid water damage. Ensure the unit is slightly tilted outward so that excess water can flow out instead of accumulating inside.
Some models have built-in drain holes, while others may require a small drain hose. Regularly check for clogs and clear them to prevent leaks and potential mold buildup.
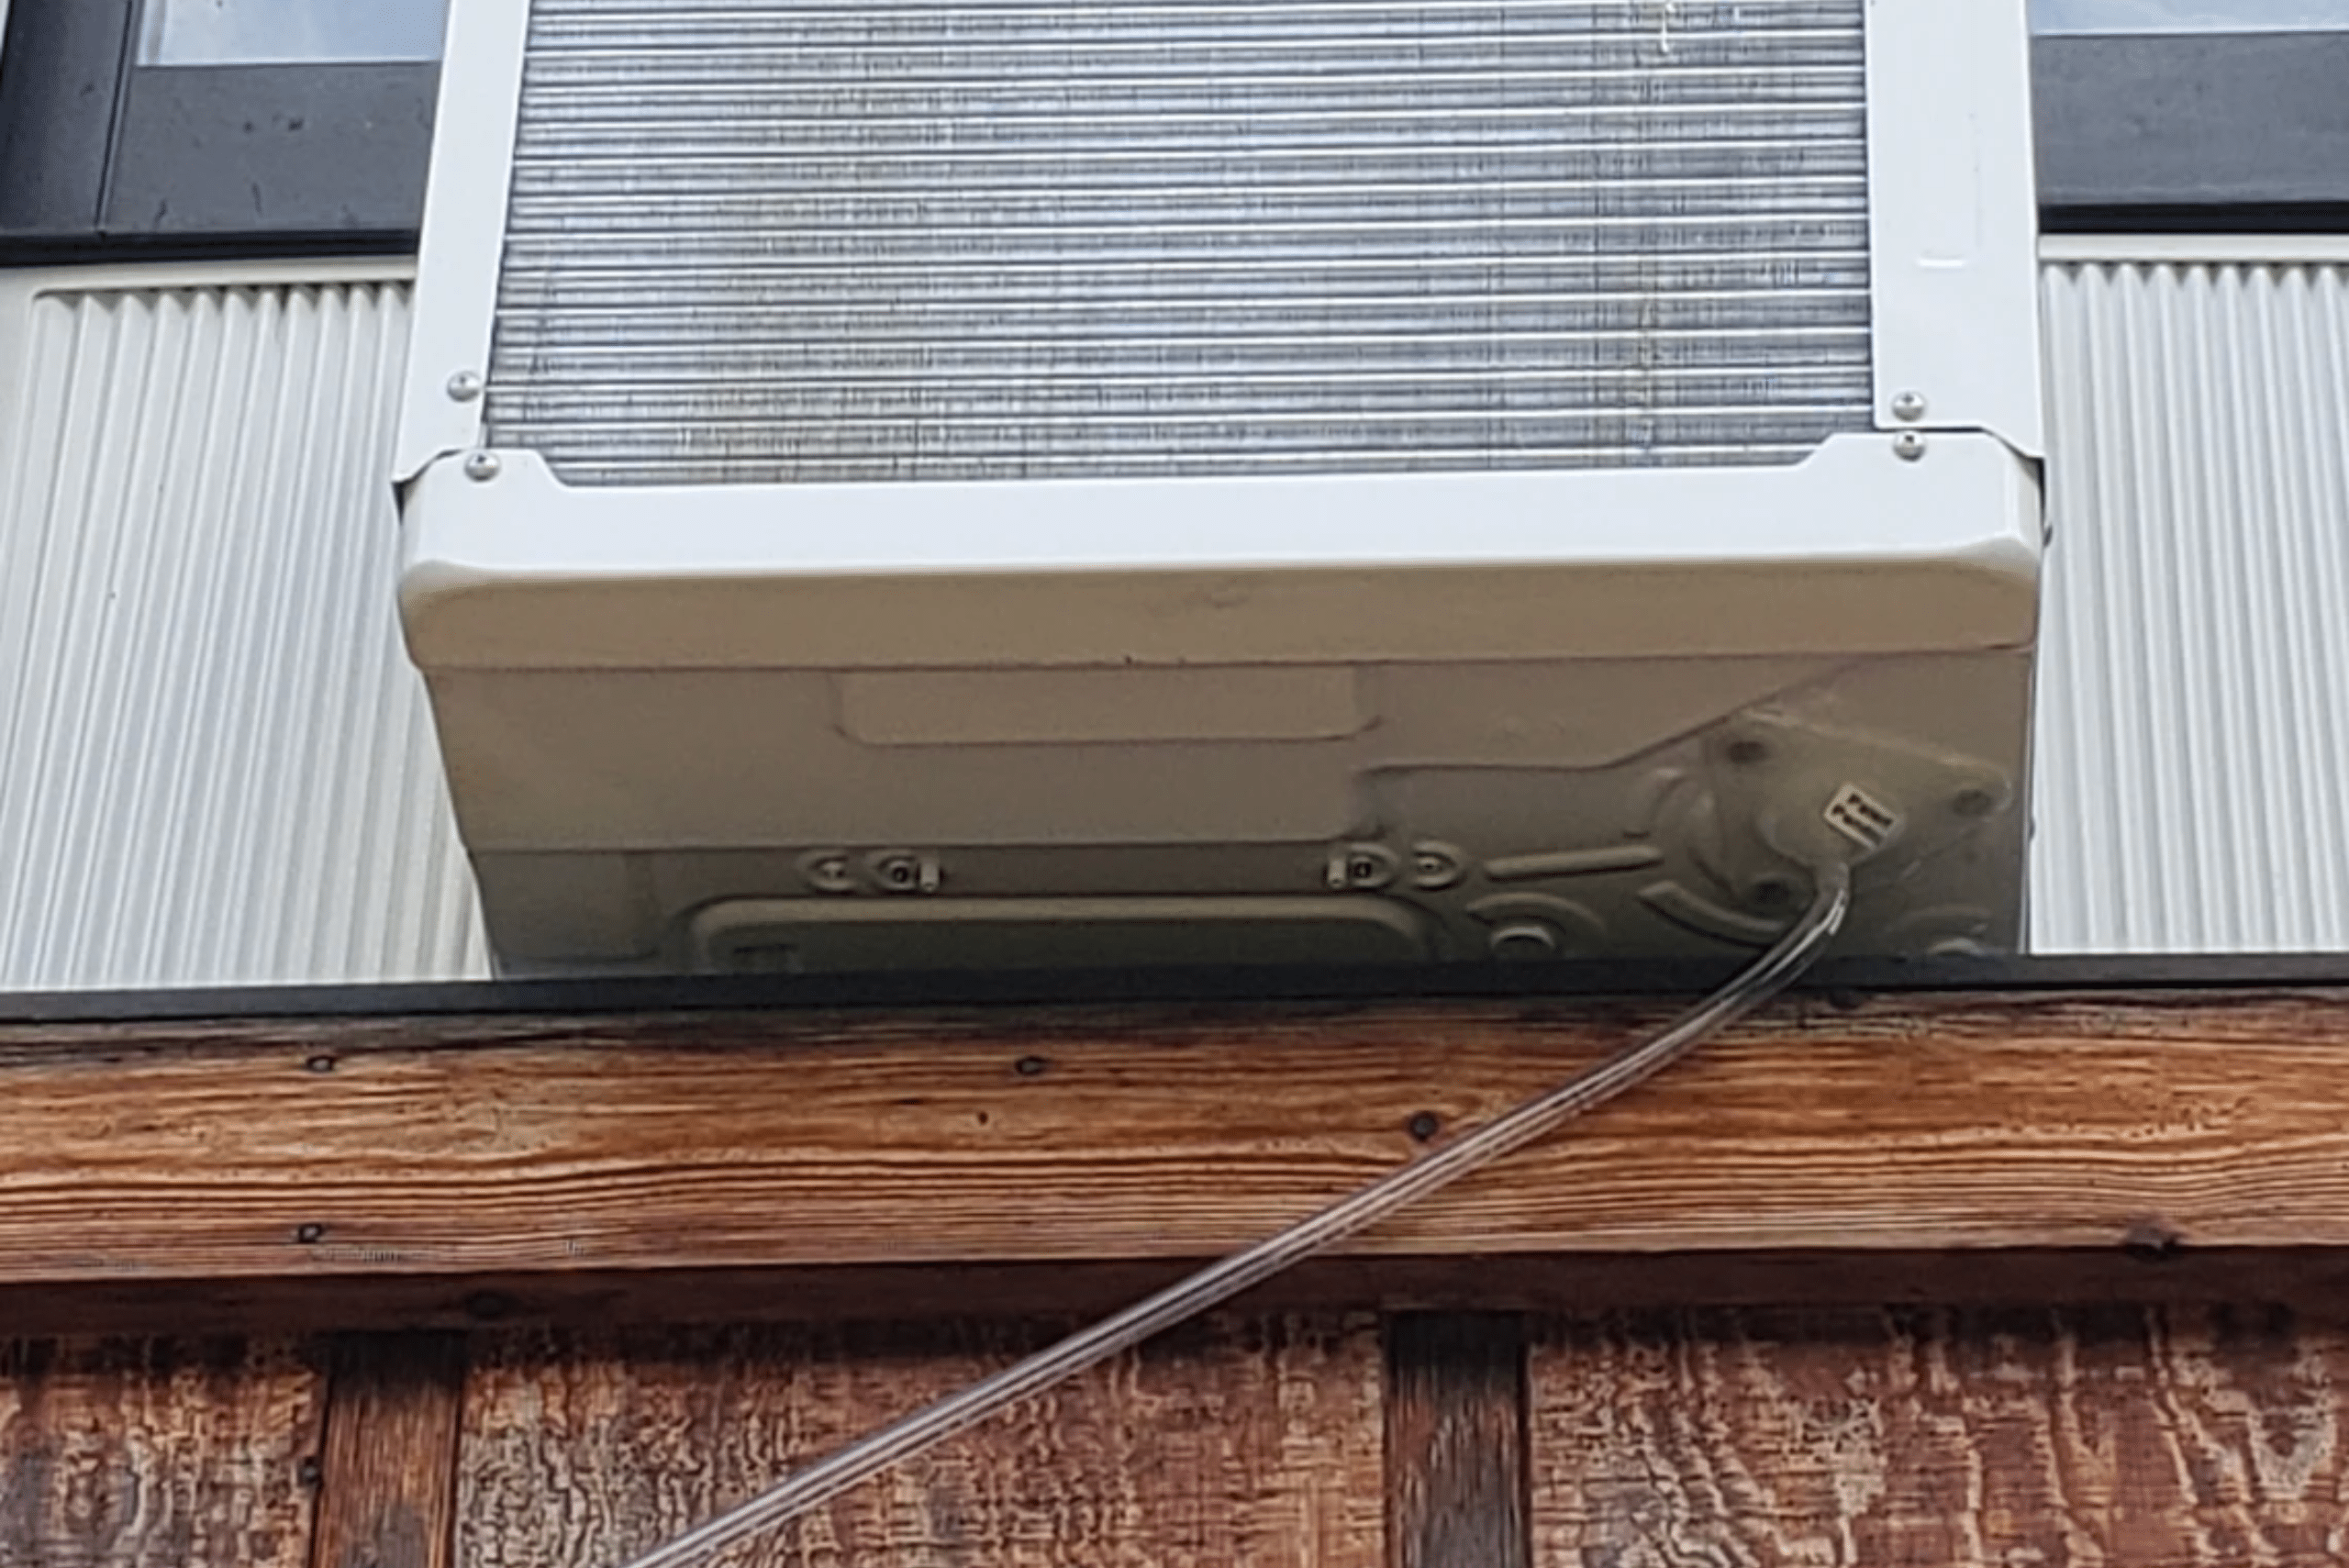
5. Test the Unit Before Finishing Installation
Before fully securing the window or adding final touches, test the unit to ensure it’s functioning correctly. Plug it in, turn it on, and adjust the settings to check for proper cooling and airflow.
Listen for any unusual noises that might indicate improper installation. If everything is running smoothly, close the window tightly and secure any additional insulation or sealing materials.
Related Articles
- 5 Ways to Hide Outdoor Eyesores
- How to Change a Thermostat When It Starts to Fail
- 11 Surprising Home Maintenance Misconceptions You Should Know
Installing a window air conditioner doesn’t have to be complicated, but taking the time to do it correctly can make all the difference in comfort and efficiency. By choosing the right location, securing the unit properly, sealing gaps, ensuring proper drainage, and testing the unit before finalizing the setup, you can enjoy a cooler space without unexpected issues. A little effort upfront will keep your AC running smoothly all season long.


