How To Safely Install a Flagpole That Will Last
Installing a flagpole doesn’t have to be a difficult job. The average do-it-yourself enthusiast can set a full-featured flagpole with just a few tools. Show off your patriotic side by leaving a lasting impression in your yard for everyone to see from miles away.
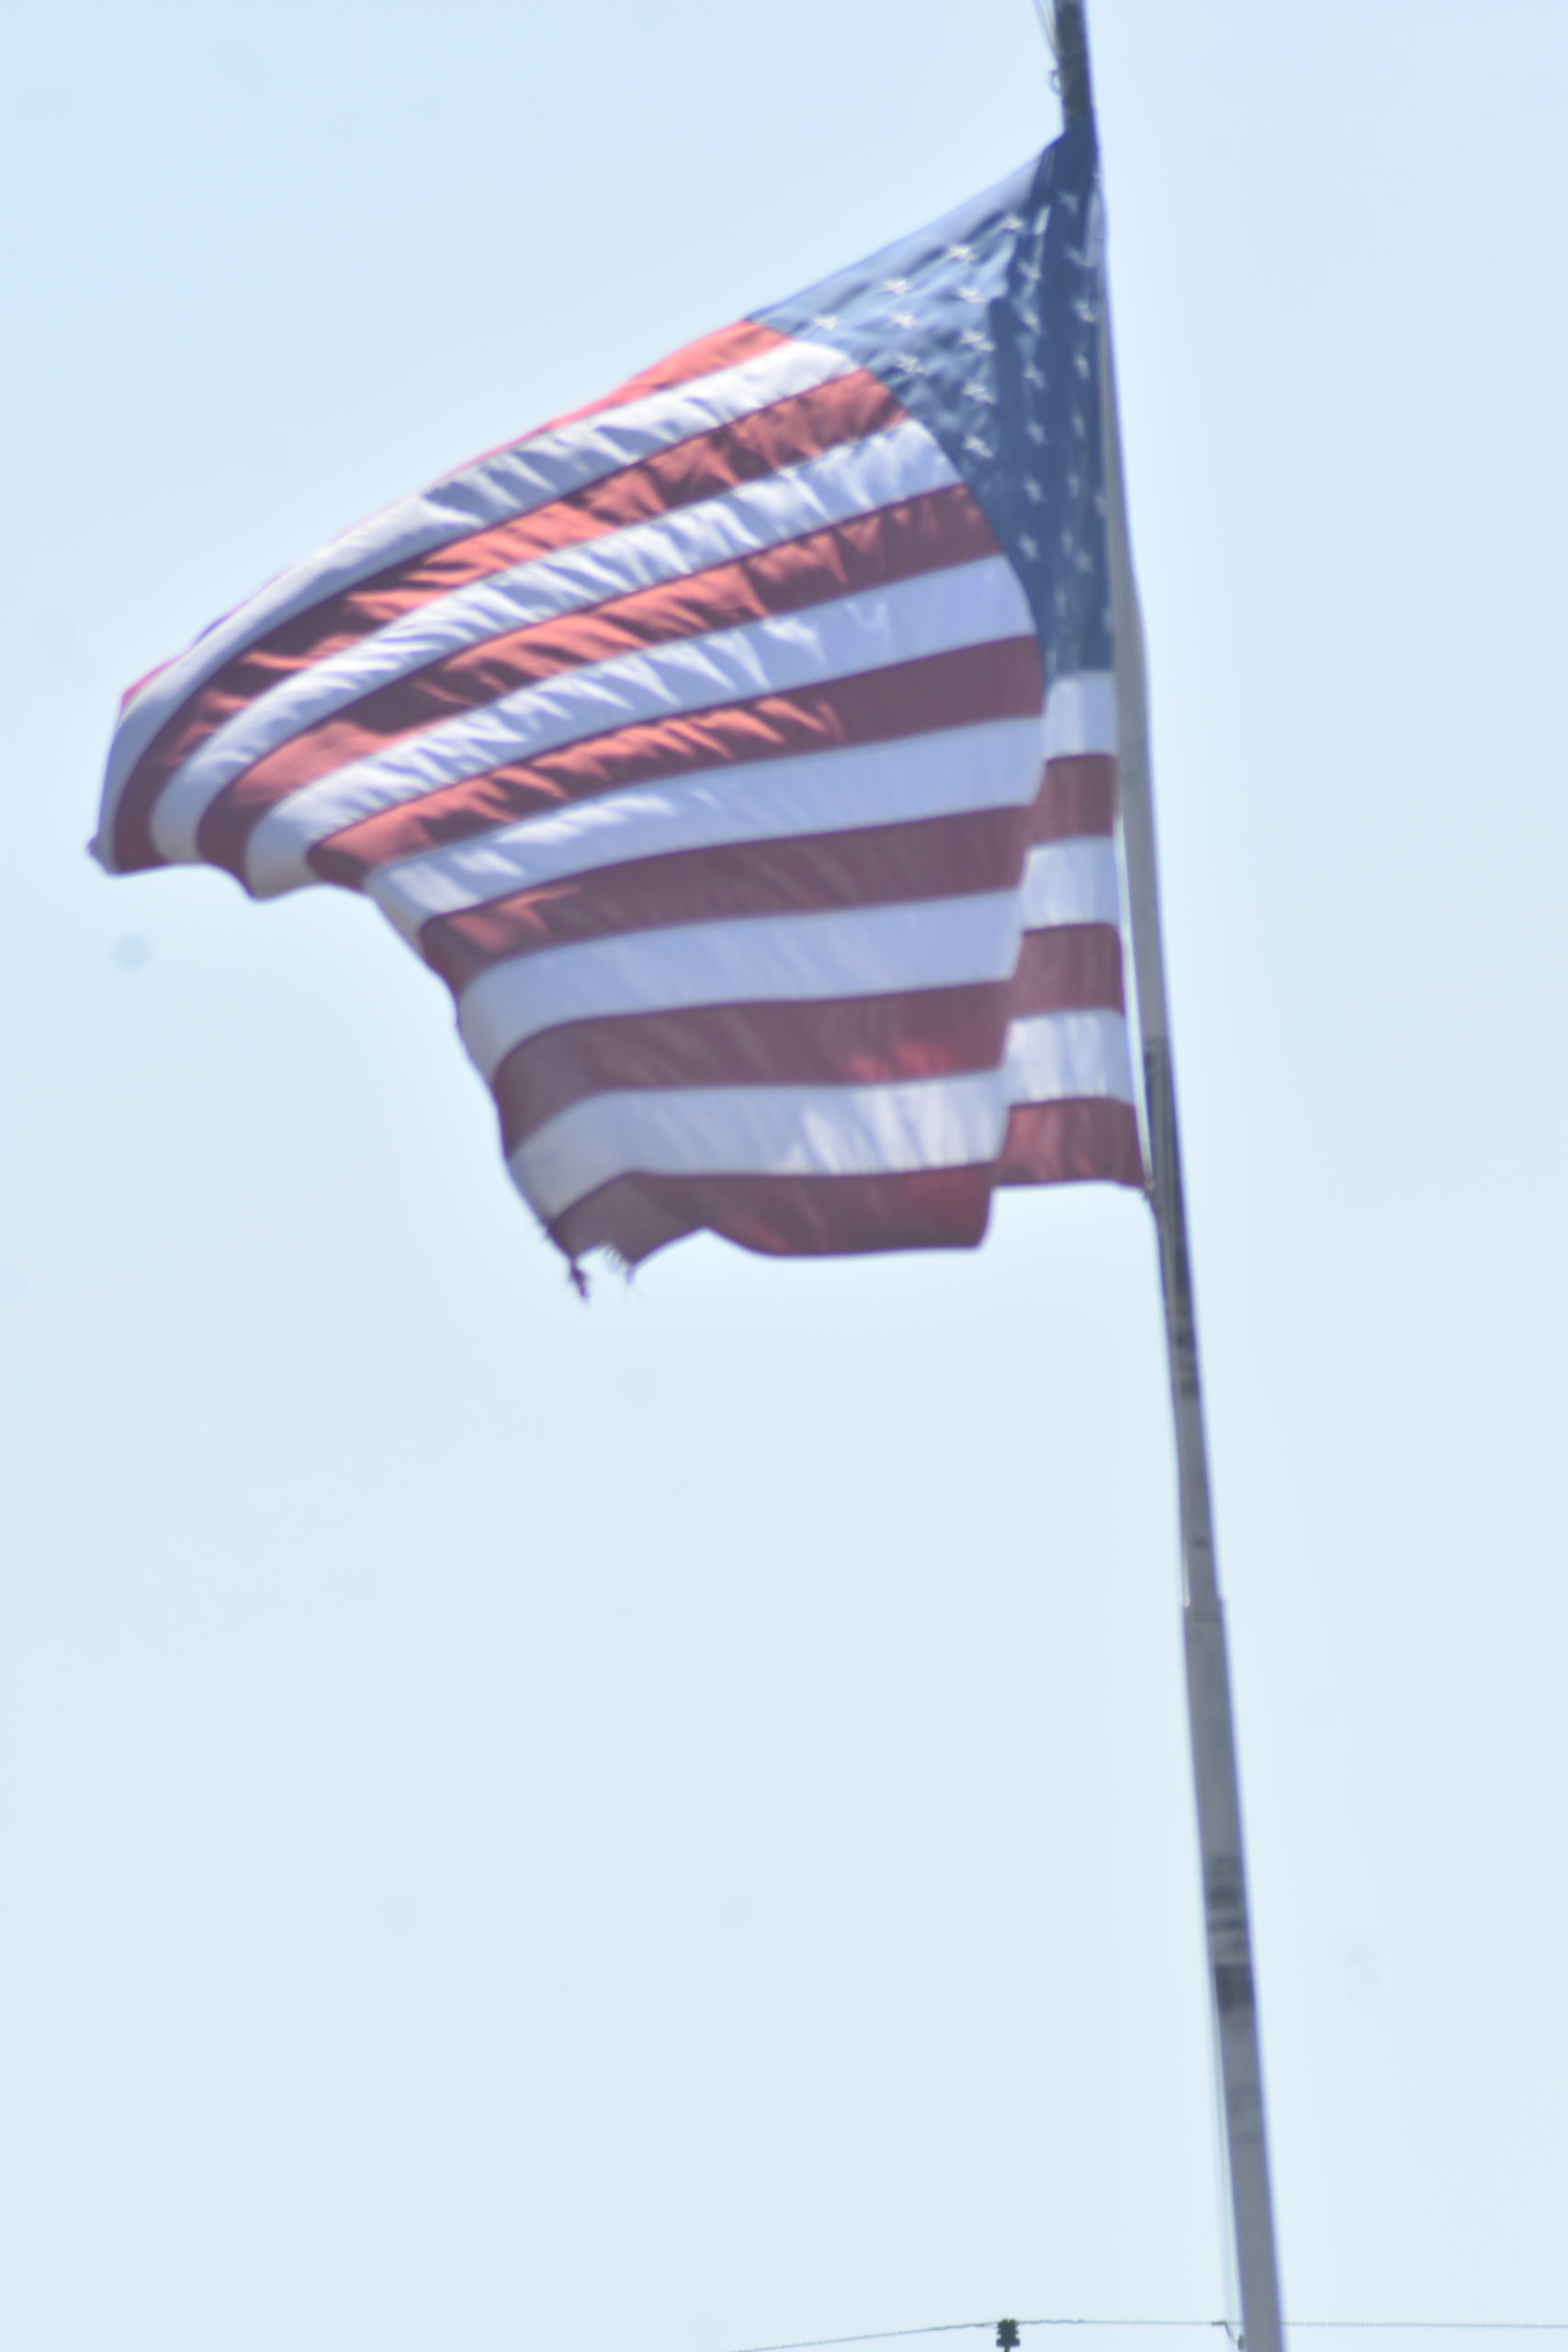
Flagpoles can be purchase with the pulleys, latches, and other hardware already attached, but they come at a price. With just a little extra effort, you can have all the amenities of a commercially constructed flagpole at a much lower cost.
A flagpole in its simplest form is just that, a pole, to fly a flag from.
Start By Digging A Proper Hole
There are three construction components to designing, building, and installing a flagpole. The first is the hole the pole will be mounted in, the second is the pole itself, and the third is the rope and pulley system that allows the raising and lowering of the flag.
Let’s start with the hole. Even the smallest flagpole will create a tremendous amount of torque on the hole holding it in place. People have tried tamping earth or even gravel around a mounting pole, but they never last long. The motion of the flagpole in the wind “wallows” out the hole and eventually, you’ll have the pole crashing to the ground.
The proven method is the set the mounting pole in a solid bed of concrete.
Dig a hole at least 10 inches in diameter and 32 inches deep. Set a layer of gravel about two inches deep at the bottom of the hole to allow for drainage.
Mounting The Pole
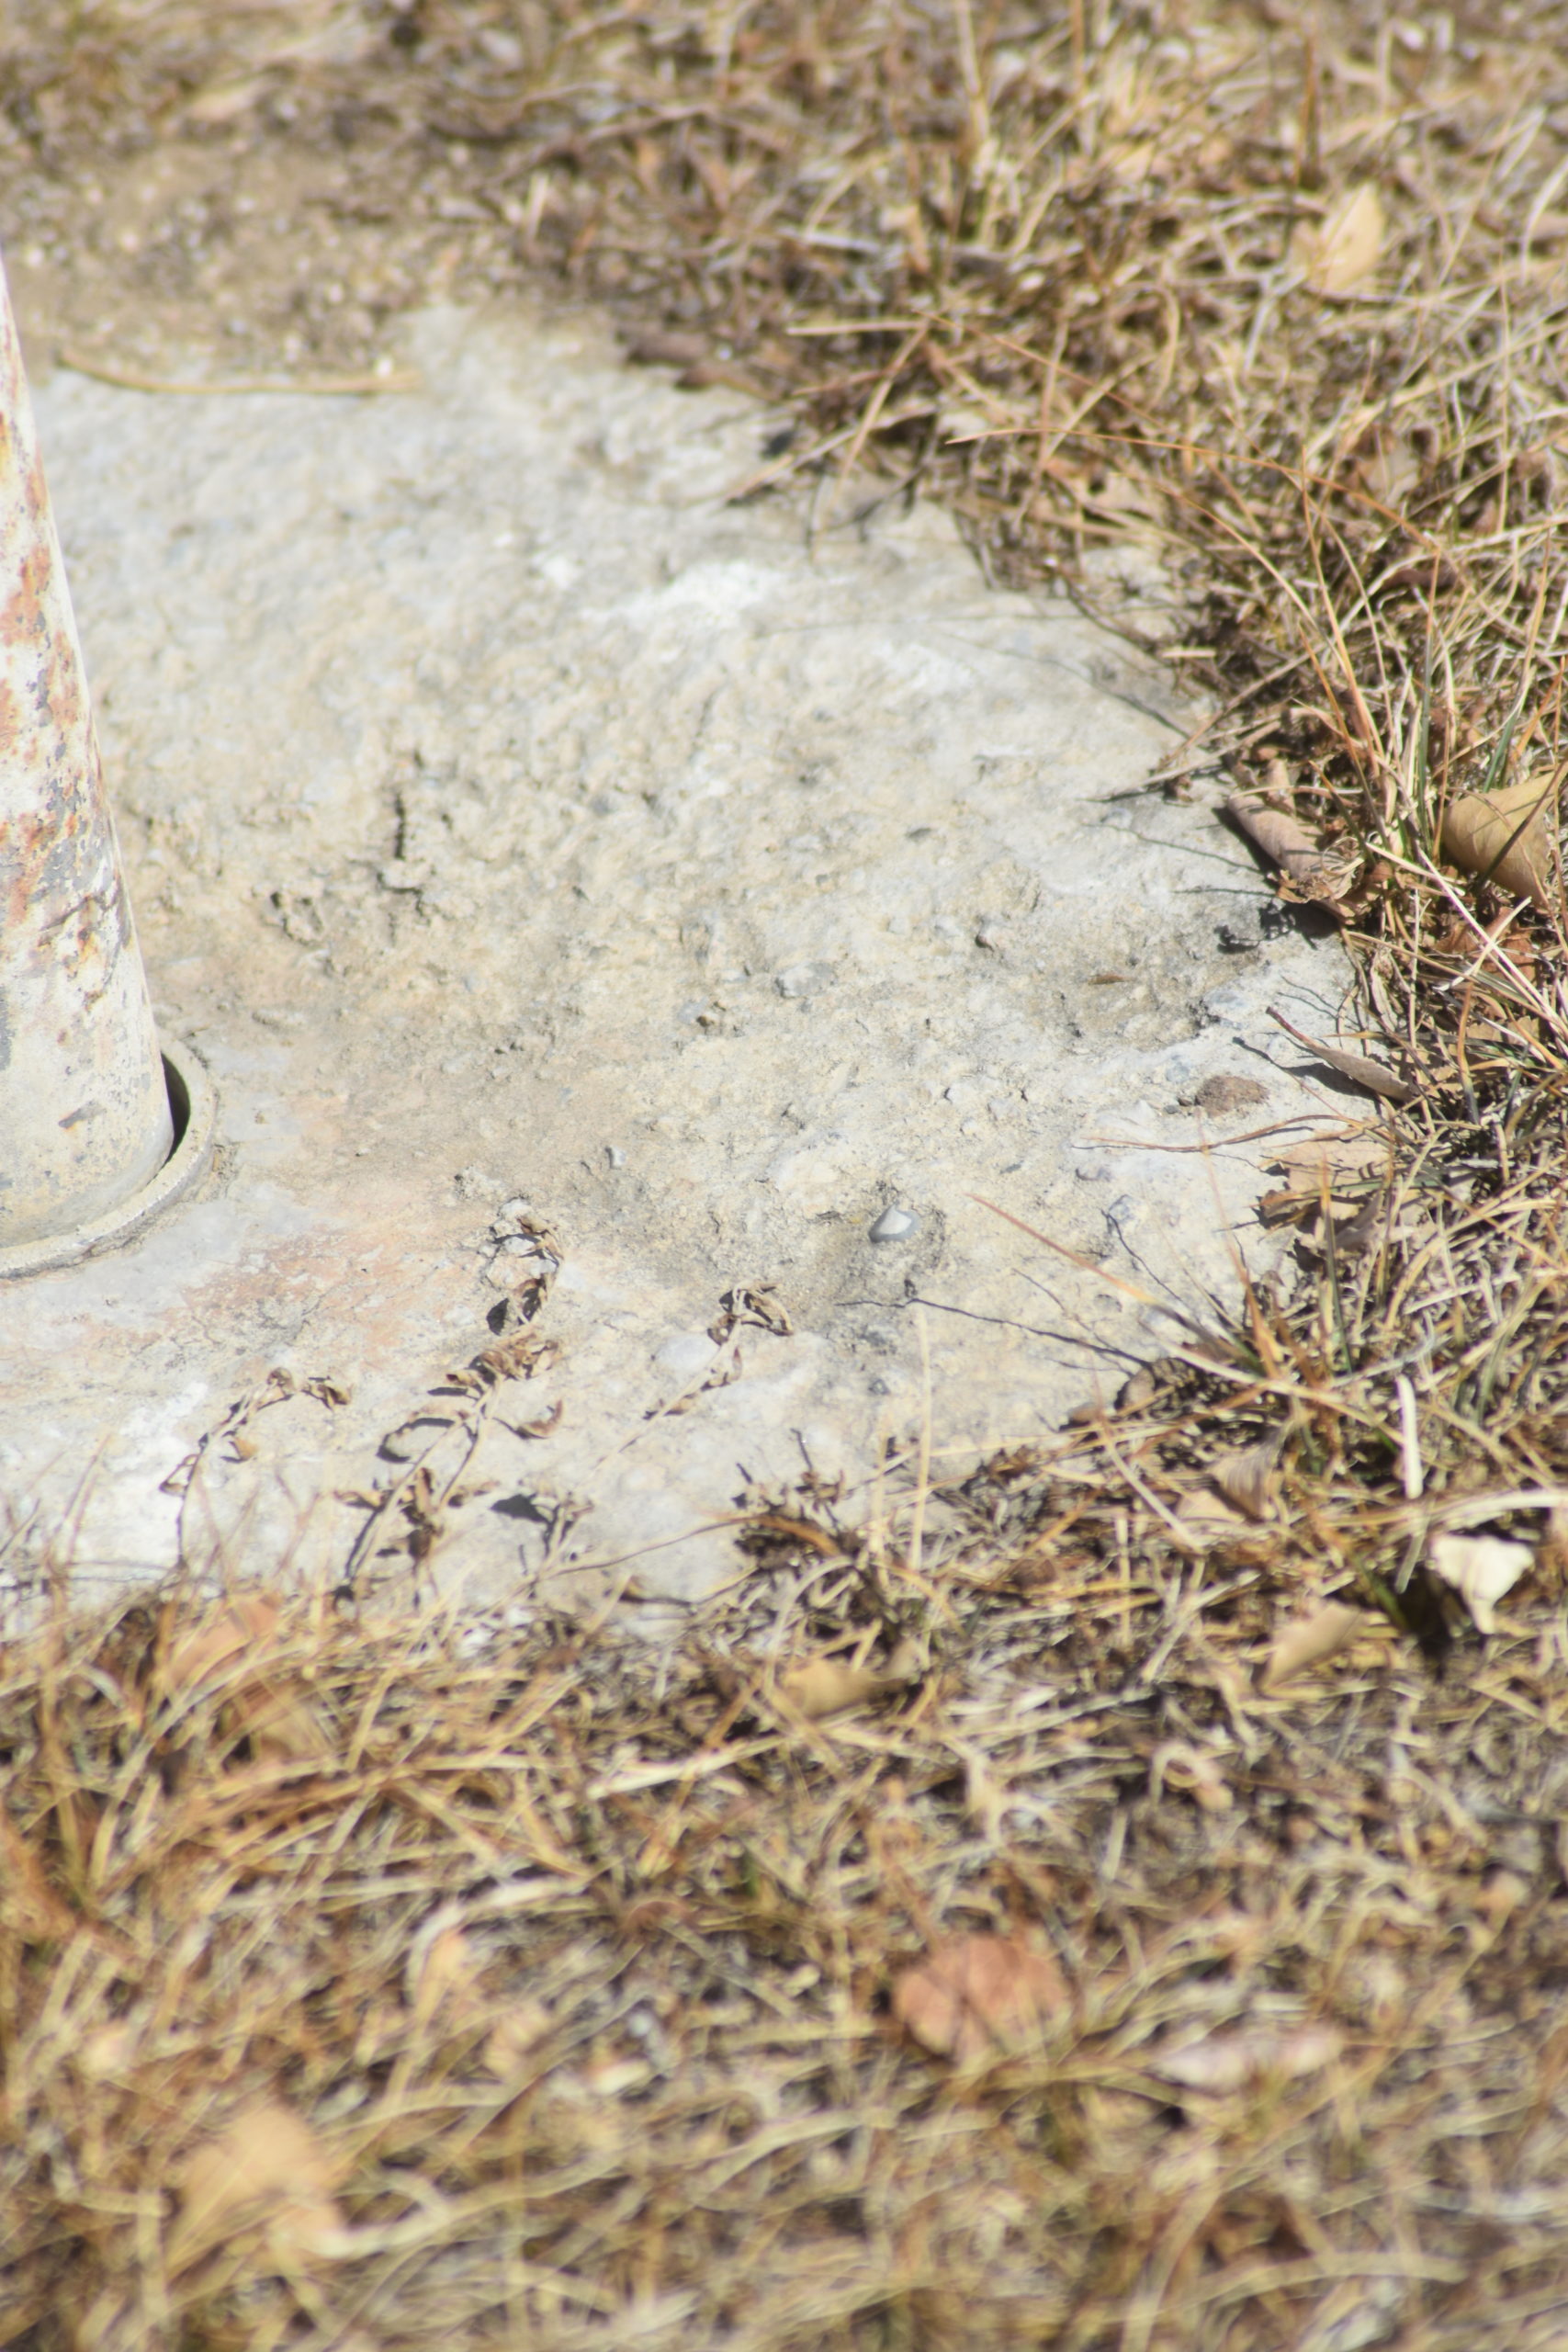
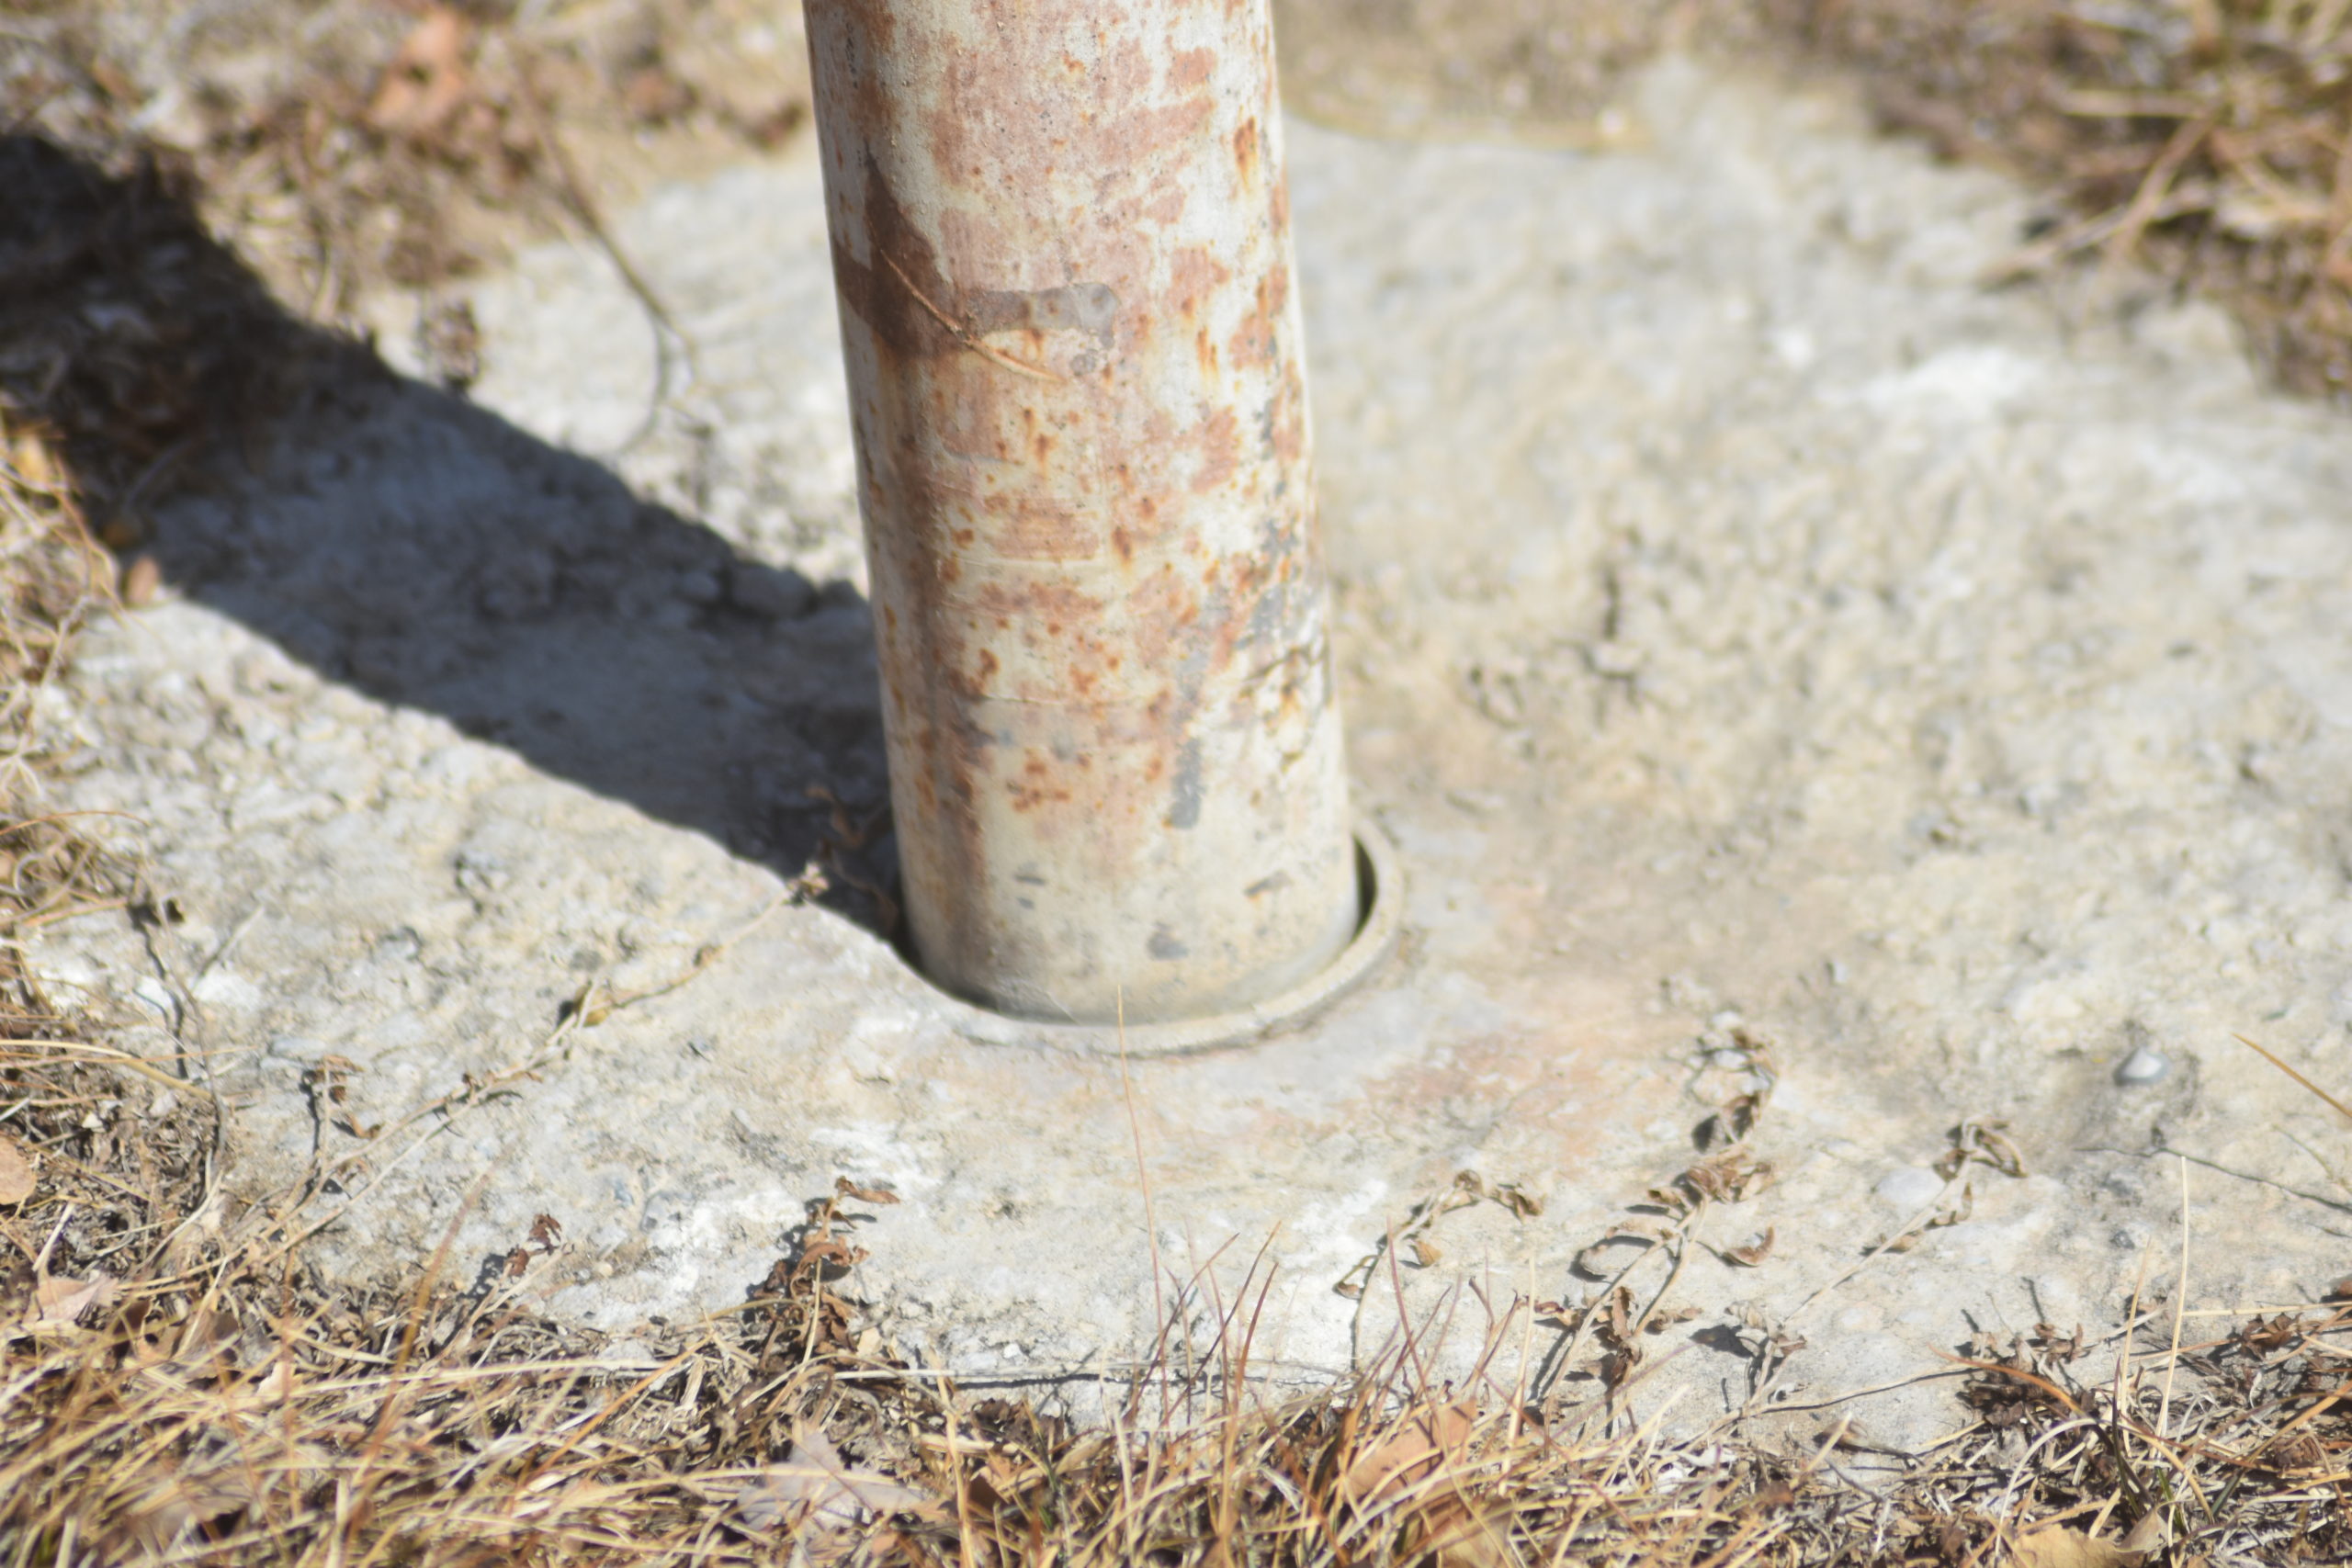
Mounting poles come in two varieties. One is a pole slightly larger in diameter than the flagpole that the flagpole can be dropped inside. The second type, generally the commercial style is a mounting pole that extends above the ground, with a push-button latch that locks the flagpole to the base.
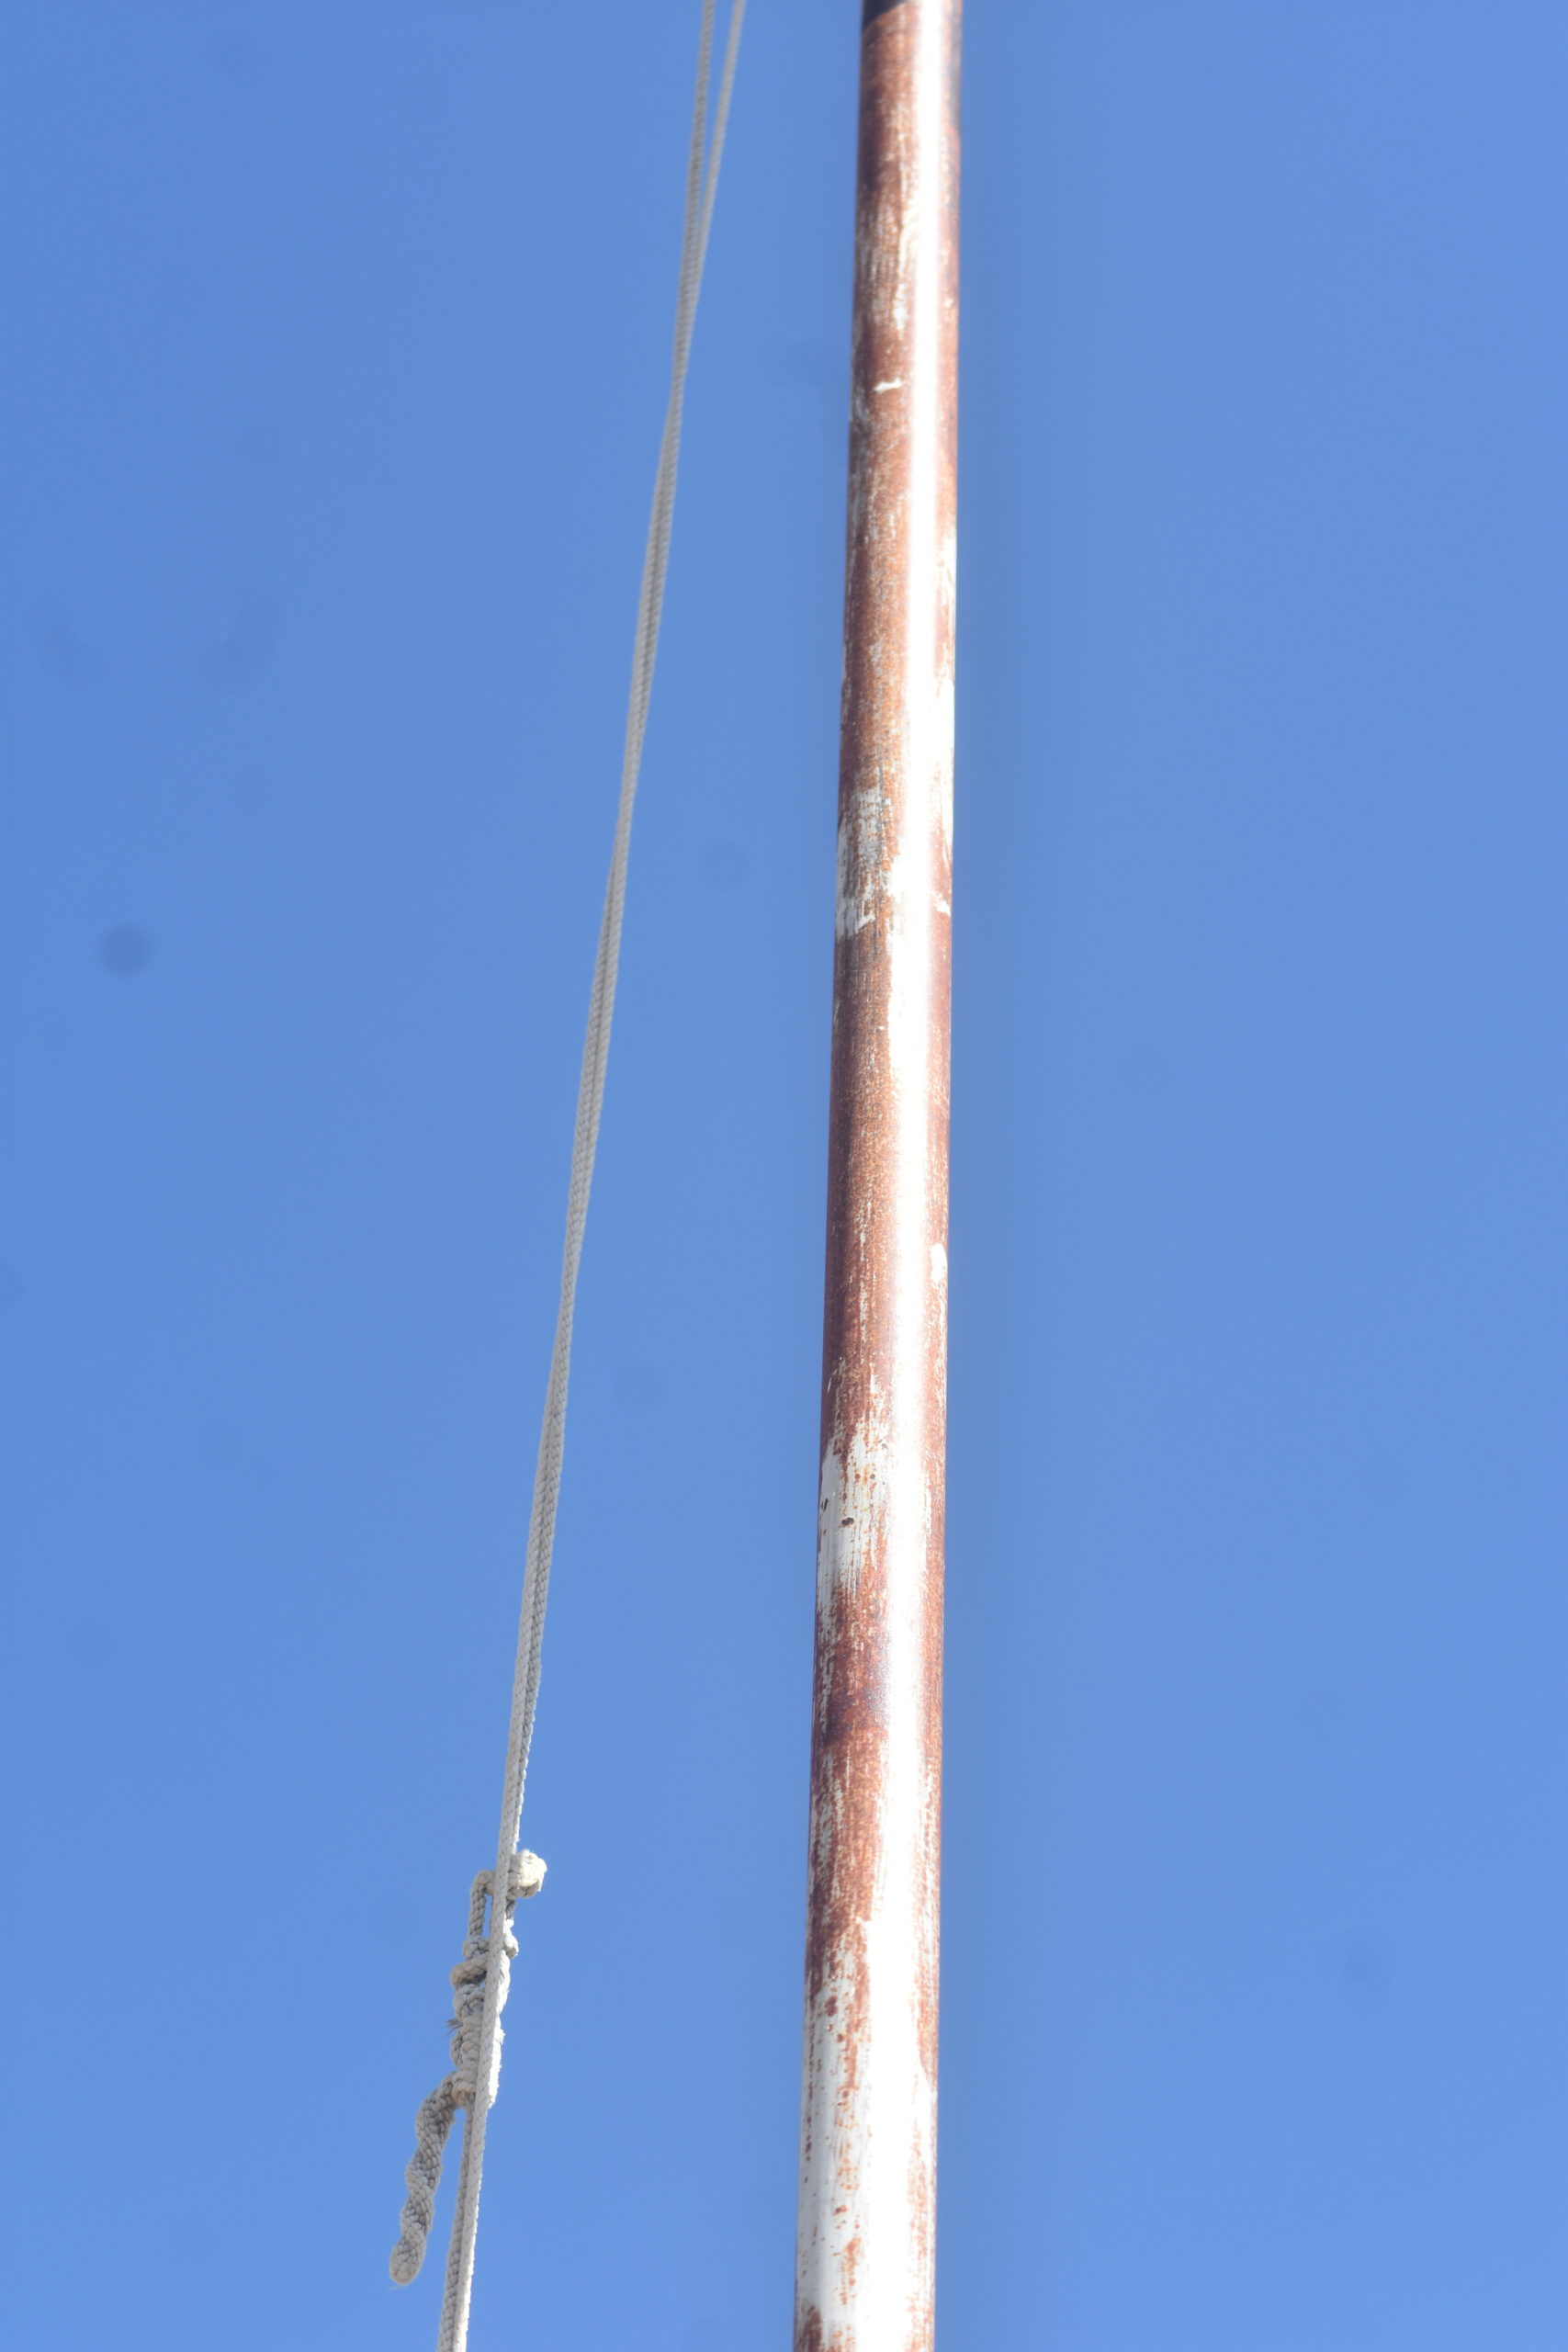
If you’re working on a budget, visit a local welding or pipe supply shop and request a 30” section of pipe that fits over a 20 to 30-foot section of smaller pipe you’ll use as your flagpole. Oilfield “drill stem” is an excellent choice. It is durable, strong, and holds paint well.
Dig your hole, place either support stem you wish to use in it then carefully level it on two sides to ensure your flagpole will be perpendicular to the ground. Once it is level, slowly pour concrete around the support stem, taping the stem lightly with a hammer to release any pockets in the concrete that might weaken the base.
Make sure to check your alignment several times to make sure it is still level!
Wait At Least One Week
Now comes the hard part. Walk away from the project for at least a week to let the concrete properly set.
If you have an aluminum flagpole, you can skip the next few paragraphs. If you’re using a drill stem or another steel pipe, it’s time to paint your flagpole with a high gloss, oil-based, epoxy enamel.
A couple of coats of paint, allowed to dry completely between coats will do the trick.
Fabricate Your Pulley System
If you’re purchased a flagpole, the pulleys and rope come with it, if not, you’ll have to fabricate a pulley system.
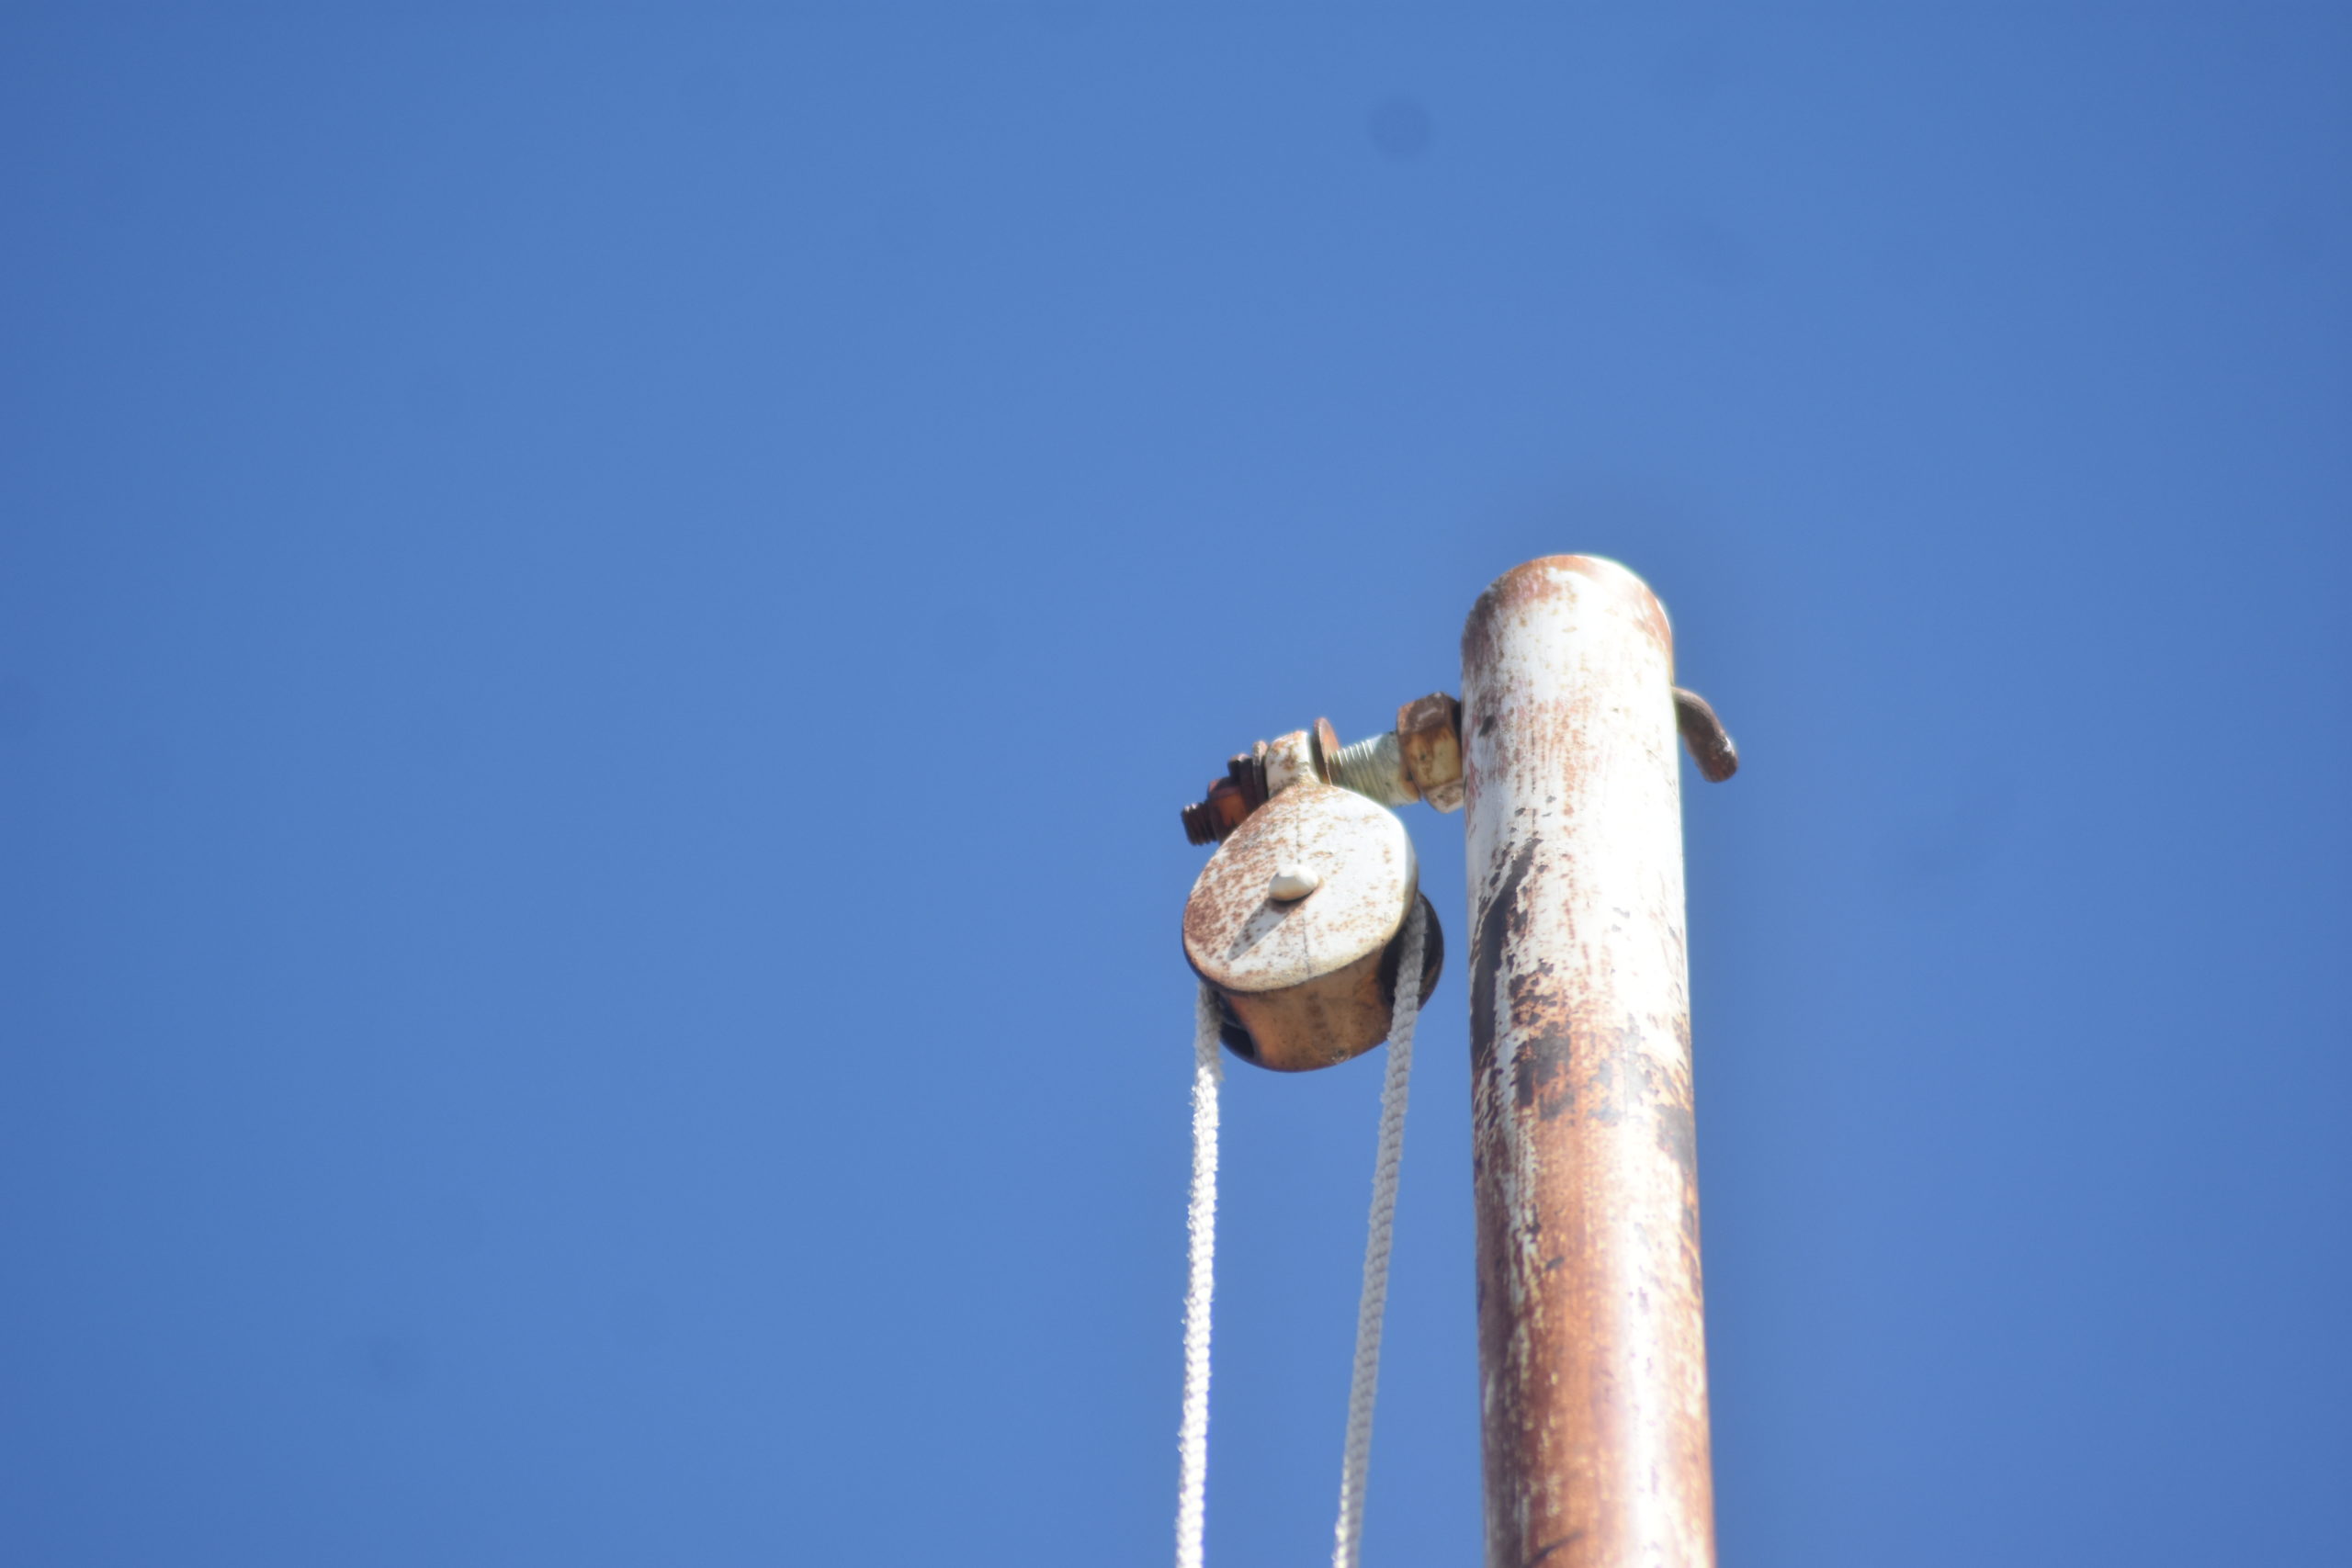
Drill holes completely through the pipe, thread in a long bolt, and a pulley that can be bolted onto the mounting bolt you’ve placed through the pipe. Tighten everything securely, then place a rope through the top pulley.
Drill and assembly another pulley system at the base of the flagpole about four feet off the ground if you want a double-pulley setup. You only need the top pulley for most applications. If that’s all you need, just pull the rope through the top pulley, cut it to length so both ends touch the ground, and tie the ends together. You can tie the loose ends around a bolt drilled through the flagpole at four feet above ground level to tie the ends when the flag is flying.
Tie clasps at a distance that matches the grommets on the flag you wish to fly. It’s a good idea to tie in a double set so you can fly the American flag and you’re state flag beneath it if you wish.
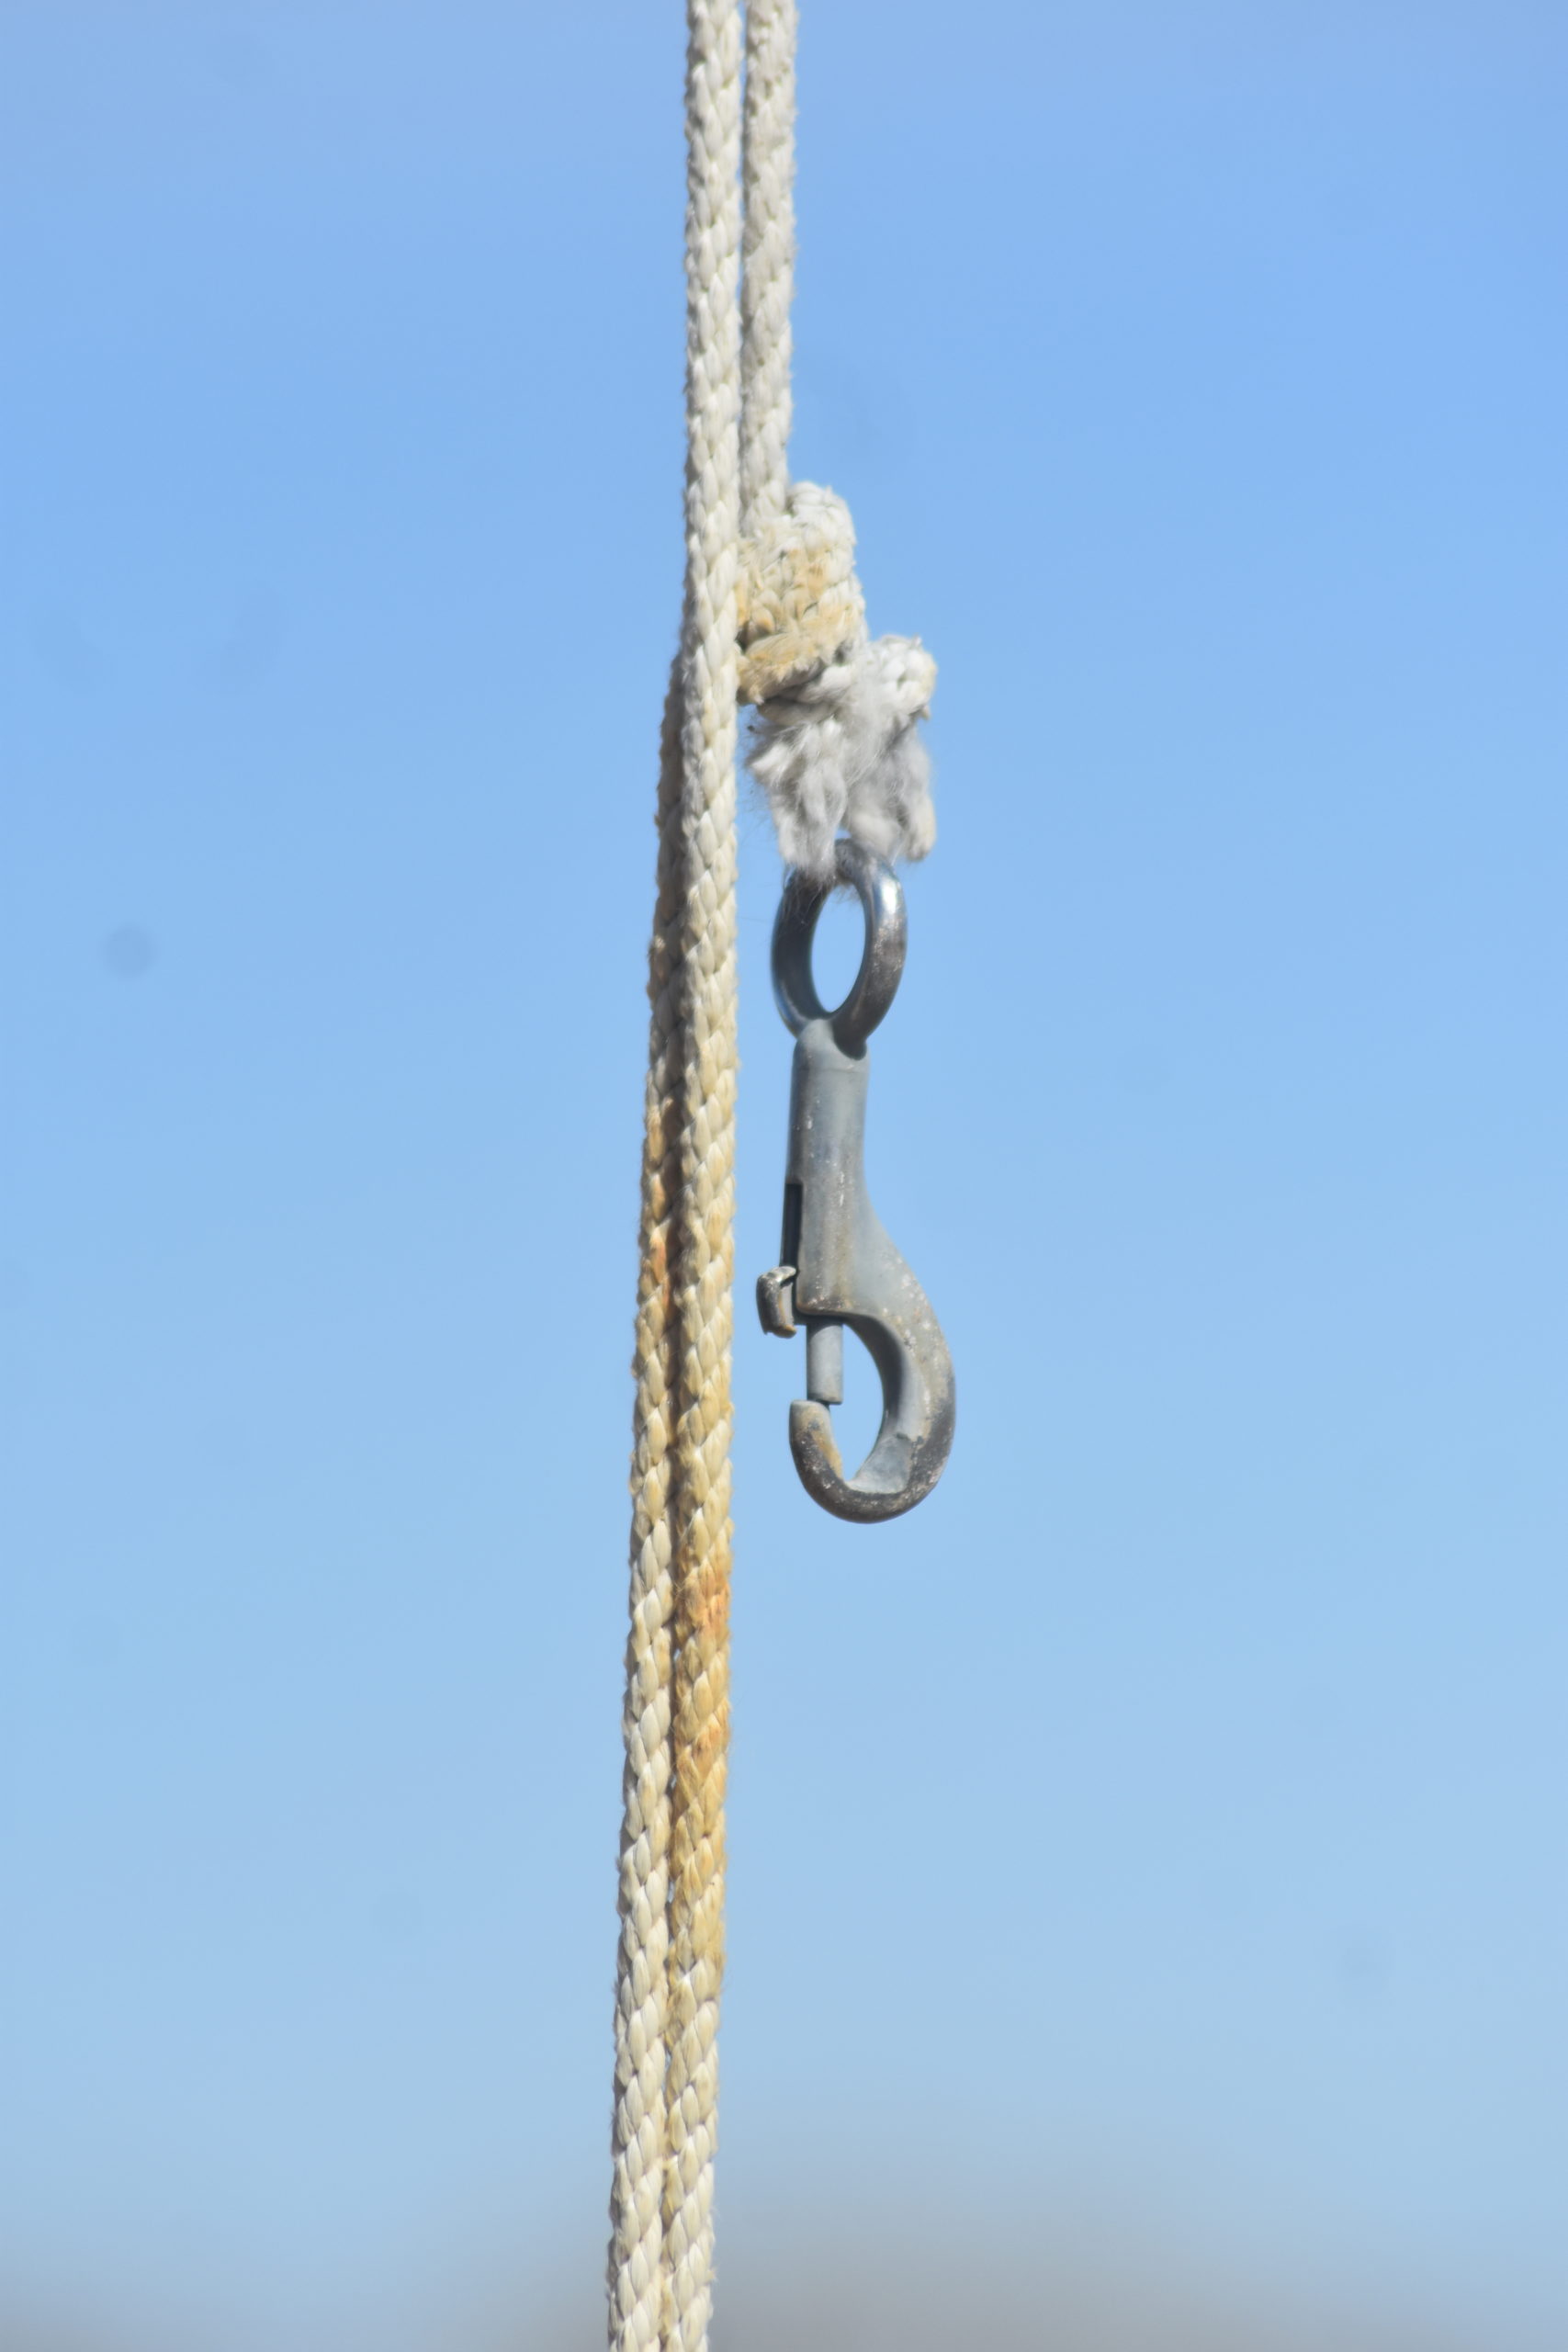
Once the clasps are tied in, take the excess rope and tie it below the lowest clasp. This way your flags will reach the top of the pole, but will also be easy to work with from the ground.
With the flagpole fully assembled, drop it into the hole and slide it to the bottom.
You’ve finished the job, and at a greatly reduced price from the commercial models.
