How to Use a Table Saw as a Planer: The Best Wood Planer You May Already Own
Thickness planers are awesome. But I don’t have one.
They’re an expensive and specialized piece of equipment. A new one starts around $300, and the price just goes up from there. I’d like one, sure, but most of my woodworking projects don’t require it, so I haven’t made the investment yet. There are a few other tools I’m more interested in before I make the leap to a planer.
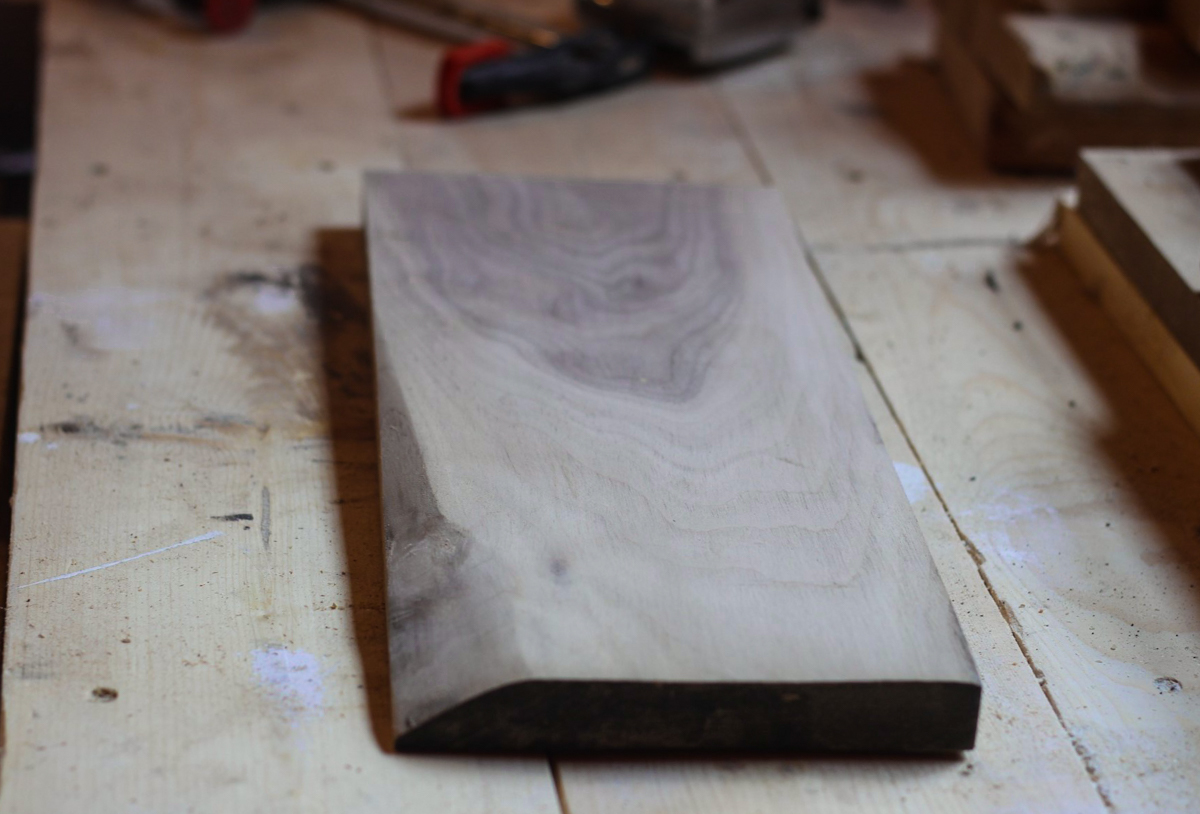
But there are times when I have a rough piece of wood that needs to be trimmed down to a consistent thikness or large course areas need to be smoothed out. Instead of picking up my orbital sander and going to town for 45 minutes to thickness the piece of wood, I turned to my table saw. While this trick is limited to wood with a width of approximately 6 inches, it can save you a ton of time for small projects. It’s a really simple process.
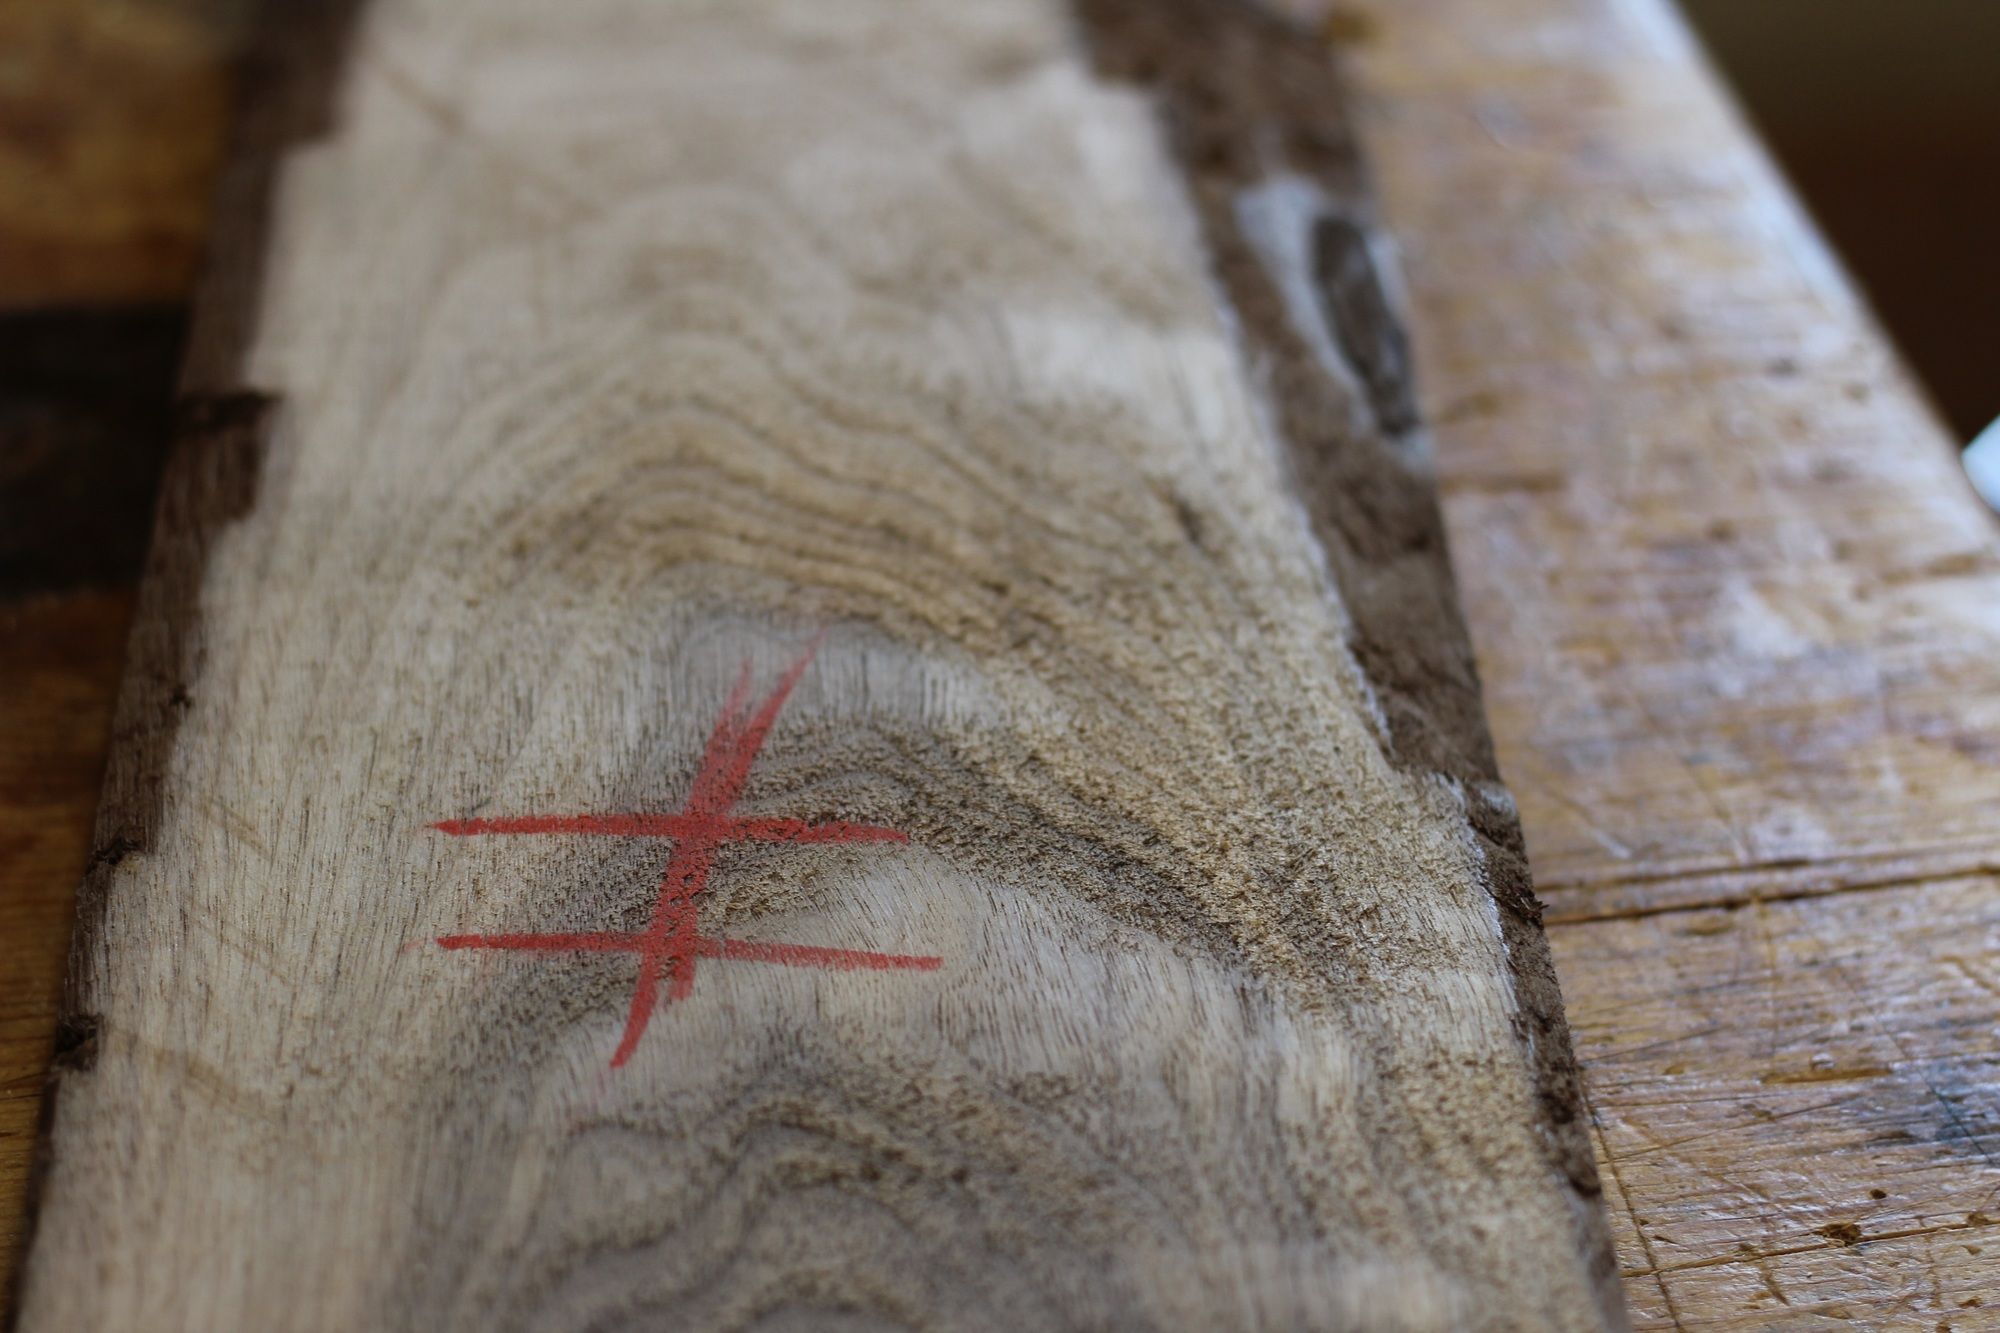
As you can see, my piece was not in terrible shape, but there was definitely some rough sawn areas that would have been timing consuming and tedious to sand out.
Note: This process exposes a lot of blade on top of the table, and you’re working with fairly small pieces that are positioned between the blade and the fence. If any step feels unsafe to you, stop. It’s not worth the time saved. Just bust out the random orbit sander and some 60 grit, and go to town.
First, in order to do this, you must have three faces flat and square: one face and both edges, all of which will ride against the rip fence and saw table, respectively. Remember, the board will be flipped for the second pass. A jointer is the best way to prep the stock, though the table saw could also work if one face is already flat and one edge is straight to start. The goal here is to guarantee the board won’t rock during the pass.
Secondly, you need a table saw with a riving knife or splitter to pull this off. This helps to reduce the likelihood of kickback, as the wood won’t touch the black of the blade again after it’s cut.
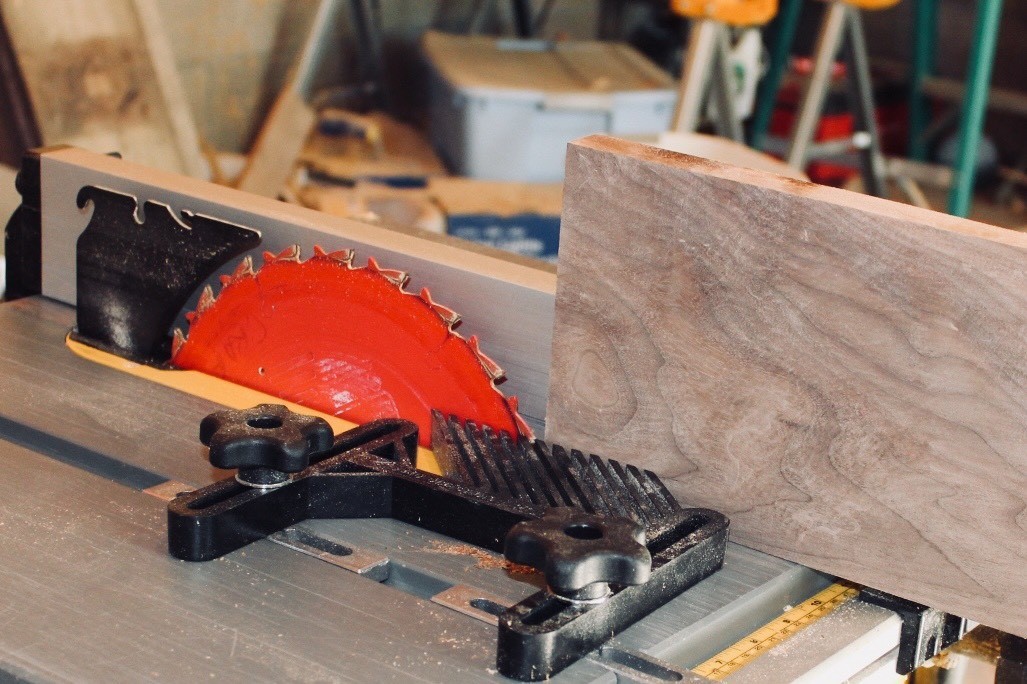
Both edges of my board were already square, so I didn’t need to do that. But if your piece of wood isn’t square, run it through the table saw or jointer on both sides. (You could trim with a band saw first for safety.) Then set the blade as high as it will go and put the fence and board tight against the blade. Next, remove the board and nudge the fence about 1/16″ closer toward the blade. Set the fence in this position, which will ensure you take off just a little bit of the rough areas of the board.
You want to just graze the wood with each pass to minimize getting the wood wedged in between the blade and the fence, potentially causing kickback. Stand with your body to the left or right of the blade, keeping you out of harms way, just in case something happens. If you like, you can also make multiple passes, starting with the blade low and raising it a bit each time. Use good judgment.
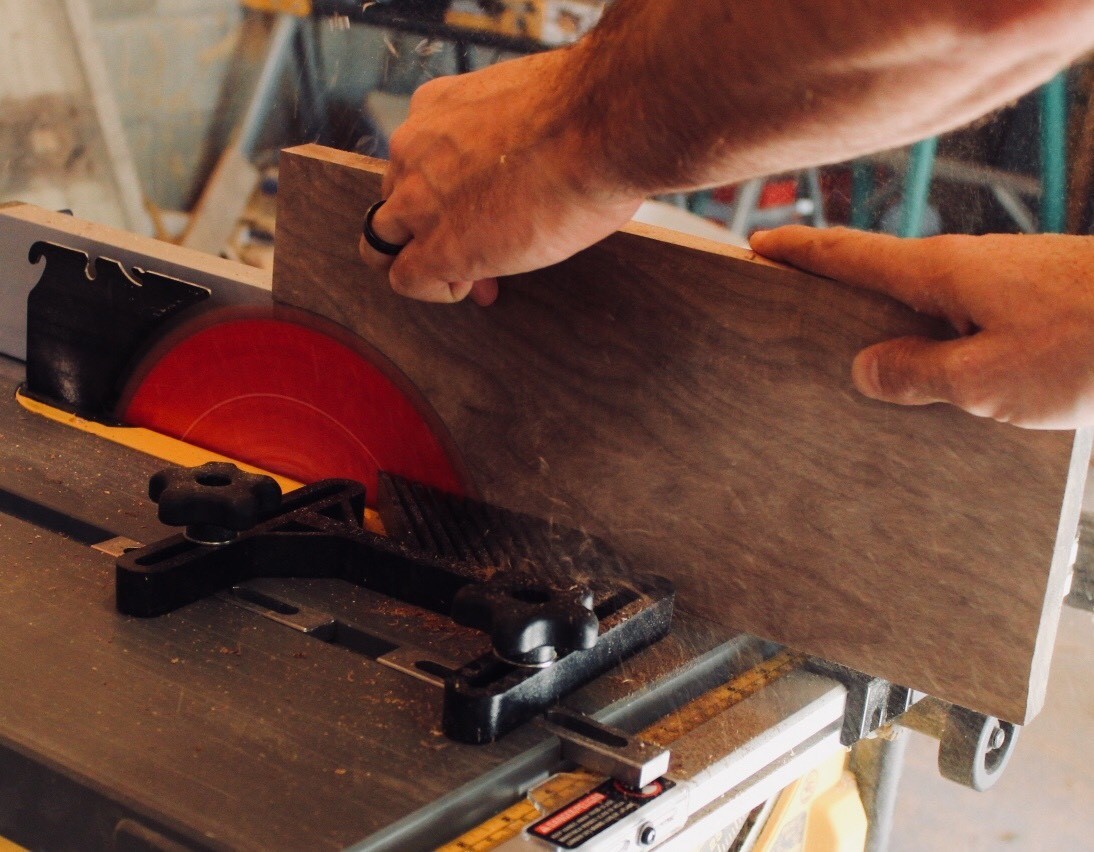
I used a feather board to help hold the board in place. Simply run the board through the table saw to remove the 1/16″ or 1/32″. Make sure you hold the board as tight against the fence as possible and be careful with the blade up so high. Use push sticks and pads, keeping your hands away from the blade after starting the cut. Tuck your fingers and keep your eye on them and the blade at all times. Remember, your table saw should always have a splitter or riving knife installed if possible. If not, we recommend making a throat plate that includes a splitter.
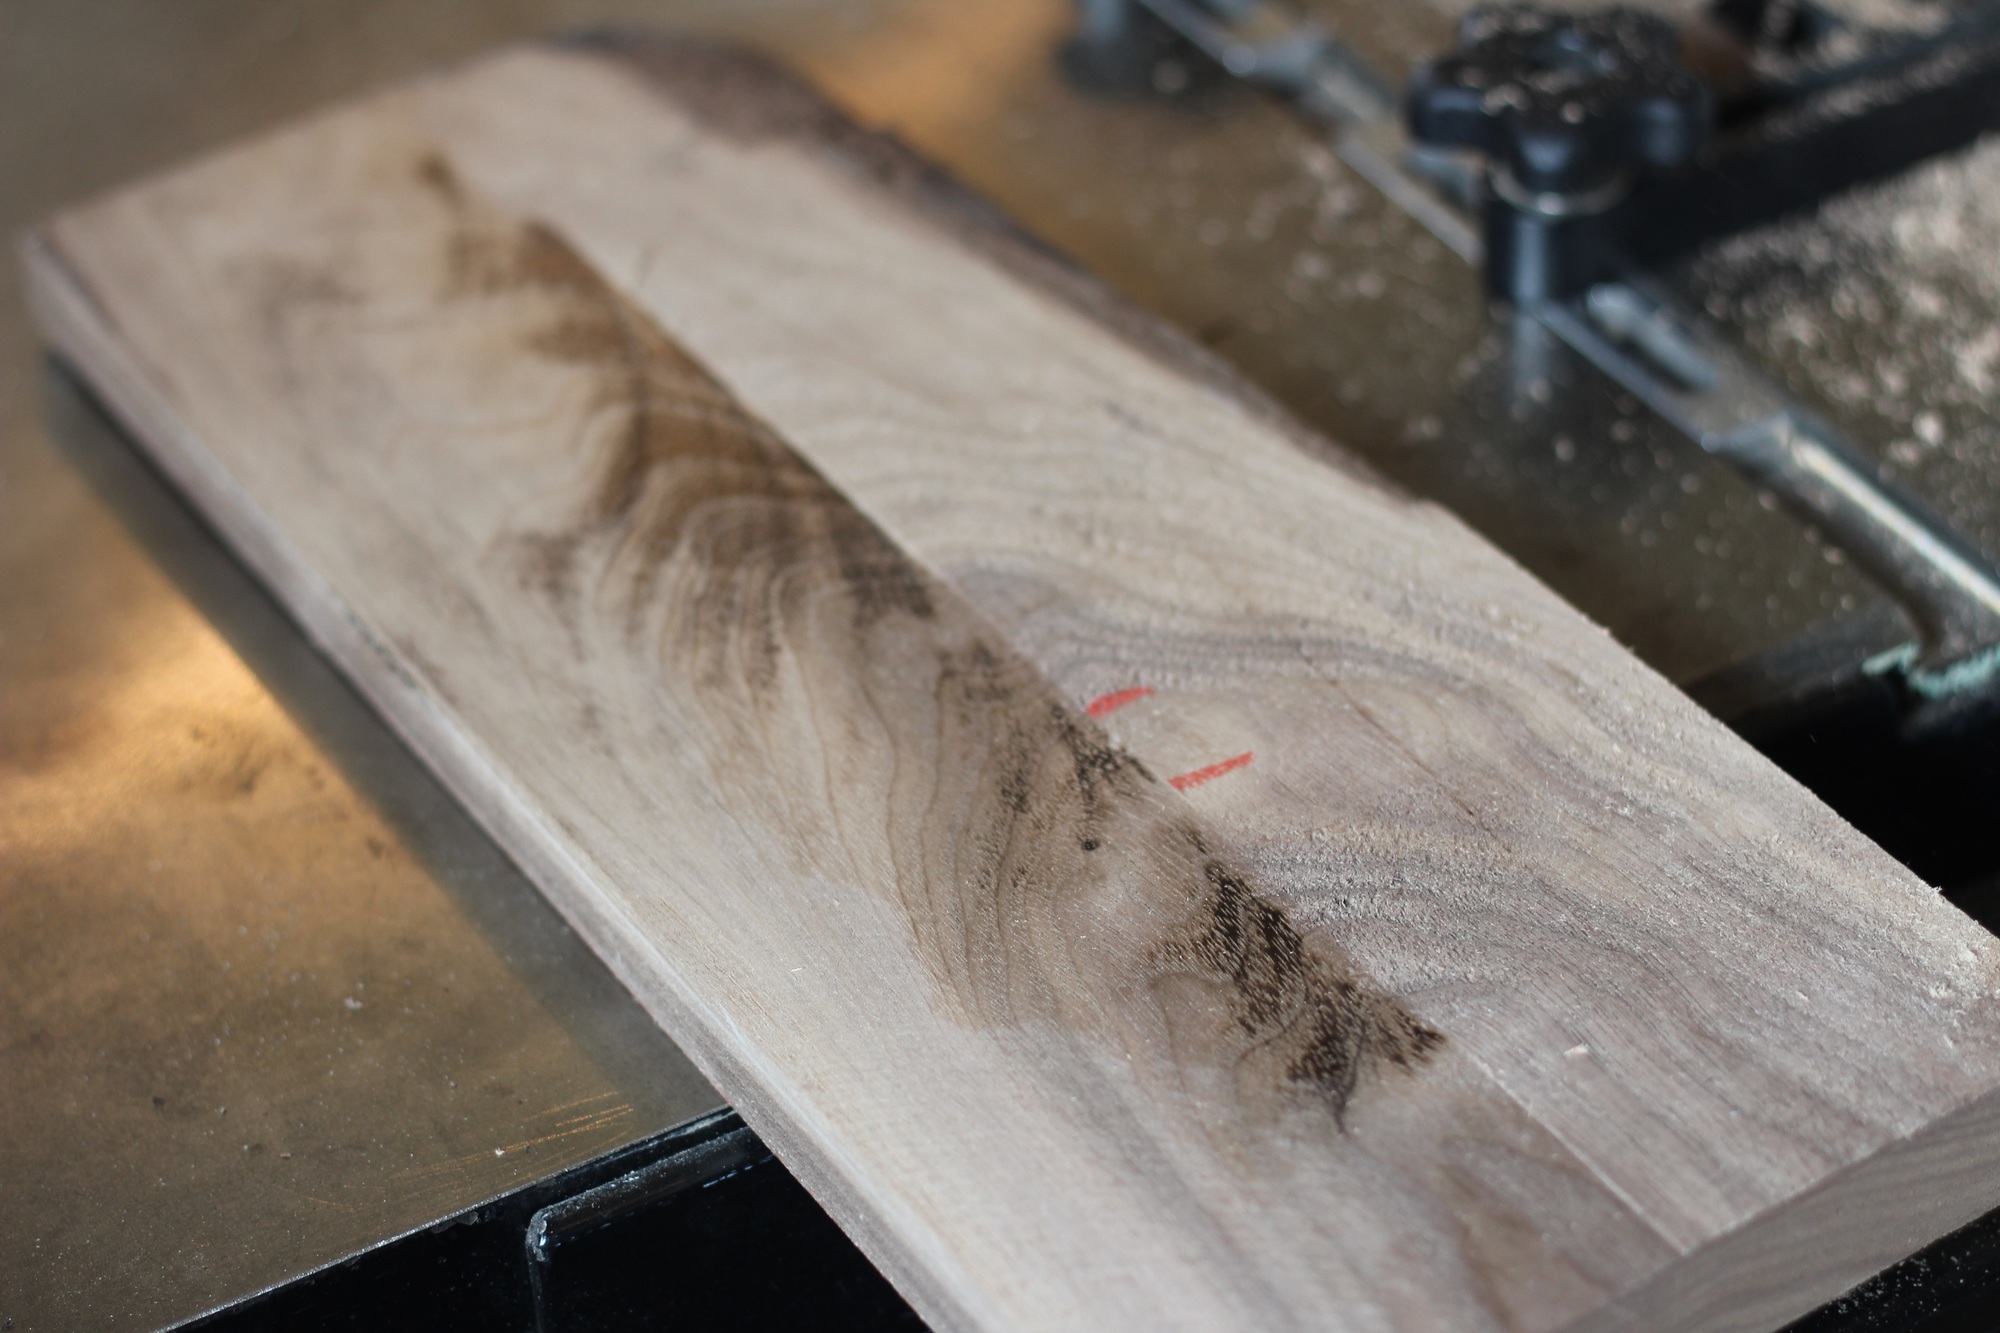
You can easily tell the difference after running one half of the board through the table saw. If you have slight burn marks on the wood like I did, don’t worry about it, as those will easily come out with a little sanding.
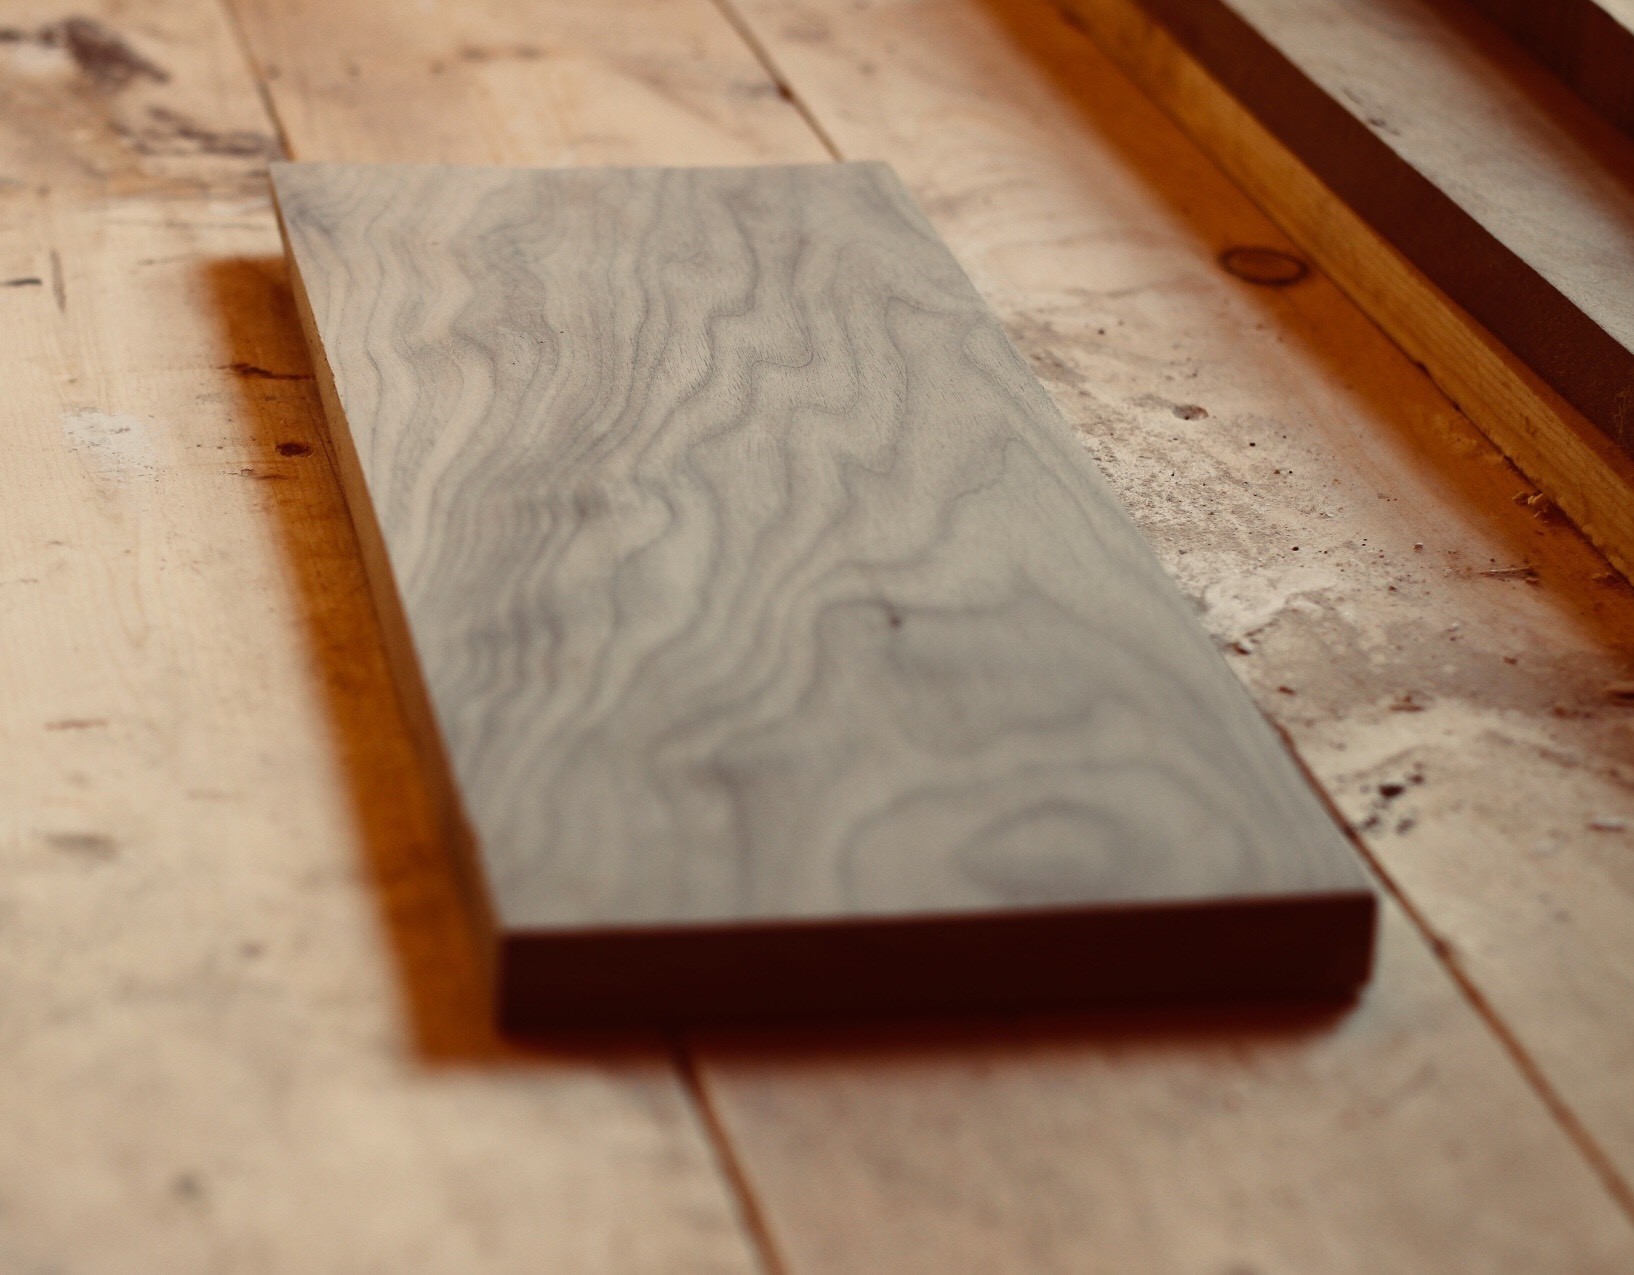
Flip the board over so you can remove 1/16″ from the other half of the wood. If you want to reduce the thickness more, nudge the fence a little closer to the blade and run your board through the table saw again. You can repeat the process on both sides of the board to get a consistent thickness that is smooth to the touch and ready for sanding. If this seems like a lot of passes, don’t worry: this is how it would work if you had a planer, too.
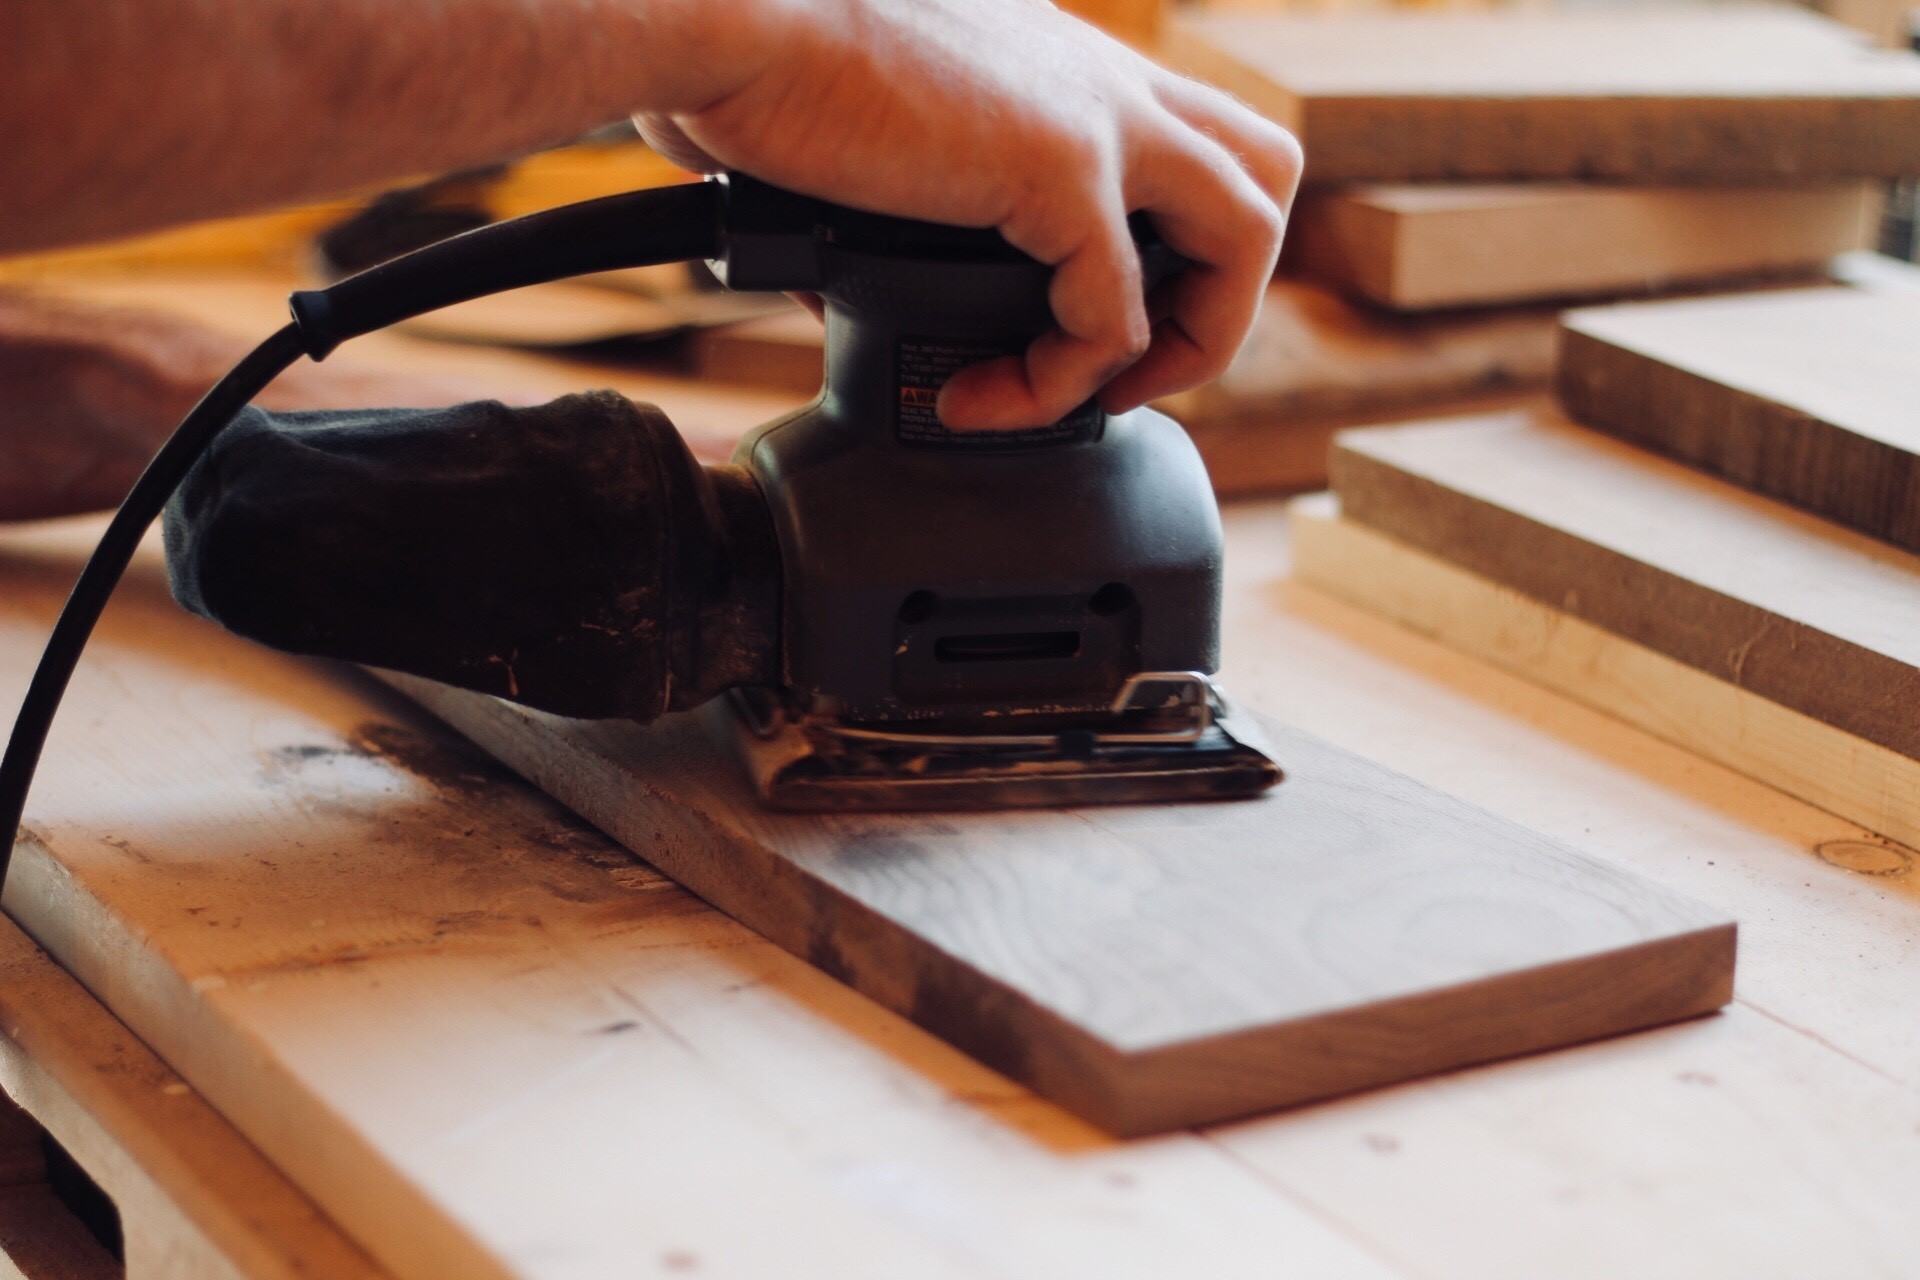
Finally, sand the board to your desired grit. I started with my orbital sander and 100 grit sandpaper. It took me about 5 minutes to get the burn marks out and sanded smooth. Overall, the entire process took me about 12 minutes and my board is ready to be made into a small cutting board or be used to make a simple walnut drawer.
Once again, this process works great for me and my saw. But it does expose a lot of blade on top of the table, and you’re working with fairly small pieces that are positioned between the blade and the fence. If any step feels unsafe to you, stop. Please be safe, and have fun!


