How To Seal Cracks Around Your Windows For A Draft-Free Home
There’s nothing like that first cold breeze sneaking in through a window crack to remind you your house isn’t as sealed up as you thought. A little draft here and there might not seem like a big deal, but they add up fast when it comes to your heating bill. Thankfully, sealing those cracks is a simple weekend project that anyone can do. You don’t need fancy tools, just a little time, the right stuff, and a careful eye.
Start With a Draft Check
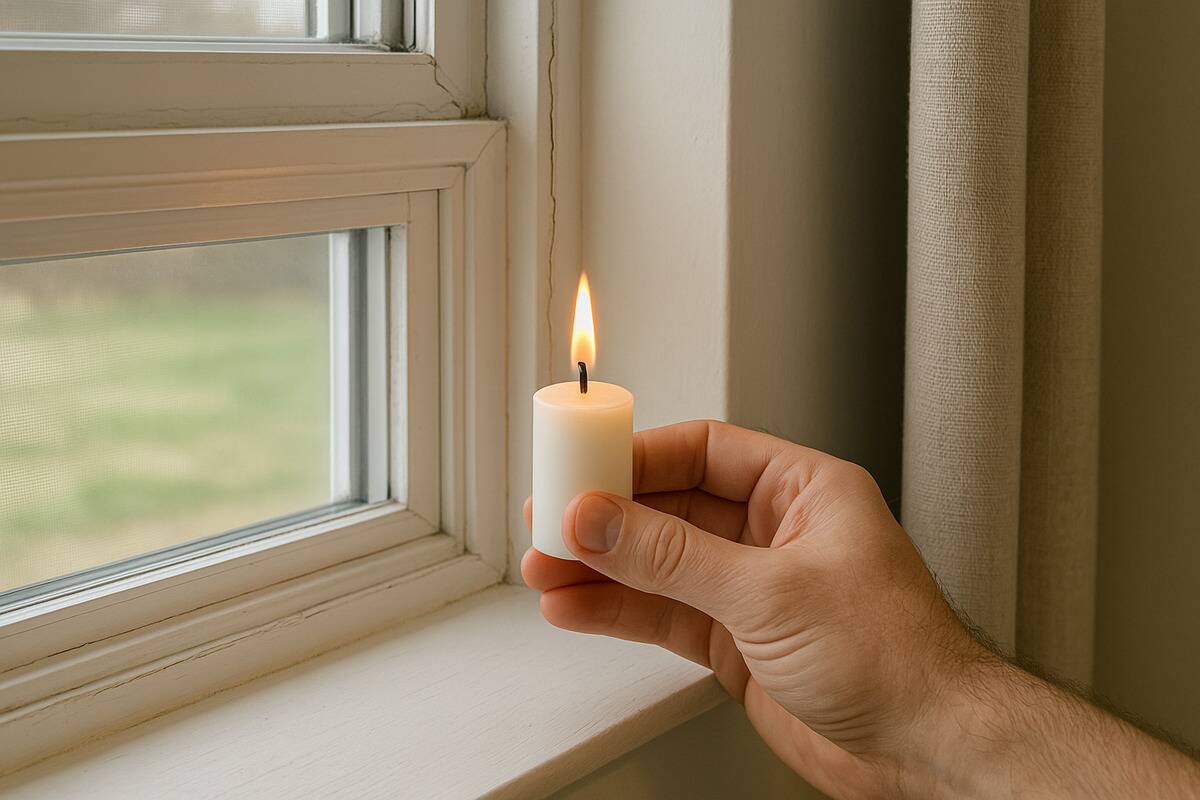
Before you grab the caulk gun, take a minute to find exactly where the air is getting in. On a windy day, run your hand around the window frame and sill. If you feel a chill or a soft breeze on your hand, you’ve got a leak. You can also try the candle test to be extra sure: light a candle and slowly move it around the window edges. If the flame flickers, that’s a draft. Mark those spots where the flickers happen so you know where to focus your efforts later.
Clean the Area First
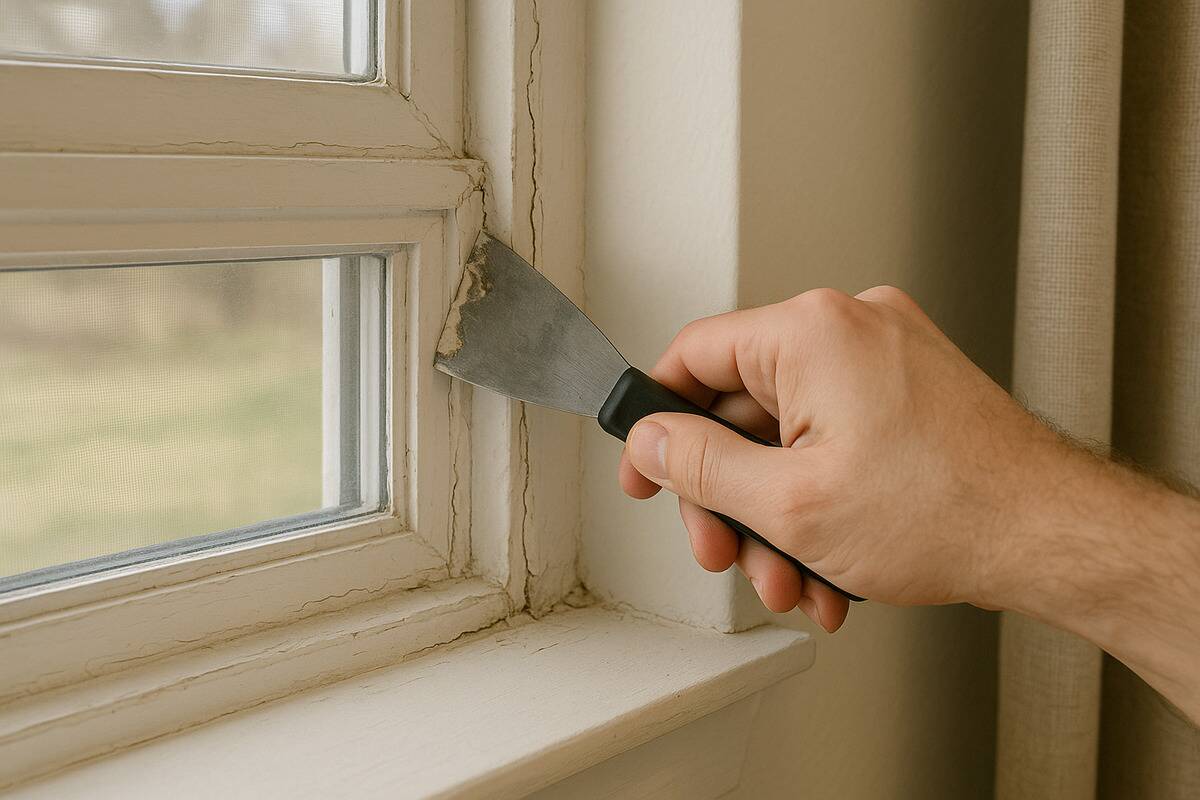
Caulk and sealant won’t stick to a dusty or greasy surface. Take a damp cloth and wipe around the window trim, inside and out if needed. Then, use a scraper or old screwdriver to remove any old, cracked sealant or peeling paint. Let everything dry completely before moving on to the next step. It might seem tedious, but a clean surface means your new seal will actually do its job, and last longer.
Gather What You’ll Need
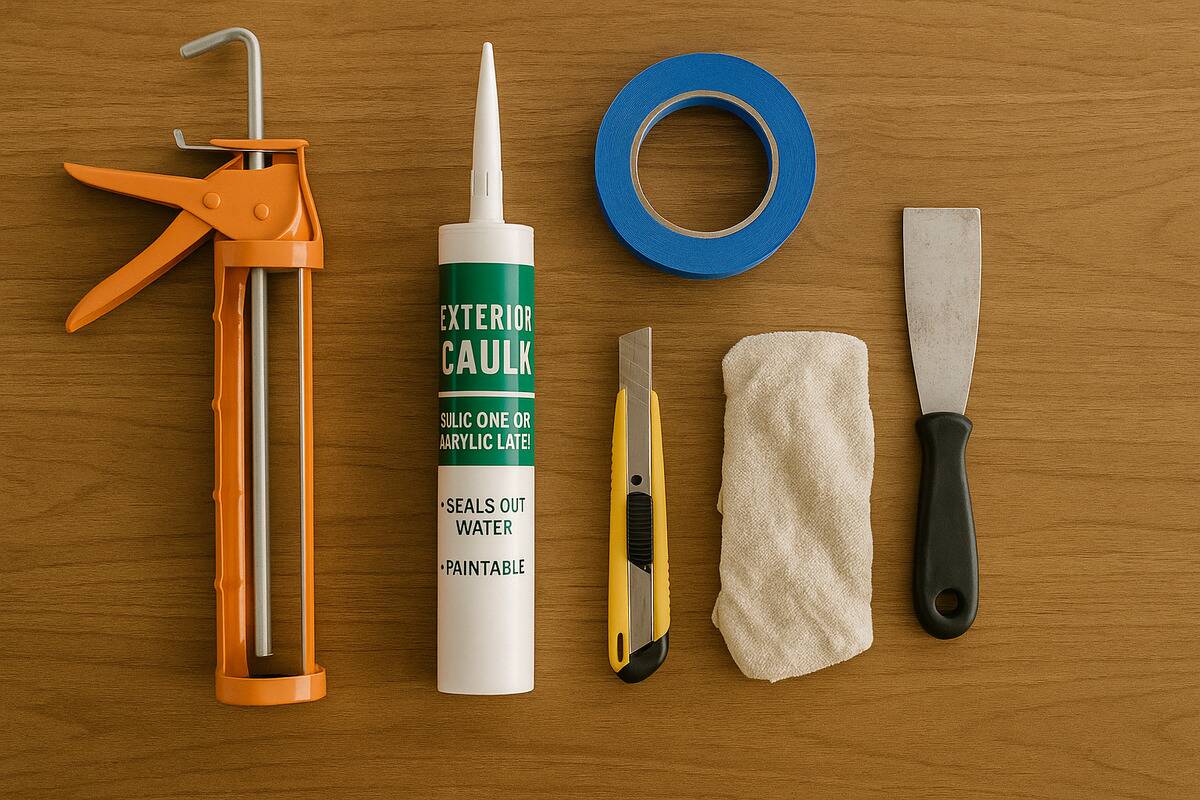
This project doesn’t require much, but grabbing all the things you’ll need before you start will make the whole process go smoother. You’ll want: a caulk gun, a tube of exterior-grade silicone or acrylic latex caulk, painter’s tape, a utility knife, a damp rag, and maybe a putty knife. If you're sealing cracks from the outside and it gets cold where you live, pick a sealant rated for low temperatures. You can find most of the stuff on this list at your local hardware store for under $25 total.
Tape for Clean Lines
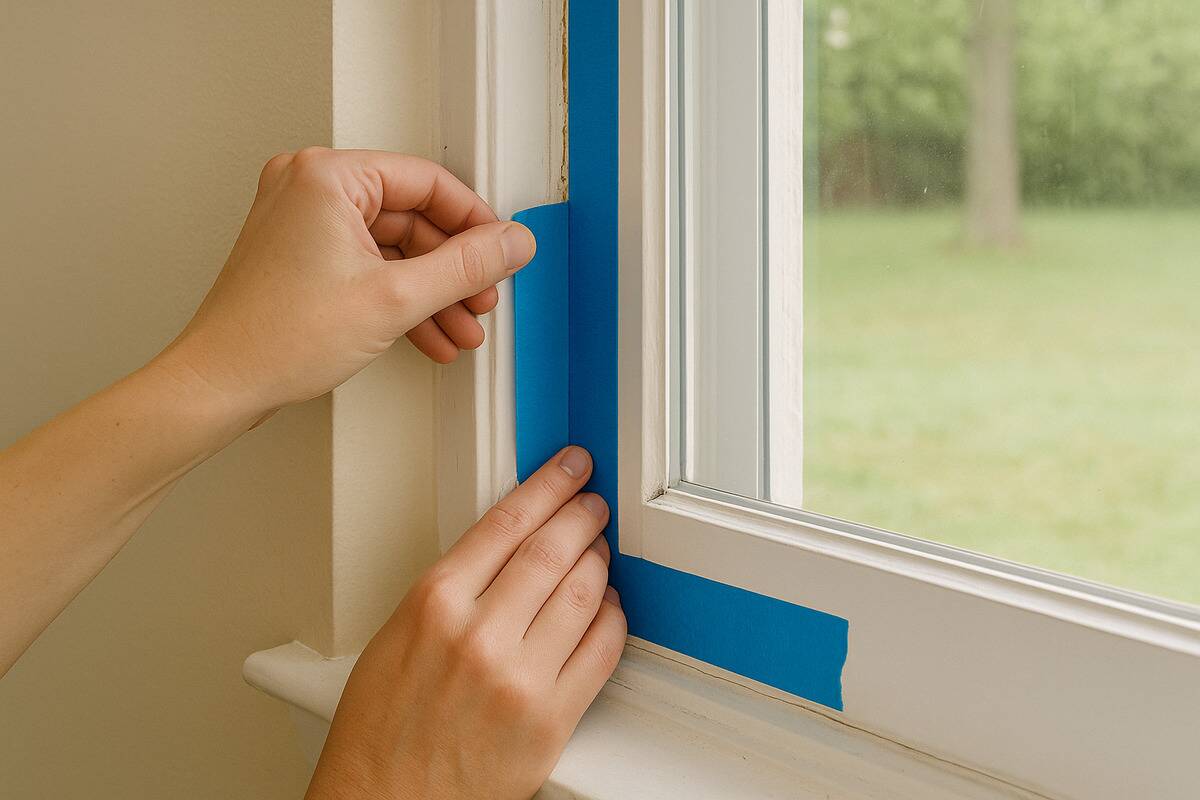
If you’re worried about making a mess (and who isn’t?) painter's tape is your new best friend. Apply it in a straight line along both sides of the gap you’re sealing. This keeps the bead of caulk nice and neat and makes cleanup a breeze. You don’t have to be a perfectionist with the tape application here either, just do your best. It’s an extra step, but it makes a big difference when you peel off the tape and your finished job has nice, clean lines.
Apply the Caulk
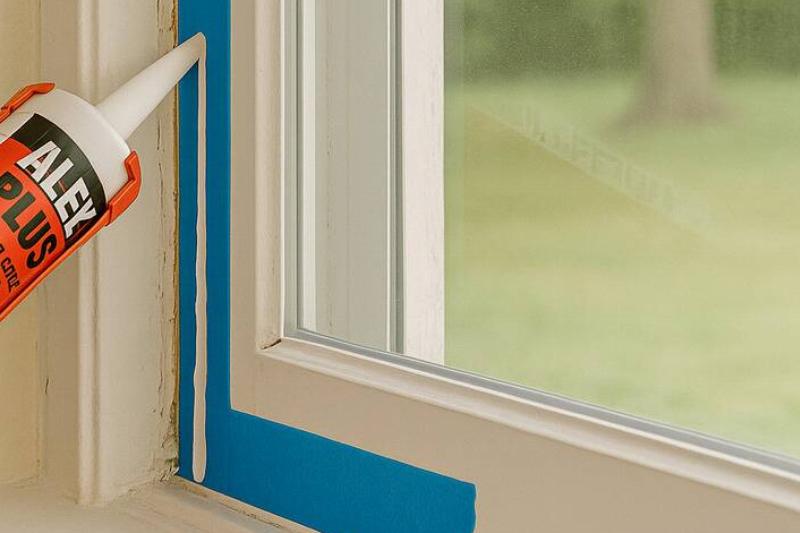
Cut the tip of the caulk tube at a 45-degree angle and load it into your caulk gun. Hold it at the same angle and slowly squeeze a steady bead into the gap. Try to keep the line even, and don’t rush it. You want the caulking to fill the gap without bulging out and getting all over everything. Once it’s in, use a damp finger or a caulk-smoothing tool to press it in and smooth it out. Then peel off the painter’s tape when you’re satisfied.
Let It Dry (Really Dry)
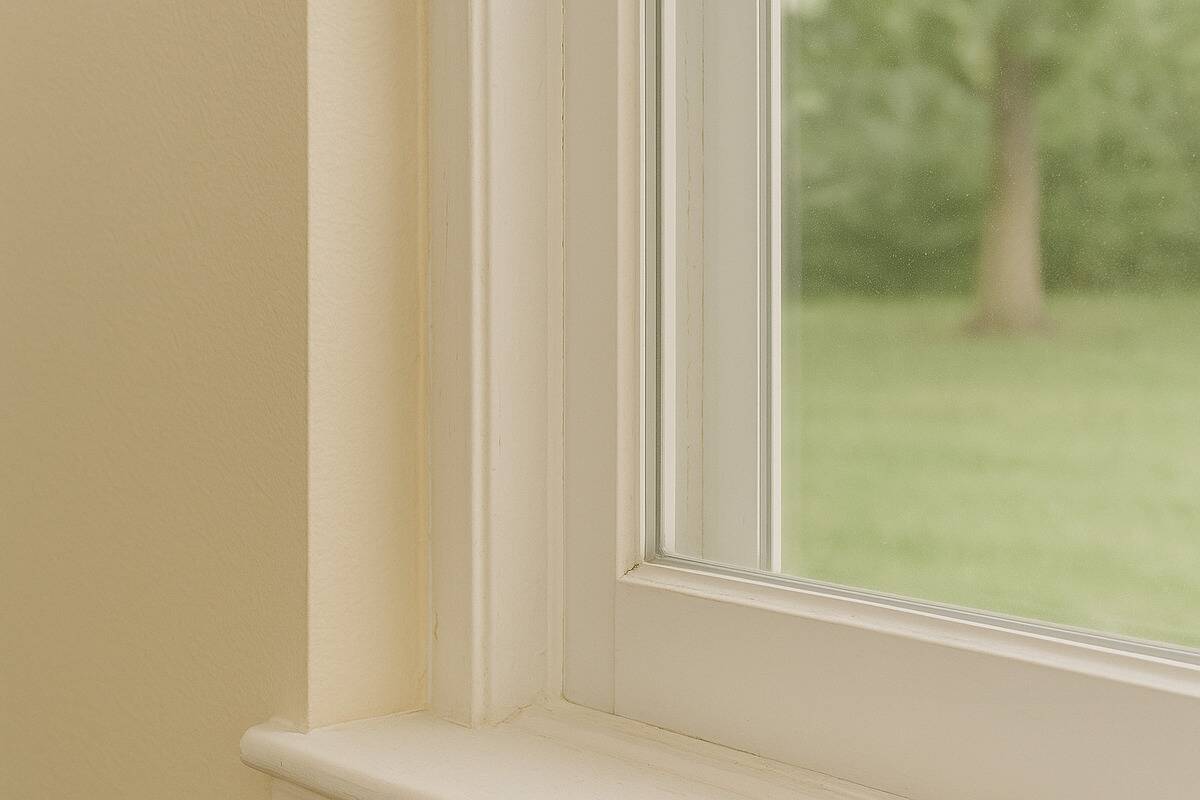
This step is super important. Caulk needs time to cure completely, which usually takes around 24 hours. Some quick-dry options set in an hour or two, but it’s good practice to give it a day before exposing any caulk to rain, snow, or window cleaning. During this drying time, keep pets and kids away, and don’t press on the freshly sealed areas. Dry time makes the difference between a seal that lasts and one that starts peeling off before winter even gets here.
Do a Final Check

Once the sealant is dry, check your work. Run your hand around the same spots again, or go back to the candle test. If it’s sealed right, you shouldn’t feel anything and the candle flame should stay still. If you missed a spot or notice a bubble, go back in with another thin bead of caulk. Sometimes it takes a couple tries to get it all, but that’s okay. You’re learning about what your house needs and saving on your energy bill at the same time.
Related Articles
- Why Some Experts Say You Shouldn't Keep All Your Windows Closed This Winter
- Easy Ways to Spot Drafts and Seal Air Leaks in Your Home
- Why Your House Is So Humid, The Dangers, And How To Fix It
Sealing window cracks might not be the most exciting weekend project, but it makes a real difference. Less cold air sneaking in means less money flying out. And it’s the kind of small repair that helps your windows last longer too. Whether you’re prepping for winter or just sick of feeling that drafty chill, this is one of those chores that feels good to cross off. So when you’re done, take a deep breath, enjoy the warmth, and maybe treat yourself to a cup of something hot. You’ve earned it.


