How To Replace Orangeburg Sewer Lines
Most people have never heard the word “Orangeburg”. Orangeburg was the answer to a growing problem in post-World War II America. The mix of tarpaper and wood pulp, extruded into four, six, and even 12-inch pipes was the answer to the problem of corroding cast iron sewer pipes.
Because of its asphalt-based, tarpaper construction, it didn’t corrode, which was a boon for the rapidly expanding suburbs that sprouted like mushrooms from the late 1940s to the early 1970s.
Now, the solution is quickly becoming the problem.
Orangeburg
Orangeburg doesn’t corrode, but it has little integral value on its own. Orangeburg pipes are collapsing in older homes in all 50 states, creating a demand for schedule 80 PVC pipe to replace it.
That demand isn’t a simple process, if the Orangeburg is relatively intact, professionals can “sleeve” the pipe by inserting slightly smaller diameter PVC pipe inside the existing Orangeburg pipe, but one tree root or the slightest collapse of the fiber-based pipe and sleeving will not work. What does work is excavating, removing the Orangeburg pipe, and replacing it with the high pressure rated schedule 80 PVC pipe. It is not as difficult as it sounds.
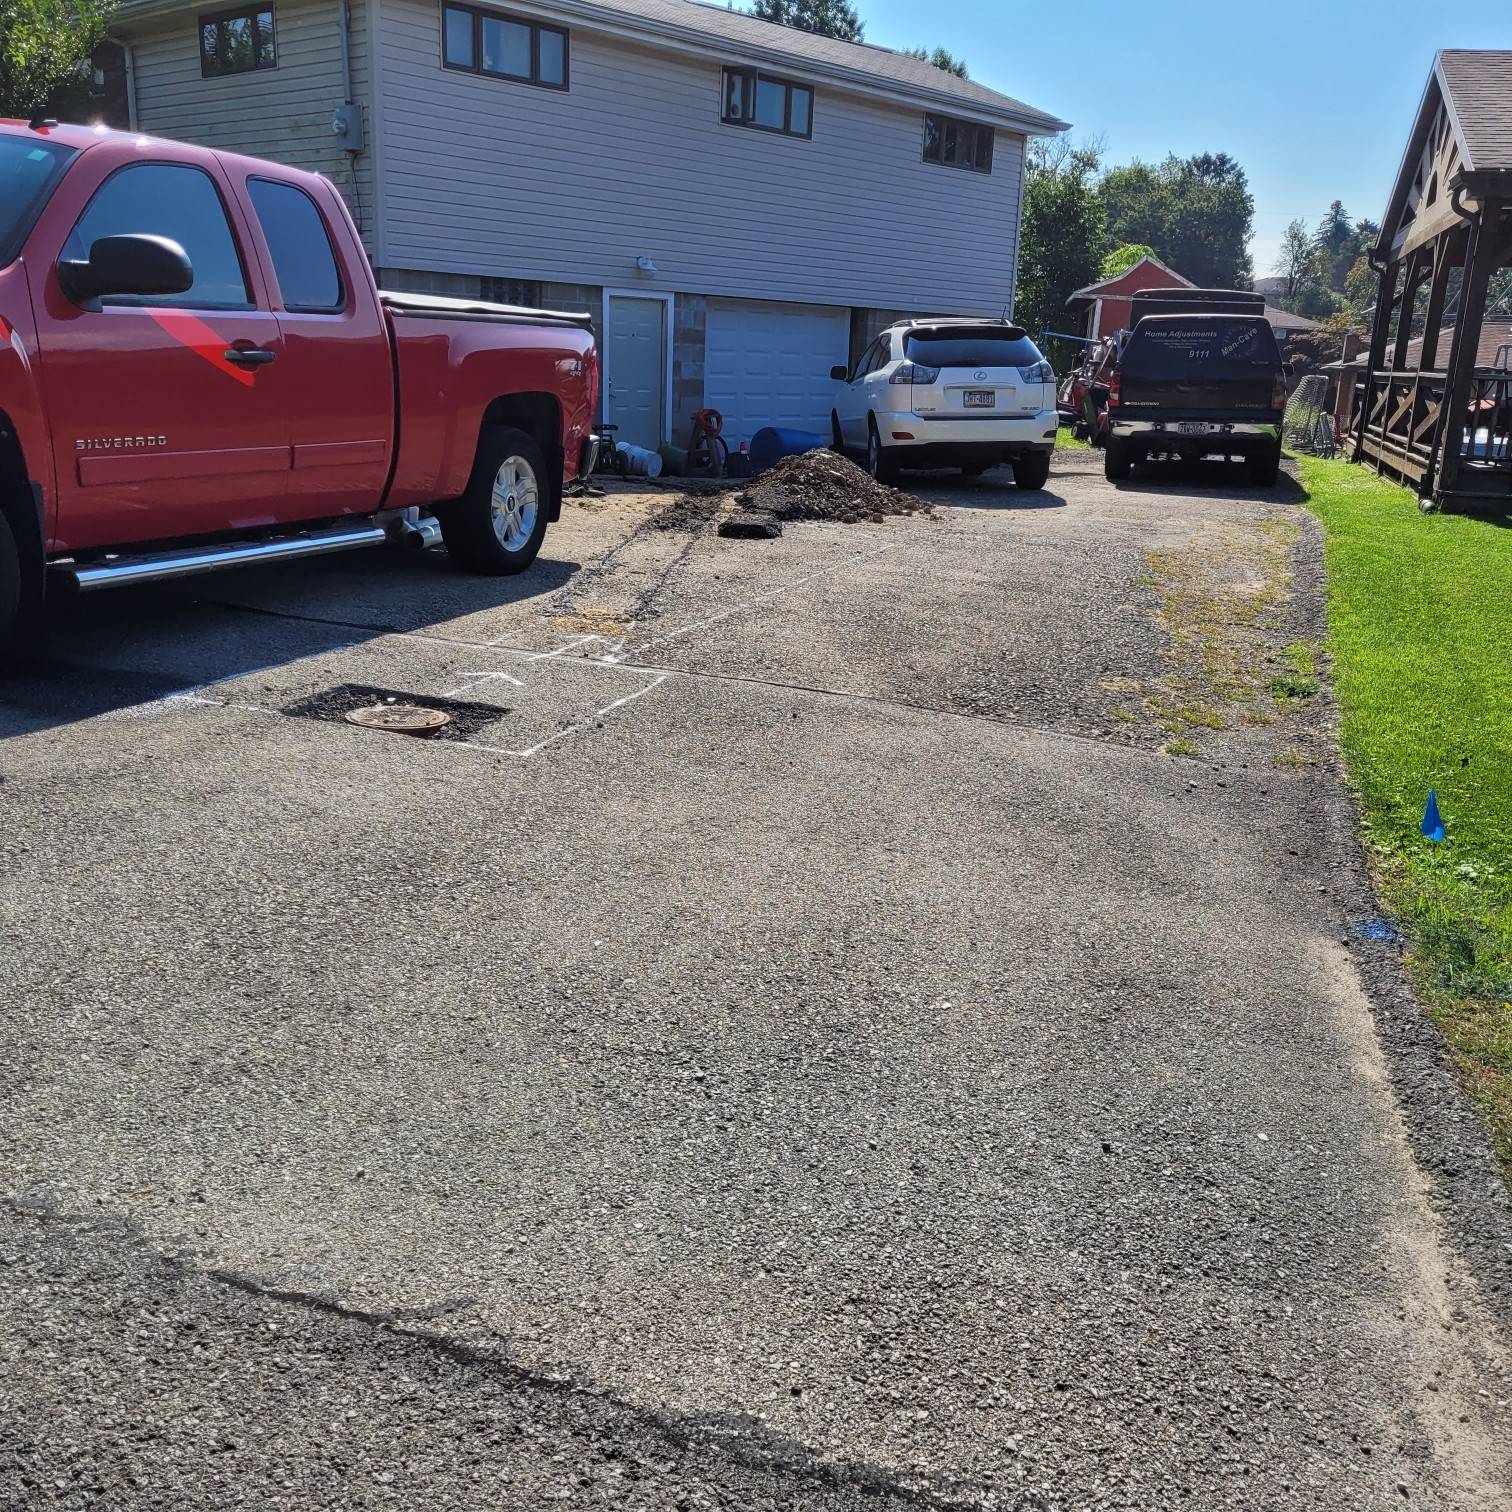
Locate The Orangeburg Line
The process involves locating the Orangeburg line on both ends of the pipe, the first is where it leaves your home, and the second is where it connects with the municipal waste management system.
This requires digging, a process that many leave to professionals, but one that you can do on your own with a little work. It can also be fun when you learn to master the hydraulic controls on a backhoe or mini-excavator.
Once you’ve located the city’s main connection, and the location of the line that leaves your home, the first step is to dig up the line.
You can rent mini-excavators or backhoes at your local rental center.
NOTE: Before you begin digging you should ALWAYS call your municipal area and have underground lines located. The call sends out a surveyor who will locate any gas, electric, or water lines buried in the area, they’ll mark them with paint on the ground and you’ll be able to avoid these buried lines as you excavate your sewer line.
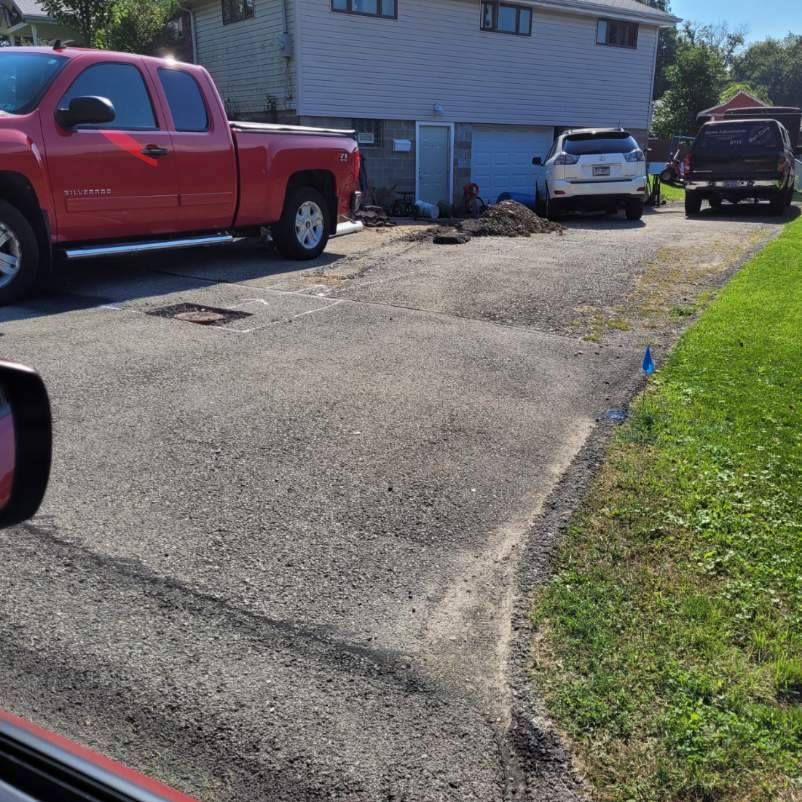
Start Near Your Home
Start near your house and begin to dig down. You can get an idea of how deep the line is from your basement or crawl space. The Orangeburg pipe will be black, with round layers of heavy asphalt paper when you find it. Once you’ve located the Orangeburg, follow it out to the city main at approximately the same depth.
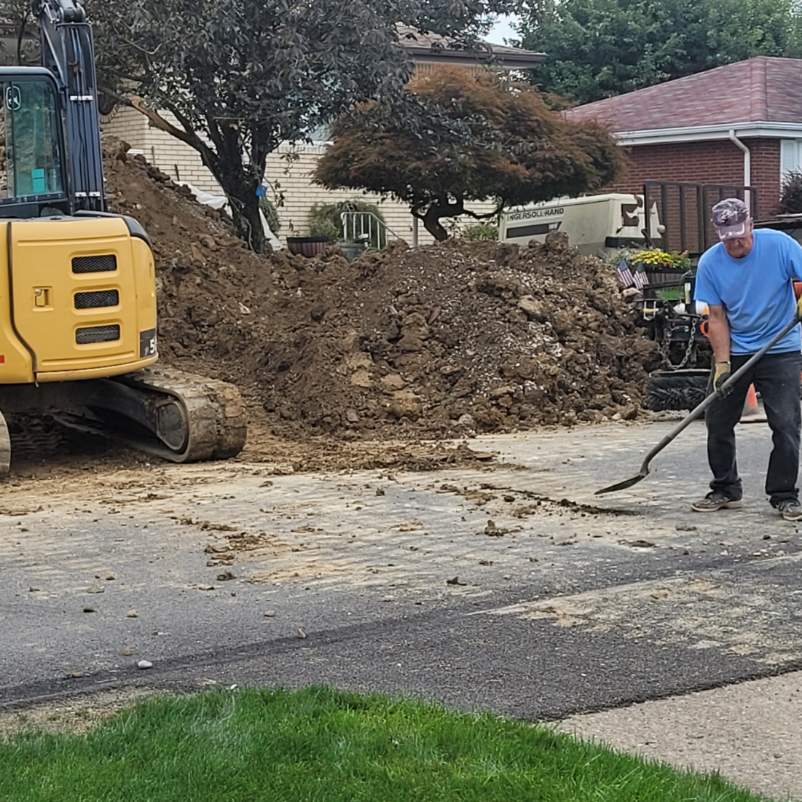
Set In The PVC Line
When the line is excavated you’ll need to replace the lines with the schedule 80 PVC.
Check your local regulations for PVC diameter requirements, most of the time it’s an eight-inch line, but some can be as small as six inches.
The line will need to drop an inch over every four feet of length to properly drain waste from your home.
You’ll need a level and someone to hold a stick to determine the drop but once that is established gluing the PVC pipe at the joints is an easy process. A city inspector will have to evaluate your work and check your connection to the city adapter before you can seat the pipe.
Seating the pipe consists of setting the PVC on the ground below, then covering the entire area with 12” of crushed rock.
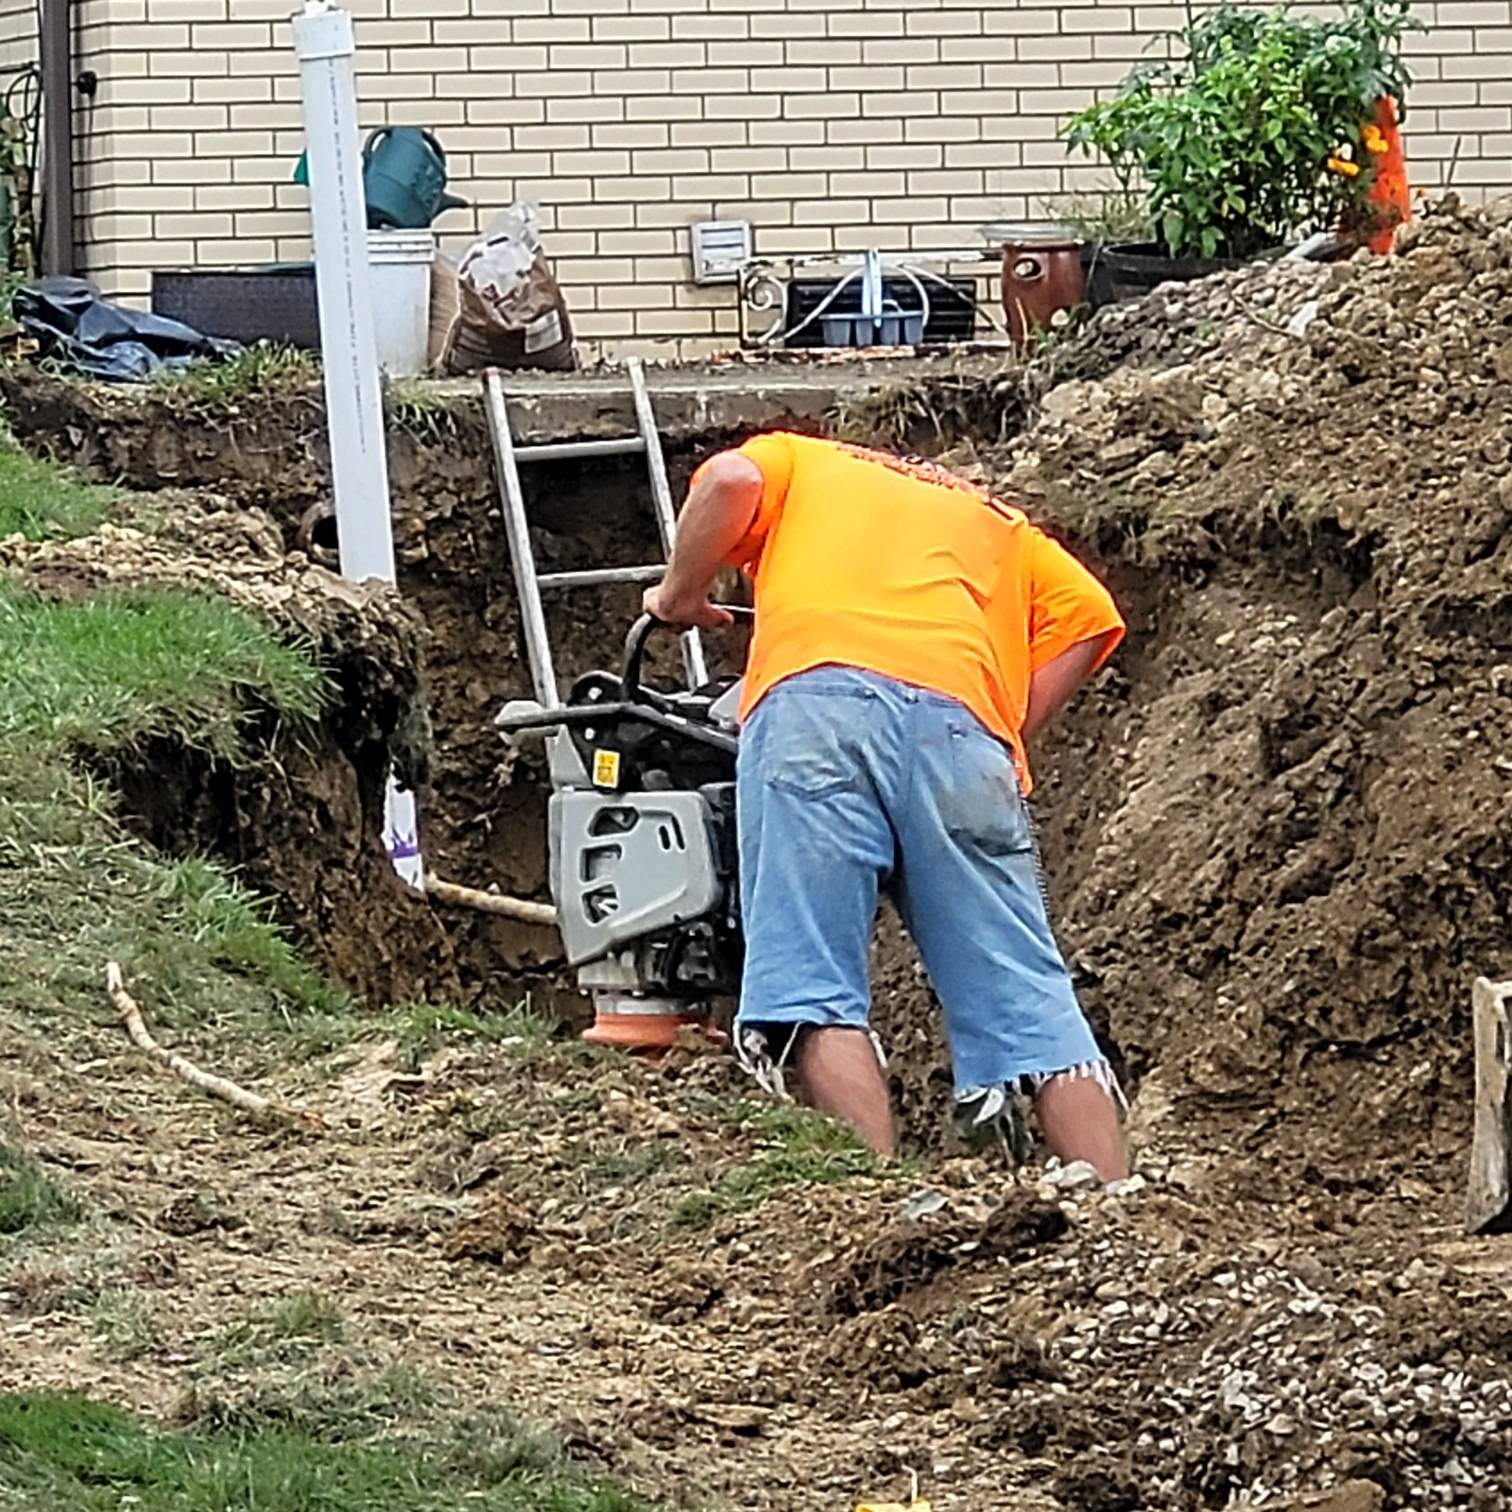
Once the rock is in place you can fill the hole. You should drop four inches of soil on the crushed rock, compact it with a plate compacter, then add another four inches of soil, with compaction on each layer until you reach the surface.
Plant Grass
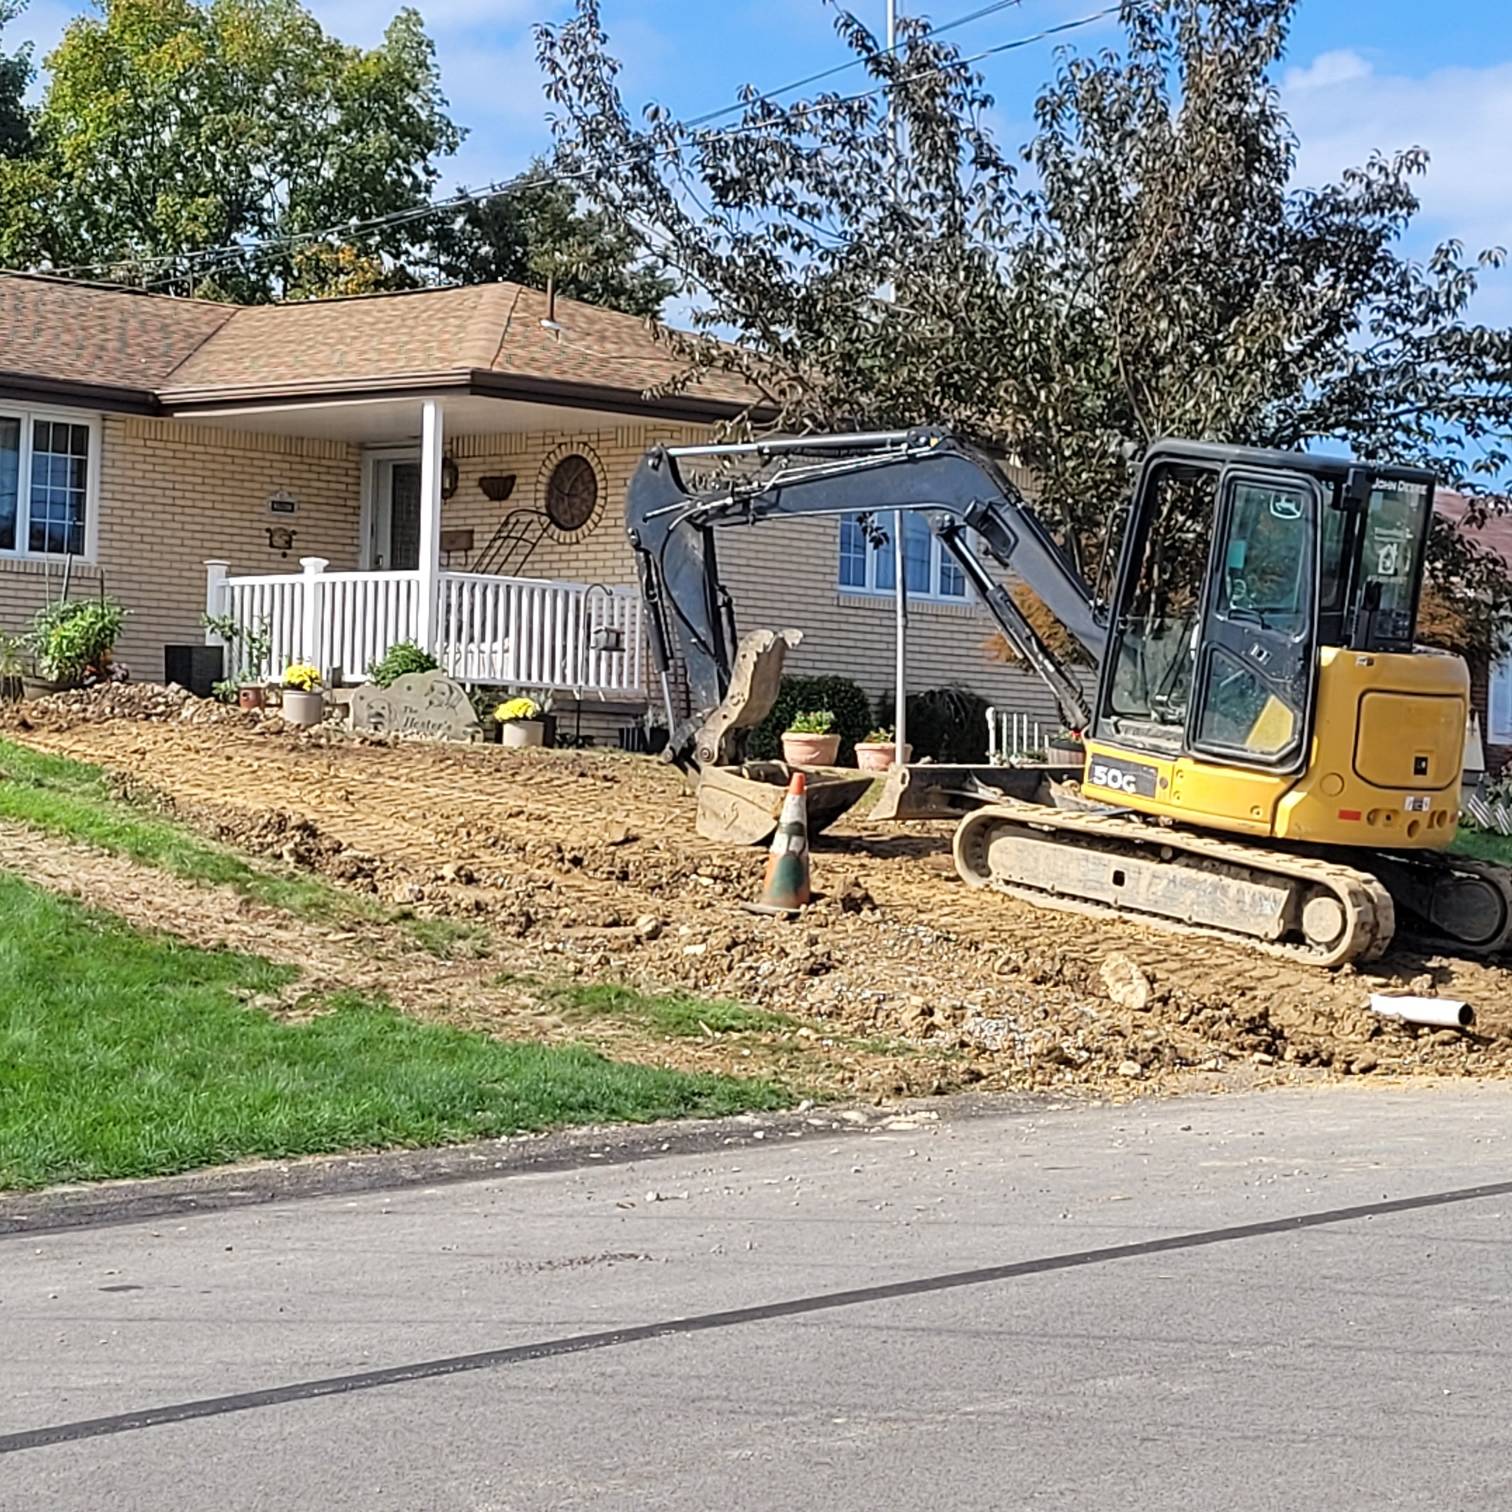
When you reach ground level, it’s time to cover the cut with sod or plant grass with a straw layer on top of it. It is a simple process, but one that requires skill in operating the equipment, and the ability to shovel when necessary.

