How to Replace a Shower Head: Step-by-Step Guide
Getting into a DIY home improvement project can often be a mix of excitement and apprehension, particularly when it involves plumbing. Replacing a shower head, thankfully, falls on the easier end of the DIY spectrum. It’s a task that can breathe new life into your bathroom, enhancing both the aesthetics and functionality of your shower space.
Before getting started, take a moment to familiarize yourself with what you’ll need: a new shower head, an adjustable wrench or a pair of pliers, plumber’s tape (also known as Teflon tape), and maybe a soft cloth or towel to protect the finish on your fixtures from any scratches. It’s a good idea to also have a step stool or ladder handy if your shower arm is high up. With your tools at the ready, ensure the water supply to your shower is turned off to prevent any surprises mid-project.
Choosing the Right Shower Head for Your Bathroom Oasis
The market offers a dizzying array of shower head options, each with its own set of features and benefits. Start by determining your needs. Are you looking for something that is low maintenance? Perhaps a fixed shower head with anti-clog nozzles? Or maybe you desire a bit of luxury and would prefer a rain shower head that simulates the feeling of a gentle downpour?

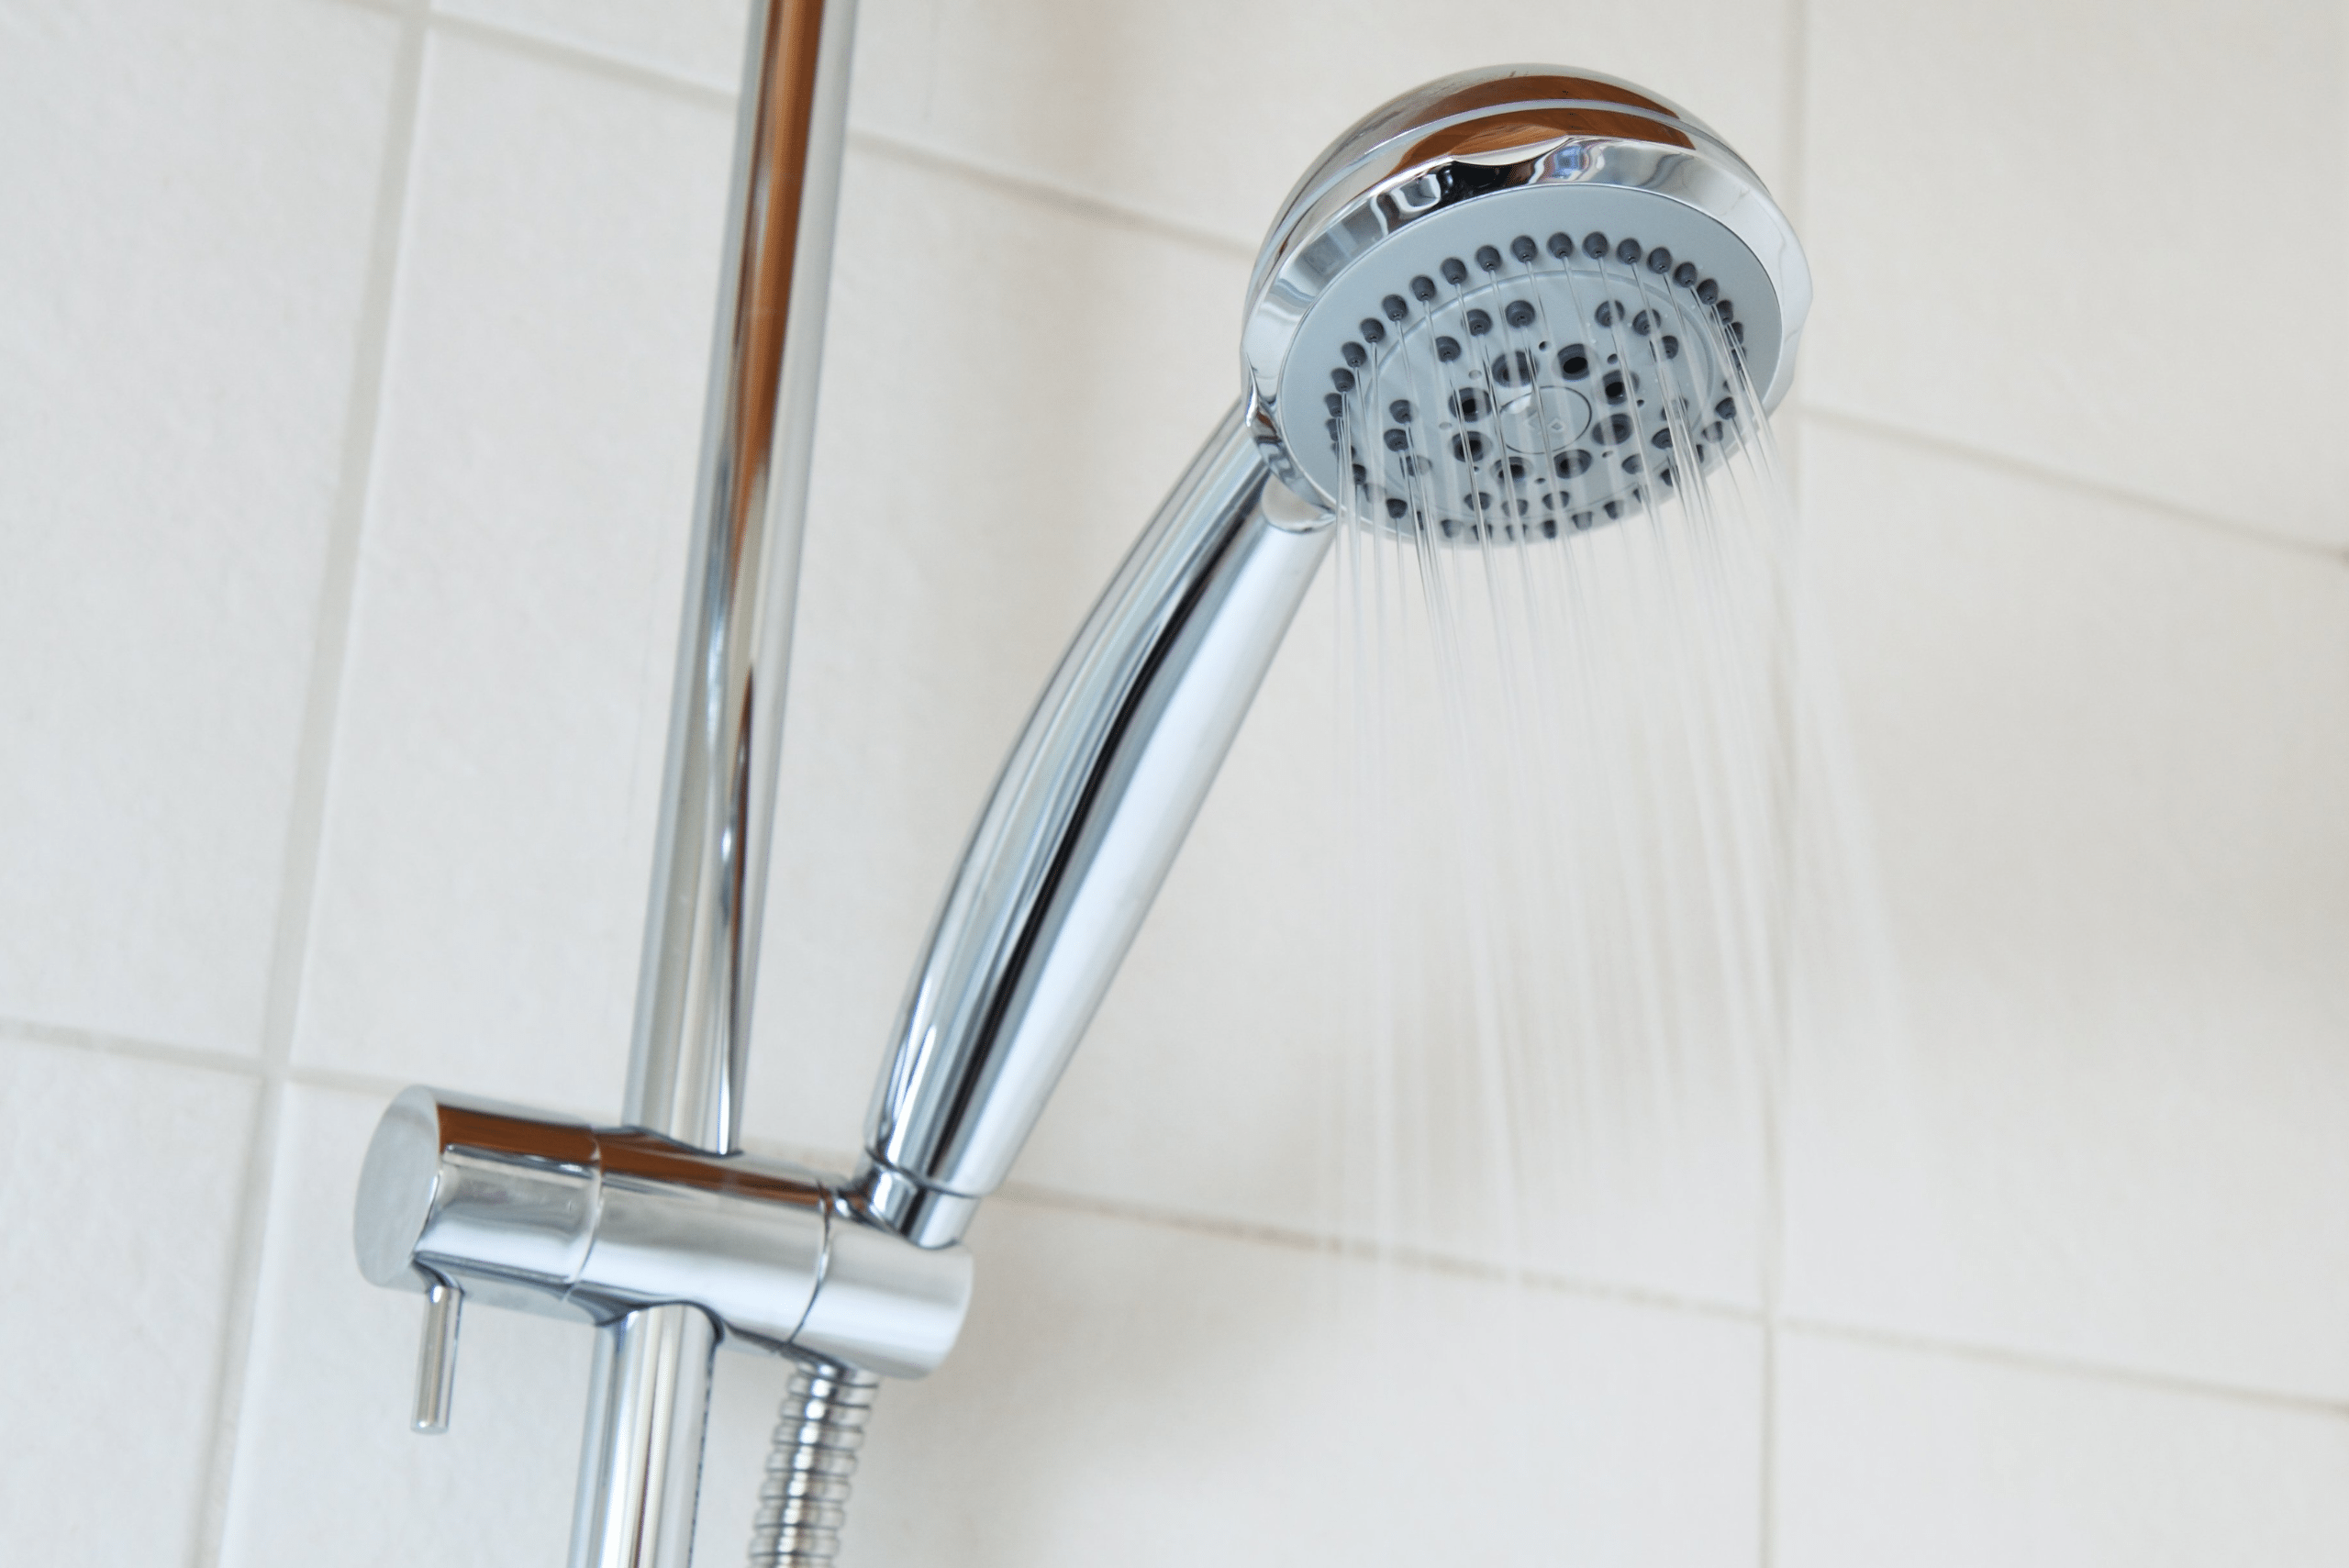
For those who prioritize functionality over form, a handheld shower head could be the ideal choice, offering versatility and ease of use. Parents of young children, pet owners, or those with mobility concerns often find handheld models particularly beneficial.
Don’t forget to consider aesthetics. The finish of your new shower head should complement your existing bathroom fixtures and decor. Whether you prefer chrome, brushed nickel, or oil-rubbed bronze, the right finish will tie the look of your bathroom together.
Step-by-Step Guide: Removing the Old Shower Head with Confidence
Once you’re ready to begin, ensure the shower is dry to avoid slipping. Use the adjustable wrench or pliers to carefully remove the old shower head if it’s too tight to unscrew by hand, placing the cloth between the tool and the fixture to prevent damage. If you encounter resistance, a few drops of penetrating oil can help loosen the threads.

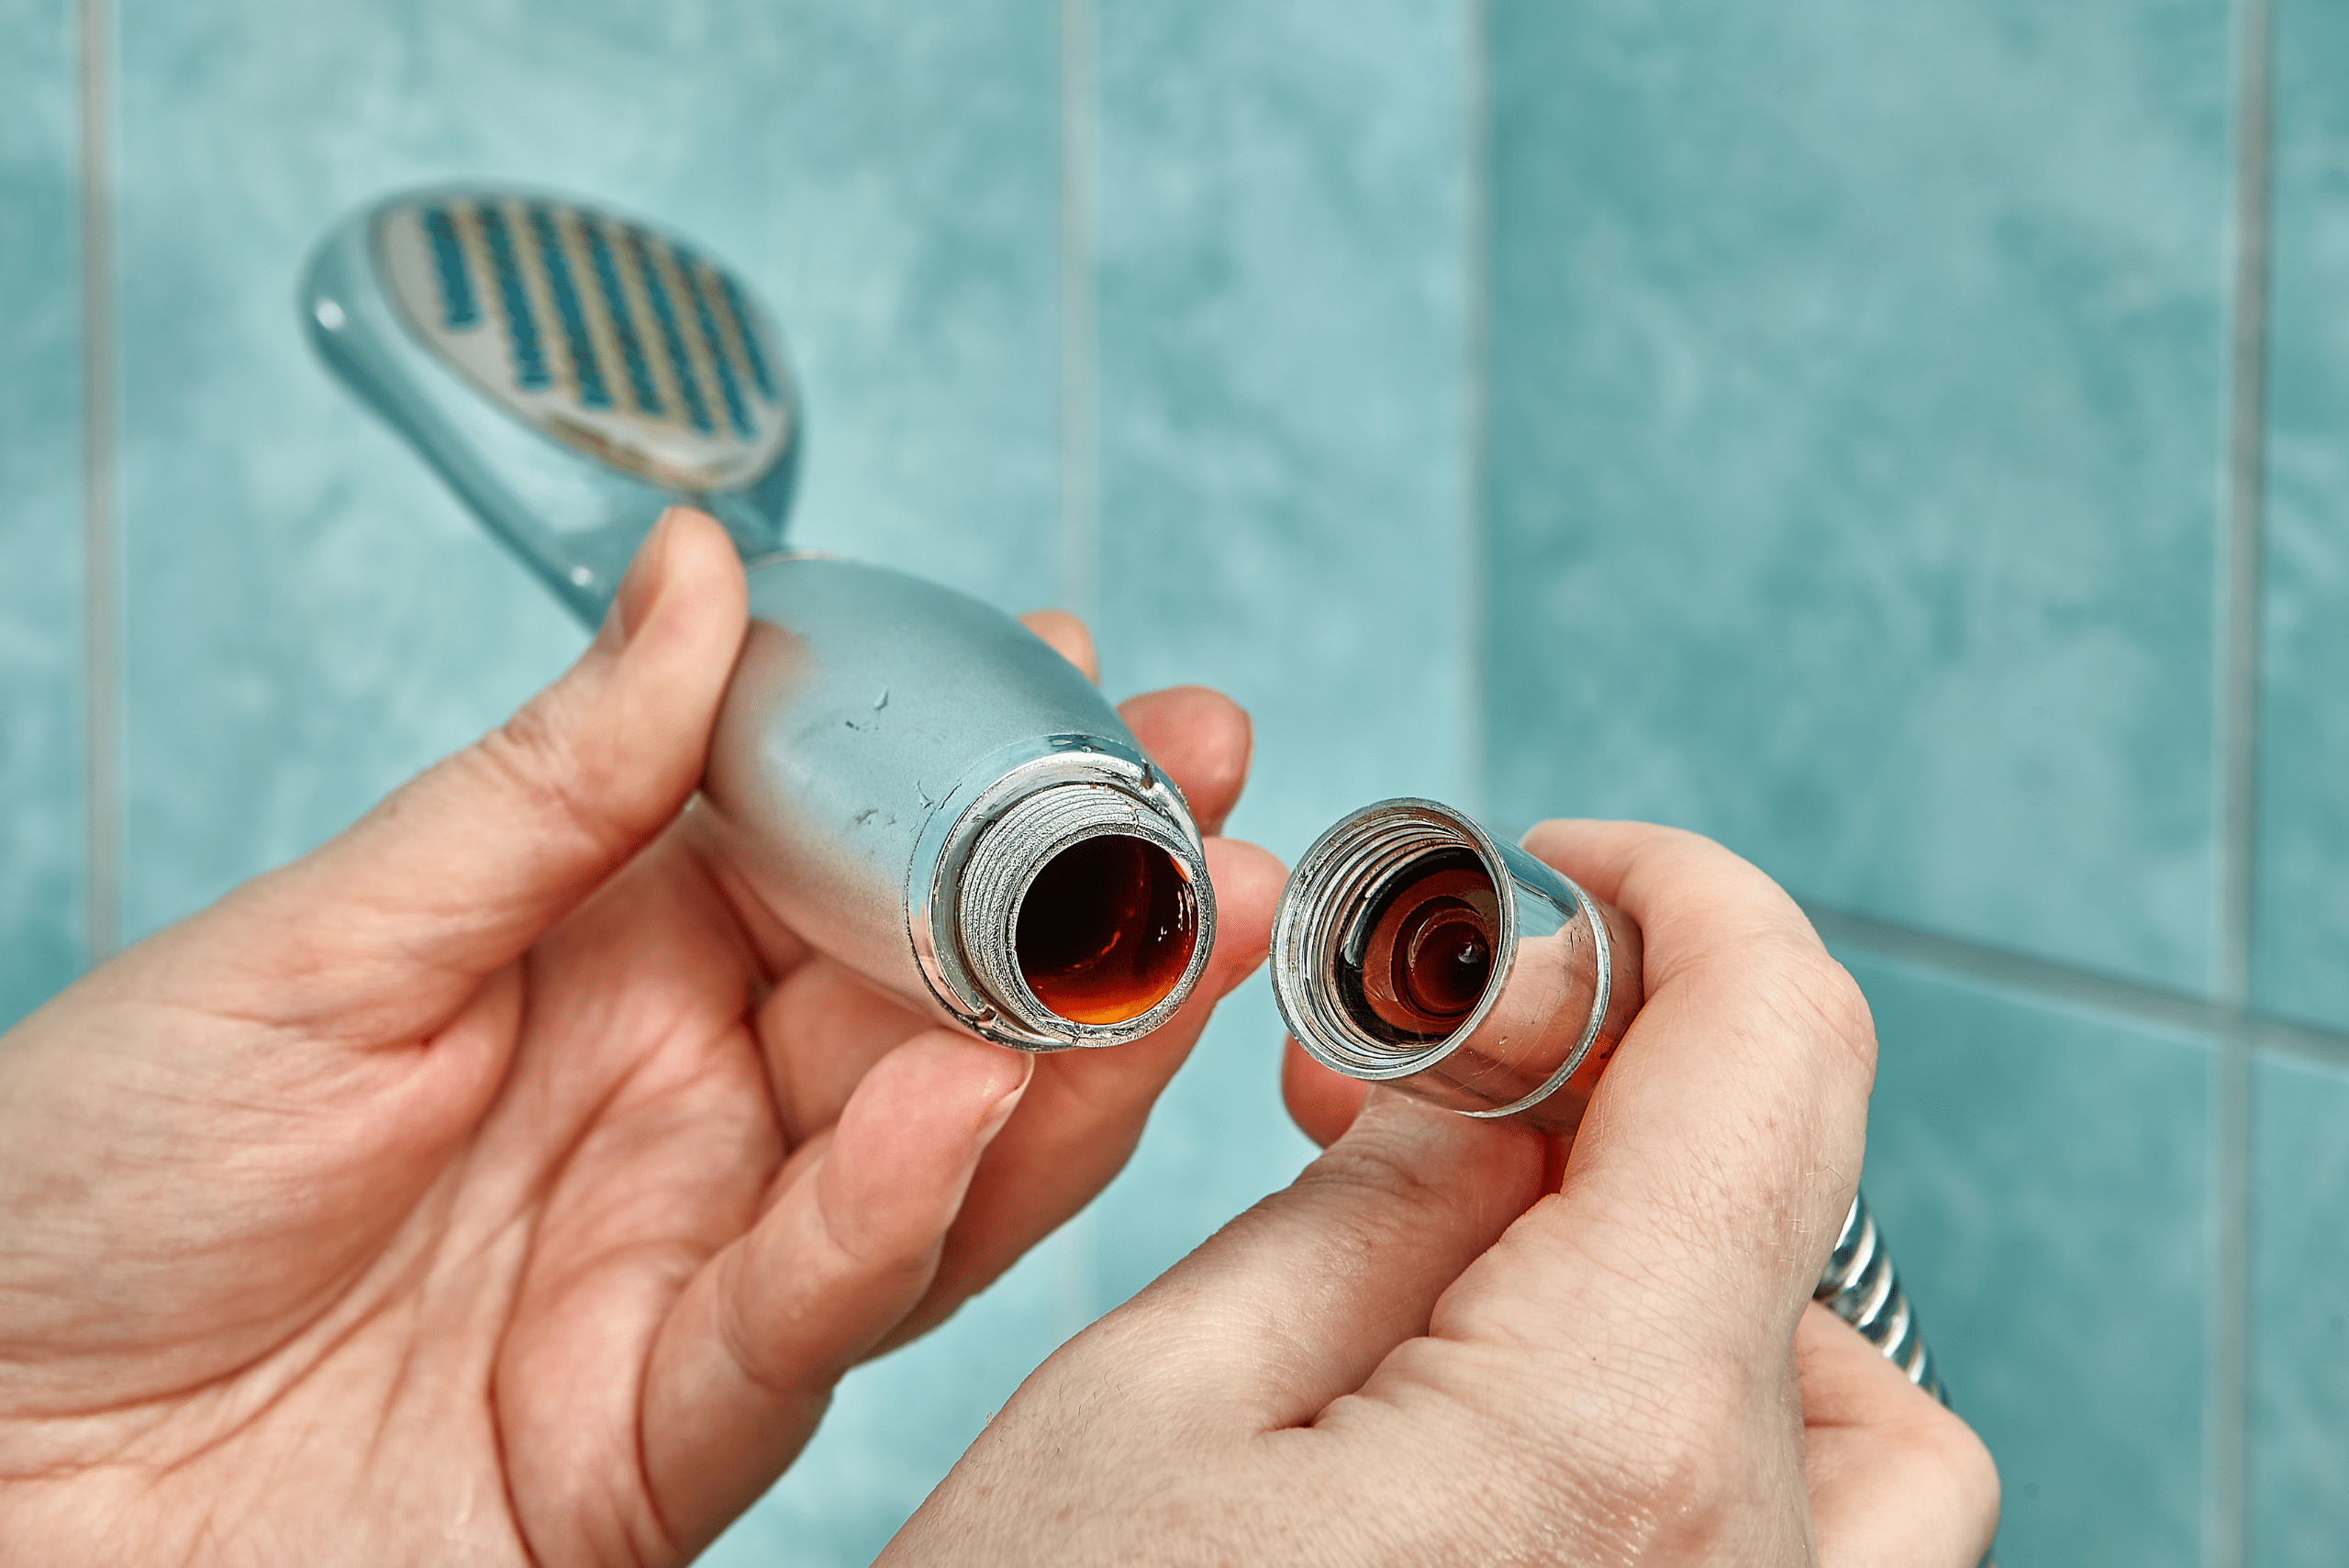
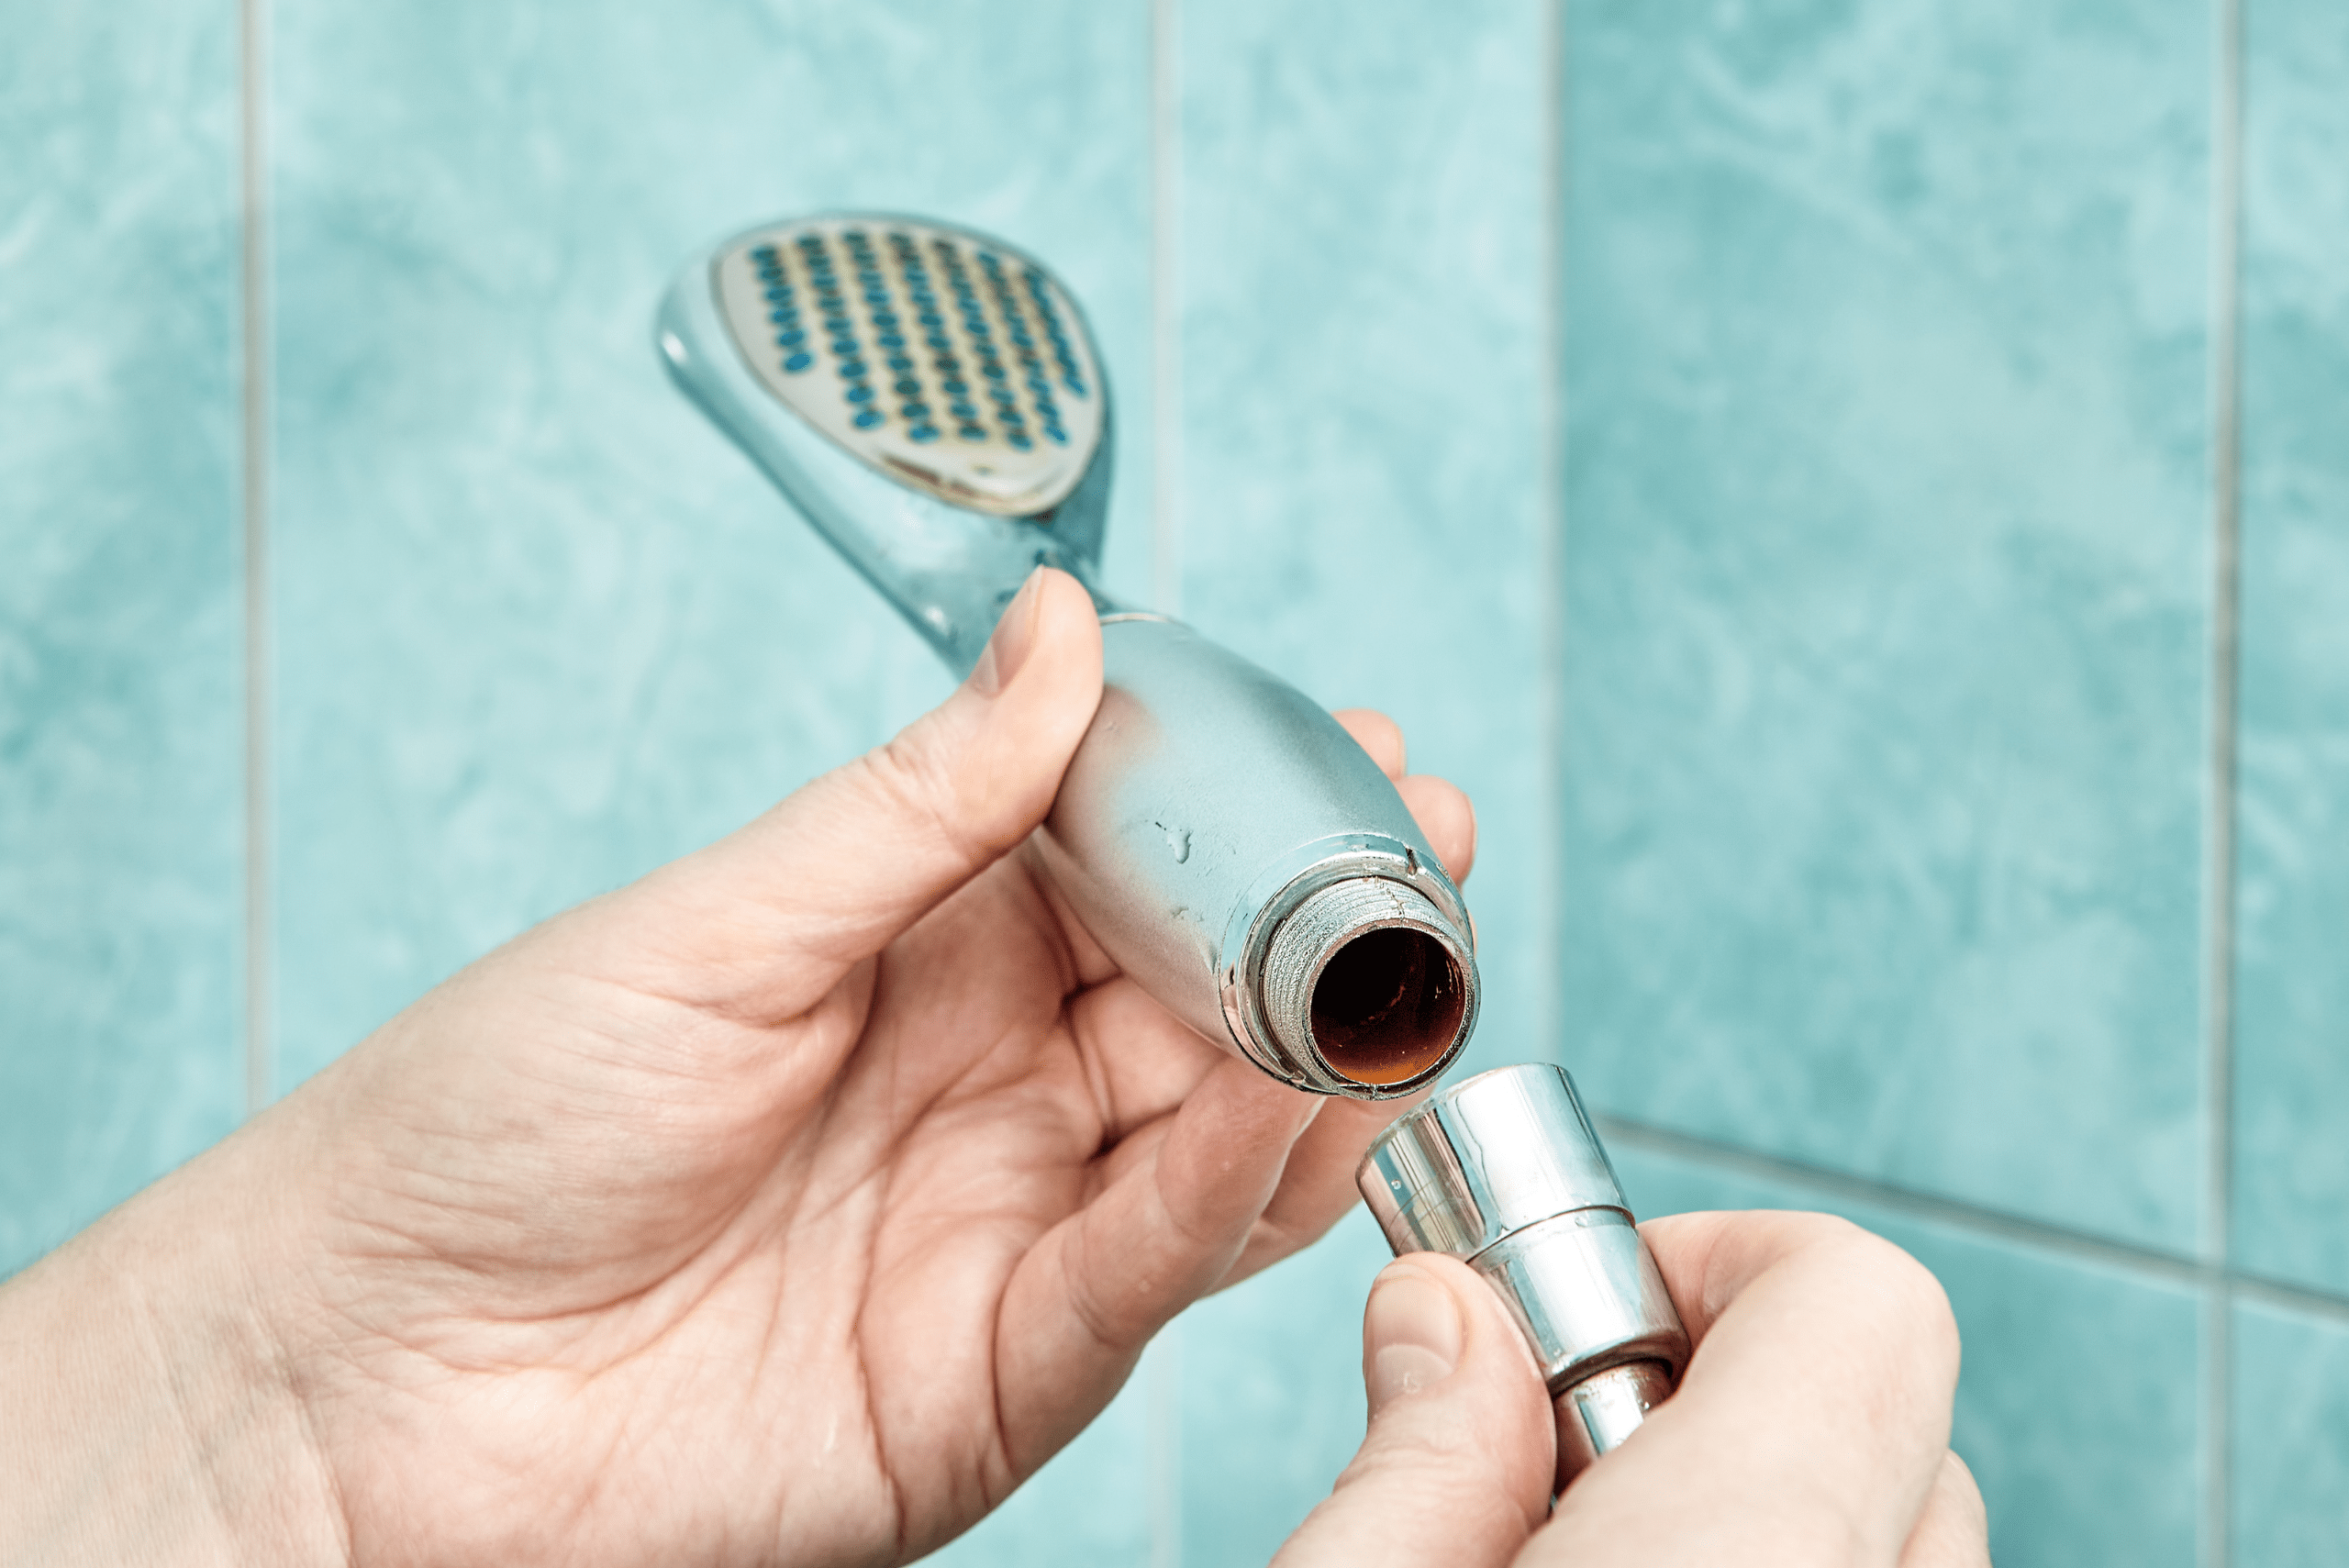
After removing the old shower head, it’s crucial to clean the shower arm thoroughly. Any buildup of lime or rust can affect the seal of the new shower head, potentially leading to leaks. Use a small brush or an old toothbrush to scrub the threads clean, and wipe down the area with a damp cloth.
Installing the New Shower Head Like a Seasoned Pro
With the area prepped, it’s time to install your new shower head. Start by wrapping the plumber’s tape around the threads of the shower arm clockwise. This ensures a tighter seal and helps prevent any future leaks. As you attach the new shower head, finger-tighten it to the arm, ensuring not to cross-thread, which could damage the threads and cause leaks.

After hand-tightening, use the wrench or pliers for a final quarter turn, taking care not to overtighten, as this can crack the fitting or strip the threads. With everything secure, turn the water back on slowly and inspect for any signs of leakage. If all is well, adjust the settings on your new shower head, and give it a test run.
With the installation complete, take a moment to enjoy the accomplishment of successfully tackling a home plumbing project. The simple act of replacing a shower head not only improves your daily routine but also adds value and appeal to your home. Remember, the key to a long-lasting shower head is regular maintenance. A gentle cleaning to remove mineral deposits will ensure optimal performance for years to come.


![DIY Auto Detailing [10 Must-Haves for your Garage]](https://www.manmadediy.com/wp-content/uploads/sites/52/2021/03/car-sponge-81861-269x170.jpg)
