How to Remove Scratches From Stainless Steel
To this day, stainless steel remains a preferred kitchen trend, from sinks to appliances, counters to cabinet hardware. Stainless steel is often selected thanks to its smart look and durability — but for as sturdy as it is, this standard kitchen fixture can obtain unsightly scratches from general wear and tear. But do not despair; it’s entirely possible to minimize the look of scratches and blemishes and, in some cases, successfully remove them.
All these kitchen appliances are susceptible to scratching, from your fridge to your stove and everything in between — even something as small as a stainless steel toaster. So even though these appliances may be “stainless,” they are not impenetrable to significant or slight scratches.
Before we get into some techniques on how to remove scratches on stainless steel, what we are about to tell you is probably the most critical information in this whole article:
You must rub only in the direction of the grain, no matter what scratch removal method you choose. If you go the wrong way, you’ll exacerbate the problem.
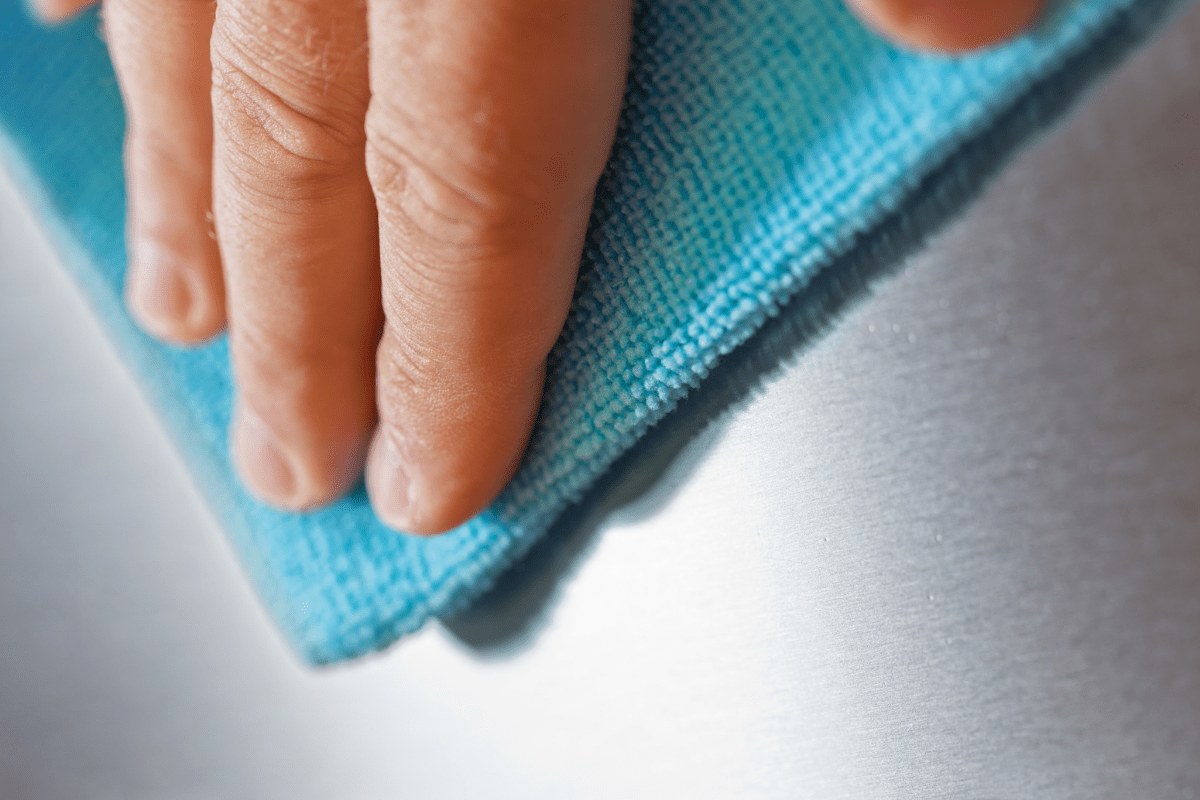
How to Find the Direction of the Grain on Stainless Steel
It’s easy and relatively simple to find the direction of the grain on your stainless steel. All you have to do is look closely. When you look closely at your appliance, you will see “brush marks” on the surface. This is called the grain, and it’s a result of the manufacturing process.
The grain can run either vertically or horizontally. Once you determine which direction yours is running, you want to be careful to only rub in that direction.
With that out of the way, let’s get to some methods to help you remove scratches from your stainless steel. These methods may not make your appliance look brand spanking new, but they will undoubtedly revive the appearance of your kitchen and help keep your appliance from wearing down faster.
Important: Do not apply the methods described here on stainless steel that has a protective clear coat or synthetic surface applied, or you’ll cause more deterioration.
How To Tell if Your Appliances are Synthetic or Have a Clear Coat Applied
There are many elements and ways to determine if your appliance is clear coated or synthetic:
- Non-magnetic
- Fingerprints are easily visible
- Brushed finish
- Linear grain that runs in a continuous direction
If any of these apply, do not continue with these methods.
Examine the Scratch
In this article, we will cover small, minor scratches as well as large scratches, so before continuing, take a good look at your appliance to determine what size of scratch you are dealing with.
Removing Small Scratches in Stainless Steel
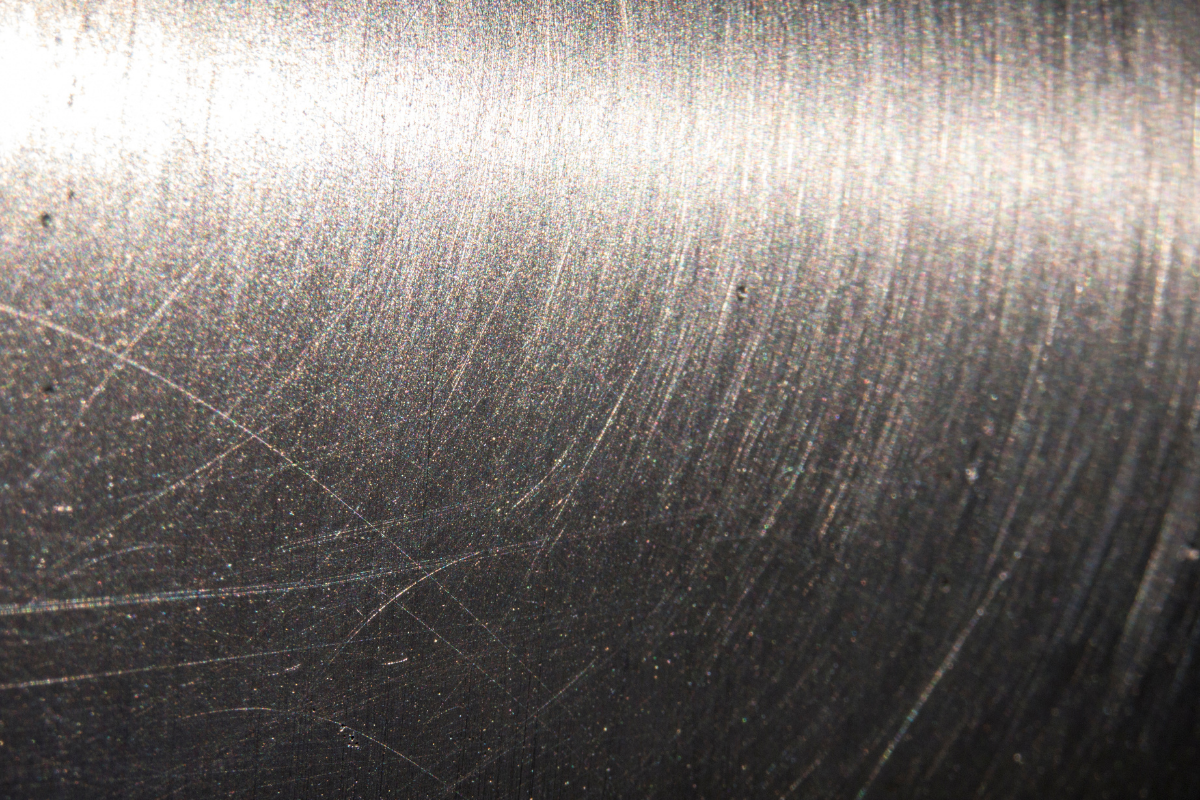
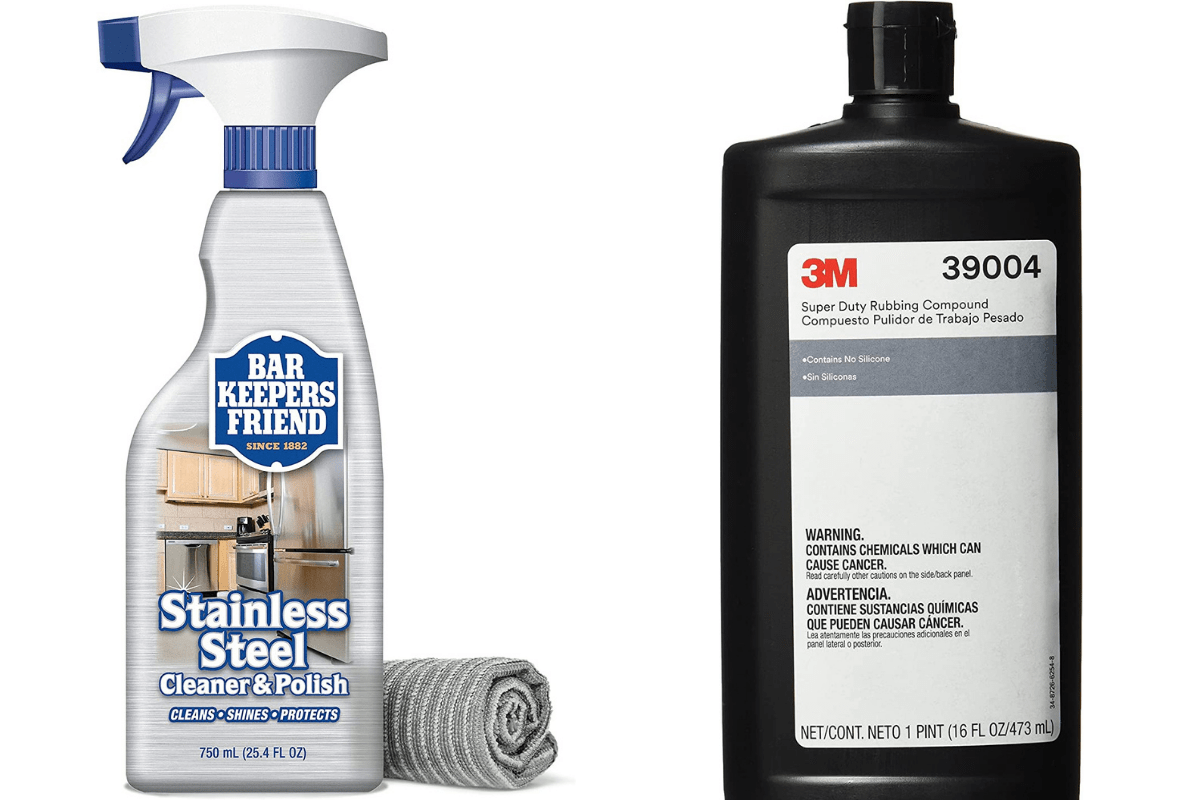
Minor or light scratches are the most effortless to remove and can often be efficiently buffed out using a non-abrasive cleanser. Several effective products on the market are made just for this purpose, such as Bar Keepers Friend and 3M Super Duty Rubbing Compound. You can also try standard household products, such as non-gel toothpaste or baking soda.
How to Remove Small Scratches
If going with a household product such as non-gel toothpaste, it can be used as-is straight from the tube. If using baking soda, it can be mixed with water until a pasty consistency is reached.
- Begin by giving your appliance a light clean, ensuring the surface is completely clean of dirt, dust, and food particles.
- Place a small amount of your chosen compound onto a clean microfiber cloth and rub it continuously over the scratch — ensuring that you work gently and in the same direction as the grain.
- Use a fresh, damp microfiber cloth to wipe the compound off and examine your progress after a few minutes. If required, polish again with more compound until the expected results are accomplished.
- Wipe the extra compound off with the dampened cloth and use a new one to dry your appliance.
- You can also apply a light coat of stainless steel polish or olive oil to revive the stainless steel.
Removing Large Scratches in Stainless Steel
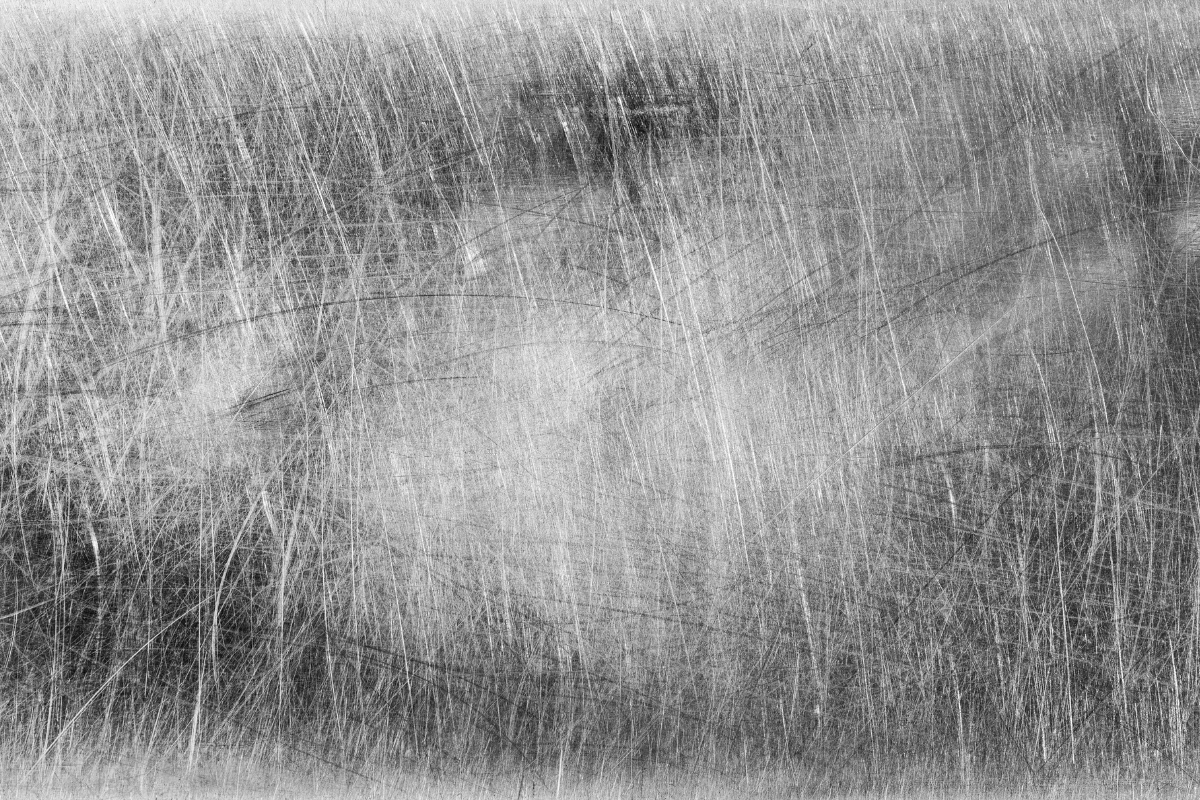
For more challenging or more significant scratches, it may be required to rub them out with an abrasive pad. You’ll need a scouring pad, scrubbing sponge, and a cooking oil such as olive oil. You can also jump right to what the market has to offer. You can purchase kits such as Rejuvenate Stainless Steel Scratch Eraser Kit and Scratch-B-Gone, which include all you’ll need to remove larger scratches.
Remember that this technique should only be used on uncoated stainless steel; if the metal has a clear protective coating or synthetic surface, you’ll end up doing more harm than good. Another place you can check to verify this is your user manual if you still have it, or you may be able to find it online.
So if you’ve tried your compound and it just hasn’t done anything to the scratch, you know you’re dealing with a more significant problem here, and it may be time to get out a scouring pad.
- Using a scouring pad, apply a few drops of oil and a firm, medium pressure to rub the surface, always working with the grain.
- Rub in a slightly bigger area than just the scratch to attain a more even appearance.
- Review your efforts and repeat them if necessary. When you’re pleased with the results, remove the excess oil by buffing the same area with a clean, dry microfiber cloth.
If you have a really deep scratch and the above method hasn’t achieved a pleasing result, you can also try this method with sandpaper.
- Use a fine piece of sandpaper, wet it, and ensure to keep it wet throughout the technique.
- Dampen the affected area and keep it wet throughout the technique as well.
- Apply light pressure and sand the scratch, moving back and forth following the grain.
- If the scratch is still there after a few minutes, try a slightly coarser grit of sandpaper.
- Once the scratch is gone, use a finer grit to buff the affected area and blend it with the rest of the finish.
- Wipe the area with a clean damp cloth in the direction of the grain.
- Dry with a soft towel.
- Apply a light coat of stainless steel polish or olive oil.
Tips for Preventing Scratches on Stainless Steel
The best way to be rid of scratches is to prevent them in the first place! Here are some handy tips you can store in your memory bank or put into practice to prevent scratches on your stainless steel appliances.
- Avoid abrasive cleaners – Stainless steel has a thin protective film that prevents rust and corrosion. Repeated use of abrasive cleaners causes this film to wear away. Avoid using cleaners where calcite, quartz, silica, and feldspar are on the ingredient list.
- Abrasive tools – Just as we mentioned about abrasive cleaners, the same goes for abrasive tools. No matter how gentle the cleaner is, it will do zero to protect the surface of stainless steel if the cleaning tool is abrasive. Use soft, clean towels or microfiber cloths instead of brushes, steel wool, or abrasive sponges.
- Do not clean with hard water – Hard water can leave hideous stains and streaks on finishes and fixtures, including stainless steel. Consider installing a whole-house water softener; otherwise, dry stainless steel surfaces thoroughly with a soft, clean towel after each cleaning. You can remove set-in hard water stains using a slightly damp cloth and a little bit of distilled white vinegar. Be sure to test a hidden area first.
- Don’t let dirt and grim sit – Clean away dirt, grime, greasy fingerprints, and other stains as soon as you see them. Once they dry, they can be more difficult to clean and may require more harsh cleaning solutions and tools, which can dull and scratch the surface.
- Rubbing or scrubbing against the direction of the grain – Stainless steel has very fine lines, or grain, in its material. Whenever you clean, wipe, or polish an appliance, always do so with the grain, not against it, to make the surface shine and protect it from scratches.
- Avoid bleach – Bleach often gets the job done when other cleaners won’t, but on stainless steel, it can cause dulling and even eat away at the finish. Check the ingredient label before trying any cleaner to make sure it doesn’t contain bleach.
Keeping Your Stainless Steel Clean
Now that you have removed or lessened the look of the scratches, here are some do’s and don’t’s when it comes to cleaning your stainless steel.
| Do’s | Don’t’s |
|
|
|
|
|
|
|
|
|
|
|
|

