How to Power Wash A Deck [Without Ruining the Wood]
Ultraviolet light, snow, rain, and wind can deteriorate a wooden deck in just a few years. Bringing back the original luster of a redwood deck doesn’t have to be difficult if you have access to a high-powered pressure washer. All you have to do is know how to power wash a deck to get your desired results.
Why Bother To Power Wash A Deck?
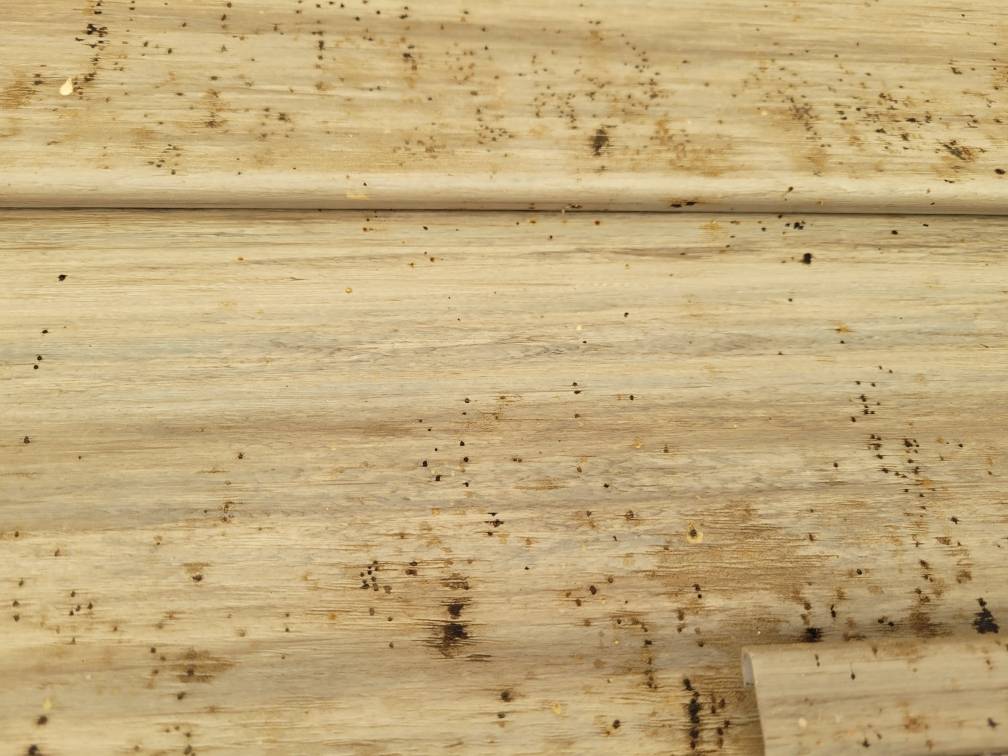
The simplest answer is you want to power wash a deck to clean it. Removing oxidation, debris and stains can be done with a sander, but that takes a lot of time, a huge amount of effort and the results are often not uniform. Power washing is just the thing you need to remove those pesky stains or built-up mildew without using up all of your elbow grease.
Power washing is also a helpful tactic for thoroughly cleaning the deck before you stain the wood or treat it.

What If You Don’t Have a Power Washer?
Your local rent-a-center will have a variety of pressure washers to choose from, or if you have a continued need for one they’re not that expensive. Always choose one that has the power to get things done.
What You’ll Need:
- A power washer
- Broom
- Deck cleaning solution
- Sandpaper or orbital sander (optional)
- Wood stain (optional)
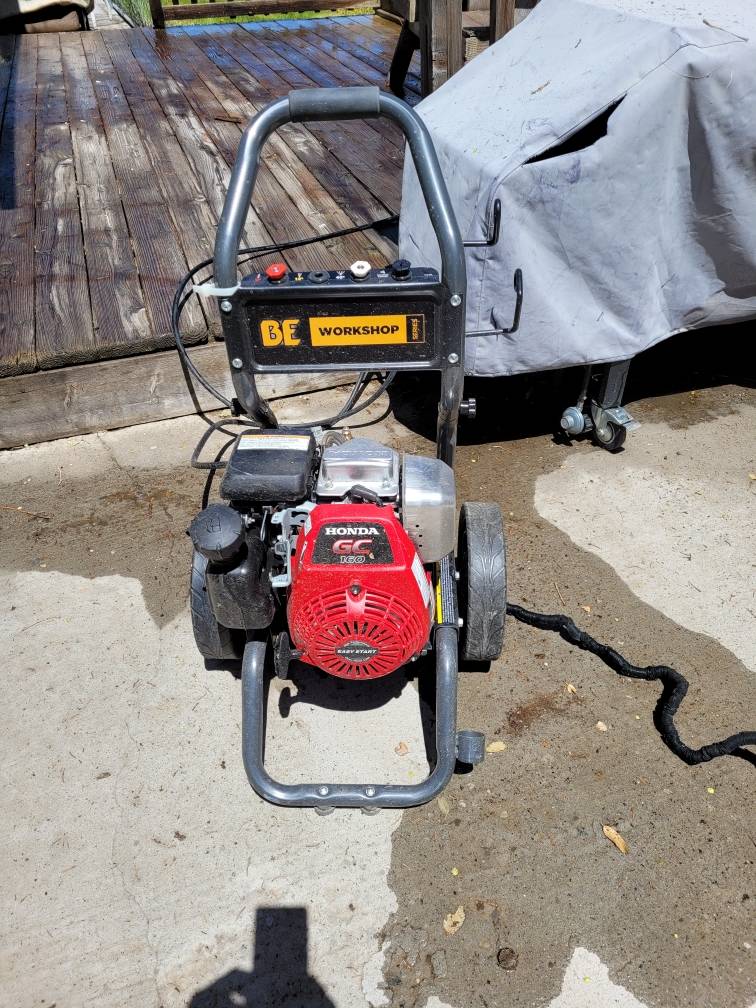
Something else you definitely need to have prepped is protective gear. It may not seem like a big deal, but part of knowing how to power wash a deck is knowing how to protect yourself from the spray. Closed-toe shoes are a must, you’ll probably want to wear pants as well, and even safety goggles or ear protection—especially for a gas power washer.
Choosing the Right Setting to Power Wash
The psi (pounds per square inch) at which you power wash the deck will depend on a couple of different factors. First of all, what kind of wood is the deck made of? For softwood like cedar or pine, you’ll want a setting of 500-600 psi. Harder woods can tolerate up to 1200 psi.
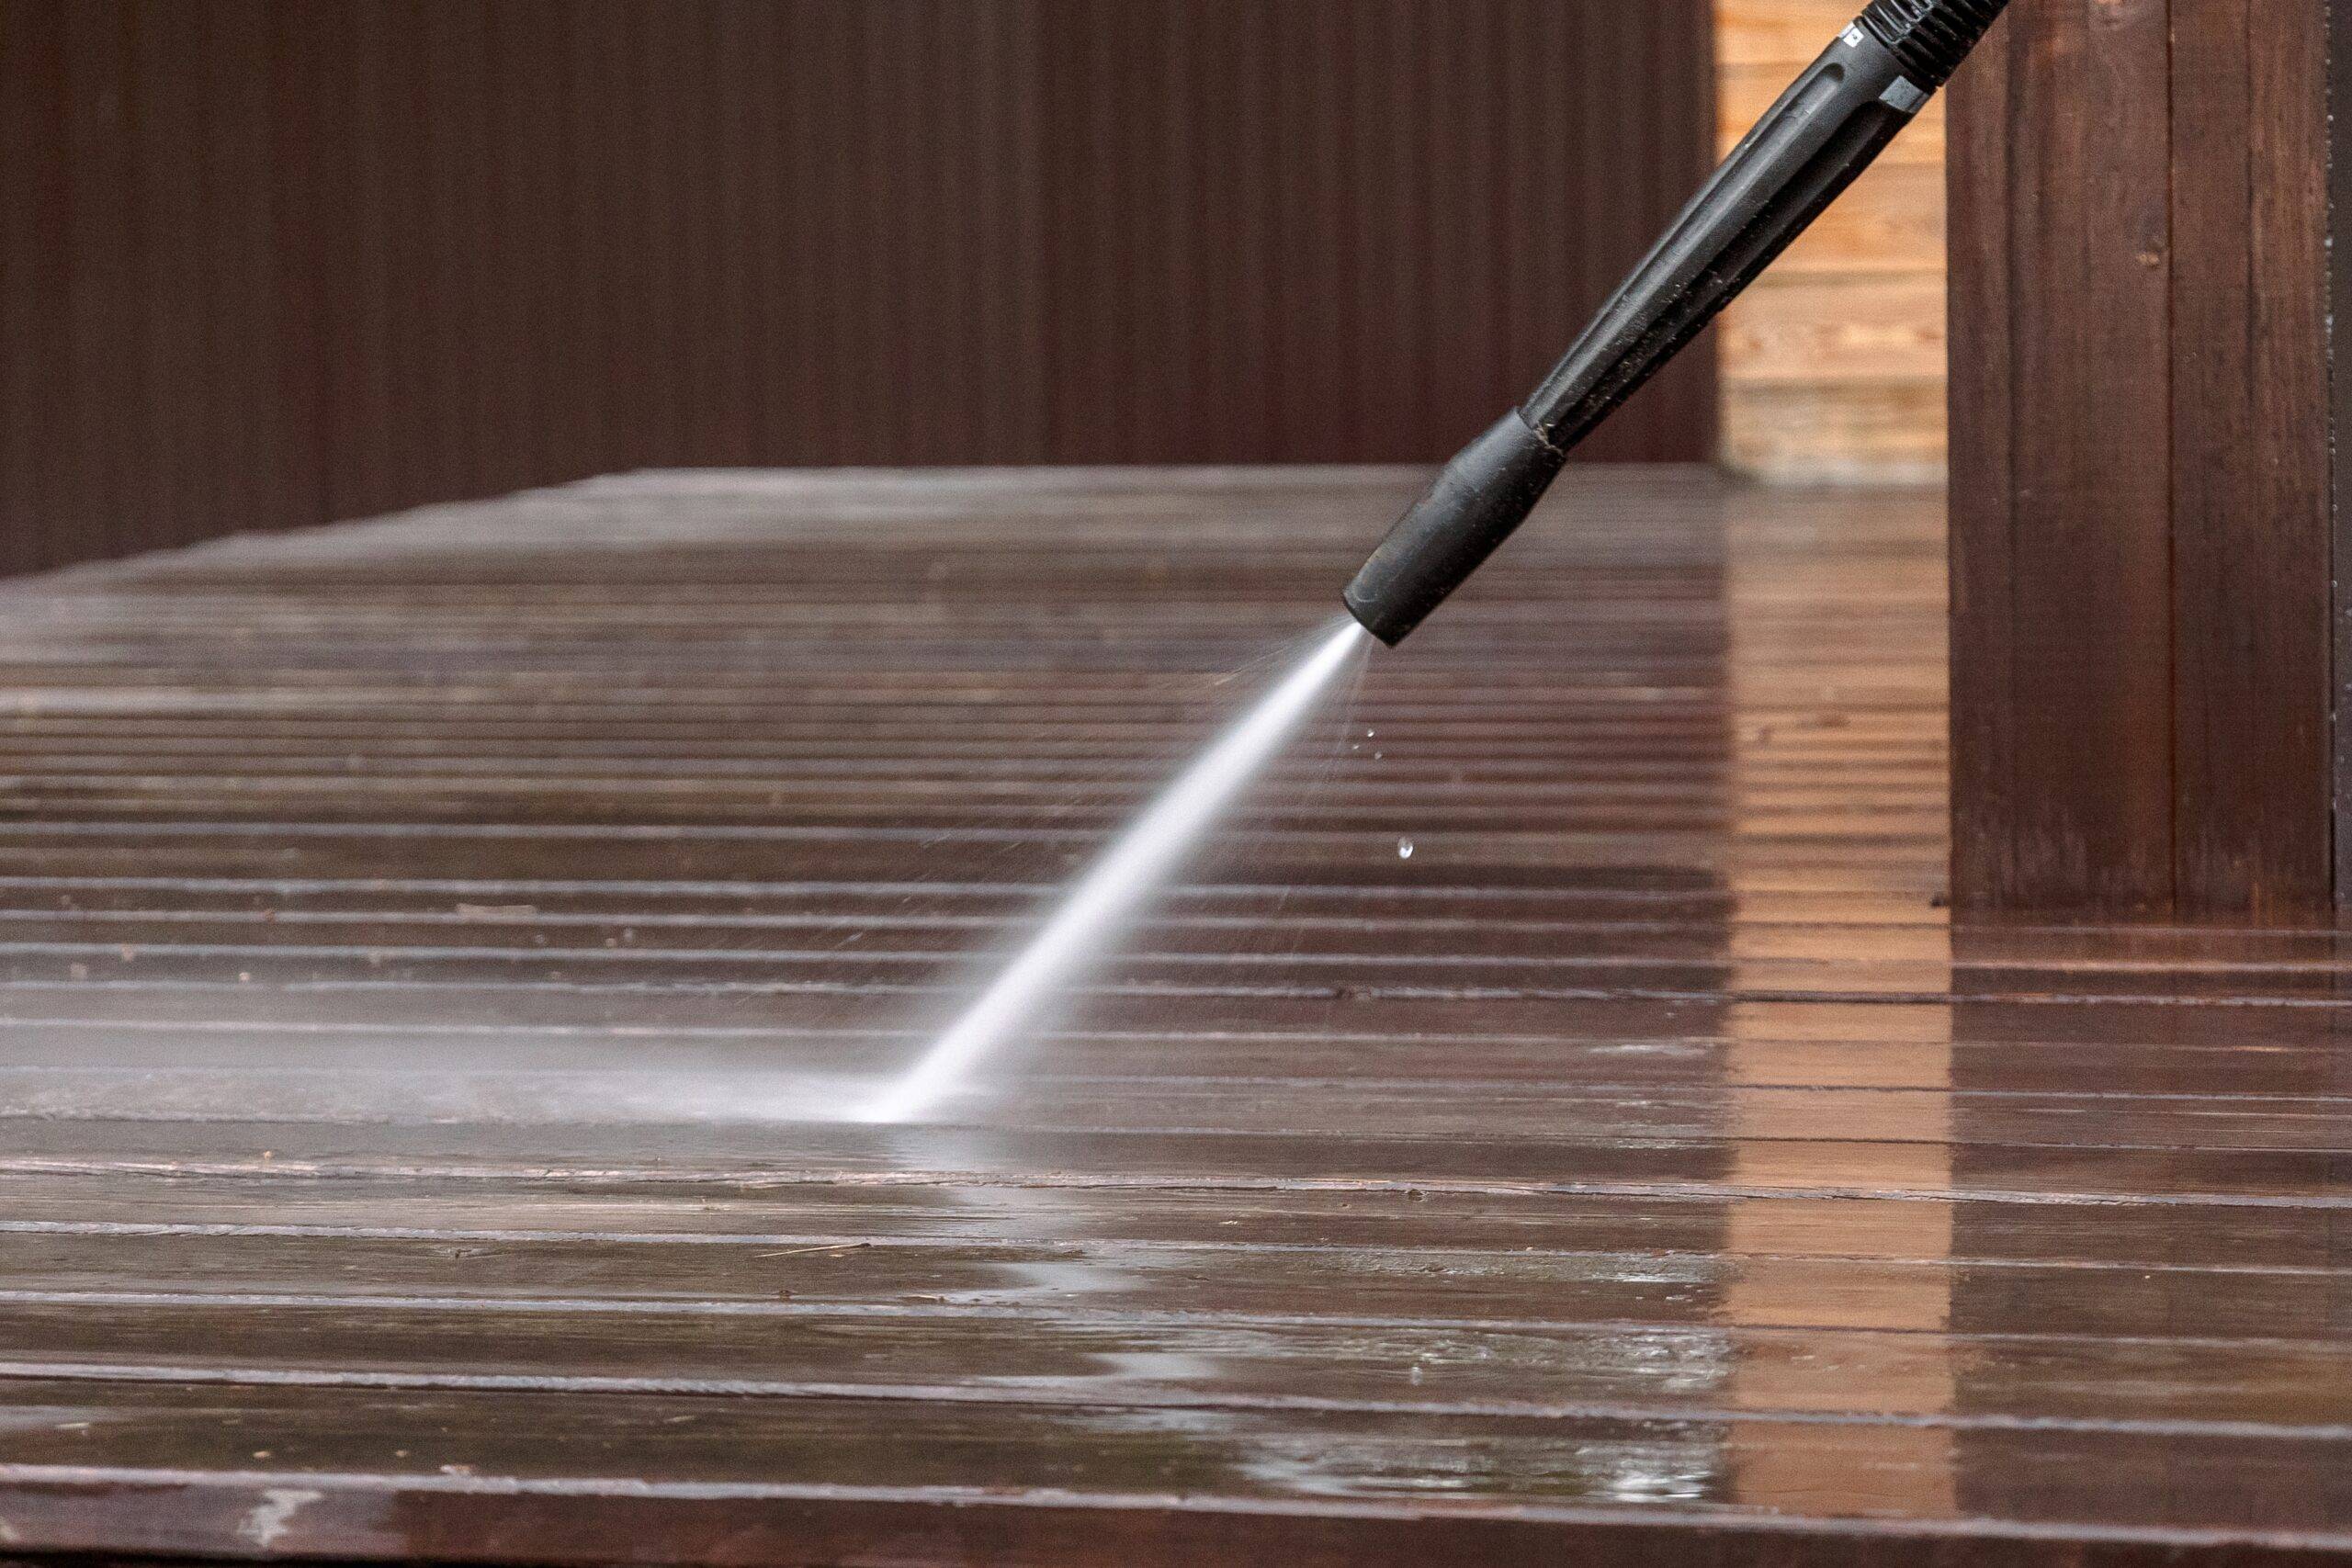
Before committing to a setting, always test it on an inconspicuous area of the wood. For the best use, you’ll want to be about two feet away from the wood, and never closer than six inches away.
Prepping the Area
As with any project, you’ll want to prep the area before you start working on it. Remove any furniture or decorative items that cover the surface of the deck, as well as the surrounding area. You wouldn’t want to risk shooting the power washer at that ceramic flower pot your wife loves so much, right?
Once the surface is cleared, sweep the deck, close any windows that are open surrounding the deck, and cover any exterior lights. You should also double-check the surface of the deck for any protruding nails or other obstructions that could be a tripping hazard
Depending on how much buildup there is on the surface, you may want to scrub the surface before you power wash the deck. Things like tree sap or grime that’s been built up for a while may need to be scrubbed first, to loosen it before you wash it away with the power washer.
Adding in the Deck Cleaner
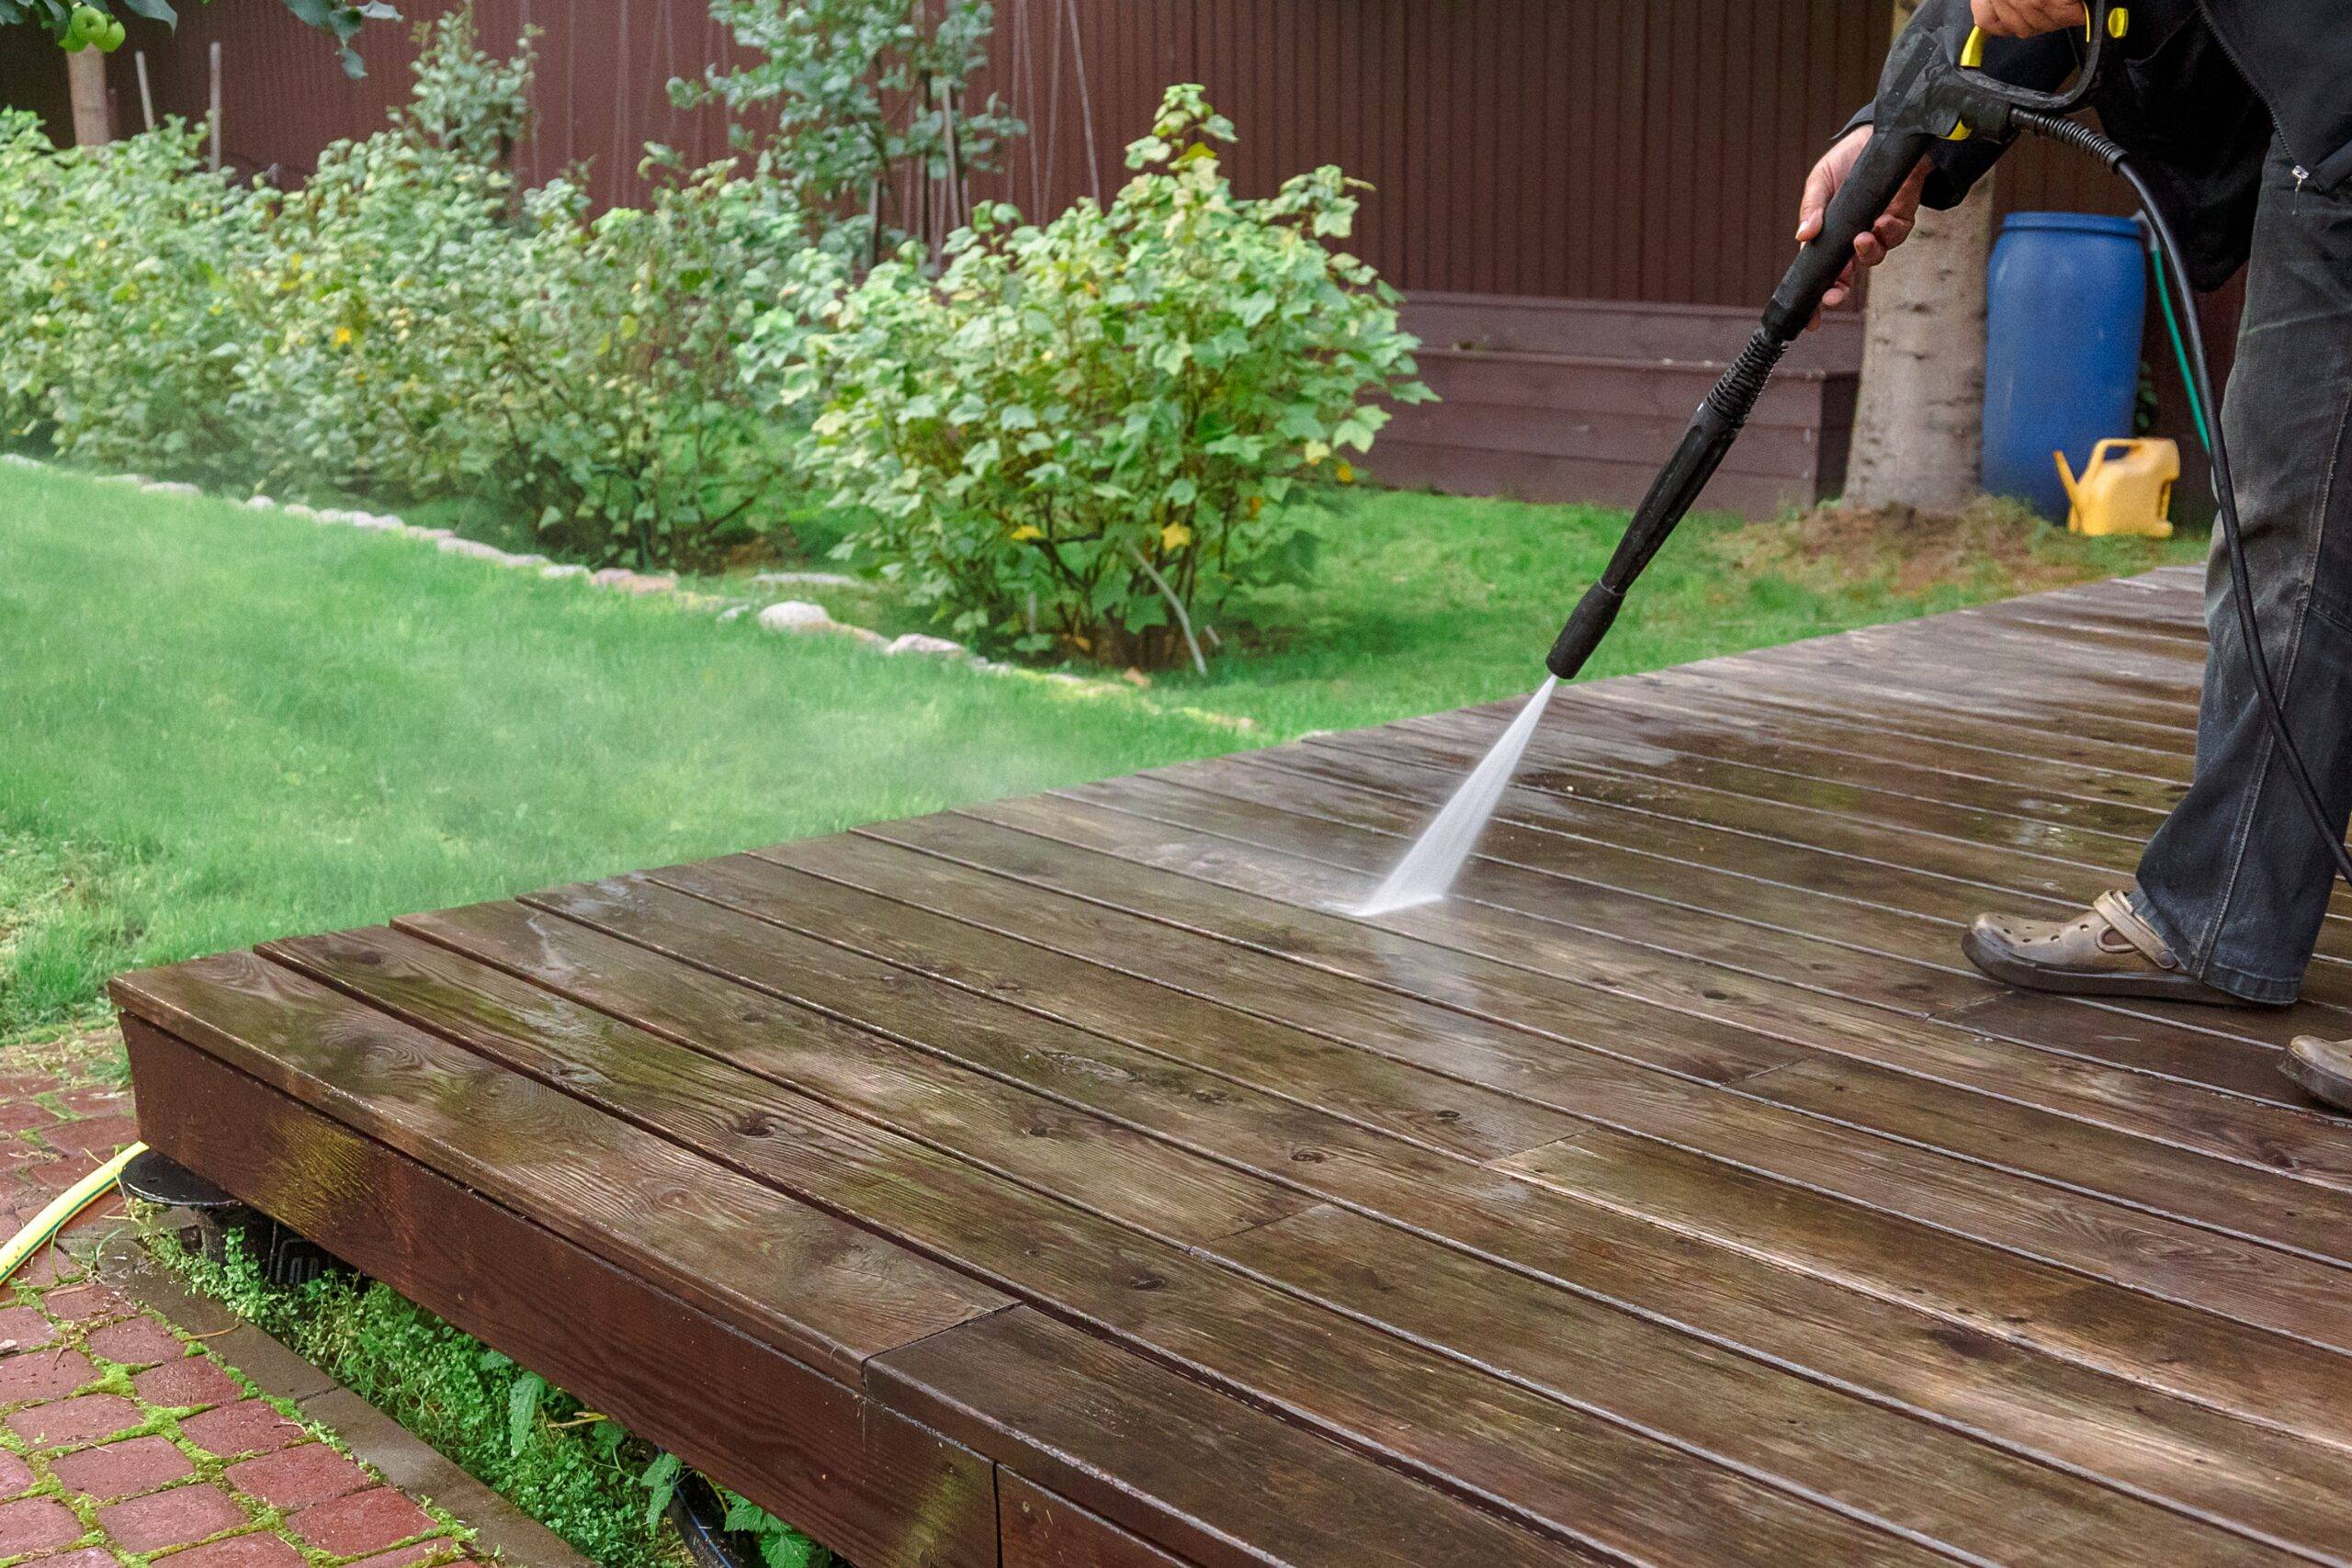
It’s common for people to add a chemical stripper, brightener, or cleaning solution to the power washer. Most power washers will have a nozzle designed for a cleaning solution. Make sure you choose a cleaner that is suitable for wood, then mix the product according to the manufacturer’s instructions.
Spray the solution onto the wood, covering the entire surface that you plan on power washing, then leave the solution to sit for a few minutes. Once you’re finished with the cleaning solution, make sure to flush out the product from the actual power washer as well.
Note that if you use a chemical stripper, it will likely roughen up the wood fibers of the deck so before re-staining or sealing the wood, you’ll need to sand it (which is where that sandpaper or orbital sander would come in handy).
Now It’s Time to Power Wash
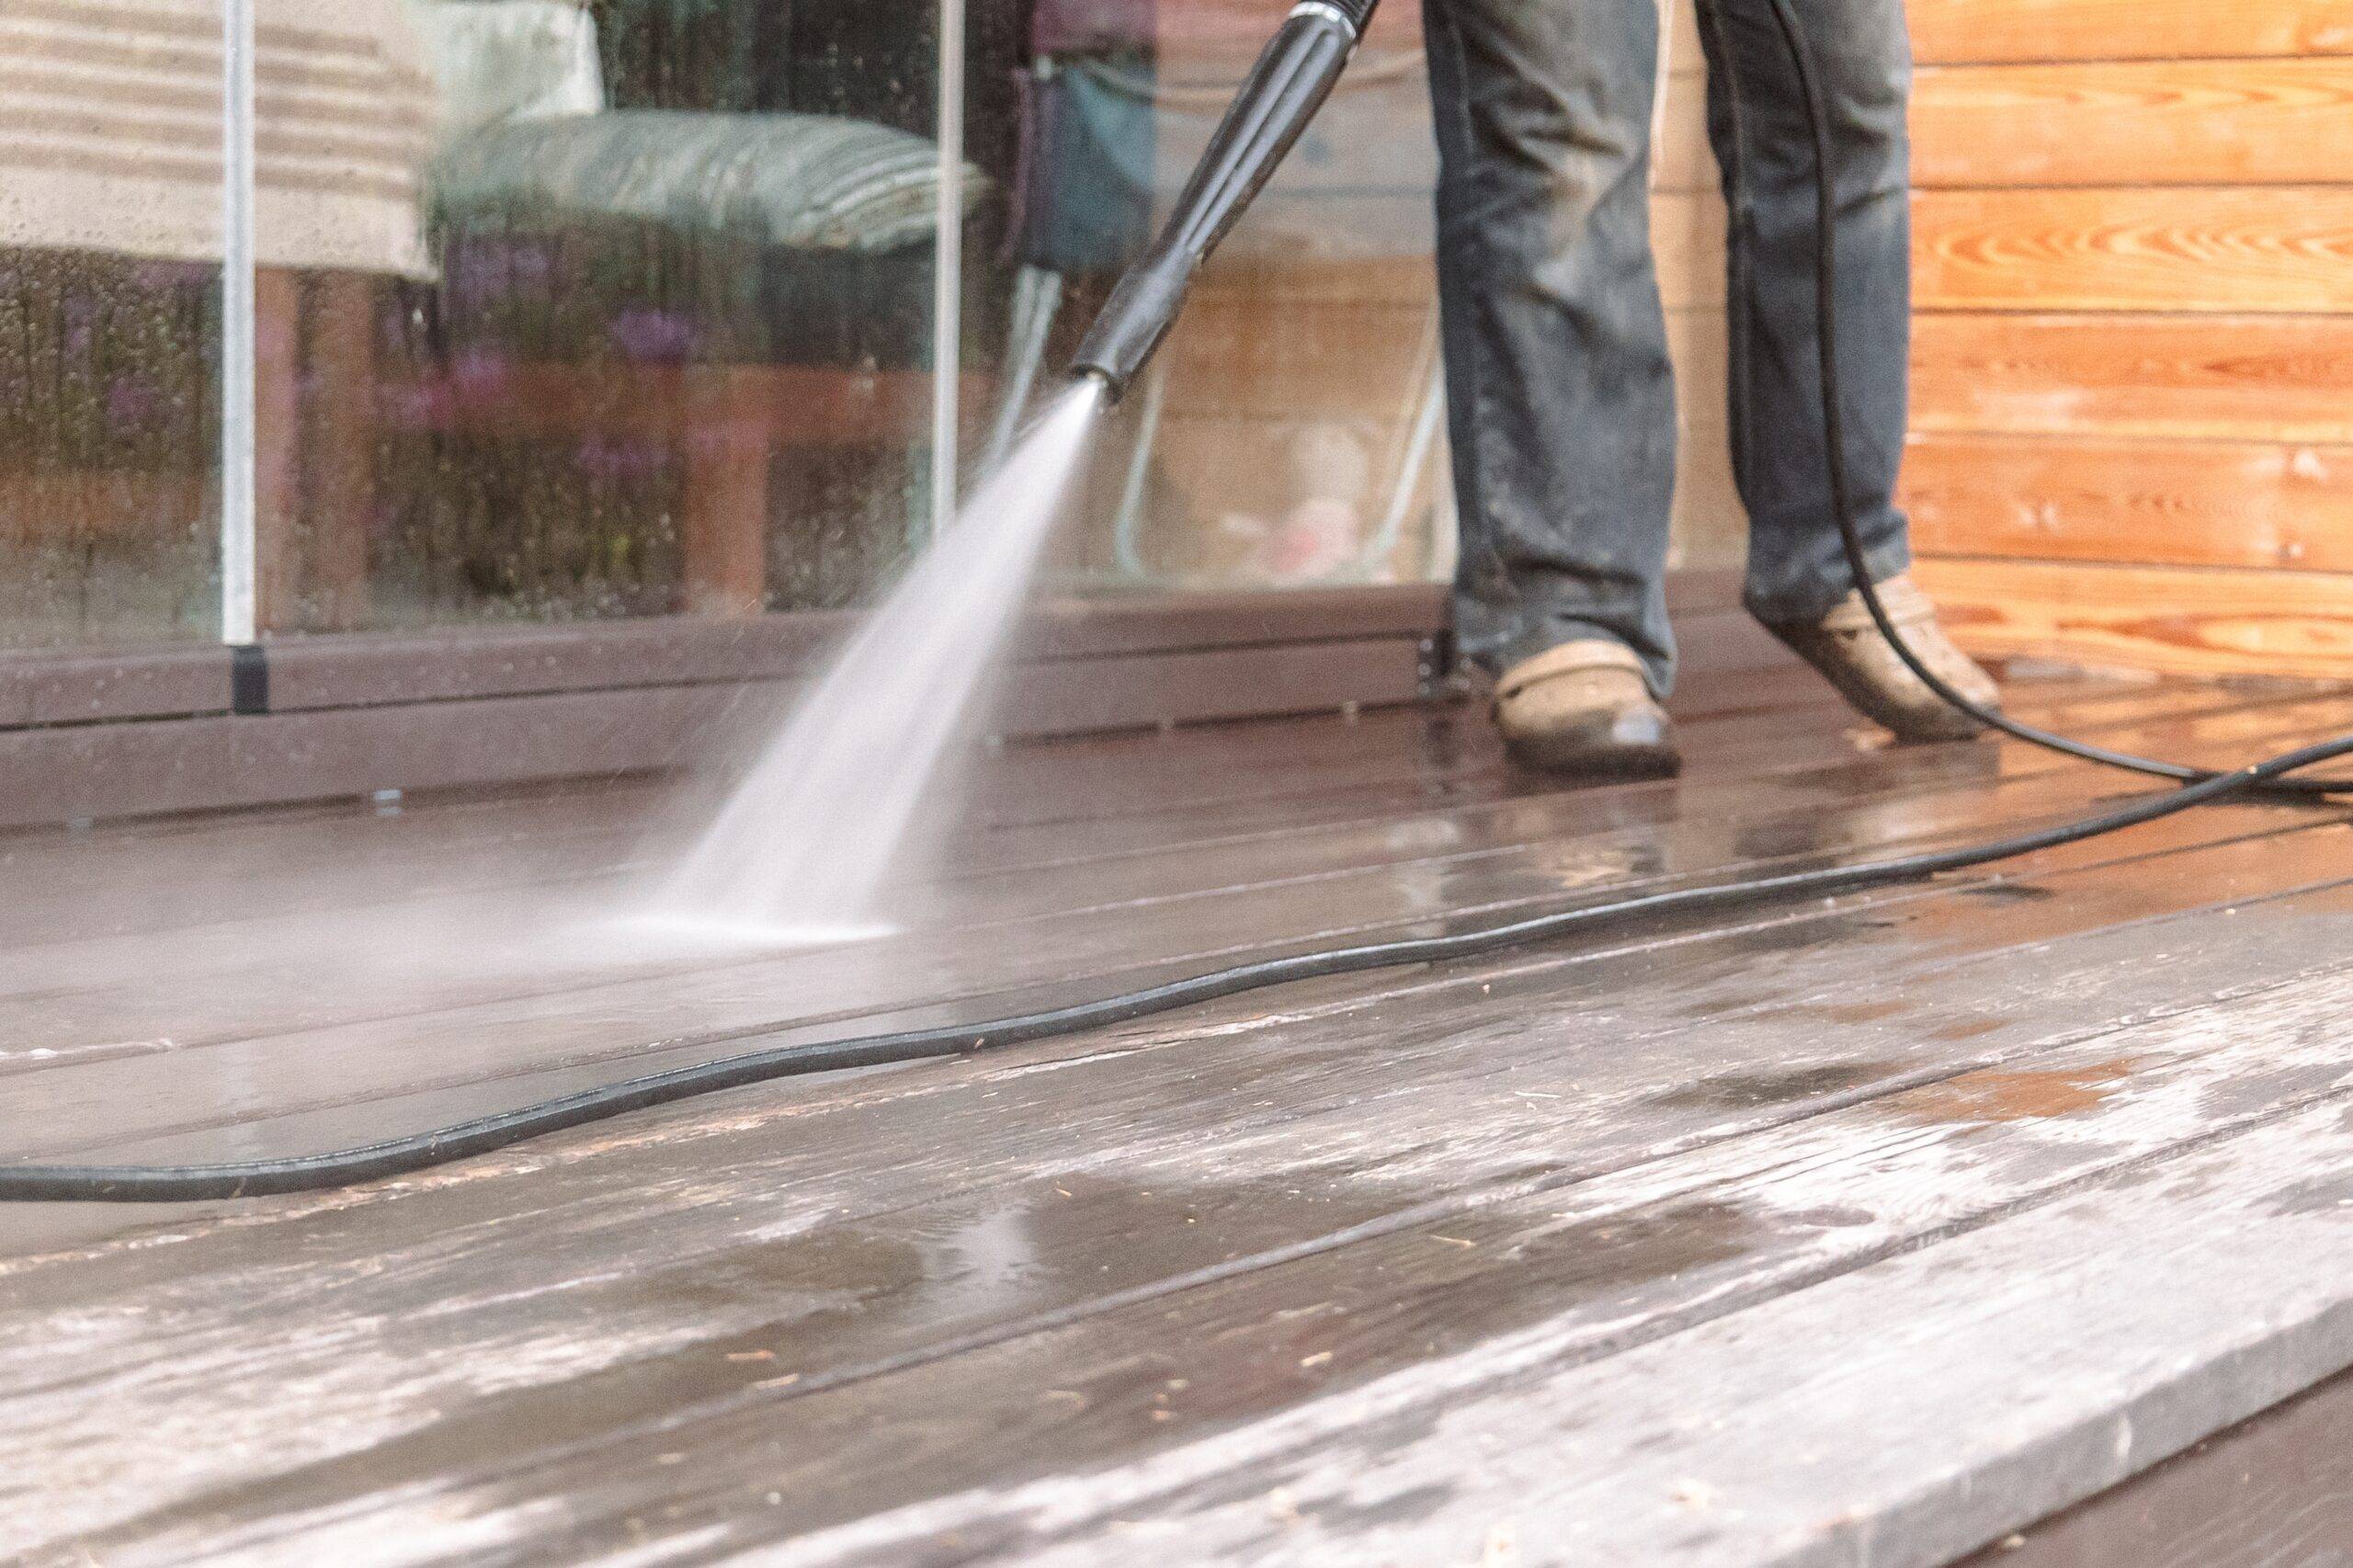
The secret to not scarring, or damaging your deck with such a high flow of water is to follow the grain of the wood as you cover it with the pressure washing wand. A good pressure washer has so much power that it will rip the fibers in softwoods like redwood, and pine if you go across the grain. This leaves unsightly marks that are nearly impossible to remove without resorting back to the sander.
Start at one end of the deck and work your way across, covering no more than three feet of boards as you move. Each time you clean one board, lift the nozzle before moving to the next. That prevents cutting the wood with the water.
Work section by section until you’ve covered the entire deck. You are going to kick up debris that covers the area you’ve already washed. Don’t worry about this, a power washer works great as a broom too.
When you’ve finished the area of the deck you’ve set to work on, just lift the pressure wand closer to parallel with the deck. The flow of water will shoot out 10 or 15 feet in a wide pattern, blowing everything out its way with much more force than a leaf blower.
Don’t Forget About the Siding
While you are working on the deck, take notice of your siding as well.
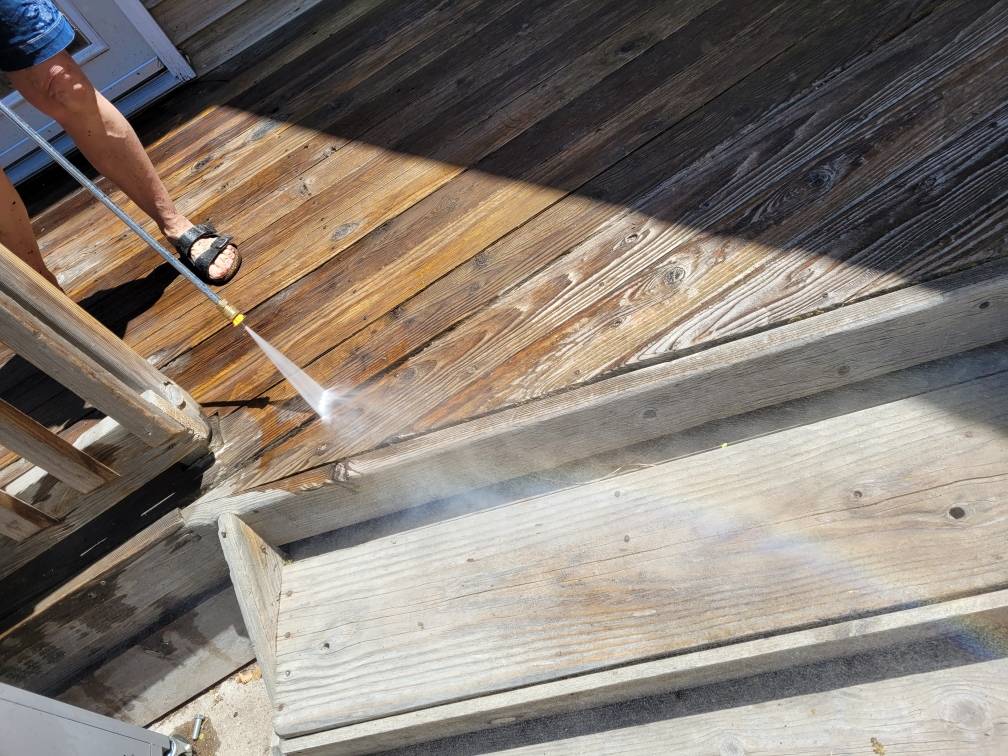
Fly specs, bird nets, bird droppings, and even rodent marks from squirrels can remove the bright luster of vinyl, steel, or aluminum siding. If you have wood siding, a good pressure wash, with a period in between to allow the wood to dry is an important step to take before applying a protective coat of stain.
Work as you did with the deck, starting high, under the eaves, while following the length of the siding. Lift the wand each time you move to a lower section of the siding to prevent any chance of marking the siding when you move at a right angle to the vinyl, steel, or metal.
Systematically work an entire wall, from corner to corner removed all the visible stains. When you’ve finished, switch back to broom mode and sweep any remaining wet, sticky fibers from the wall.
Once you’ve finished both the siding and the deck, you’ll be set!
