How to Paint Wood Paneling
Wood paneling has a certain feel to it that can make your home feel comfortable and warm. The problem is that, like anything else, time can wear it down. Wood paneling can suddenly be damaged, dated, or even look like it’s made from an inferior veneer.
When that happens, you can choose to replace it if you have the money. If not, you can also opt to paint your wood paneling. It is shocking what a fresh coat of paint can do to make something that was once dingy look bright and fresh once again.
But there is a right way and a wrong way to get the job done. Instead of just throwing some paint over the paneling with some half effort, get the job done properly. Here is your step-by-step guide for getting the job done.
How Do You Know When to Paint?
The first decision that you need to make is whether or not to paint. Some wood veneer, the kind from the 1970s, tends to be a bit cheaper in construction. If it looks like your wood paneling is straight out of a disco, the easy answer is to paint.
If you are dealing with something that is solid-wood and of a higher quality, it might not be the most prudent move. Make sure that you are certain about painting modern wood paneling. For one, you will have to sand it and when you do, there is no going back.
Another thing to keep in mind is that there are a number of joints in solid-wood planks. Those joints can potentially open up and even show hairline cracks should they start contract during periods where humidity is lower.
How to Paint Wood Paneling
So, you have come to the decision that you want to paint the wood paneling in your home. It is important to note one thing. If the paneling has old paint that was applied prior to 1980, do not sand. The paint may have lead in it.
Test to see whether or not there is lead within the paint. If there isn’t, you can just proceed with sanding and painting. Should there be signs of lead, you can just skip the sanding part and use a good primer to ensure that your paint will adhere.
Step 1: The Tools for the Job
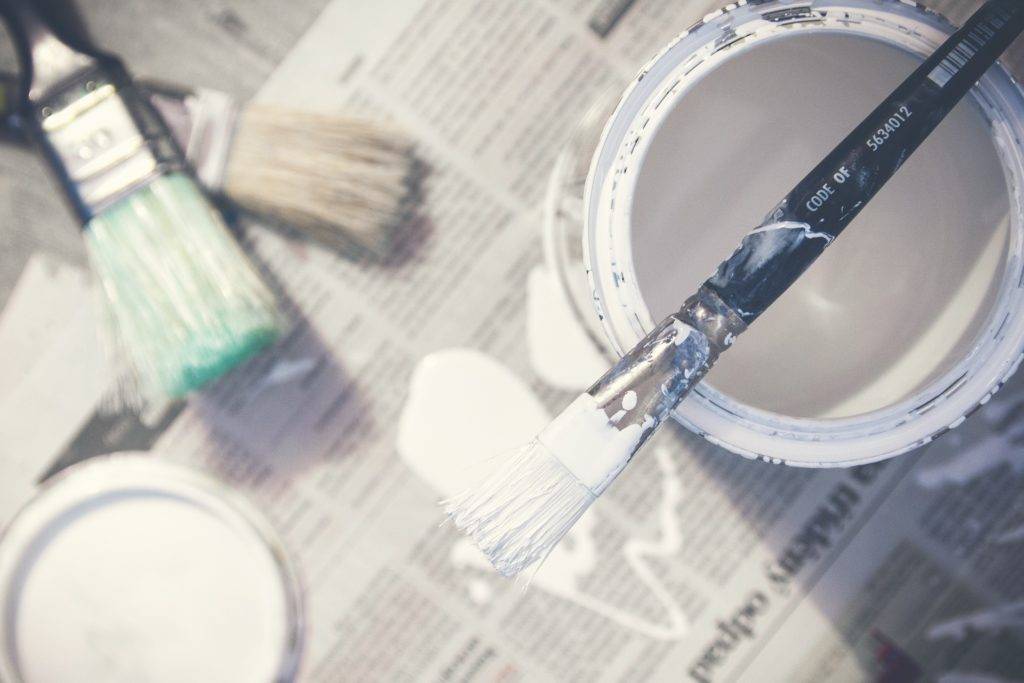
Before you can begin, you have to have the right tools for the job. That is not to say that it is impossible to do without them, but you will certainly be working an uphill battle. Thankfully, most of the materials that you need will be relatively affordable.
Supplies Needed:
- putty knife
- caulking gun
- rags
- paintbrush
- paint roller (with enough foam roller covers to get the job done)
It is also ideal to have a wood filler, TSP or a substitute, wall paint, trim paint, 150-grit sandpaper, and some caulk. When you are properly armed, you can begin the actual process.
The good news is that most DIYers will have these things in their toolboxes at home. If not, the local home improvement store should have everything that is needed for the job. Also, don’t necessarily go for the cheapest option available. Yes, budget matters, but buying cheap materials will produce a cheap look. Spend a little to get a lot and you will be happy with the way things look.
Step 2: Cleaning
When you have the proper materials to begin, you will then need to make sure everything is clean and ready to go. Clean both the molding and the paneling. All you need to get the job done is a damp rag; that should get the dirt, dust, and cobwebs free.
If you are staring down a lot of grime, then you can use a solution of TSP or some kind of substitute. TSP is a heavy-duty cleaner, so a substitute may be less toxic. Mixed with a little bit of water, it should make for an effective cleaner.
Under no circumstances should you paint over a dirty surface. For one, you don’t want that dirt in your house. For two, painting over a dirty surface likely means that the paint will not adhere properly. You will wind up with clumps of dirt that will eventually flake off, preventing a clean, flat look.
Step 3: Filling and Sanding
Remember that we want to create a clean, flat look. Wiping down the molding and paneling is not quite enough. Take a good look for any cracks or holes that you find. Those are not only unsightly but tougher to fill in.
Fill in any cracks or holes using the wood putty. You can evenly spread over the crevices using your putty knife. Give it ample time to dry and then sand all of the paneling lightly using 150-grit sandpaper.
The goal here is to take the sheen off of the paneling and molding, leaving a slightly gritty surface behind. That slight grit should be enough to allow the paint to properly adhere. Make sure that you wipe everything down after sanding so that you don’t leave dust behind. If you don’t feel like sanding, a good primer should get the job done just as well.
Step 4: Caulking the Trim
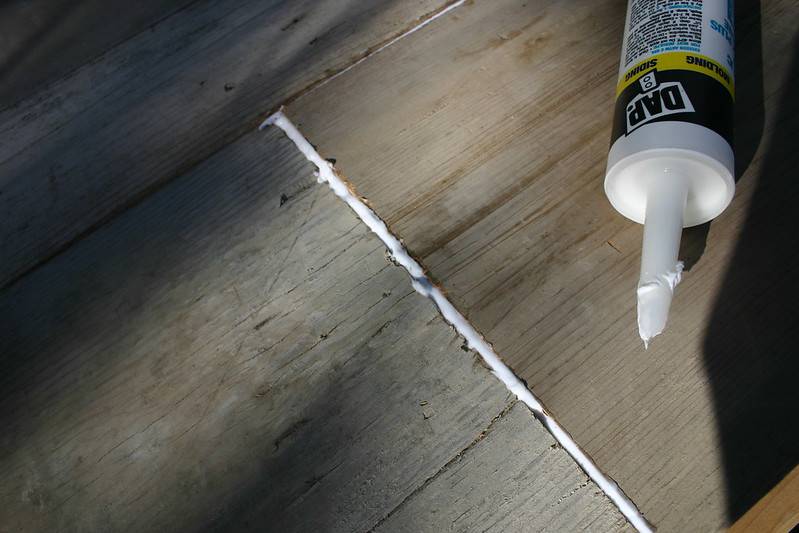
When all of the cracks and crevices have been properly filled in, it is time to go around and caulk the trim. Look for any gaps between the paneling planks, around the doors and windows, and between the trim and panels.
Just make sure that the caulk you use is “paintable.” Take a good look at the directions, too. Depending on the manufacturer, there may be different drying times to adhere to. Whatever that is, ensure that the caulk can dry properly.
Step 5: Priming the Wood
Now that the trim and paneling have been properly prepared, it is time to apply your primer. Apply a thin coat to the entirety of the paneling. You can use a foam roller here or if you prefer, a brush for a little better accuracy.
When using a roller, have a brush on hand so you can get into the seams, cracks, and corners. Having a brush is also great in the event of a drip, too. Go with a primer that is either oil-based or a water-based stain-blocker. The latter is great at preventing wood or grease stains from coming through and potentially ruining the paint job.
Step 6: It’s Time to Paint
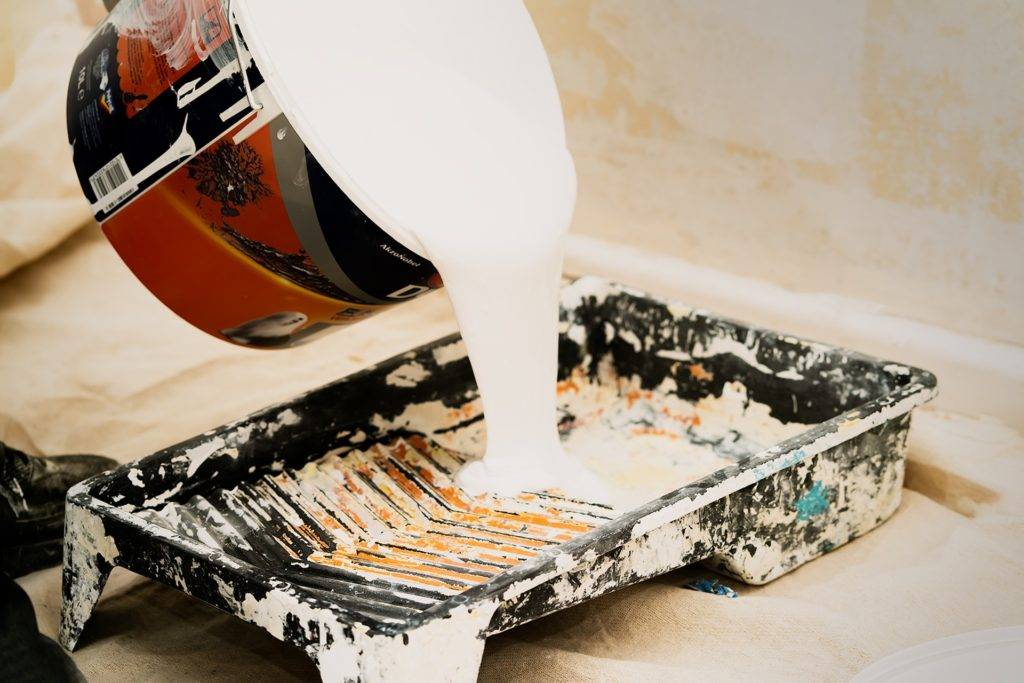
At last, you are ready to paint. Put on a thin coat across all paneling surfaces. Start at the top and work down so that you can even out any dripping along the way. Also, make sure that you cover any of the gaps between paneling.
Use your brush to get any excess paint that eventually collects in the grooves of the panel. Don’t let drips sit; if they dry that can give an uneven appearance that needs to be corrected. Even if the job looks done after a coat of primer and a coat of paint, apply a second coat.
Applying a second coat ensures the best possible coverage and also improves the durability of the paint. It will definitely be worth the added time and paint used.
Step 7: Painting the Trim
Finally, you are ready to paint the trim. Pick out the color that you want, going with a glossier finish than what you have chosen for the walls. Still, you can pick whatever you want. Glossy just ensures that it stands out and has a smoother finish that is ultimately easier to clean.
Use a brush to paint the trim; a roller may be too big and you run the risk of getting paint in places that you don’t want. Take your time and carefully ensure that you paint all parts of the trim. Protect against getting paint on the floor or walls.
Final Thoughts
Adding a fresh coat of paint to your wood paneling and trim can give them new life. For paneling that is 30 or more years old, that can mean many more years to come. The great news is that you don’t need to undertake any major renovation.
With a little bit of time and care, you can bring a fresh new look to the paneling. Ripping them out and replacing them can be an expensive, time-consuming endeavor. Not many of us have time or money to spare, let alone both.

