How to Paint a Ceiling: Step-by-Step Guide
A well-painted ceiling can transform the entire look and feel of a room. It adds a sense of completion to the overall decor and can make the space appear brighter and more spacious. Whether you’re looking to refresh the existing paint or trying a new color scheme, painting a ceiling requires attention to detail and the right techniques to achieve a professional finish.
Overview and Steps of the Painting Process
Painting a ceiling may seem like a daunting task, but with the right preparation, tools, and techniques, it can be a rewarding project that enhances the aesthetic appeal of your home. From choosing the right paint and tools to applying the paint and addressing common issues, this comprehensive guide will walk you through the step-by-step process of painting a ceiling like a pro.
Preparing the Room
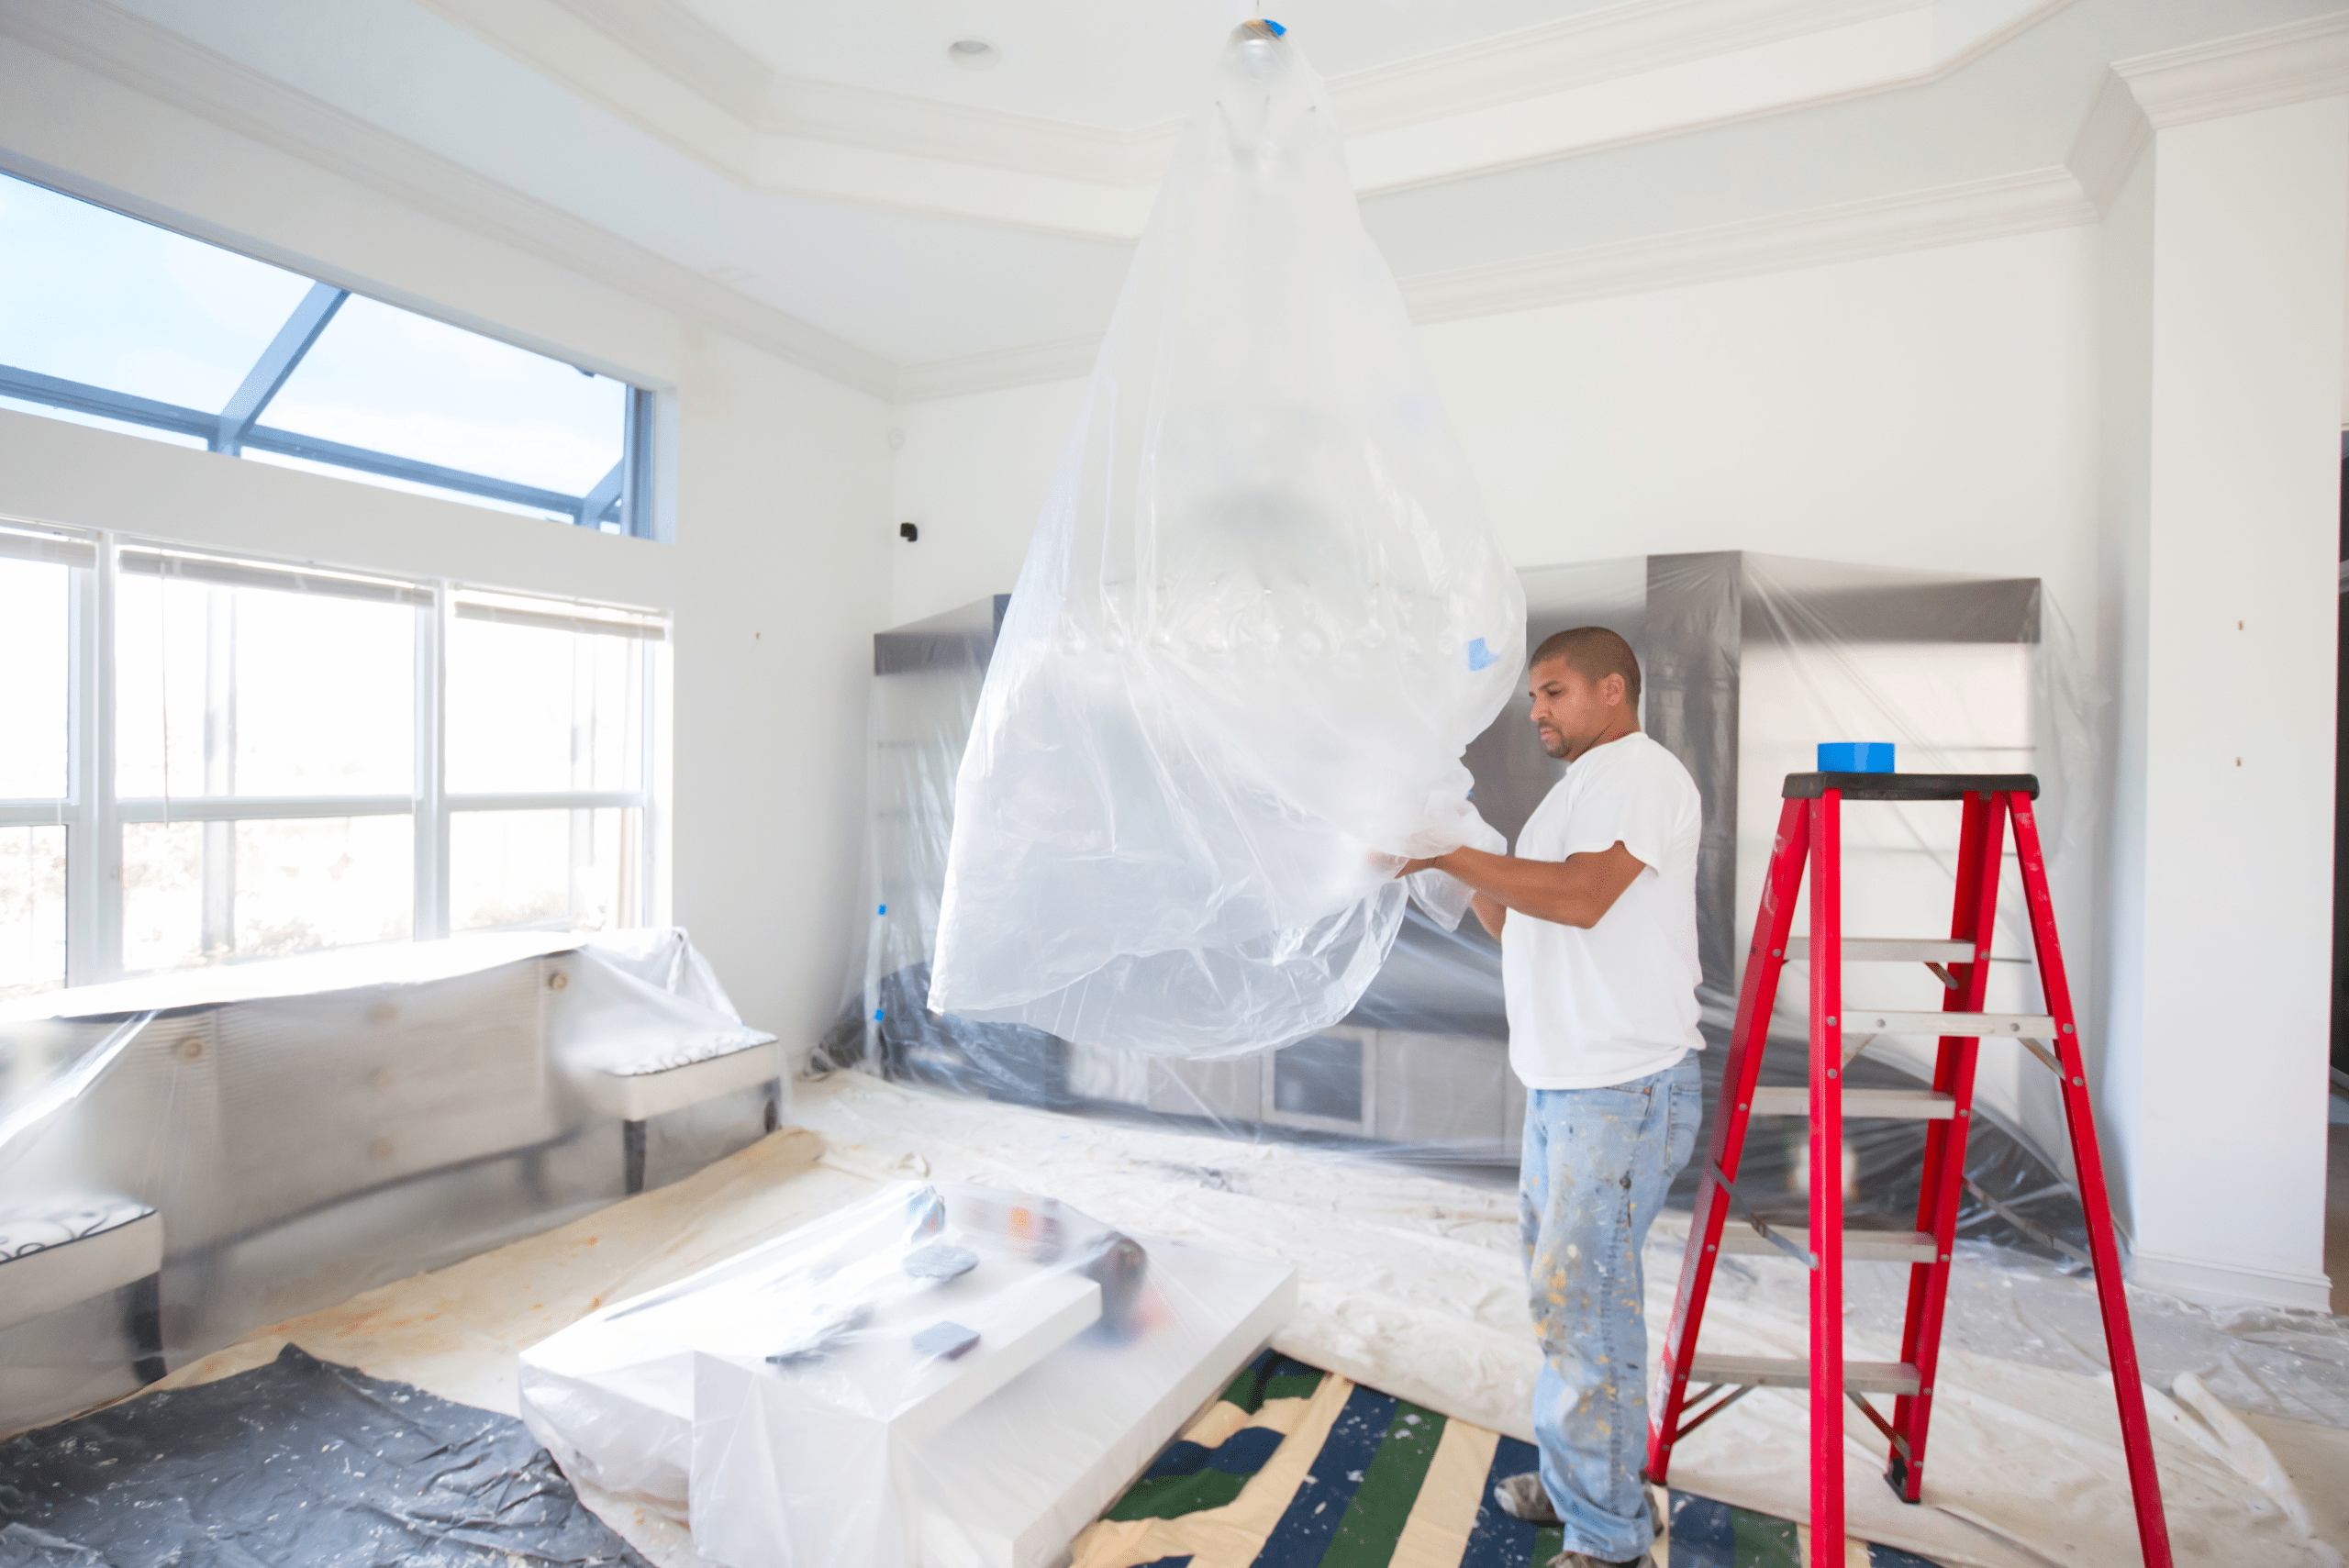
Clearing the Room and Protecting Furniture: Before you begin painting, it’s crucial to clear the room of any furniture, fixtures, and decorations. Cover the remaining items with drop cloths to protect them from paint splatters and dust. This will ensure that your painting project doesn’t result in any unnecessary damage to your belongings.
Cleaning and Removing Dust and Debris: Before you start painting, ensure that the ceiling surface is clean and free of any dust, dirt, or cobwebs. Use a vacuum with a brush attachment to remove any loose particles, followed by a gentle wipe-down with a damp cloth. This will help the paint adhere better to the surface and result in a smoother finish.
Choosing the Right Paint and Tools

Selecting the Appropriate Paint Finish: The type of paint finish you choose for your ceiling can significantly impact the overall look of the room. Flat or matte finishes are popular choices for ceilings as they help to conceal imperfections and provide a smooth, uniform appearance. Consider the lighting in the room and the desired aesthetic when selecting the appropriate paint finish.
Essential Tools for Painting a Ceiling: Investing in the right tools is essential for a successful painting project. A sturdy ladder, high-quality paintbrushes, a roller with an extension pole, painter’s tape, and a paint tray are some of the essential tools you’ll need. Additionally, consider using a paint sprayer for larger ceiling areas for a more efficient and even application.
Preparing the Ceiling Surface

Filling and Sanding Any Imperfections: Inspect the ceiling for any cracks, holes, or imperfections. Use a spackling compound to fill in these areas, and once it’s dry, sand the surface to create a smooth and even base for the paint. Taking the time to properly prepare the ceiling will result in a more polished and professional-looking finish.
Priming the Ceiling for Better Paint Adhesion: Priming the ceiling is a crucial step that should not be overlooked. A high-quality primer will help the paint adhere better to the surface, hide any stains, and ensure a more even finish. Be sure to choose a primer that is specifically formulated for ceilings and follow the manufacturer’s instructions for application.
Applying the Paint

Techniques for Cutting In and Edging: Start by cutting in the edges of the ceiling using a high-quality angled paintbrush. This will create a clean and precise line along the edges, making it easier to fill in the rest of the ceiling with a roller. Take your time with this step, as it sets the foundation for the rest of the painting process.
Using a Roller for Smooth and Even Coverage: Once the edges are cut in, use a roller to apply the paint to the rest of the ceiling. Work in small, manageable sections, and use long, even strokes to ensure smooth and even coverage. Avoid applying too much pressure, as it can result in drips and an uneven finish. Multiple thin coats are preferable to one thick coat for a professional look.
Dealing with Common Issues

Tips for Avoiding Drips and Splatters: To avoid drips and splatters, load the roller with an appropriate amount of paint and use a paint tray with a built-in grid to remove excess paint. Additionally, maintain a consistent speed and pressure while rolling, and be mindful of any areas where the paint may be pooling. This will help prevent messy drips and splatters.
Solutions for Uneven Coverage and Roller Marks: If you notice uneven coverage or roller marks on the ceiling, don’t panic. Allow the paint to dry completely before applying another coat. Sand any rough spots or imperfections lightly, and apply a second or third coat of paint as needed to achieve a uniform and flawless finish.
Drying and Curing
Allowing Sufficient Drying Time: After painting the ceiling, it’s crucial to allow sufficient drying time before moving on to the next steps. Follow the manufacturer’s guidelines for drying time, and avoid touching or disturbing the painted surface during this period to prevent any smudges or imperfections.
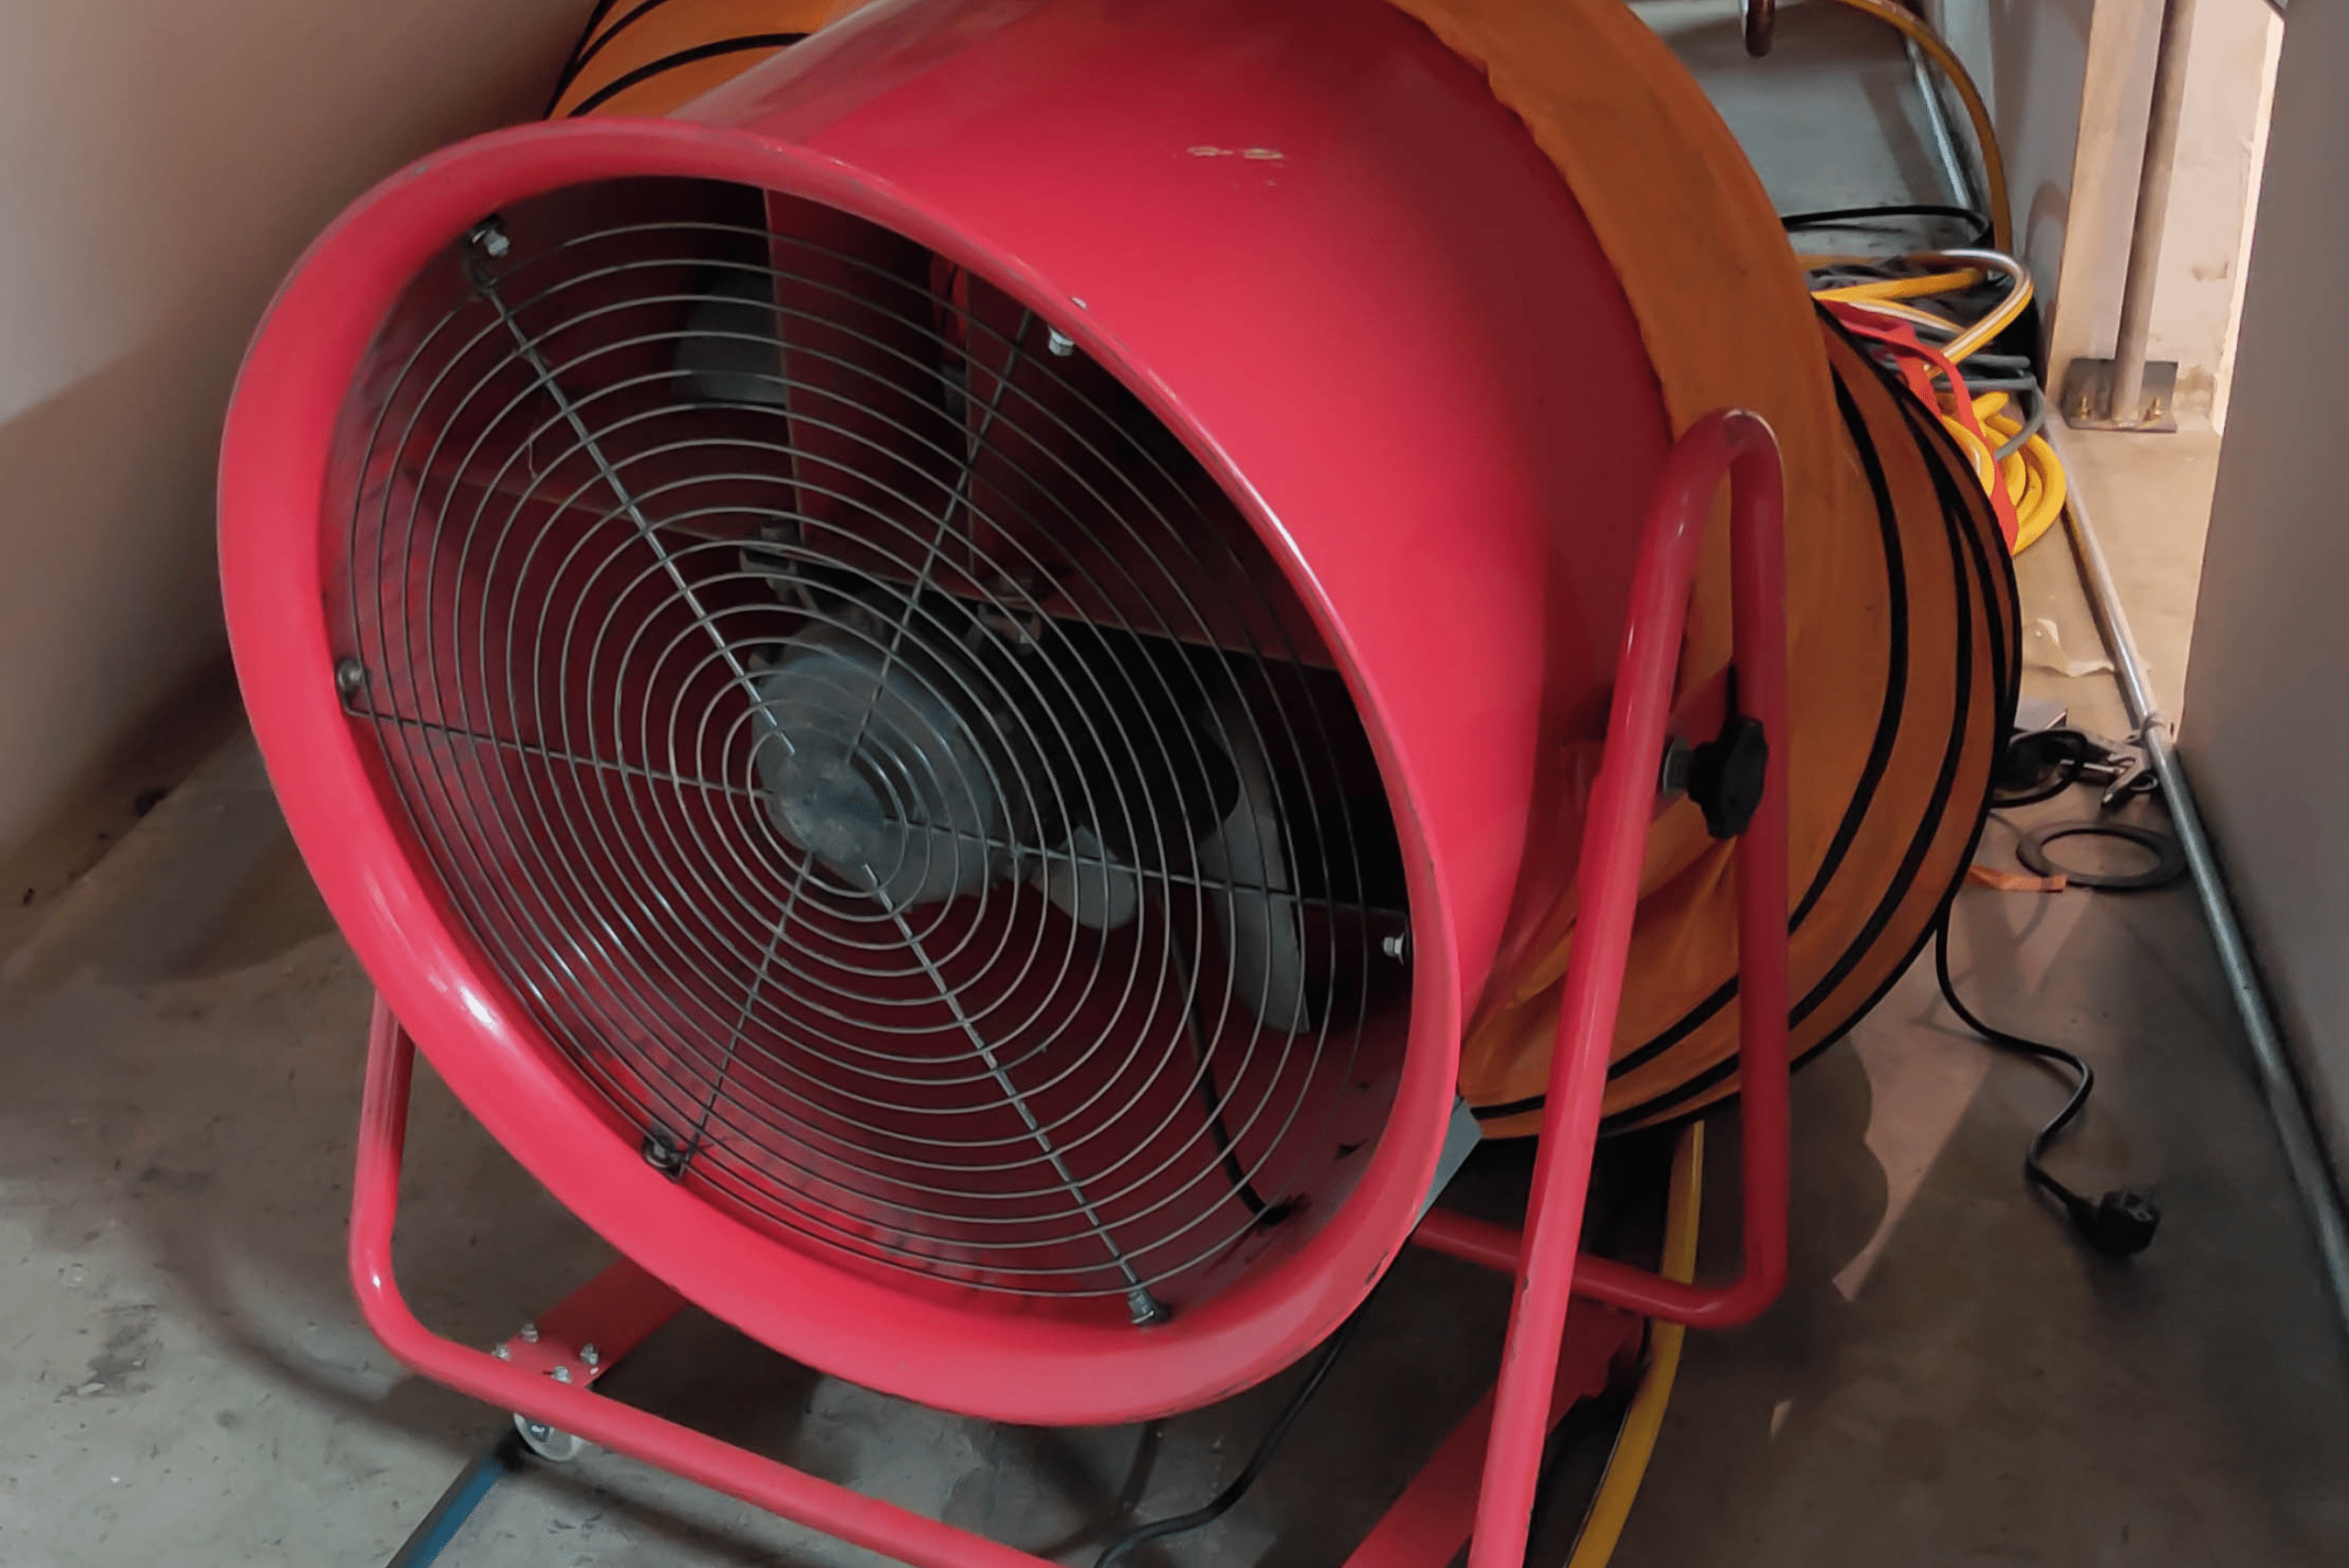
Ensuring Proper Ventilation for Curing: Proper ventilation is essential for the curing process. Open windows and use fans to facilitate air circulation, which will help the paint cure more effectively and prevent any lingering odors. Be patient and allow the paint to fully cure before returning the room to its normal use.
Final Touches
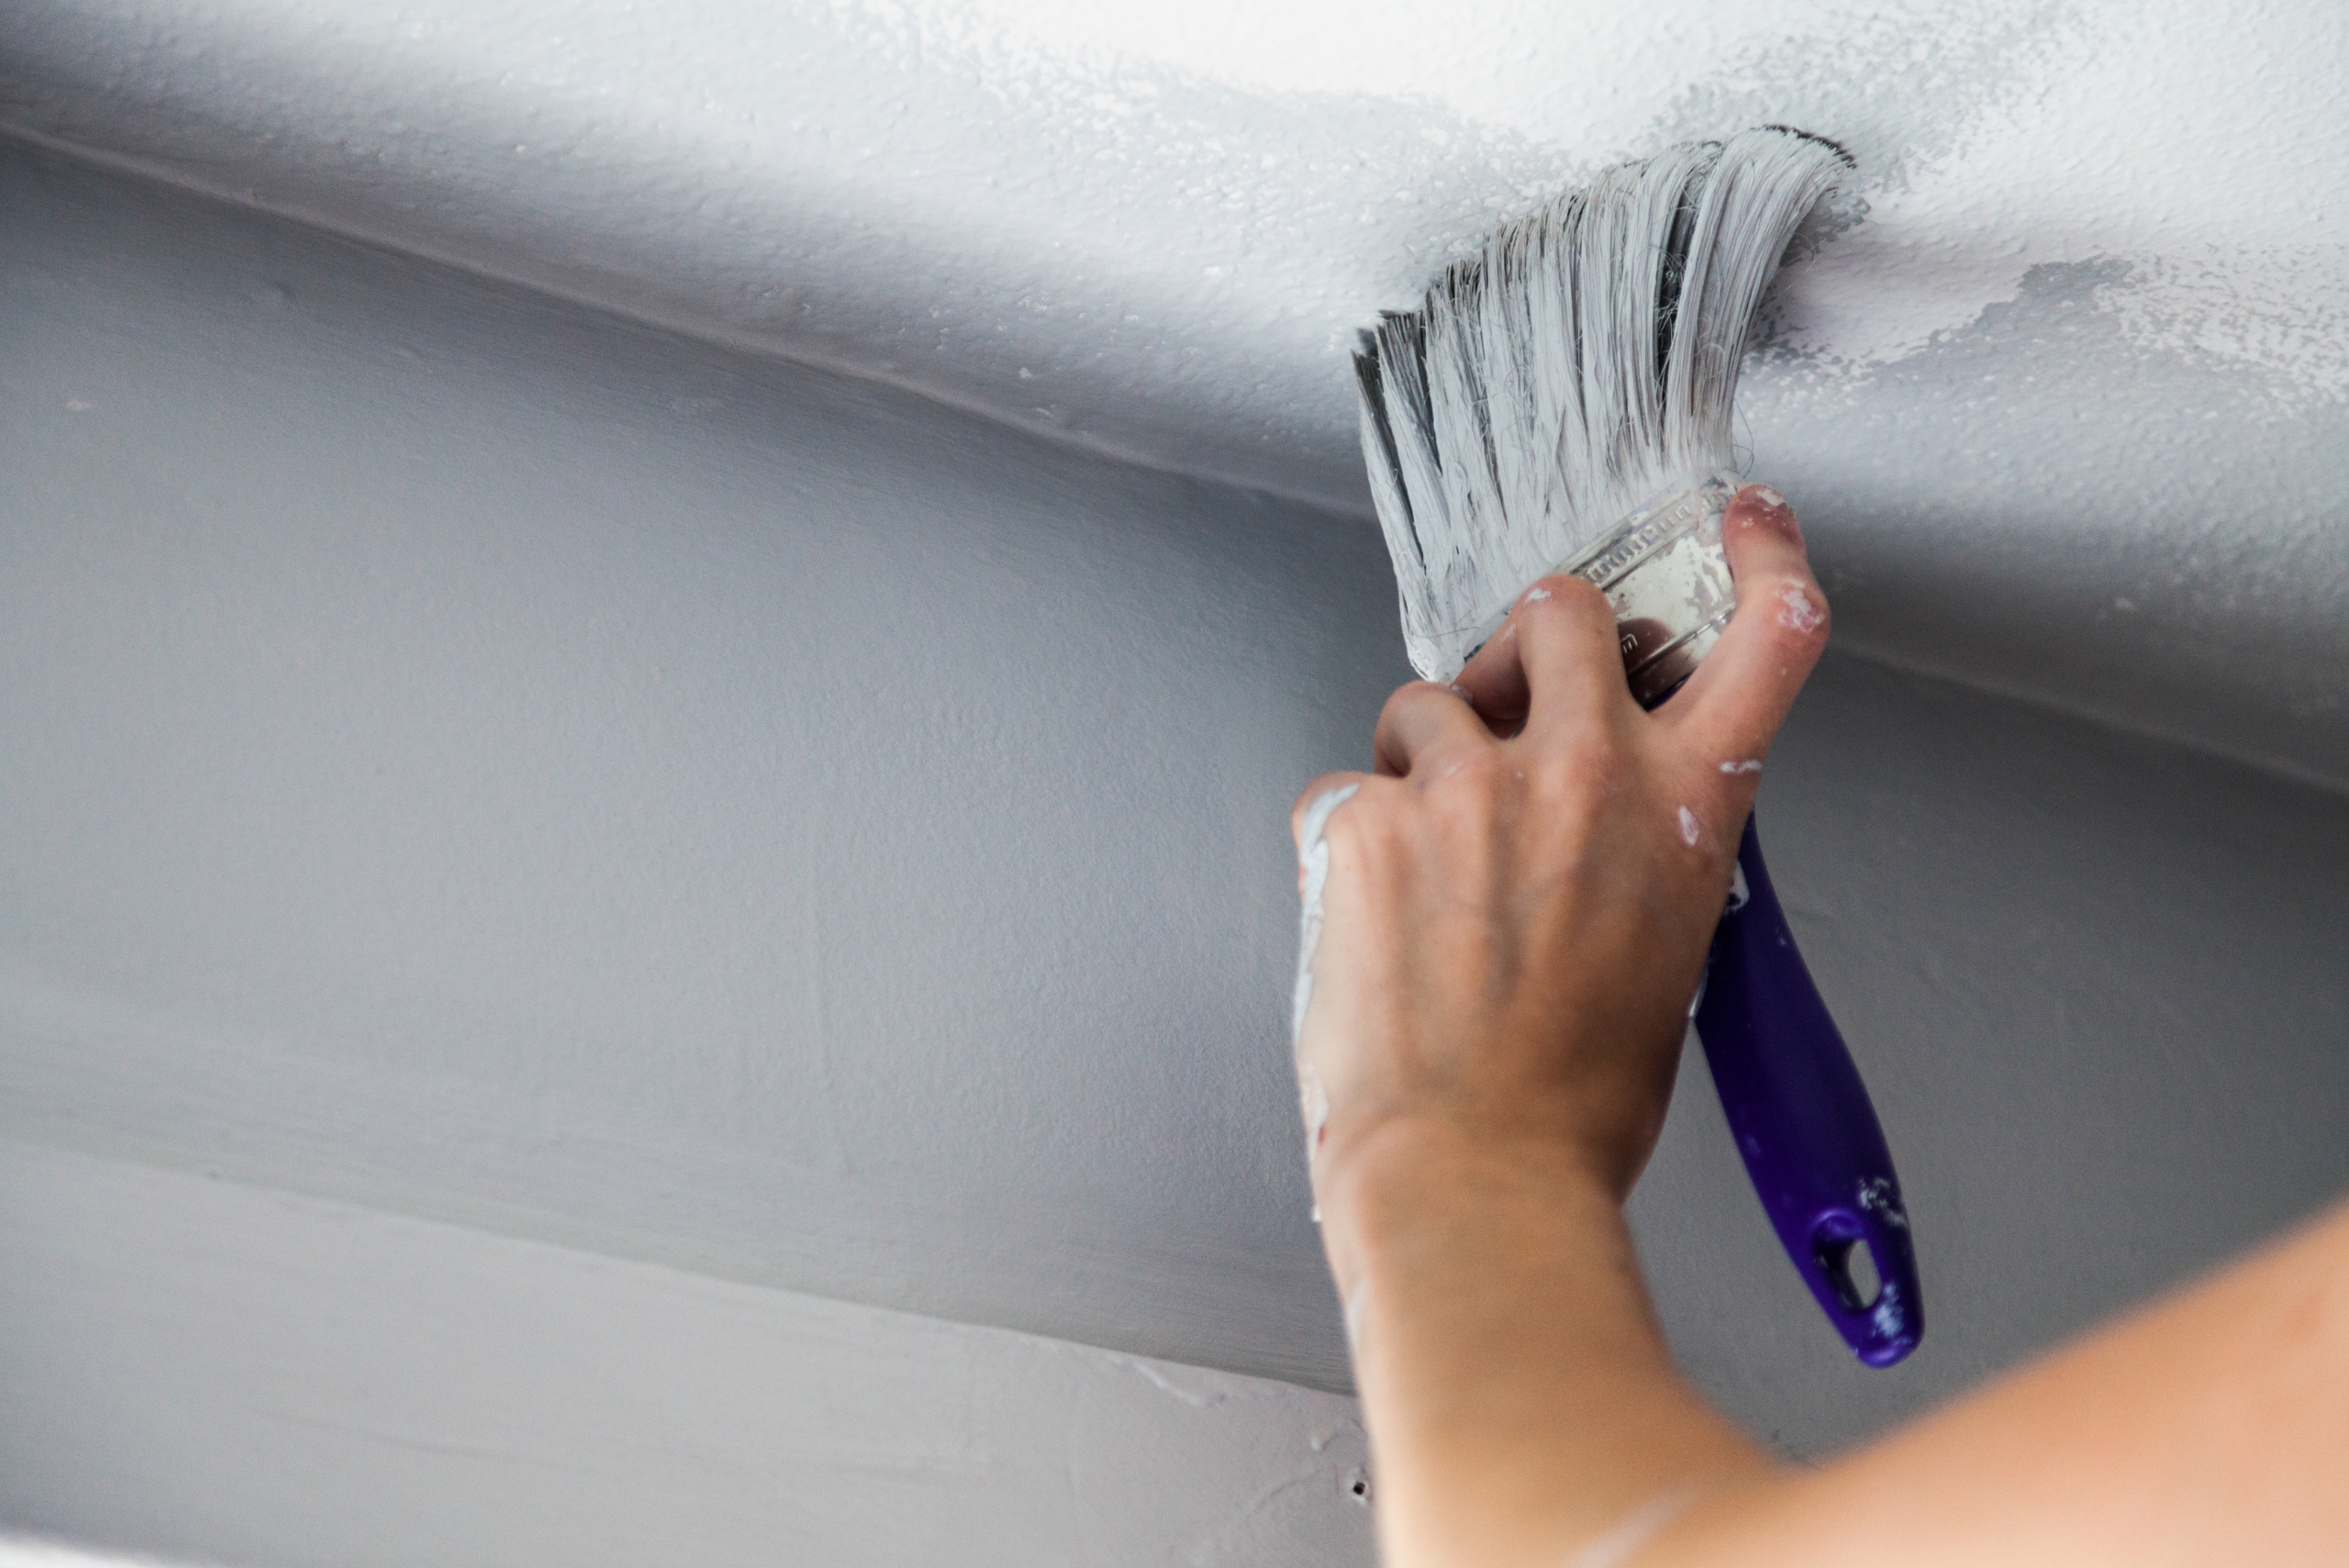
Inspecting for Touch-Ups and Imperfections: Once the paint has dried and cured, inspect the ceiling carefully for any touch-ups or imperfections. Use a small brush or roller to address any areas that may require additional paint, and ensure that the entire surface is uniform and flawless.
Cleaning Up and Restoring the Room: Remove any painter’s tape and drop cloths, and carefully clean your tools and equipment. Return the furniture and decorations to their original places and admire the newly painted ceiling that has transformed the room’s ambiance.
Tips for a Professional Finish

Creating a Consistent Look Throughout the Ceiling: Consistency is key when painting a ceiling. Ensure that the paint color, finish, and application are consistent throughout the entire surface for a professional and cohesive look. Take your time and pay attention to detail to achieve a flawless finish.
Utilizing Proper Lighting for Inspection: Proper lighting is essential for inspecting the painted ceiling. Use natural and artificial light sources to identify any imperfections, roller marks, or uneven coverage. This will allow you to make any necessary touch-ups and ensure that the ceiling looks impeccable from every angle.
Other articles you might enjoy:
- 6 Painting Tips Every Handyman Should Know
- How to Fix Paint Drips Like A Pro
- How to Calculate How Much Paint You Need
Painting a ceiling is a rewarding project that can elevate the look and feel of any room. By following this comprehensive guide and utilizing the right techniques, you can achieve a professional finish and enjoy the transformed ambiance of your space. Whether you’re refreshing the existing paint or trying a new color scheme, painting a ceiling like a pro is within your reach with the right knowledge and approach.


