How To Lay Asphalt—A Step-By-Step Guide
Learning how to lay asphalt can save you a lot of money while dramatically improving the look and the value of your property.
Asphalt is easy to work with, but like its distant cousin, concrete, it is time-sensitive, meaning when it’s ready to apply, you need to move quickly. Asphalt comes in two varieties, hot mix, and cold-mix. We’ll take a look at both and explain how one is better than the other in certain applications.
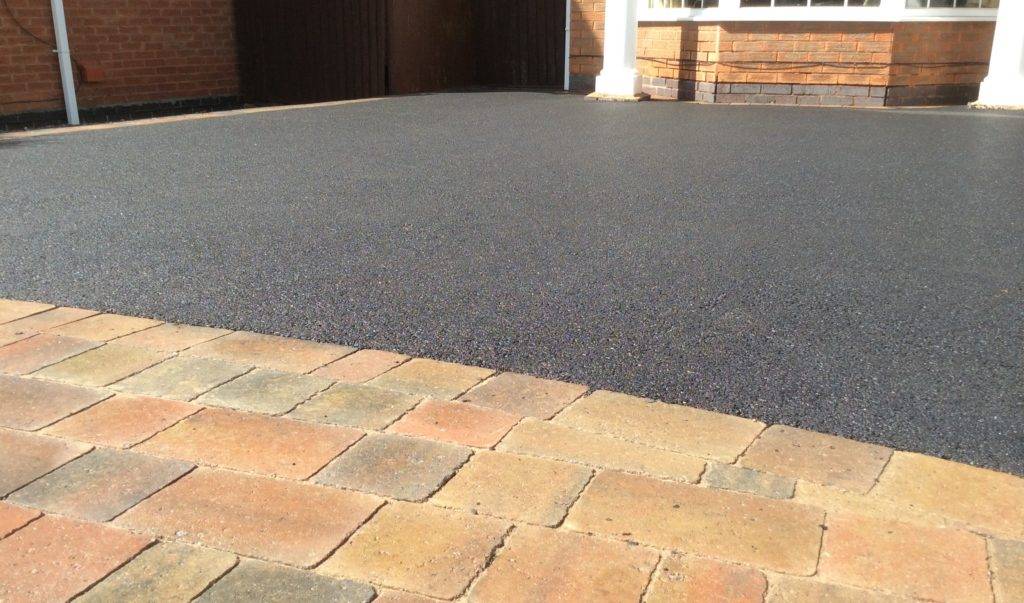
Before Anything Else: Demolish the Old, or Clear the Surface
Regardless of if you’re working with hot-mix or cold-mix, before you lay asphalt you need to prep your surface. If you’re working with a large surface like an existing driveway, you’ll need to demolish and remove the old, worn, or damaged asphalt that’s currently there. To do that—unless you have a bobcat lying around—you’ll need to rent the proper equipment to do so.
If you’re doing spot treatments or repairing a few cracks, you’ll need to remove any debris from the surface and clean away dirt or anything else that could affect the asphalt surface during the pavement laying.
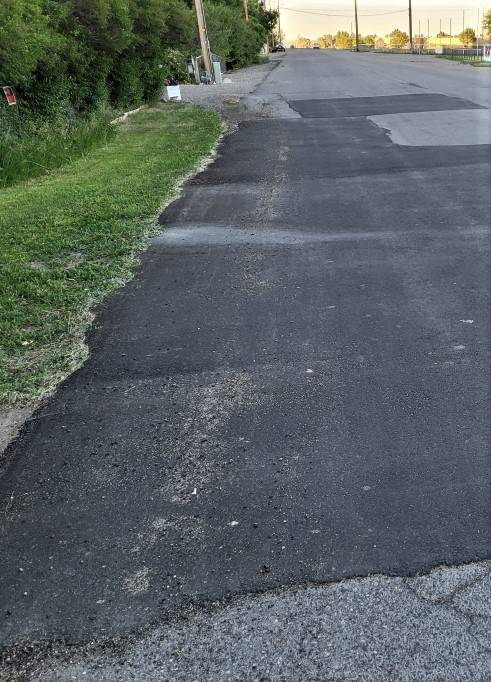
How to Lay Hot-Mix Asphalt
Hot-mix requires a supplier to bring the asphalt to your property. They’ll heat it up, mix it thoroughly and arrive at your property with a dump truck full of steaming hot tar and gravel, the components of asphalt.
Step 1: Prepping the Site
Prepping the site is vital to getting a good protective layer of asphalt laid down while reducing costs. The area you’re about to cover with asphalt needs to be free of grass and weeds. The magic of asphalt is that you won’t have to build forms to contain it as you do with concrete. You will have to smooth and compact the site.
Step 2: Lay Down Sand or Gravel
Once you have the area cleared, you’ll need to lay down a bed of sand and gravel, commonly called road base. The same contractor that delivers your asphalt will probably deliver gravel as well. If they don’t, they’ll have another company you can contact to do this.
Spread the sand/gravel mix out evenly, then compact it with a plate compactor. You can rent compactors at a local outdoor equipment store.
It might seem like an unnecessary step, but road base is much less expensive than asphalt. It fills holes and gaps and creates a level surface to pour the asphalt.
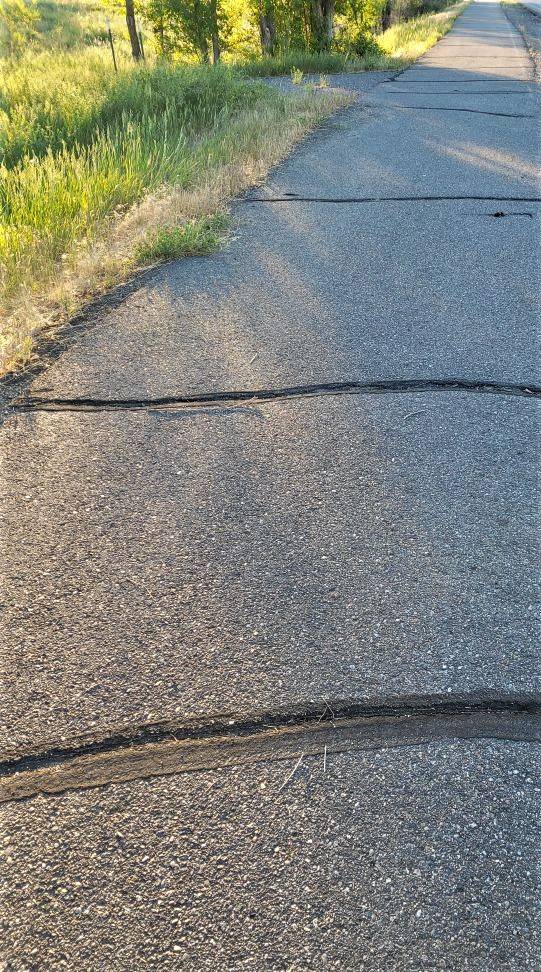
Step 3: Begin Pouring the Asphalt
With the site prepped, have the dump truck driver back onto the area, and slowly pour the asphalt on the ground as he slowly drives forward. Have plenty of help with rakes and square point shovels to assist as the asphalt flows out.
Spread the asphalt at right angles to the dump truck. Work the material until it is at an average depth of five inches.
Step 4: Compact the Asphalt
Once the asphalt is spread out evenly it’s time to compact it.
You’ll need a different style of compactor for this job. The plate compactor will get stuck, pound the material too deep and not work. A vibrating, roller compactor works the best, and they’re also available at rental centers.
Run the compactor in the direction of the up and downhill slopes on the first run, then move horizontally at right angles to the initial run. The third compaction is back to the up and down direction.
You’ll know you’ve compacted it well when a square point shovel is difficult to push through the asphalt.
Work the edges of the asphalt so they slope back to ground level.
Step 5: Allow the Asphalt to Dry
Leave the area and don’t drive or walk on the asphalt for 48 hours.
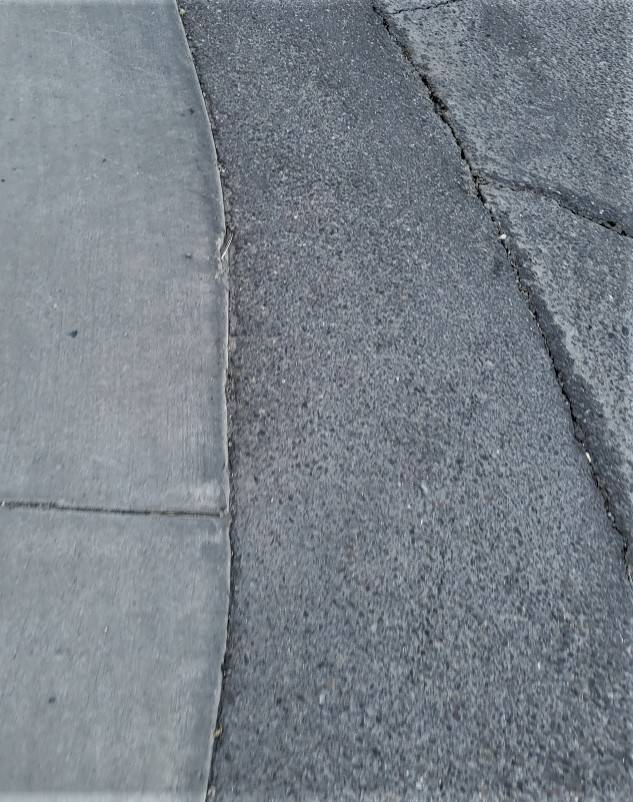
How to Lay Cold Mix Asphalt
Open the can, and shovel the asphalt out with a large triangle-shaped trowel. Work the material into the holes or cracks then pound it in with the back of a square point shovel. Once it’s compact with the shovel, take a 3/4-inch piece of plywood, place it on the new asphalt and pound it a few times with a two-pound hammer.
This will set the asphalt. If there is a mound remaining, scrape the material off with the trowel. You may have to use the plywood and hammer again to set the surface.
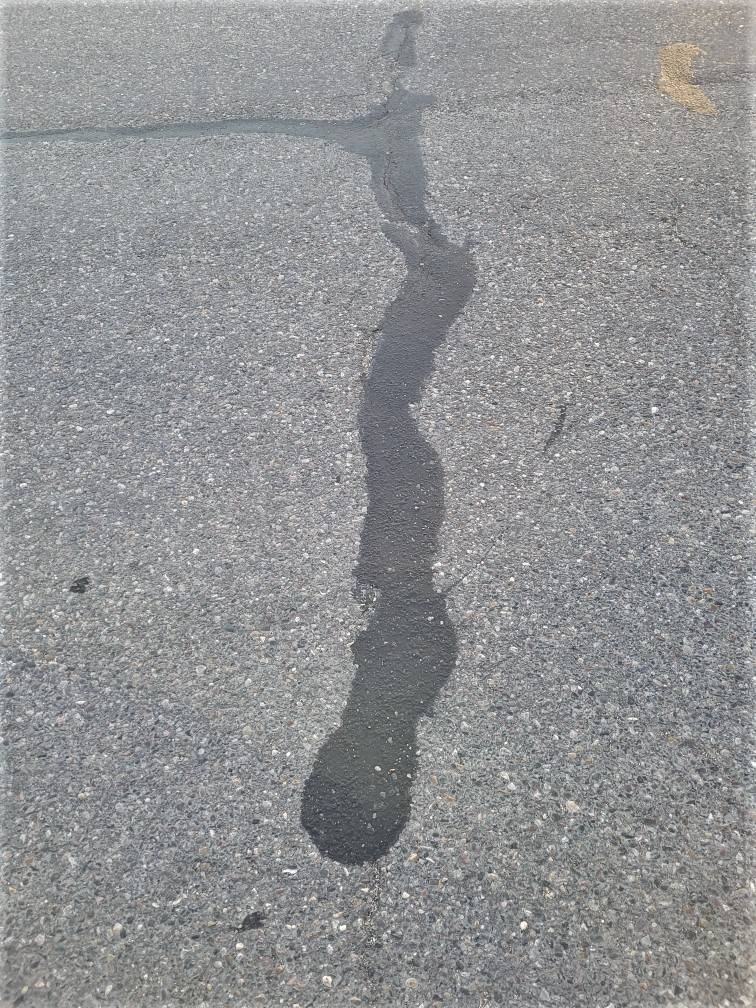
Pros and Cons of Hot Mix vs. Cold Mix Asphalt
Part of knowing how to lay asphalt is deciding between hot mix or cold mix asphalt. First, you need to consider what surface you’re working with. Are you paving an entire driveway, or are you repairing a few cracks? Once you know your target, you can choose the asphalt.
Hot-mix asphalt is going to be the more durable choice. It’s weather-resistant so if you live in an area that has an extreme temperature range, it’s the more durable option between the two. Hot mix is more malleable than concrete, allowing it to expand or shrink with changing temperatures without cracking excessively.
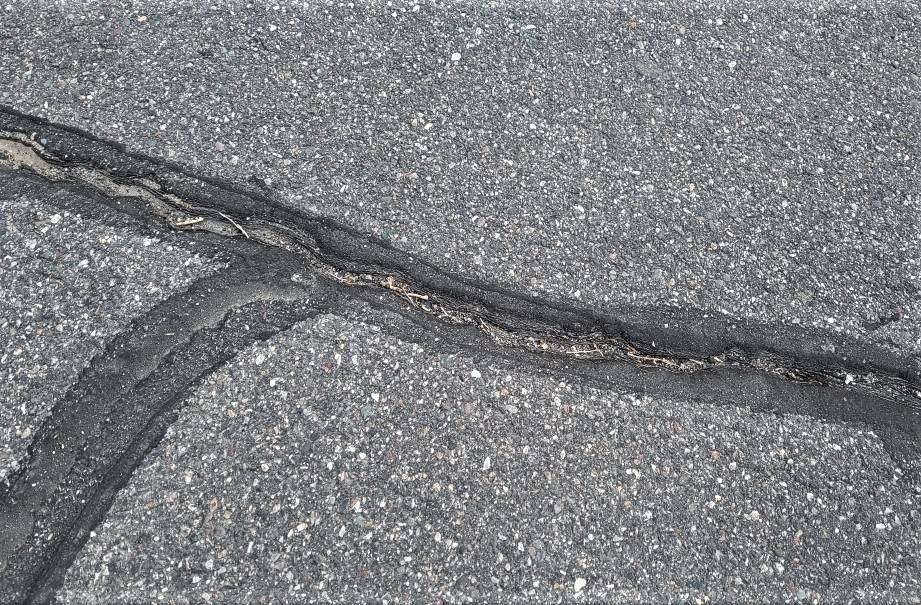
The downside to hot mix is that it’s more expensive than cold mix—though it’s more durable thus leading it to last longer, so it could be viewed as a good investment. Hot mix asphalt also requires a certain temperature for proper installation so you have to wait until you have the right window of opportunity.
Cold mix, on the other hand, is a product that is typically purchased in five-gallon cans which helps to reduce the cost of the product because you don’t have to risk buying large amounts. It’s also an easy installation, but the biggest downside to it is that it’s not a permanent solution.
Cold mix asphalt is meant to be used as a temporary solution, or to repair potholes and fill in cracks. It can also be used as a substitute for hot-mix asphalt in the short term until you have the right window of installation for hot mix.


