How To Clean Black Mold From Shower Caulking
Black mold in shower caulking is more than just an eyesore. It’s stubborn, unhealthy, and a sign your bathroom might need some careful cleaning attention. The good news is that you can deal with it without calling in a professional. Here’s how to clean it properly, keep it from coming back, and protect your space from further damage.
Understand What You’re Dealing With
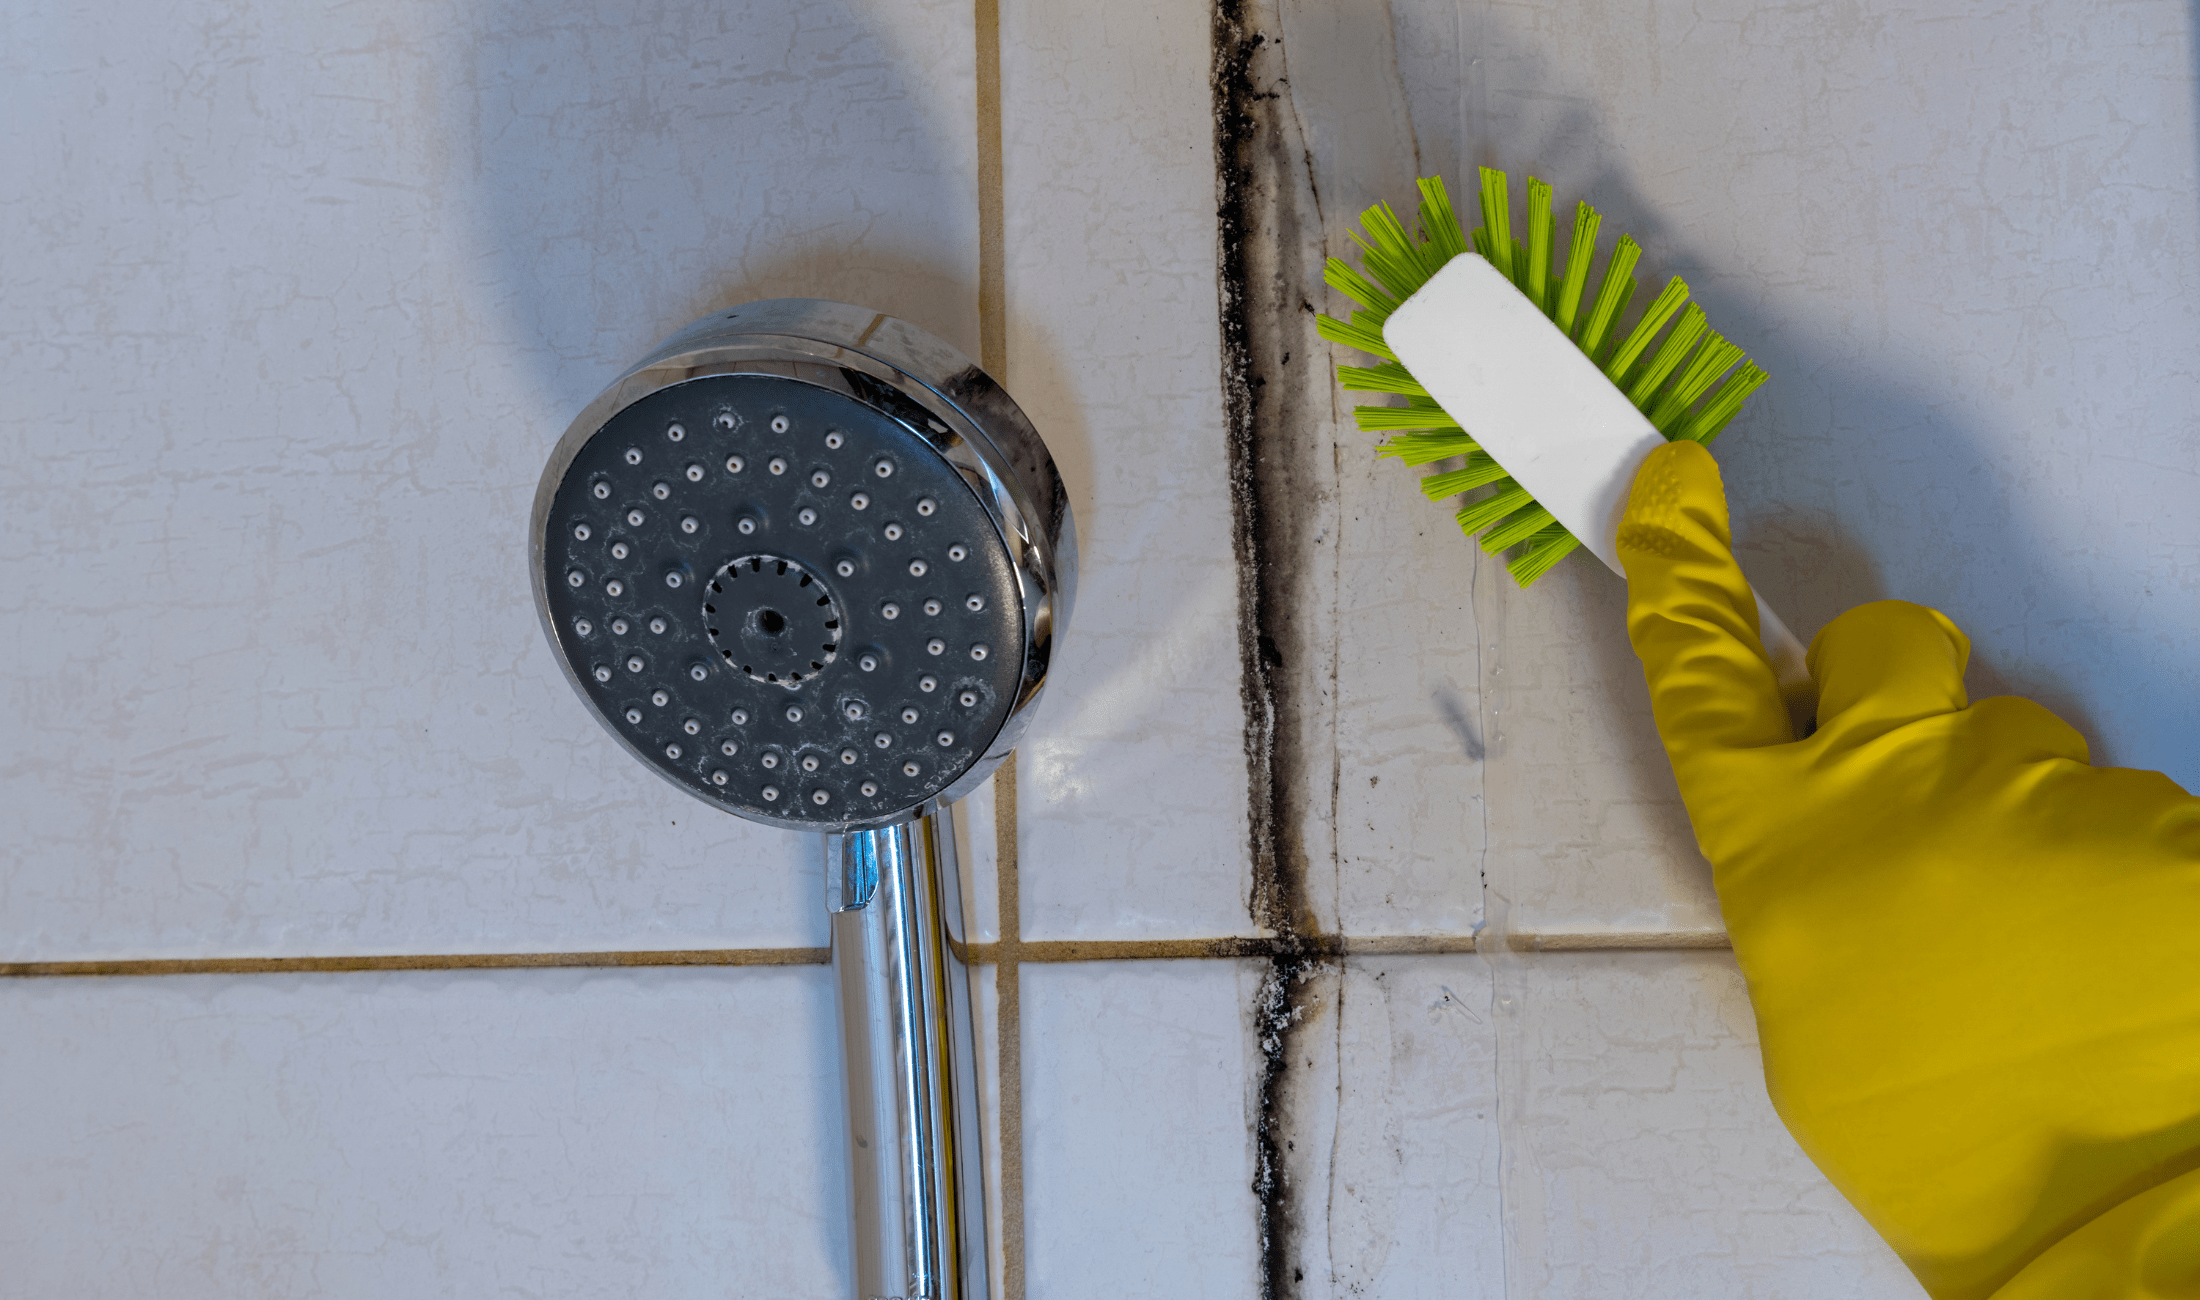
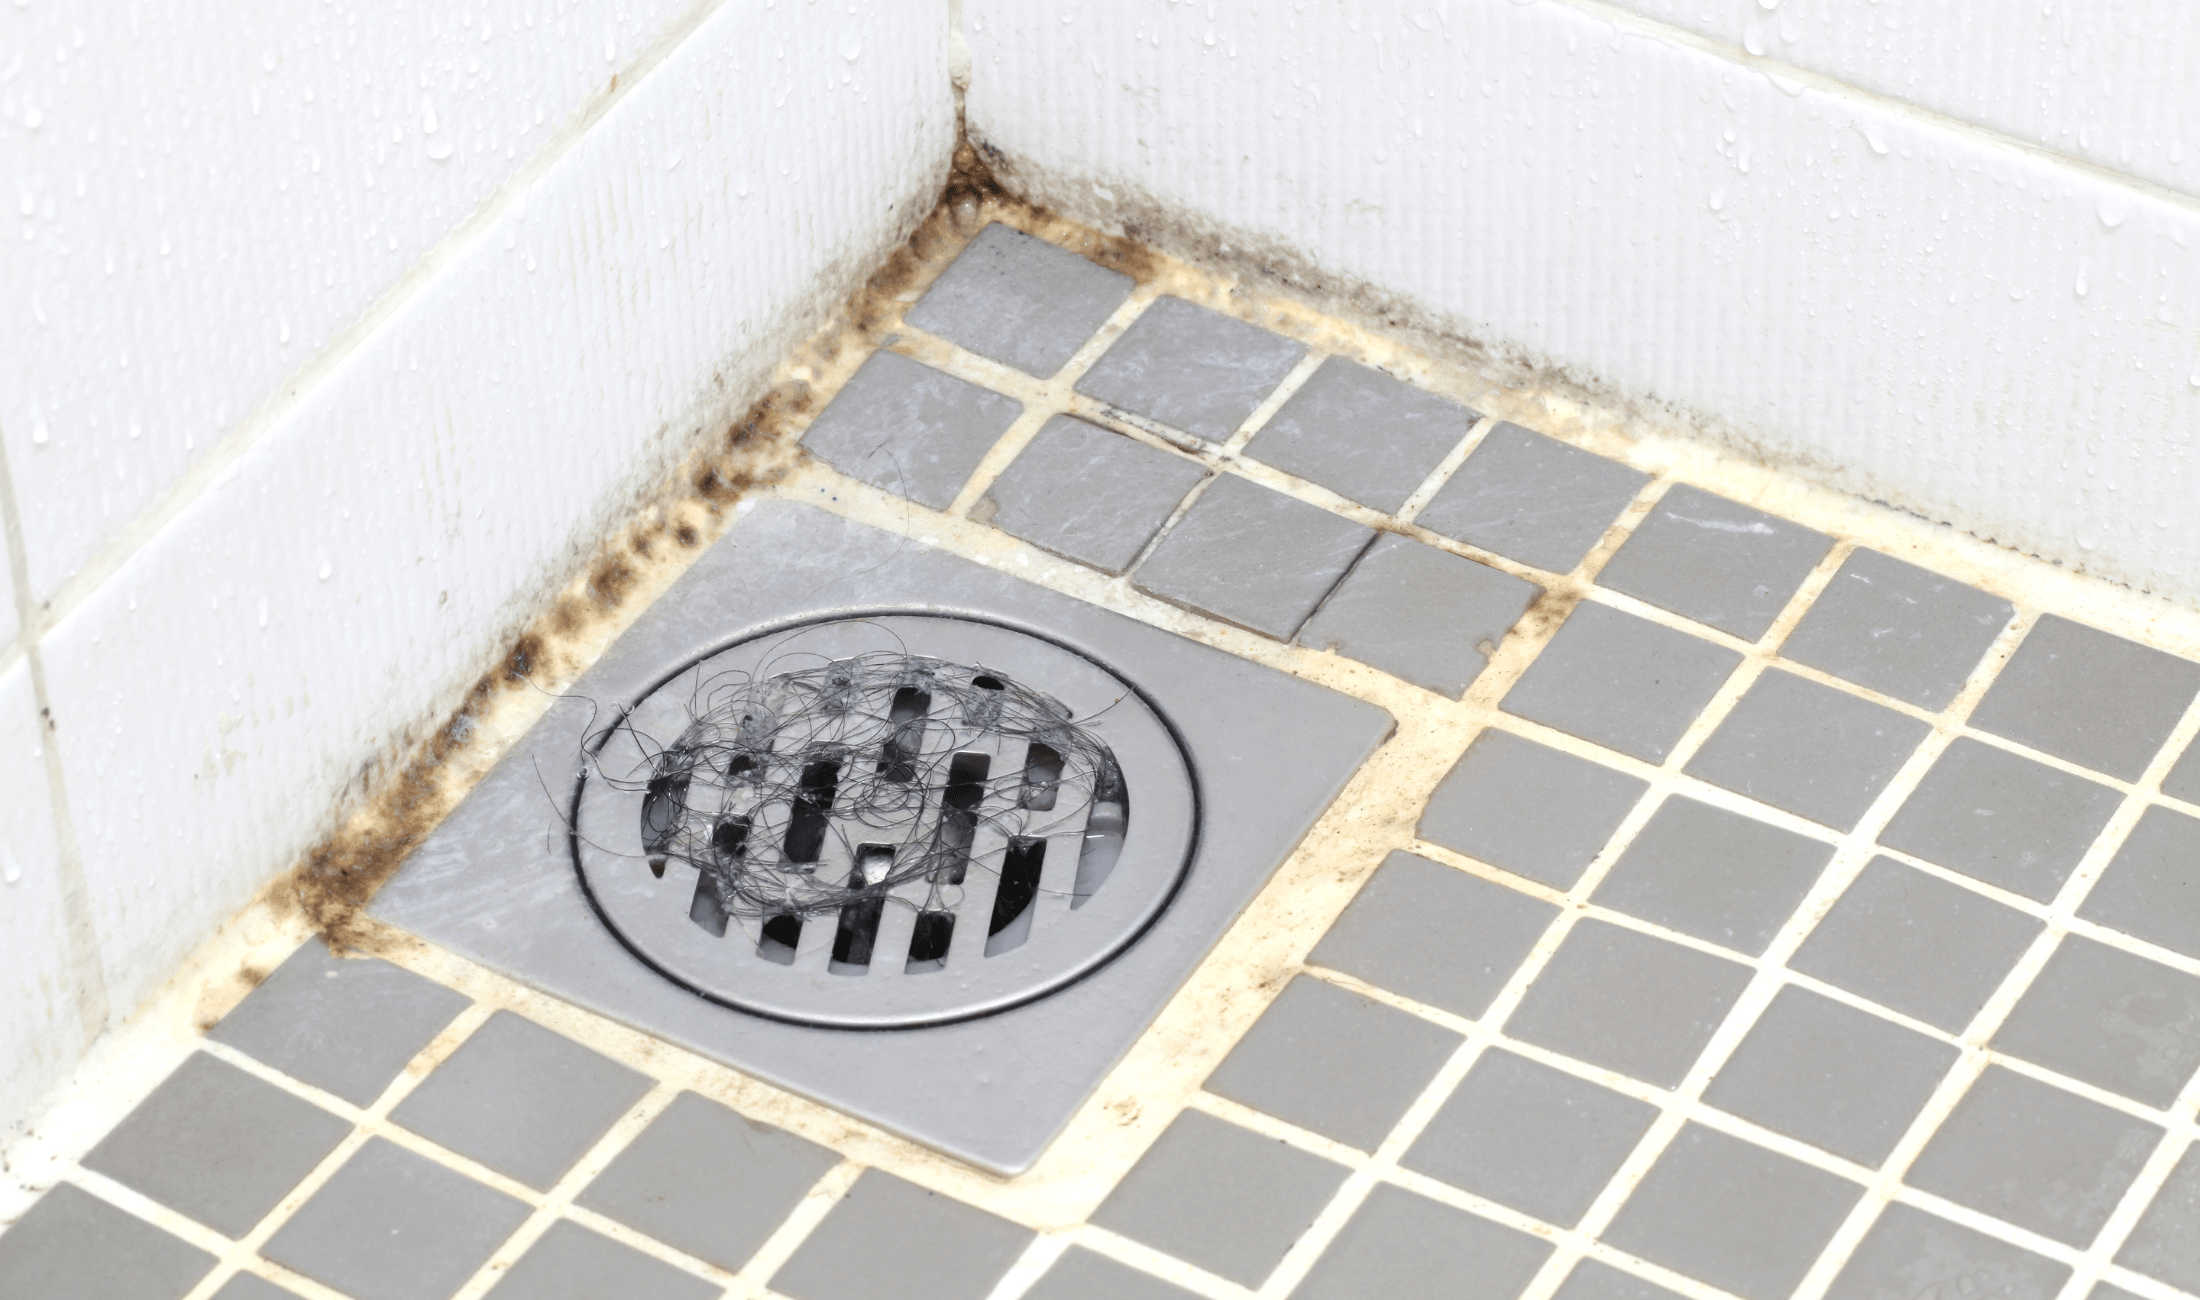
Black mold in caulking usually thrives in warm, damp areas that don’t dry quickly. Caulking creates the perfect hiding spot, and once mold sets in, it roots deep. Many people try wiping it away with soap and water, only to find it returns in a few days. That’s because it grows beneath the surface. Knowing it’s more than surface-level grime is the first step toward a real, lasting solution.
Choose the Right Cleaner
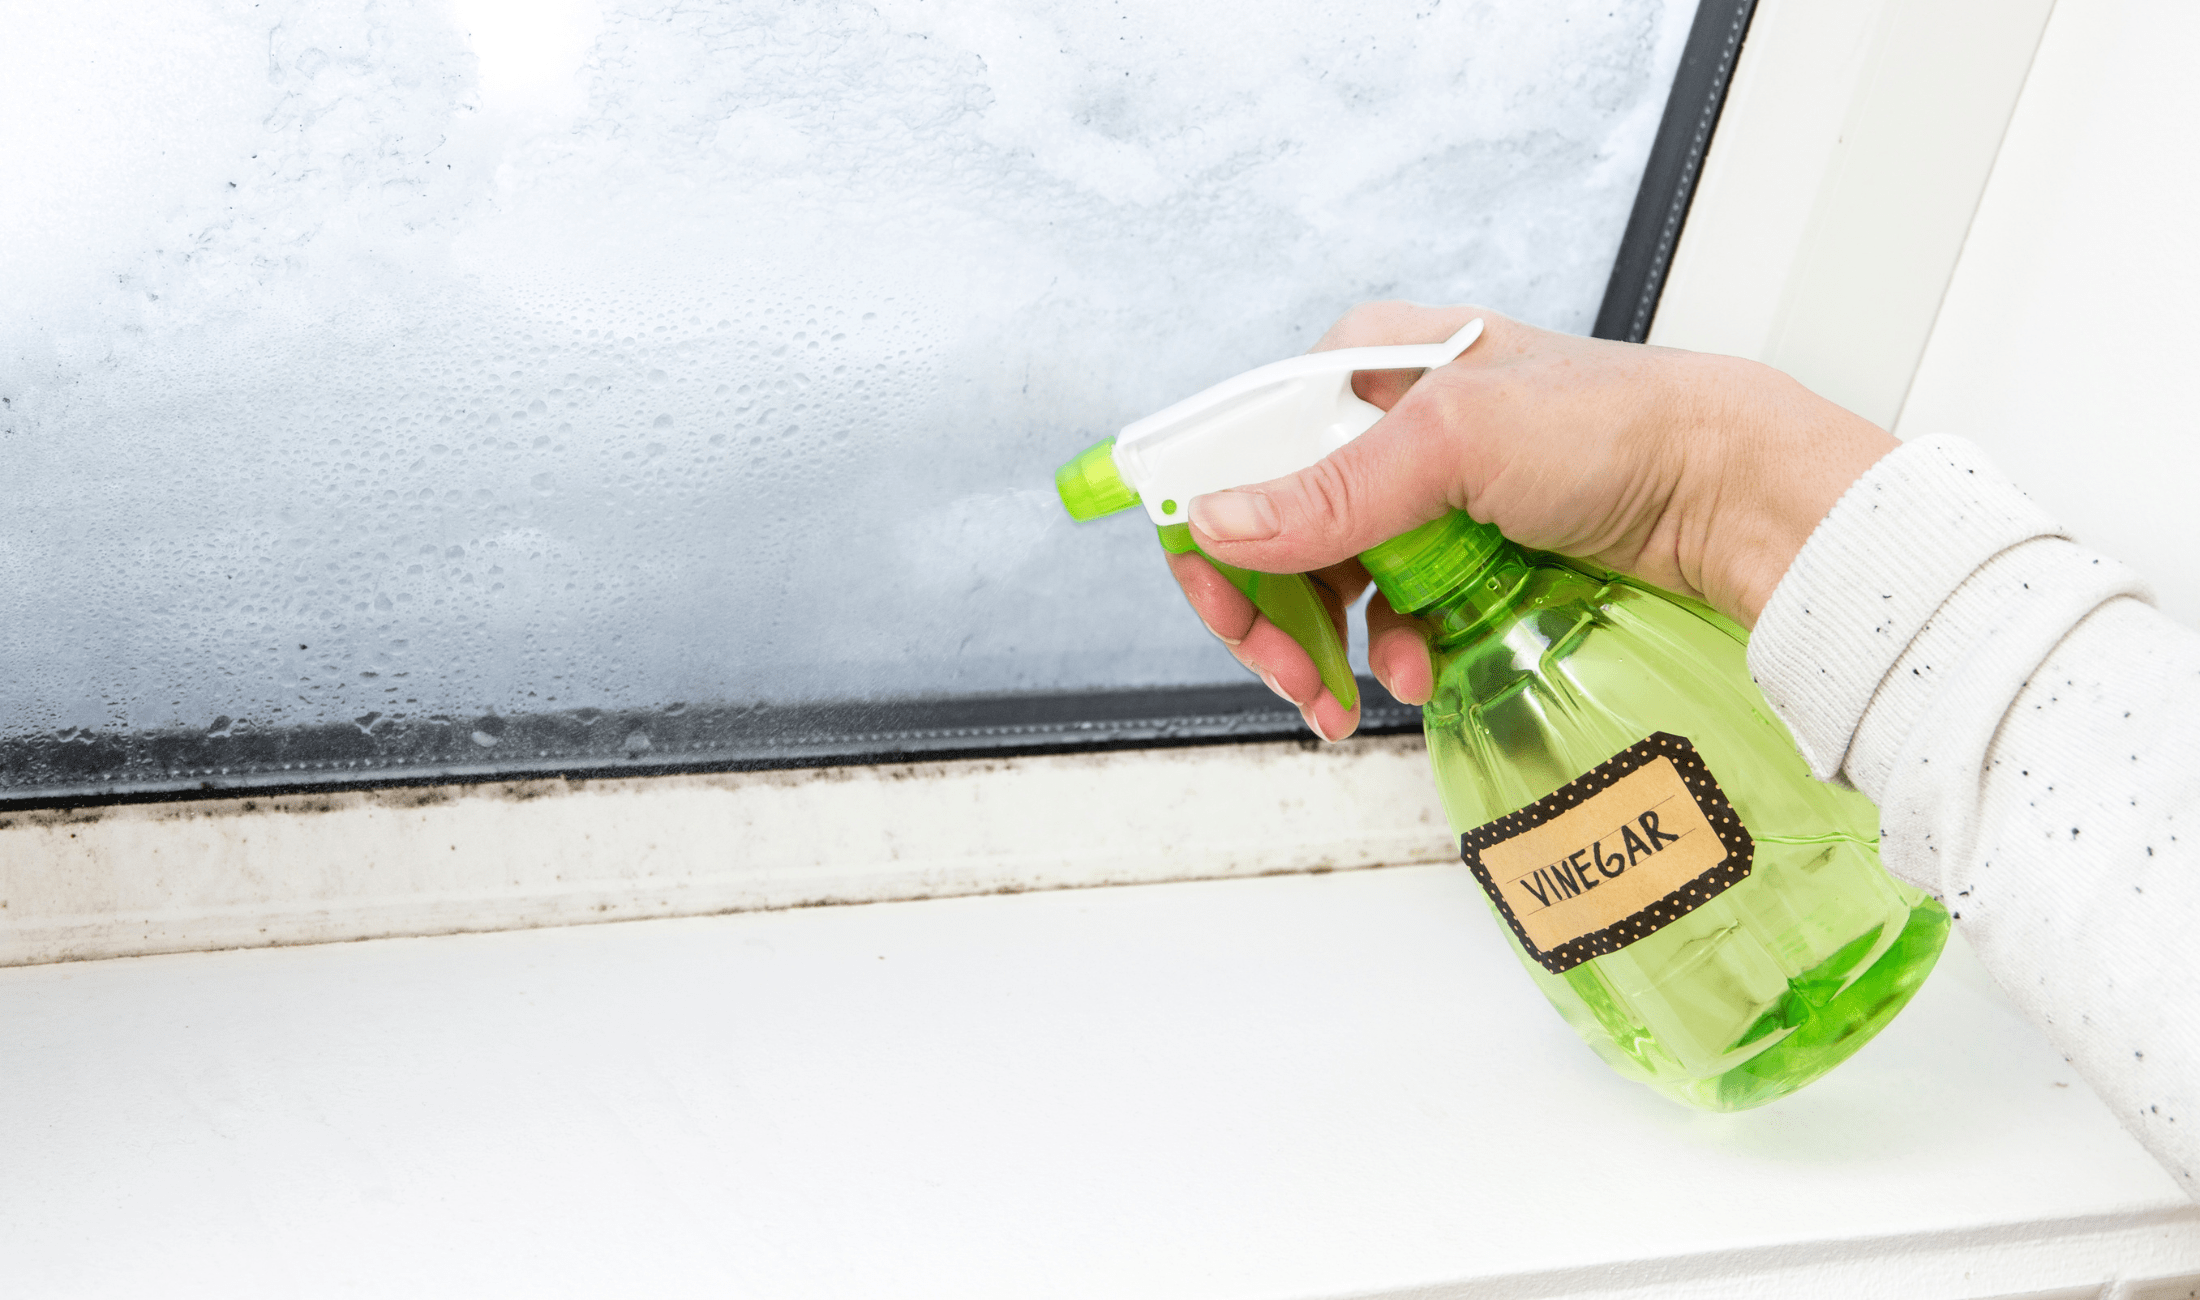
Not all mold cleaners are the same. Some people swear by bleach, but it’s only effective on non-porous surfaces and can damage your caulking over time. White vinegar is a safer, gentler option that actually penetrates mold. For tougher stains, hydrogen peroxide or a baking soda paste can work well. The key is using something strong enough to kill mold spores without breaking down the sealant in the process.
Apply and Let It Sit
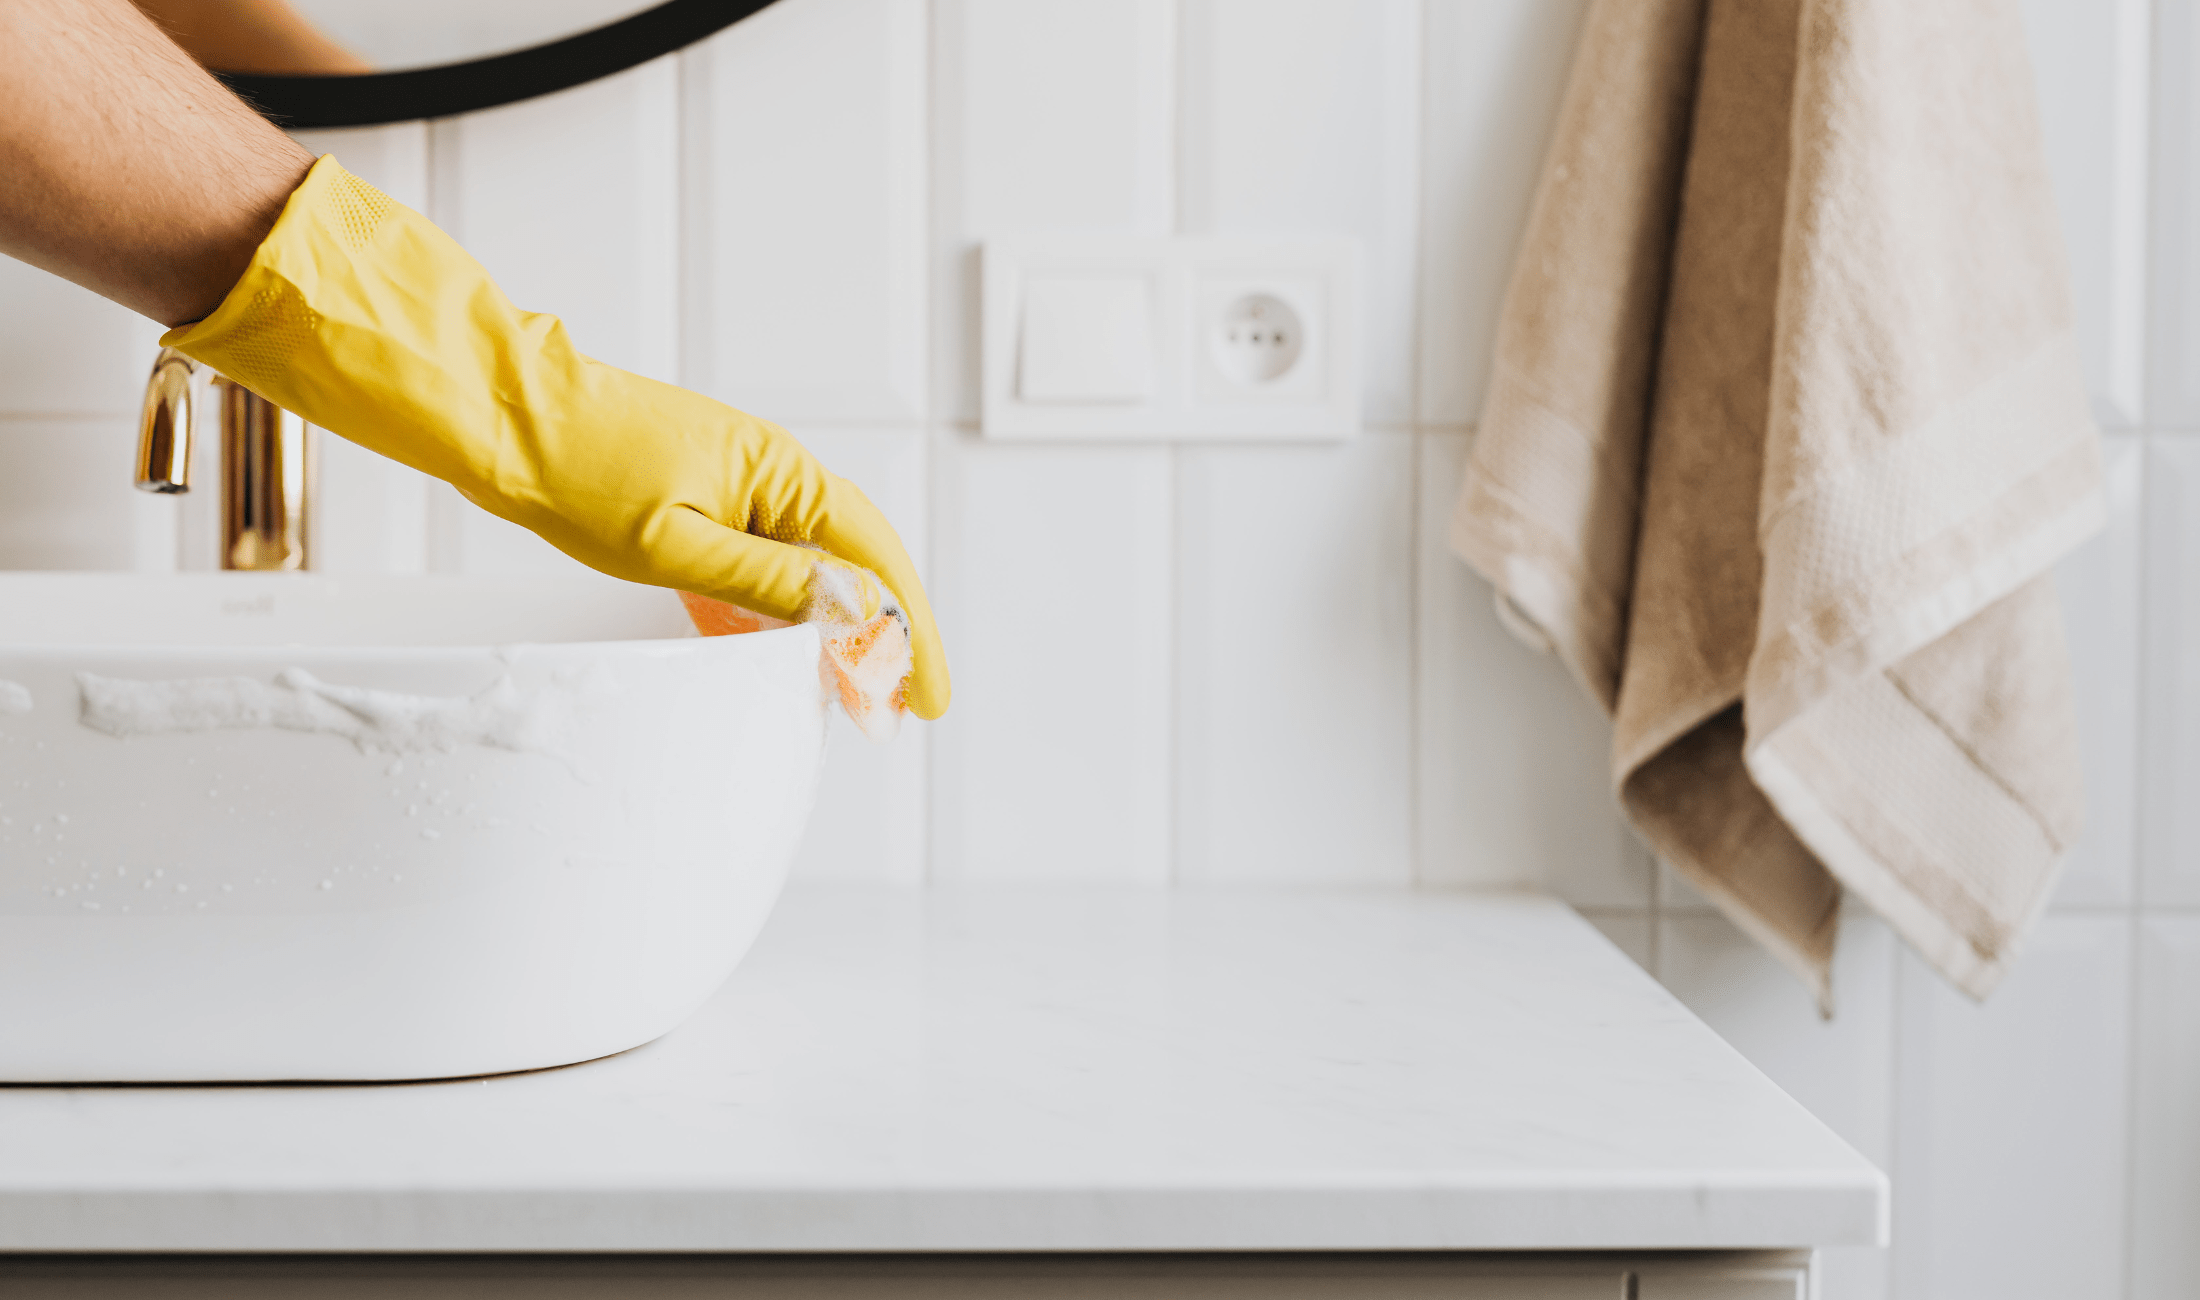
Once you’ve picked your cleaner, don’t rush things. Spray or spread it onto the affected caulking and let it sit for at least 30 minutes. Mold needs time to break down. Scrubbing too soon only spreads the spores around. After letting it soak, scrub the area with a soft brush or an old toothbrush, getting into the edges without damaging the line of caulk. Rinse thoroughly and dry the area with a clean cloth.
Know When to Replace Caulking
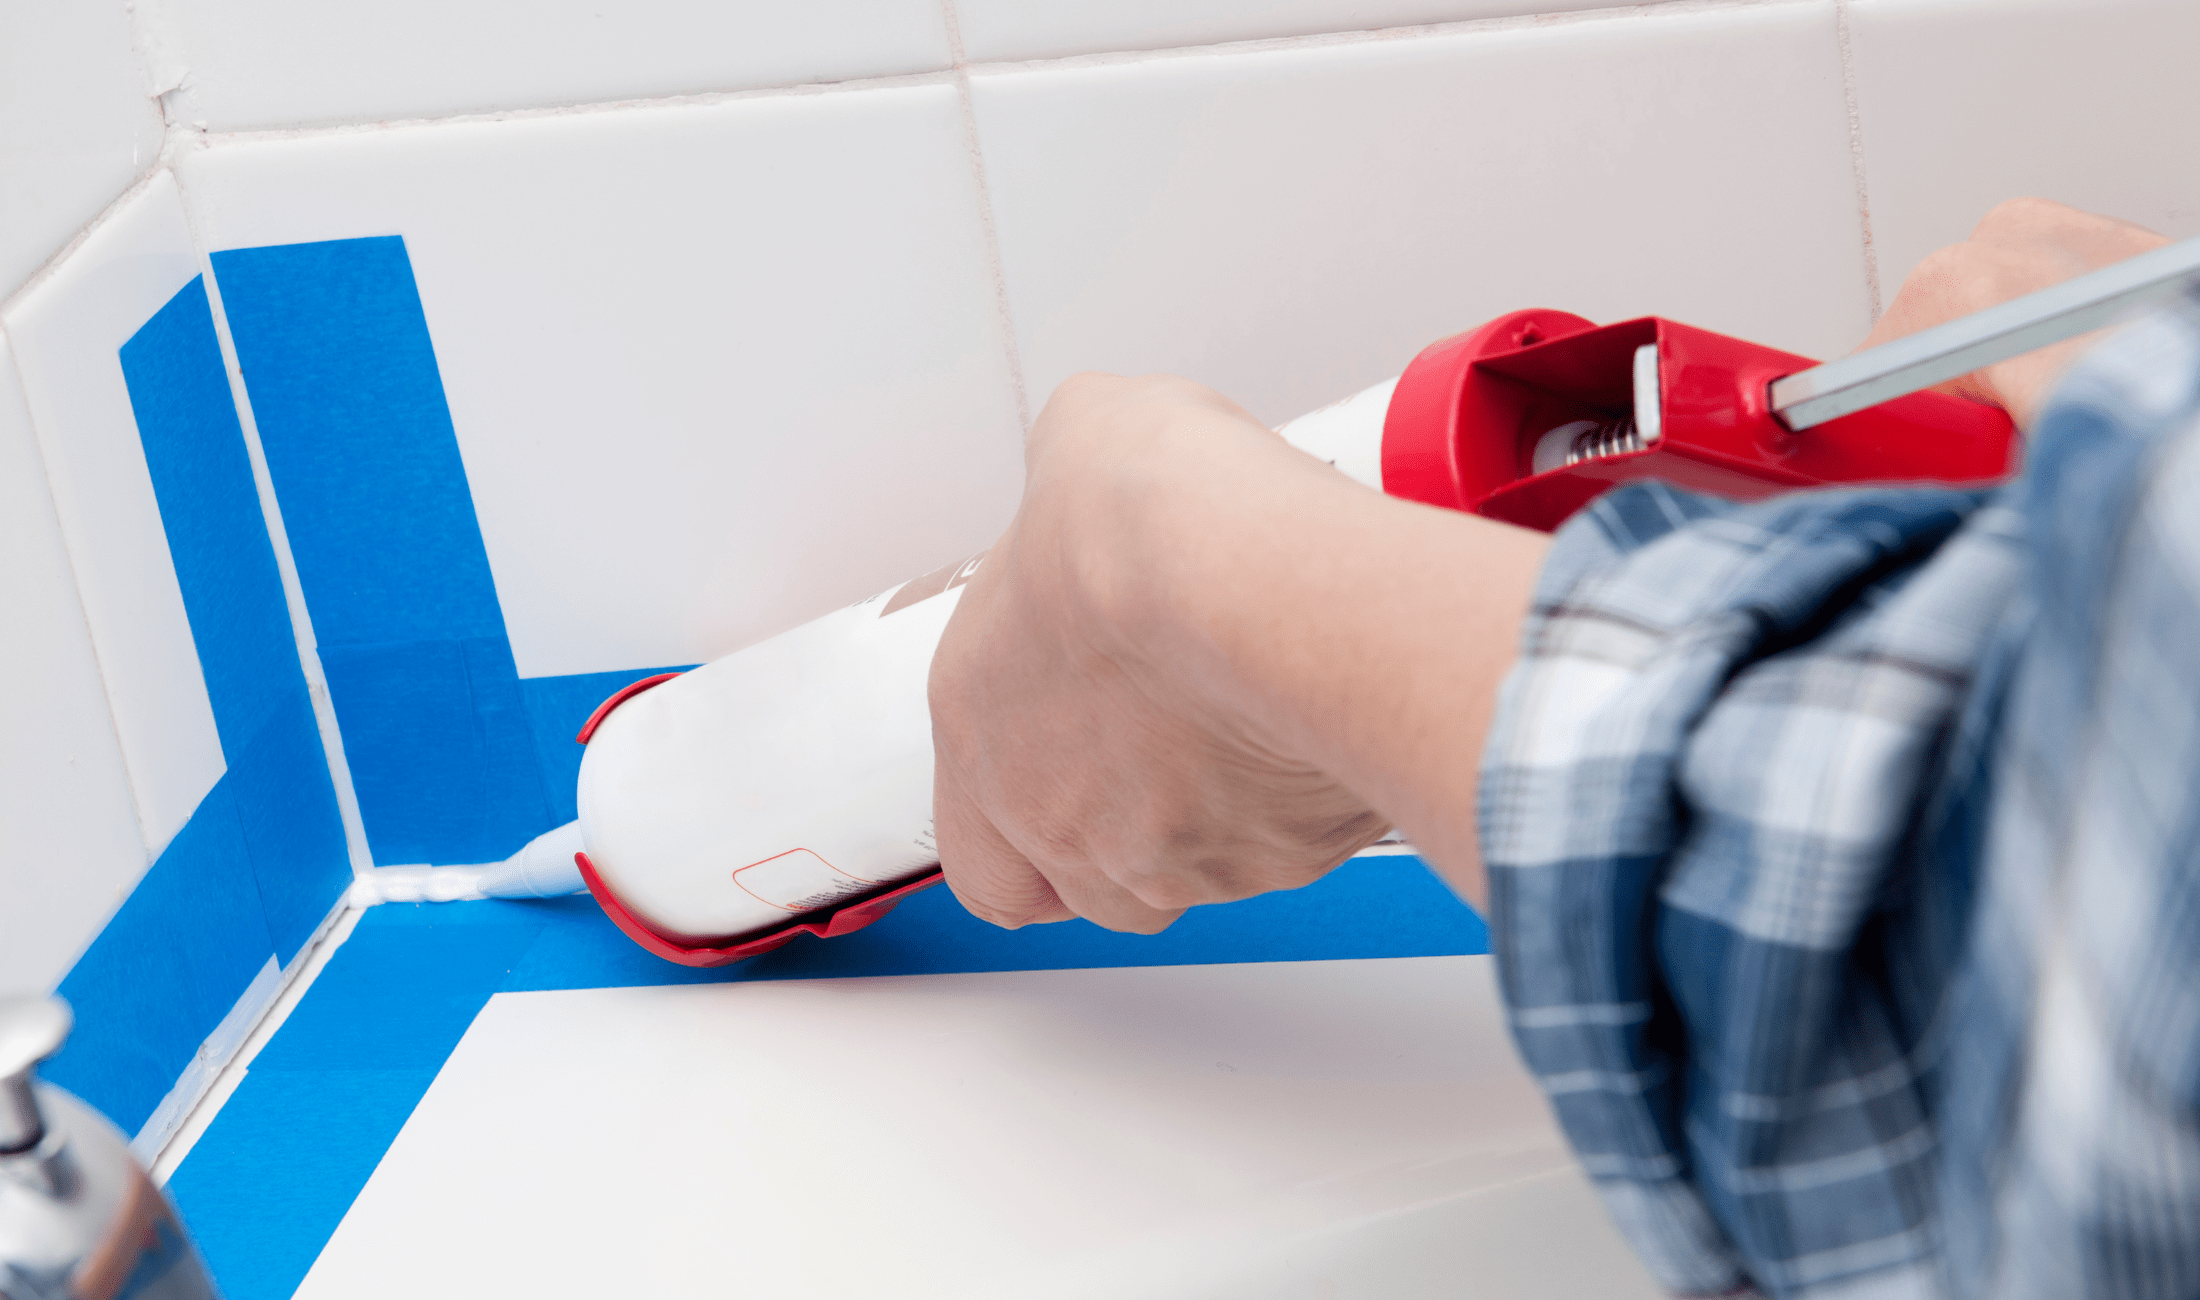
If the mold won’t budge or keeps coming back quickly, your best option is to remove and replace the caulking. Mold can grow behind old or cracked caulk, where cleaners can’t reach. Use a caulk remover tool to pull out the damaged section, then clean and dry the area completely before applying a new waterproof, mold-resistant caulk. This takes a bit of time and effort, but it offers a more permanent fix.
Keep Mold from Coming Back
Prevention is the most important step. Mold thrives on moisture, so keep your bathroom well-ventilated. Run the fan during and after showers, and wipe down wet surfaces when you’re done. Keep an eye out for leaks or pooling water around the tub or shower base. Once you remove the initial patch of mold, staying ahead of its return is much easier.
Related Articles
- Is Your Bathroom Vent Fan a Fire Hazard?
- 5 Simple and Easy Ways to Clean Grout and Get Rid of Mold
- 5 Easy Ways To Unclog Your Bathroom Sink
Dealing with black mold in your shower caulking isn’t pleasant, but it’s manageable with the right approach. It takes some time, but a clean, mold-free space is leagues better for your home and health. If you treat the problem thoroughly and take small steps to prevent future mold growth, you’ll avoid the cycle of cleaning and re-cleaning, keeping mold out of your bathroom and your lungs.

